Memcached is a high-performance, distributed memory caching system that helps speed up dynamic web applications by alleviating database load. This guide will walk you through the steps to install and secure Memcached on an Ubuntu 22.04 server.
Step 1: Deploying a Cloud Instance on Shape.host
- Log in to Shape.host Dashboard:
- Navigate to the Shape.host website and log in to your account.
- Create a New Instance:
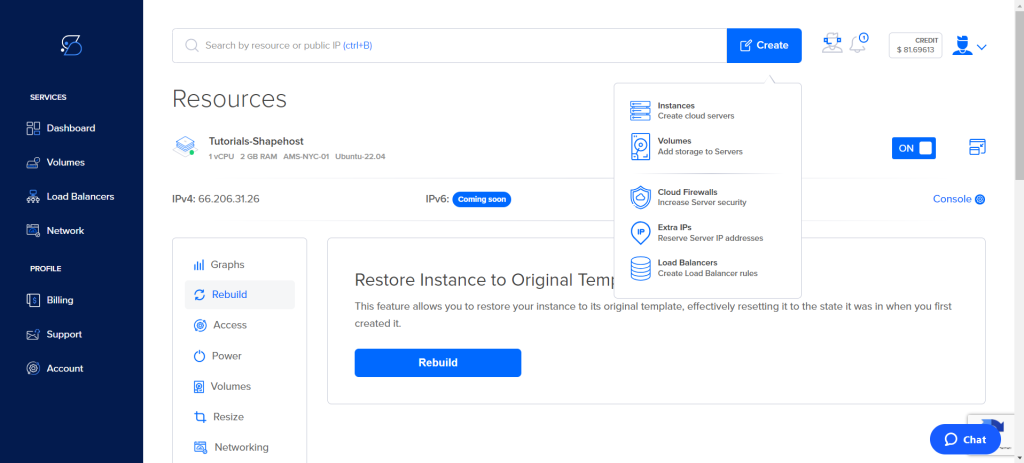
- Click on the “Create” button located at the top right corner of the dashboard.
- From the dropdown menu, select “Instances”.
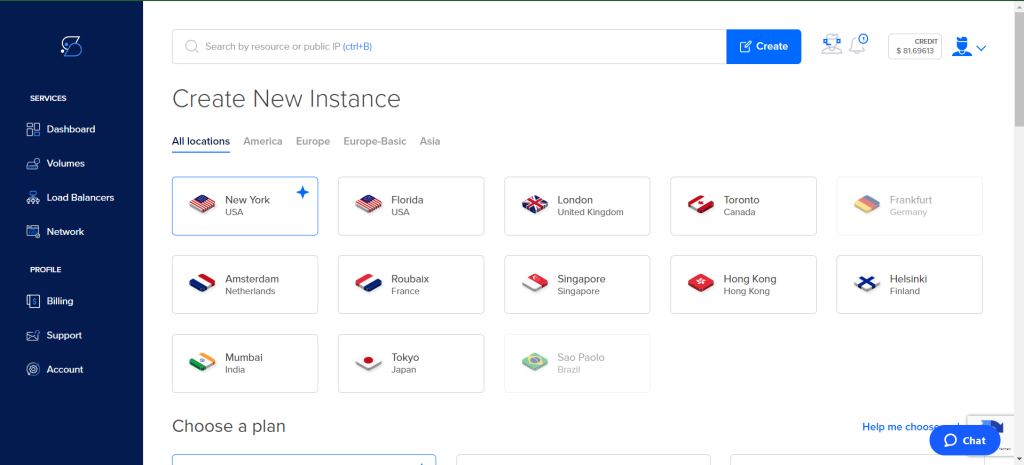
- Select Instance Location:
- Choose the desired location for your server. For this tutorial, we’ll select “New York, USA”.
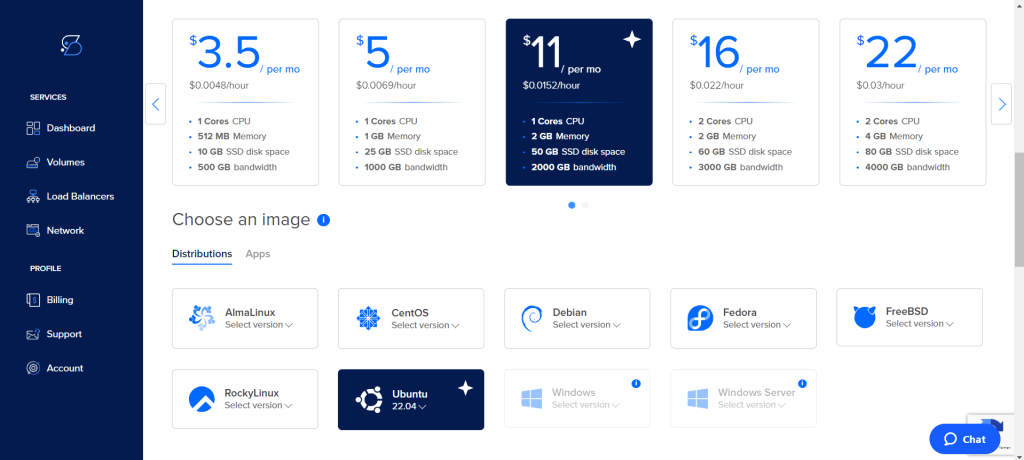
- Choose a Plan:
- Select a plan that fits your requirements. For example, you might choose a plan with 2 cores CPU, 2 GB Memory, and 50 GB SSD disk space.
- Select an Operating System:
- Scroll down to the “Choose an image” section and select “Ubuntu 22.04”.
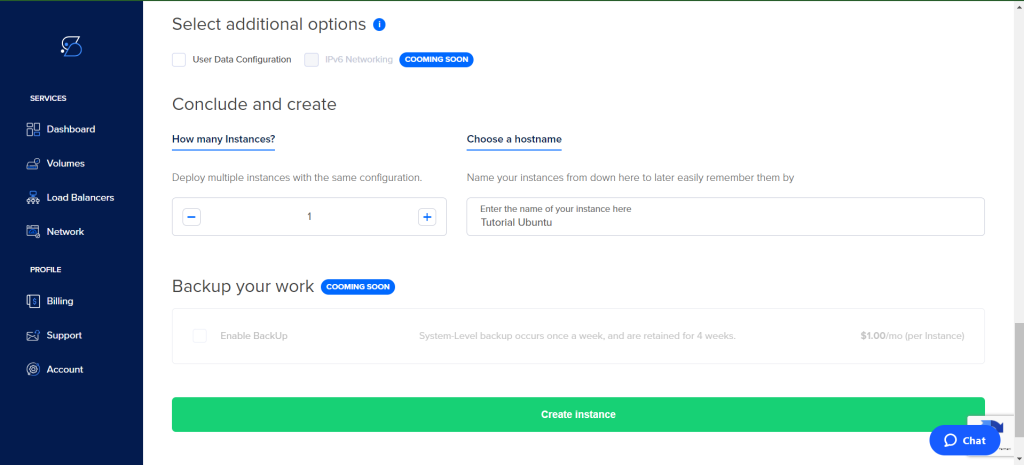
- Configure Additional Options:
- (Optional) You can configure additional options like User Data Configuration and IPv6 Networking.
- Enter a hostname for your instance, e.g., “Tutorial Ubuntu”.
- Click on the “Create instance” button to deploy the instance.
Step 2: Connecting to Your Instance
- Retrieve SSH Credentials:
- Note the IP address of your newly created instance from the Shape.host dashboard.
- Connect via SSH:
- Open a terminal on your local machine.
- Use the following command to connect to your instance:
ssh root@your_instance_ip - Replace
your_instance_ipwith the actual IP address of your instance.
Step 3: Update System Packages
First, ensure your system packages are up to date:
apt update
apt upgrade -y
Step 4: Install Apache
If you don’t already have Apache installed, you can install it using the following command:
apt install apache2 -y
Start and enable Apache to start on boot:
systemctl start apache2
systemctl enable apache2
Step 5: Install Memcached
Install Memcached and its dependencies:
apt install memcached libmemcached-tools -y
Step 6: Configure Memcached
Edit the Memcached configuration file to secure the installation:
nano /etc/memcached.conf
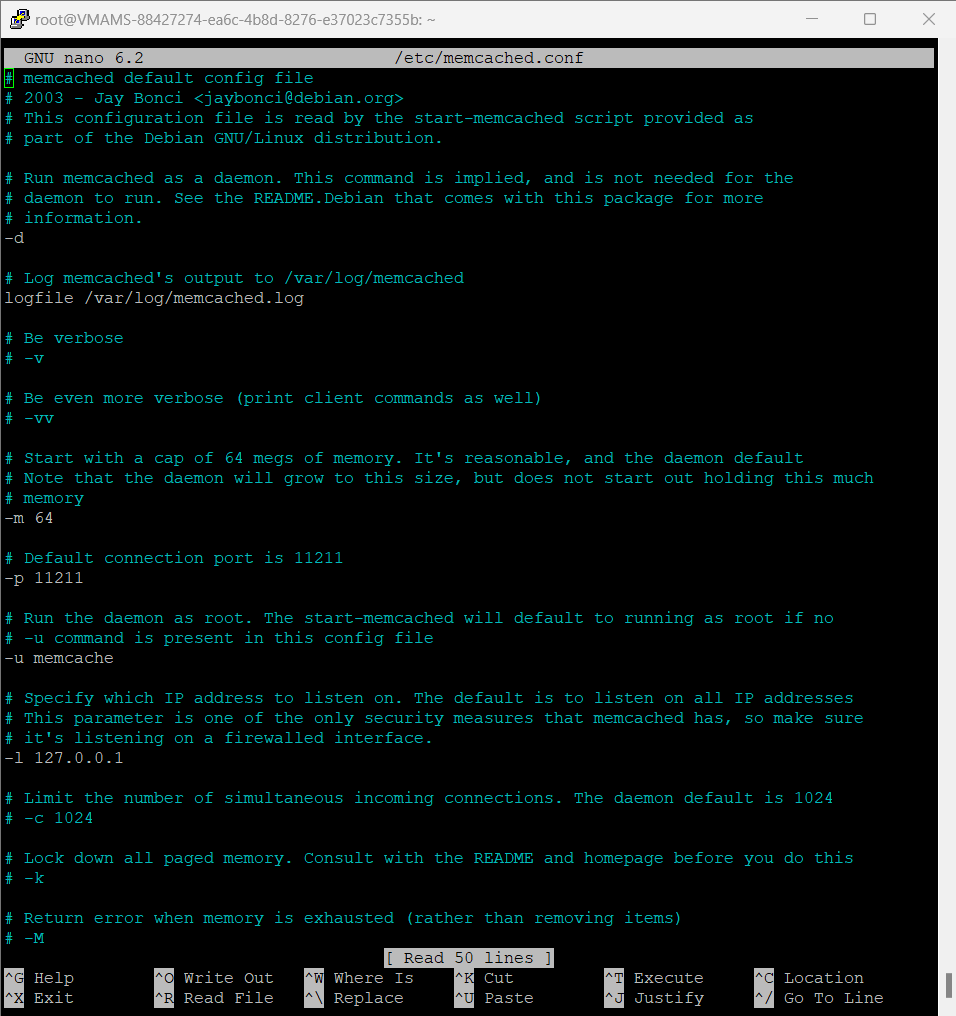
Key Configuration Options:
- Listening IP: Bind Memcached to localhost to prevent external access.
-l 127.0.0.1- Memory Usage: Set the memory limit for Memcached. Default is 64MB.
-m 64- Port: Ensure Memcached listens on the default port (11211).
-p 11211- Maximum Connections: Set the maximum number of simultaneous connections.
-c 1024Save and close the file.
Step 7: Start and Enable Memcached
Start Memcached and enable it to start on boot:
systemctl start memcached
systemctl enable memcached
Step 8: Verify Memcached Installation
Check the status of the Memcached service to ensure it is running correctly:
systemctl status memcached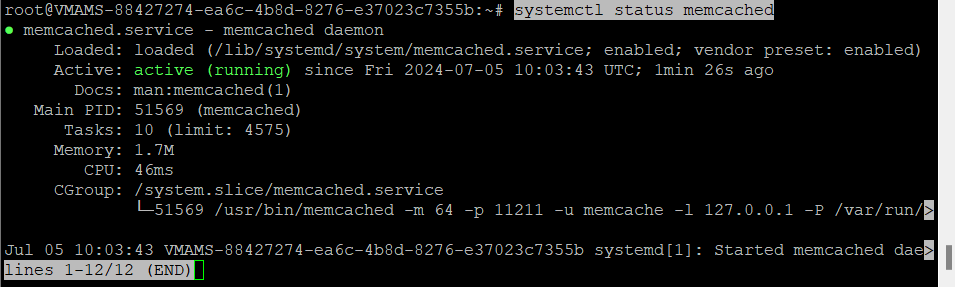
You can also use memcstat to get statistics:
memcstat --servers=127.0.0.1Step 9: Secure Memcached with a Firewall
To prevent unauthorized access, configure your firewall to allow only local connections to Memcached.
Allow SSH and Local Connections:
First, allow SSH connections to ensure you don’t lose access to your server:
ufw allow ssh
Next, allow local connections to Memcached:
ufw allow from 127.0.0.1 to any port 11211
Enable the firewall:
ufw enable
Deny External Connections:
By default, UFW blocks all incoming connections except those explicitly allowed. To ensure security, you don’t need to add additional rules unless you’ve modified UFW’s default settings.
Step 10: Testing Memcached
To test Memcached, you can use the telnet command to connect to the Memcached server:
telnet 127.0.0.1 11211
Once connected, you can issue Memcached commands. For example, to set and retrieve a key-value pair:
set mykey 0 900 4
test
STORED

get mykey
VALUE mykey 0 4
test
END
Type quit to exit the telnet session.
Step 11: Using Memcached with a Web Application
To use Memcached with a web application, ensure you have the appropriate client library installed. For PHP, you can install the PHP Memcached extension:
apt install php-memcached -y
Restart your web server to apply changes:
systemctl restart apache2
Shape.host provides high-performance Cloud VPS hosting solutions. Their reliable infrastructure and excellent support ensure your applications run smoothly and securely. Explore Shape.host Cloud VPS options to scale your projects efficiently.
By following these steps, you’ve installed and secured Memcached on your Ubuntu 22.04 server. This setup will help improve your application’s performance by reducing database load and speeding up dynamic content delivery.