Apache Tomcat is an open-source web server and servlet container used to run Java applications. It provides a “pure Java” HTTP web server environment and is widely used in web development for deploying Java-based web applications. In this tutorial, we will guide you through installing Apache Tomcat on an Ubuntu 24.04 server and configuring Nginx as a reverse proxy to improve security and scalability.
Prerequisites
- An active Ubuntu 24.04 server.
- Root or sudo privileges.
- A registered domain (optional, for reverse proxy setup).
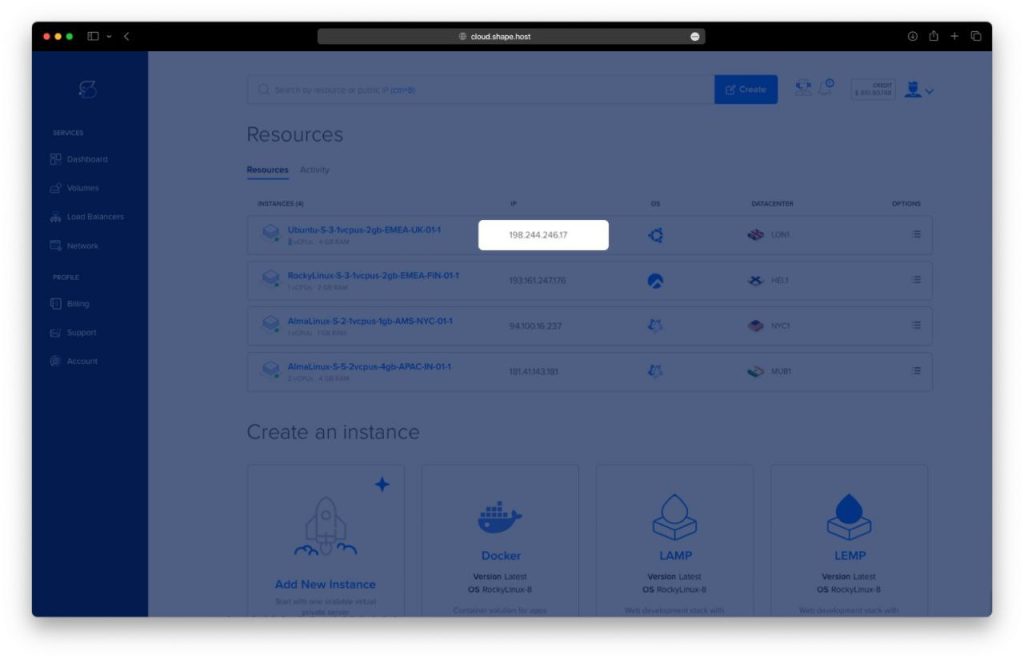
Step 1: Create an Instance on Cloud.shape.host
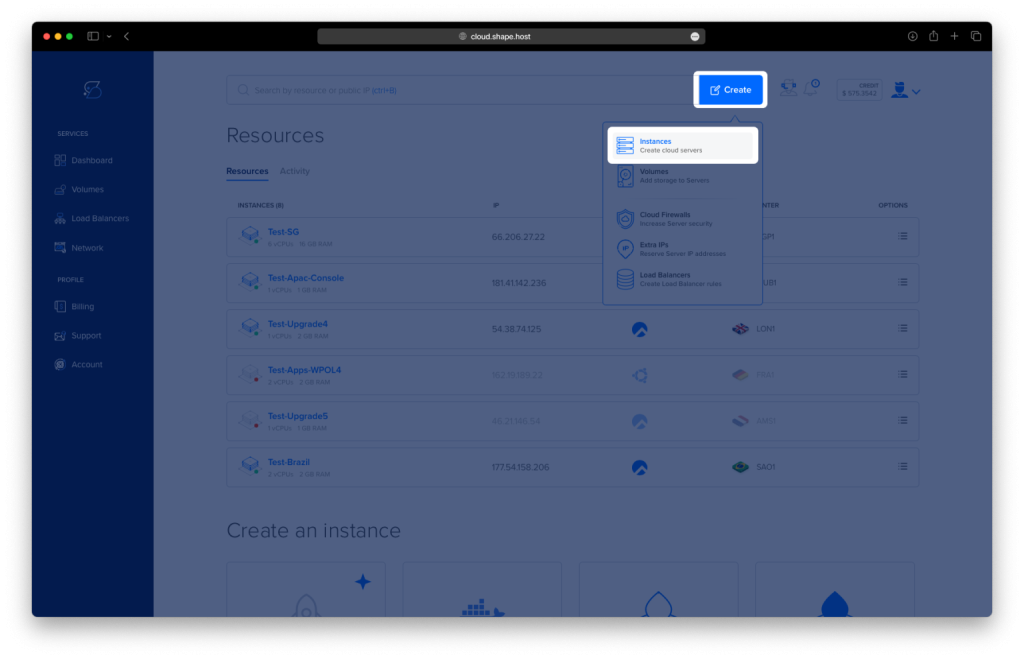
Step 1.1: Access the Dashboard
- Log in to Cloud.shape.host.
- Click Create, and select Instances.
Step 1.2: Choose a Datacenter Location
Choose a datacenter closest to your audience for lower latency, such as New York, London, or Frankfurt.
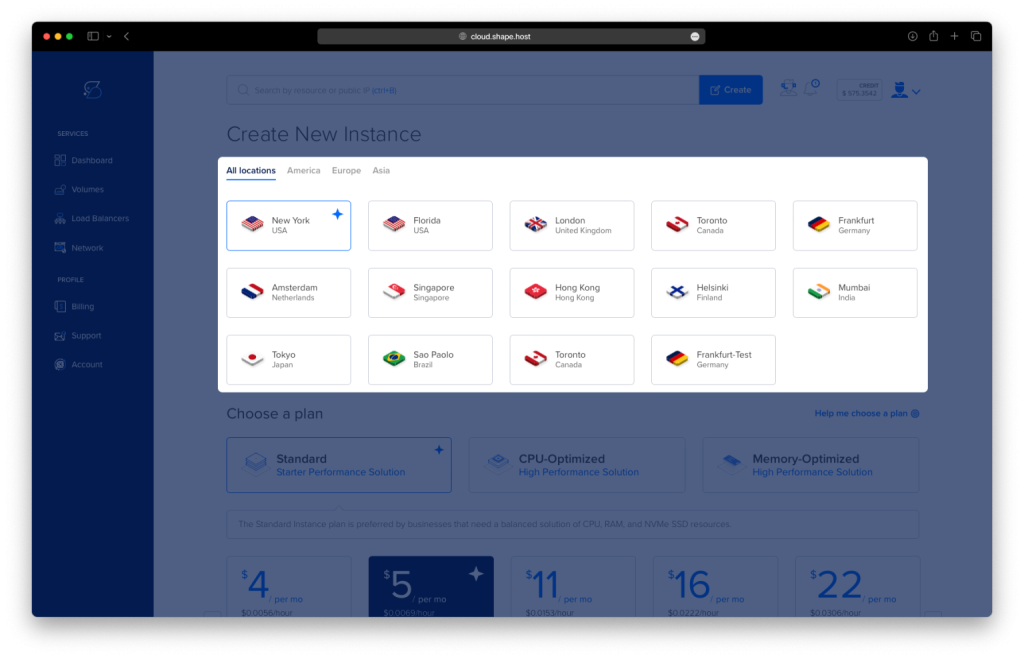
Step 1.3: Select a Plan
Choose a plan that fits your resource needs: Standard, CPU-Optimized, or Memory-Optimized.
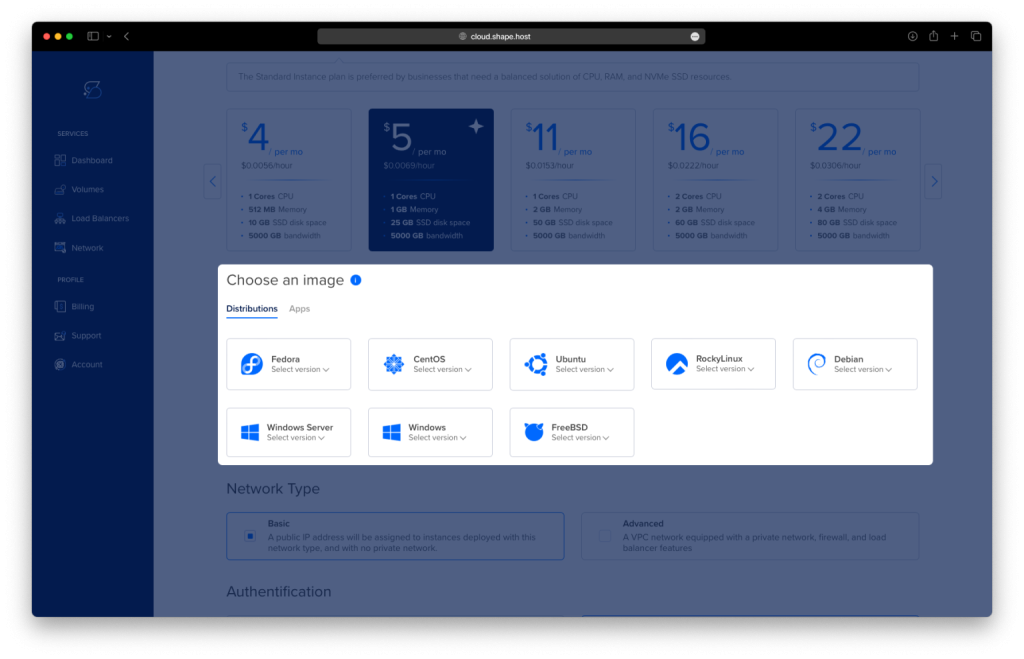
Step 1.4: Select an Operating System
Select Ubuntu 24.04 as your operating system.
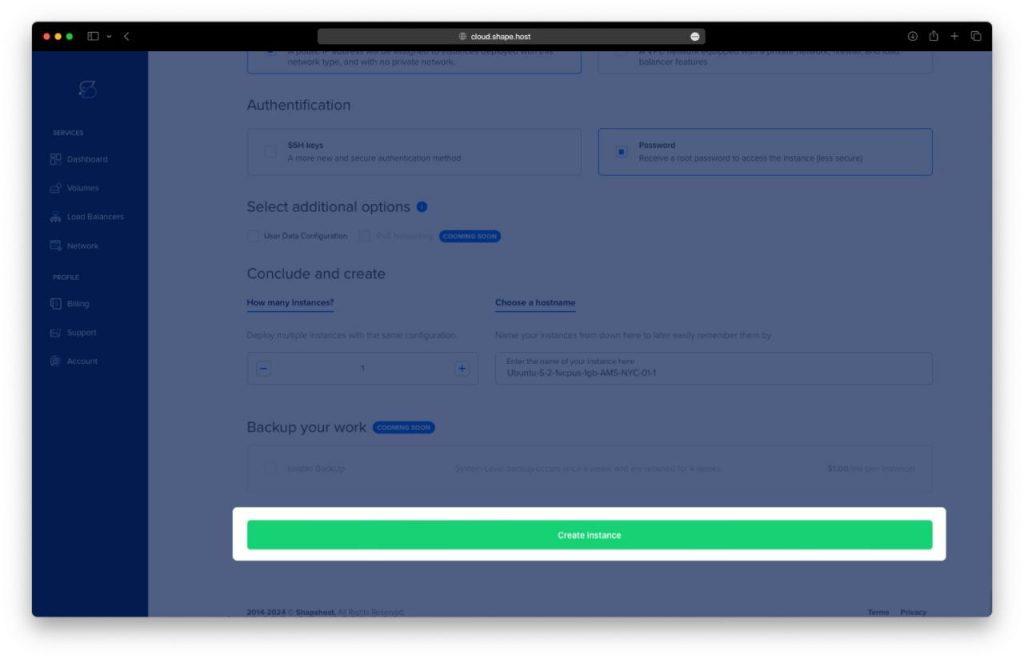
Step 1.5: Configure and Launch
- Set the Network Type and Authentication Method (SSH key or password).
- Click Create Instance.
Step 1.6: Locate your Instance’s IP
Step 1.7: Access Your Instance
- SSH (for Linux/macOS):
ssh root@<your-instance-ip>Replace <your-instance-ip> with the server’s public IP.
- PuTTY (for Windows):
Download PuTTY, enter the public IP, and click Open.
Step 2: Update and Upgrade the System
To ensure your server has the latest packages, update and upgrade the system:
apt update -y
apt upgrade -y
Step 3: Install Java (Default JDK)
Apache Tomcat requires Java to function. Install the default Java Development Kit (JDK):
apt install default-jdk
java --version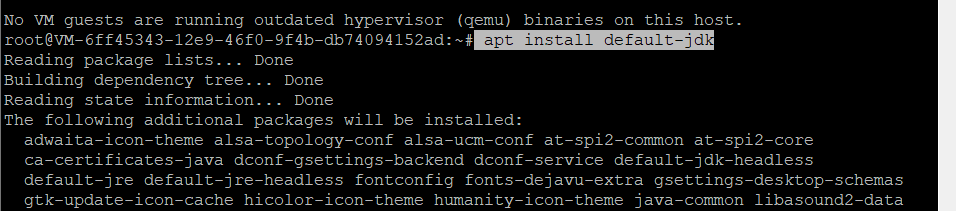

Step 4: Install Apache Tomcat
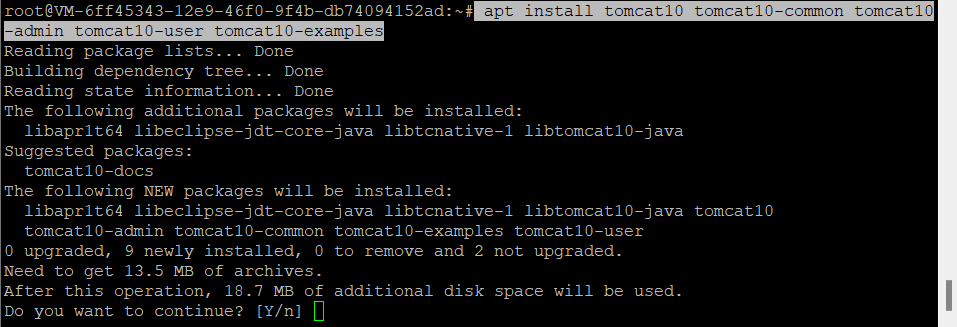
To install Tomcat and its related components:
apt info tomcat10
apt install tomcat10 tomcat10-common tomcat10-admin tomcat10-user tomcat10-examples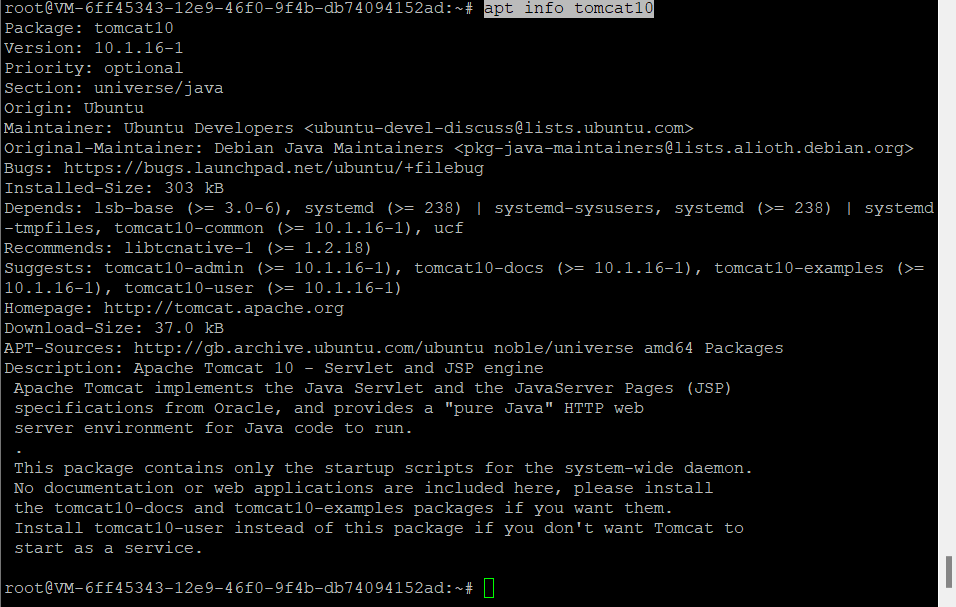
Step 5: Verify Tomcat Status
Ensure that Tomcat is enabled and running:
systemctl is-enabled tomcat10
systemctl status tomcat10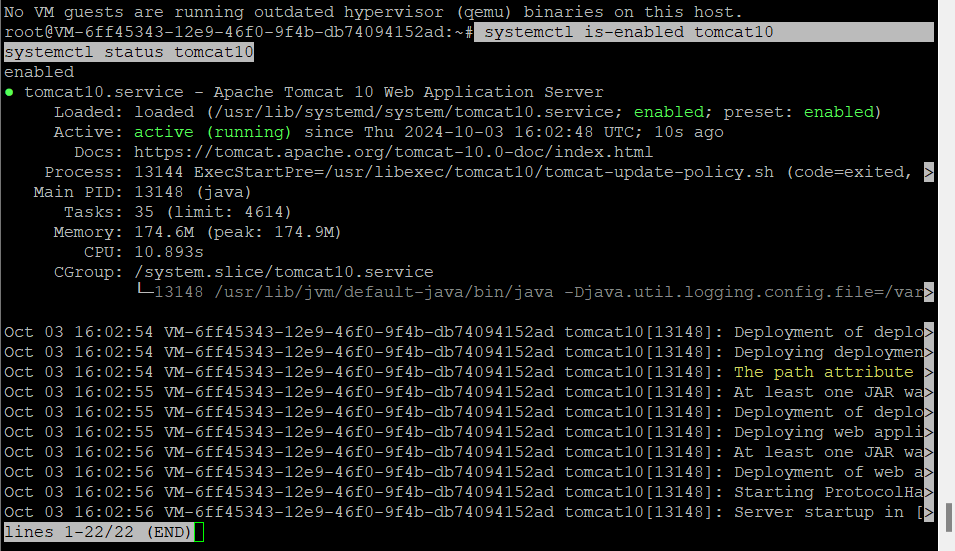
Step 6: Check Listening Ports
Check which ports are being used by the server:
ss -tulpn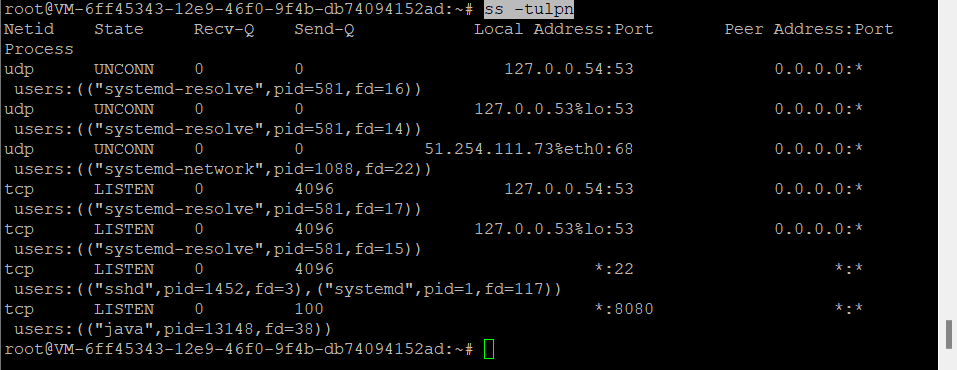
Lastly, visit http://192.168.5.30:8080/ using your web browser. You will see the Apache Tomcat default index page.
Step 7: Configure Tomcat Users
To allow access to Tomcat’s web management, create an administrative user:
- Edit the Tomcat users configuration file:
nano /etc/tomcat10/tomcat-users.xml
- Insert the following configuration between
<tomcat-users>tags:
   <tomcat-users>
   <!--
   user: admin pass: tomcatadmin
   -->
   <role rolename="manager-gui"/>
   <role rolename="manager-script"/>
   <role rolename="manager-jmx"/>
   <role rolename="manager-status"/>
   <role rolename="admin-gui"/>
   <role rolename="admin-script"/>
   <user username="admin" password="tomcatadmin" roles="manager-gui, manager-script, manager-jmx, manager-status, admin-gui, admin-script"/>
   </tomcat-users>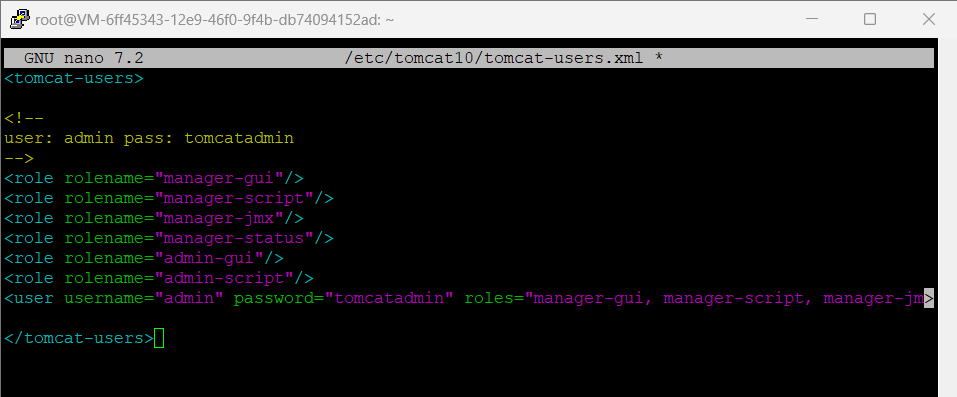
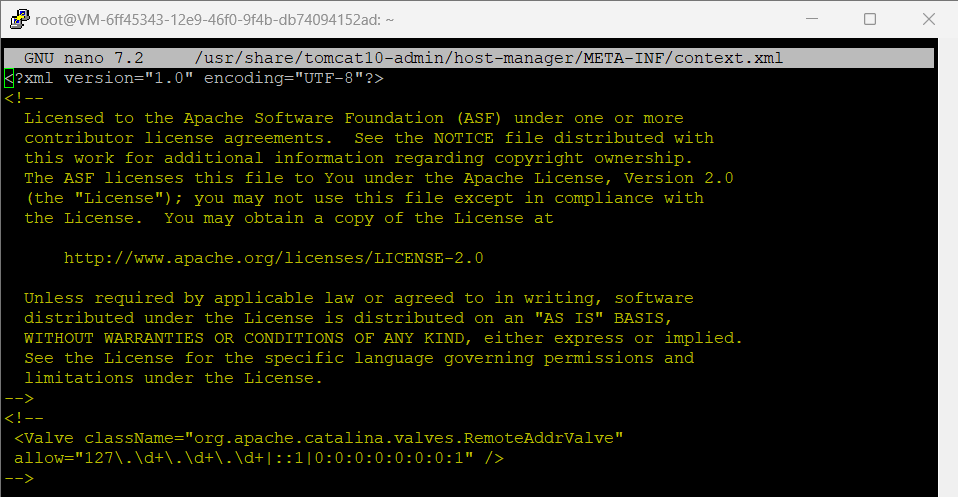
Step 8: Enable Remote Access to Manager and Host Manager
By default, remote access to the host-manager and manager web apps is restricted:
- Edit the host-manager configuration file:
nano /usr/share/tomcat10-admin/host-manager/META-INF/context.xml
- Comment out the following line by wrapping it in
<!-- ... -->:
   <!--
   <Valve className="org.apache.catalina.valves.RemoteAddrValve"
   allow="127\.\d+\.\d+\.\d+|::1|0:0:0:0:0:0:0:1" />
   -->
Step 9: Restart Tomcat
After configuring Tomcat, restart the service:
systemctl restart tomcat10
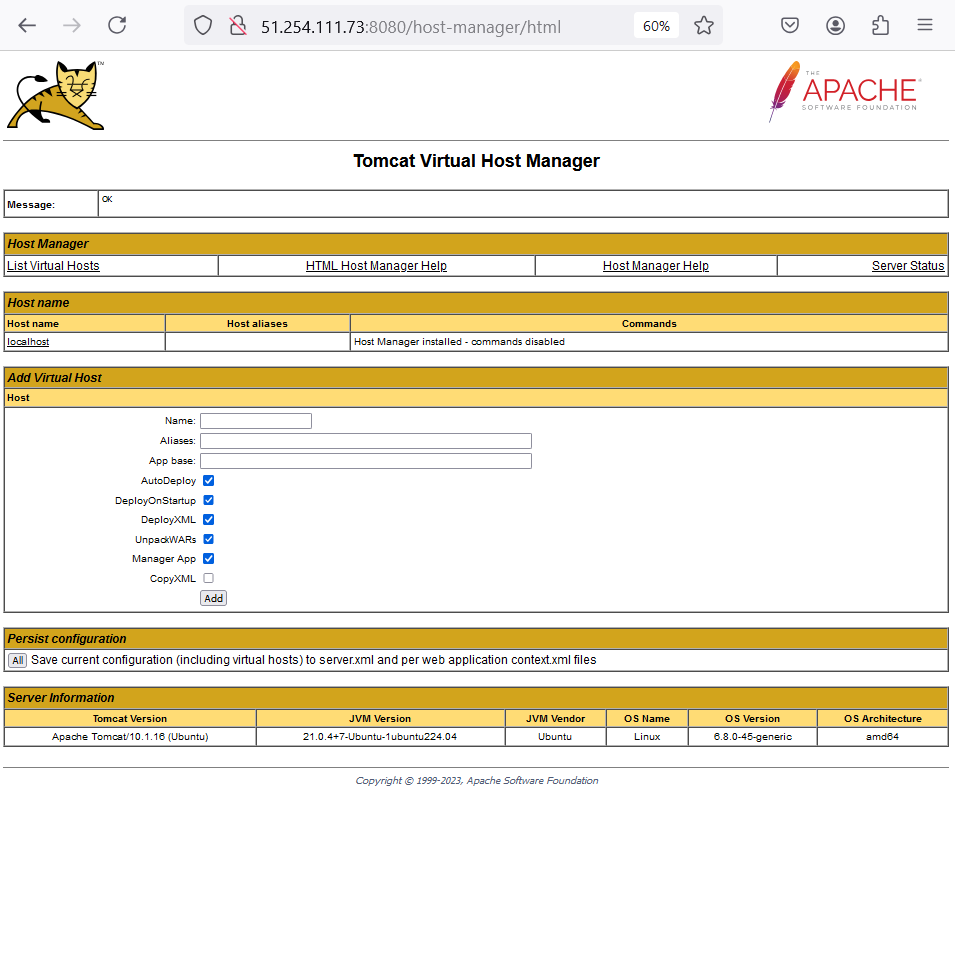
Lastly, visit the following URLs to access Tomcat’s management interfaces:
- Virtual Host Manager: http://192.168.5.30:8080/host-manager/
- Tomcat Manager: http://192.168.5.30:8080/manager/
Step 10: Install Nginx
Nginx will act as a reverse proxy, handling incoming requests:
apt install nginx -y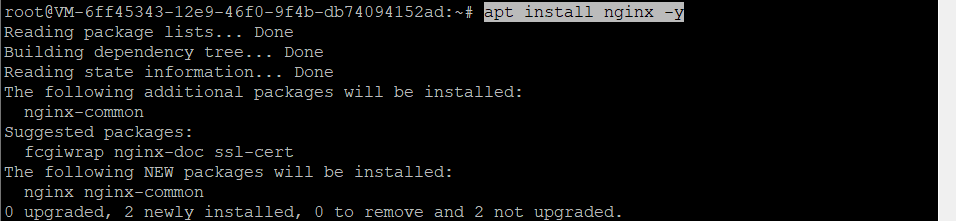
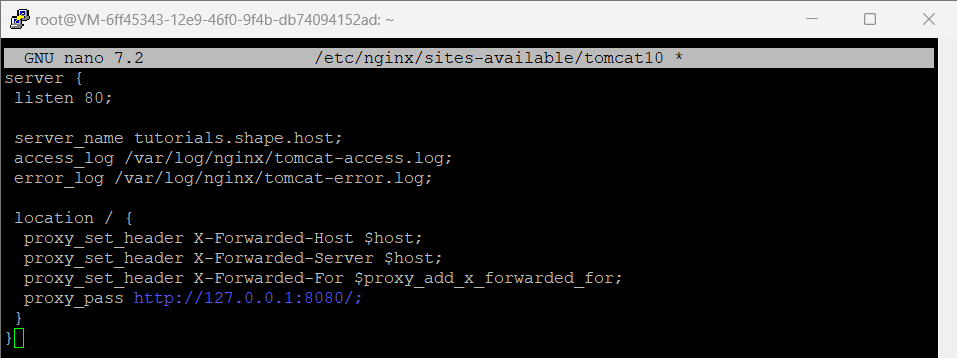
Step 11: Configure Nginx for Tomcat
To configure Nginx to forward requests to Tomcat:
- Create a new configuration file for Tomcat:
nano /etc/nginx/sites-available/tomcat10
- Add the following configuration (replace
server_namewith your domain):
   server {
    listen 80;
    server_name tutorials.shape.host;
    access_log /var/log/nginx/tomcat-access.log;
    error_log /var/log/nginx/tomcat-error.log;

    location / {
     proxy_set_header X-Forwarded-Host $host;
     proxy_set_header X-Forwarded-Server $host;
     proxy_set_header X-Forwarded-For $proxy_add_x_forwarded_for;
     proxy_pass http://127.0.0.1:8080/;
    }
   }
Step 12: Enable the Nginx Configuration
Enable the Nginx configuration:
ln -s /etc/nginx/sites-available/tomcat10 /etc/nginx/sites-enabled/
Step 13: Test Nginx Configuration and Restart
Ensure the configuration is correct:
nginx -t
systemctl restart nginx
Step 14: Verify Nginx Status
Ensure that Nginx is running:
systemctl status nginx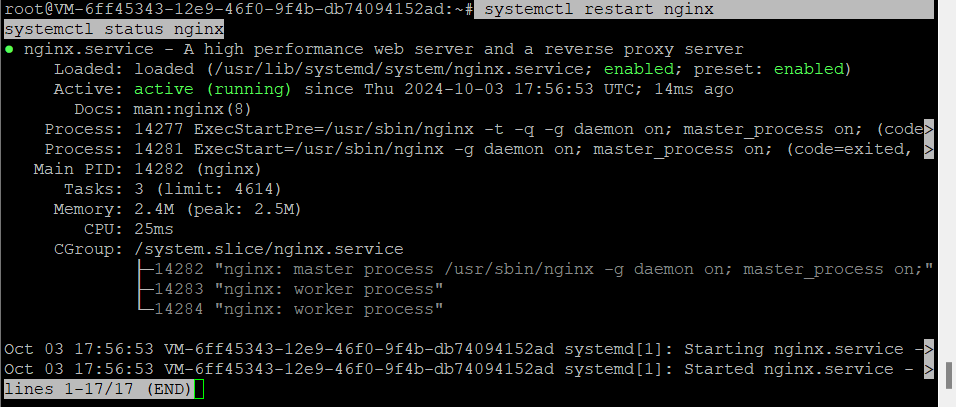
You have successfully installed Apache Tomcat and configured Nginx as a reverse proxy on Ubuntu 24.04. You can now access your Tomcat application through Nginx for improved security and scalability.
For reliable hosting services to run your Tomcat applications, consider using Shape.Host’s Linux SSD VPS services. With high-speed performance and scalable infrastructure, you can host your applications with confidence.