What is BookStack?
BookStack is a free, open-source wiki platform designed for organizing and managing digital documentation. It’s a user-friendly tool built using the Laravel PHP framework and uses MySQL or MariaDB as its database. Released in 2015, BookStack is ideal for internal documentation or knowledge bases, making it a popular choice for teams, businesses, or even personal projects.
Key Features of BookStack
- Easy-to-Use Interface:
- BookStack’s interface is designed to be intuitive and user-friendly, allowing anyone, regardless of technical skills, to create and manage content quickly.
- Content Hierarchy:
- Content in BookStack is organized in a structured hierarchy of Books, Chapters, and Pages:
- Books: High-level containers for your content (e.g., different departments or topics).
- Chapters: Optional divisions within books to organize related pages.
- Pages: The actual content, such as articles, documents, or guides.
- Flexible Editing:
- BookStack provides both a WYSIWYG (What You See Is What You Get) editor and a Markdown editor, allowing you to choose between a visual editor and plain text Markdown.
- Role-Based Access Control:
- The platform has a role-based permission system, enabling admins to assign users different roles with various levels of access (e.g., Viewer, Editor, Admin). Permissions can be controlled at the book, chapter, or page level.
- Powerful Search:
- BookStack’s built-in search feature allows users to quickly find content across books, chapters, and pages. It indexes the entire knowledge base for fast and relevant search results.
- Collaboration Features:
- BookStack supports multi-user collaboration with page history and versioning. Users can track changes, view past versions, and restore older versions if necessary.
- Customizable Appearance:
- BookStack allows for theming and custom branding. You can easily change the platform’s look and feel by applying your logo, custom colors, or even custom CSS.
- Export and Import Options:
- Users can export content in various formats such as PDF, HTML, or Markdown, which is useful for sharing documentation or backing it up.
- Authentication and Security:
- BookStack integrates with LDAP, OAuth2, and SAML for user authentication. It also supports two-factor authentication (2FA), adding an extra layer of security.
- API for Developers:
- BookStack includes an API that allows developers to interact with and extend the platform. This enables integration with other tools or services your organization may use.
Use Cases for BookStack
- Internal Documentation:
- Ideal for businesses and organizations needing a centralized location for internal documentation, such as HR policies, IT manuals, and onboarding guides.
- Team Knowledge Base:
- BookStack helps teams create, organize, and share knowledge in a way that is easy to maintain. Whether it’s project documentation, workflows, or company policies, it can all be stored and easily accessed by team members.
- Personal Knowledge Management:
- Individuals can use BookStack to manage personal notes, research, study materials, or even journals in a well-organized structure.
- Project Documentation:
- Great for software development teams or project managers who need to document specifications, processes, or workflows.
- Educational Resources:
- Schools or universities can use BookStack to create and manage educational materials like study guides, course notes, and lesson plans.
- Customer Support Documentation:
- BookStack can also be used to build a help center or FAQ section where businesses can create user guides, troubleshooting instructions, and other customer-facing documentation.
Advantages of BookStack
- Simple Interface: Designed for ease of use, even for non-technical users.
- Structured Organization: Clear content hierarchy with books, chapters, and pages.
- Customizable: Easily adaptable to your organization’s branding and needs.
- Free and Open Source: No cost to use, and you can contribute to its development or modify it for your own needs.
- Collaborative Features: Allows multiple users to work together on documents and keeps a full history of changes.
Limitations of BookStack
- Limited Advanced Features: Compared to other documentation platforms, BookStack may lack some advanced features for highly technical documentation needs.
- Markdown Editor: While flexible, the Markdown editor might feel limiting for users who need extensive formatting or media-rich content.
- Public Access: By default, BookStack requires users to log in to access content, which may not be ideal for public documentation.
Who Should Use BookStack?
- Small to Medium-Sized Teams: BookStack is perfect for teams looking for a simple solution to manage internal documentation or knowledge bases.
- Non-Technical Users: The platform is accessible to users without technical expertise thanks to its WYSIWYG editor and easy navigation.
- Organizations Needing Structure: If your organization requires a structured hierarchy for documentation (e.g., books, chapters, pages), BookStack’s model is ideal.
Let me know if you need help setting up or using BookStack!
Step 1: Create an Instance
- Access the Dashboard: Log in to your Shape.Host account and navigate to your Dashboard.
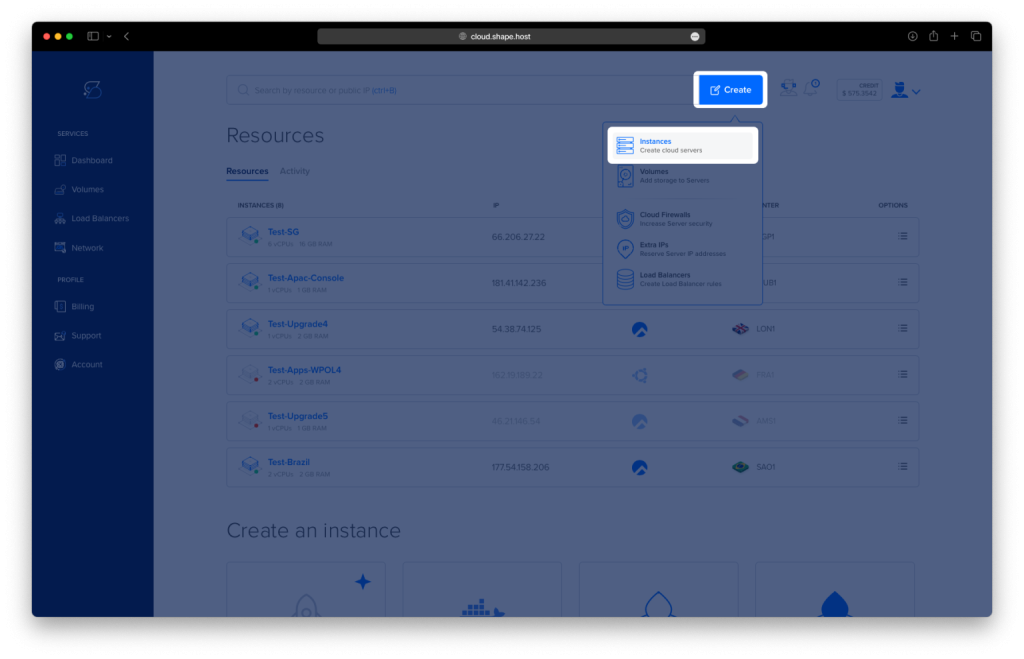
- Click Create: Click on the “Create” button located in the top-right corner.
- Select Instances: From the dropdown menu, choose “Instances” to begin creating a new cloud server.
- Select Location: Choose a data center location for your instance closest to your target audience for optimal performance.
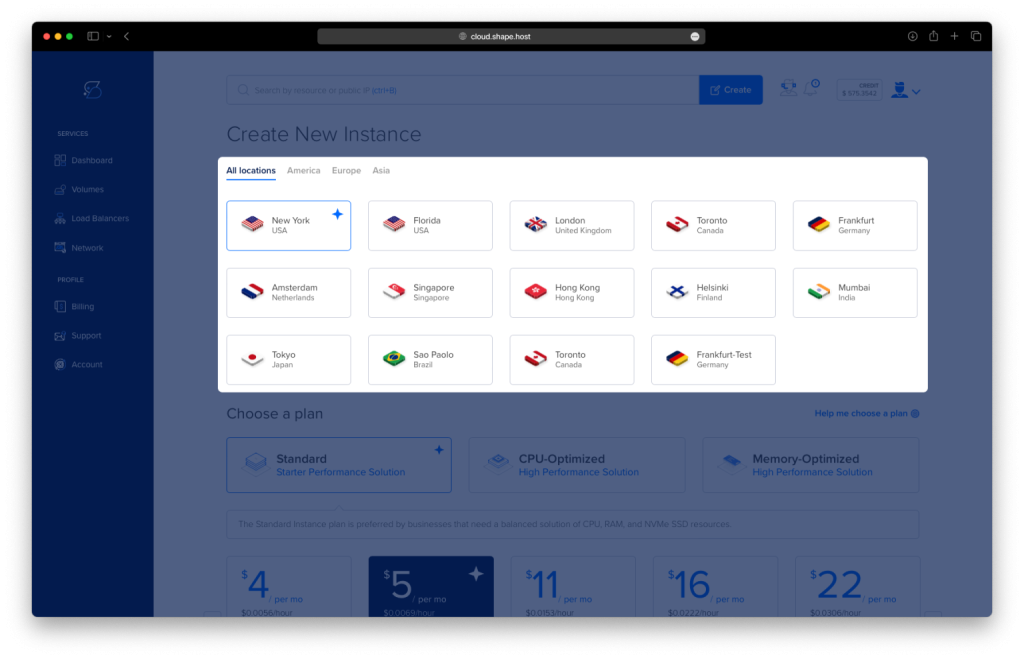
- Choose a Plan: Scroll through the available pricing plans. Select a plan based on your project requirements, such as Standard, CPU-Optimized, or Memory-Optimized.
- Choose an Image: Select Debian 12 as the operating system for your instance.

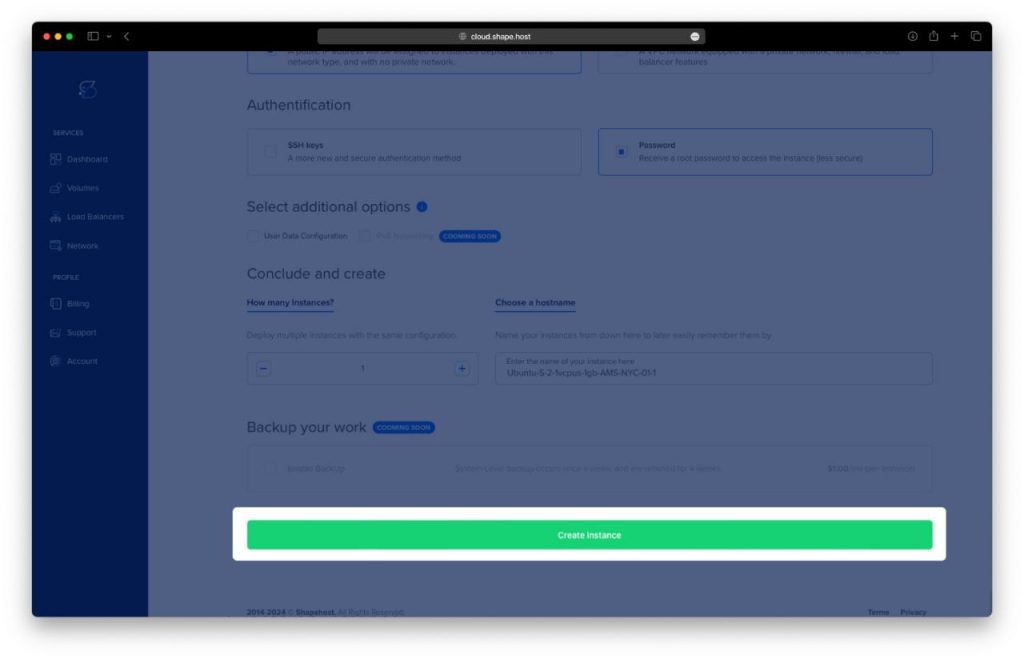
- Authentication and Finalize: Choose your authentication method, either via SSH keys or password. Once done, click Create Instance to launch your server.
Step 2: Access Your BookStack Instance
To connect to your instance on Shape.Host, follow these steps:
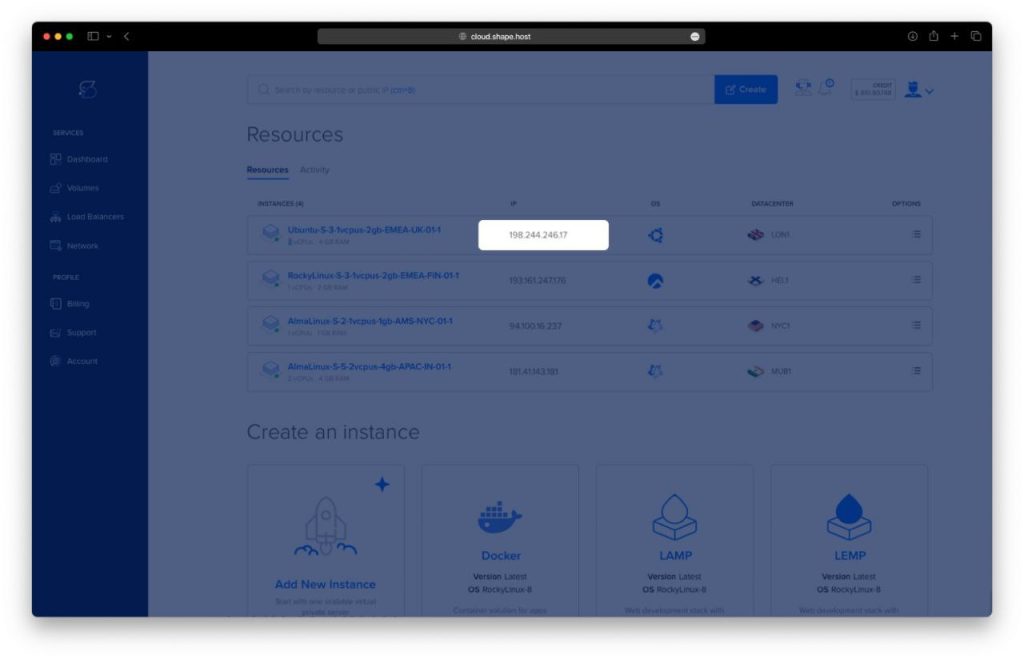
- Get the Instance IP: After creating your instance, find the public IP address in the Shape.Host dashboard under Resources.
- Open SSH Client: Use an SSH client like Terminal (Linux/macOS) or PuTTY (Windows).
- SSH into the Instance: Run the following command in your terminal:
ssh root@<your-instance-ip>Replace <your-instance-ip> with your actual instance IP address.
- Enter the Password: If prompted, enter your instance’s root password or use your SSH key if configured.
You are now connected to your instance!
Step 3: Update System Packages
Start by updating the system’s package index to ensure all software is up-to-date:
apt update -y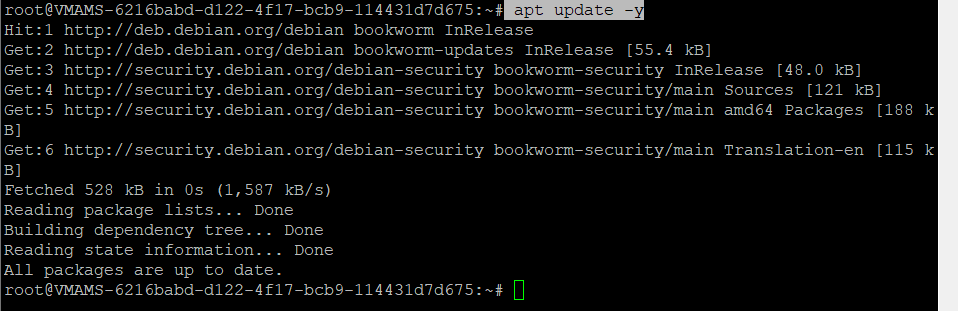
Step 4: Install Apache, MariaDB, PHP, Composer, and Other Required Packages
Install the required components for BookStack:
apt install apache2 mariadb-server composer curl php php-xml libapache2-mod-php php-fpm php-curl php-mbstring php-ldap php-tidy php-zip php-gd php-mysql git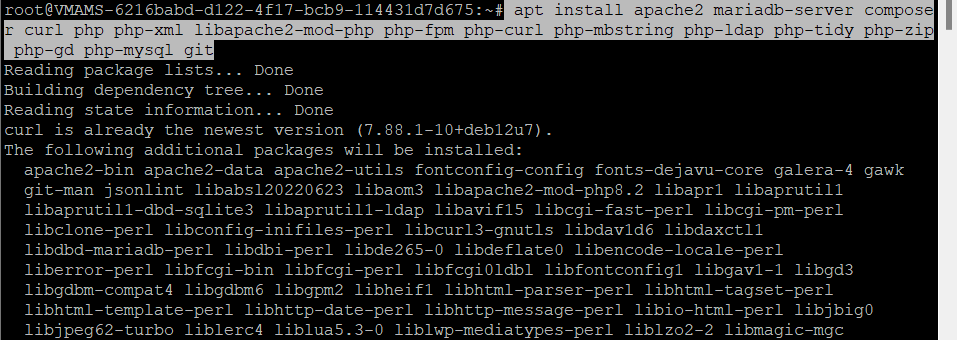
Step 5: Verify Apache and MariaDB
Ensure that Apache and MariaDB are enabled and running:
systemctl is-enabled apache2
systemctl status apache2
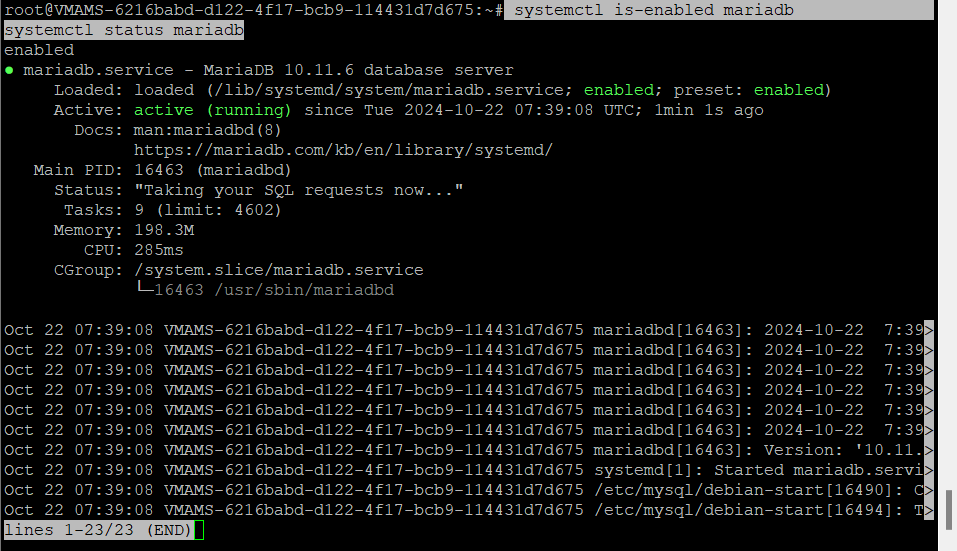
systemctl is-enabled mariadb
systemctl status mariadb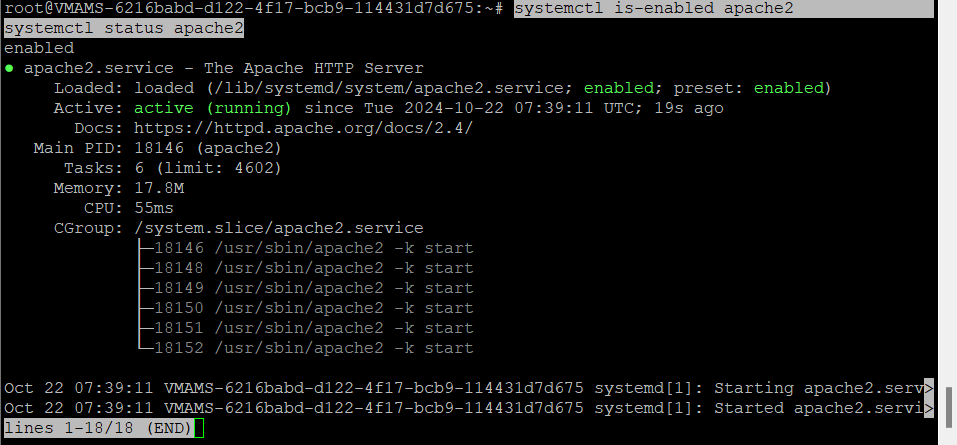
Step 6: Verify PHP Installation and Composer
Check the installed PHP version and modules:
php -v
php -m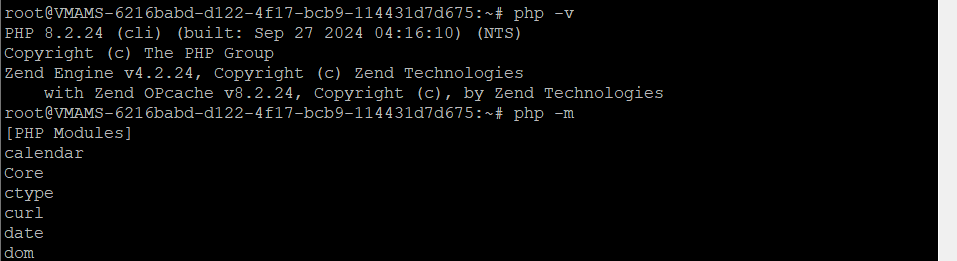
Verify Composer is installed:
which composer
sudo -u www-data composer -v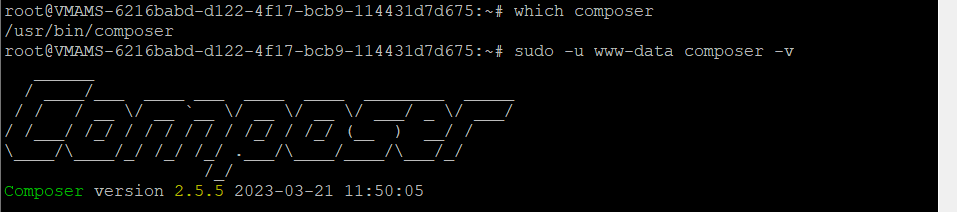
Step 7: Configure PHP
Edit the PHP configuration file to optimize it for BookStack:
nano /etc/php/8.2/apache2/php.iniYou can use the search function (CTRL + W in nano) to find it more quickly. To save your changes and exit nano, press CTRL + X, then Y, and Enter.
Make the following changes:
- Set
date.timezoneto your proper timezone (e.g.,date.timezone = Europe/Amsterdam) - Set
memory_limitto512M
Step 8: Restart Apache
Restart Apache to apply the changes:
systemctl restart apache2
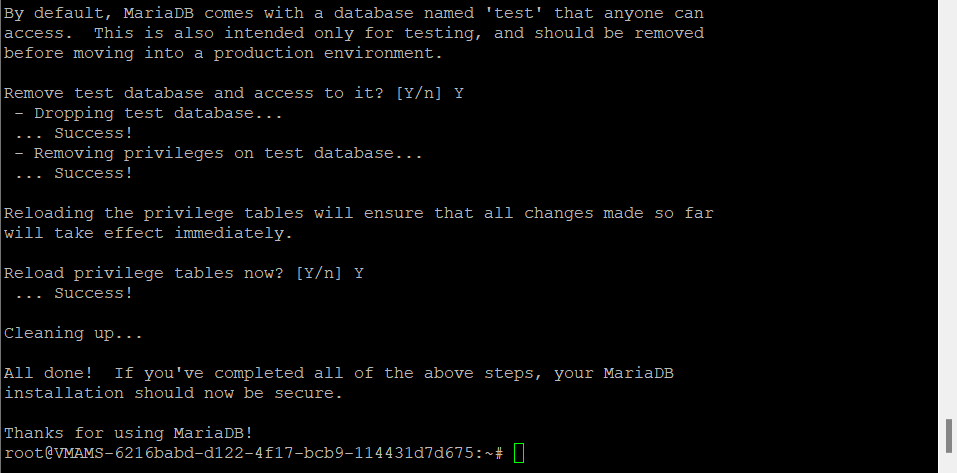
Step 9: Secure MariaDB Installation
Run the MariaDB secure installation script to set up your database:
mariadb-secure-installationFollow the prompts to secure your MariaDB installation.

Step 10: Create a Database for BookStack
Log in to the MariaDB server:
mariadb -u root -pRun the following SQL commands to create the database and user:
CREATE DATABASE bookstack;
CREATE USER 'bookstack'@'localhost' IDENTIFIED BY 'p4ssword';
GRANT ALL PRIVILEGES ON bookstack.* TO 'bookstack'@'localhost';
FLUSH PRIVILEGES;
Verify the privileges of the user:
SHOW GRANTS FOR 'bookstack'@'localhost';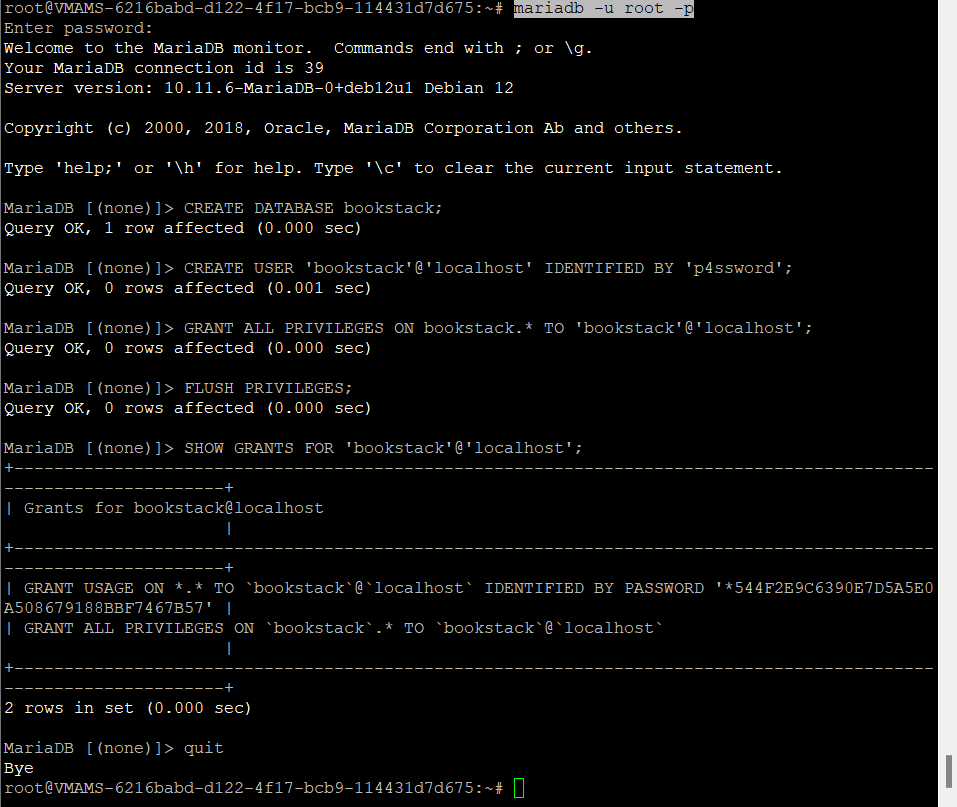
Step 11: Set Up BookStack
Create necessary directories for configuration:
mkdir -p /var/www/{.config,.cache}
chown -R www-data /var/www/{.config,.cache}
Navigate to the web directory and clone the BookStack repository:
cd /var/www
git clone https://github.com/BookStackApp/BookStack.git --branch release --single-branch bookstack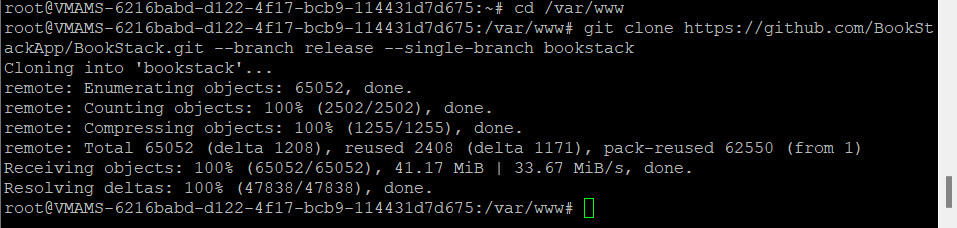
Set the correct ownership of the BookStack files:
chown -R www-data:www-data /var/www/bookstackNavigate to the BookStack directory:
cd /var/www/bookstack
Step 12: Configure Environment for BookStack
Copy the example environment file and edit it:
sudo -u www-data cp .env.example .env
sudo -u www-data nano .env
To save your changes and exit nano, press CTRL + X, then Y, and Enter.
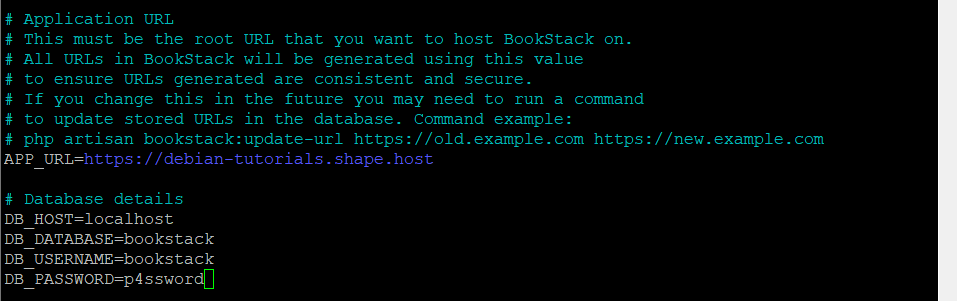
Make the following changes:
- Set
APP_URLto your domain name (e.g.,APP_URL=http://debian-tutorials.shape.host) - Update the database settings (
DB_DATABASE,DB_USERNAME,DB_PASSWORD) to match your MariaDB details
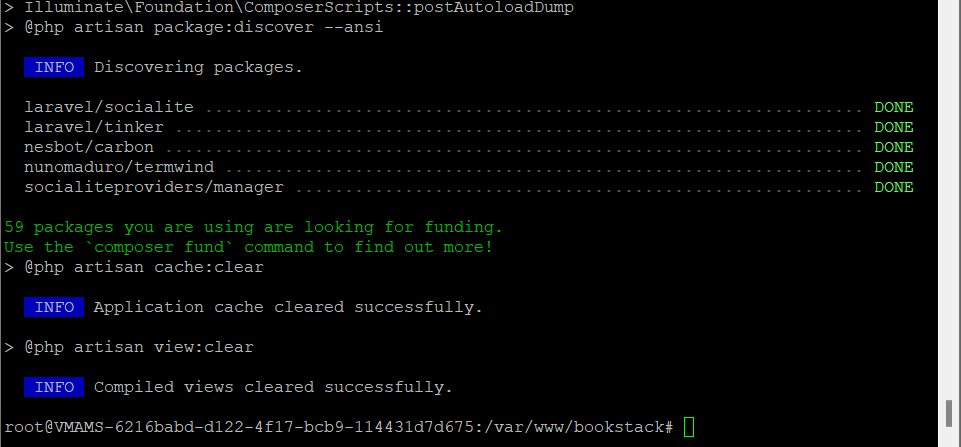
Step 13: Install BookStack Dependencies
Install BookStack dependencies using Composer:
sudo -u www-data composer install --no-dev --no-plugins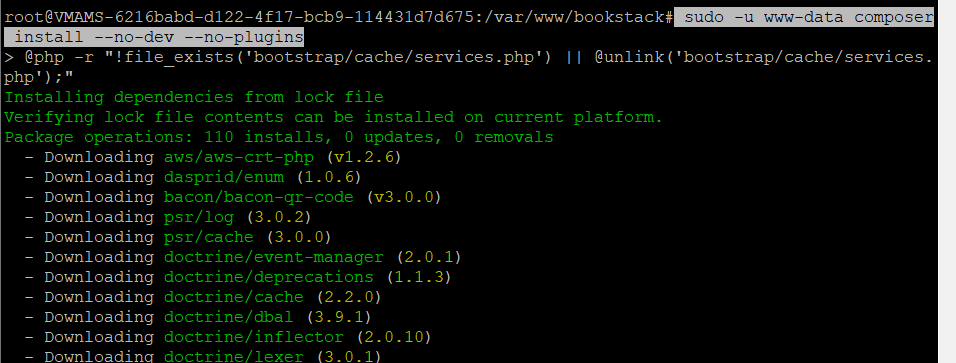
Generate the application key and migrate the database:
sudo -u www-data php artisan key:generate --no-interaction --force
sudo -u www-data php artisan migrate --no-interaction --force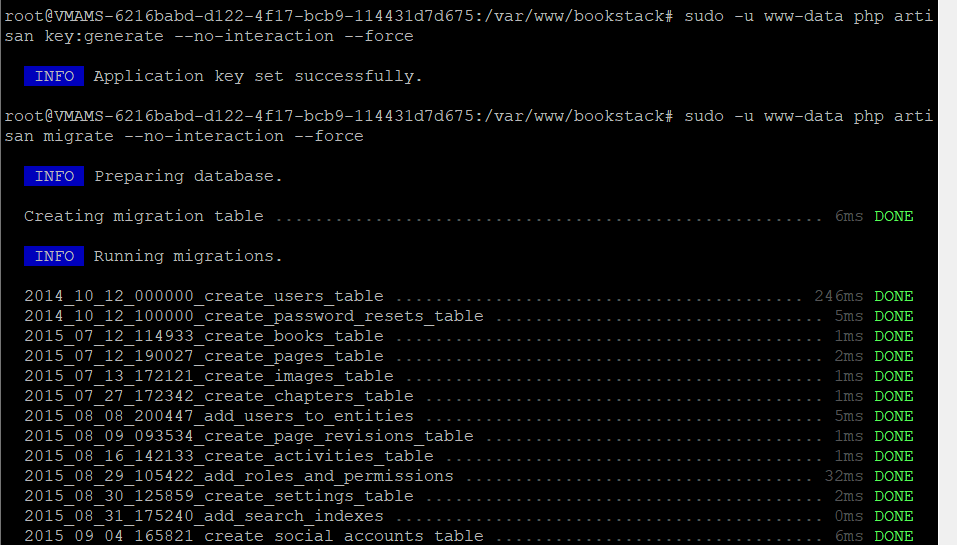
Set correct permissions for required directories:
chown www-data:www-data -R bootstrap/cache public/uploads storage
chmod u+rw bootstrap/cache public/uploads storage
chmod -R 640 /var/www/bookstack/.env

Step 14: Enable Apache Rewrite Module
Enable the Apache rewrite module:
a2enmod rewrite
Step 15: Configure Apache for BookStack
Create a new virtual host configuration for BookStack:
nano /etc/apache2/sites-available/bookstack.confTo save your changes and exit nano, press CTRL + X, then Y, and Enter.
Insert the following configuration, replacing ServerName with your domain name:
<VirtualHost *:80>
    ServerName debian-tutorials.shape.host
    ServerAdmin contact@shape.host
    DocumentRoot /var/www/bookstack/public/

    <Directory /var/www/bookstack/public/>
        Options Indexes FollowSymLinks
        AllowOverride None
        Require all granted
        <IfModule mod_rewrite.c>
            <IfModule mod_negotiation.c>
                Options -MultiViews -Indexes
            </IfModule>
            RewriteEngine On
            # Handle Authorization Header
            RewriteCond %{HTTP:Authorization} .
            RewriteRule .* - [E=HTTP_AUTHORIZATION:%{HTTP:Authorization}]
            # Redirect Trailing Slashes If Not A Folder...
            RewriteCond %{REQUEST_FILENAME} !-d
            RewriteCond %{REQUEST_URI} (.+)/$
            RewriteRule ^ %1 [L,R=301]
            # Handle Front Controller...
            RewriteCond %{REQUEST_FILENAME} !-d
            RewriteCond %{REQUEST_FILENAME} !-f
            RewriteRule ^ index.php [L]
        </IfModule>
    </Directory>

    ErrorLog ${APACHE_LOG_DIR}/bookstack-error.log
    CustomLog ${APACHE_LOG_DIR}/bookstack-access.log combined
</VirtualHost>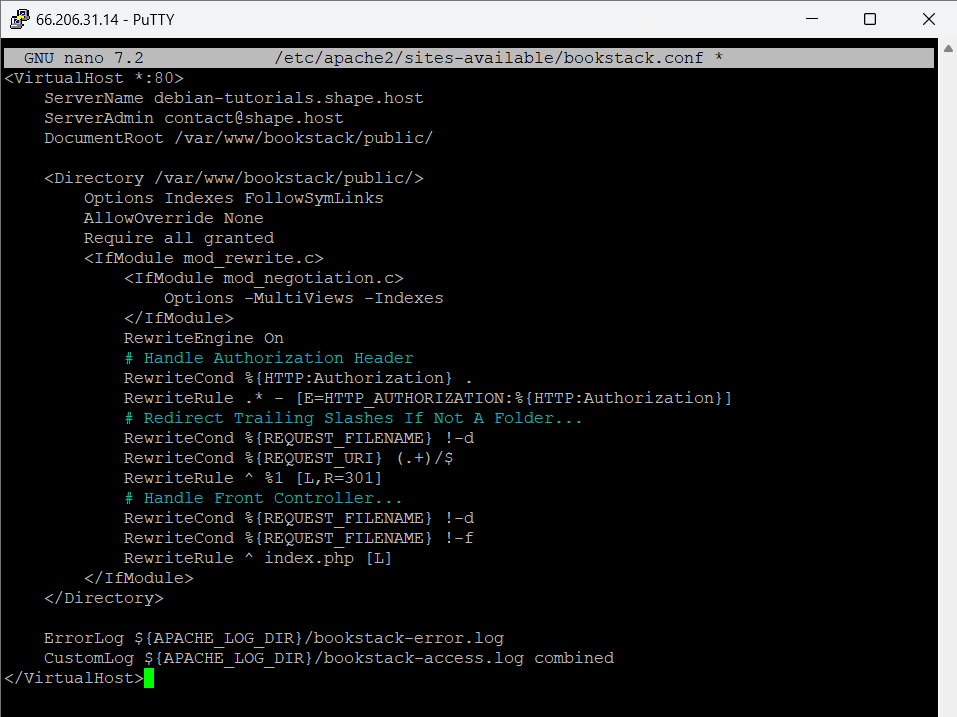
Enable the BookStack site and test Apache’s configuration:
a2ensite bookstack.conf
apachectl configtest
systemctl restart apache2
Step 16: Enable HTTPS with Let’s Encrypt
Install Certbot and enable HTTPS for your domain:
apt install certbot python3-certbot-apache
certbot --apache --agree-tos --redirect --hsts --staple-ocsp --email contact@shape.host -d debian-tutorials.shape.host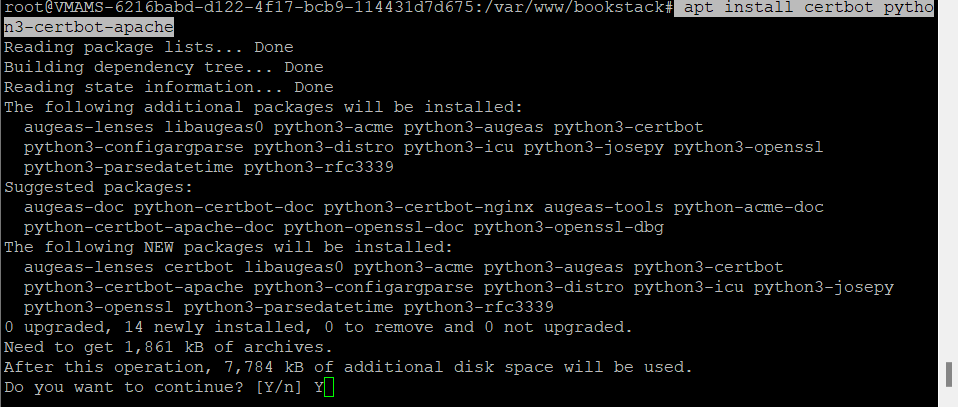

Step 17: Access BookStack
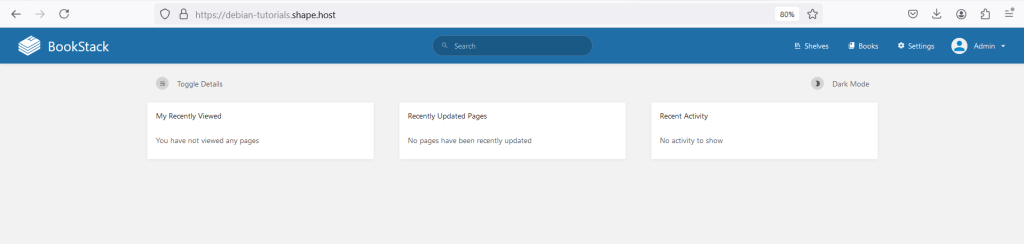
Launch your web browser and visit the domain name of your BookStack installation (e.g., https://debian-tutorials.shape.host/). You will be redirected to the BookStack login page.
Use the default email address (admin@admin.com) and password (password) to log in. Click Login.
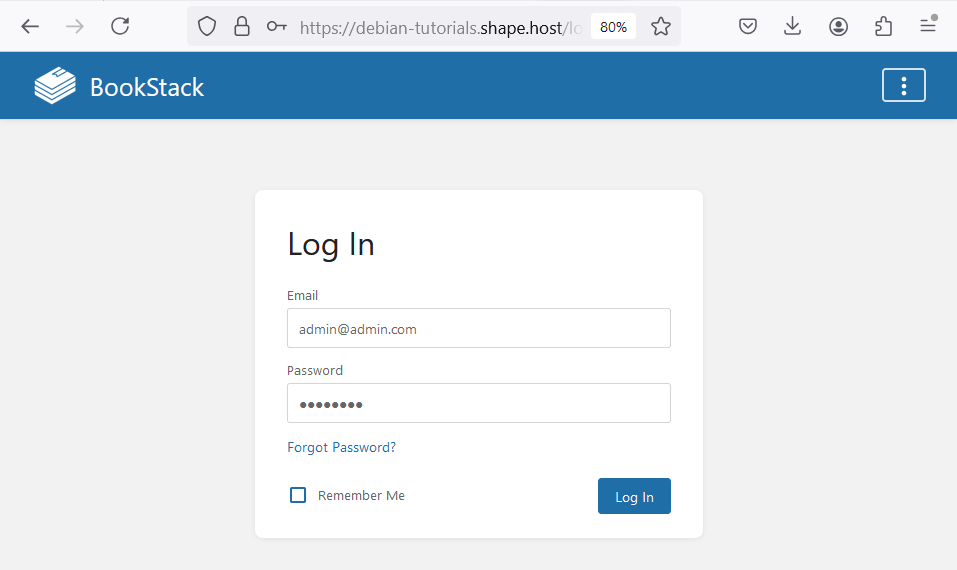
If successful, you should see the BookStack dashboard like the following:
This tutorial was made possible using Shape.Host services, specifically their Cloud VPS offering. Shape.Host provides reliable and scalable cloud hosting solutions that are ideal for hosting applications like BookStack. Check out their Cloud VPS plans to get started with your own instance today.