Django is a high-level Python web framework that encourages rapid development and clean, pragmatic design. This comprehensive guide will walk you through the steps to install Django and set up a development environment on Ubuntu 22.04 using the root user. Whether you are a newcomer or an experienced developer, this tutorial aims to make the process straightforward and easy to follow.
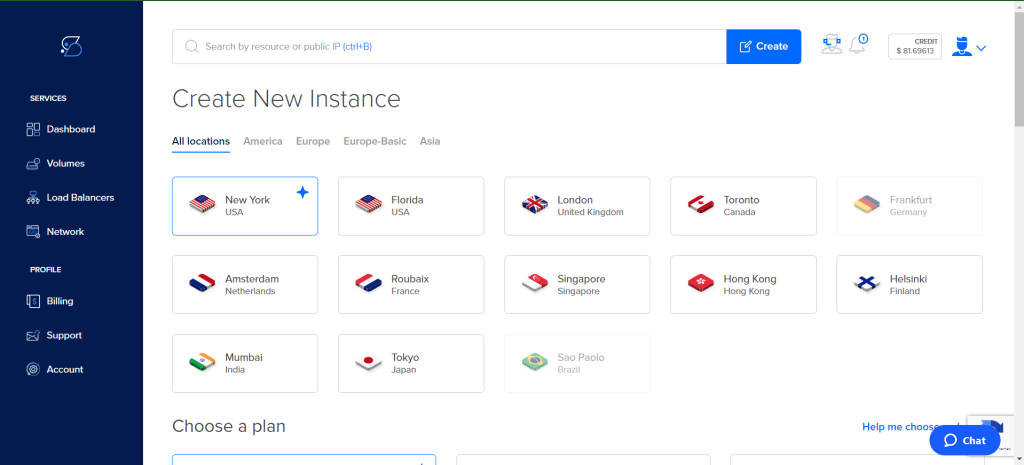
Step 1: Deploying a Cloud Instance on Shape.host
- Log in to Shape.host Dashboard:
- Navigate to the Shape.host website and log in to your account.
- Create a New Instance:
- Click on the “Create” button located at the top right corner of the dashboard.
- From the dropdown menu, select “Instances”.

- Select Instance Location:
- Choose the desired location for your server. For this tutorial, we’ll select “New York, USA”.
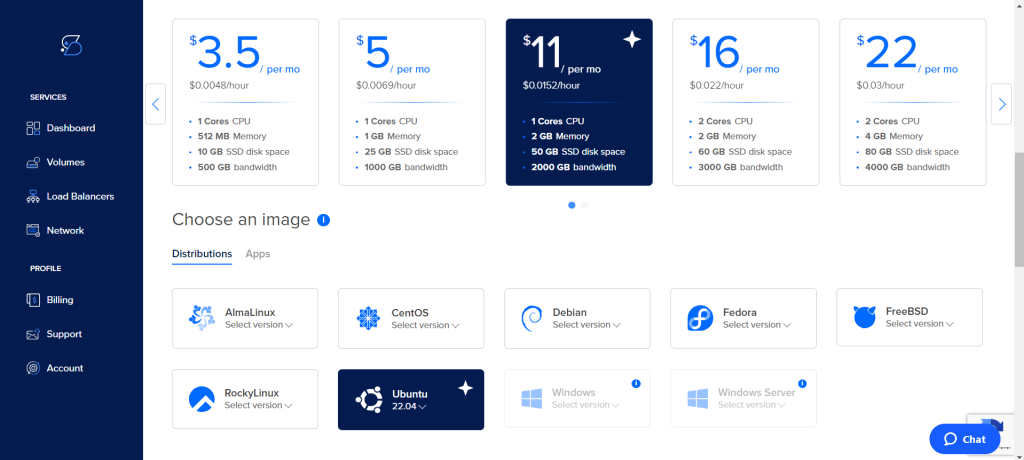
- Choose a Plan:
- Select a plan that fits your requirements. For example, you might choose a plan with 2 cores CPU, 2 GB Memory, and 50 GB SSD disk space.
- Select an Operating System:
- Scroll down to the “Choose an image” section and select “Ubuntu 22.04”.
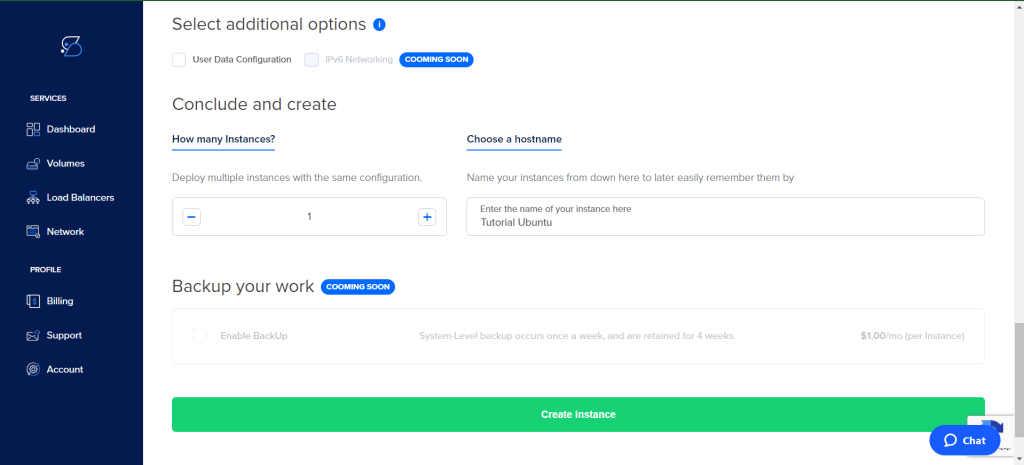
- Configure Additional Options:
- (Optional) You can configure additional options like User Data Configuration and IPv6 Networking.
- Enter a hostname for your instance, e.g., “Tutorial Ubuntu”.
- Click on the “Create instance” button to deploy the instance.
Step 2: Connecting to Your Instance
- Retrieve SSH Credentials:
- Note the IP address of your newly created instance from the Shape.host dashboard.
- Connect via SSH:
- Open a terminal on your local machine.
- Use the following command to connect to your instance:
ssh root@your_instance_ip - Replace
your_instance_ipwith the actual IP address of your instance.
Before starting, ensure you have:
- Ubuntu 22.04 Server: Access to a server with root privileges.
- Python 3: Installed by default on Ubuntu 22.04.
- Terminal Access: Ability to execute commands via terminal or SSH.
Step 3: Update and Upgrade Your System
First, ensure your system is up to date by running the following commands:
apt update
apt upgrade -y
This ensures that your server has the latest package information and security updates installed.
Step 4: Install Python and Pip
Python and pip (Python’s package installer) are essential for installing Django and other dependencies. They are usually pre-installed on Ubuntu 22.04, but it’s good to check and install them if necessary:
apt install python3 python3-pip -y
Verify the installation:
python3 --version
pip3 --version
Step 5: Install Virtualenv
Using a virtual environment is recommended to manage dependencies for different projects separately. Install virtualenv using pip:
pip3 install virtualenv
Step 6: Create a Project Directory
Create a directory for your Django project and navigate into it:
mkdir /root/my_django_project
cd /root/my_django_project
Step 7: Set Up a Virtual Environment
Create and activate a virtual environment within your project directory:
virtualenv venv
source venv/bin/activate

Your prompt should change to indicate that you are now working within the virtual environment.
Step 8: Install Django
With the virtual environment activated, install Django using pip:
pip install django
Verify the installation by checking the Django version:
django-admin --version
Step 9: Create a Django Project
Create a new Django project called myproject (you can name it anything you like):
django-admin startproject myproject
Navigate into the project directory:
cd myproject
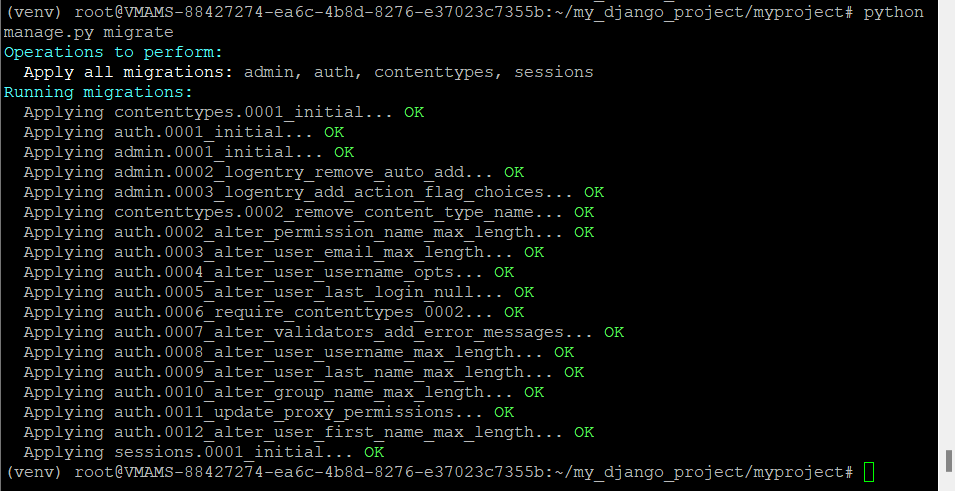
Step 10: Apply Migrations
Django uses migrations to set up your database schema. Apply migrations using the following command:
python manage.py migrate
Step 11: Create a Superuser
Create an administrative user to access the Django admin interface:
python manage.py createsuperuser

Follow the prompts to set a username, email, and password.
Step 12: Configure ALLOWED_HOSTS
To access your Django project from your browser, you need to configure the ALLOWED_HOSTS setting. Open the settings file:
nano myproject/settings.py
Find the ALLOWED_HOSTS line and update it to include your server’s IP address. For example:
ALLOWED_HOSTS = ['0.0.0.0']If you want to allow access from any IP address (useful for development purposes only), you can use:
ALLOWED_HOSTS = ['*']Save and close the file (in nano, press CTRL + X, then Y, and ENTER).
Step 13: Start the Development Server
Start the Django development server to ensure everything is set up correctly:
python manage.py runserver 0.0.0.0:8000
If you need to bind to your server’s specific IP address:
python manage.py runserver 0.0.0.0:8000Step 14: Accessing the Django Application
To access your Django application, open a web browser and navigate to:
http://0.0.0.0:8000You should see the default Django welcome page. To access the admin interface, go to:
http://0.0.0.0:8000/admin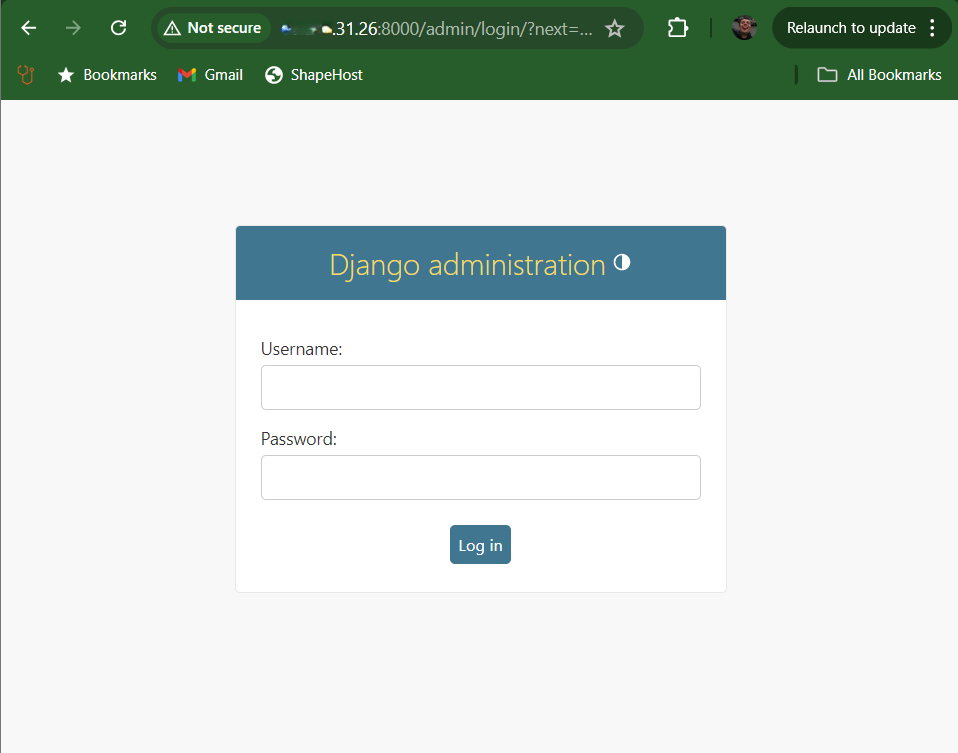
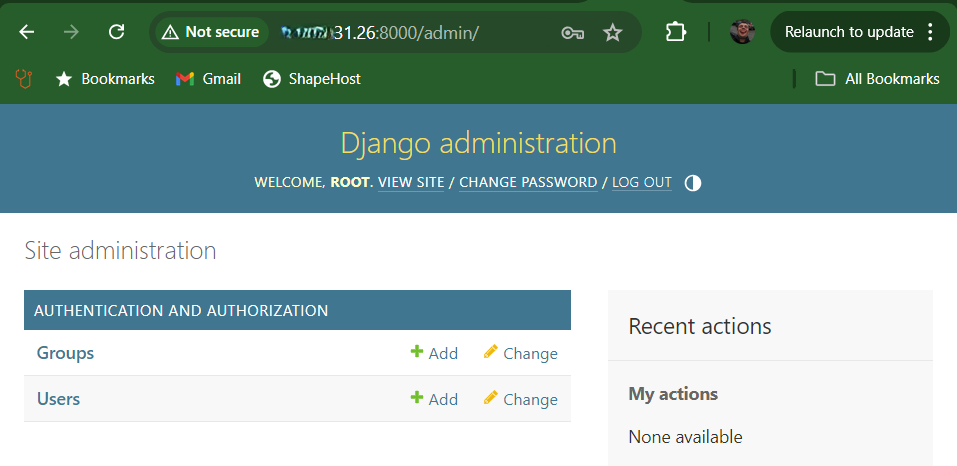
Log in with the superuser credentials you created earlier.
Step 15: Configuring Firewall (Optional)
If you have a firewall running, you need to allow traffic on port 8000:
ufw allow 8000For reliable and scalable hosting solutions, consider Shape.host’s Cloud VPS services. Shape.host offers robust Linux SSD VPS hosting that complements Django installations seamlessly. With Shape.host, you benefit from high-performance servers, flexible configurations, and excellent support to ensure your Django applications perform optimally.
By following this guide, you have successfully installed Django, set up a development environment, and configured your server to allow access to your Django project on your Ubuntu 22.04 server using root privileges. This setup provides a solid foundation for developing and deploying Django applications.