FossBilling is a robust, open-source billing and client management software designed to meet the needs of hosting providers and other online businesses. It provides a powerful and flexible platform for managing client accounts, invoicing, payments, and support tickets, making it an essential tool for businesses that require a reliable billing system.
In this tutorial, we will guide you through the process of installing FossBilling on a Rocky Linux 9 server using Nginx as the web server. You will also learn how to secure your FossBilling installation with a Let’s Encrypt SSL certificate, ensuring that all communications between your server and your clients are encrypted and secure. By the end of this tutorial, you will have a fully functional and secure billing system ready to be deployed for your business.
1. Prepare the Instance
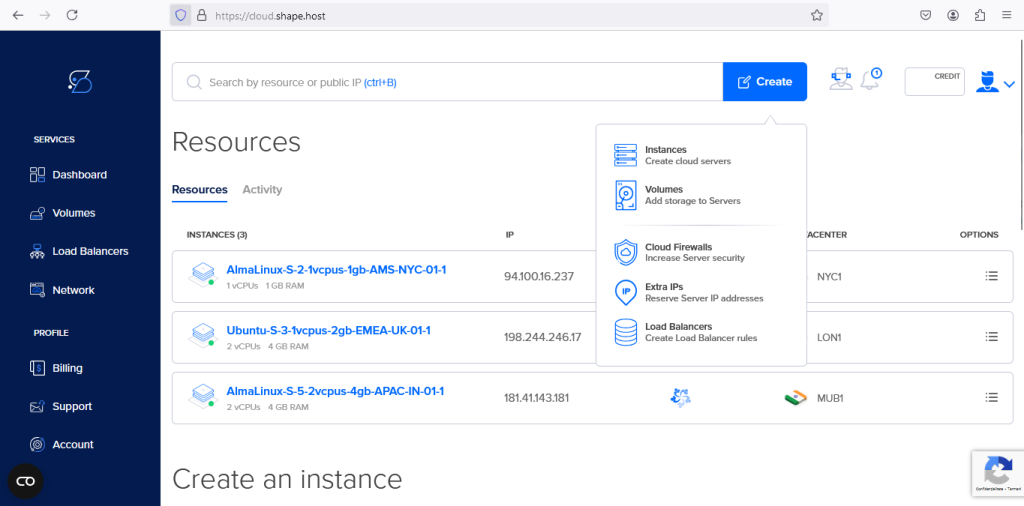
Access the Cloud Dashboard
Begin by logging into your cloud hosting account to access the main dashboard. From here, click on the “Create” button located in the top-right corner. A drop-down menu will appear; select “Instances” to initiate the process of creating a new cloud server instance.
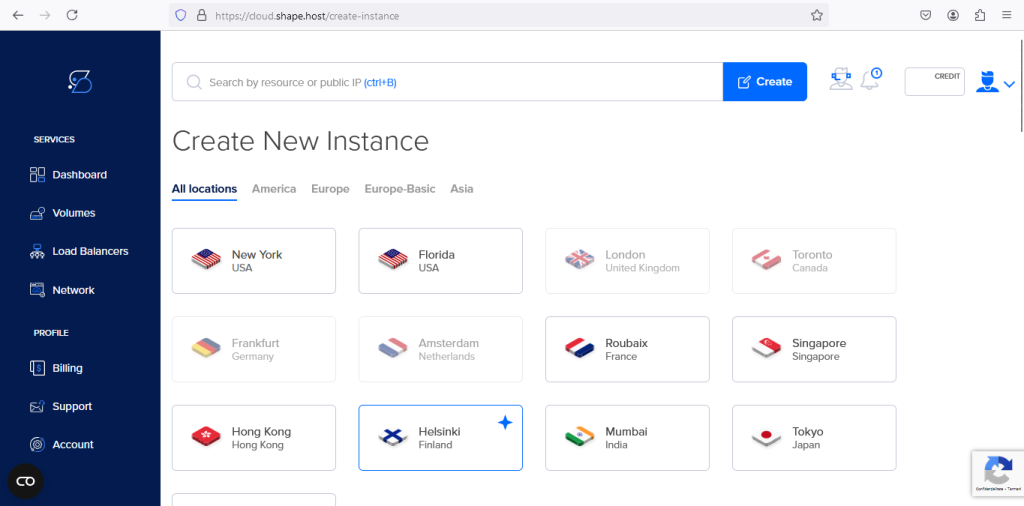
Select Data Center Location
You will be redirected to the “Create New Instance” page, where you can choose the data center location. Select a location that is closest to your target audience or best suits your needs. Available options include locations like New York, Amsterdam, Singapore, and Helsinki.
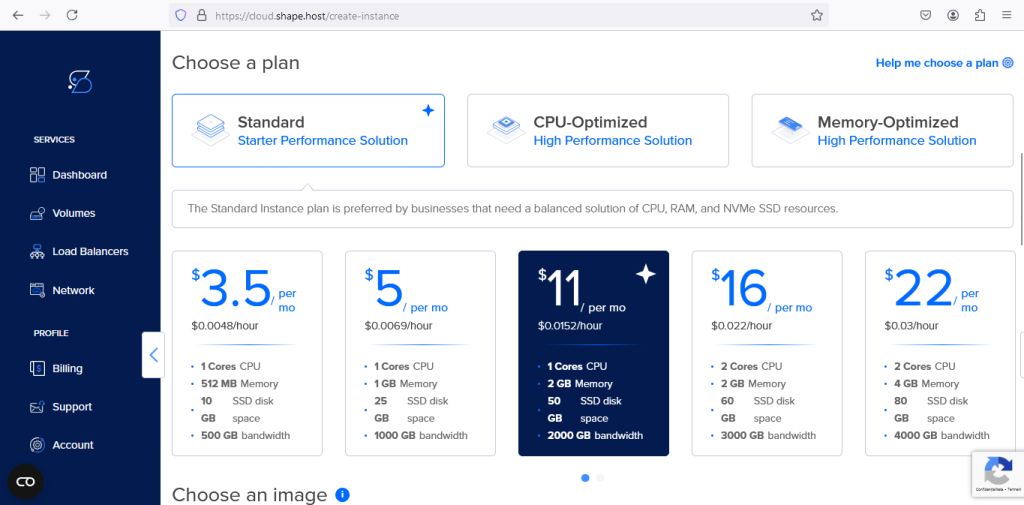
Choose a Plan and Operating System
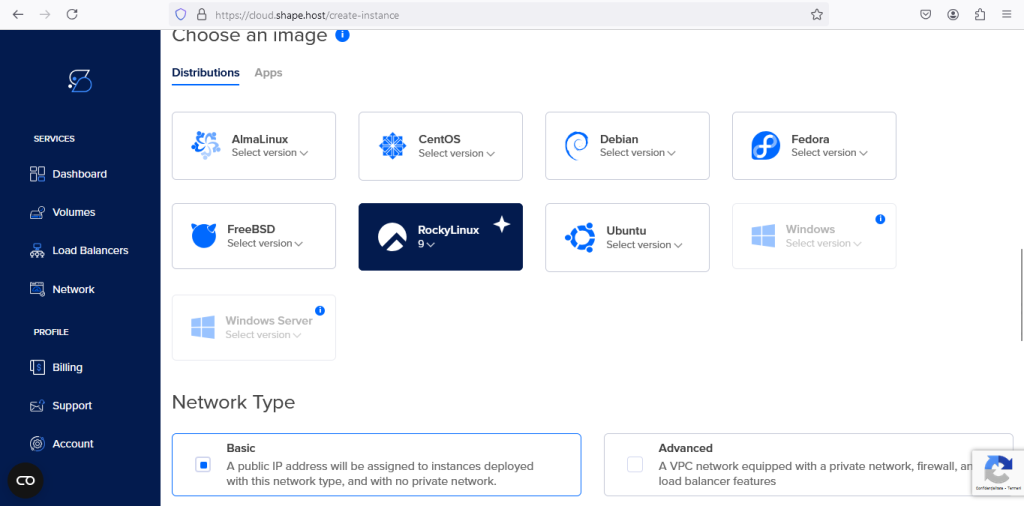
Next, select a hosting plan that matches your resource requirements. You can choose from options such as Standard, CPU-Optimized, or Memory-Optimized plans. For instance, you might select a plan with 2 Cores CPU, 4 GB Memory, and 80 GB SSD storage. After choosing a plan, scroll down to the “Choose an image” section and select “Rocky Linux 9” as the operating system.
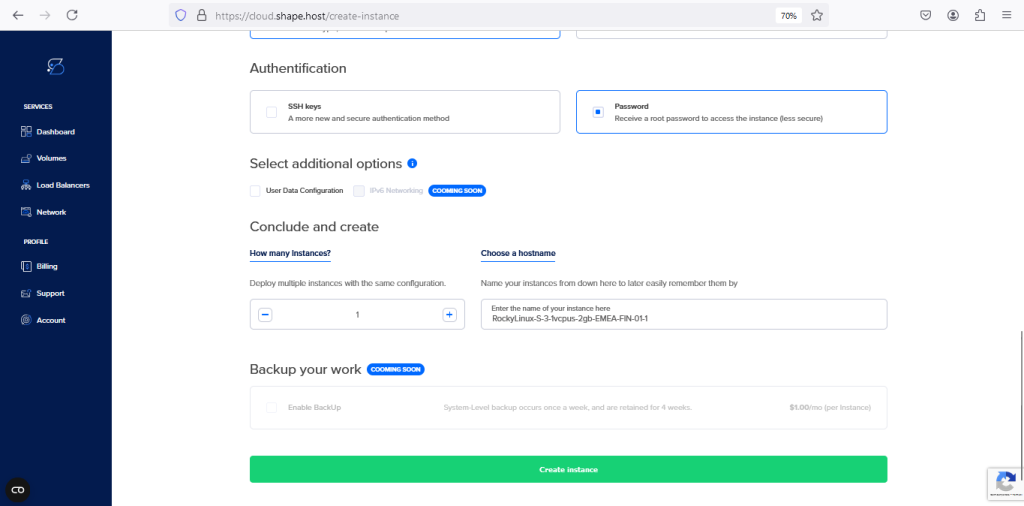
Configure Instance and Finalize Creation
In this step, you will configure additional options such as the number of instances, authentication method (SSH keys or password), and hostname. Once you’ve configured these settings, click on the “Create instance” button at the bottom of the page to finalize the creation of your server instance.
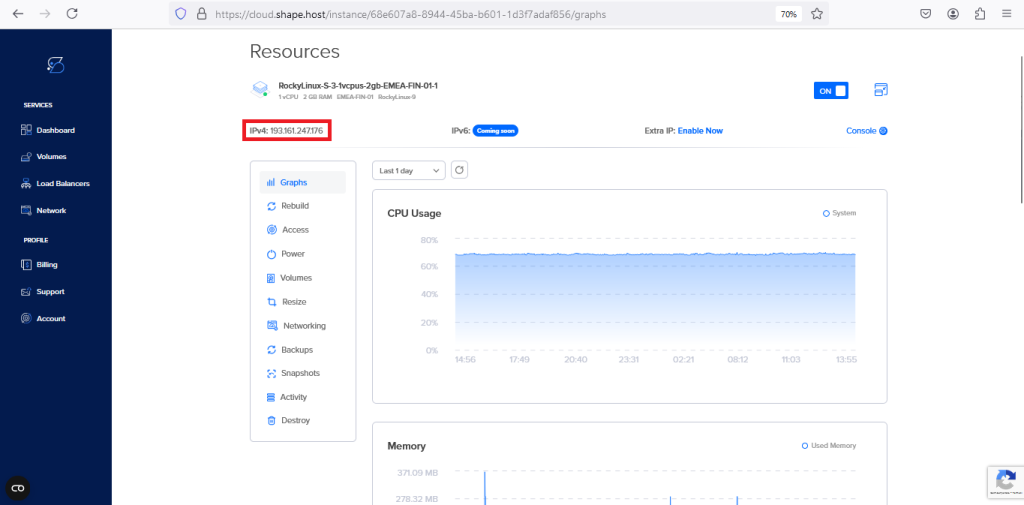
Find the IP Address of Your Instance
After your instance has been successfully created, navigate back to the dashboard to locate the IP address of your new server. This IP address will be crucial for connecting to your server via SSH and proceeding with the installation of FossBilling.
Connect to Your Instance:
Use SSH to connect to your server instance with the provided IP address. Log in as the root user for initial setup.
ssh root@your-server-ip2. Install Nginx
First, install the Extra Packages for Enterprise Linux (EPEL) repository, which contains additional software packages, including Nginx:
dnf install epel-release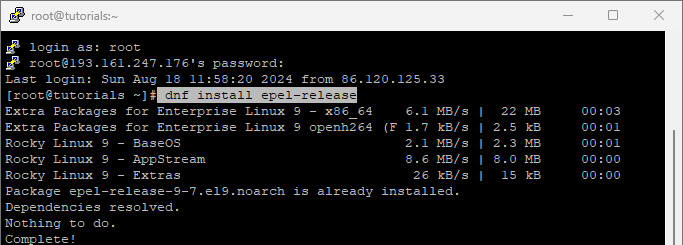
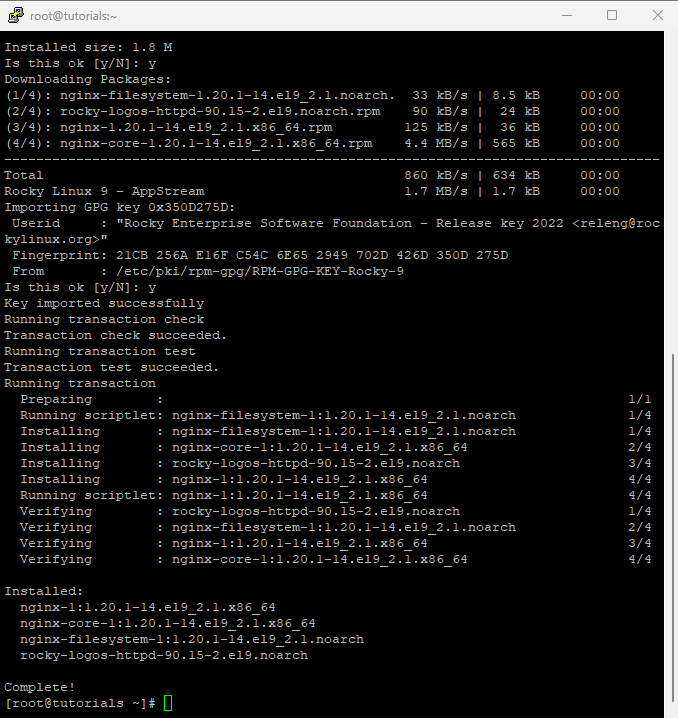
Next, install Nginx using the following command:
dnf install nginx
3. Start and Enable Nginx
Start the Nginx service and enable it to start on boot:
systemctl start nginx
systemctl enable nginx
Check the status of Nginx to ensure it’s running correctly:
systemctl status nginx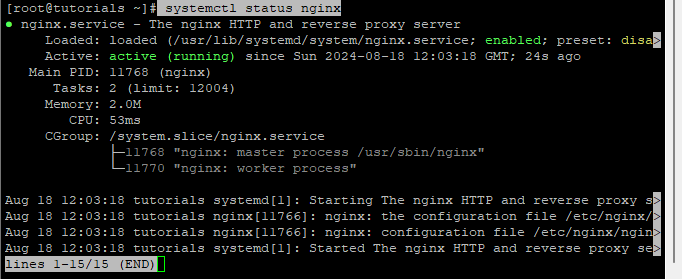
4. Configure the Firewall
Allow HTTP and HTTPS traffic through the firewall:
Start and enable the firewall service:
systemctl unmask firewalld
systemctl start firewalld
firewall-cmd --add-service={http,https} --permanent

Reload the firewall to apply the changes:
Verify the firewall settings:
firewall-cmd --reload
firewall-cmd --list-all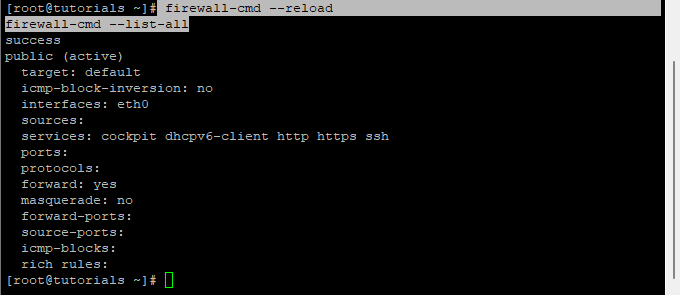
5. Install and Configure MariaDB
Install MariaDB server:
dnf install mariadb-server
Start and enable the MariaDB service:
systemctl start mariadb
systemctl enable mariadb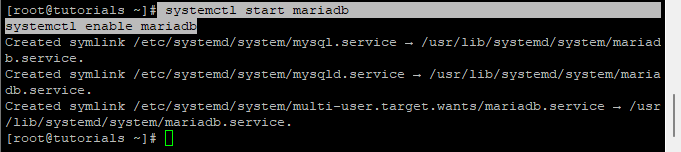
Check the status of MariaDB to ensure it’s running:
systemctl status mariadb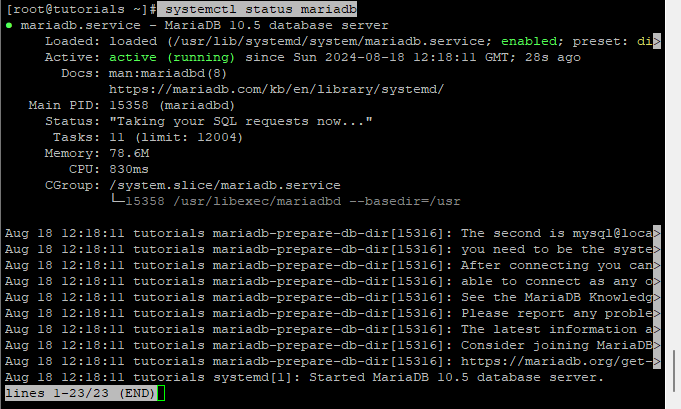
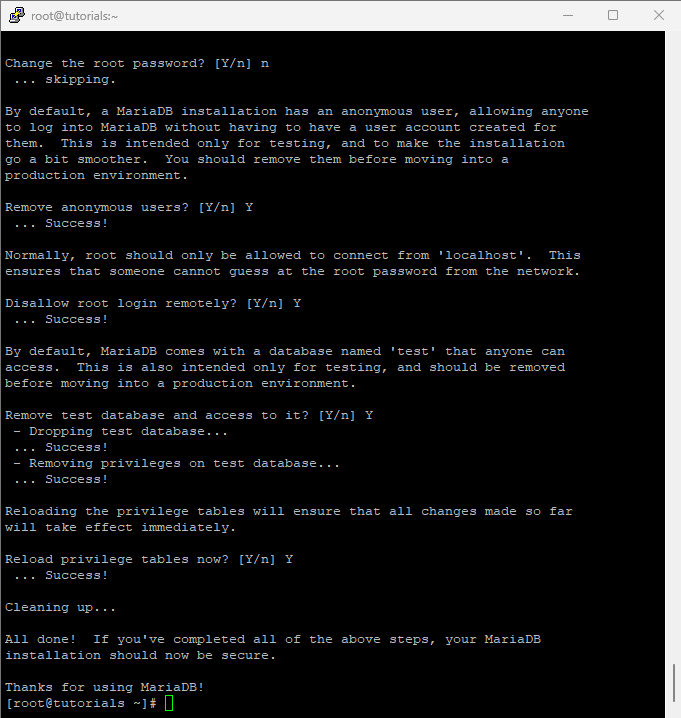
Secure your MariaDB installation by running the following command:
mariadb-secure-installation
Log in to MariaDB as the root user to configure your database:
mariadb -u root -pCREATE DATABASE fossbillingdb;
CREATE USER 'fossbilling'@'localhost' IDENTIFIED BY 'password';
GRANT ALL ON fossbillingdb.* TO 'fossbilling'@'localhost'
WITH GRANT OPTION; FLUSH PRIVILEGES;
SHOW GRANTS FOR 'fossbilling'@'localhost';
QUIT;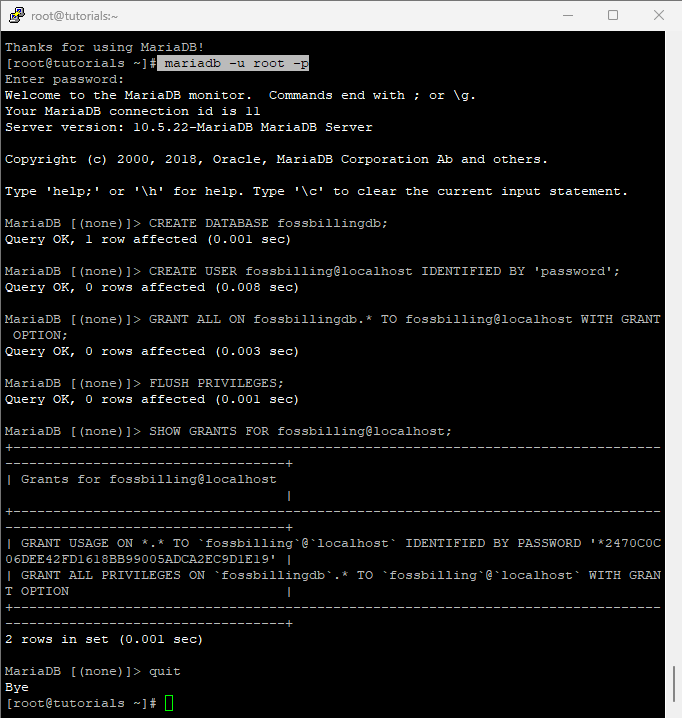
6. Install and Configure PHP
Add the Remi repository to install PHP 8.2:
dnf install dnf-utils http://rpms.remirepo.net/enterprise/remi-release-9.rpm

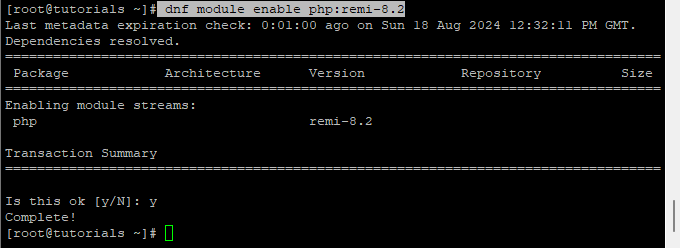
Reset and enable the PHP module to use PHP 8.2:
dnf module reset php
dnf module enable php:remi-8.2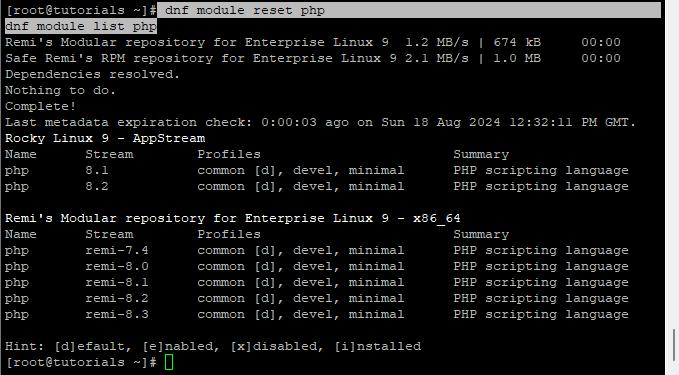
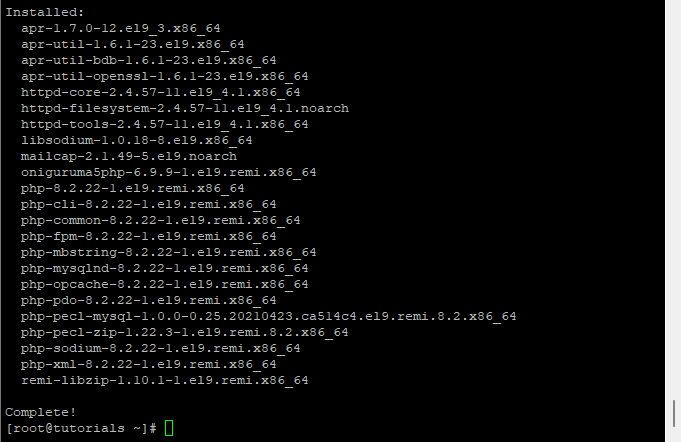
Install PHP and the required PHP extensions:
dnf install php php-fpm php-mysql php-curl php-cli php-zip php-common php-mbstring php-xml
7. Adjust PHP Configuration
Edit the PHP configuration file to set the appropriate values:
nano /etc/php.ini
Change the following lines to match these values:
upload_max_filesize = 16M
post_max_size = 32M
memory_limit = 256M
max_execution_time = 600
max_input_vars = 3000
max_input_time = 1000
8. Configure PHP-FPM
Edit the PHP-FPM configuration file to set the correct user and group:
nano /etc/php-fpm.d/www.conf
Change the following lines:
user = nginx
group = nginx
9. Start and Enable PHP-FPM
Start and enable PHP-FPM to work with Nginx:
systemctl start php-fpm
systemctl enable php-fpm
Check the status of PHP-FPM to ensure it’s running:
systemctl status php-fpm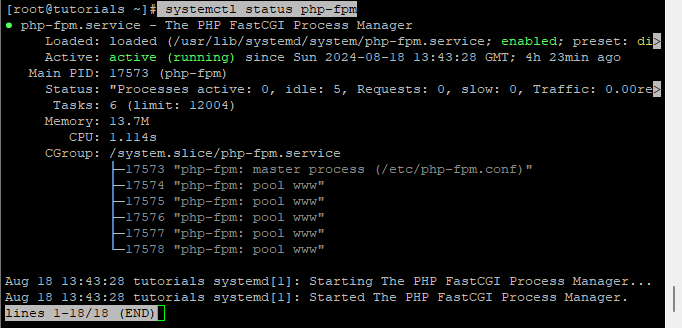
10. Verify PHP Installation
Check the installed PHP version:
List all installed PHP modules:
php --version
php -m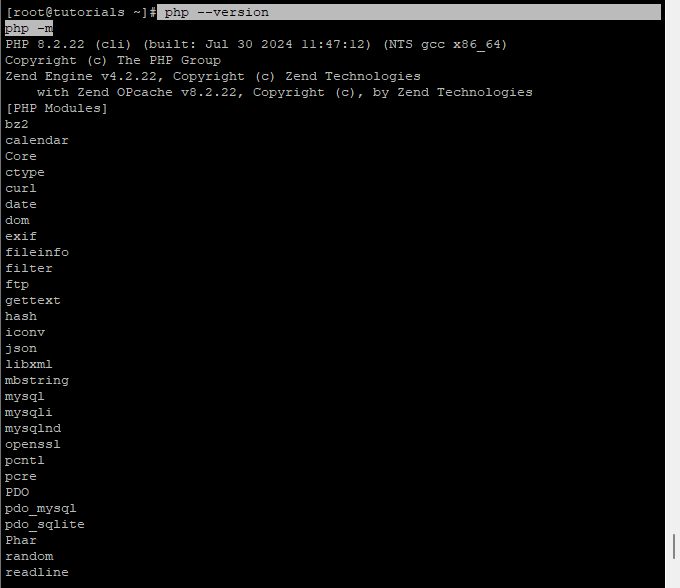
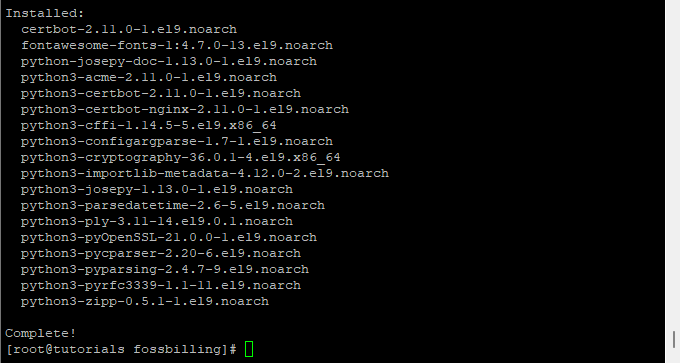
11. Download and Install FossBilling
Install unzip if not already installed:
dnf install unzip -y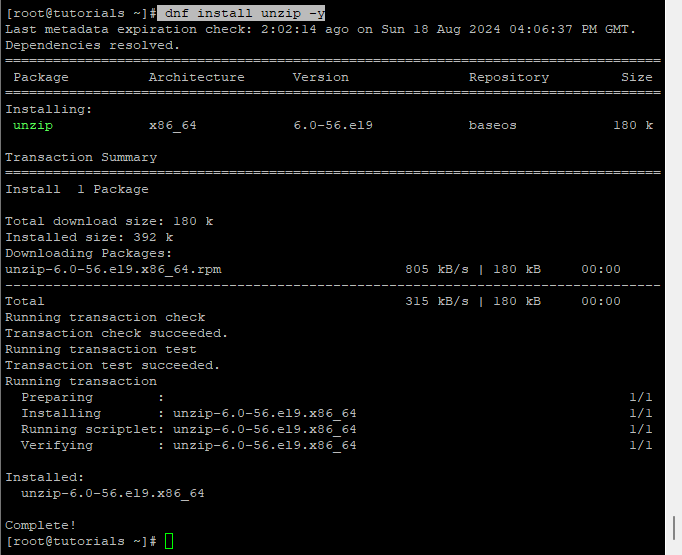
Create a directory for FossBilling and navigate into it:
Download the latest stable version of FossBilling:
mkdir -p /var/www/fossbilling; cd /var/www/fossbilling
curl https://fossbilling.org/downloads/stable -L --output FOSSBilling.zip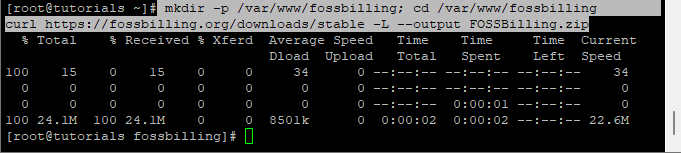
Unzip the downloaded file:
Set the appropriate ownership for the FossBilling files:
unzip FOSSBilling.zip
chown -R nginx:nginx /var/www/fossbilling
12. Configure Nginx for FossBilling
Create a new Nginx configuration file for FossBilling:
nano /etc/nginx/conf.d/fossbilling.conf
Add the following configuration:
server {
    listen 80;

    set $root_path '/var/www/fossbilling';
    server_name example.com;

    index index.html index.htm index.php;
    root $root_path;
    try_files $uri $uri/ @rewrite;
    sendfile off;

    include /etc/nginx/mime.types;

    # Block access to sensitive files and return 404 to make it indistinguishable from a missing file
    location ~* .(ini|sh|inc|bak|twig|sql)$ {
        return 404;
    }

    # Block access to hidden files except for .well-known
    location ~ /\.(?!well-known\/) {
        return 404;
    }

    # Disable PHP execution in /uploads
    location ~* /uploads/.*\.php$ {
        return 404;
    }

    # Deny access to /data
    location ~* /data/ {
        return 404;
    }

    location @rewrite {
        rewrite ^/page/(.*)$ /index.php?_url=/custompages/$1;
        rewrite ^/(.*)$ /index.php?_url=/$1;
    }

    location ~ \.php {
        fastcgi_split_path_info ^(.+\.php)(/.+)$;

        fastcgi_pass unix:/run/php-fpm/www.sock;

        fastcgi_param PATH_INFO       $fastcgi_path_info;
        fastcgi_param SCRIPT_FILENAME $document_root$fastcgi_script_name;
        fastcgi_intercept_errors on;

        include fastcgi_params;
    }

    location ~* ^/(css|img|js|flv|swf|download)/(.+)$ {
        root $root_path;
        expires off;
    }
}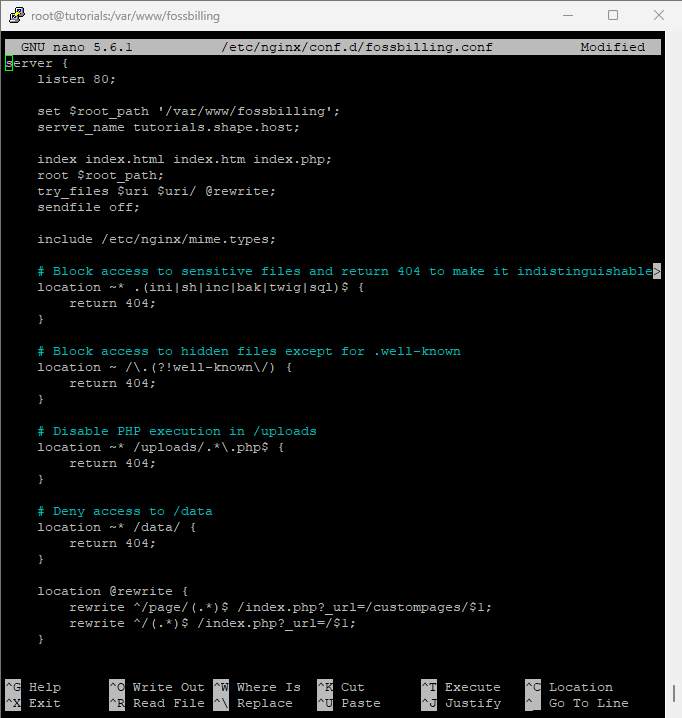
Replace example.com with your actual domain name.
13. Test and Restart Nginx
Test the Nginx configuration to ensure there are no syntax errors:
Restart Nginx to apply the changes:
nginx -t
systemctl restart nginx
14. Secure FossBilling with Let’s Encrypt SSL
Install Certbot and the Nginx plugin:
dnf install certbot python3-certbot-nginx
Obtain and install a Let’s Encrypt SSL certificate for your domain:
certbot --nginx --agree-tos --redirect --hsts --staple-ocsp --email contact@shape.host -d tutorials.shape.host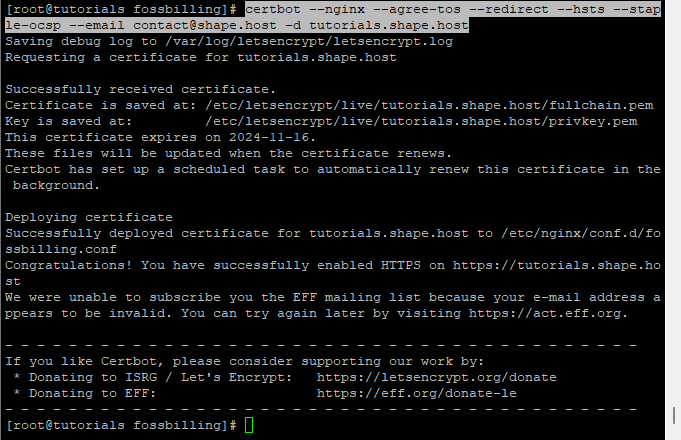
Replace tutorials.shape.host with your actual domain name.
15. Access FossBilling from the Web
After the SSL certificate is successfully installed, you can access FossBilling through a web browser. Open your browser and navigate to https://yourdomain.com (replace `yourdomain.com` with your actual domain). You should see the FossBilling installation page, where you can follow the on-screen instructions to complete the setup.
16. Setting Up FossBilling from the Web Interface
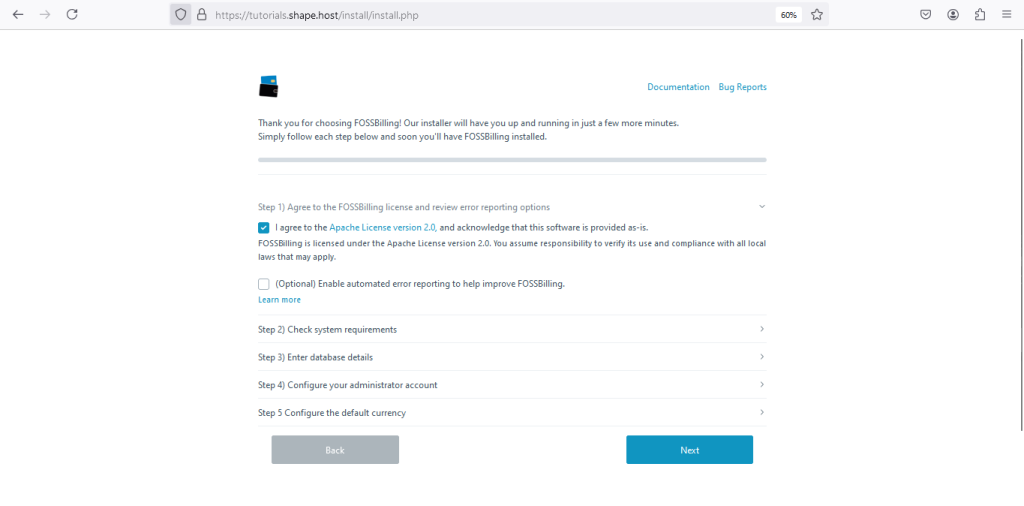
Step 1: Agree to the FossBilling License and Error Reporting Options
Navigate to https://yourdomain.com/install/install.php in your web browser (replace yourdomain.com with your actual domain). The first step of the FossBilling setup process is to agree to the license terms. Check the box next to “I agree to the Apache License version 2.0” to accept the terms. Additionally, you can opt to enable automated error reporting to help improve FossBilling. Once you’ve made your selections, click on the “Next” button to proceed.
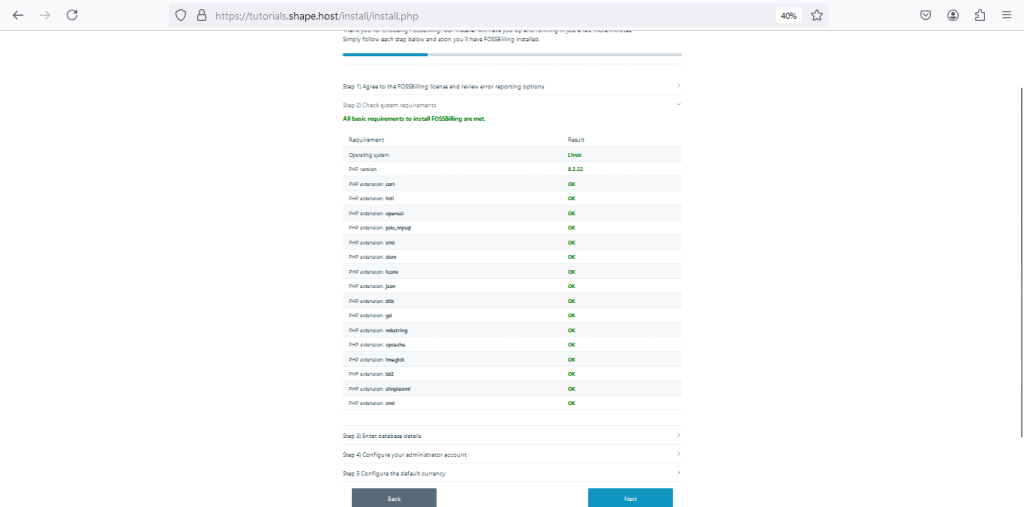
Step 2: Check System Requirements
In the next step, FossBilling will automatically check your server to ensure it meets all the necessary system requirements. This includes checking for the correct PHP version and required PHP extensions. If all requirements are met, you will see “OK” next to each item. Click “Next” to continue.
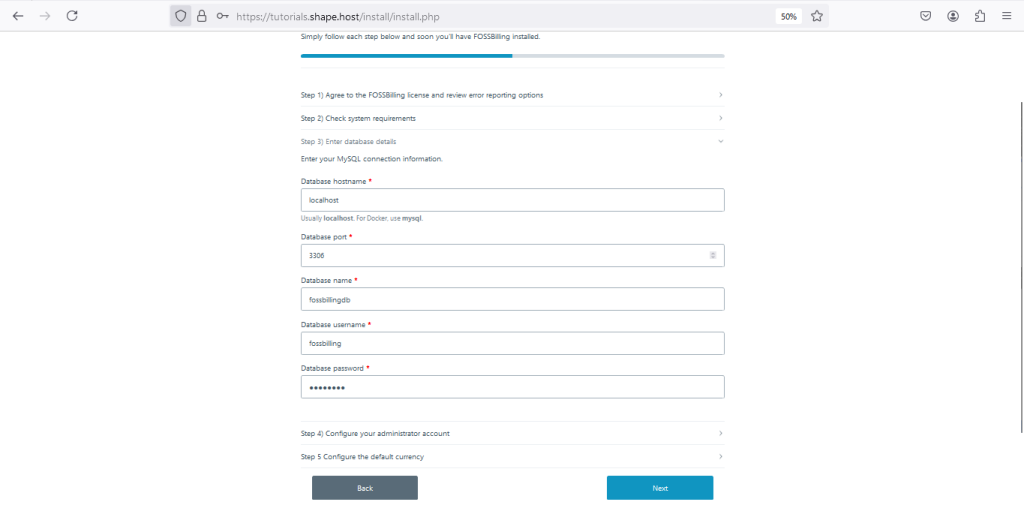
Step 3: Enter Database Details
Now, you’ll need to configure the database connection for FossBilling. Enter the following details:
- Database hostname:
localhost - Database port:
3306(the default MySQL port) - Database name:
fossbillingdb(or the name you chose when setting up the database) - Database username:
fossbilling - Database password: The password you set for the FossBilling database user
After entering these details, click “Next” to move on to the next step.
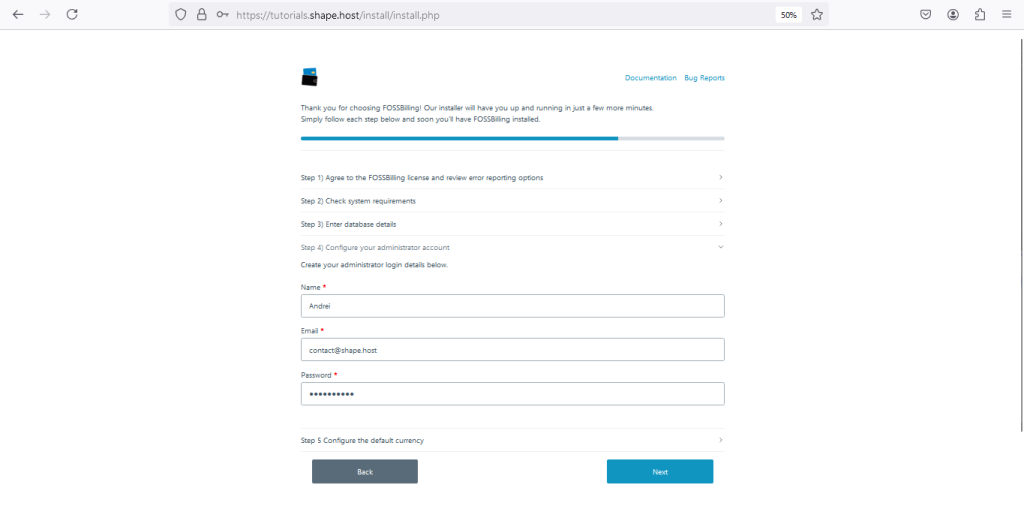
Step 4: Configure Your Administrator Account
Next, you will create the administrator account for your FossBilling installation. Fill in the following fields:
- Name: Your preferred admin name
- Email: Your email address (e.g.,
contact@shape.host) - Password: A strong password for your admin account
Once you’ve filled in these details, click “Next.”
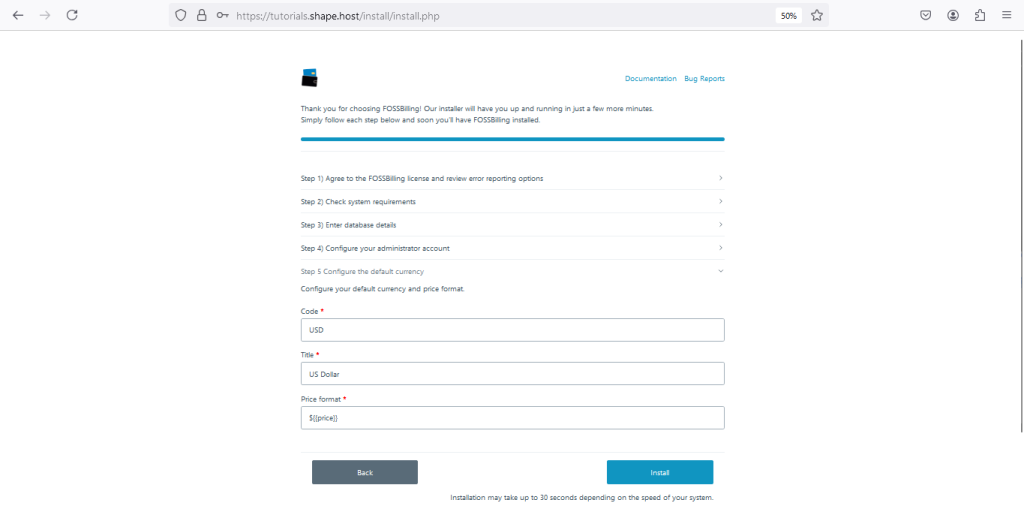
Step 5: Configure the Default Currency
In this step, you’ll set the default currency for your FossBilling installation. Enter the following information:
- Code:
USD(or the currency code you prefer) - Title:
US Dollar(or the name of your currency) - Price format:
${{price}}(the format in which prices will be displayed)
After configuring the currency settings, click “Install” to finalize the setup.
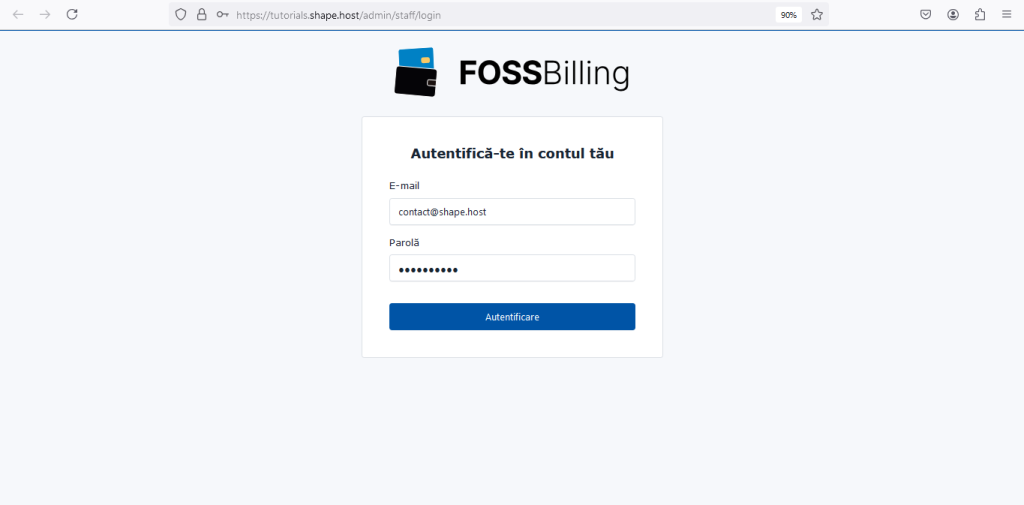
Final Step: Log in to the FossBilling Admin Panel
Once the installation is complete, you will be redirected to the FossBilling admin login page. Enter the email and password you configured in Step 4, and click “Authenticate” to log in.
You will be taken to the FossBilling admin dashboard, where you can start managing clients, orders, invoices, and more.

By following this guide, you have successfully installed FossBilling with Nginx on your Rocky Linux 9 server and secured it with a Let’s Encrypt SSL certificate. This setup ensures that your billing system is both functional and secure. If you’re looking for reliable cloud hosting services, consider using Shape.host’s Linux SSD VPS offerings to further enhance your server management experience.