Version control systems like Git are indispensable for modern software development. They allow you to keep track of changes, revert to previous versions, and create branches for alternate versions of files and directories. This guide will walk you through the process of installing and configuring Git on an Ubuntu 22.04 server using two methods: the built-in package manager and compiling from source. Each method has its own advantages, depending on your specific needs.
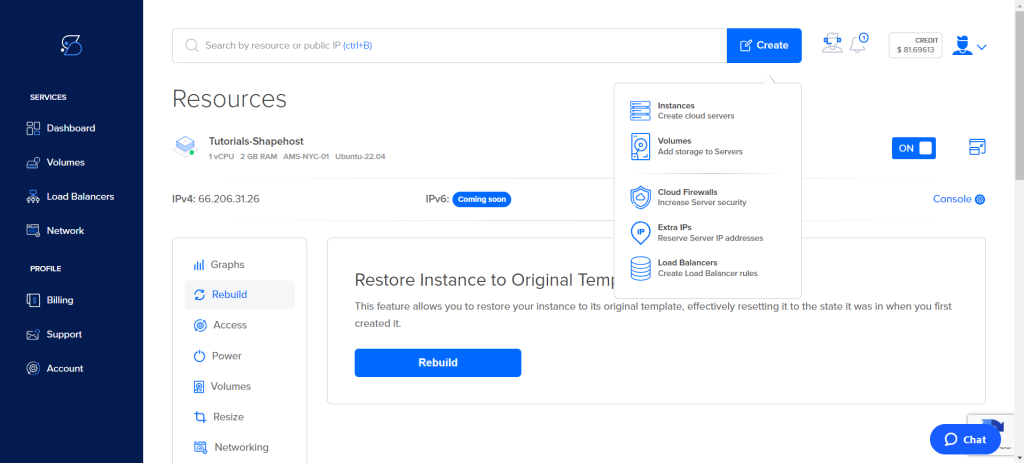
Step 1: Deploying a Cloud Instance on Shape.host
- Log in to Shape.host Dashboard:
- Navigate to the Shape.host website and log in to your account.
- Create a New Instance:
- Click on the “Create” button located at the top right corner of the dashboard.
- From the dropdown menu, select “Instances”.
- Select Instance Location:
- Choose the desired location for your server. For this tutorial, we’ll select “New York, USA”.

- Choose a Plan:
- Select a plan that fits your requirements. For example, you might choose a plan with 2 cores CPU, 2 GB Memory, and 50 GB SSD disk space.
- Select an Operating System:
- Scroll down to the “Choose an image” section and select “Ubuntu 22.04”.

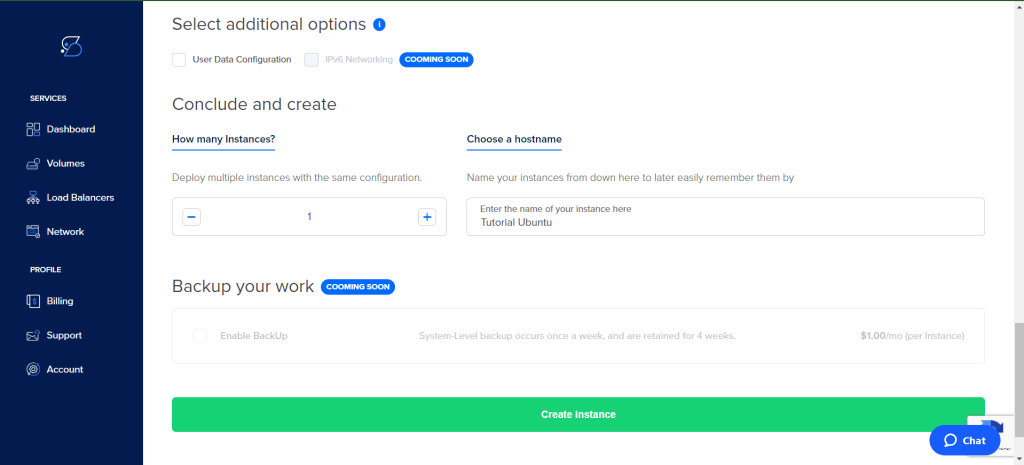
- Configure Additional Options:
- (Optional) You can configure additional options like User Data Configuration and IPv6 Networking.
- Enter a hostname for your instance, e.g., “Tutorial Ubuntu”.
- Click on the “Create instance” button to deploy the instance.
Step 2: Connecting to Your Instance
- Retrieve SSH Credentials:
- Note the IP address of your newly created instance from the Shape.host dashboard.
- Connect via SSH:
- Open a terminal on your local machine.
- Use the following command to connect to your instance:
sh ssh root@your_instance_ip - Replace
your_instance_ipwith the actual IP address of your instance.
Prerequisites
You will need an Ubuntu 22.04 server with a non-root superuser account. To set this up, you can follow an Initial Server Setup Guide for Ubuntu 22.04. Once your server and user are set up, you are ready to begin.
Method 1: Installing Git Using the Default Package Manager
Step 1: Update Package Index
First, update your local package index to ensure you have the latest information about available packages:
apt updateStep 2: Install Git
With the update complete, install Git:
apt install gitStep 3: Verify Installation
To confirm that Git has been installed correctly, run the following command:
git --versionYou should see output similar to:
git version 2.34.1If you see this, Git is successfully installed. You can now proceed to configure Git.
Method 2: Installing Git from Source
If you require the latest features or wish to customize your Git installation, you may prefer to compile Git from source.
Step 1: Install Dependencies
First, install the software that Git depends on. This is available in the default repositories:
apt update
apt install libz-dev libssl-dev libcurl4-gnutls-dev libexpat1-dev gettext cmake gcc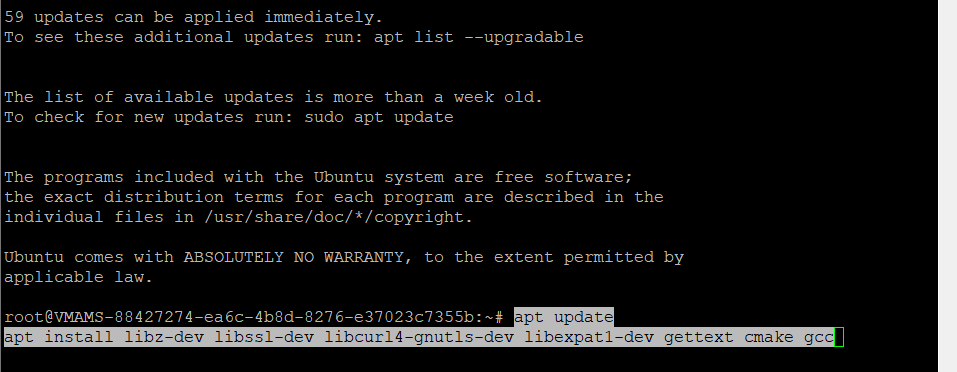

Step 2: Download and Extract Git Source
Create a temporary directory and navigate to it:
mkdir -p /tmp/git
cd /tmp/git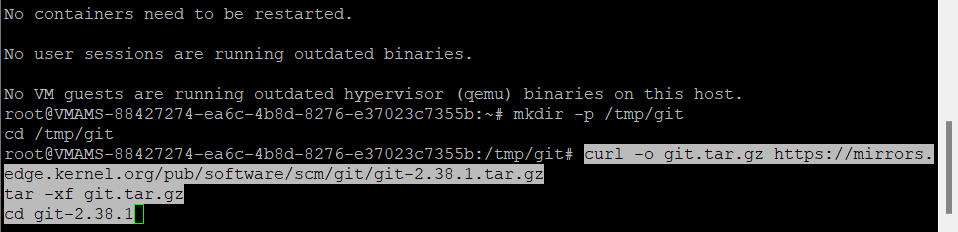
Download the latest version of Git from the official site. At the time of writing, the latest version is 2.38.1:
curl -o git.tar.gz https://mirrors.edge.kernel.org/pub/software/scm/git/git-2.38.1.tar.gz
tar -xf git.tar.gz
cd git-2.38.1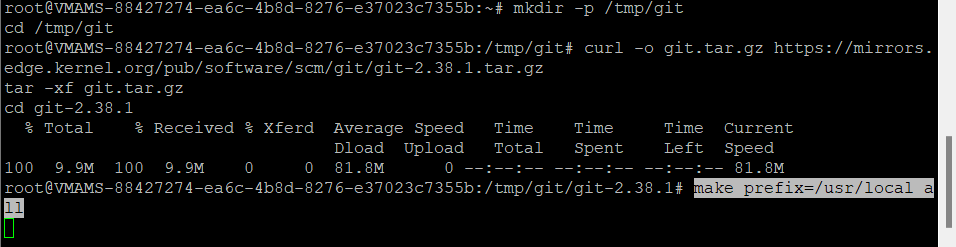
Step 3: Compile and Install Git
Compile the source code:
make prefix=/usr/local all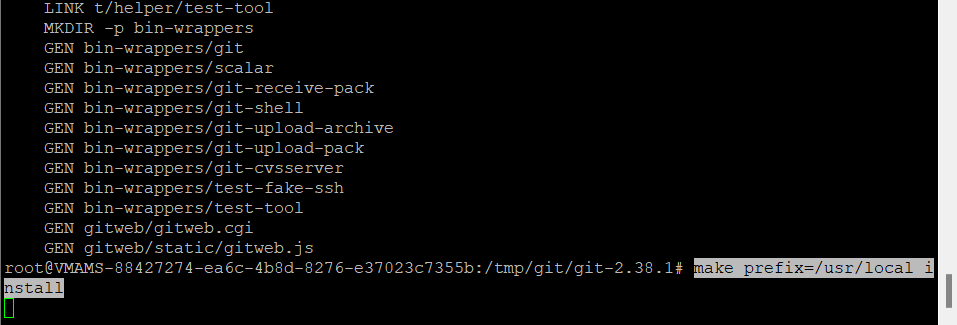
Install Git:
make prefix=/usr/local install
Step 4: Verify Installation
To ensure your installation was successful, check the Git version:
git --version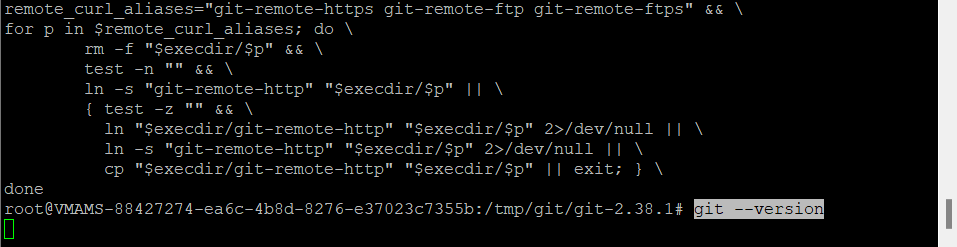
You should see:
git version 2.38.1Configuring Git
After installing Git, it’s important to configure it with your user information. This ensures that your commits will be associated with the correct details.
Step 1: Set User Information
Use the git config command to set your name and email address:
git config --global user.name "Your Name"
git config --global user.email "youremail@domain.com"
Step 2: Verify Configuration
To display all the configuration items that have been set, type:
git config --list
You should see output similar to:
user.name=Your Name
user.email=youremail@domain.com
...
Optional: Edit Configuration File
You can edit the Git configuration file directly using a text editor like nano:
nano ~/.gitconfig
Here is an example of what the configuration might look like:
[user]
    name = Your Name
    email = youremail@domain.com
Press CTRL + X, then Y, and ENTER to save and exit the editor.
You should now have Git installed and configured on your Ubuntu 22.04 server. With Git ready to use, you can start managing your software projects more effectively by tracking changes, branching, and collaborating with others.
Shape.host offers a range of features that make their Linux SSD VPS services ideal for hosting your Git repositories and other software development needs:
- Easy Deployment: Shape.host simplifies the process of deploying your cloud instances, allowing you to go LIVE in a matter of seconds.
- Flexible OS Options: Offers cloud products for every stage of your business journey and allows you to take advantage of any distribution.
- Multi-region Deployment: Choose from 13 different server locations for optimal performance.
- Advanced Security: Uses industry-leading DDoS mitigation and firewall solutions to ensure your networks are safe and running at all times.