Jellyfin is an open-source media server software that allows you to organize, manage, and stream your personal media collection (such as movies, music, TV shows, and photos) across multiple devices. It was created as a free alternative to proprietary media servers like Plex and Emby, with the focus on giving users full control over their media without subscription costs or data collection concerns.
Key Features:
- Media Management: Jellyfin helps organize your media library, pulling metadata to provide rich details like artwork, descriptions, and cast.
- Multi-Platform Access: The server can be accessed from various devices, including smart TVs, mobile phones (via Android/iOS apps), web browsers, and streaming devices.
- Live TV and DVR: With the help of TV tuners, you can watch live TV and even record content.
- Privacy-Focused: Jellyfin doesn’t collect user data and does not require an online account, providing full privacy control.
- Open-Source: Jellyfin is completely open-source, licensed under GPLv3, and has no premium features behind a paywall.
Installation:
Jellyfin can be installed on Linux, Windows, and macOS systems. Common installation methods include Docker, direct package installations, or adding a repository.
Popular Use Cases:
- Home Media Center: Create a media hub for movies, TV shows, and music that can be accessed from any connected device.
- Remote Access: Access your media from anywhere via a web browser or supported app.
- Family Profiles: Create multiple user profiles, each with their own media preferences and parental controls.
Jellyfin is a popular choice for users who want a completely free and self-hosted solution for their media streaming needs without compromising privacy.
Step 1: Create an Instance
- Access the Dashboard: Log in to your Shape.Host account and navigate to your Dashboard.
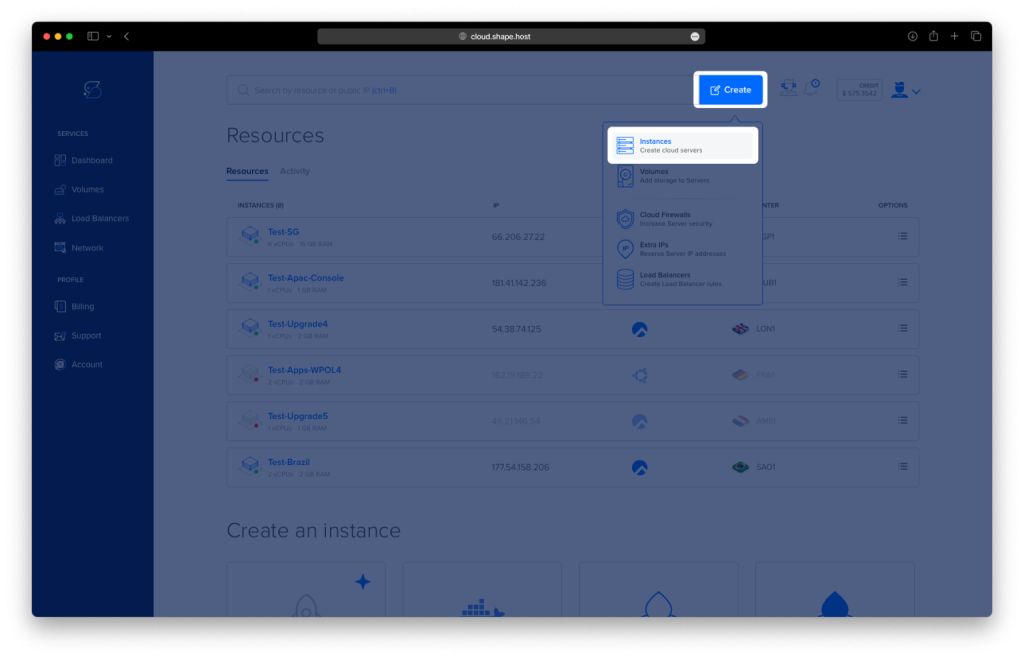
- Click Create: Click on the “Create” button located in the top-right corner.
- Select Instances: From the dropdown menu, choose “Instances” to begin creating a new cloud server.
- Select Location: Choose a data center location for your instance closest to your target audience for optimal performance.
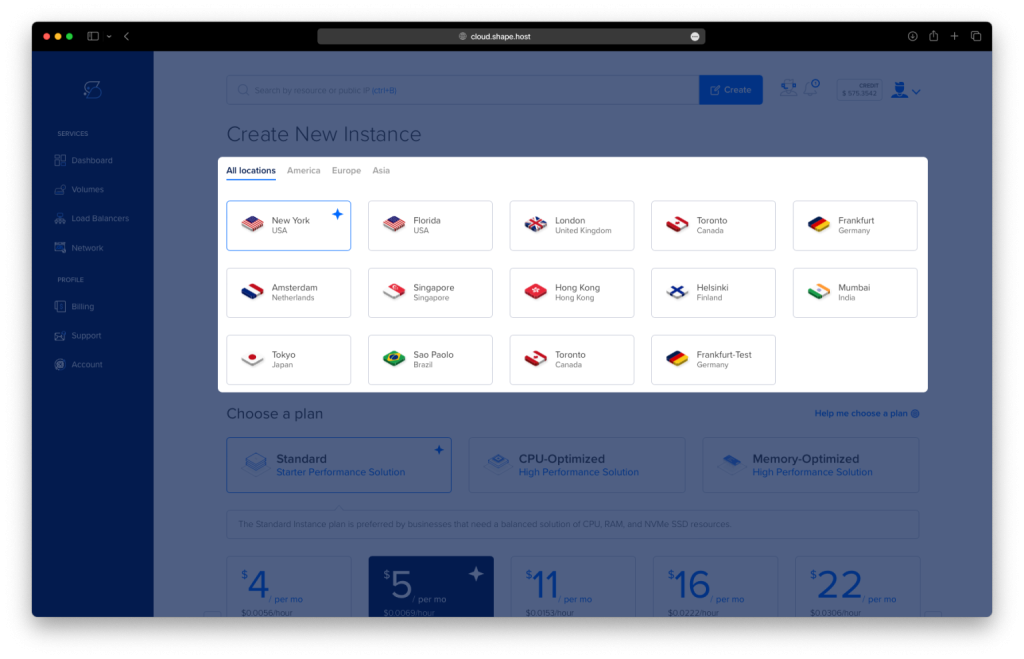
- Choose a Plan: Scroll through the available pricing plans. Select a plan based on your project requirements, such as Standard, CPU-Optimized, or Memory-Optimized.
- Choose an Image: Select Debian 12 as the operating system for your instance.

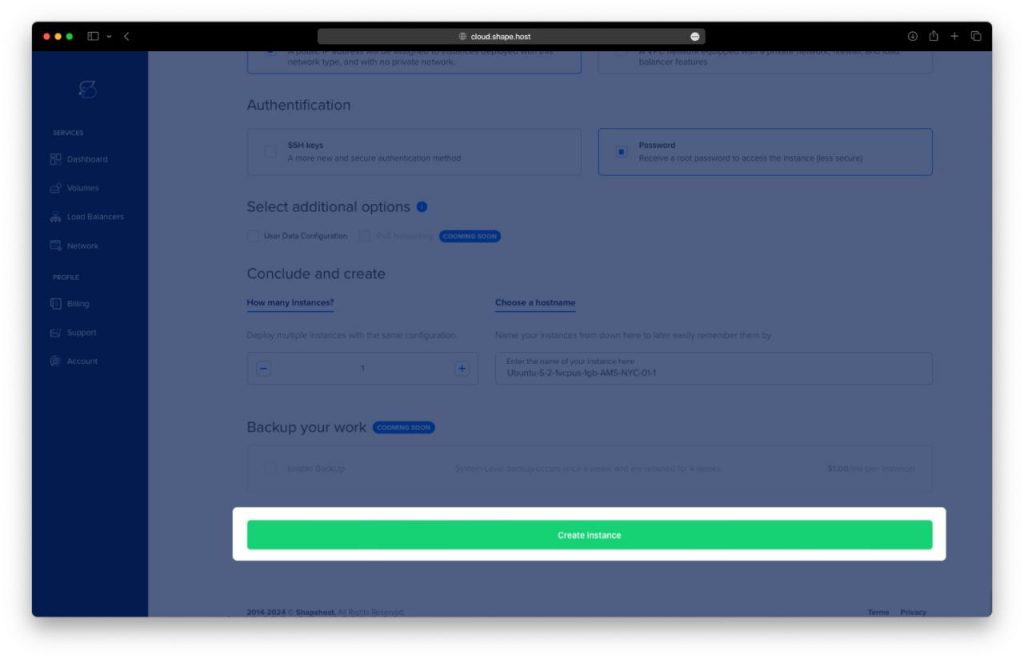
- Authentication and Finalize: Choose your authentication method, either via SSH keys or password. Once done, click Create Instance to launch your server.
Step 2: Access Your Instance
To connect to your instance on Shape.Host, follow these steps:
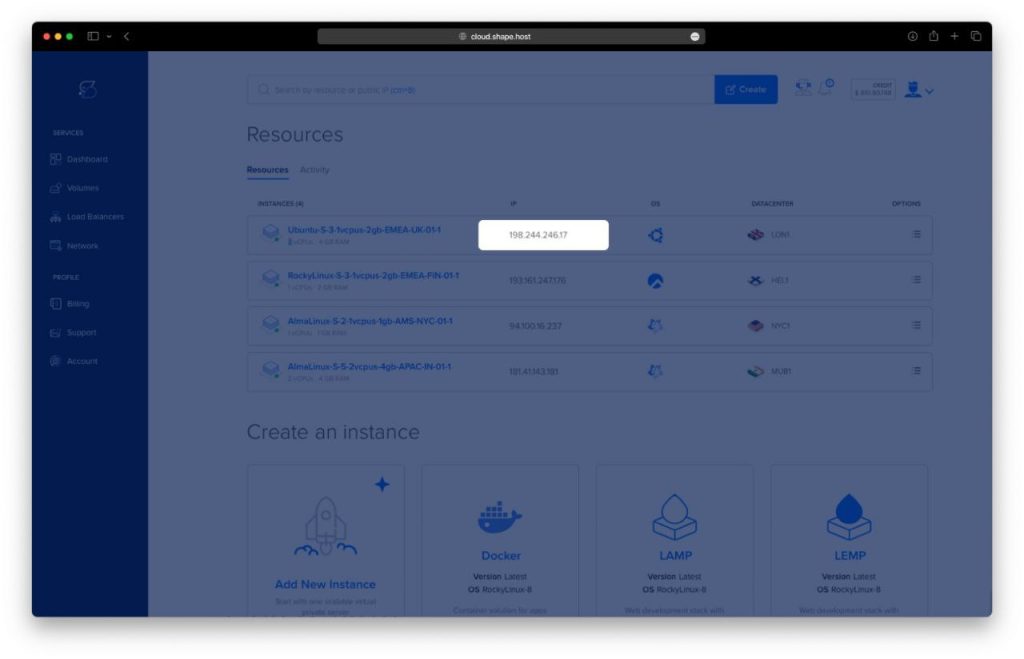
- Get the Instance IP: After creating your instance, find the public IP address in the Shape.Host dashboard under Resources.
- Open SSH Client: Use an SSH client like Terminal (Linux/macOS) or PuTTY (Windows).
- SSH into the Instance: Run the following command in your terminal:
ssh root@<your-instance-ip>Replace <your-instance-ip> with your actual instance IP address.
- Enter the Password: If prompted, enter your instance’s root password or use your SSH key if configured.
You are now connected to your instance!
Step 3: Install Required Packages
Update your system and install essential packages:
apt install apt-transport-https ca-certificates gnupg curl -y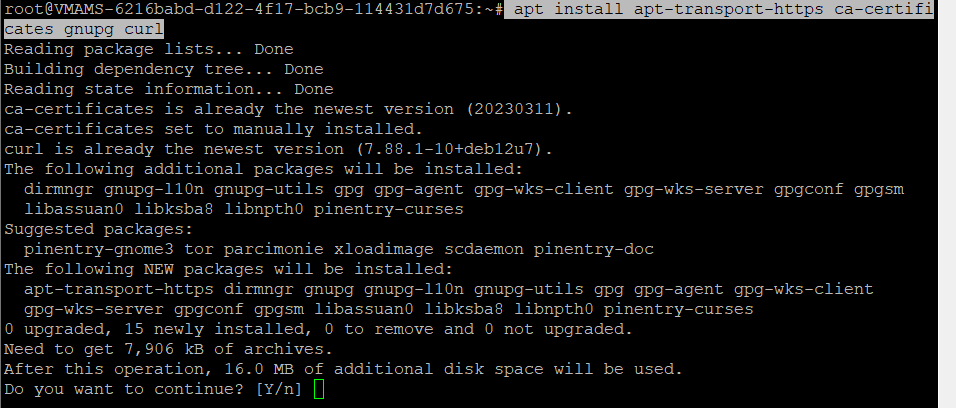
Create the keyrings directory and add the Jellyfin GPG key:
mkdir -p /etc/apt/keyrings
curl -fsSL https://repo.jellyfin.org/jellyfin_team.gpg.key | sudo gpg --dearmor -o /etc/apt/keyrings/jellyfin.gpg
Step 4: Add Jellyfin Repository
Create a Jellyfin repository file:
cat <<EOF | tee /etc/apt/sources.list.d/jellyfin.sources
Types: deb
URIs: https://repo.jellyfin.org/$( awk -F'=' '/^ID=/{ print $NF }' /etc/os-release )
Suites: $( awk -F'=' '/^VERSION_CODENAME=/{ print $NF }' /etc/os-release )
Components: main
Architectures: $( dpkg --print-architecture )
Signed-By: /etc/apt/keyrings/jellyfin.gpg
EOF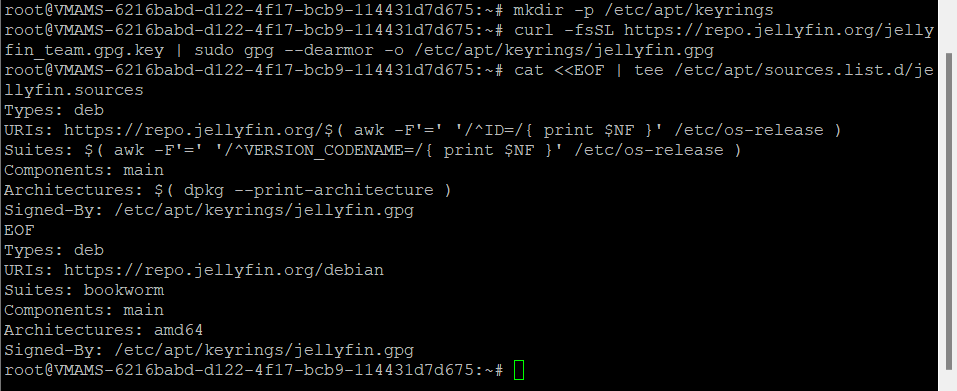
Update the package list:
apt update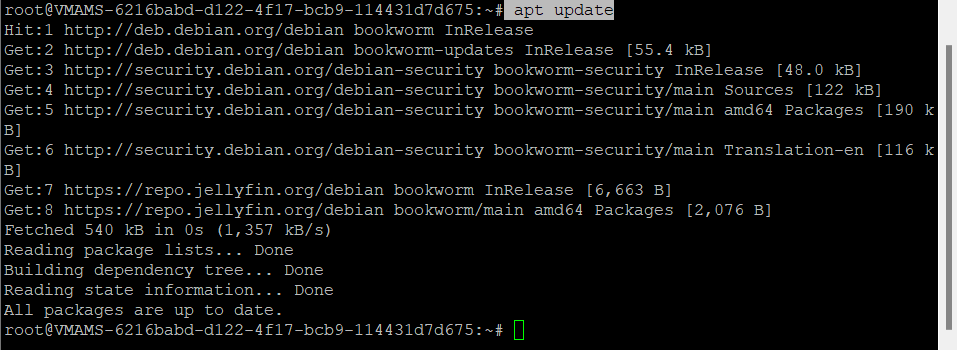
Step 5: Install Jellyfin
Install Jellyfin using the following command:
apt install jellyfin -y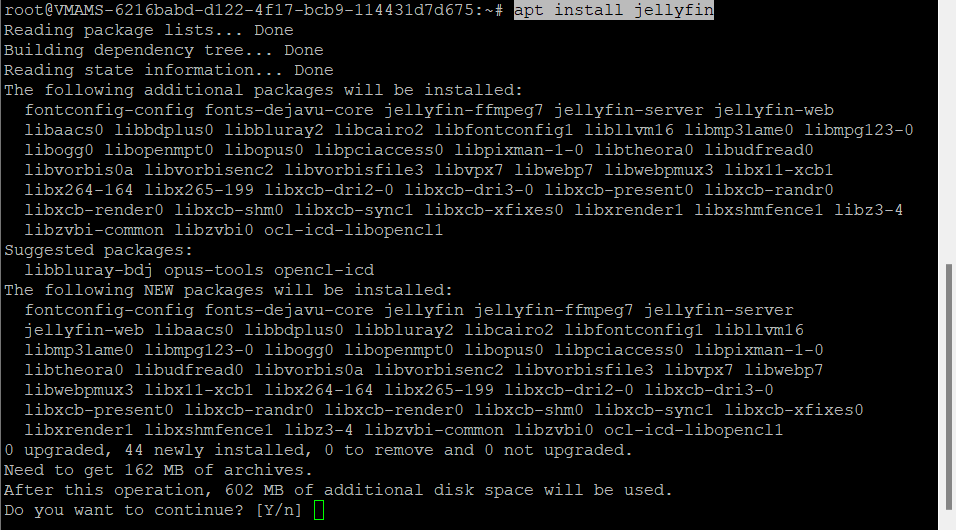
Step 6: Verify Jellyfin Service
Check the status of the Jellyfin service:
systemctl is-enabled jellyfin
systemctl status jellyfin
Step 7: Manage Jellyfin Service
Use the following commands to manage the Jellyfin service:
- Start Jellyfin:
systemctl start jellyfin- Stop Jellyfin:
systemctl stop jellyfin- Restart Jellyfin:
systemctl restart jellyfin
Step 8: Configure Firewall
Install UFW and configure it to allow necessary services:
apt install ufw -y
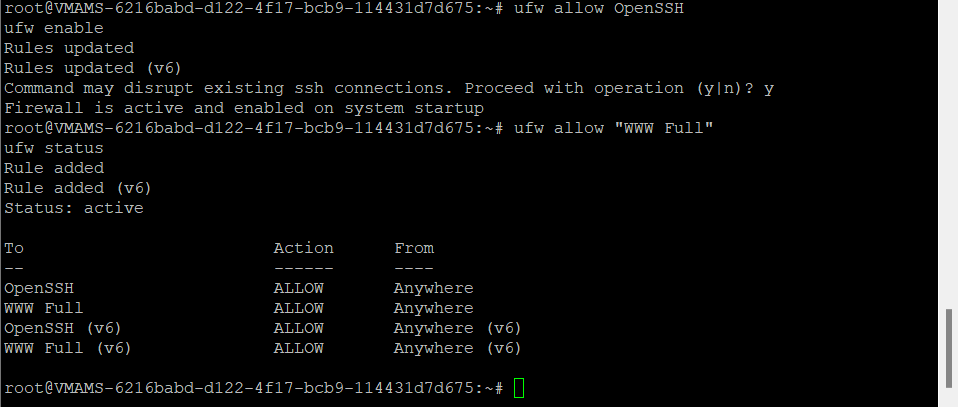
ufw allow OpenSSH
ufw enable
ufw allow "WWW Full"
ufw status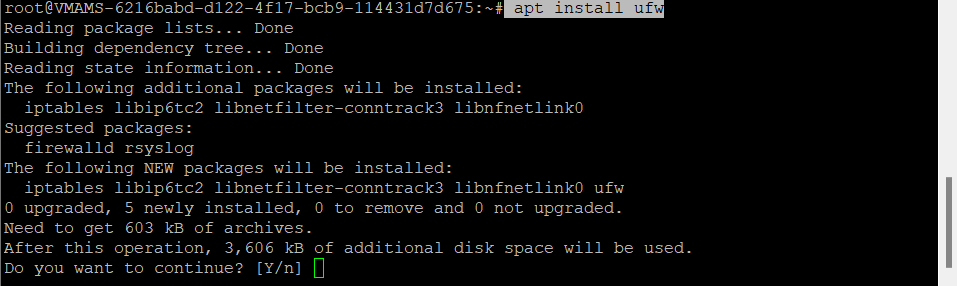
Step 9: Install Apache and Certbot
Install Apache and Certbot for SSL configuration:
apt install apache2 certbot python3-certbot-apache -y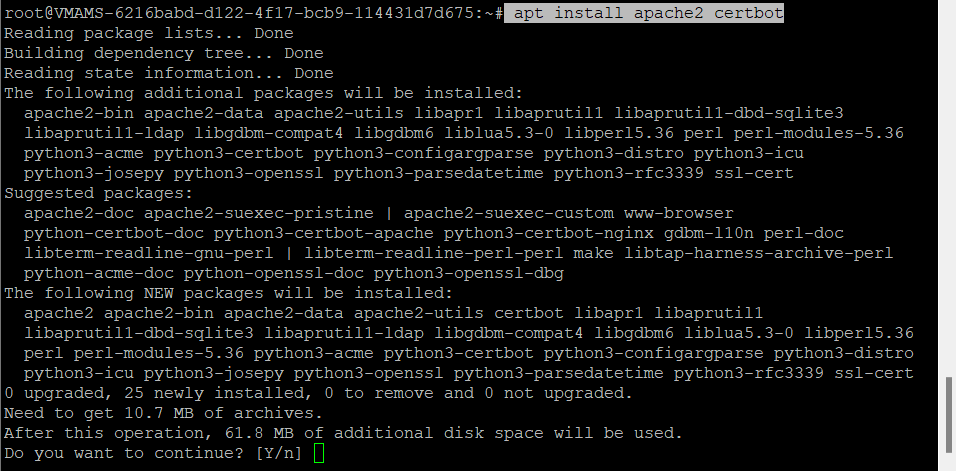
Check Apache status:
systemctl is-enabled apache2
systemctl status apache2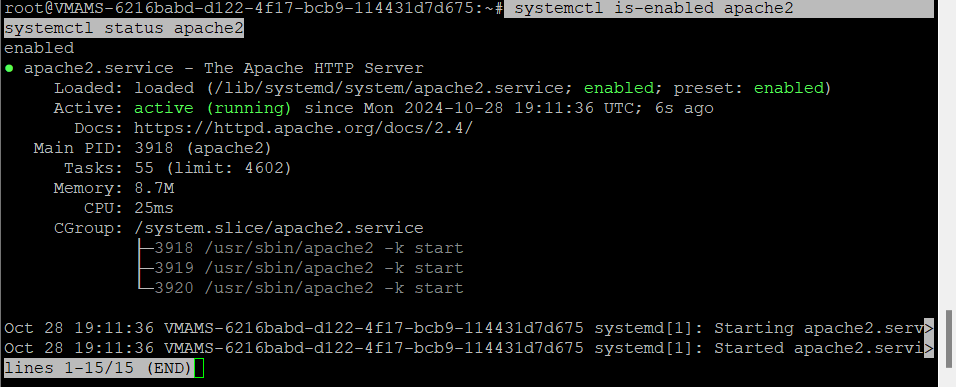
Enable required Apache modules:
sudo a2enmod proxy proxy_http ssl proxy_wstunnel remoteip http2 headers
systemctl restart apache2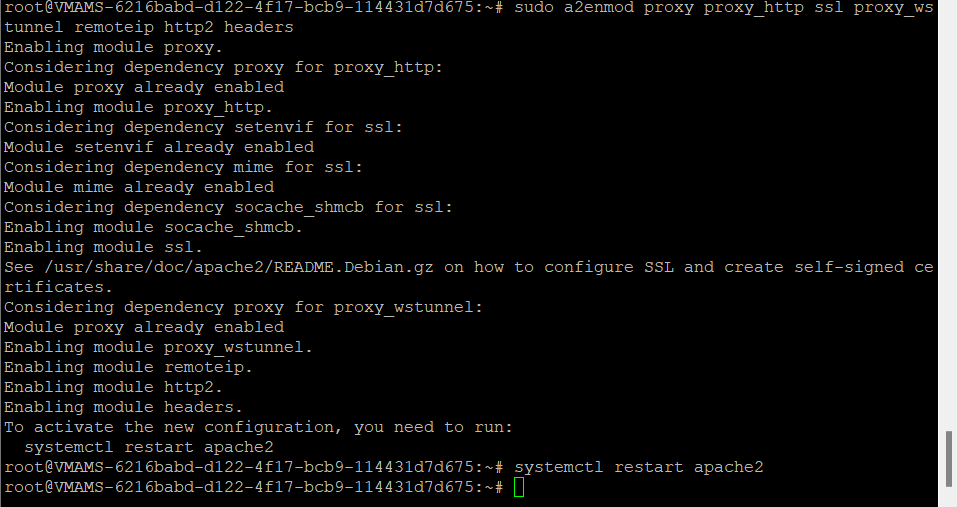
Step 10: Set Up Apache as Reverse Proxy
Create a directory for Jellyfin’s web root and set permissions:
mkdir -p /var/www/html/jellyfin/public_html
chown -R www-data:www-data /var/www/html/jellyfin/public_html
Obtain an SSL certificate for your domain using Certbot:
certbot certonly --agree-tos --email contact@shape.host --no-eff-email --webroot -w /var/www/html -d debian-tutorials.shape.host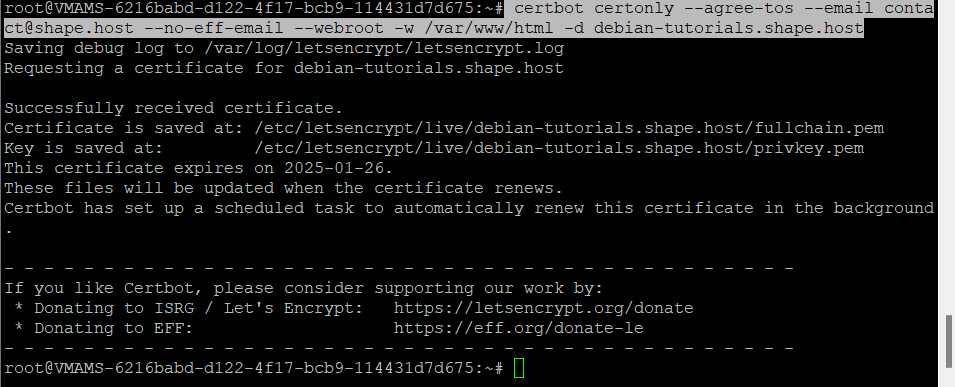
Step 11: Configure Apache Virtual Host
Create a new Apache virtual host configuration:
nano /etc/apache2/sites-available/jellyfin.confInsert the following configuration, changing the domain name, SSL certificate paths, and server IP address as necessary:
<VirtualHost *:80>
    ServerName debian-tutorials.shape.host

    # Comment to prevent HTTP to HTTPS redirect
    Redirect permanent / https://debian-tutorials.shape.host/

    ErrorLog /var/log/apache2/debian-tutorials.shape.host-error.log
    CustomLog /var/log/apache2/debian-tutorials.shape.host-access.log combined
</VirtualHost>

<IfModule mod_ssl.c>
<VirtualHost *:443>
    ServerName debian-tutorials.shape.host
    DocumentRoot /var/www/html/jellyfin/public_html

    ProxyPreserveHost On

    ProxyPass "/.well-known/" "!"
    RequestHeader set X-Forwarded-Proto "https"
    RequestHeader set X-Forwarded-Port "443"

    ProxyPass "/socket" "ws://192.168.10.15:8096/socket"
    ProxyPassReverse "/socket" "ws://192.168.10.15:8096/socket"

    ProxyPass "/" "http://192.168.10.15:8096/"
    ProxyPassReverse "/" "http://192.168.10.15:8096/"

    SSLEngine on
    SSLCertificateFile /etc/letsencrypt/live/debian-tutorials.shape.host/fullchain.pem
    SSLCertificateKeyFile /etc/letsencrypt/live/debian-tutorials.shape.host/privkey.pem
    Protocols h2 http/1.1

    SSLCipherSuite HIGH:RC4-SHA:AES128-SHA:!aNULL:!MD5
    SSLHonorCipherOrder on

    SSLProtocol all -SSLv2 -SSLv3 -TLSv1 -TLSv1.1

    ErrorLog /var/log/apache2/debian-tutorials.shape.host-error.log
    CustomLog /var/log/apache2/debian-tutorials.shape.host-access.log combined
</VirtualHost>
</IfModule>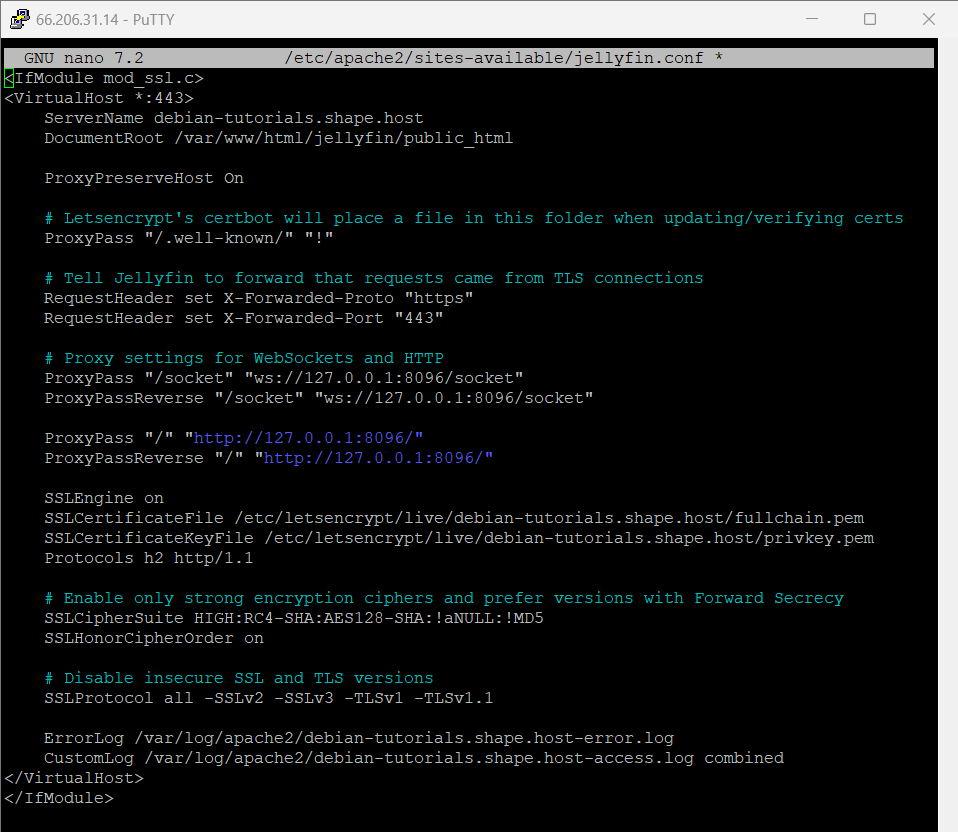
Step 12: Enable Jellyfin Site and Restart Apache
Enable the Jellyfin site configuration:
a2ensite jellyfin.conf
apachectl configtest
systemctl restart apache2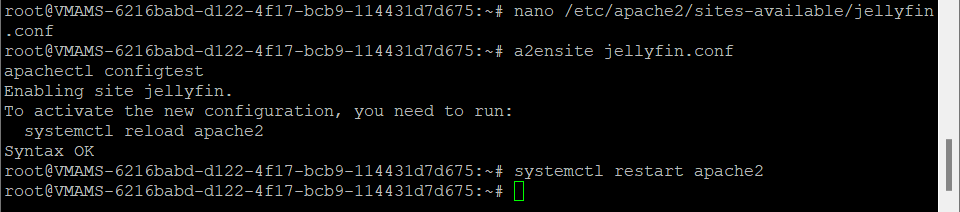
Step 13: Access Jellyfin Web Interface
Launch your web browser and visit the domain name of your Jellyfin installation, such as https://your-domain.com/. If the configuration is successful, you should see the Jellyfin installation wizard and can proceed with setting up your media server.
First, select the default language for your Jellyfin installation and click Next.

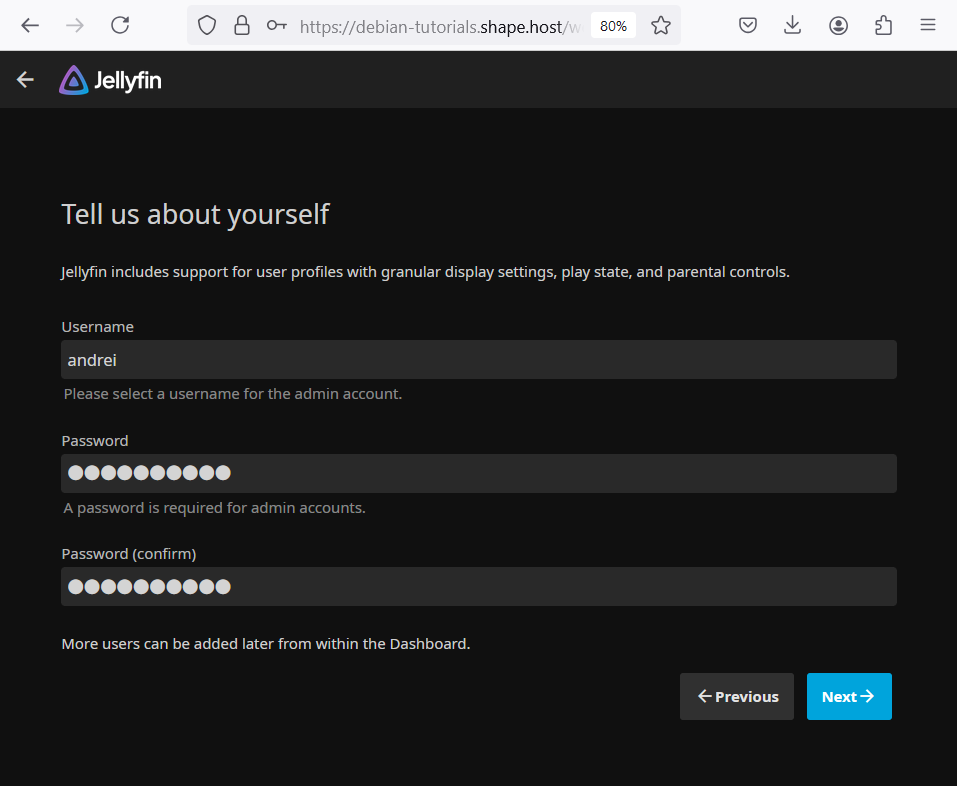
Now, create a new admin user for your Jellyfin installation. Input your username and password, then click Next.
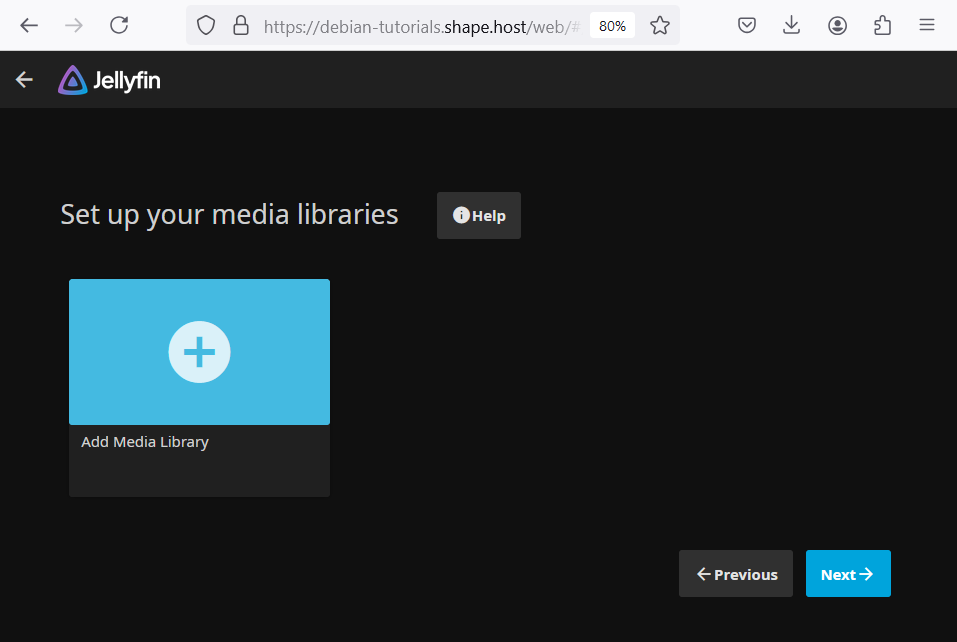
For the media libraries, you can configure them later. Click Next to continue.
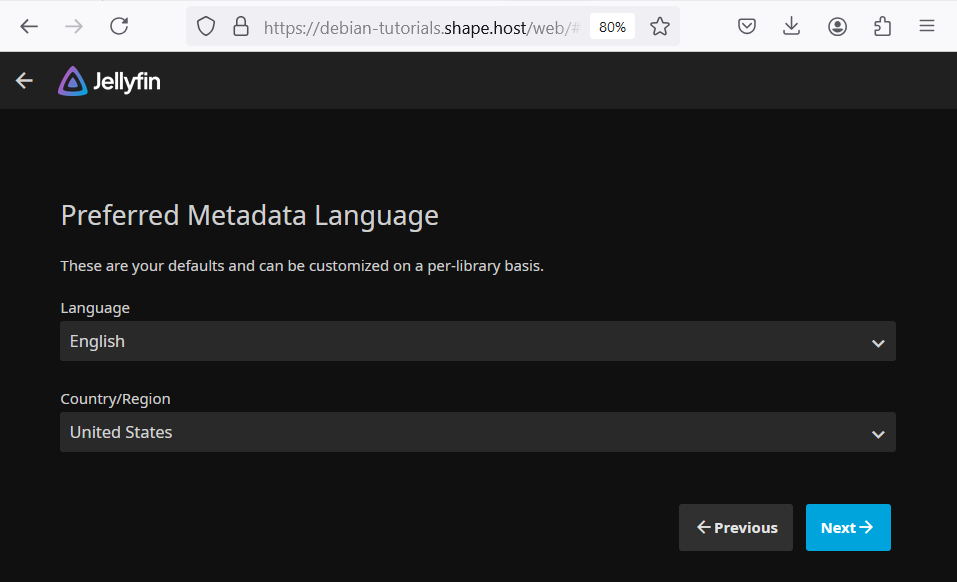
Select your preferred Metadata language for your libraries and click Next.
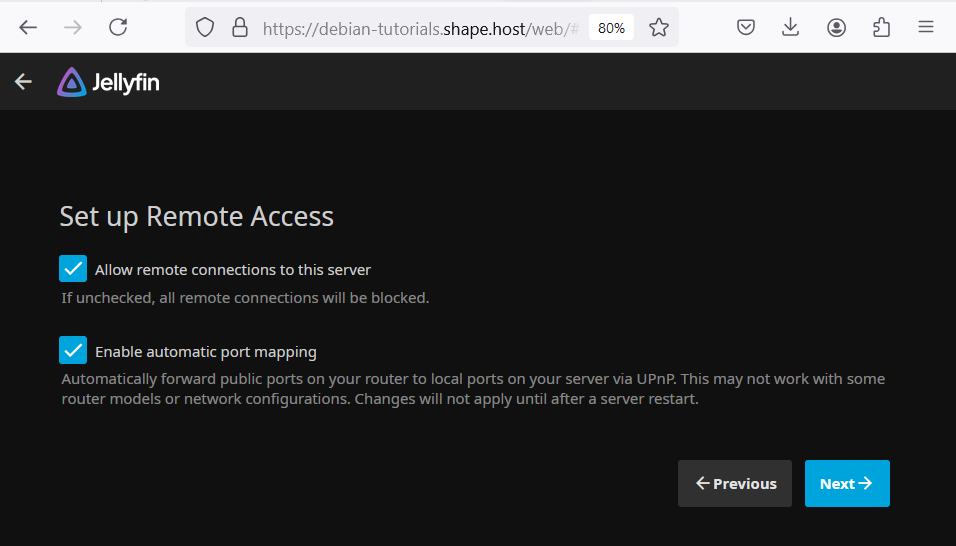
Check the option Allow remote connections to enable remote access to your jellyfin media server. Also, you can enable port mapping by checking the option. Then, click Next.
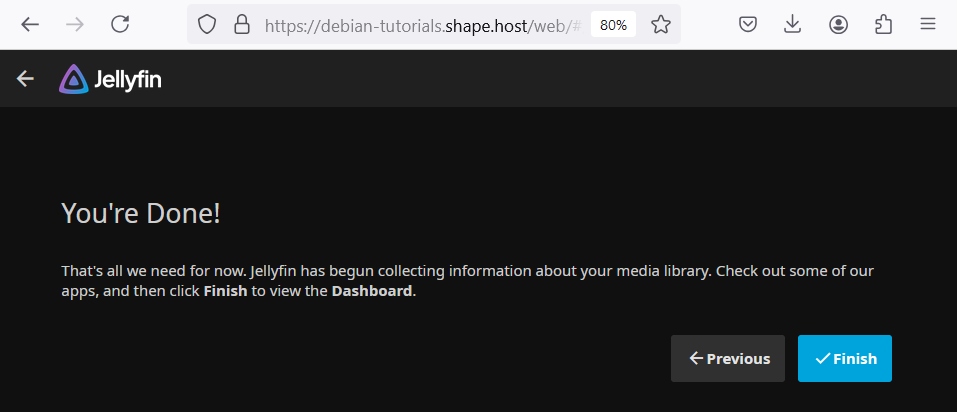
If your configuration is successful, you should get the message You’re Done!. Click Finish to complete the jellyfin installation.
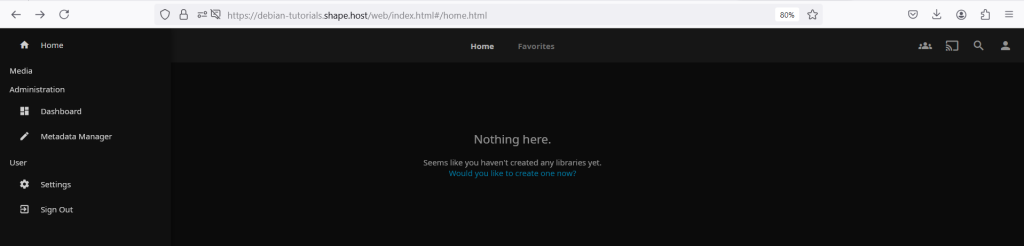
Now, you should be redirected to the Jellyfin login page. Input your admin user and password for Jellyfin, then click Sign In.

If everything goes well, you should get the Jellyfin administration dashboard like this:
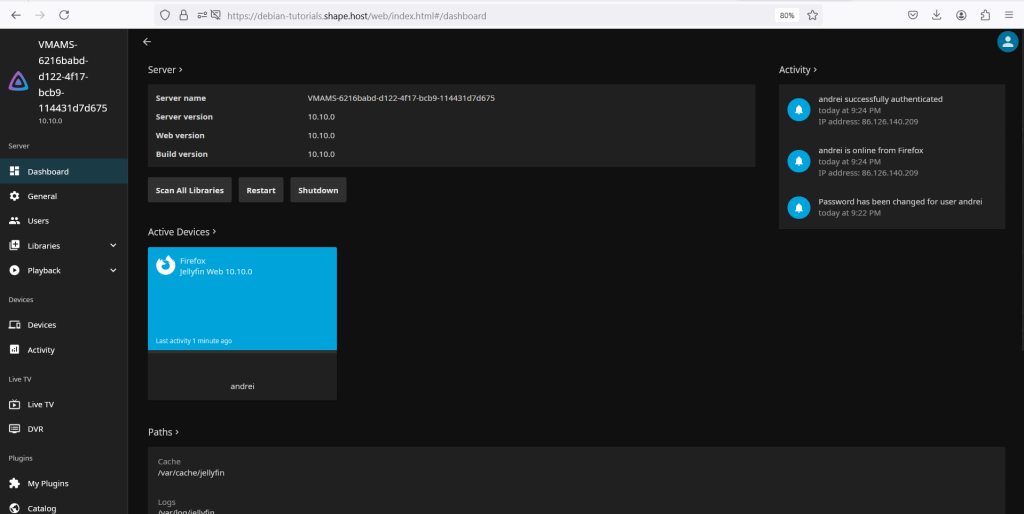
Lastly, click on the Dashboard menu in the Administration section. You should see detailed information about your Jellyfin media server installation:
Jellyfin has now been successfully installed on your Debian 12 server. With Apache configured as a reverse proxy, you can securely access Jellyfin via HTTPS.
For hosting solutions like Linux SSD VPS, visit Shape.Host to explore a wide range of services that can help scale and manage your online presence.