Julia is a high-level, high-performance programming language for technical computing, with syntax that is familiar to users of other technical computing environments. In this tutorial, you will install Julia on an Ubuntu 22.04 server.
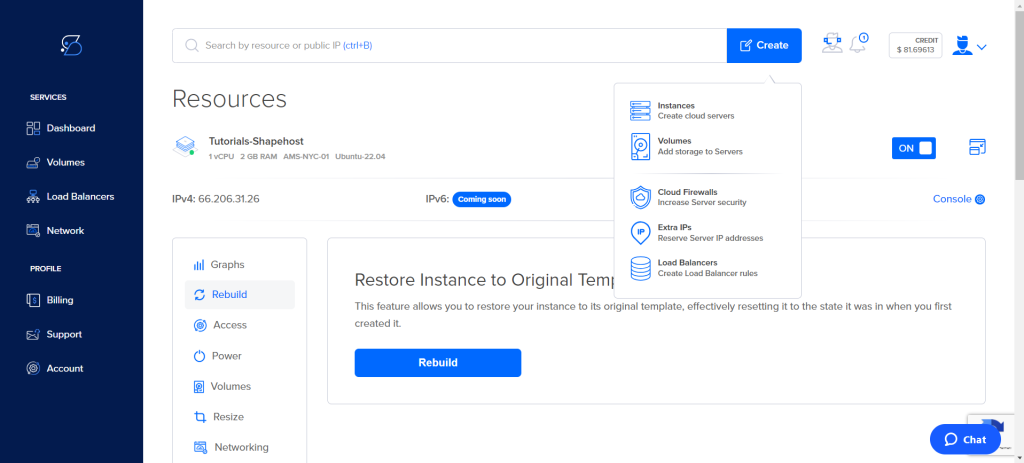
Step 1: Deploying a Cloud Instance on Shape.host
- Log in to Shape.host Dashboard:
- Navigate to the Shape.host website and log in to your account.
- Create a New Instance:
- Click on the “Create” button located at the top right corner of the dashboard.
- From the dropdown menu, select “Instances”.
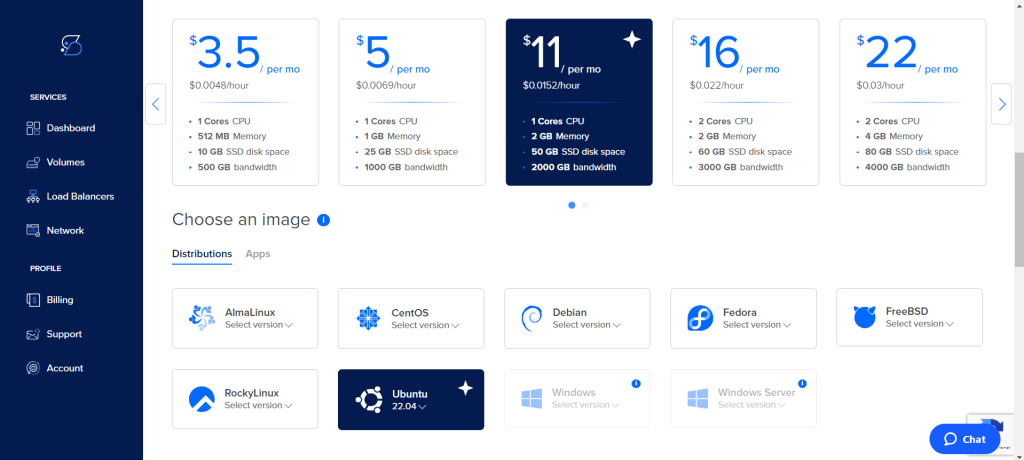
- Select Instance Location:
- Choose the desired location for your server. For this tutorial, we’ll select “New York, USA”.

- Choose a Plan:
- Select a plan that fits your requirements. For example, you might choose a plan with 2 cores CPU, 2 GB Memory, and 50 GB SSD disk space.
- Select an Operating System:
- Scroll down to the “Choose an image” section and select “Ubuntu 22.04”.
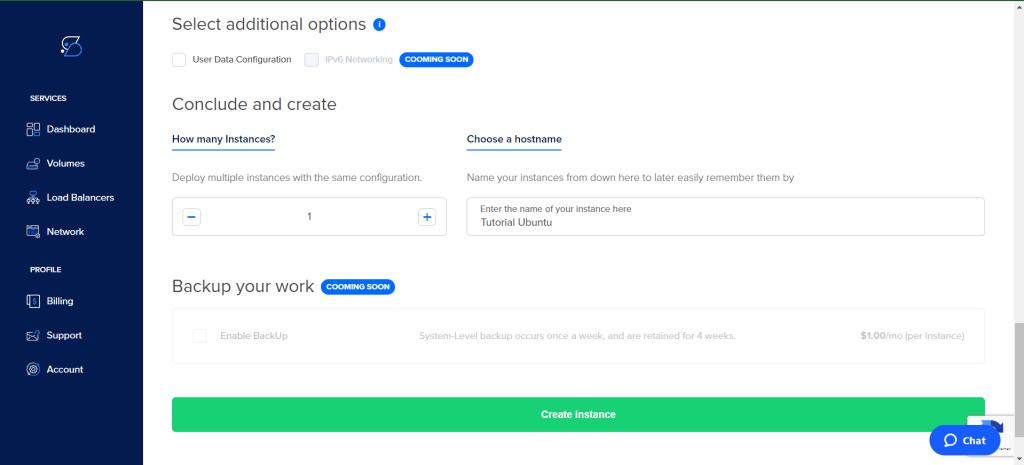
- Configure Additional Options:
- (Optional) You can configure additional options like User Data Configuration and IPv6 Networking.
- Enter a hostname for your instance, e.g., “Tutorial Ubuntu”.
- Click on the “Create instance” button to deploy the instance.
Step 2: Connecting to Your Instance
- Retrieve SSH Credentials:
- Note the IP address of your newly created instance from the Shape.host dashboard.
- Connect via SSH:
- Open a terminal on your local machine.
- Use the following command to connect to your instance:
sh ssh root@your_instance_ip - Replace
your_instance_ipwith the actual IP address of your instance.
Step 3: Updating the System
First, update your package list to ensure you have the latest package information:
apt update
apt upgrade -y
Step 4: Installing Required Dependencies
Install the necessary dependencies for Julia:
apt install wget tar -y
Step 5: Downloading the Julia Binary
Visit the JuliaLang website to find the latest version of Julia. As of this writing, the latest stable release is version 1.7.3. You can download it using the following command:
wget https://julialang-s3.julialang.org/bin/linux/x64/1.7/julia-1.7.3-linux-x86_64.tar.gz
Step 6: Extracting the Julia Archive
After downloading, extract the tarball to the /opt directory:
tar -xvzf julia-1.7.3-linux-x86_64.tar.gz -C /opt/
Step 7: Creating a Symlink
To make Julia accessible from anywhere on your system, create a symbolic link to the Julia binary in the /usr/local/bin directory:
ln -s /opt/julia-1.7.3/bin/julia /usr/local/bin/julia
Step 8: Verifying the Installation
Verify that Julia is installed correctly by checking its version:
julia --version
You should see output similar to:
julia version 1.7.3Step 9: Running Julia
Now that Julia is installed, you can start the Julia REPL (Read-Eval-Print Loop) by simply typing:
julia

This will bring you into the Julia interactive environment, where you can start coding.
You’ve now installed Julia on your Ubuntu 22.04 server. Julia’s ease of use and performance make it an excellent choice for high-performance numerical analysis and computational science. If you need reliable cloud hosting services, consider using Shape.host’s Linux SSD VPS for robust and scalable hosting solutions.
For more information on how to get started with Julia, you can visit the official Julia documentation.