Mattermost is an open-source, self-hosted communication platform designed for team collaboration. It’s similar to platforms like Slack, providing chat, messaging, and integration features. Mattermost is particularly popular among organizations that value data privacy, as it allows teams to manage communications on their own servers. Here are some key features and benefits of Mattermost:
Key Features:
- Team Messaging and Collaboration: Mattermost provides real-time messaging, including public and private channels, direct messaging, and threaded conversations. It also supports rich text formatting, file sharing, and emoji reactions, making communication more interactive and efficient.
- Self-Hosting and Privacy: Unlike cloud-hosted alternatives, Mattermost can be deployed on-premises or on a private cloud, giving organizations full control over their data and privacy. This is especially useful for industries like healthcare, government, or defense, where data security is crucial.
- Integrations and Extensibility: Mattermost supports integrations with numerous tools like GitLab, Jenkins, and Jira, making it ideal for software development teams. It also has a flexible API that allows developers to build custom plugins and integrations, enabling seamless collaboration with other services used in the organization.
- Advanced Security Features: Mattermost includes enterprise-grade security, such as multi-factor authentication (MFA), encrypted messaging, and compliance support for GDPR and other standards. Additionally, it allows admins to control who has access to specific channels and set granular permission levels.
- Multi-Platform Support: Mattermost provides clients for desktop (Windows, macOS, Linux), mobile (iOS, Android), and web, ensuring team members can stay connected from any device.
- Voice, Video, and Screen Sharing: Mattermost integrates with tools like Zoom or Jitsi to enable voice and video conferencing, as well as screen sharing for remote collaboration.
- Custom Workflows and Automation: It supports workflow automation through bots, commands, and task reminders, which can enhance team productivity. Users can automate repetitive tasks and create custom workflows to simplify internal processes.
Editions:
- Mattermost Team Edition: A free, open-source version suitable for small teams that want the core messaging and collaboration features.
- Mattermost Enterprise Edition: Provides enhanced features like compliance, advanced security, high availability, and priority support. It’s designed for organizations needing large-scale deployments and detailed control over their communications infrastructure.
Use Cases:
- Software Development Teams: Mattermost is widely used by software development teams for its integrations with DevOps tools, ability to create private and public channels for different projects, and easy tracking of discussions and decisions.
- Remote and Distributed Teams: Mattermost is ideal for remote work, providing efficient communication channels that keep team members connected regardless of location. The platform also supports video conferencing via integrations, which can be useful for virtual meetings.
- Highly Regulated Industries: Industries like finance, healthcare, and government use Mattermost because it offers control over data storage and security. This makes it easier to maintain compliance with regulations like HIPAA, GDPR, and others.
Deployment Options:
Mattermost can be deployed on a range of environments including:
- On-Premises Servers: Allows complete data control and customization.
- Private Cloud or Kubernetes: Facilitates scalability and easy maintenance.
- Hybrid Cloud: Organizations can maintain sensitive data on-premises while using the cloud for other less-sensitive functions.
Licensing:
Mattermost is open-source, meaning its core functionality is free to use and modify. However, additional features for larger-scale deployments and enterprise-level services are available under a commercial license.
Community and Development:
Mattermost has an active community of developers and users who contribute to its development, providing plugins, integrations, and troubleshooting help. The source code is available on GitHub, allowing developers to review, audit, and contribute to its codebase.
Overall, Mattermost is a versatile and flexible platform that gives organizations the control and features they need for secure and efficient team communication, making it a popular choice for businesses looking to avoid the limitations of proprietary SaaS solutions.
Step 1: Create an Instance
- Access the Dashboard: Log in to your Shape.Host account and navigate to your Dashboard.
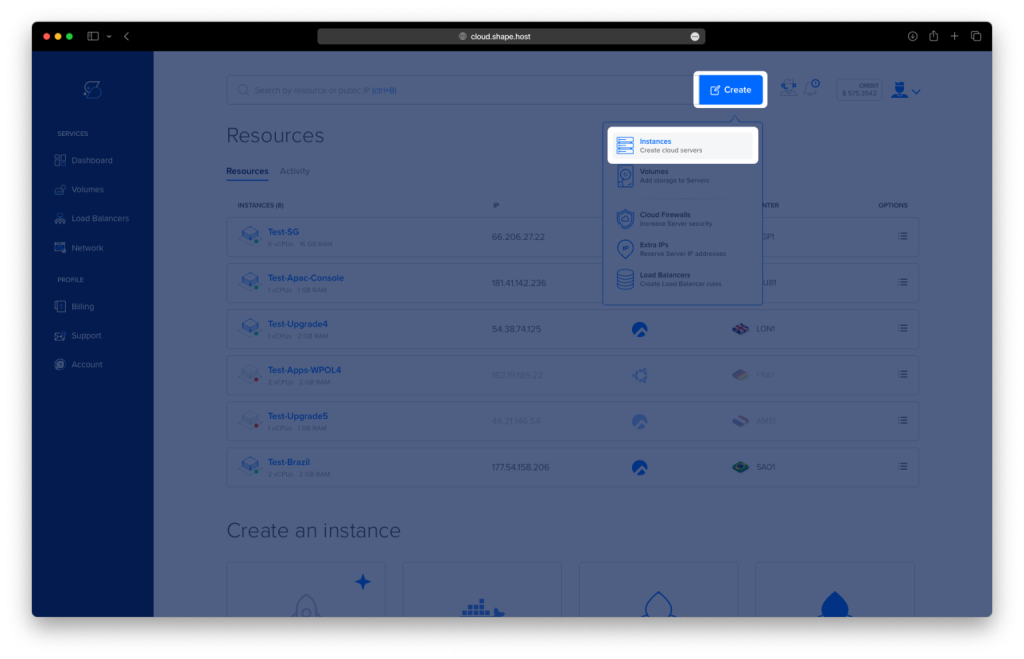
- Click Create: Click on the “Create” button located in the top-right corner.
- Select Instances: From the dropdown menu, choose “Instances” to begin creating a new cloud server.
- Select Location: Choose a data center location for your instance closest to your target audience for optimal performance.

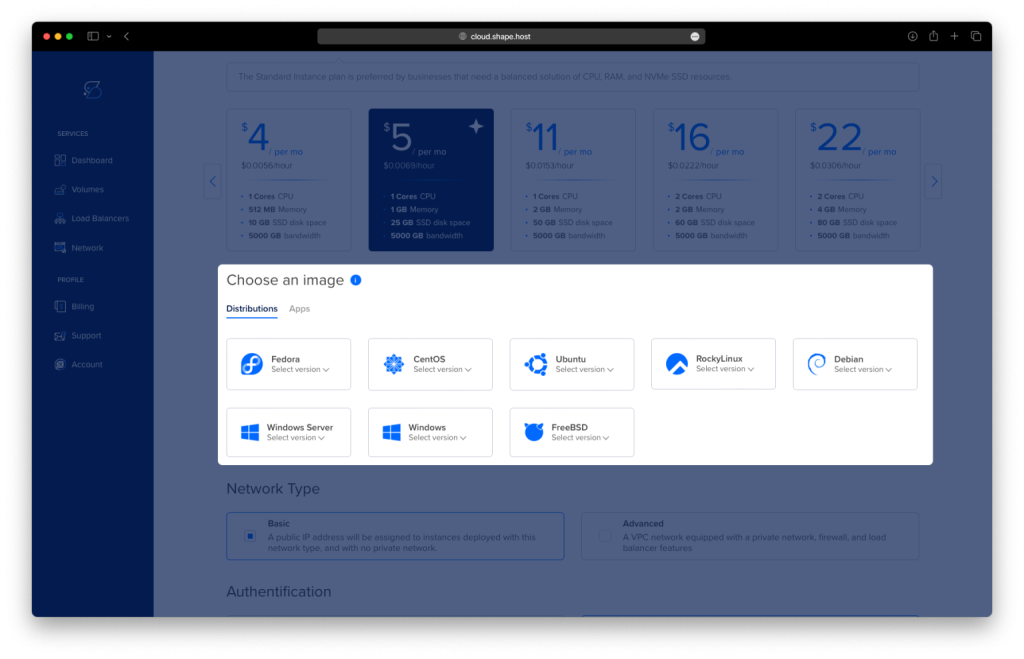
- Choose a Plan: Scroll through the available pricing plans. Select a plan based on your project requirements, such as Standard, CPU-Optimized, or Memory-Optimized.
- Choose an Image: Select Debian 12 as the operating system for your instance.
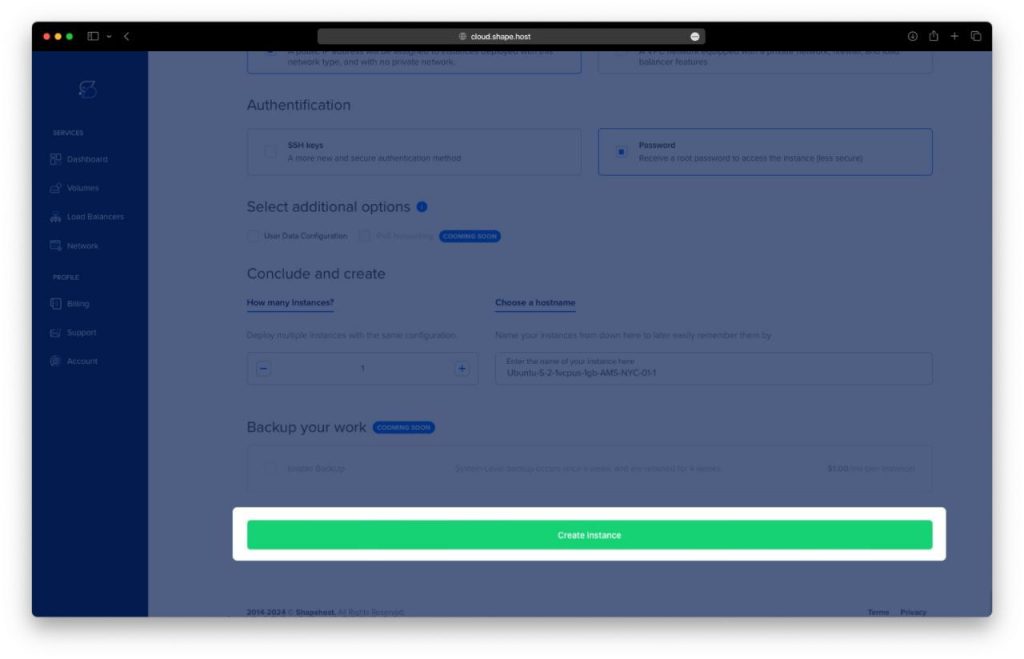
- Authentication and Finalize: Choose your authentication method, either via SSH keys or password. Once done, click Create Instance to launch your server.
Step 2: Access Your Instance
To connect to your instance on Shape.Host, follow these steps:
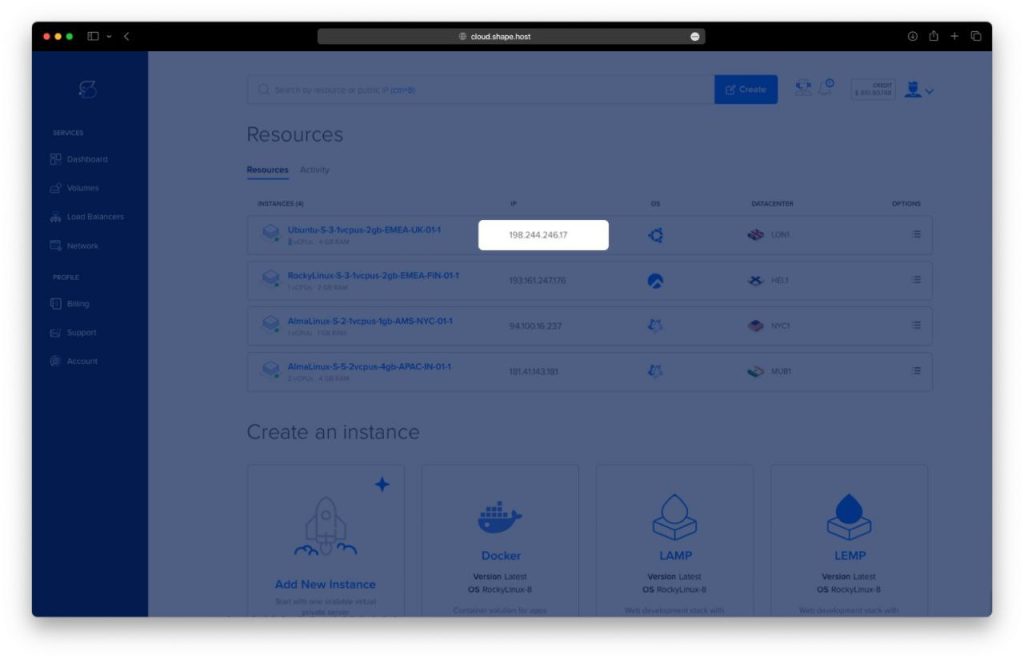
- Get the Instance IP: After creating your instance, find the public IP address in the Shape.Host dashboard under Resources.
- Open SSH Client: Use an SSH client like Terminal (Linux/macOS) or PuTTY (Windows).
- SSH into the Instance: Run the following command in your terminal:
ssh root@<your-instance-ip>Replace <your-instance-ip> with your actual instance IP address.
- Enter the Password: If prompted, enter your instance’s root password or use your SSH key if configured.
You are now connected to your instance!
Step 3: Update and Install Required Packages
Update your system and install necessary packages for Mattermost:
apt update
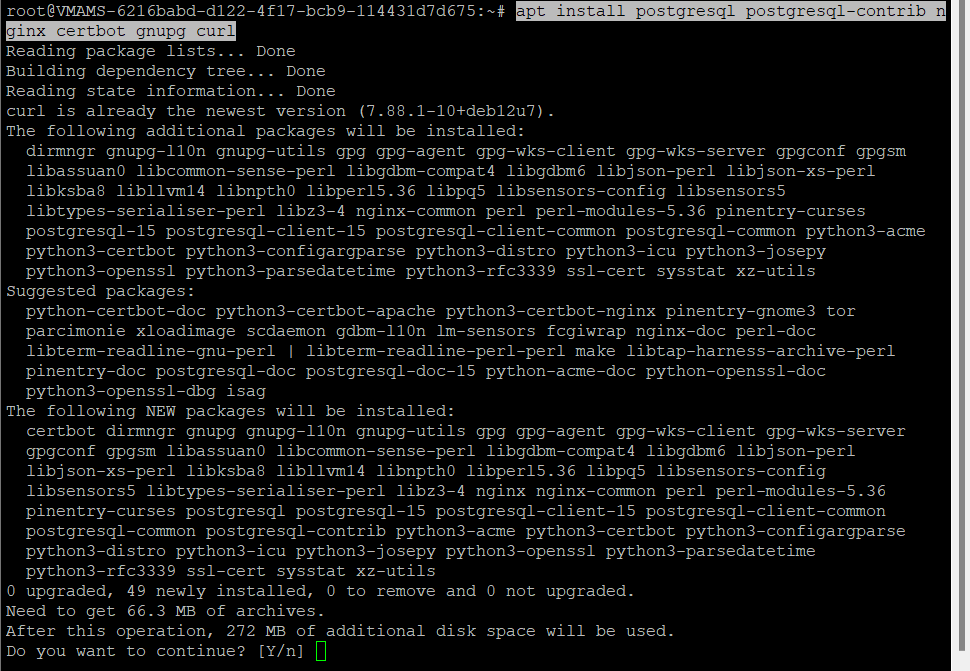
apt install postgresql postgresql-contrib nginx certbot gnupg curl -y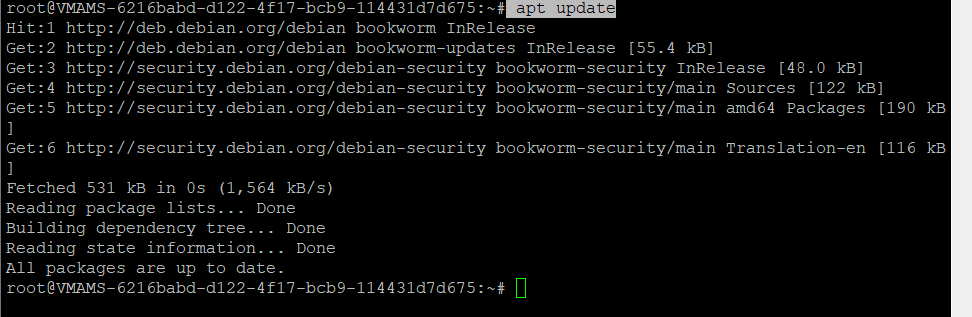
Step 4: Verify Services
Check the status of the installed services to ensure they are running properly:
- PostgreSQL:
  systemctl is-enabled postgresql
  systemctl status postgresql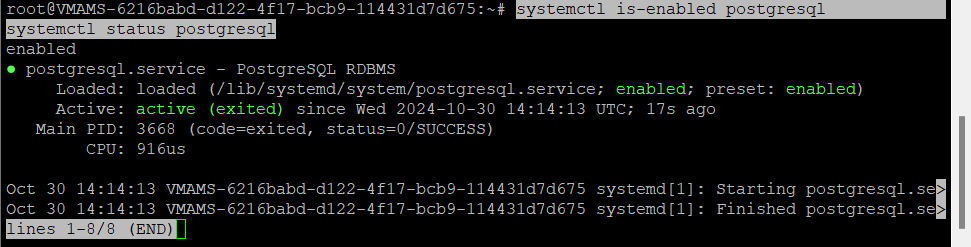
- Nginx:
  systemctl is-enabled nginx
  systemctl status nginx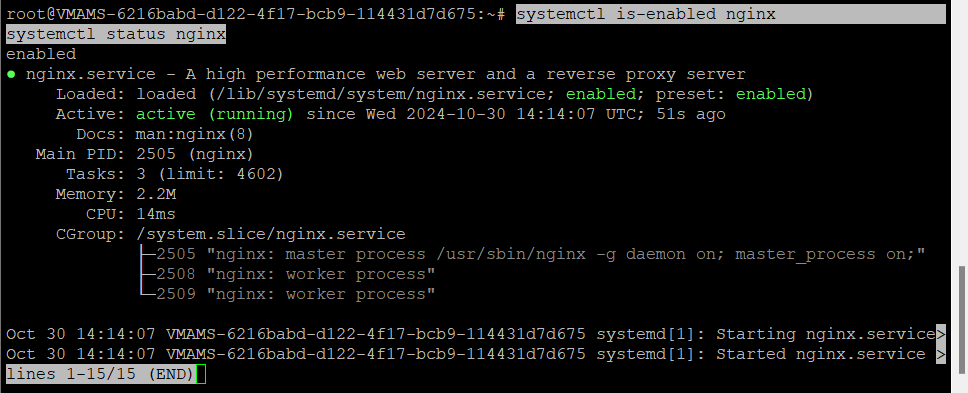
Step 5: Set Up PostgreSQL Database and User
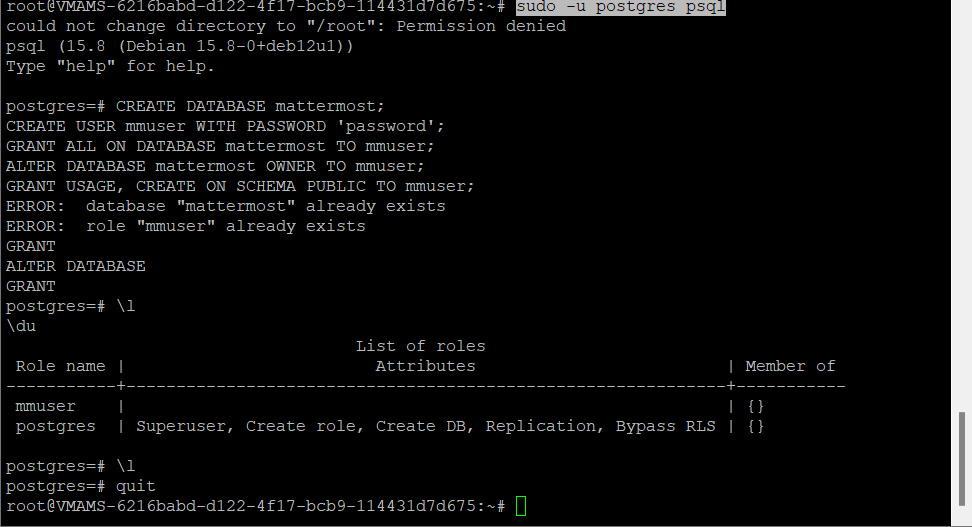
Log in to the PostgreSQL server:
sudo -u postgres psqlCreate a new database and user for Mattermost:
- Create the database and user:
  CREATE DATABASE mattermost;
  CREATE USER mmuser WITH PASSWORD 'password';
  GRANT ALL ON DATABASE mattermost TO mmuser;
  ALTER DATABASE mattermost OWNER TO mmuser;
  GRANT USAGE, CREATE ON SCHEMA PUBLIC TO mmuser;
Replace 'password' with a secure password.
Verify the databases and users:
\l
\du
Exit the PostgreSQL shell by typing \q.
Log in to the PostgreSQL server with the new user:
sudo -u postgres psql --host=localhost --dbname=mattermost --username=andrei --passwordCheck your connection with the following query:
\conninfo
Step 6: Download and Create Mattermost System User
Create a system user for Mattermost:
useradd --system --user-group mattermost
wget https://releases.mattermost.com/10.0.1/mattermost-10.0.1-linux-amd64.tar.gz
tar -xf mattermost-10.0.1-linux-amd64.tar.gz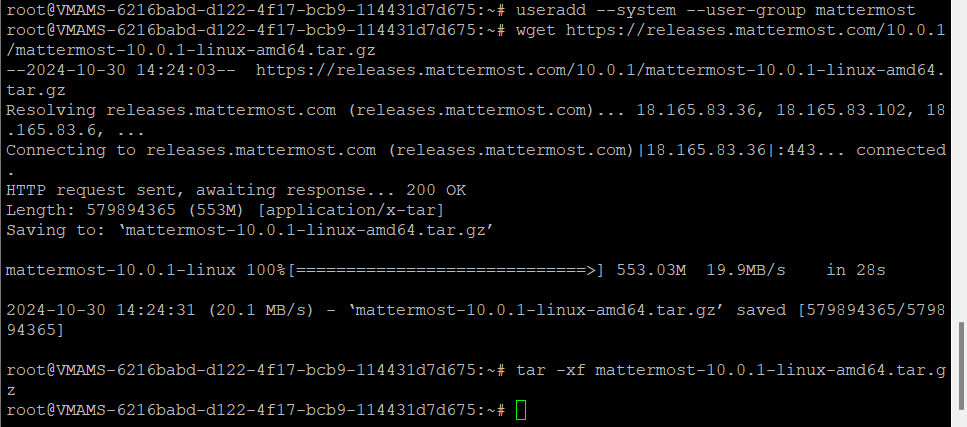
Step 7: Install Mattermost
Download the Mattermost archive and extract it:
mv mattermost /opt/
mkdir -p /opt/mattermost/data
chmod -R 755 /opt/mattermost
Step 8: Configure Mattermost
Open the Mattermost configuration file using the nano editor:
nano /opt/mattermost/config/config.jsonChange the SiteURL with your domain name:
"ServiceSettings": {
 "SiteURL": "https://your-domain.com",
Update the database credentials in the SqlSettings section:
"SqlSettings": {
 "DriverName": "postgres",
 "DataSource": "postgres://mattermost:password@localhost/mattermost?sslmode=disable&connect_timeout=10&binary_parameters=yes",
Replace 'password' with the password you set earlier.
Save and exit the editor. (Press CTRL + O to save, then CTRL + X to exit.)
Step 9: Set Permissions
Change the ownership of the Mattermost directory to the mattermost user:
chown -R mattermost:mattermost /opt/mattermost
chmod -R g+w /opt/mattermost
Step 10: Create a Systemd Service for Mattermost
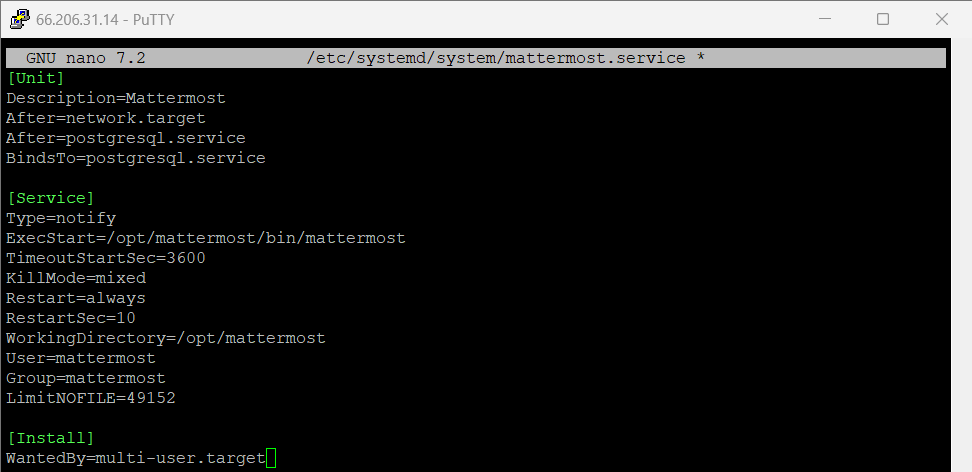
Create a new systemd service file for Mattermost:
nano /etc/systemd/system/mattermost.serviceInsert the following configuration:
[Unit]
Description=Mattermost
After=network.target
After=postgresql.service
BindsTo=postgresql.service

[Service]
Type=notify
ExecStart=/opt/mattermost/bin/mattermost
TimeoutStartSec=3600
KillMode=mixed
Restart=always
RestartSec=10
WorkingDirectory=/opt/mattermost
User=mattermost
Group=mattermost
LimitNOFILE=49152

[Install]
WantedBy=multi-user.target
Save and exit the editor. (Press CTRL + O to save, then CTRL + X to exit.)
Reload systemd, enable, and start the Mattermost service:
systemctl daemon-reload
systemctl enable --now mattermost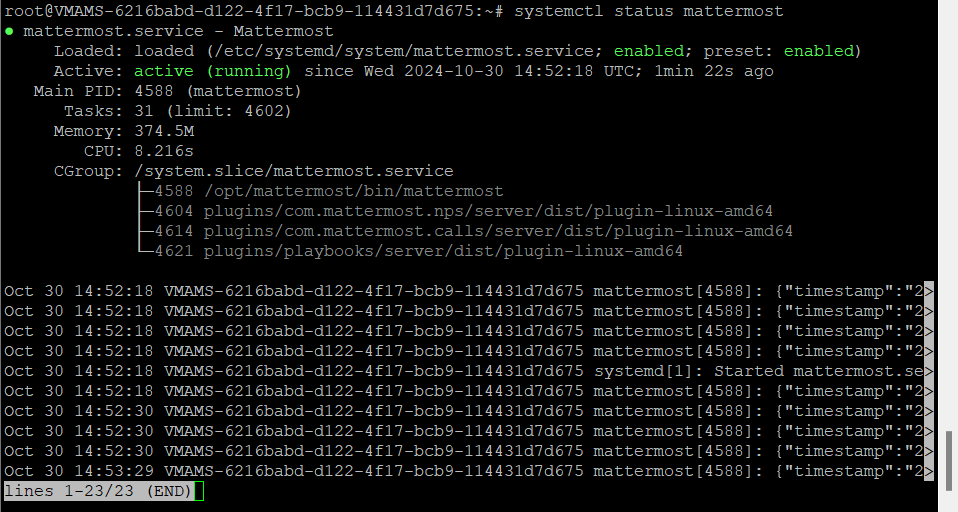
Step 11: Set Up SSL with Certbot
Stop Nginx to free up port 80 for Certbot:
systemctl stop nginxGenerate SSL certificates using Certbot:
certbot certonly --standalone --agree-tos --no-eff-email --staple-ocsp --preferred-challenges http --email contact@shape.host -d debian-tutorials.shape.host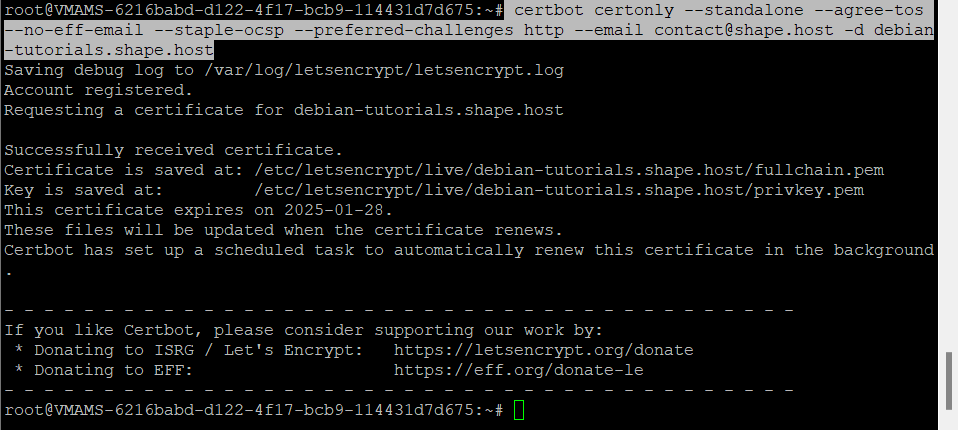
Step 12: Configure Nginx as a Reverse Proxy
Open the default Nginx configuration file:
nano /etc/nginx/nginx.confAdd the following configuration before the line include /etc/nginx/nginx.conf:
server_names_hash_bucket_size 64;
include /etc/nginx/conf.d/*.conf;
Save and exit the file. (Press CTRL + O to save, then CTRL + X to exit.)
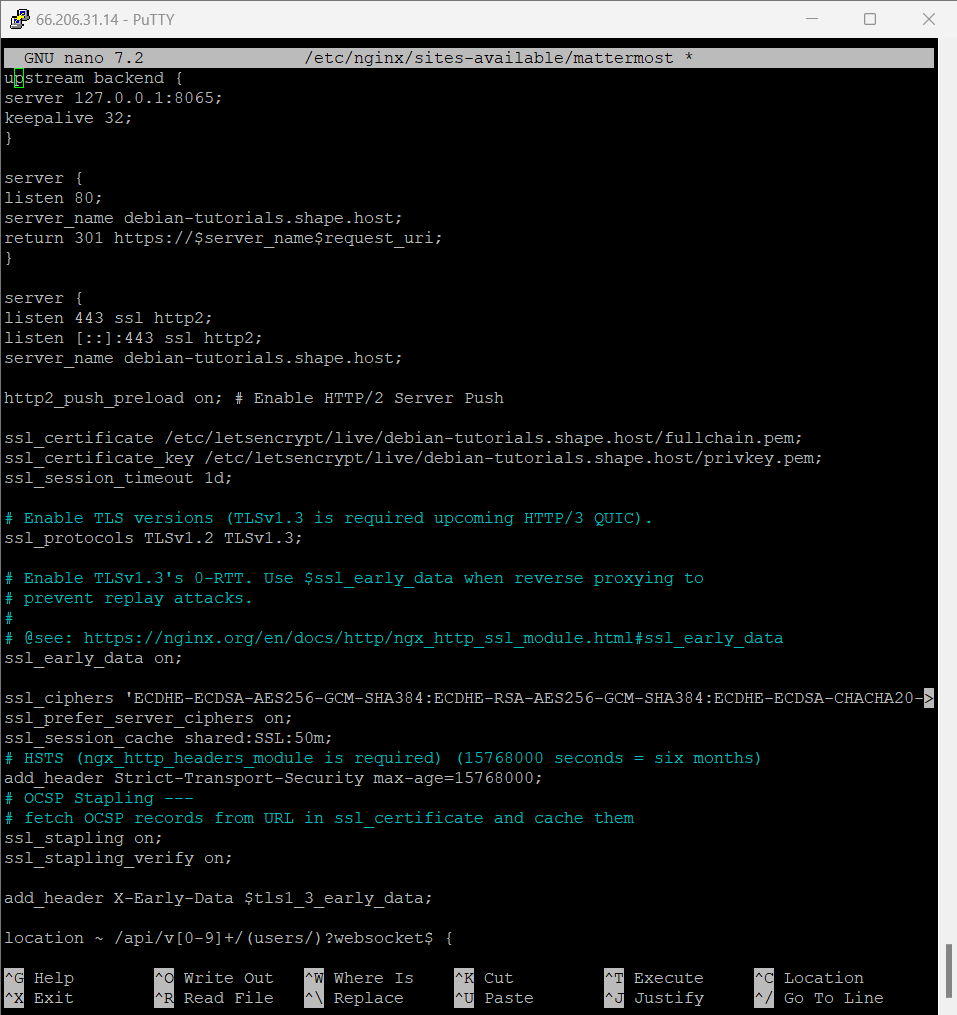
Create a new Nginx server block configuration:
nano /etc/nginx/sites-available/mattermostInsert the following configuration, replacing the domain and paths as necessary:
upstream backend {
server 127.0.0.1:8065;
keepalive 32;
}

server {
listen 80;
server_name debian-tutorials.shape.host;
return 301 https://$server_name$request_uri;
}

server {
listen 443 ssl http2;
listen [::]:443 ssl http2;
server_name debian-tutorials.shape.host;

http2_push_preload on; # Enable HTTP/2 Server Push

ssl_certificate /etc/letsencrypt/live/debian-tutorials.shape.host/fullchain.pem;
ssl_certificate_key /etc/letsencrypt/live/debian-tutorials.shape.host/privkey.pem;
ssl_session_timeout 1d;

# Enable TLS versions (TLSv1.3 is required upcoming HTTP/3 QUIC).
ssl_protocols TLSv1.2 TLSv1.3;

# Enable TLSv1.3's 0-RTT. Use $ssl_early_data when reverse proxying to
# prevent replay attacks.
#
# @see: https://nginx.org/en/docs/http/ngx_http_ssl_module.html#ssl_early_data
ssl_early_data on;

ssl_ciphers 'ECDHE-ECDSA-AES256-GCM-SHA384:ECDHE-RSA-AES256-GCM-SHA384:ECDHE-ECDSA-CHACHA20-POLY1305:ECDHE-RSA-CHACHA20-POLY1305:ECDHE-ECDSA-AES256-SHA384:ECDHE-RSA-AES256-SHA384';
ssl_prefer_server_ciphers on;
ssl_session_cache shared:SSL:50m;
# HSTS (ngx_http_headers_module is required) (15768000 seconds = six months)
add_header Strict-Transport-Security max-age=15768000;
# OCSP Stapling ---
# fetch OCSP records from URL in ssl_certificate and cache them
ssl_stapling on;
ssl_stapling_verify on;

add_header X-Early-Data $tls1_3_early_data;

location ~ /api/v[0-9]+/(users/)?websocket$ {
proxy_set_header Upgrade $http_upgrade;
proxy_set_header Connection "upgrade";
client_max_body_size 50M;
proxy_set_header Host $host;
proxy_set_header X-Real-IP $remote_addr;
proxy_set_header X-Forwarded-For $proxy_add_x_forwarded_for;
proxy_set_header X-Forwarded-Proto $scheme;
proxy_set_header X-Frame-Options SAMEORIGIN;
proxy_buffers 256 16k;
proxy_buffer_size 16k;
client_body_timeout 60s;
send_timeout 300s;
lingering_timeout 5s;
proxy_connect_timeout 90s;
proxy_send_timeout 300s;
proxy_read_timeout 90s;
proxy_http_version 1.1;
proxy_pass http://backend;
}

location / {
client_max_body_size 100M;
proxy_set_header Connection "";
proxy_set_header Host $host;
proxy_set_header X-Real-IP $remote_addr;
proxy_set_header X-Forwarded-For $proxy_add_x_forwarded_for;
proxy_set_header X-Forwarded-Proto $scheme;
proxy_set_header X-Frame-Options SAMEORIGIN;
proxy_buffers 256 16k;
proxy_buffer_size 16k;
proxy_read_timeout 600s;
proxy_http_version 1.1;
proxy_pass http://backend;
}
}

# This block is useful for debugging TLS v1.3. Please feel free to remove this
# and use the '$ssl_early_data' variable exposed by NGINX directly should you
# wish to do so.
map $ssl_early_data $tls1_3_early_data {
"~." $ssl_early_data;
default "";
}
Create a symbolic link to enable the Mattermost server block:
ln -s /etc/nginx/sites-available/mattermost /etc/nginx/sites-enabled/Verify Nginx syntax and restart the service:
nginx -t
systemctl restart nginx
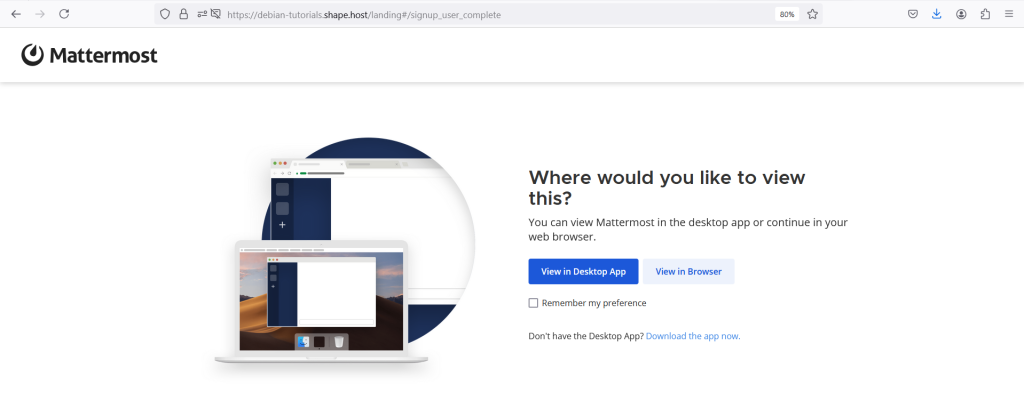
Step 13: Access Mattermost Web Interface
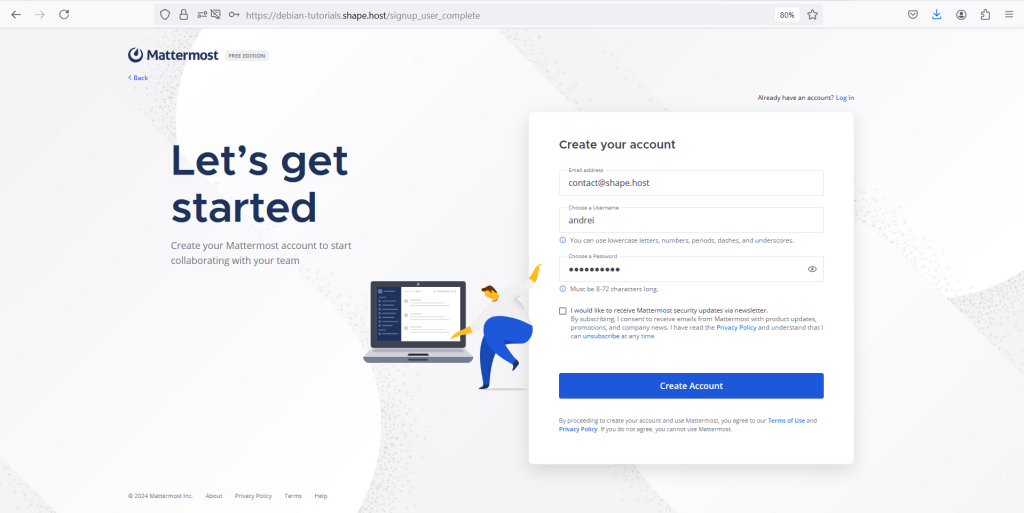
Open your web browser and visit https://your-domain.com. If your installation is successful, you will be prompted to create a new administrator account for Mattermost.
Enter the new admin user, email, and password, then click ‘Create Account’.
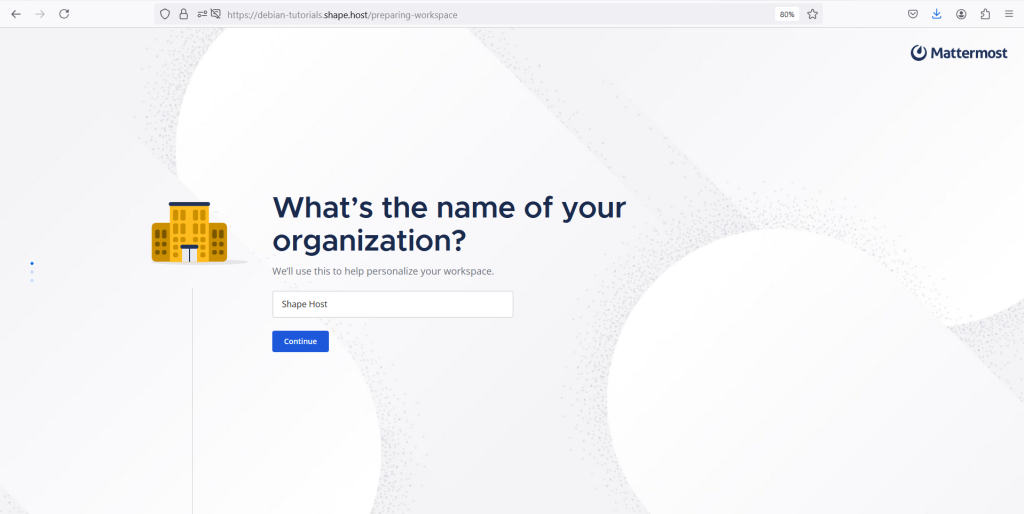
Input your organization name and click ‘Continue‘.
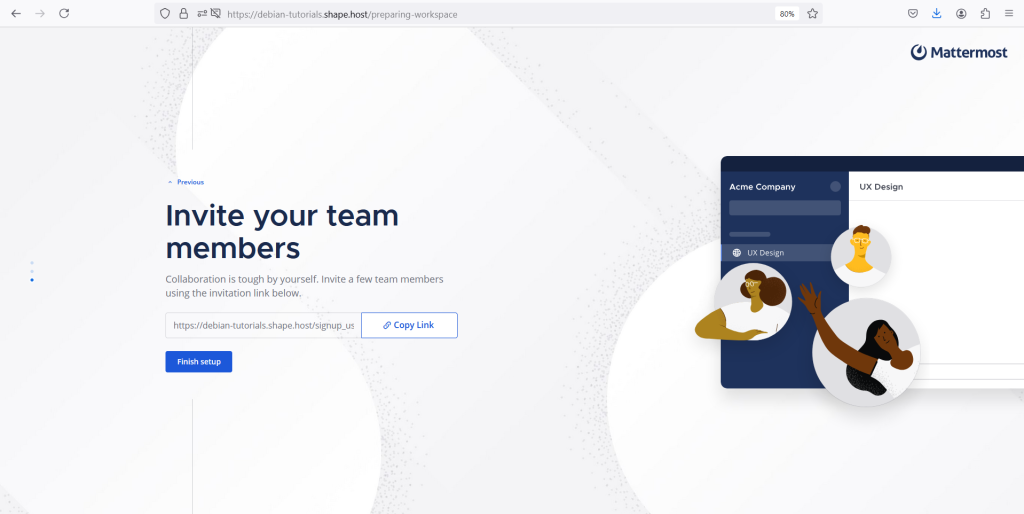
For integration with GitHub, Gitlab, Jira, or/and Zoom, select as needed. And then click ‘Continue‘ again.

Click ‘Finish setup‘ to complete the configuration.
After the process is complete, you’ll see the Mattermost dashboard like the following:
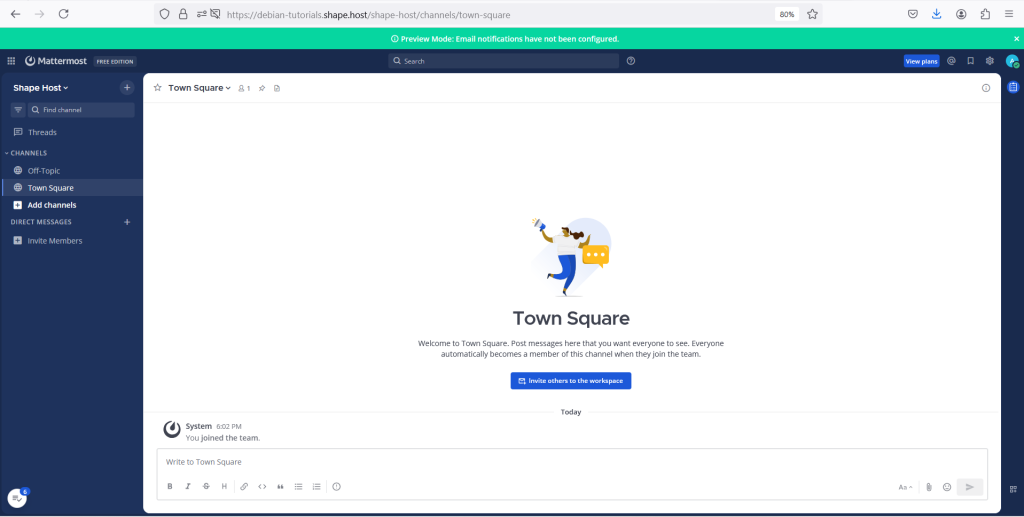
You have successfully installed Mattermost on Debian 12, configured PostgreSQL as the database, set up Nginx as a reverse proxy, and secured your installation with SSL. Mattermost is now ready for you and your team to use as your secure communication platform.
For hosting solutions like Cloud VPS, visit Shape.Host to explore a wide range of services that can help scale and manage your online presence.