MongoDB is a popular open-source NoSQL database that provides high performance, scalability, and flexibility for modern applications. This guide will show you how to install and configure MongoDB 7.0 on AlmaLinux 9, including essential steps such as configuring system limits, security settings, and user authentication.
Step 1: Create an Instance on Cloud.shape.host
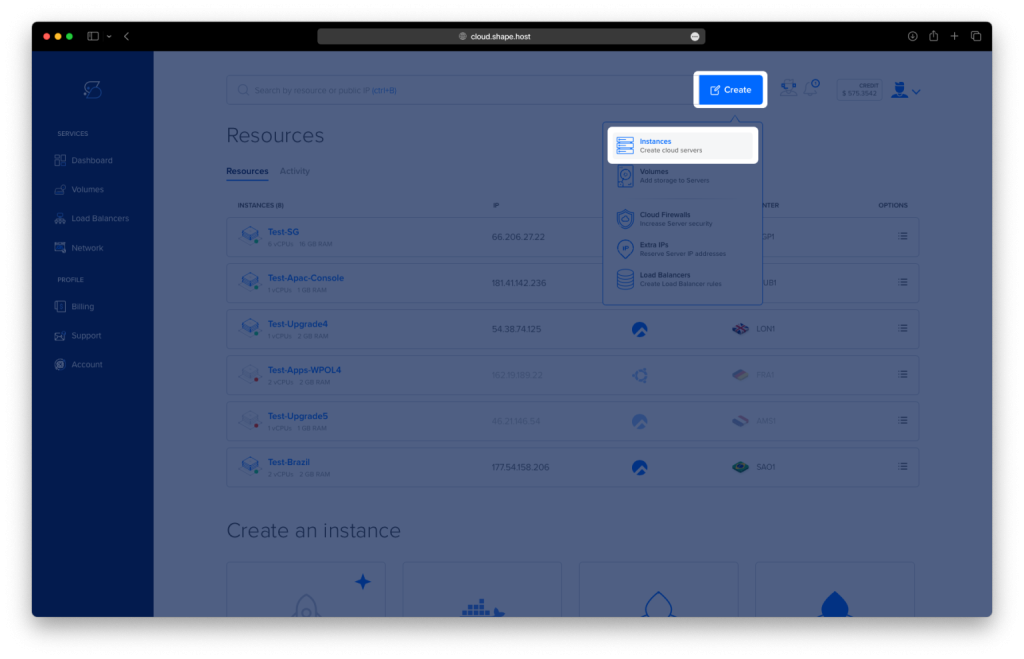
Step 1.1: Access the Dashboard
- Log in to Cloud.shape.host.
- Click Create, and select Instances.
Step 1.2: Choose a Datacenter Location
Select a datacenter closest to your target audience, such as New York, London, or Frankfurt.

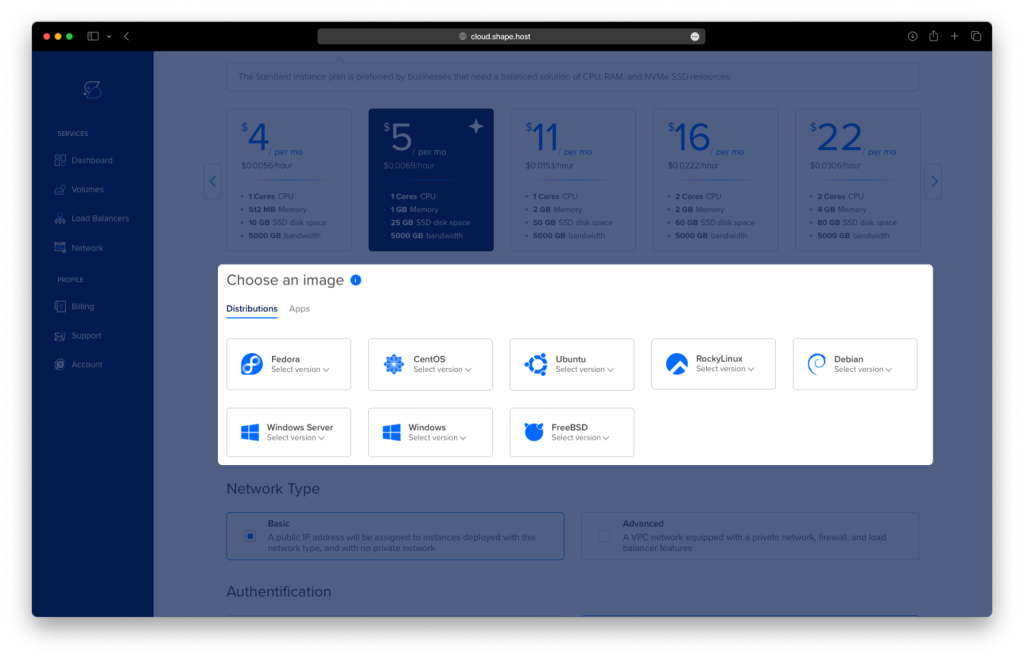
Step 1.3: Select a Plan
Choose a plan based on the resource needs of your MongoDB installation: Standard, CPU-Optimized, or Memory-Optimized.
Step 1.4: Select an Operating System
Select AlmaLinux 9 as your OS for installing MongoDB.
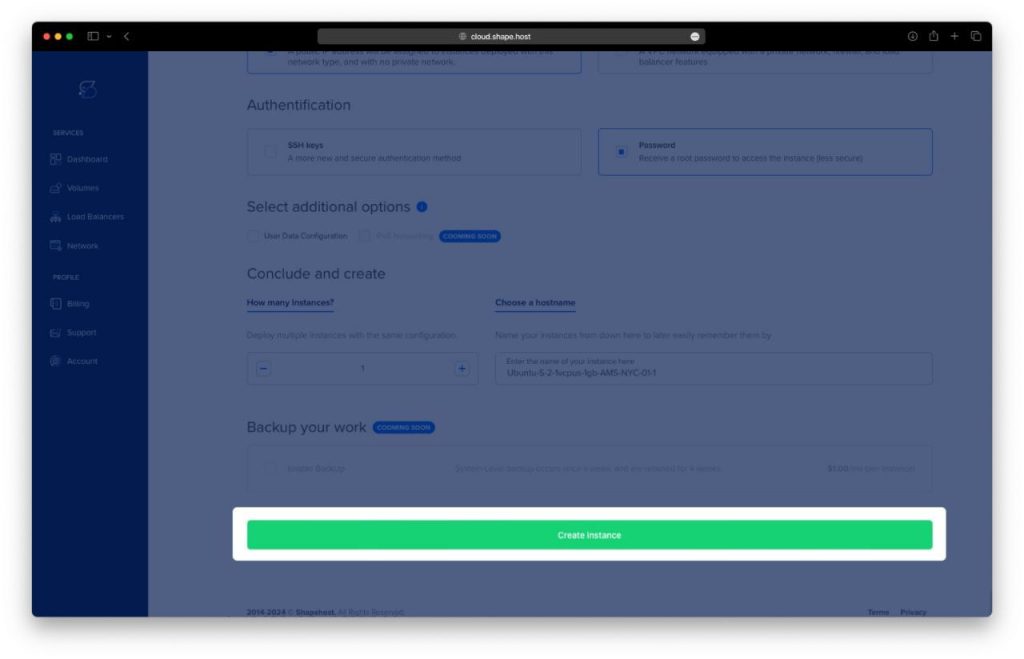
Step 1.5: Configure and Launch
- Set the Network Type and Authentication Method (SSH key or password).
- Click Create Instance.
Step 1.6: Locate your Instance’s IP
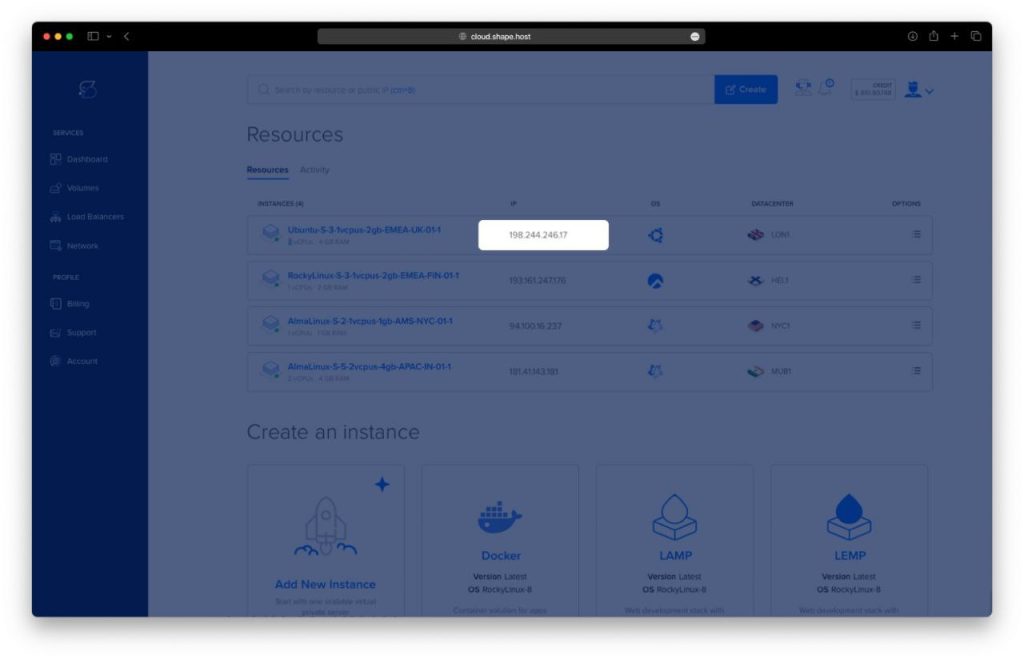
Step 1.7: Access Your Instance
- SSH (for Linux/macOS):
ssh root@<your-instance-ip>Replace <your-instance-ip> with the server’s public IP.
- PuTTY (for Windows):
Download PuTTY, enter the public IP, and click Open.
Step 2: Update AlmaLinux Packages
First, ensure your system is up to date:
dnf update -y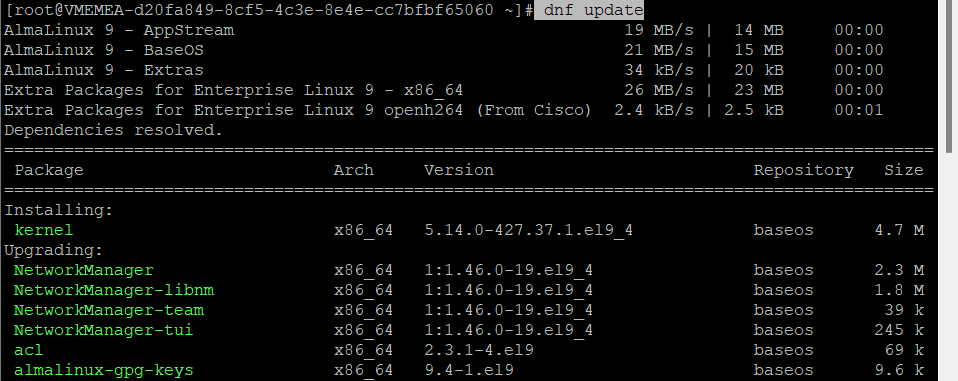
Step 3: Install Nano Text Editor
If Nano is not already installed, use this command to install it:
dnf install nano -y
Step 4: Disable Transparent Huge Pages (THP)
Create a systemd service to disable THP:
nano /etc/systemd/system/disable-thp.serviceInsert the following configuration:
[Unit]
Description=Disable Transparent Huge Pages (THP)

[Service]
Type=simple
ExecStart=/bin/sh -c "echo 'never' > /sys/kernel/mm/transparent_hugepage/enabled && echo 'never' > /sys/kernel/mm/transparent_hugepage/defrag"

[Install]
WantedBy=multi-user.target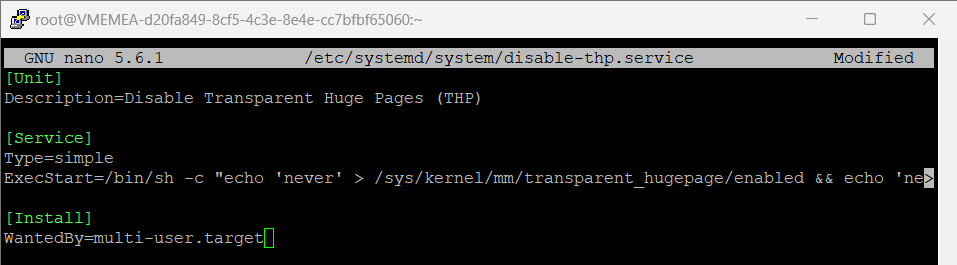
Reload the systemd manager and enable the service:
systemctl daemon-reload
systemctl enable --now disable-thp.service

Step 5: Set System Limits for MongoDB
Configure system limits by creating a new file for MongoDB:
nano /etc/security/limits.d/mongodb.confInsert the following:
mongod soft nproc 64000
mongod hard nproc 64000
mongod soft nofile 64000
mongod hard nofile 64000
Modify the system’s sysctl settings:
nano /etc/sysctl.confAdd these lines:
fs.file-max = 2097152
vm.max_map_count = 262144
vm.swappiness = 1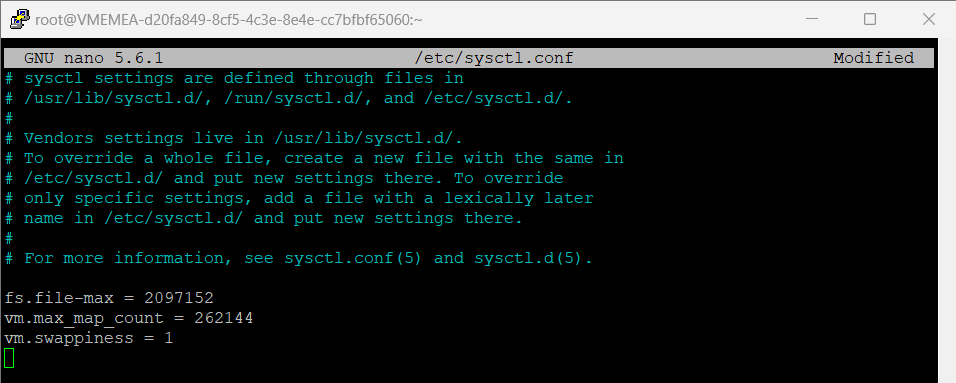
Apply the changes:
sysctl -p
Optionally, reboot the server to fully apply the changes:
reboot
Step 6: Configure the MongoDB Repository
Create a repository file for MongoDB:
nano /etc/yum.repos.d/mongodb-org-7.0.repoAdd the following configuration:
[mongodb-org-7.0]
name=MongoDB Repository
baseurl=https://repo.mongodb.org/yum/redhat/9/mongodb-org/7.0/x86_64/
gpgcheck=1
enabled=1
gpgkey=https://pgp.mongodb.com/server-7.0.asc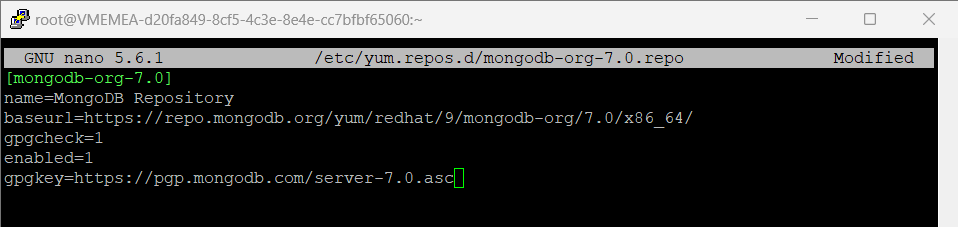
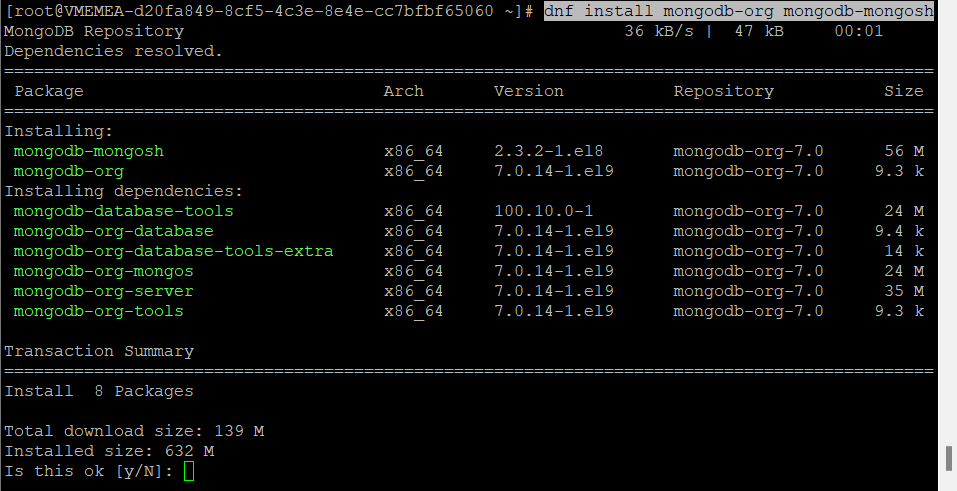
Step 7: Install MongoDB
Update the repository list and install MongoDB:
dnf repolist
dnf install mongodb-org mongodb-mongosh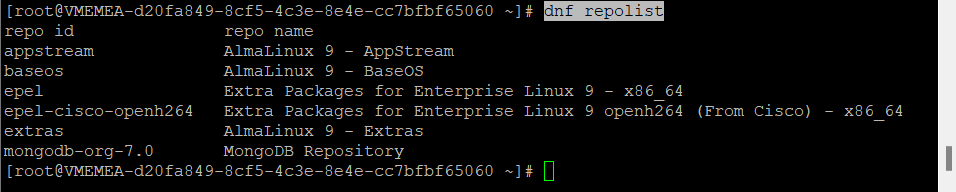
Step 8: Start MongoDB Service
Enable and start MongoDB:
systemctl enable --now mongod
systemctl status mongod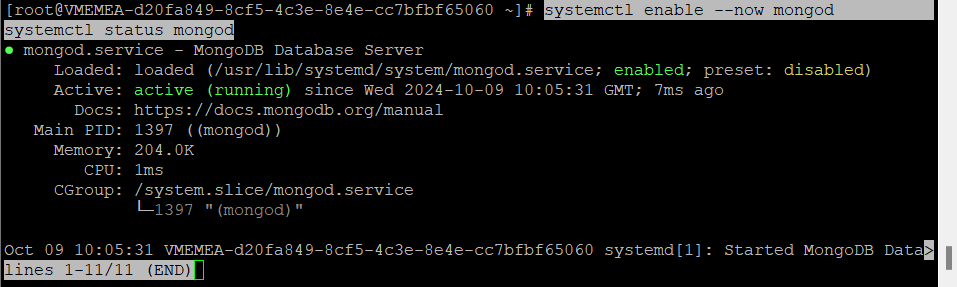
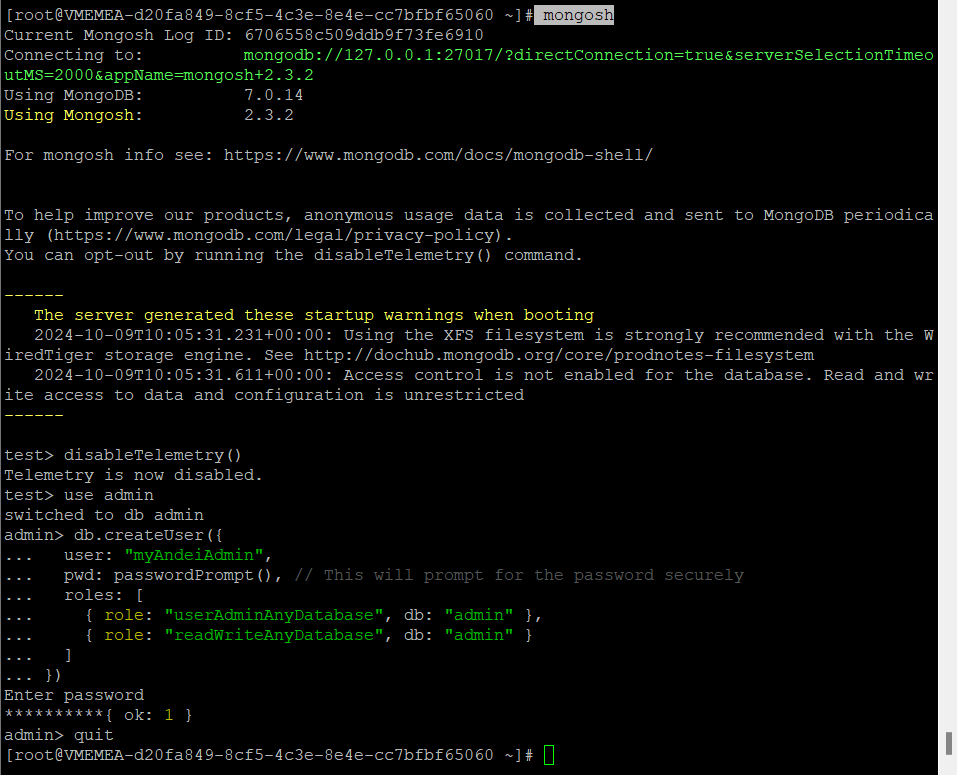
Step 9: Secure MongoDB
Step 9.1: Disable MongoDB Telemetry
Log in to MongoDB using mongosh:
mongoshRun the following to disable telemetry:
disableTelemetry()Step 9.2: Create an Admin User
Switch to the admin database and create an admin user:
use admin
db.createUser({
  user: "myAndeiAdmin",
  pwd: passwordPrompt(),
  roles: [
    { role: "userAdminAnyDatabase", db: "admin" },
    { role: "readWriteAnyDatabase", db: "admin" }
  ]
})
Step 10: Enable Authentication for MongoDB
Uncomment the security option in the MongoDB configuration file:
nano /etc/mongod.confAdd the following under the security section:
security:
 authorization: enabled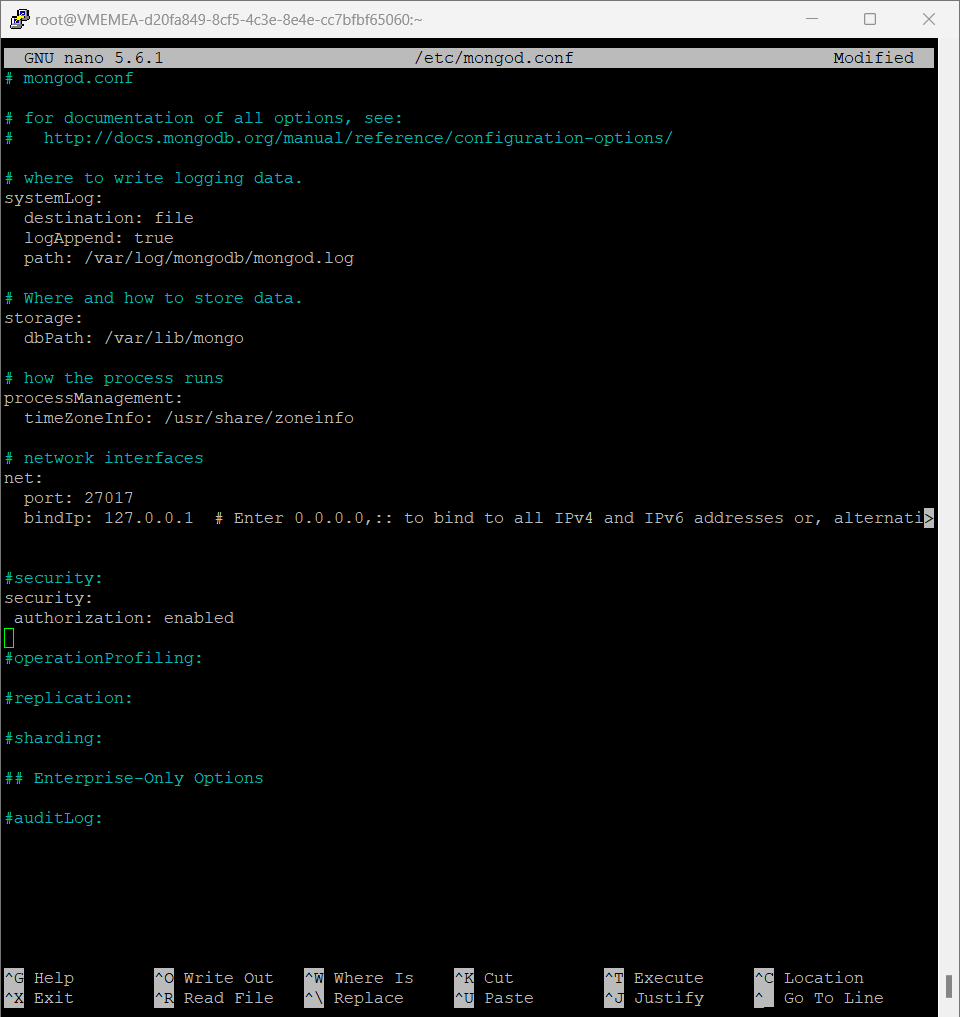
Restart MongoDB to apply the changes:
systemctl restart mongod
Step 11: Access MongoDB with Authentication
Log in to MongoDB with authentication:
mongoshAuthenticate with the admin user:
use admin
db.auth("myAndeiAdmin", passwordPrompt())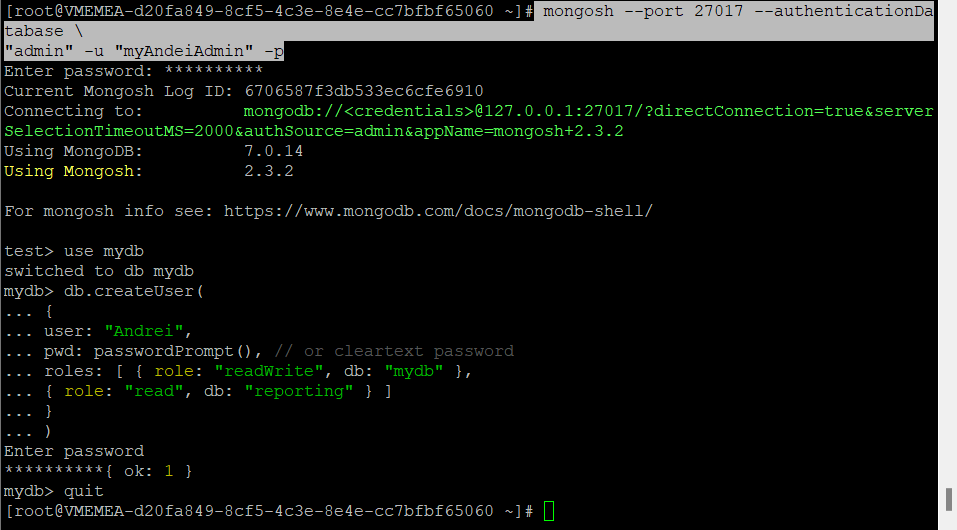
You have successfully installed and configured MongoDB 7.0 on AlmaLinux 9. This includes disabling THP, setting system limits, enabling authentication, and securing the MongoDB instance. MongoDB is now ready to manage your NoSQL database needs efficiently.
For enhanced performance and scalability, consider using Shape.Host’s Cloud SSD VPS services to run MongoDB smoothly.