Node.js is a popular JavaScript runtime built on Chrome’s V8 JavaScript engine, allowing developers to run JavaScript on the server-side. This guide will walk you through the process of installing Node.js on Ubuntu 22.04 and setting up a simple Node.js application.
Step 1: Deploying a Cloud Instance on Shape.host
- Log in to Shape.host Dashboard:
- Navigate to the Shape.host website and log in to your account.
- Create a New Instance:
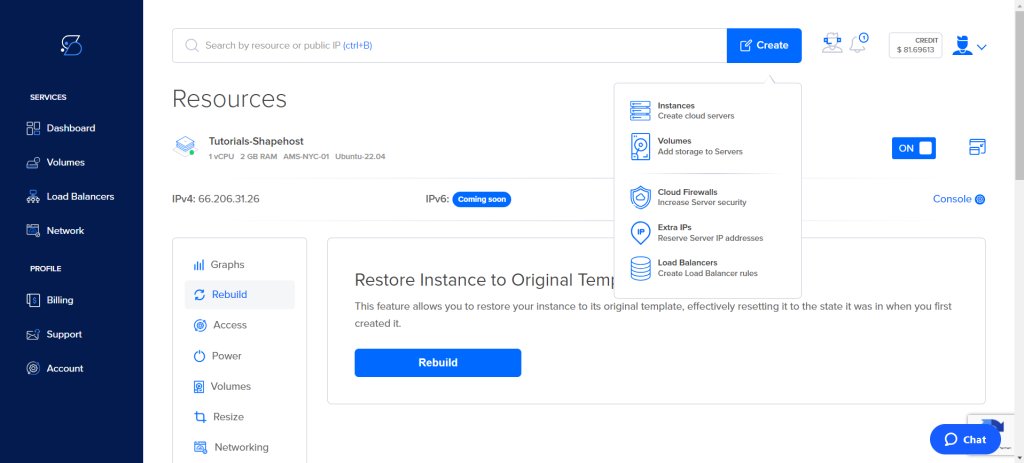
- Click on the “Create” button located at the top right corner of the dashboard.
- From the dropdown menu, select “Instances”.
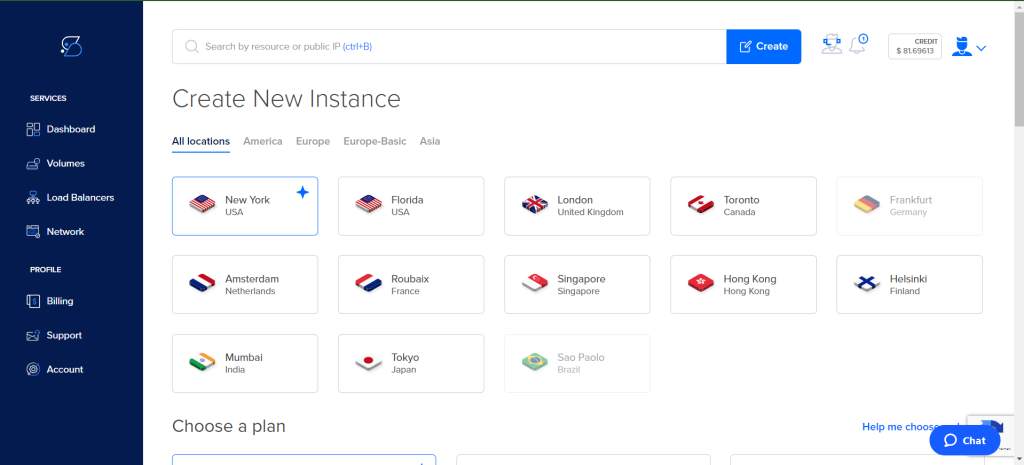
- Select Instance Location:
- Choose the desired location for your server. For this tutorial, we’ll select “New York, USA”.
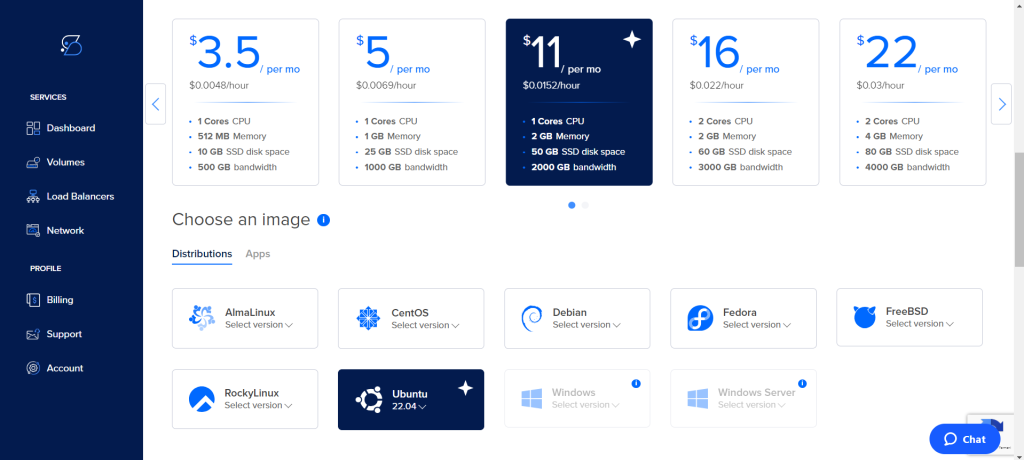
- Choose a Plan:
- Select a plan that fits your requirements. For example, you might choose a plan with 2 cores CPU, 2 GB Memory, and 50 GB SSD disk space.
- Select an Operating System:
- Scroll down to the “Choose an image” section and select “Ubuntu 22.04”.
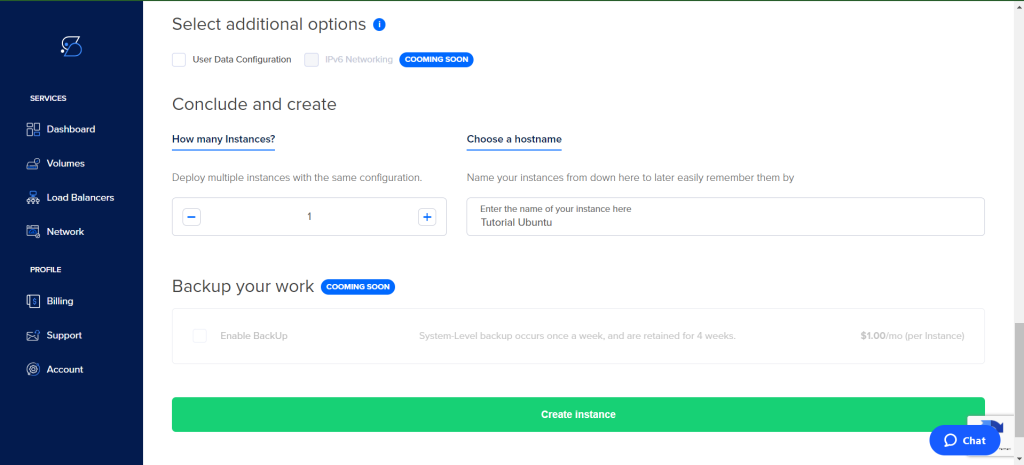
- Configure Additional Options:
- (Optional) You can configure additional options like User Data Configuration and IPv6 Networking.
- Enter a hostname for your instance, e.g., “Tutorial Ubuntu”.
- Click on the “Create instance” button to deploy the instance.
Step 2: Connecting to Your Instance
- Retrieve SSH Credentials:
- Note the IP address of your newly created instance from the Shape.host dashboard.
- Connect via SSH:
- Open a terminal on your local machine.
- Use the following command to connect to your instance:
ssh root@your_instance_ip - Replace
your_instance_ipwith the actual IP address of your instance.
Step 3: Update and Upgrade Your System
Ensure your system is up-to-date and all packages are upgraded to the latest versions:
apt update
apt upgrade -y
Method 1: Install Node.js from Ubuntu Repositories
The simplest way to install Node.js is to use the Ubuntu package repository. However, the version available might not be the latest.
- Install Node.js:
apt install nodejs -y
- Install npm (Node Package Manager):
apt install npm -y
- Verify the Installation: Check the versions to ensure the installation was successful:
   node -v
   npm -v
Method 2: Install Node.js Using NodeSource PPA
To install the latest version of Node.js, you can use the NodeSource PPA.
Resolve Potential Conflicts
First, remove any conflicting packages that might interfere with the Node.js installation:
dpkg --remove --force-remove-reinstreq libnode72
apt clean
apt autoremove -y- Add NodeSource PPA: Add the NodeSource repository. Replace
setup_18.xwith the version you wish to install (e.g.,setup_16.xfor Node.js 16).
curl -fsSL https://deb.nodesource.com/setup_18.x | bash -- Install Node.js:
apt install nodejs -y- Verify the Installation:
   node -v
   npm -v
Method 3: Install Node.js Using nvm (Node Version Manager)
Using nvm allows you to manage multiple versions of Node.js on the same system.
- Install nvm: Download and install nvm:
curl -o- https://raw.githubusercontent.com/nvm-sh/nvm/v0.39.3/install.sh | bashLoad nvm:
source ~/.bashrc- Install Node.js with nvm: List available Node.js versions:
nvm ls-remoteInstall a specific version, for example, the latest LTS version:
nvm install --lts- Verify the Installation:
   node -v
   npm -v
Setting Up a Simple Node.js Application
To ensure that Node.js is working correctly, you can create a simple application.
- Create a Project Directory:
   mkdir -p /var/www/nodeapp
   cd /var/www/nodeapp
- Initialize a Node.js Project:
npm init -y
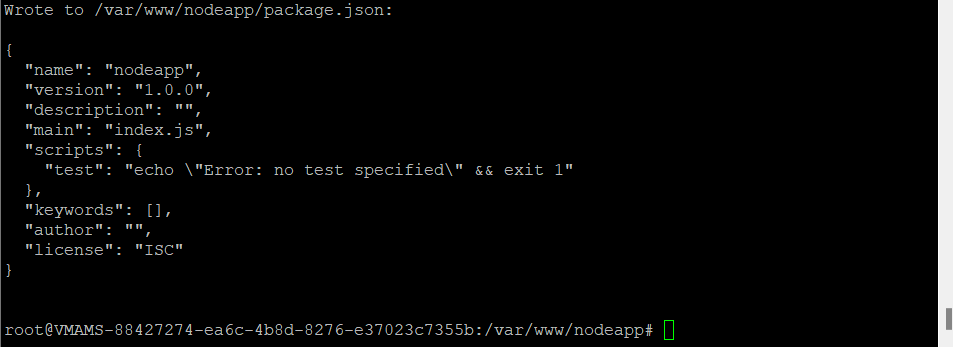
This command creates a package.json file with default settings.
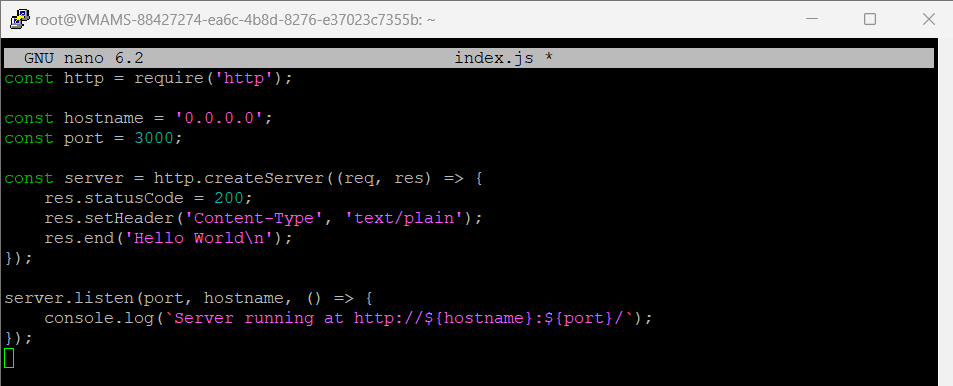
- Create a Simple Application: Create an
index.jsfile:
nano index.js
Add the following content:
   const http = require('http');

   const hostname = '0.0.0.0';
   const port = 3000;

   const server = http.createServer((req, res) => {
       res.statusCode = 200;
       res.setHeader('Content-Type', 'text/plain');
       res.end('Hello World\n');
   });

   server.listen(port, hostname, () => {
       console.log(`Server running at http://${hostname}:${port}/`);
   });
- DNS Configuration: Ensure that
tutorials.shape.hostis correctly pointed to your server’s IP address. This can typically be done in your domain registrar’s DNS settings by adding anArecord. - Firewall Configuration: Ensure that your server’s firewall is configured to allow traffic on port 3000. If you are using
ufw, you can allow traffic to port 3000 with the following command:
ufw allow 3000
- Run the Application:
node index.js
You should see output indicating that the server is running:
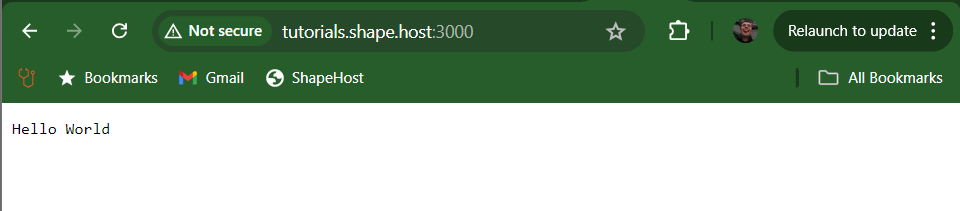
Server running at http://0.0.0.0:3000/- Test the Application: Open your web browser and navigate to
http://tutorials.shape.host:3000/. You should see “Hello World” displayed.
For those seeking reliable and scalable hosting solutions, Shape.host offers a variety of Linux SSD VPS services. Whether you’re a developer needing a robust environment for your applications or a business looking for scalable solutions, Shape.host provides the infrastructure and support to meet your needs.