pgAdmin 4 is a popular, open-source administration and management tool for PostgreSQL, the advanced open-source relational database management system. pgAdmin provides a graphical interface to interact with PostgreSQL databases, making it easier to manage databases, run queries, and perform other administrative tasks. It is a powerful tool for both developers and database administrators.
Key Features of pgAdmin 4
- Graphical Interface: pgAdmin provides an intuitive web-based user interface (UI) for managing PostgreSQL databases. The interface includes features such as query editors, object browsers, and data grid views, all designed to make database management easier and more accessible.
- Cross-Platform Compatibility: pgAdmin 4 is available for multiple platforms, including Windows, macOS, and Linux. It also supports running in a browser, which means it can be used on any device with an internet connection, regardless of the operating system.
- SQL Query Tool: One of the core features of pgAdmin 4 is the SQL Query Tool, which allows users to write, execute, and optimize SQL queries. It includes syntax highlighting, autocompletion, and error reporting to make query writing and debugging easier.
- Server and Database Management: pgAdmin allows users to manage multiple PostgreSQL servers and databases. You can connect to local and remote databases, and easily browse and manage schemas, tables, views, functions, and other database objects.
- Data Editor: With pgAdmin 4, you can easily edit the data in your tables directly within the interface. It includes a grid-based editor that allows you to view, edit, and filter data in a tabular format, providing an easy way to work with large datasets.
- Backup and Restore: pgAdmin 4 provides an easy-to-use interface for backing up and restoring databases. Users can create backups of entire databases or specific schemas, tables, or other objects, and restore them when necessary.
- Security Management: pgAdmin provides tools for managing users, roles, and privileges. You can create and manage roles with specific permissions, ensuring that your database is secure and only accessible by authorized users.
- Server Dashboard: pgAdmin includes a comprehensive server dashboard that provides real-time statistics about the server’s performance, such as CPU usage, memory usage, and database activity. This feature helps users monitor their PostgreSQL servers and ensure they are running smoothly.
- Extensions Support: pgAdmin 4 supports PostgreSQL extensions, allowing users to install and manage extensions such as PostGIS (for spatial data), pg_stat_statements (for query statistics), and others directly from the UI.
- Data Import/Export: You can import and export data in various formats such as CSV, Excel, and SQL. pgAdmin 4 makes it easy to migrate data into and out of PostgreSQL databases without needing to manually write complex import/export scripts.
- Object Search: pgAdmin has a powerful search feature that lets you find any database object (tables, views, functions, etc.) quickly, even in large databases. This search functionality is useful when you have complex databases with many objects.
- Job Scheduling and Monitoring: pgAdmin provides tools to schedule and monitor jobs, including backup jobs, maintenance tasks, and other automated processes. This helps with regular database maintenance and ensures your database remains in good health.
- Logs and Query History: pgAdmin 4 maintains logs of activities and keeps a history of executed SQL queries. This allows you to track actions performed on the database and makes it easier to troubleshoot issues.
How to Use pgAdmin 4
- Installation: pgAdmin 4 can be installed on various platforms, including Windows, macOS, and Linux. You can download the latest version from the official website or install it using a package manager for your operating system.
- Connecting to a PostgreSQL Server: Once pgAdmin 4 is installed, you can connect to your PostgreSQL server by providing the connection details (hostname, port, username, and password). You can connect to local or remote servers and manage all your databases from a single interface.
- Creating a Database: pgAdmin allows you to easily create a new database through the graphical interface. You can specify the database name, owner, encoding, and other parameters.
- Running SQL Queries: Use the built-in query editor to execute SQL queries. The SQL Query Tool supports features like query history, syntax highlighting, and error messages to help you write and debug queries effectively.
- Managing Database Objects: pgAdmin 4 provides a visual interface to create, edit, and manage database objects such as tables, views, triggers, and functions. You can easily define relationships, add indexes, and configure constraints without writing SQL.
- Backup and Restore: To back up a database, simply right-click on the database in the tree view and select “Backup”. You can choose from various backup formats and options, such as creating a plain SQL file or a custom-format backup. The restore process is similarly easy and can be done by right-clicking and selecting “Restore”.
- Monitoring Server Performance: pgAdmin’s dashboard provides a real-time view of your PostgreSQL server’s performance. You can monitor server activity, CPU usage, disk I/O, and more to ensure the server is functioning properly.
- Extensions: You can install and manage PostgreSQL extensions directly from pgAdmin’s UI. Simply navigate to the “Extensions” section of your database and install or configure the necessary extensions.
- Job Scheduling: pgAdmin offers job scheduling capabilities to automate common tasks such as backups, vacuuming, or maintenance. You can define jobs and set schedules to ensure your database stays optimized and well-maintained.
Tips for Using pgAdmin 4
- Use Multiple Query Windows: pgAdmin allows you to open multiple query windows. This is helpful when working with complex SQL queries or when you need to reference different parts of the database during development.
- Regularly Back Up Your Data: Ensure that you set up regular backups through pgAdmin’s backup and restore tools. This ensures that your data is protected and recoverable in case of server failure.
- Utilize the Dashboard for Monitoring: Use the real-time server statistics available in pgAdmin’s dashboard to monitor the performance of your PostgreSQL server and troubleshoot any issues that may arise.
- Customize the UI: pgAdmin 4 allows you to customize the interface to suit your workflow. You can adjust the layout, toolbars, and themes to make it more user-friendly.
- Use Extensions: Leverage PostgreSQL extensions like PostGIS or pg_stat_statements to extend PostgreSQL’s functionality and improve performance analysis. pgAdmin makes it easy to install and configure these extensions.
pgAdmin 4 is a powerful and user-friendly administration tool for PostgreSQL databases. Whether you’re a developer, database administrator, or data analyst, pgAdmin simplifies many aspects of working with PostgreSQL, from querying and managing data to monitoring server performance and automating routine tasks. Its graphical interface and rich set of features make it an essential tool for anyone working with PostgreSQL.
Step 1: Create an Instance
To get started, create a server instance running Ubuntu 24.04.
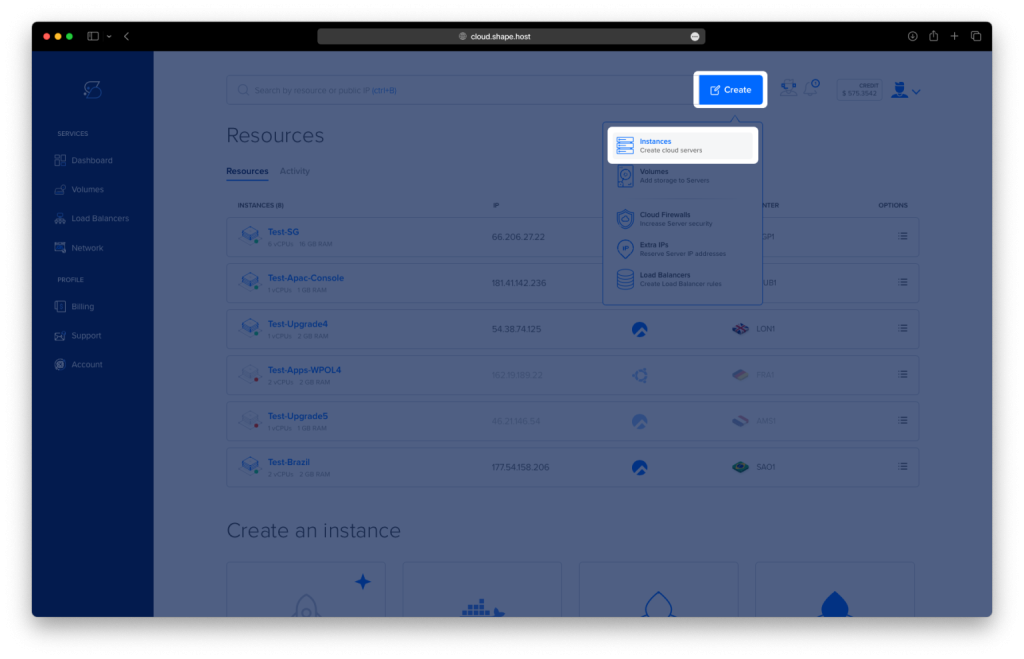
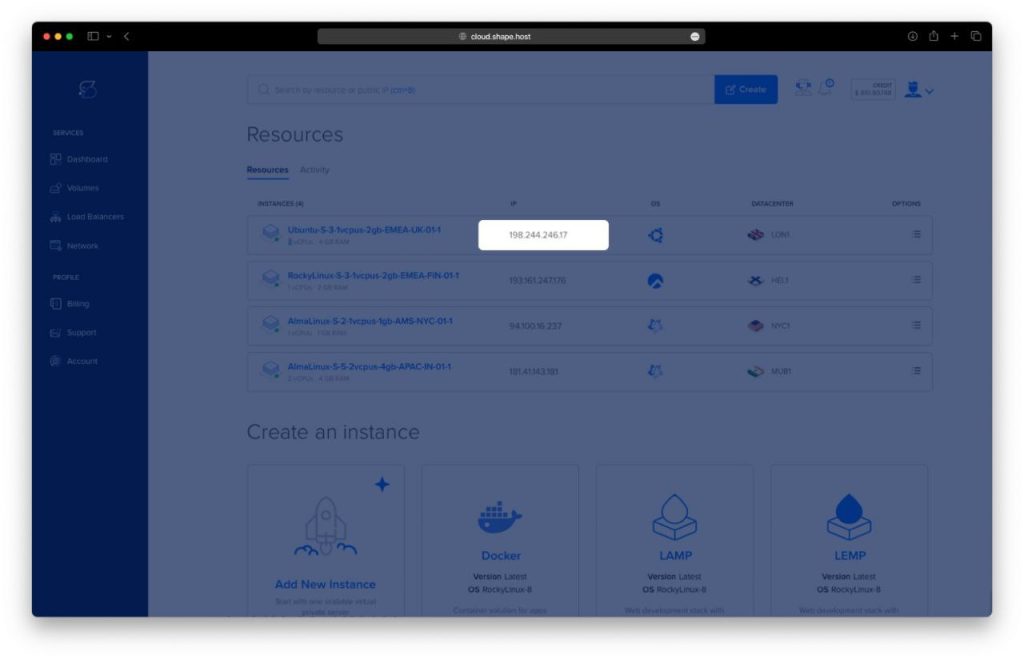
Access the Dashboard: Log in to your Shape.Host account and navigate to your Dashboard.
Click Create: Click on the “Create” button located in the top-right corner.
Select Instances: From the dropdown menu, choose “Instances” to begin creating a new cloud server.
Select Location: Choose a data center location closest to your target audience for optimal performance.
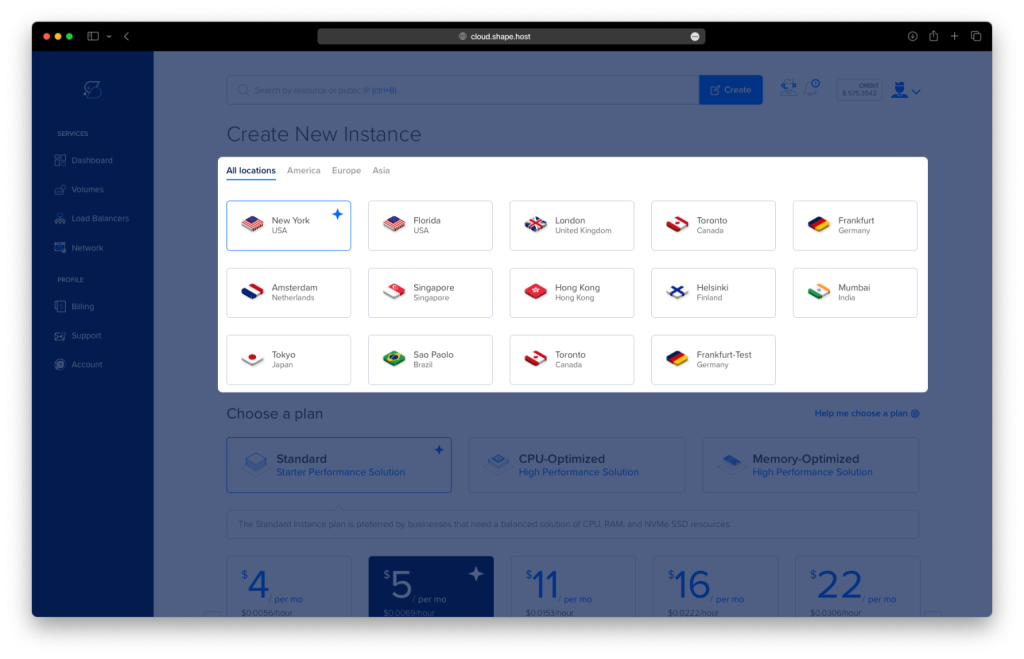
Choose a Plan: Select a server plan based on your project needs (e.g., Standard, CPU-Optimized, or Memory-Optimized).
Choose an Image: Select Ubuntu 24.04 as the operating system.
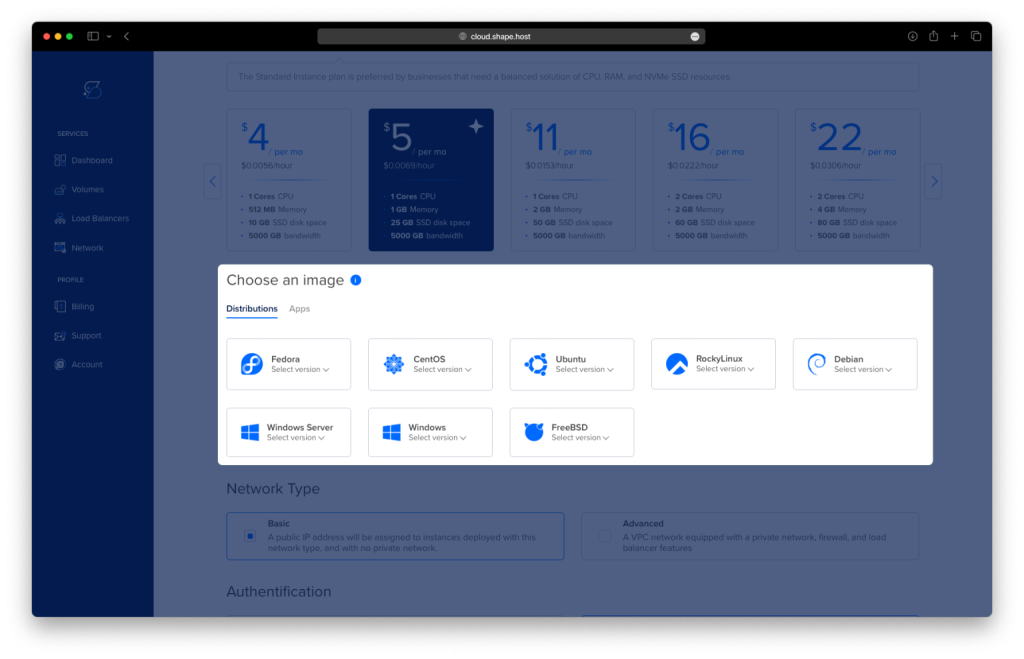
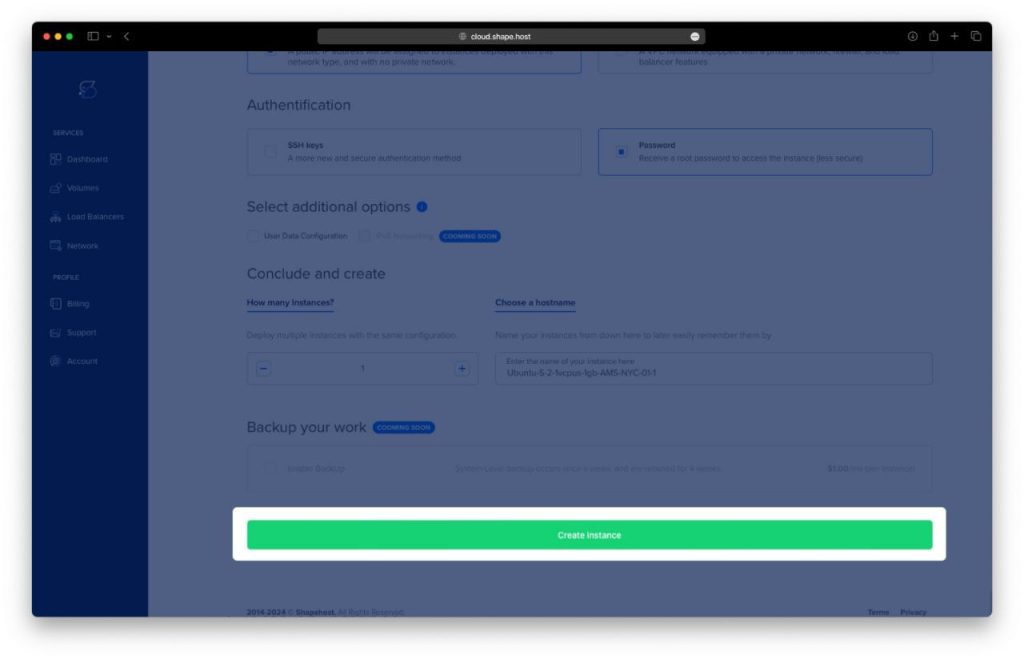
Authentication and Finalize: Choose your preferred authentication method, either SSH keys or password, and click Create Instance.
- Obtain IP Address
- Once your instance is created, return to the dashboard.
- Find your instance’s IP address under the Resources section and use it to access your server.
Step 2: Connect to Your Instance
Once your instance is ready, connect to it using SSH:
- Linux/macOS: Use the terminal:
ssh root@<your_server_ip> - Windows: Use an SSH client like PuTTY. Enter your server’s IP address, select SSH, and log in as
rootwith the password or key you set up.
Step 3: Add PostgreSQL Repository and Install PostgreSQL
To install PostgreSQL, first add its official repository and key:
curl https://www.postgresql.org/media/keys/ACCC4CF8.asc | gpg --dearmor | sudo tee /usr/share/keyrings/postgresql-key.gpg >/dev/null
Add the PostgreSQL repository to your sources list:
sudo sh -c 'echo "deb [signed-by=/usr/share/keyrings/postgresql-key.gpg arch=amd64] http://apt.postgresql.org/pub/repos/apt $(lsb_release -cs)-pgdg main" > /etc/apt/sources.list.d/pgdg.list'

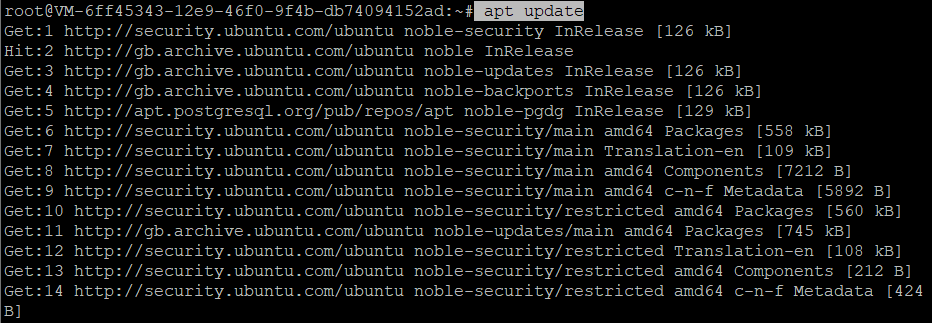
Update your package list and install PostgreSQL:
apt update
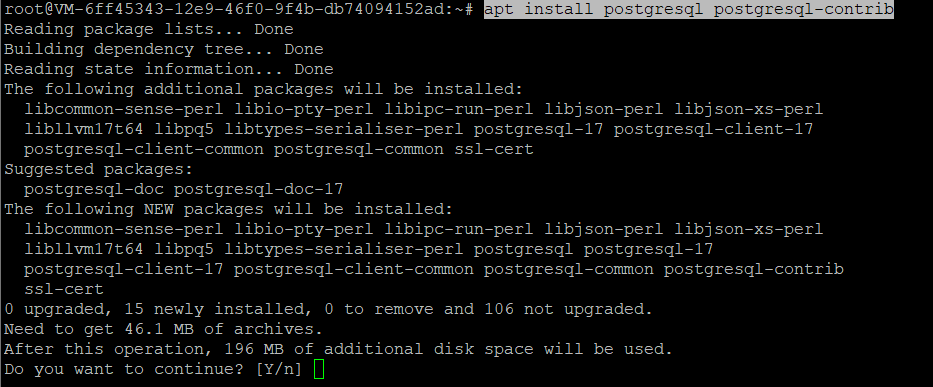
apt install postgresql postgresql-contrib
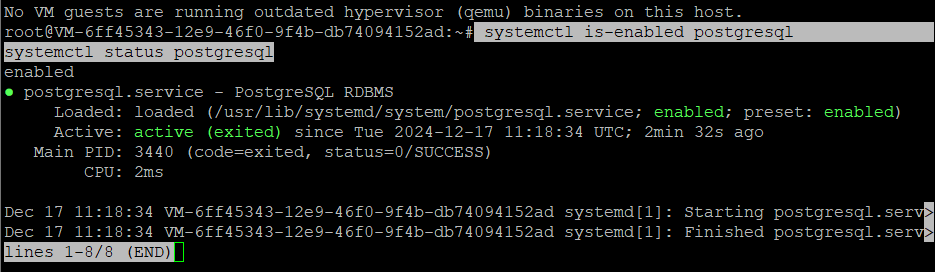
Verify PostgreSQL is enabled and running:
systemctl is-enabled postgresql
systemctl status postgresql
Step 4: Configure PostgreSQL
Switch to the postgres user to access the PostgreSQL command-line interface (psql):
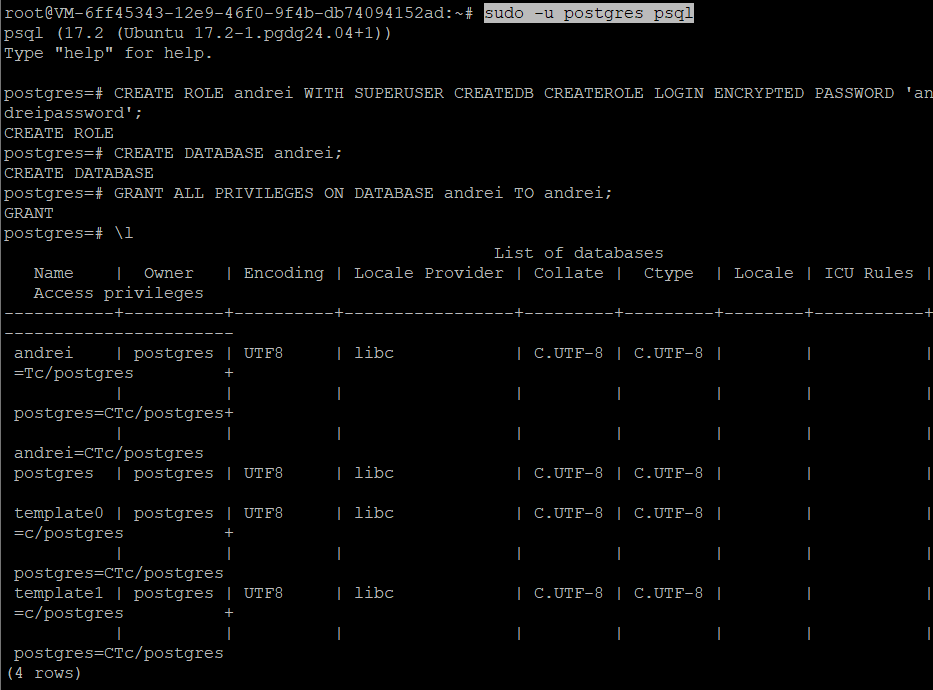
sudo -u postgres psql
Run the following SQL queries to create a new user andrei with the password andreipassword. Replace these values with your own credentials if needed:
CREATE ROLE andrei WITH SUPERUSER CREATEDB CREATEROLE LOGIN ENCRYPTED PASSWORD 'andreipassword';
\du
Next, create a database named andrei and grant privileges to the user andrei:
CREATE DATABASE andrei;
GRANT ALL PRIVILEGES ON DATABASE andrei TO andrei;
Check the list of databases to confirm:
\l
Exit the PostgreSQL interface by typing:
\q
Step 5: Add pgAdmin 4 Repository and Install pgAdmin 4
Download the pgAdmin 4 public key and add its repository:
curl -fsSL https://www.pgadmin.org/static/packages_pgadmin_org.pub | sudo gpg --dearmor -o /usr/share/keyrings/pgadmin4.gpg
Add the pgAdmin 4 repository:
sudo echo "deb [arch=amd64 signed-by=/usr/share/keyrings/pgadmin4.gpg] https://ftp.postgresql.org/pub/pgadmin/pgadmin4/apt/$(lsb_release -cs) pgadmin4 main" | sudo tee /etc/apt/sources.list.d/pgadmin4.list

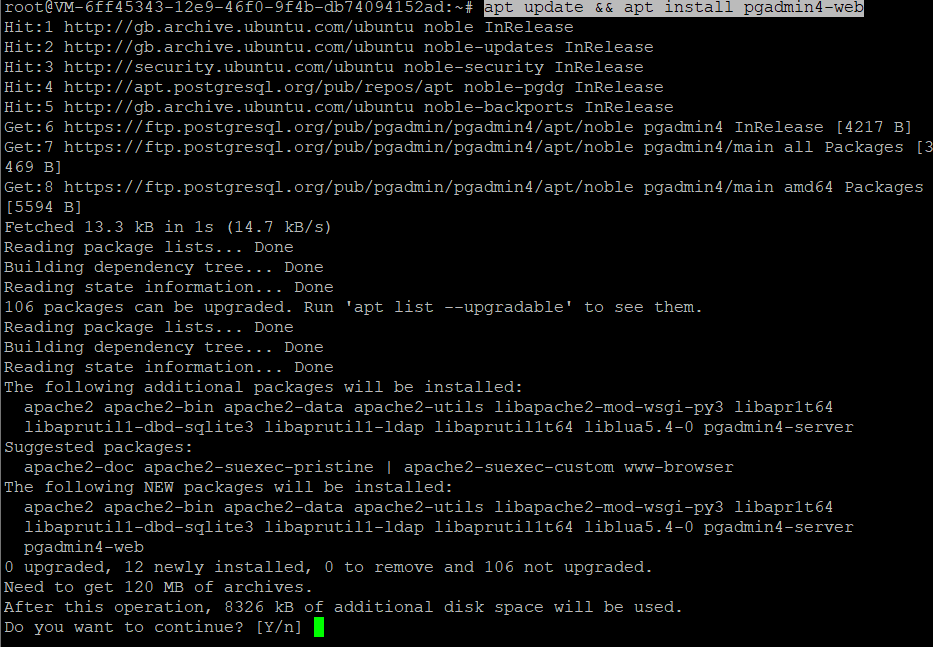
Update your package list and install pgAdmin 4 Web:
apt update && apt install pgadmin4-web
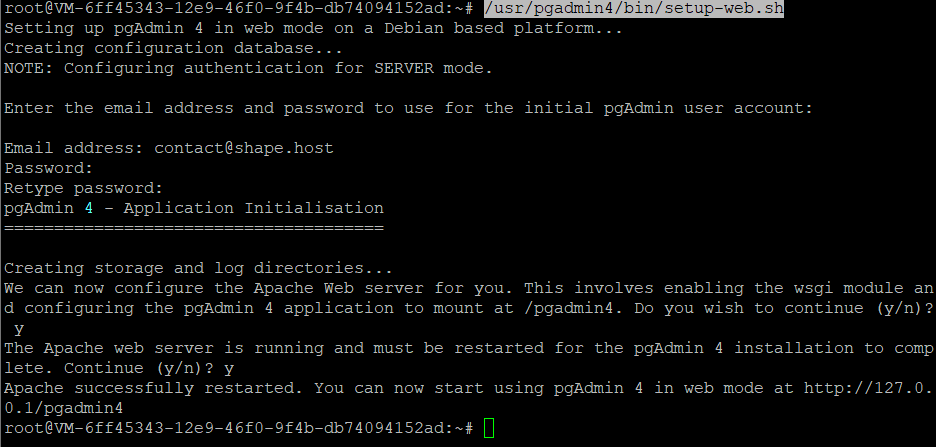
Step 6: Set Up pgAdmin 4 Web Interface
Run the pgAdmin 4 setup script to configure the web interface:
/usr/pgadmin4/bin/setup-web.sh
Follow the prompts to set up an email address and password for the pgAdmin 4 web interface.
Step 7: Access pgAdmin 4
Once the setup is complete, open a web browser and visit the following URL:
http://<your-server-ip>/pgadmin4
Replace <your-server-ip> with your server’s public IP address. You should see the pgAdmin 4 login page. Log in using the email and password you configured earlier.
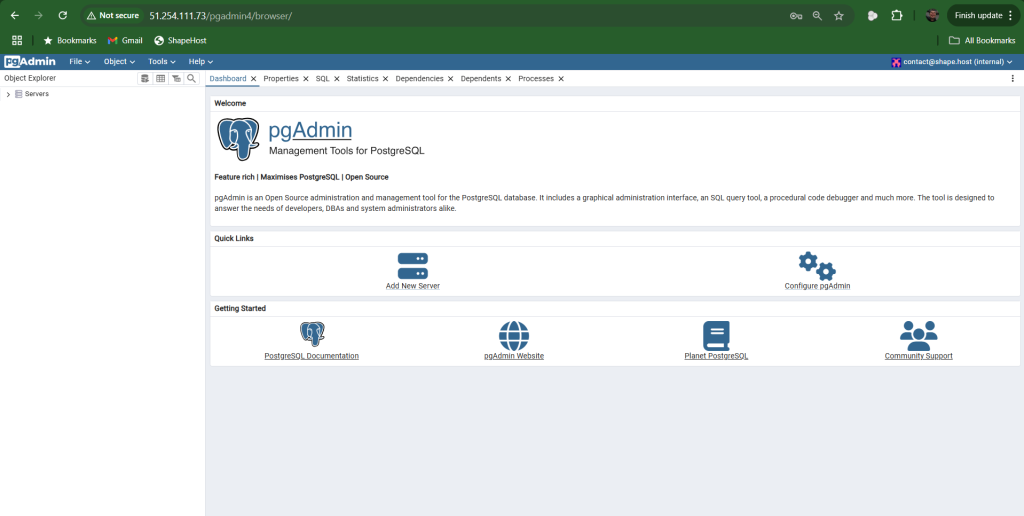
Log in with your email address and password to the pgAdmin4 dashboard.
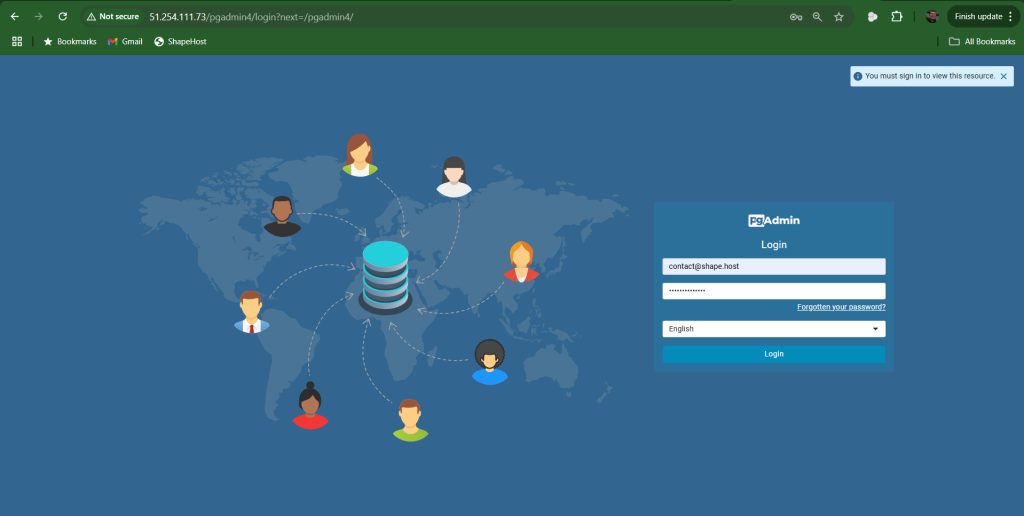
If you have the correct email address and password, you’ll be presented with the pgAdmin4 dashboard like the following:
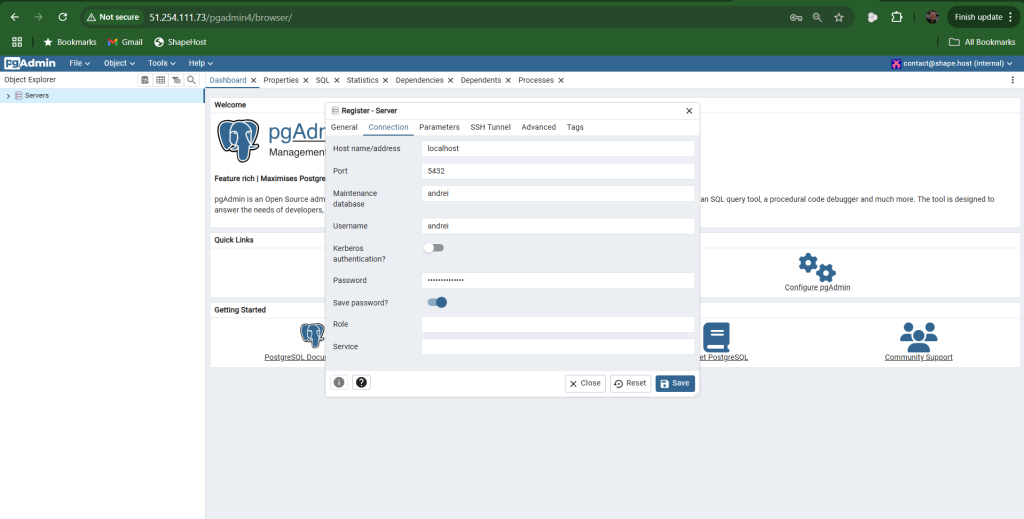
Once you’ve logged in to pgAdmin4, you need to connect to the PostgreSQL server. Click on the ‘Add New Server‘ menu in the dashboard.
- Input your connection name in the ‘General‘ tab
- Input your PostgreSQL server details within the ‘Connection‘ tab
- Check the option ‘Save password‘
- Click ‘Save‘
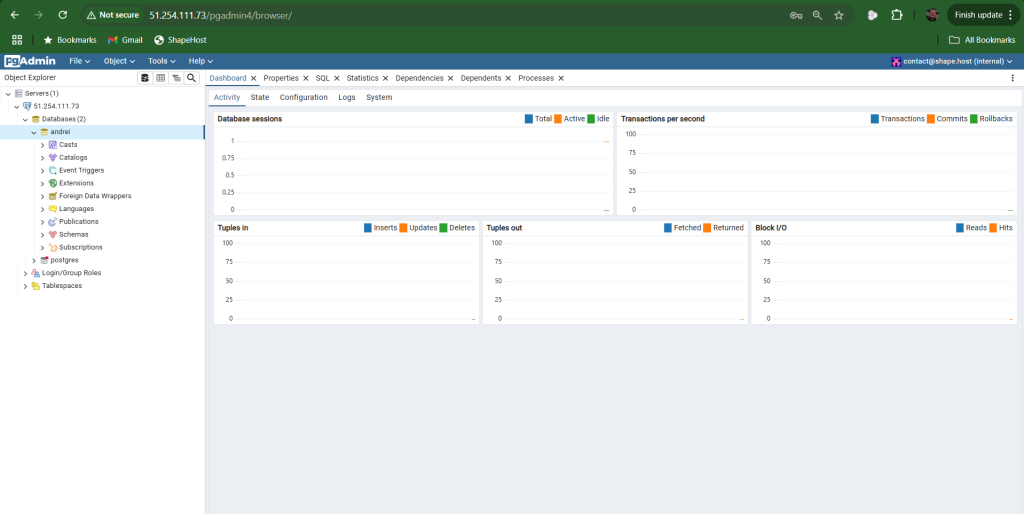
Once connected to the PostgreSQL server, you’ll see the page like the following:
For high-performance and scalable hosting solutions, consider Shape.Host Linux SSD VPS. Their services are optimized to handle database-intensive applications like PostgreSQL.