phpMyAdmin is a free, open-source web-based tool used for managing MySQL/MariaDB databases. It allows developers and administrators to manage databases, tables, users, permissions, and execute SQL queries easily via a graphical interface.
On the other hand, Flarum is a simple, lightweight, open-source forum platform built with PHP. It’s designed to be fast, user-friendly, and extensible, making it ideal for building online communities. Flarum provides a modern and responsive user interface with features like notifications, discussions, and user management.
What is Flarum Useful For?
- Online Communities: Easily create forums for discussions.
- Extensible: Extend the platform with numerous extensions to add new features.
- Responsive Design: Built with mobile devices in mind for a smooth user experience.
- Moderation Tools: Powerful tools for managing users and content moderation.
Prerequisites
- A server running Ubuntu 24.04.
- Root or sudo privileges.
- A registered domain (optional, for SSL setup).
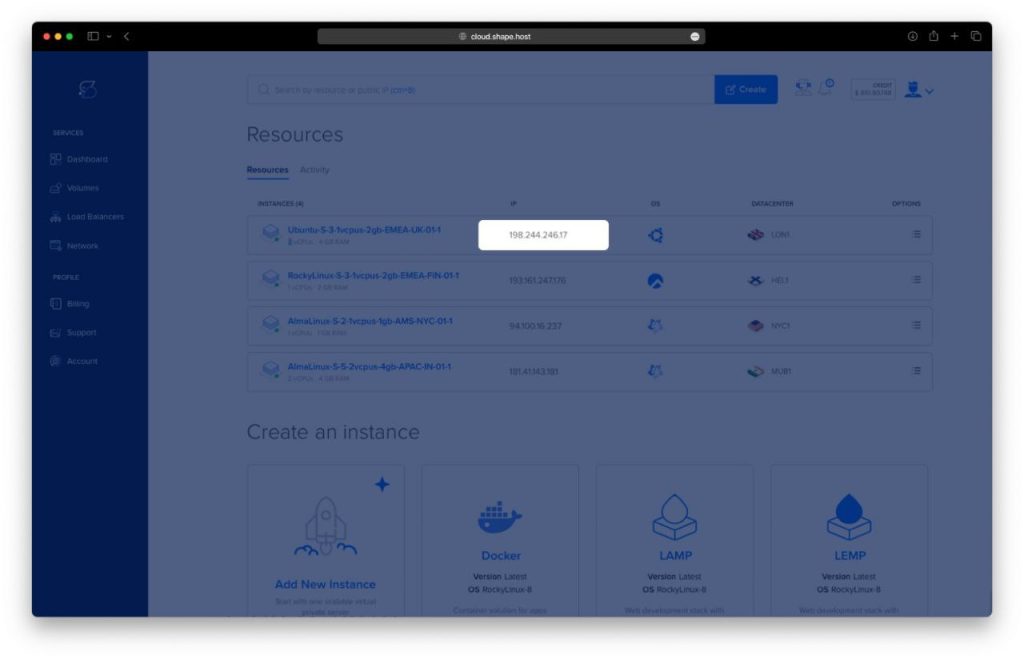
Step 1: Create an Instance on Cloud.shape.host
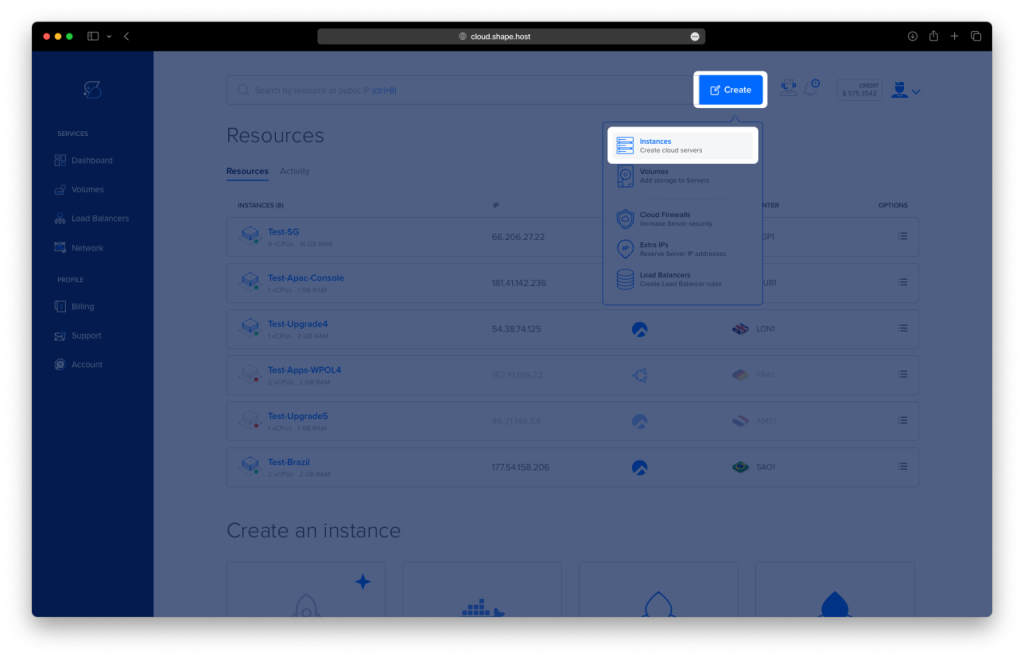
Step 1.1: Access the Dashboard
- Log in to Cloud.shape.host.
- Click Create, and select Instances.
Step 1.2: Choose a Datacenter Location
Select a datacenter closest to your target audience, such as New York, London, or Frankfurt.
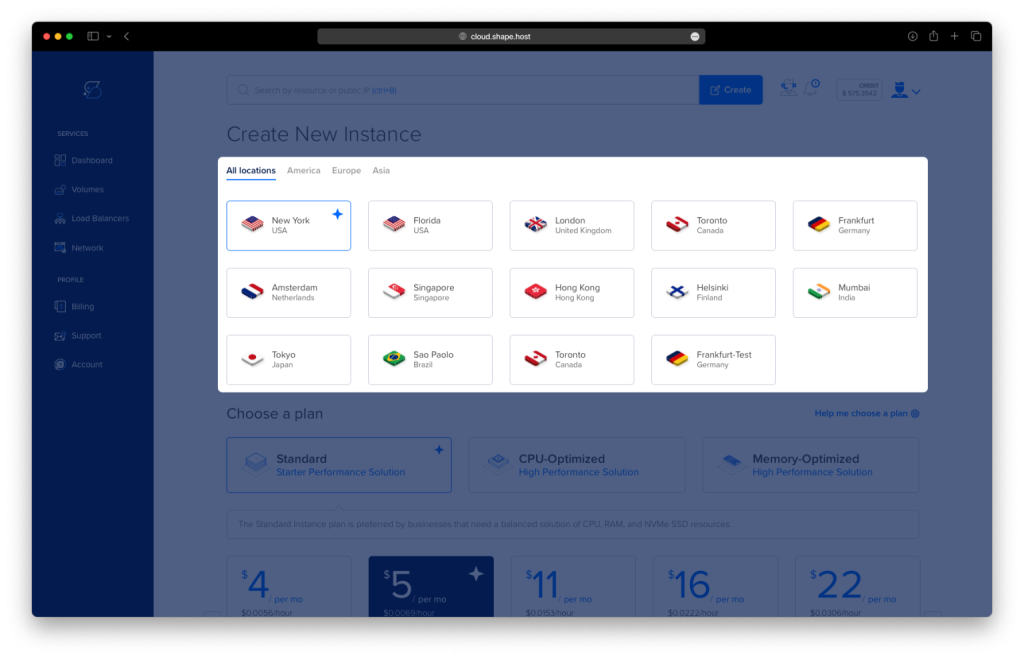
Step 1.3: Select a Plan
Choose a plan based on the resource needs of your Flarum installation: Standard, CPU-Optimized, or Memory-Optimized.
Step 1.4: Select an Operating System
Select Ubuntu 24.04 as your OS for installing Flarum.
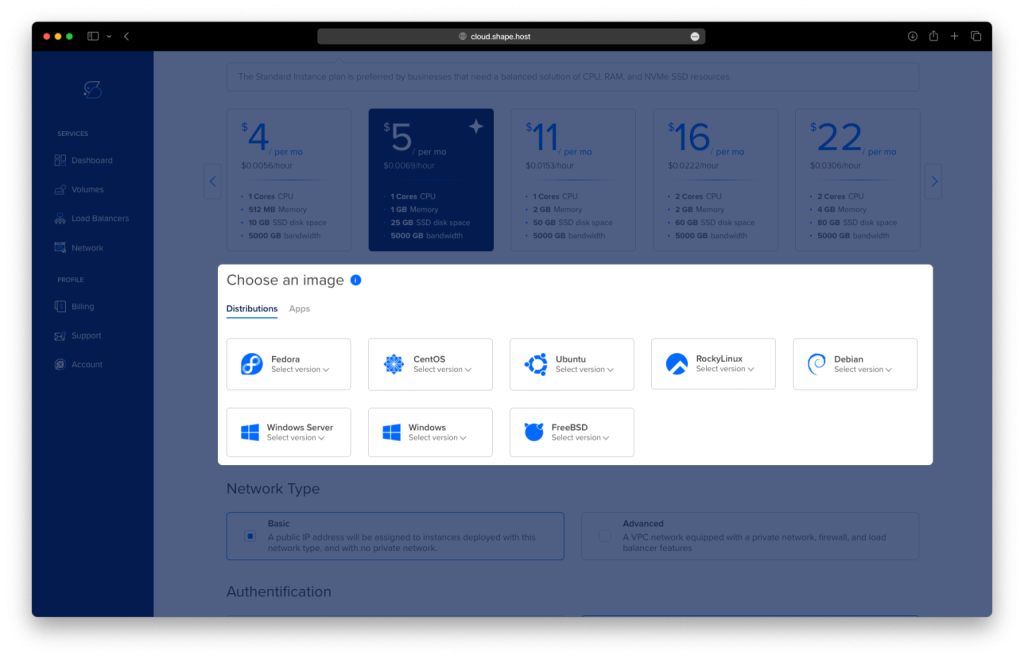
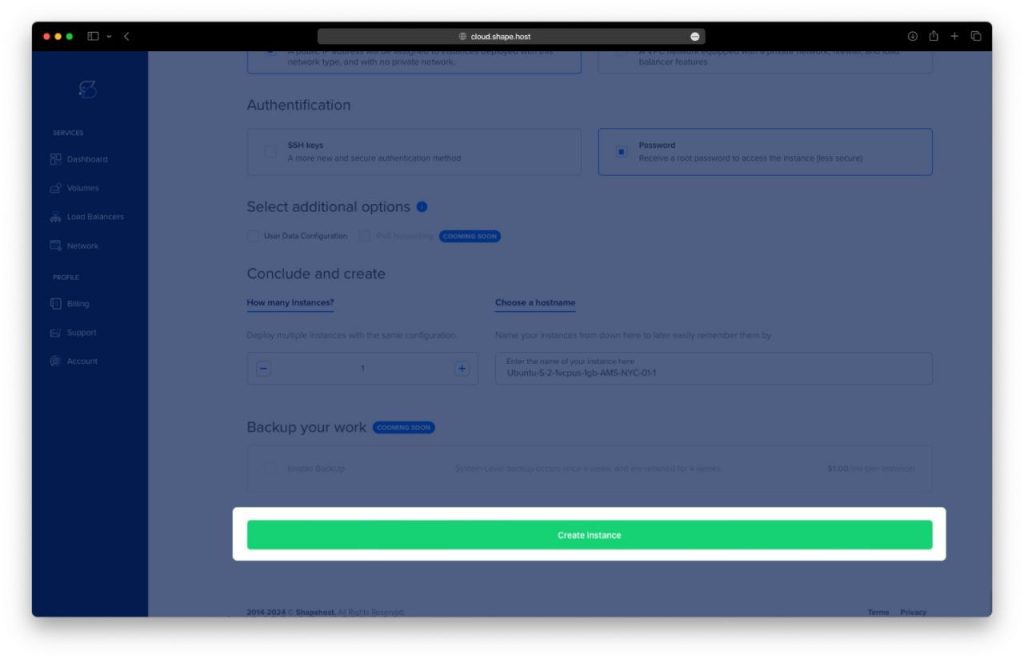
Step 1.5: Configure and Launch
- Set the Network Type and Authentication Method (SSH key or password).
- Click Create Instance.
Step 1.6: Locate your Instance’s IP
Step 1.7: Access Your Instance
- SSH (for Linux/macOS):
ssh root@<your-instance-ip>Replace <your-instance-ip> with the server’s public IP.
- PuTTY (for Windows):
Download PuTTY, enter the public IP, and click Open.
Step 2: Update and Upgrade the System
apt update -y
apt upgrade -y
Step 3: Install LAMP Stack and Other Dependencies
Install Apache, MariaDB, PHP, and other required dependencies:
apt install apache2 mariadb-server php php-common php-mysql libapache2-mod-php php-gd php-curl php-json php-xmlrpc php-intl php-bcmath php-zip php-apcu php-mbstring php-fileinfo php-xml php-soap php-tokenizer composer git -y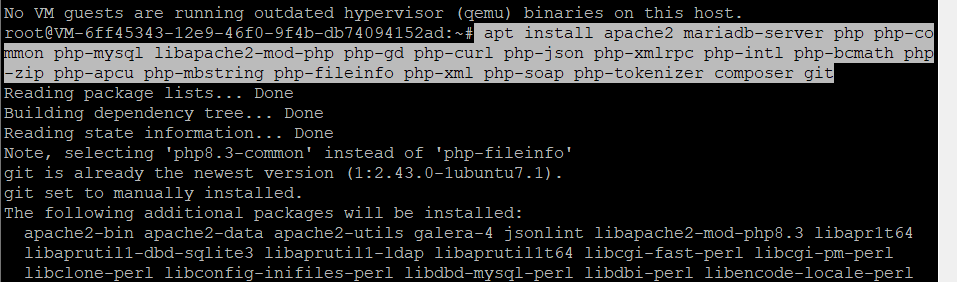
Step 4: Check Apache, MariaDB, and PHP Status
Ensure that Apache and MariaDB are enabled and running:
systemctl is-enabled apache2
systemctl status apache2
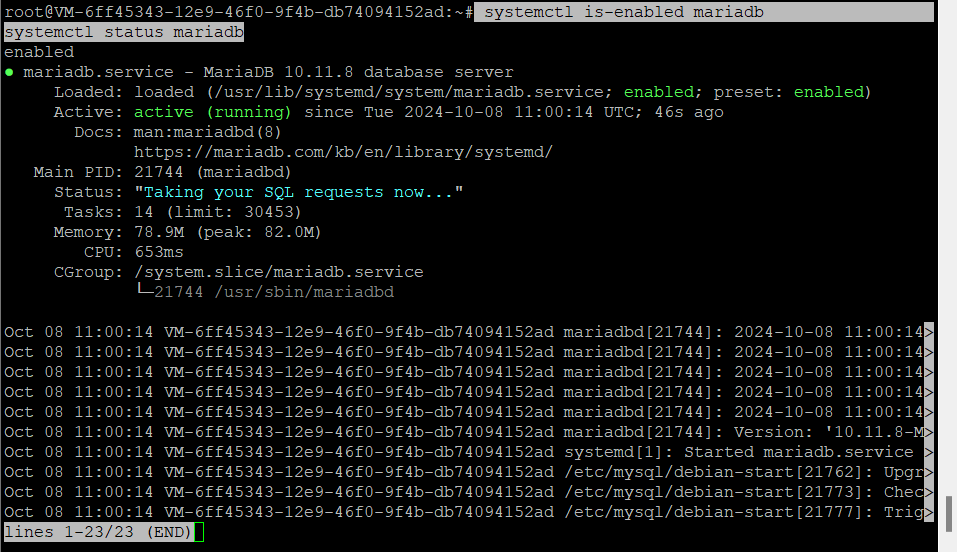
systemctl is-enabled mariadb
systemctl status mariadb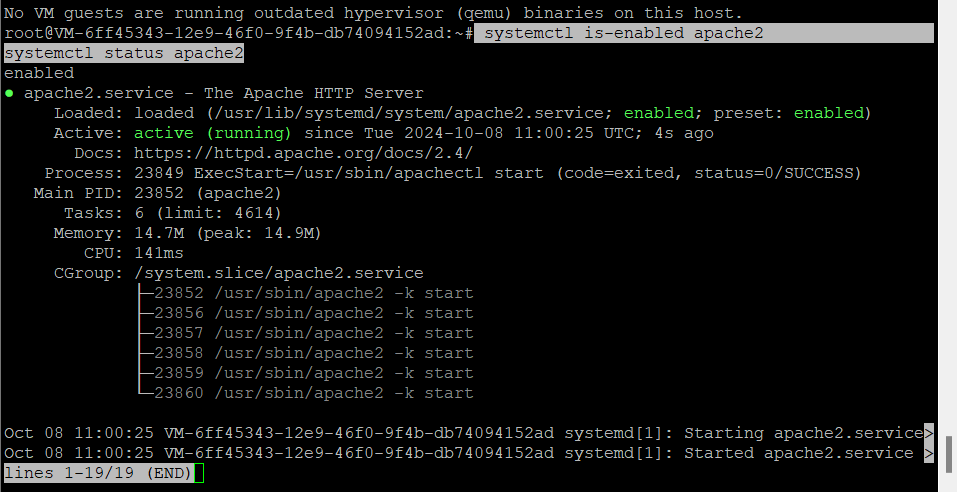
Verify PHP and Composer versions:
php -v
sudo -u www-data composer -v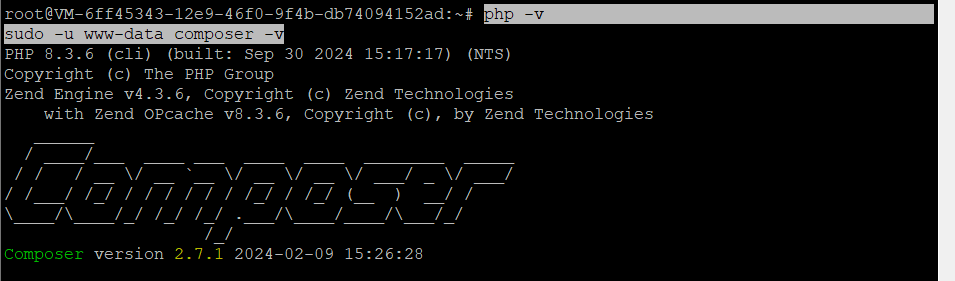
Step 5: Configure Firewall
Allow access to Apache through the UFW firewall:
ufw allow 'Apache Full'
ufw allow ssh
ufw enable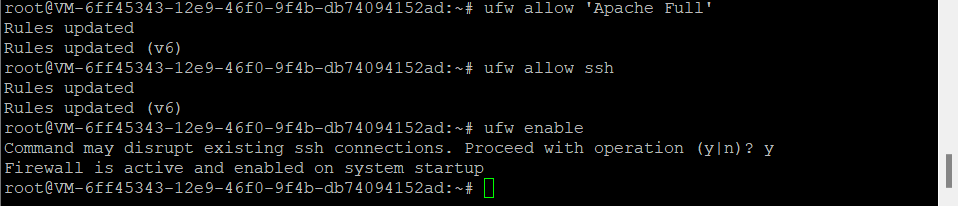
Step 6: Configure PHP Settings
Edit the php.ini file to match your environment’s requirements:
nano /etc/php/8.3/apache2/php.iniUpdate the following settings:
memory_limit = 512M
upload_max_filesize = 150M
max_execution_time = 600
date.timezone = Europe/Paris
Restart Apache to apply the changes:
systemctl restart apache2
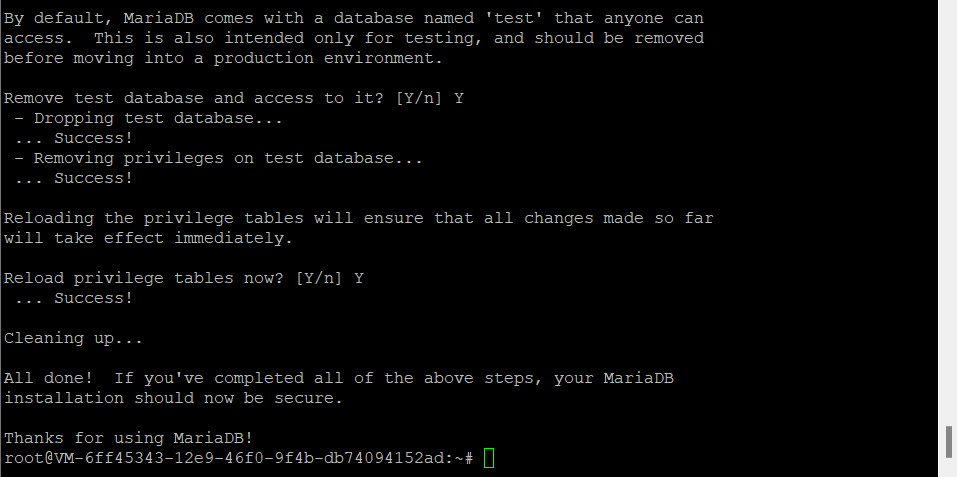
Step 7: Secure MariaDB
Run the mariadb-secure-installation command to remove anonymous users, disable remote root login, and secure MariaDB:
mariadb-secure-installation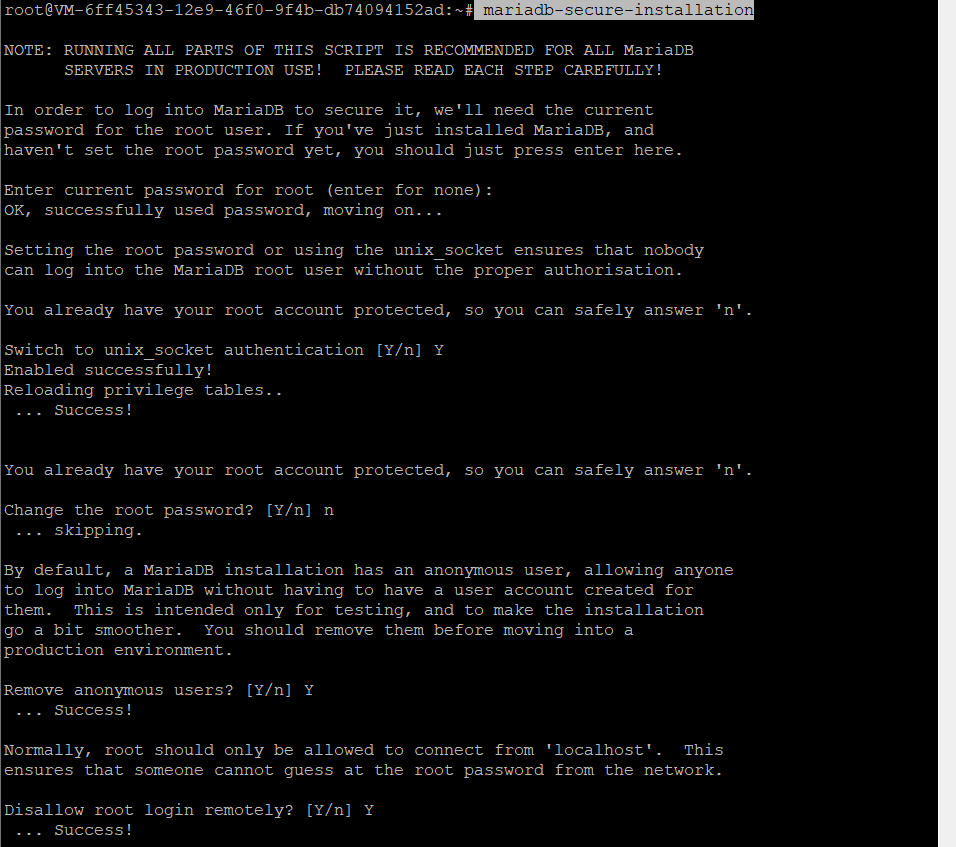
Step 8: Create a New Database and User
Log in to MariaDB and create a database and user:
mariadb -u root -pRun the following SQL queries:
CREATE DATABASE flarum;
CREATE USER 'flarum'@'localhost' IDENTIFIED BY 'password';
GRANT ALL PRIVILEGES ON flarum.* TO 'flarum'@'localhost';
FLUSH PRIVILEGES;
SHOW GRANTS FOR 'flarum'@'localhost';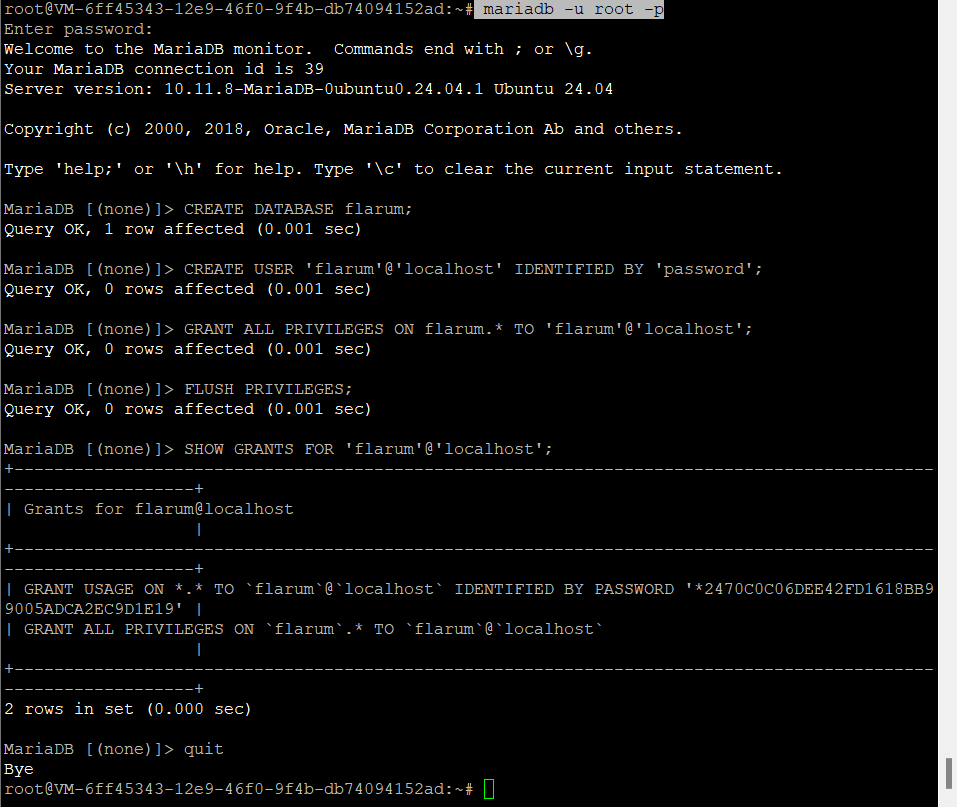
Now type quit to exit from the MariaDB server.
Step 9: Set Up Directories and Install Flarum
Create the necessary directories and change ownership to www-data:
mkdir -p /var/www/{.cache,.config,flarum}
chown -R www-data:www-data /var/www/{.cache,.config,flarum}
Navigate to the Flarum directory and install it using Composer:
cd /var/www/flarum/
sudo -u www-data composer create-project flarum/flarum .

Verify the files:
ls -ah
Step 10: Configure Apache for Flarum
Enable Apache modules:
a2enmod ssl rewrite headers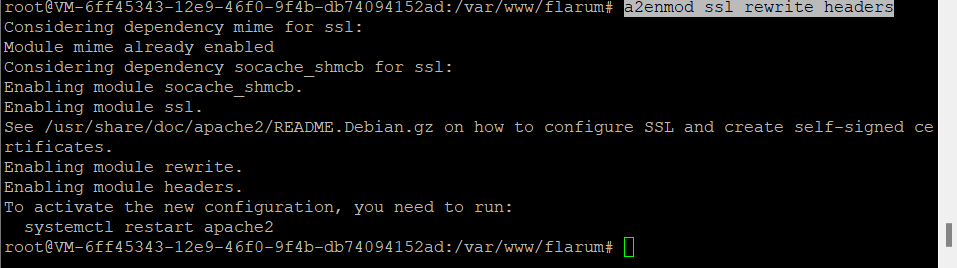
Create a new virtual host file:
nano /etc/apache2/sites-available/flarum.confInsert the following configuration:
<VirtualHost *:80>
 ServerAdmin contact@example.com
 DocumentRoot /var/www/flarum/public
 ServerName example.com

 <Directory /var/www/flarum/public/>
 Options FollowSymlinks
 AllowOverride All
 Require all granted
 </Directory>

 ErrorLog ${APACHE_LOG_DIR}/error.log
 CustomLog ${APACHE_LOG_DIR}/access.log combined

 <Directory /var/www/flarum/public/>
 RewriteEngine on
 RewriteBase /
 RewriteCond %{REQUEST_FILENAME} !-f
 RewriteRule ^(.*) index.php [PT,L]
 </Directory>
</VirtualHost>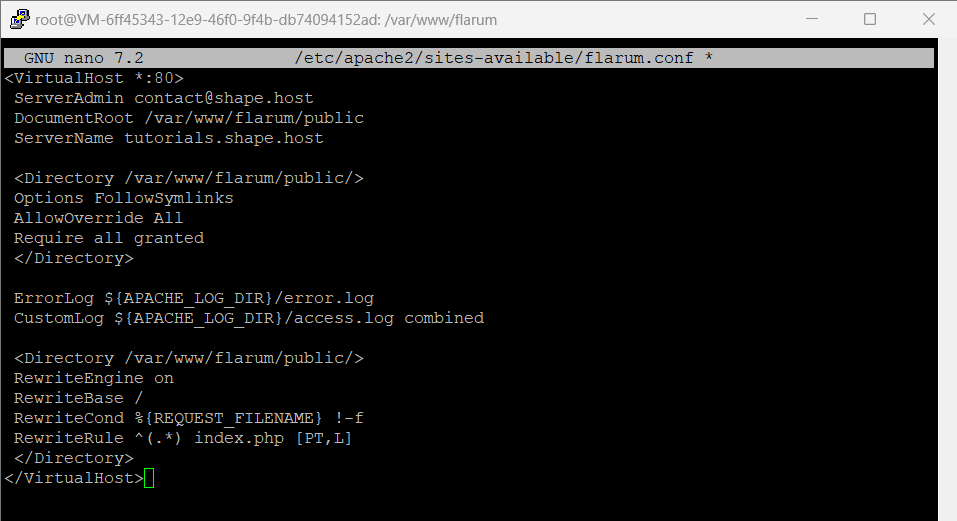
Step 11: Enable the Virtual Host and Restart Apache
Enable the virtual host and verify the Apache configuration:
a2ensite flarum.conf
apachectl configtest
Restart Apache to apply the changes:
systemctl restart apache2
Step 12: Install SSL Certificate Using Certbot
Install Certbot and the Apache plugin:
apt install certbot python3-certbot-apache
Generate an SSL certificate:
certbot --apache --agree-tos --redirect --hsts --staple-ocsp --email contact@example.com -d example.com
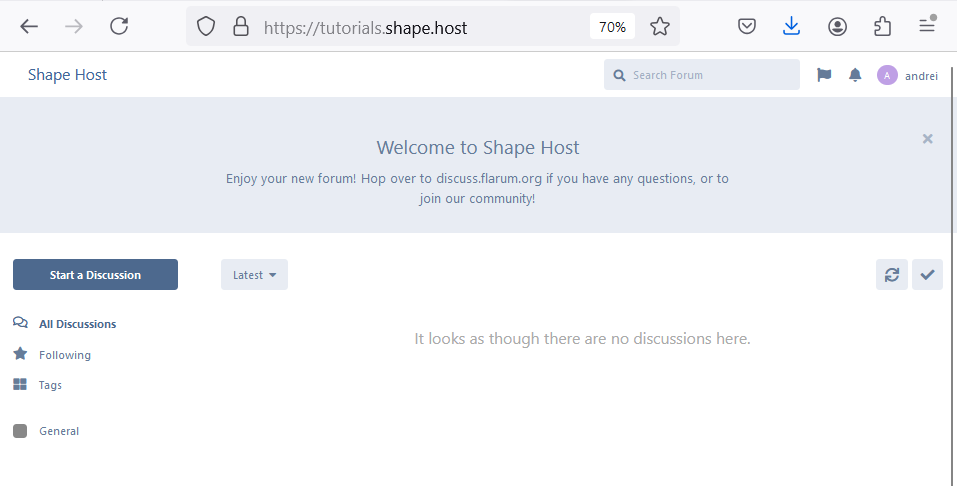
Step 13: Access Flarum From Your Browser
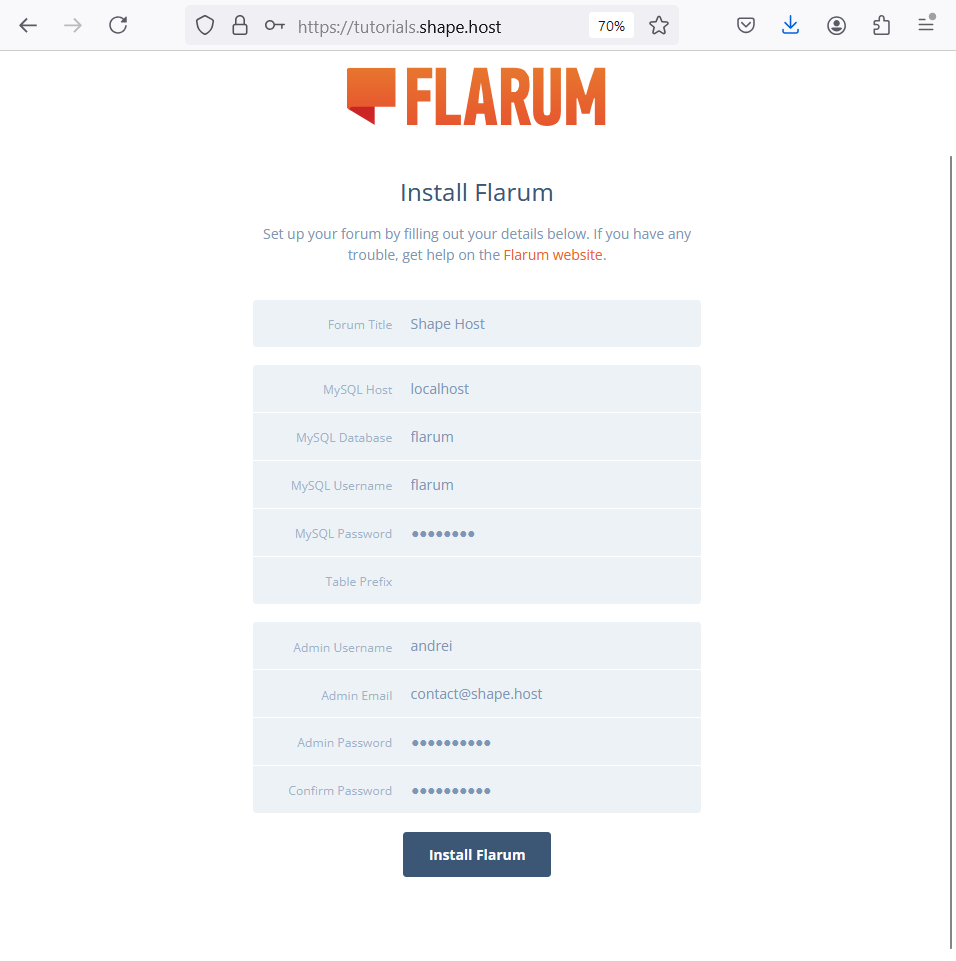
Open your browser and go to:
https://example.com/You should see the Flarum installation wizard. Follow the instructions to set up your forum.
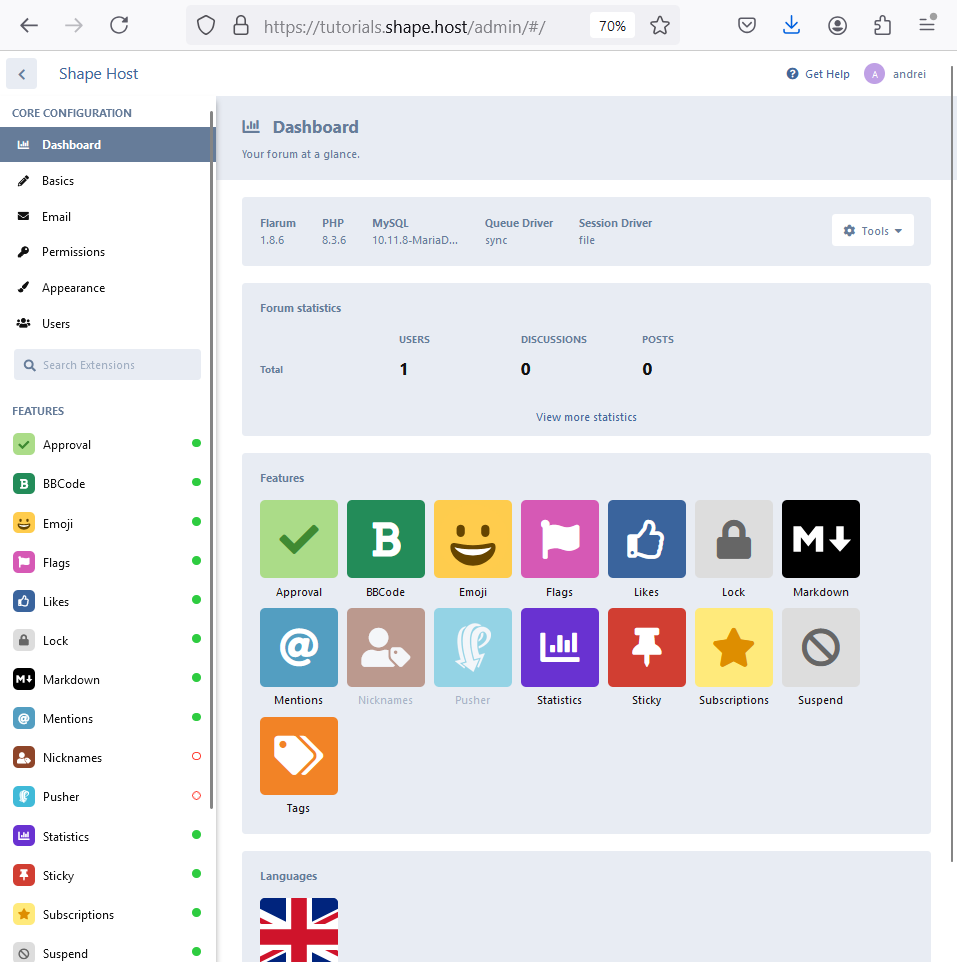
Once the installation is complete, you will be shown the Flarum administration dashboard like the following:
Now click on your user icon and select Administration. This will show you details of your Flarum installation.
You have successfully installed phpMyAdmin and Flarum on Ubuntu 24.04 with Apache, MariaDB, PHP, and Let’s Encrypt SSL. Both phpMyAdmin and Flarum provide powerful and user-friendly interfaces for managing databases and creating online communities.
For enhanced performance and reliability, consider using Shape.Host’s Linux SSD VPS services to ensure your applications run smoothly.