PhpMyAdmin is a widely used web-based tool for managing MySQL and MariaDB databases, providing an easy interface for tasks like creating databases, managing tables, and running SQL queries. In this tutorial, you will learn how to install PhpMyAdmin with Nginx, secure it using Let’s Encrypt SSL, and set up MariaDB on Ubuntu 24.04.
What You Can Do with PhpMyAdmin:
- Database Management: Create, modify, and manage MySQL/MariaDB databases and users through an intuitive web interface.
- Data Import/Export: Import and export data in different formats such as SQL, CSV, and XML.
- Query Execution: Run SQL queries directly through the PhpMyAdmin interface.
- User Permissions: Manage database user accounts and assign granular permissions.
Supported Databases:
- MySQL
- MariaDB
Step 1: Create a Cloud Instance
Before installing PhpMyAdmin, you need to create a cloud instance to host it. Here’s how to set up your instance:
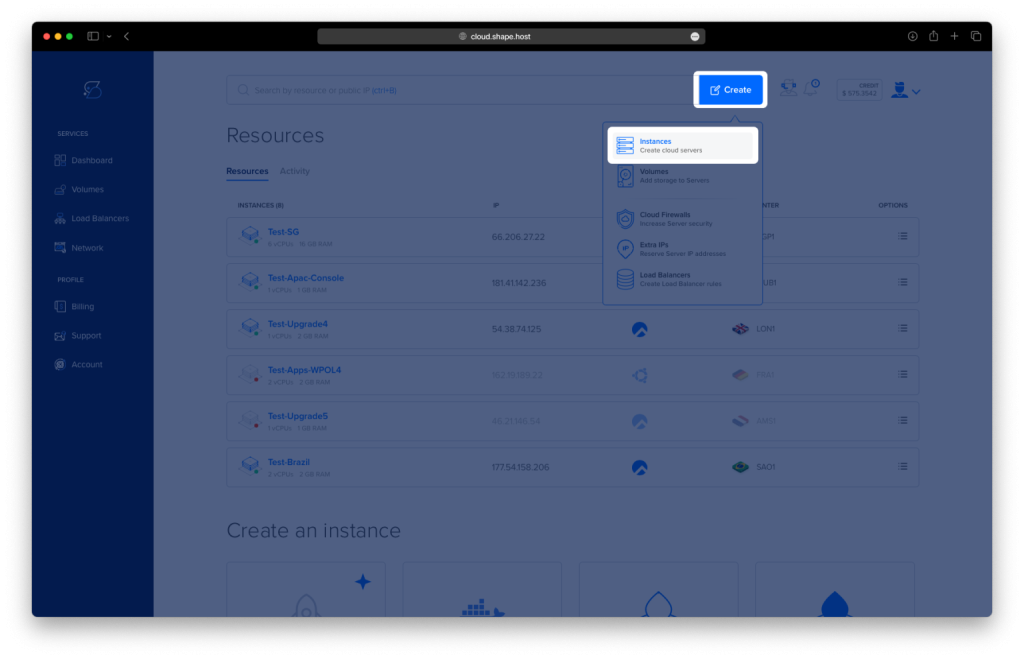
Step 1.1: Click on “Create”
- From your hosting provider’s dashboard, click on the Create button and select Instances.
Step 1.2: Choose a Location
- Select the data center closest to your target audience (e.g., New York, London, Tokyo).
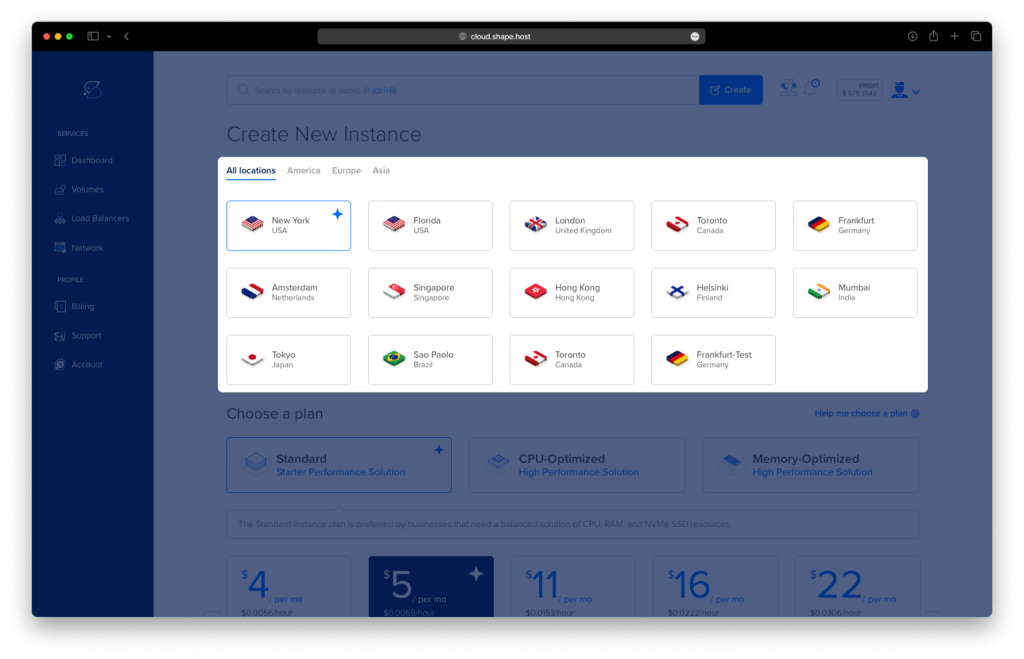
Step 1.3: Choose an Instance Plan and OS
- Choose an instance plan based on your needs (e.g., Standard, CPU-Optimized).
- Select Ubuntu 24.04 as the operating system.

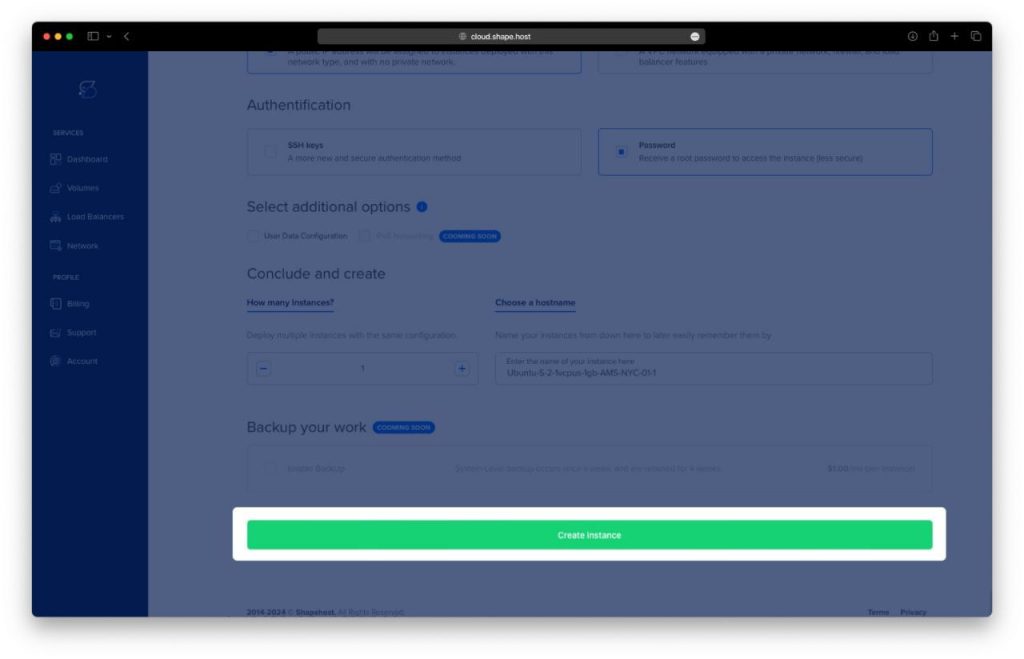
Step 1.4: Create the Instance
- Fill in the necessary details, such as authentication (SSH keys or password), and choose a hostname. Click Create Instance.
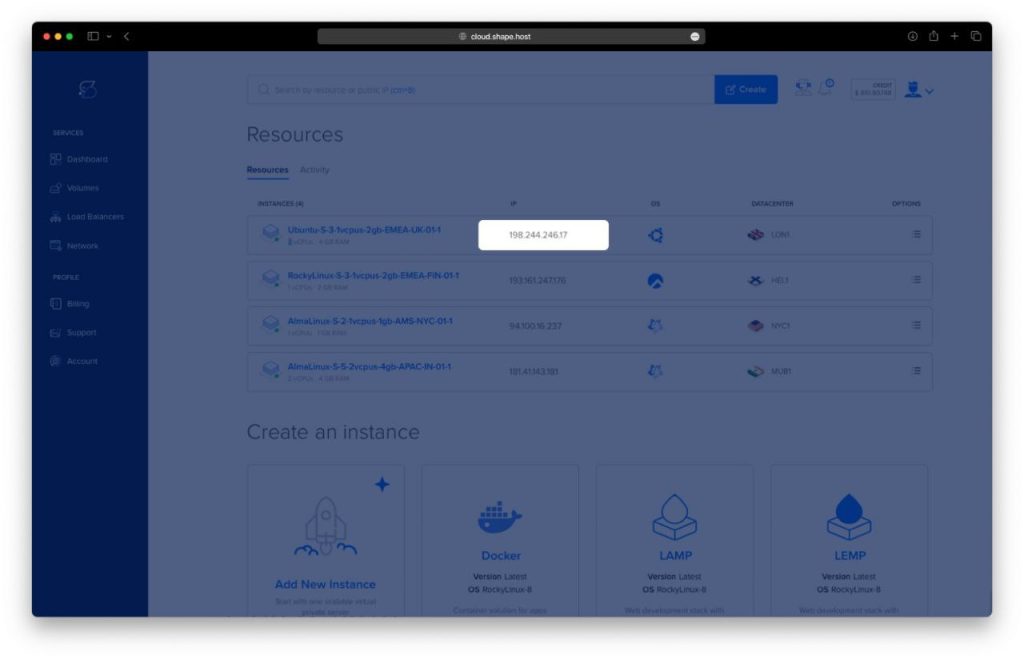
Step 1.5: Find Your IP Address
- Once the instance is created, go to the Resources section to find the public IP address of your instance. You’ll need this to connect to the instance remotely.
Step 2: Update Your System
Before starting the installation process, ensure your system is up to date:
apt update && apt upgrade -y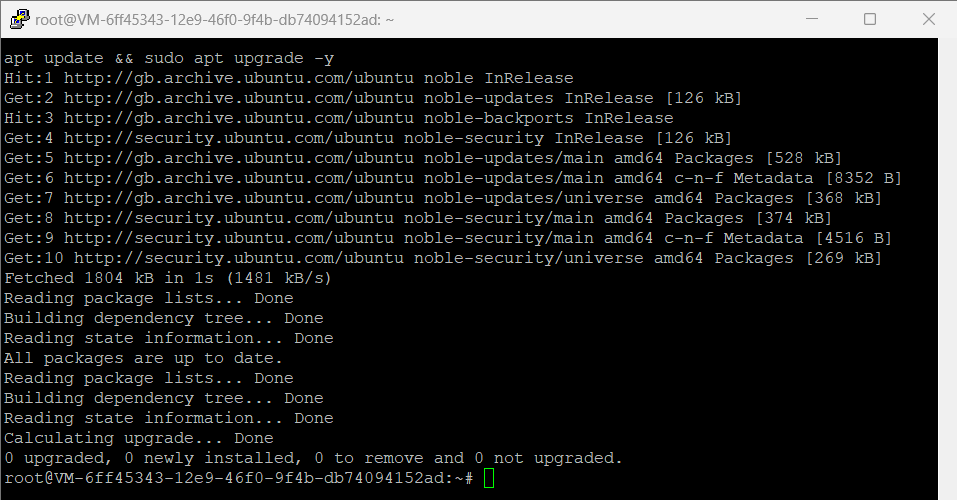
Step 3: Install Nginx, MariaDB, and PHP
Install the Nginx web server, MariaDB database server, and PHP with the required extensions for PhpMyAdmin:
apt install nginx mariadb-server php php-cli php-mysql php-mbstring php-zip php-gd php-json php-curl php-fpm -y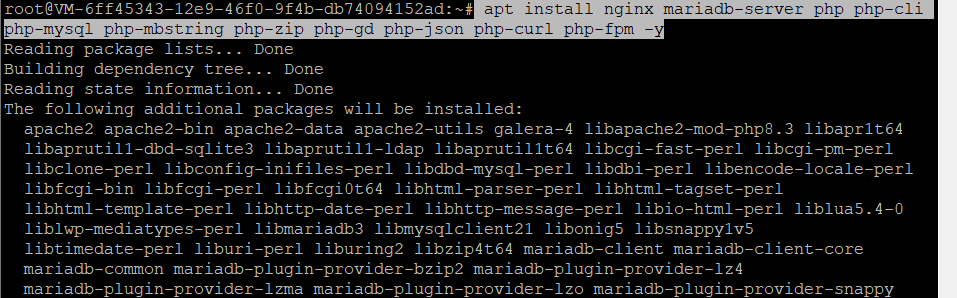
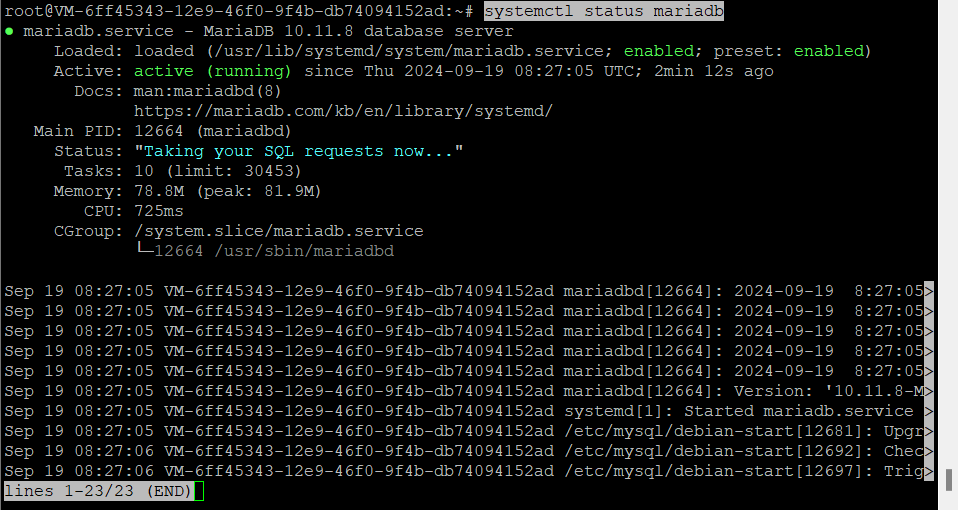
After installation, verify that Nginx and MariaDB are running:
systemctl status nginx
systemctl status mariadb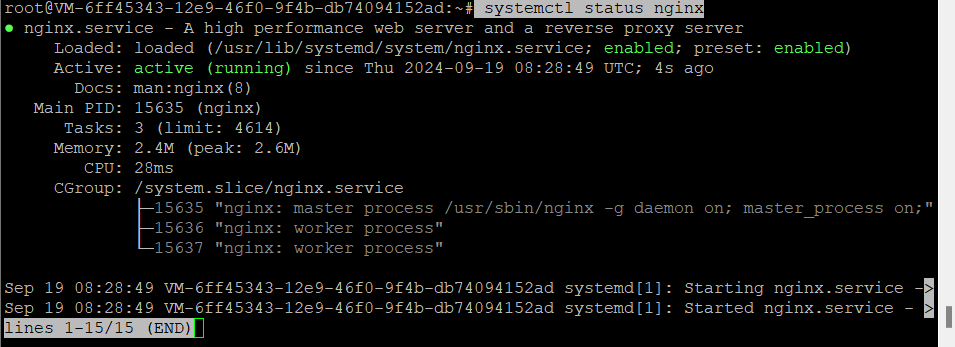
Step 4: Install Unattended-Upgrades
To automatically apply important security updates in the background, install unattended-upgrades:
apt install unattended-upgrades -y
Step 5: Secure MariaDB
To secure your MariaDB installation and set up a root password, run the following:
mysql_secure_installation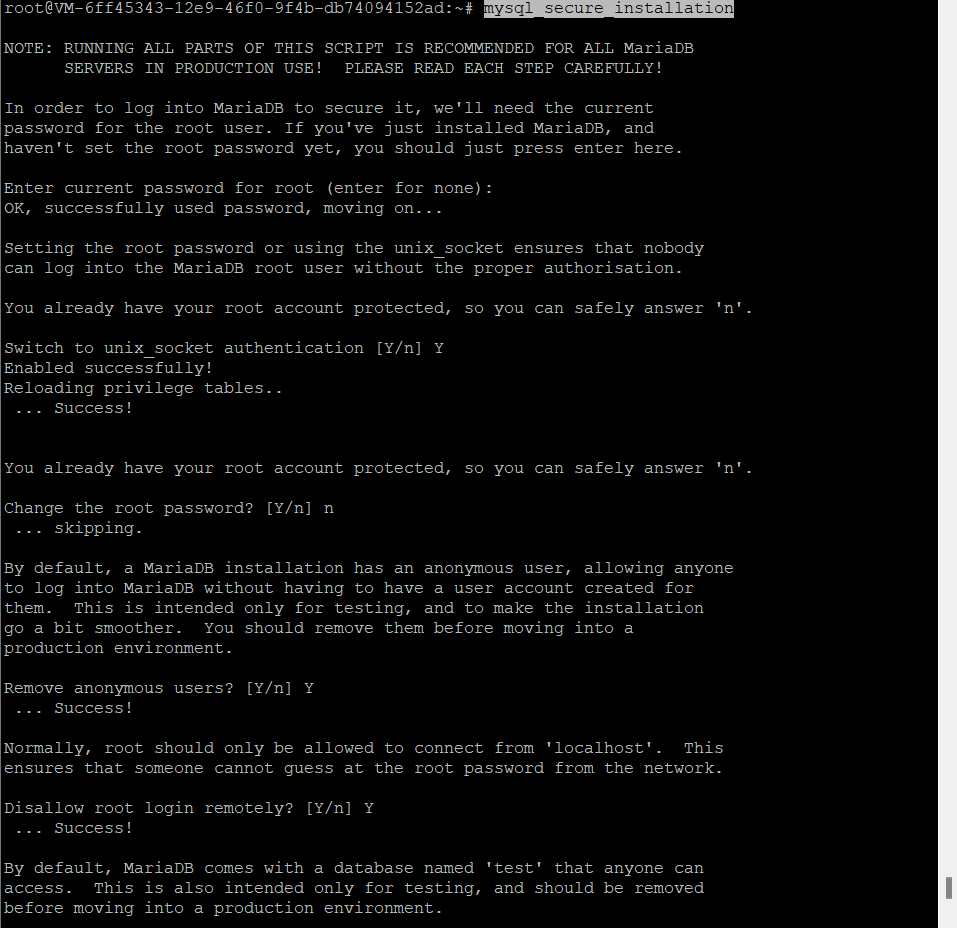
Follow the on-screen instructions to secure your database server.
Step 6: Access MariaDB with Root User
After securing MariaDB, you can log into the MariaDB shell as the root user with the following command:
mysql -u root -p
Enter the root password you set during the MariaDB secure installation process. Once logged in, you will be able to manage your MariaDB databases directly from the command line.
CREATE USER 'admin'@'localhost' IDENTIFIED BY 'yourstrongpassword';
GRANT ALL PRIVILEGES ON *.* TO 'admin'@'localhost' WITH GRANT OPTION;
FLUSH PRIVILEGES;
EXIT;
Step 7: Install PhpMyAdmin
Next, install PhpMyAdmin, a web-based interface for MySQL and MariaDB management:
apt install phpmyadmin -y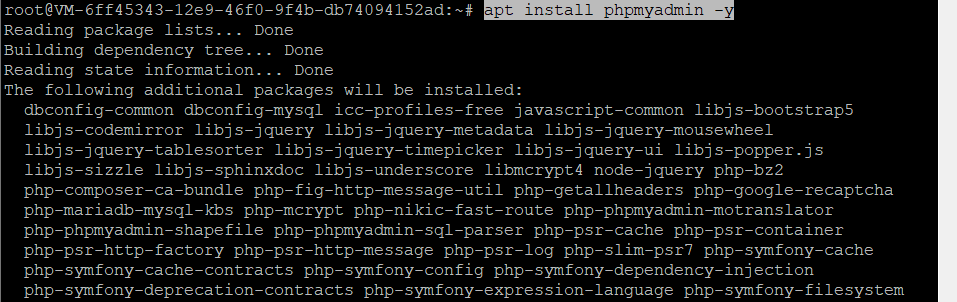
Step 8: Configure PhpMyAdmin with Nginx
8.1: Create a Symbolic Link
Create a symbolic link for PhpMyAdmin to be accessible from your Nginx web server:
ln -s /usr/share/phpmyadmin /var/www/html/phpmyadmin
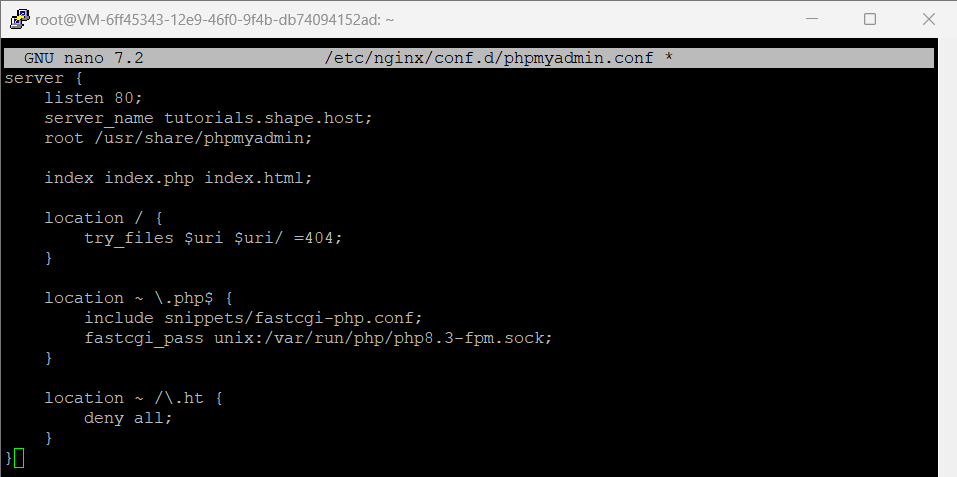
8.2: Configure Nginx for PhpMyAdmin
Create a new Nginx configuration file for PhpMyAdmin:
nano /etc/nginx/conf.d/phpmyadmin.conf
Inside this file, add the following configuration:
server {
    listen 80;
    server_name example.com;

    root /var/www/html;
    index index.php index.html index.htm;

    location /phpmyadmin {
        alias /usr/share/phpmyadmin;
        index index.php;
    }

    location ~ \.php$ {
        fastcgi_pass unix:/var/run/php/php7.4-fpm.sock;
        fastcgi_index index.php;
        fastcgi_param SCRIPT_FILENAME $document_root$fastcgi_script_name;
        include fastcgi_params;
    }
}
Save and close the file.
8.3: Test Nginx Configuration and Reload
After adding the configuration, test if Nginx is correctly configured:
nginx -t
If no errors are found, reload Nginx to apply the changes:
systemctl reload nginx
Step 9: Set Permissions for PhpMyAdmin
Ensure that the proper ownership and permissions are set for PhpMyAdmin:
chown -R www-data:www-data /usr/share/phpmyadmin
chmod -R 755 /usr/share/phpmyadmin
Step 10: Secure PhpMyAdmin with Let’s Encrypt SSL
10.1: Install Certbot
Install Certbot and its Nginx plugin to obtain an SSL certificate from Let’s Encrypt:
apt install certbot python3-certbot-nginx -y
10.2: Obtain SSL Certificate
Run Certbot to obtain and configure an SSL certificate for your domain (replace example.com with your actual domain):
certbot --nginx -d example.com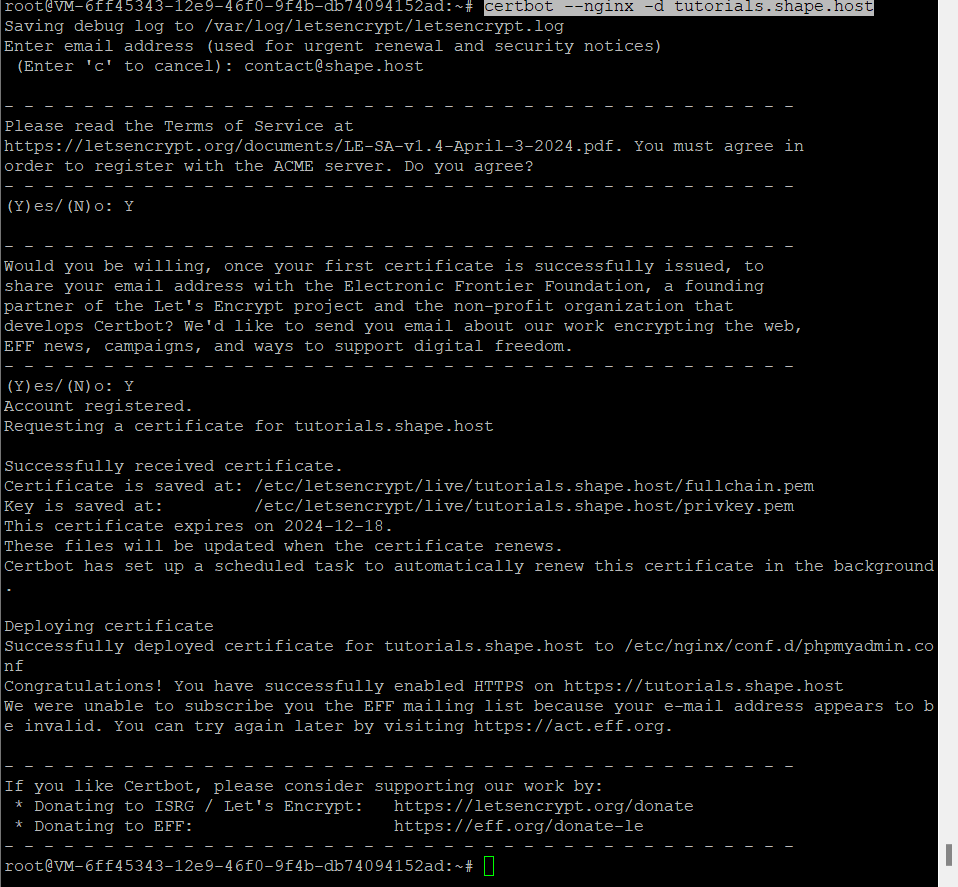
Certbot will automatically configure your Nginx server with SSL settings. Follow the on-screen instructions to complete the process.
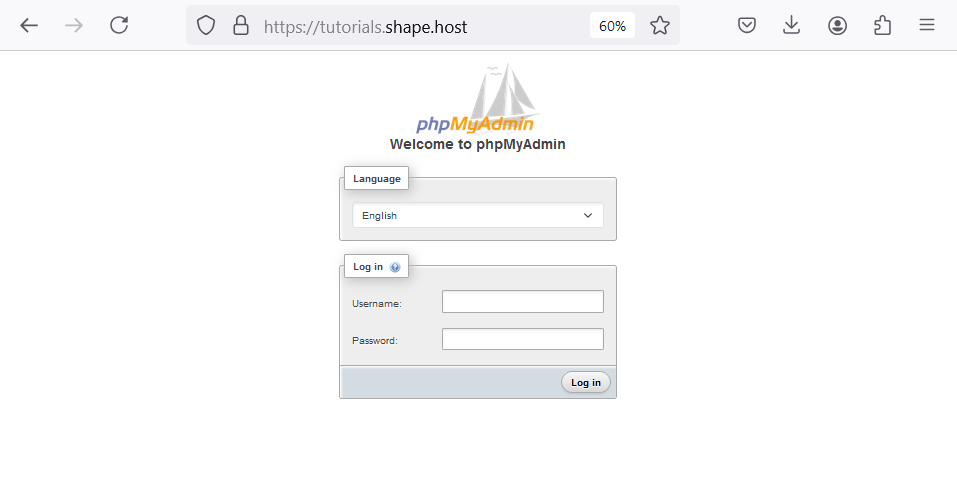
Step 11: Access PhpMyAdmin via HTTPS
Once the SSL certificate is installed, you can now access PhpMyAdmin securely:
- Open your web browser and navigate to
https://<your-domain>/phpmyadmin. - Log in using your MariaDB root credentials (or any other MySQL/MariaDB user account you have set up).
You have successfully installed PhpMyAdmin with Nginx and secured it with a free SSL certificate from Let’s Encrypt on Ubuntu 24.04. You can now manage your MySQL or MariaDB databases securely through PhpMyAdmin.
To run applications like PhpMyAdmin smoothly and securely, Shape.Host offers Linux SSD VPS services. With Shape.Host’s SSD-powered VPS, you’ll benefit from fast, reliable server performance, ensuring your database management tools run efficiently.