In this article, we will guide you through the process of installing and configuring PostgreSQL on Ubuntu 22.04. PostgreSQL is a powerful, open-source relational database system widely used for applications such as web development, data warehousing, and analytics. Whether you’re setting up a simple database or a complex data solution, PostgreSQL provides the flexibility and performance you need.
Prepare Your Instance
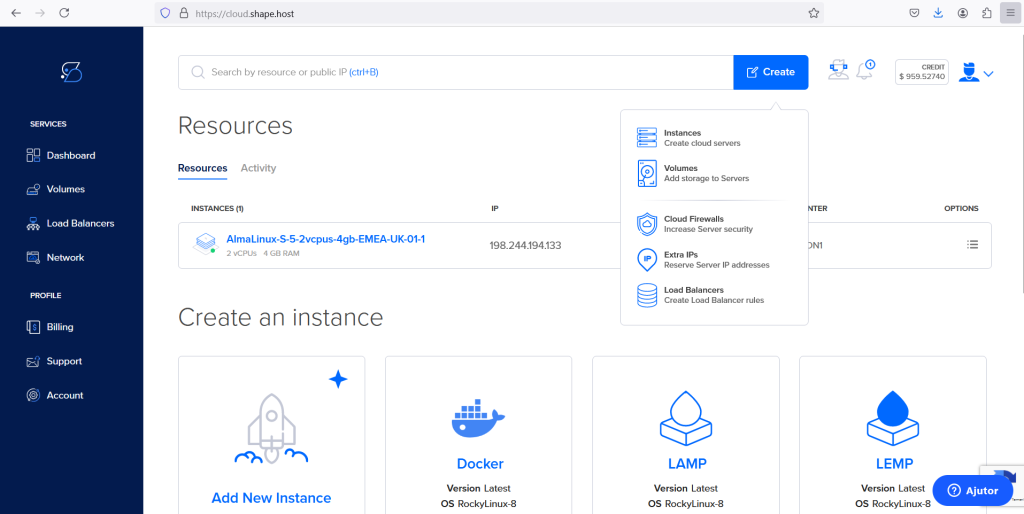
Step 1: Initiate Instance Creation
Begin by creating a new virtual machine instance on your chosen hosting provider’s platform.
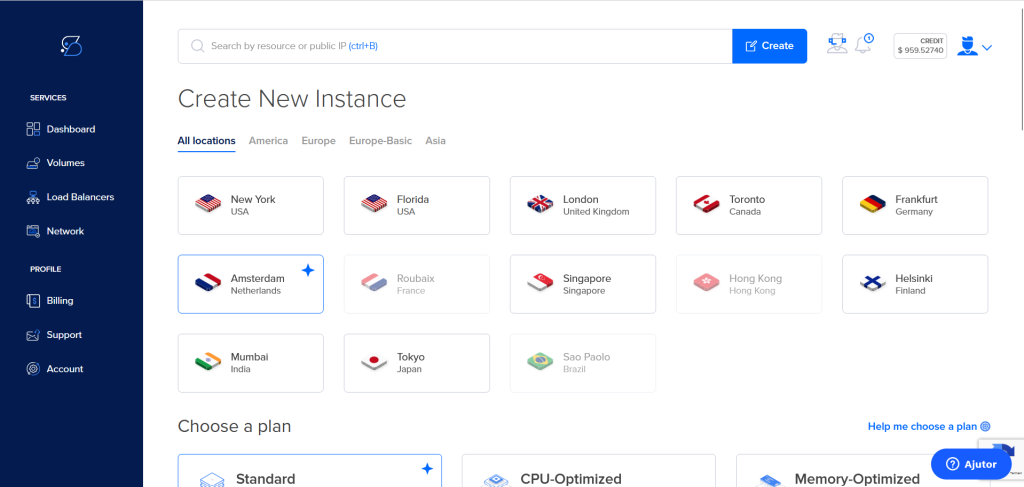
Step 2: Choose Your Data Center Location
Select the appropriate data center location that best fits your needs.
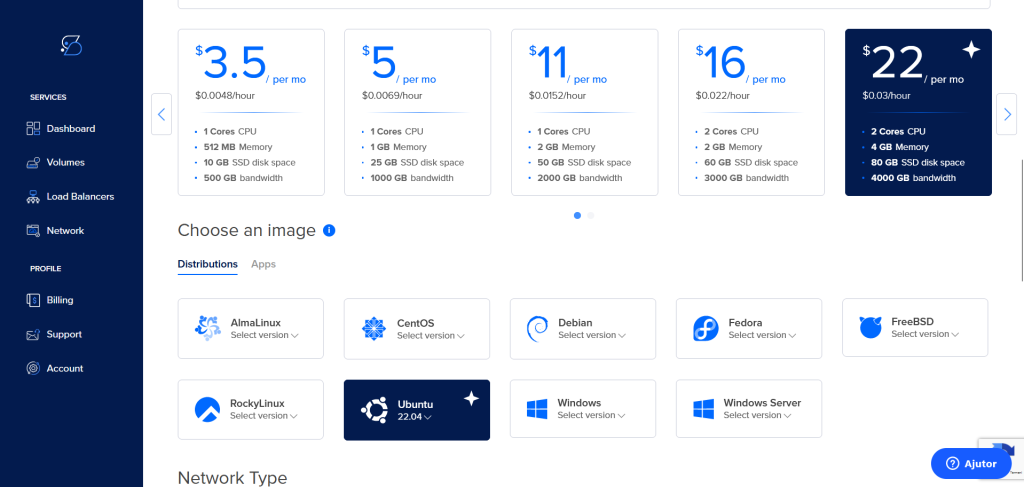
Step 3: Select a Hosting Plan
Pick a hosting plan suitable for your requirements, ensuring Ubuntu 22.04 is selected as the operating system.
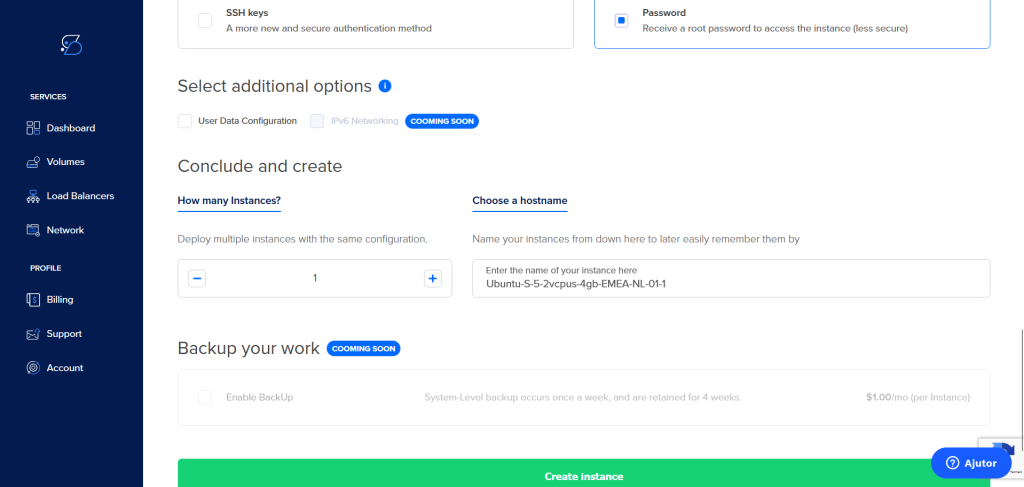
Step 4: Set Up Authentication
Configure authentication using SSH keys or a password, then finalize the instance creation process.
Step 5: Connect to Your Instance
Use the following command to connect to your server via SSH:
ssh username@your-server-ip-addressReplace username and your-server-ip-address with your actual details.
With your instance prepared, proceed to the following steps.
Step 1: Update and Upgrade the System
First, update your package list and upgrade your system packages to ensure everything is up to date:
apt update -y
apt upgrade -y
Step 2: Install Necessary Dependencies
Install wget, curl, and gnupg2 to manage the PostgreSQL repository:
apt install wget curl gnupg2 -y
Step 3: Add PostgreSQL APT Repository and Import Signing Key
Add the PostgreSQL APT repository to your sources list and import the signing key in one line:
sh -c 'echo "deb http://apt.postgresql.org/pub/repos/apt $(lsb_release -cs)-pgdg main" > /etc/apt/sources.list.d/pgdg.list' && wget -qO- https://www.postgresql.org/media/keys/ACCC4CF8.asc | tee /etc/apt/trusted.gpg.d/pgdg.asc &>/dev/null
Step 4: Install PostgreSQL
Update the package list again and install PostgreSQL along with its client:
apt update -y
apt install postgresql postgresql-client -y

Step 5: Verify PostgreSQL Installation
After the installation, check the status of the PostgreSQL service to ensure it is running:
systemctl status postgresql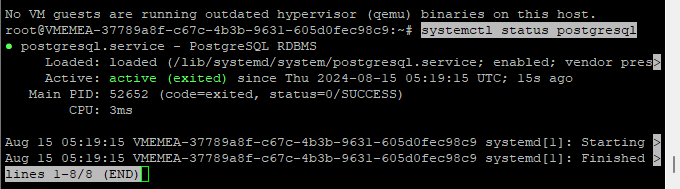
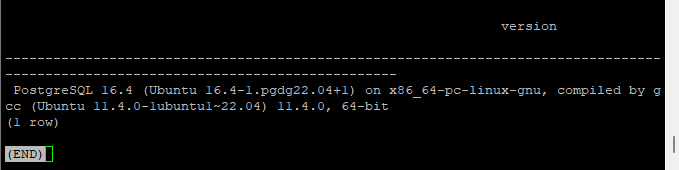
You can further verify the installation by connecting to the PostgreSQL server and checking the version:
psql -U postgres -c "SELECT version();"
Step 6: Configure PostgreSQL
To configure PostgreSQL for your specific needs, follow these steps:
- Edit the
pg_hba.conffile:
nano /etc/postgresql/16/main/pg_hba.conf
Make the following changes:
local   all             all                                     trust
host    all             all             0.0.0.0/0                md5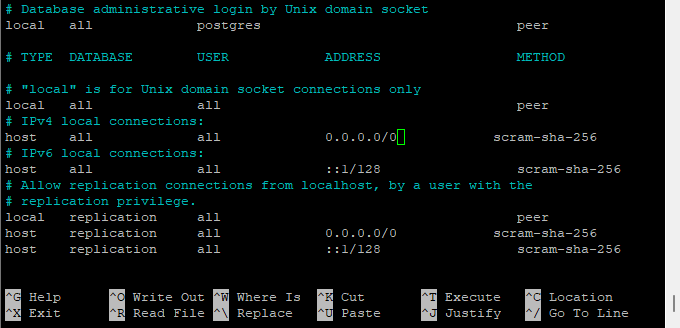
This file controls client authentication, such as how users are allowed to connect.
- Edit the
postgresql.conffile:
nano /etc/postgresql/16/main/postgresql.conf
Make the following change:
listen_addresses='*'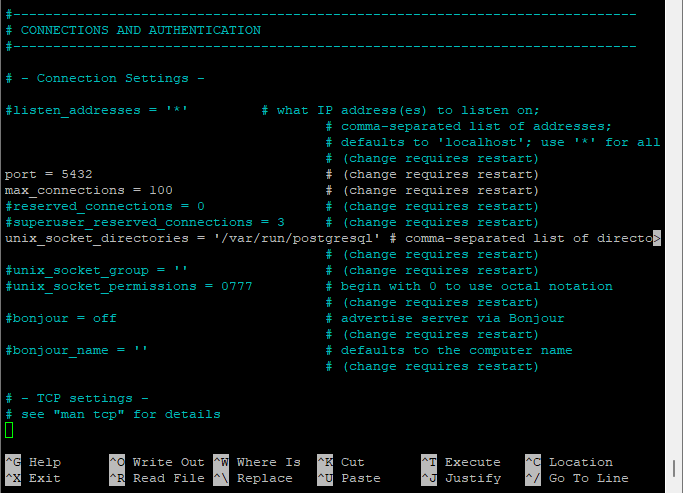
This file includes general server settings, like port numbers and logging.
- Restart PostgreSQL to apply the changes:
systemctl restart postgresql
Step 7: Create a Database and User
Connect to the PostgreSQL shell:
psql -U postgres
Create a new role with superuser privileges:
CREATE ROLE root WITH LOGIN SUPERUSER CREATEDB CREATEROLE PASSWORD 'password';
Verify the new role:
\du
Create a new database:
create database wpdb;
Create a new user with an encrypted password:
create user wpuser with encrypted password 'password';
List all databases:
\l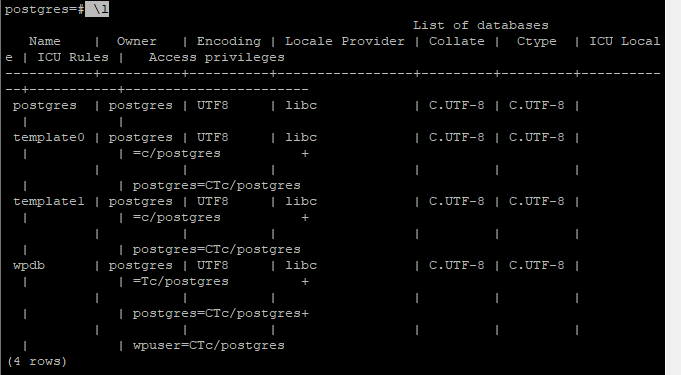
Step 8: Connect to PostgreSQL from a Remote Machine
To connect to your PostgreSQL instance from a remote machine, use the following command:
psql 'postgres://wpuser:password@postgres-ip-address:5432/wpdb?sslmode=disable'
Replace wpuser, password, postgres-ip-address, and wpdb with your actual PostgreSQL username, password, server IP address, and database name.
You have successfully installed and configured PostgreSQL on Ubuntu 22.04. This robust database system is now ready for your applications.
If you’re looking for reliable hosting services, consider Shape.host for Cloud VPS solutions that offer great performance and scalability. Shape.host provides high-performance cloud VPS hosting with flexible plans, allowing you to scale resources as your needs grow. Whether you’re hosting a small application or a large enterprise database, Shape.host’s cloud infrastructure is designed to ensure maximum uptime, security, and speed, giving you peace of mind while you focus on your business.