PrestaShop is a popular open-source e-commerce platform that enables individuals and businesses to create and manage online stores. Launched in 2007, it has gained widespread use due to its flexibility, ease of use, and comprehensive features. Here’s an overview of its key aspects and why it’s valuable:
Key Features:
- Open-Source Platform: PrestaShop is free to download and use, making it accessible to small businesses and large enterprises alike. Its open-source nature allows for extensive customization and integration.
- Modular System: PrestaShop operates with a modular architecture, allowing store owners to add or remove features based on their needs. With over 3,000 modules and add-ons, you can extend your store’s functionality with tools for SEO, payment gateways, shipping methods, and marketing integrations.
- Customizable Themes: PrestaShop offers a wide selection of templates and themes, letting businesses design unique, visually appealing stores. These themes are customizable, so you can align the store’s appearance with your brand identity.
- Multilingual & Multi-Currency Support: Designed for global use, PrestaShop supports more than 75 languages and multiple currencies. This makes it an excellent choice for businesses operating in international markets.
- User-Friendly Back Office: The administration panel (back office) is intuitive and easy to navigate, even for non-technical users. Here, you can manage products, orders, customers, and monitor sales statistics with ease.
- SEO and Marketing Tools: PrestaShop comes with built-in tools to enhance store visibility in search engines. Features like customizable URLs, meta tags, and content management are available, along with integrations for Google Analytics, social media, and email marketing.
- Product & Inventory Management: PrestaShop allows you to manage a large number of products, set attributes (e.g., size, color), organize products into categories, and monitor inventory.
- Payment Gateway Integration: It supports multiple payment methods, including PayPal, Stripe, and other local or international gateways. This flexibility allows businesses to cater to various customer preferences.
- Mobile-Responsive: PrestaShop ensures that online stores are mobile-responsive, adapting seamlessly to smartphones, tablets, and desktops. This is crucial in today’s mobile-driven shopping environment.
- Community & Marketplace: PrestaShop has a strong community of developers, designers, and users who offer extensive support through forums, tutorials, and documentation. Additionally, the PrestaShop marketplace provides access to themes, modules, and professional services to enhance your store’s capabilities.
Benefits of PrestaShop:
- Cost-Effective: Being free, PrestaShop is a budget-friendly solution for businesses. You only pay for hosting and any additional premium themes or modules you choose.
- Scalability: Whether you manage a small inventory or thousands of products, PrestaShop scales to meet the demands of growing businesses.
- Full Control: As a self-hosted platform, PrestaShop gives you complete control over every aspect of your store, from design to functionality.
- Security: PrestaShop provides built-in security features, and its active community ensures the platform is regularly updated against vulnerabilities. However, store owners are responsible for implementing their own security practices, such as SSL certificates and server management.
In summary, PrestaShop is a powerful and versatile platform that offers flexibility, customization, and scalability, making it an ideal choice for businesses looking to create professional, feature-rich online stores.
Step 1: Create an Instance
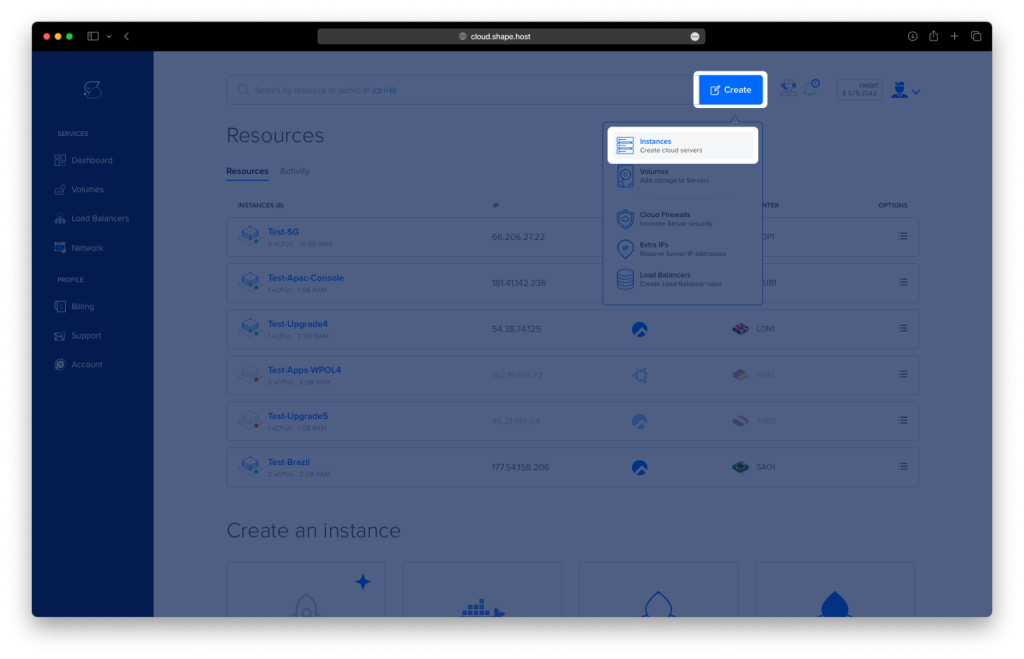
- Access the Dashboard: Log in to your Shape.Host account and navigate to your Dashboard.
- Click Create: Click on the “Create” button located in the top-right corner.
- Select Instances: From the dropdown menu, choose “Instances” to begin creating a new cloud server.
- Select Location: Choose a data center location for your instance closest to your target audience for optimal performance.
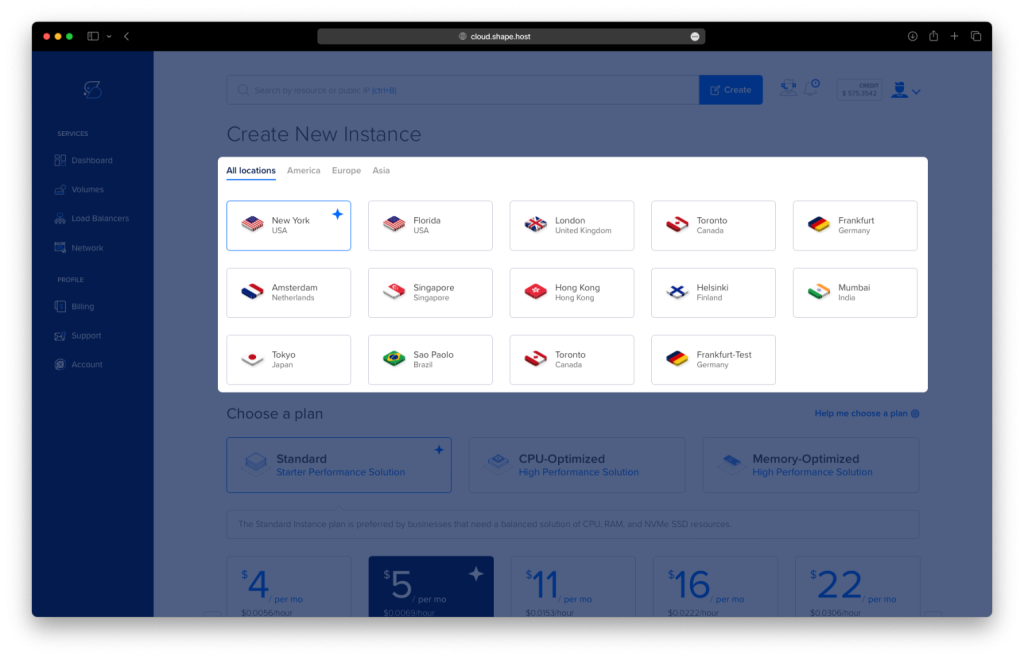
- Choose a Plan: Scroll through the available pricing plans. Select a plan based on your project requirements, such as Standard, CPU-Optimized, or Memory-Optimized.
- Choose an Image: Select Debian 12 as the operating system for your instance.
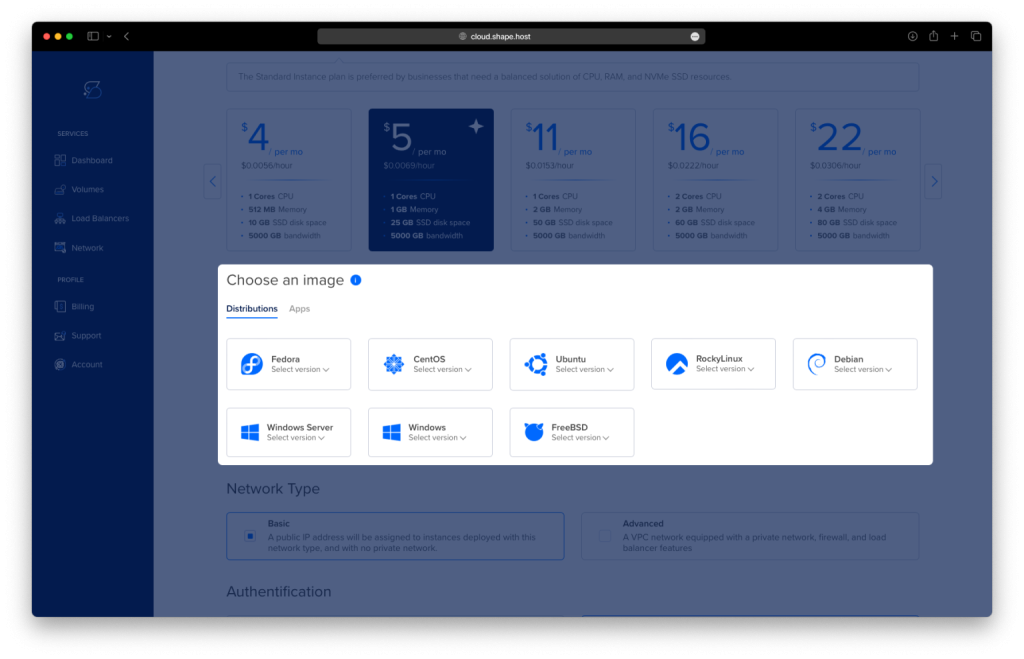
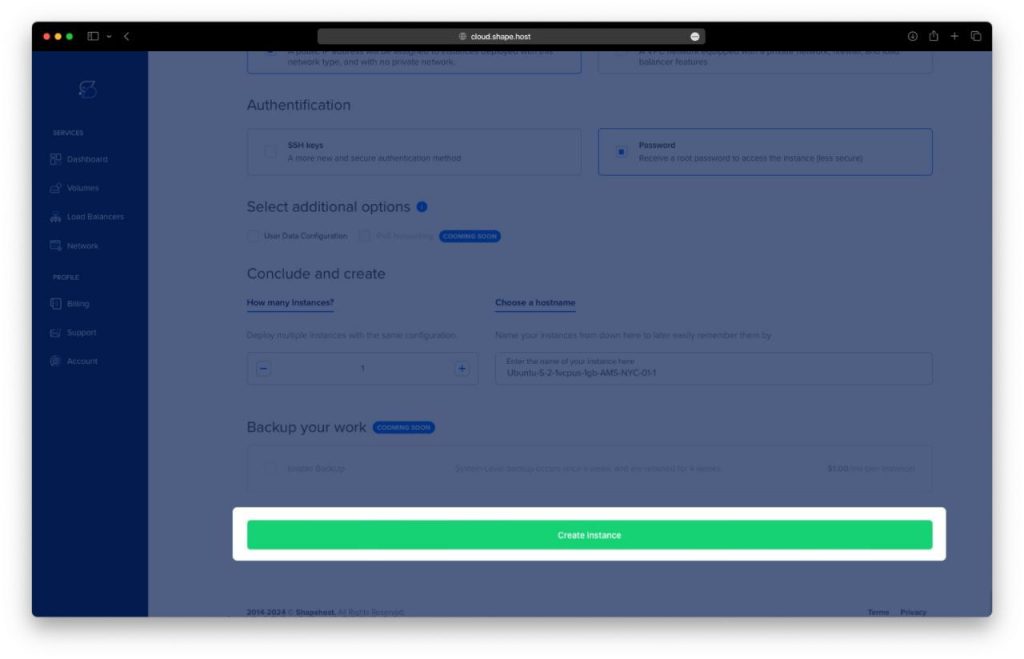
- Authentication and Finalize: Choose your authentication method, either via SSH keys or password. Once done, click Create Instance to launch your server.
Step 2: Access Your PrestaShop Instance
To connect to your instance on Shape.Host, follow these steps:
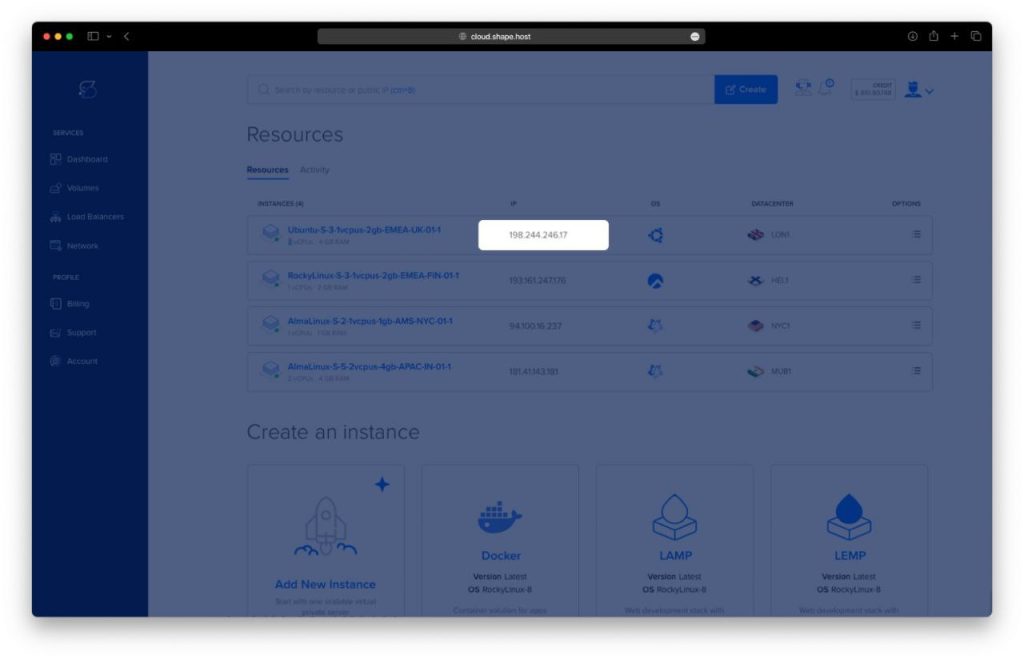
- Get the Instance IP: After creating your instance, find the public IP address in the Shape.Host dashboard under Resources.
- Open SSH Client: Use an SSH client like Terminal (Linux/macOS) or PuTTY (Windows).
- SSH into the Instance: Run the following command in your terminal:
ssh root@<your-instance-ip>Replace <your-instance-ip> with your actual instance IP address.
- Enter the Password: If prompted, enter your instance’s root password or use your SSH key if configured.
You are now connected to your instance!
Step 3: Add PHP Repository and Install Packages
Add the repository for PHP and update your system:
curl -sSLo /usr/share/keyrings/deb.sury.org-php.gpg https://packages.sury.org/php/apt.gpg
sh -c 'echo "deb [signed-by=/usr/share/keyrings/deb.sury.org-php.gpg] https://packages.sury.org/php/ $(lsb_release -sc) main" > /etc/apt/sources.list.d/php.list'
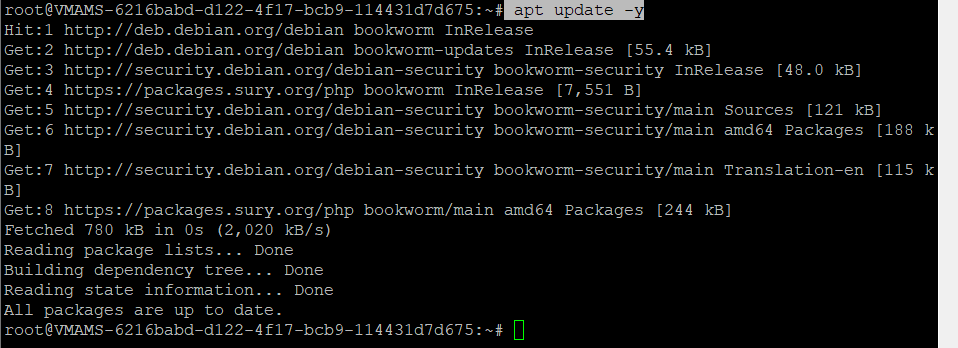
apt update -y
Install Apache, MariaDB, PHP, Certbot, and other required packages:
apt install apache2 mariadb-server certbot python3-certbot-apache php8.1 php8.1-curl php8.1-xmlrpc php8.1-soap php8.1-intl php8.1-zip php8.1-cli php8.1-mysql php8.1-common php8.1-opcache php8.1-memcached php8.1-bcmath php8.1-gd php8.1-mbstring php8.1-xml php8.1-gmp php8.1-imagick unzip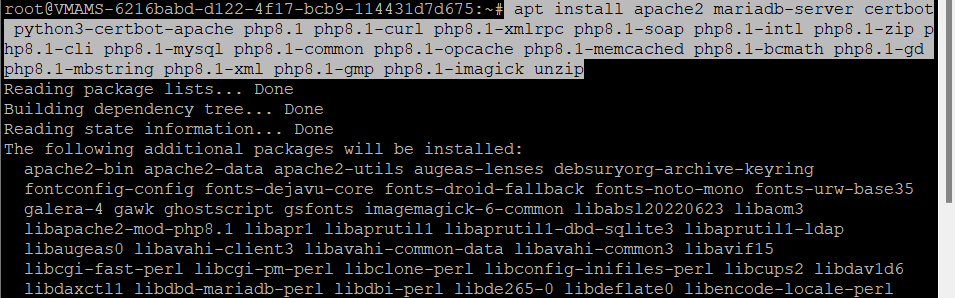
Step 4: Verify Apache and MariaDB
Ensure that Apache and MariaDB are enabled and running:
systemctl is-enabled apache2
systemctl status apache2
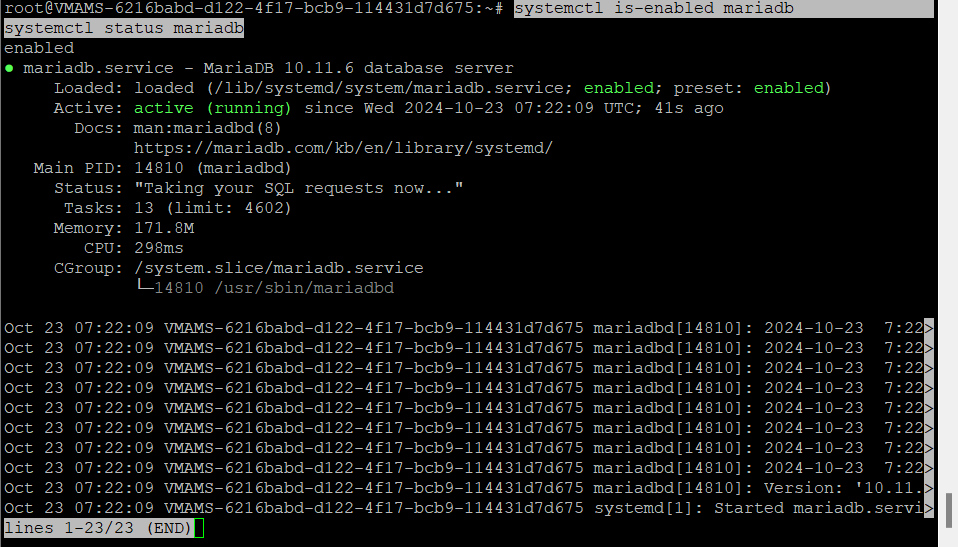
systemctl is-enabled mariadb
systemctl status mariadb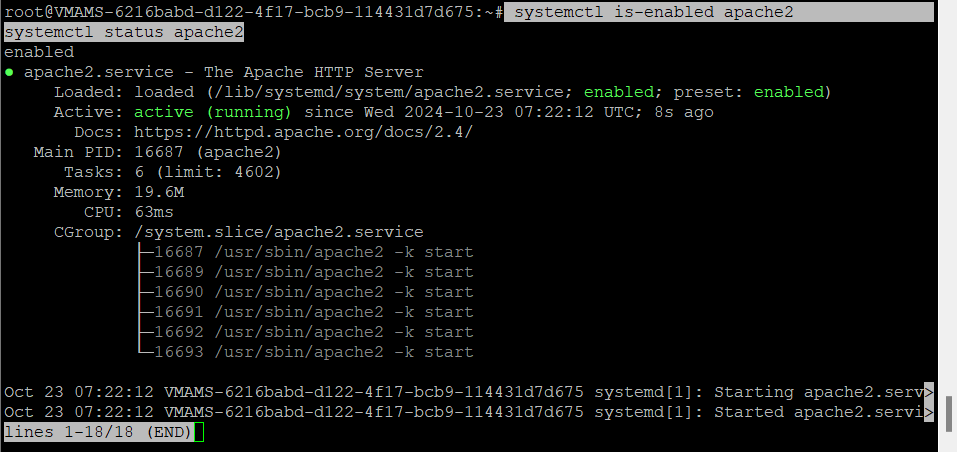
Step 5: Verify PHP Installation
Check the installed PHP version and modules:
php -v
php -m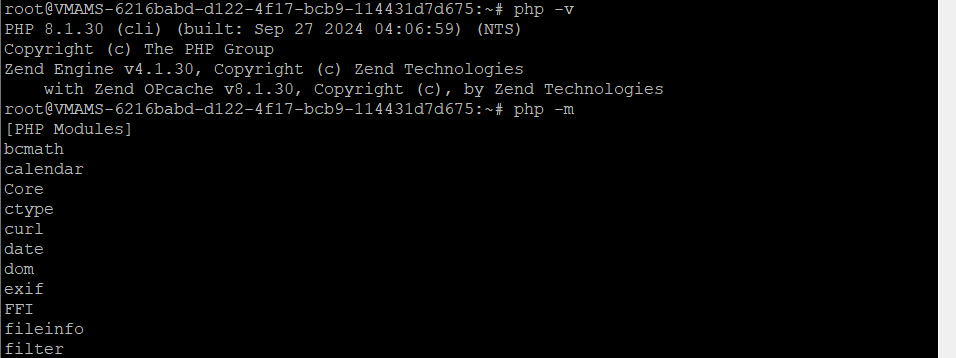
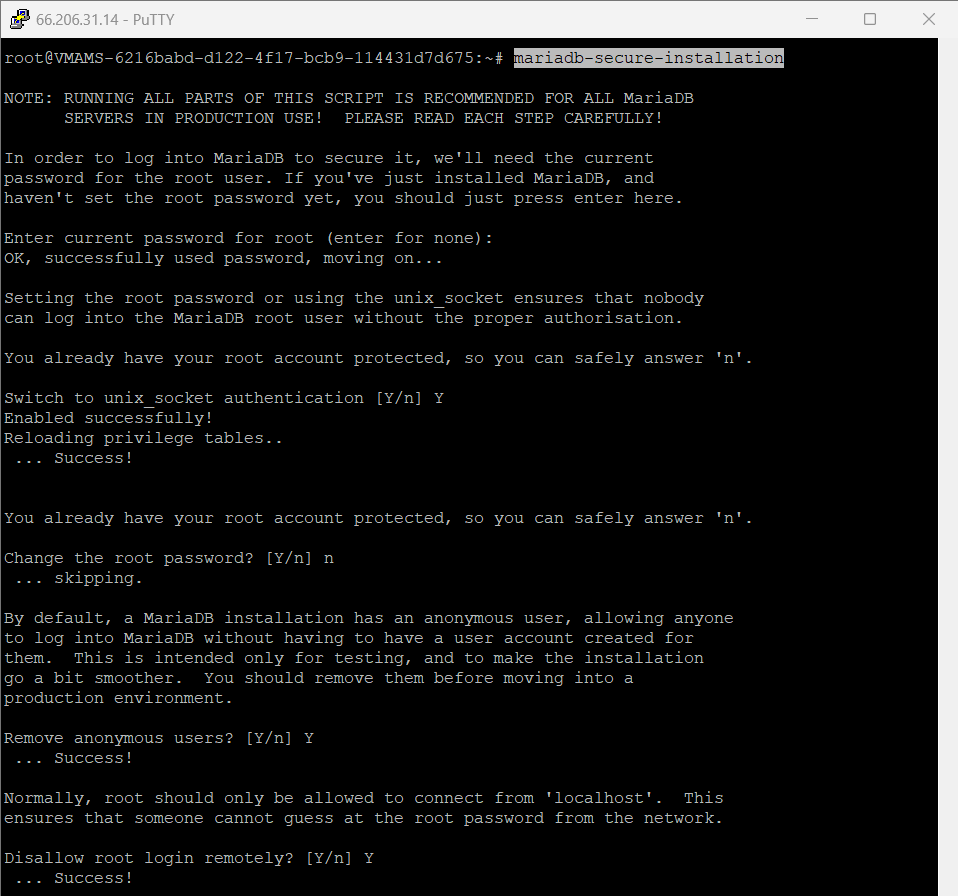
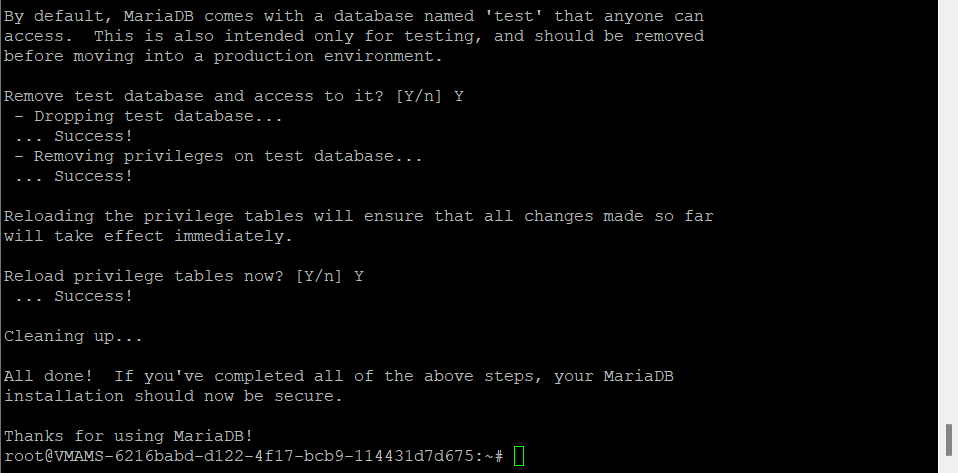
Step 6: Secure MariaDB Installation
Run the MariaDB secure installation script to set up your database:
mariadb-secure-installationFollow the prompts to secure your MariaDB installation.
Step 7: Create a Database for PrestaShop
Next, run the MariaDB client command below to log in to the MariaDB Server. Input your MariaDB root password when prompted.
mariadb -u root -pRun the following SQL commands to create the database and user:
CREATE DATABASE prestashopdb;
CREATE USER 'prestashop'@'localhost' IDENTIFIED BY 'password';
GRANT ALL PRIVILEGES ON prestashopdb.* TO 'prestashop'@'localhost';
FLUSH PRIVILEGES;
Verify the privileges of the user:
SHOW GRANTS FOR 'prestashop'@'localhost';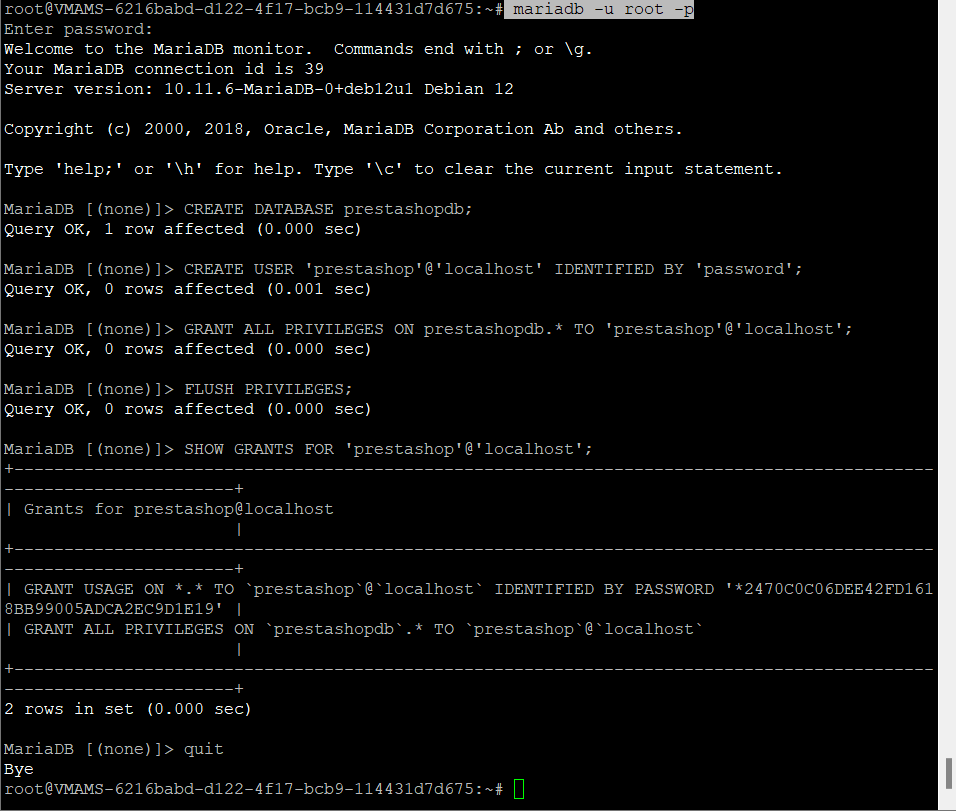
Step 8: Configure PHP
Edit the PHP configuration file to optimize it for PrestaShop:
nano /etc/php/8.1/apache2/php.iniYou can use the search function (CTRL + W in nano) to find it more quickly. To save your changes and exit nano, press CTRL + X, then Y, and Enter.
Make the following changes:
- Set
date.timezoneto your proper timezone (e.g.,date.timezone = Europe/Amsterdam) - Set
max_execution_timeto130 - Set
memory_limitto256M - Set
allow_url_fopentoOn - Set
allow_url_includetoOff - Set
post_max_sizeto128M - Set
upload_max_filesizeto128M - Set
max_input_varsto5000
Step 9: Restart Apache
Restart Apache to apply the changes:
systemctl restart apache2
Step 10: Download and Set Up PrestaShop
Navigate to the /var/www/html directory and download PrestaShop dependencies:
cd /var/www/html
wget https://github.com/PrestaShop/php-ps-info/archive/refs/tags/v1.1.tar.gz
tar -xf v1.1.tar.gz
mv php-ps-info-1.1 check-ps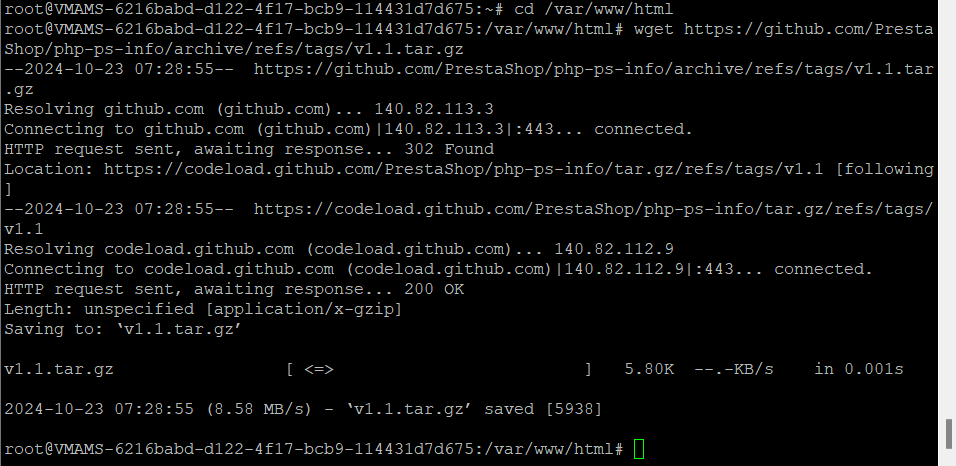


Navigate to the /var/www/ directory and download PrestaShop:
cd /var/www/
wget https://github.com/PrestaShop/PrestaShop/releases/download/8.1.2/prestashop_8.1.2.zip
unzip prestashop_8.1.2.zip
unzip prestashop.zip -d /var/www/prestashop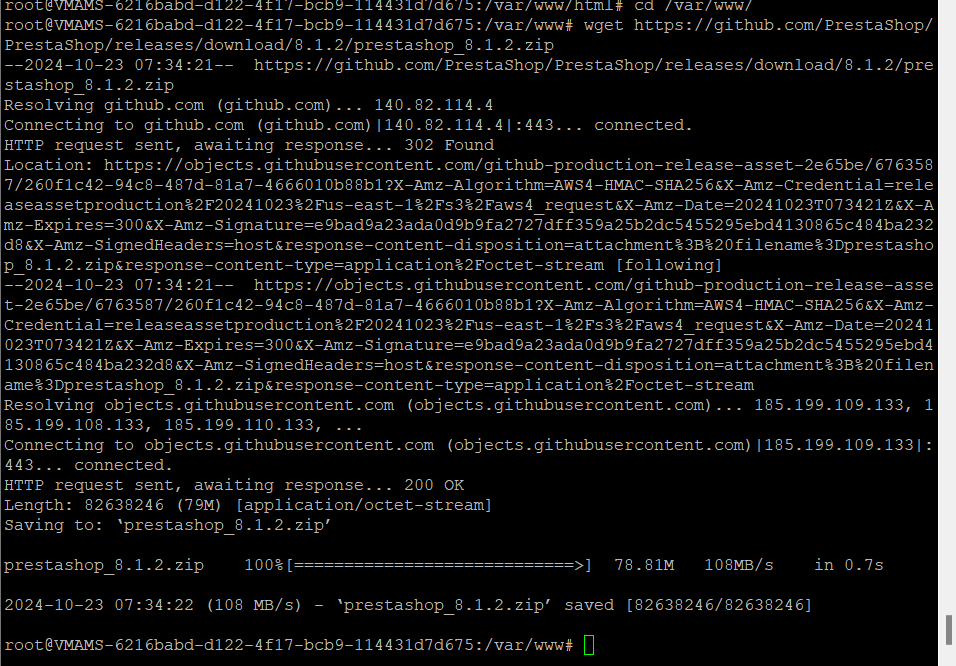


Set the correct ownership of the PrestaShop files:
chown -R www-data:www-data /var/www/prestashop
chmod u+rw /var/www/prestashop
Step 11: Enable Apache Rewrite Module
Enable the Apache rewrite module:
a2enmod rewrite
Step 12: Configure Apache for PrestaShop
Create a new virtual host configuration for PrestaShop:
nano /etc/apache2/sites-available/prestashop.confTo save your changes and exit nano, press CTRL + X, then Y, and Enter.
Insert the following configuration, replacing ServerName with your domain name:
<VirtualHost *:80>

    ServerAdmin contact@shape.host
    DocumentRoot /var/www/prestashop
    ServerName debian-tutorials.shape.host

    <Directory /var/www/prestashop>
        # enable the .htaccess rewrites
        AllowOverride All
        Options +Indexes
        Require all granted

        # Disable back office token
        # SetEnv _TOKEN_ disabled
    </Directory>

    ErrorLog /var/log/apache2/prestashop.error.log
    CustomLog /var/log/apache2/prestashop.access.log combined
</VirtualHost>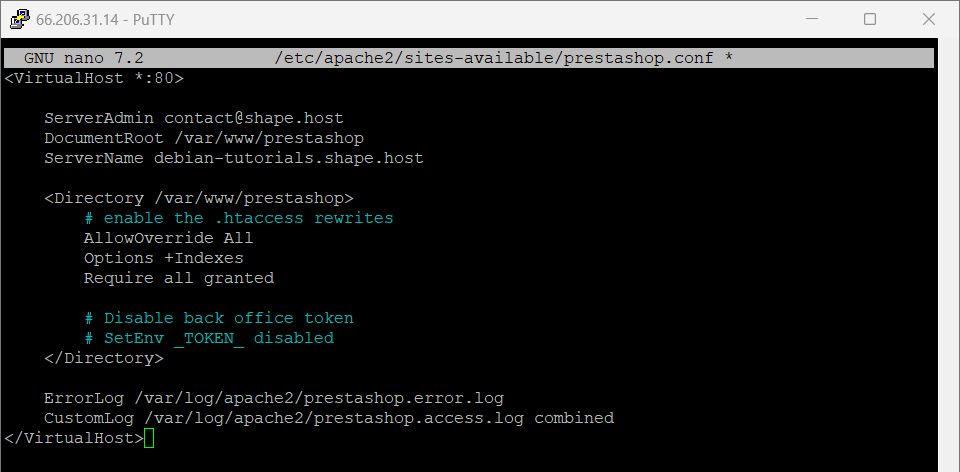
Enable the PrestaShop site and test Apache’s configuration:
a2ensite prestashop.conf
apachectl configtest
systemctl restart apache2
Step 13: Enable HTTPS with Let’s Encrypt
Install Certbot and enable HTTPS for your domain:
certbot --apache --agree-tos --no-eff-email --redirect --hsts --staple-ocsp --email contact@shape.host -d debian-tutorials.shape.host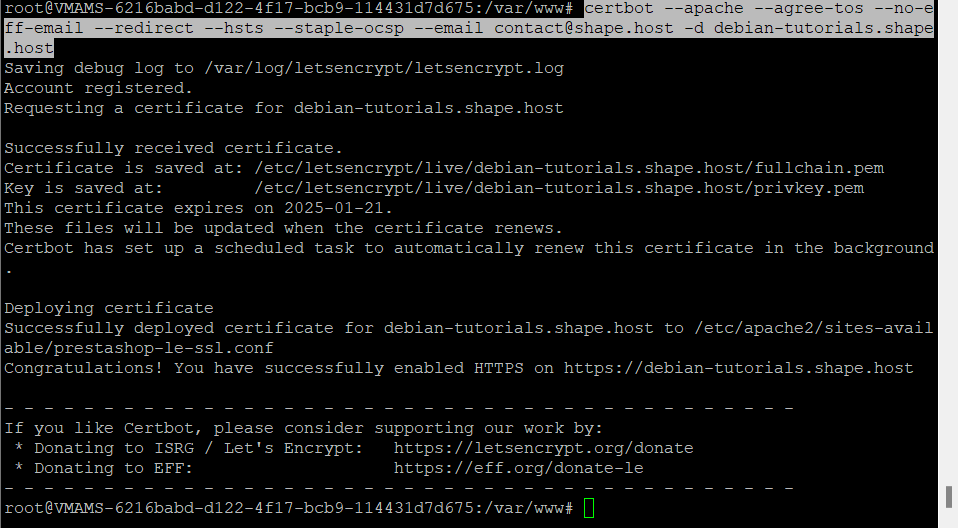
Step 15: Access PrestaShop
Launch your web browser and visit the domain name of your PrestaShop installation (e.g., http://your-domain.com/). Once the installation is successful, you should be redirected to a secure HTTPS connection, and you will see the default homepage of your PrestaShop installation.
Another consideration, you can run the following command to check the PrestaShop login admin:
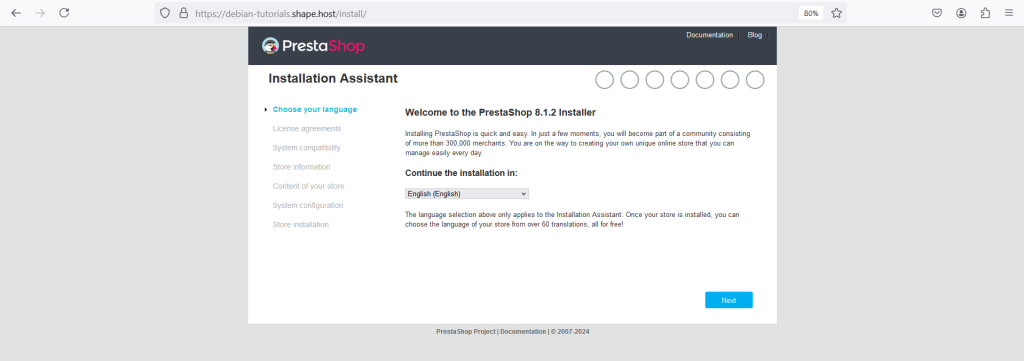
ls /var/www/prestashopStep 16: Choose Your Language

- In the first screen of the installation wizard, select the language for the installation process.
- Click Next to continue.
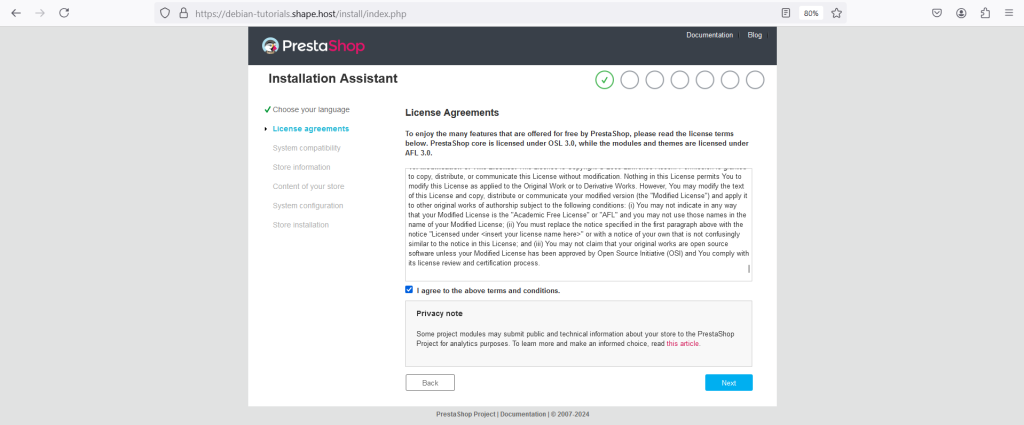
Step 17: Accept License Agreements

- Read the license agreements provided by PrestaShop.
- Check the box “I agree to the above terms and conditions”.
- Click Next to move on to the next step.
Step 18: System Compatibility Check

- PrestaShop will now verify if your system meets the necessary requirements.
- Ensure that all requirements are met. Click Next once compatibility is confirmed.
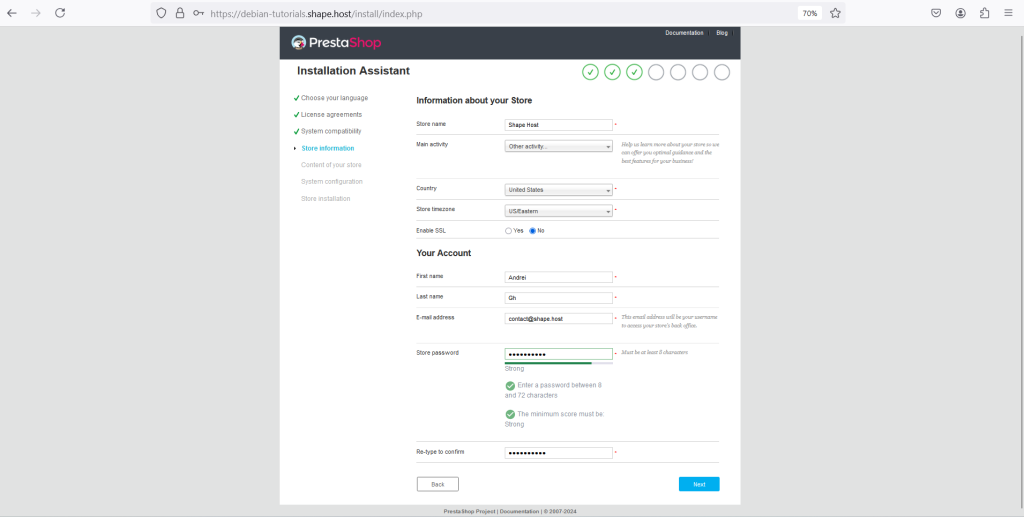
Step 19: Fill in Store Information

- Enter the Store name, Main activity, Country, and Store timezone.
- Fill in Your Account details including First name, Last name, E-mail address, and Password.
- Click Next after completing all the fields.
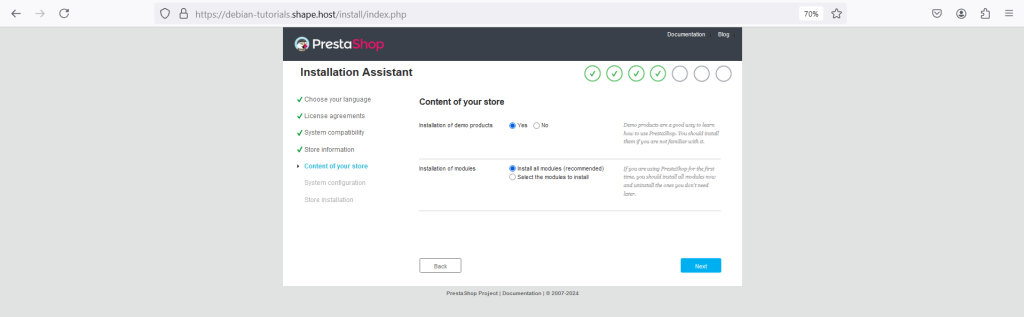
Step 20: Select Content for Your Store

- Decide whether to install demo products to familiarize yourself with PrestaShop.
- For modules, select Install all modules (recommended) to ensure that you have all the essential functionality available.
- Click Next to proceed.
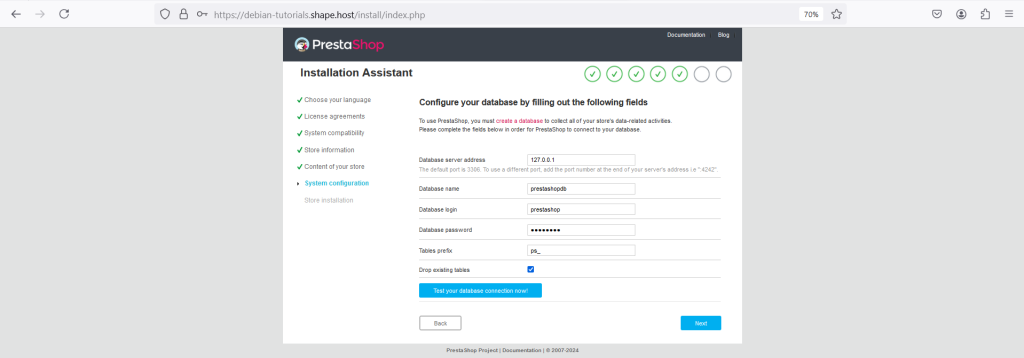
Step 21: Configure System Settings

- Fill in the database configuration settings, such as the Database server address, Database name, Database login, and Password.
- Click Test your database connection now! to make sure everything is working correctly.
- Click Next to continue once the connection is successful.
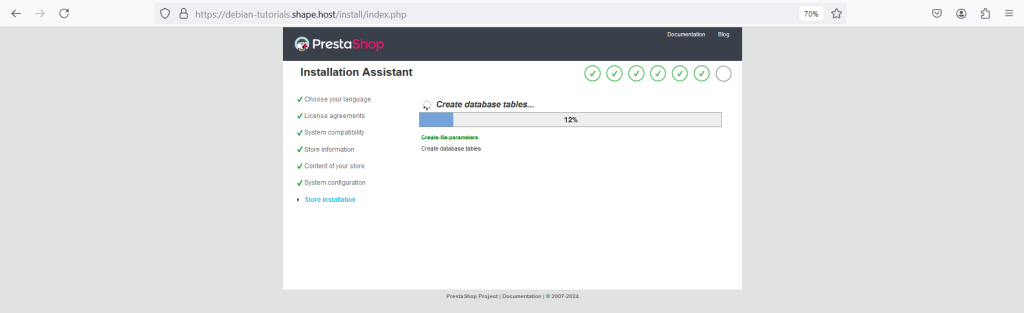
Step 22: Install PrestaShop

- PrestaShop will now begin installing the necessary components, including creating database tables and configuring the store.
- Wait for the progress bar to complete, indicating successful installation.
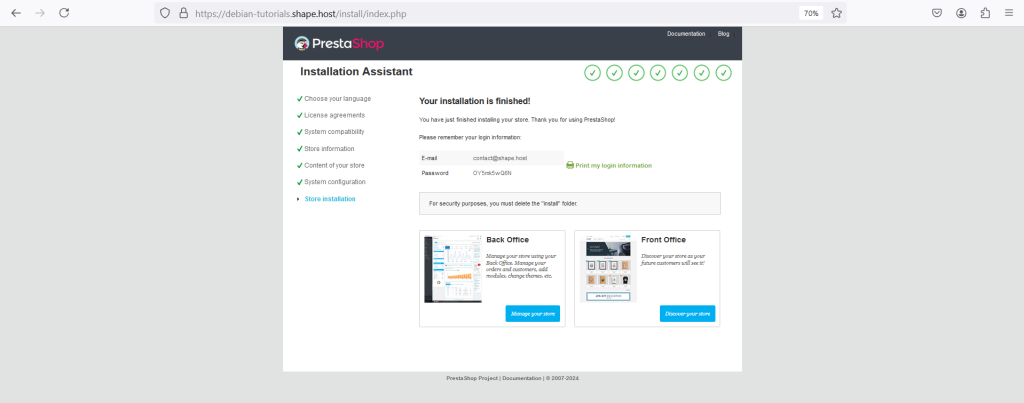
Step 23: Installation Complete

- You have successfully installed PrestaShop.
- Note your Back Office credentials for logging in later.
- Make sure to delete the “install” folder as recommended for security reasons.
- You can access the Back Office to manage your store or explore the Front Office to see what your customers will see.
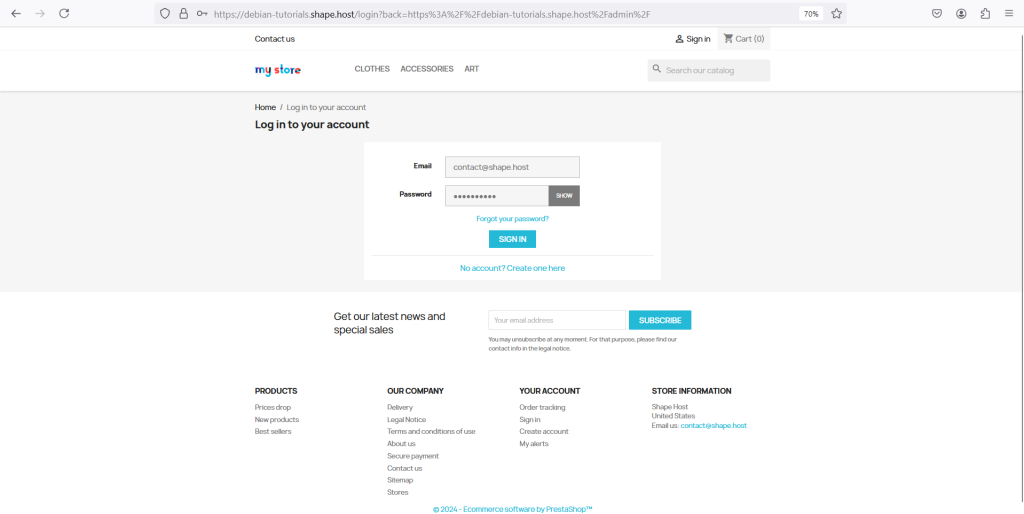
Step 24: Log in to the Back Office

- Visit the Back Office login page, and enter your E-mail address and Password set during installation.
- Click Sign In to access the administrative interface of your PrestaShop store.
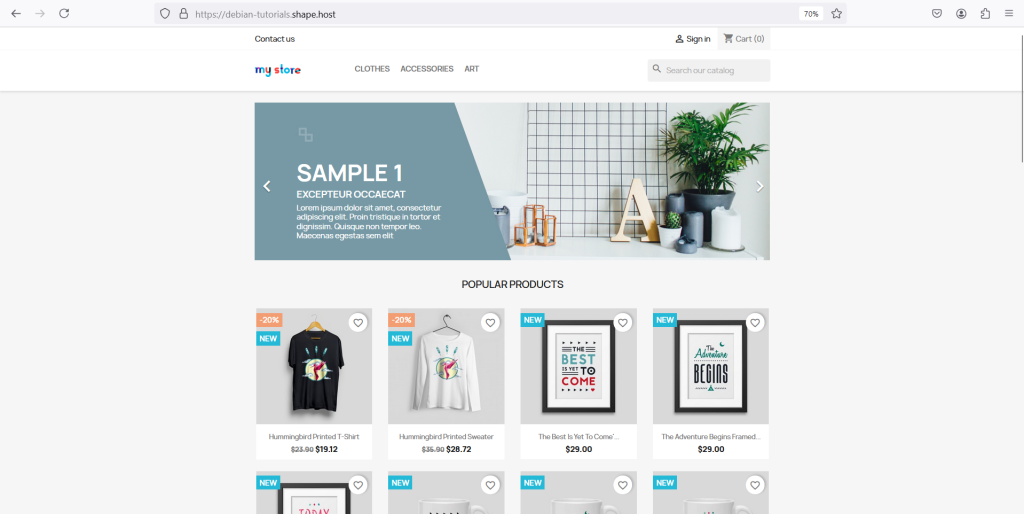
Step 25: View Your Store Front Office

- You can now see your live store, which is the Front Office that customers will interact with.
- Explore the design, products, and overall layout from the customer’s perspective.
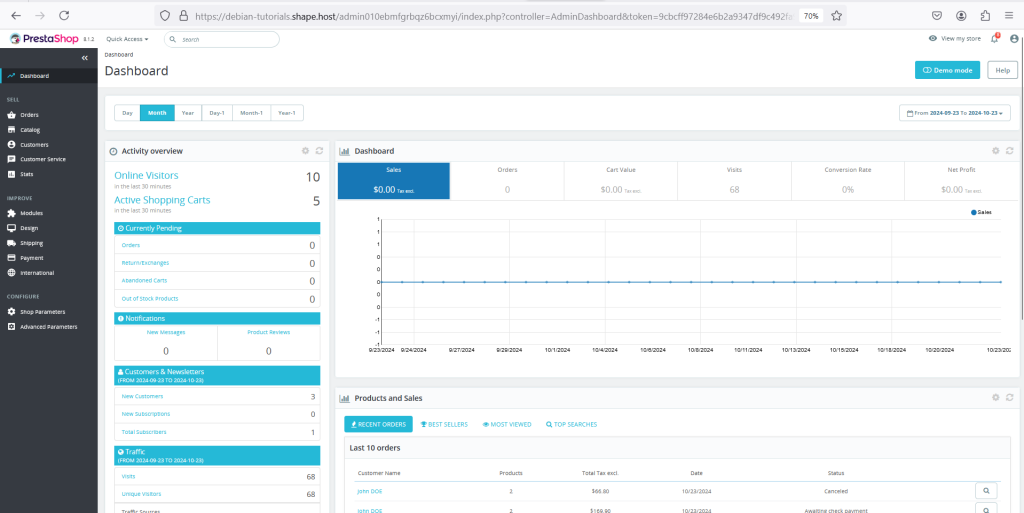
If you have a proper admin user and password, you should be presented with the PrestaShop administration dashboard.
Step 26: Secure PrestaShop Installation
After a successful installation, secure your PrestaShop installation by removing the install directory:
rm -rf /var/www/prestashop/installThis tutorial was made possible using Shape.Host services, specifically their Linux SSD VPS offering. Shape.Host provides reliable and scalable cloud hosting solutions that are ideal for hosting applications like PrestaShop. Check out their Cloud VPS plans to get started with your own instance today.