Seafile is a powerful cloud storage solution for managing and storing files securely. This guide will walk you through the installation process of Seafile on Debian 12, setting up MariaDB, Nginx, and SSL to run Seafile efficiently.
Seafile is an open-source, self-hosted cloud storage solution designed for teams and individuals who need a reliable, scalable, and secure platform to manage and share files. It offers a range of features similar to commercial cloud services like Google Drive or Dropbox, but gives users full control over their data by allowing them to host it on their own server.
Key Features of Seafile Self-Hosted Cloud S torage:
- File Synchronization and Sharing: Seafile allows you to sync files between different devices, and also provides sharing options to collaborate easily with others. You can share files and folders with specific permissions, and generate shareable links for external users.
- Libraries and File Versioning: Files in Seafile are organized into libraries, each of which can be encrypted or password-protected. The platform supports automatic file versioning, which allows users to revert to previous versions if needed, making it easier to recover from accidental changes or deletions.
- Built-In Collaboration Tools: Seafile includes built-in tools such as wikis, file comments, and activity notifications, which help teams work together effectively. It also integrates with Microsoft Office Online Server, Collabora Online, or ONLYOFFICE for collaborative document editing.
- End-to-End Encryption: Security is a primary focus for Seafile. It offers end-to-end encryption for libraries, meaning the encryption and decryption happen on the client side, ensuring that even the server administrator cannot access the content of your files. This is ideal for users who need to store sensitive information securely.
- User and Group Management: With Seafile, you can manage users and groups to organize files and sharing permissions effectively. It supports LDAP/AD integration, making it suitable for enterprise environments.
- Scalable and Extensible: Seafile is built to scale from small personal setups to large-scale enterprise deployments. It uses MySQL, MariaDB, or PostgreSQL as the backend database, and can scale to support millions of files without any drop in performance.
- Multi-Platform Support: Seafile clients are available for various platforms, including Windows, macOS, Linux, Android, and iOS. This allows users to access their files from anywhere and synchronize them across different devices.
- Efficient Data Storage: Seafile uses data deduplication and compression to optimize storage usage, which means identical files or blocks are only stored once, reducing the storage space needed. This helps save costs, especially when handling large volumes of data.
- Third-Party Integrations: Seafile can be integrated with popular third-party tools and services, including Microsoft Office, Collabora, and other editing solutions, providing seamless editing capabilities. Additionally, it can also be integrated with applications like OnlyOffice for enhanced document collaboration.
- Web Interface and API: Seafile provides an intuitive web-based interface, allowing users to manage their files through a web browser. It also comes with a robust API for developers who want to extend its functionalities or integrate it into other systems.
Benefits of Self-Hosting Seafile:
- Data Privacy: Since Seafile is hosted on your own servers, you have complete control over your data. There is no need to trust a third-party cloud provider.
- Customizability: You can customize Seafile to meet your needs, from the storage backend to the user management features.
- Reduced Costs: For organizations, Seafile can be more cost-effective than using commercial cloud services, particularly for large storage requirements, as there are no per-user or per-device fees.
Seafile is a great choice for anyone looking to take control of their cloud storage, whether it’s for personal use or for a large enterprise environment. With its focus on security, collaboration, and scalability, it provides a versatile and powerful solution for managing and sharing data.
Step 1: Create an Instance
- Access the Dashboard: Log in to your Shape.Host account and navigate to your Dashboard.
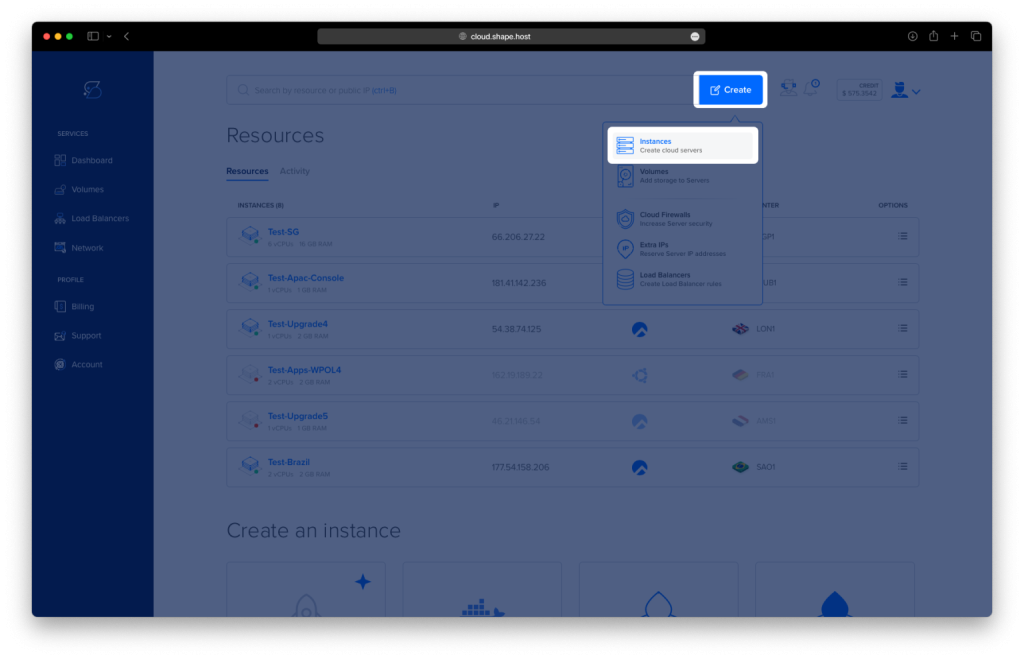
- Click Create: Click on the “Create” button located in the top-right corner.
- Select Instances: From the dropdown menu, choose “Instances” to begin creating a new cloud server.
- Select Location: Choose a data center location for your instance closest to your target audience for optimal performance.
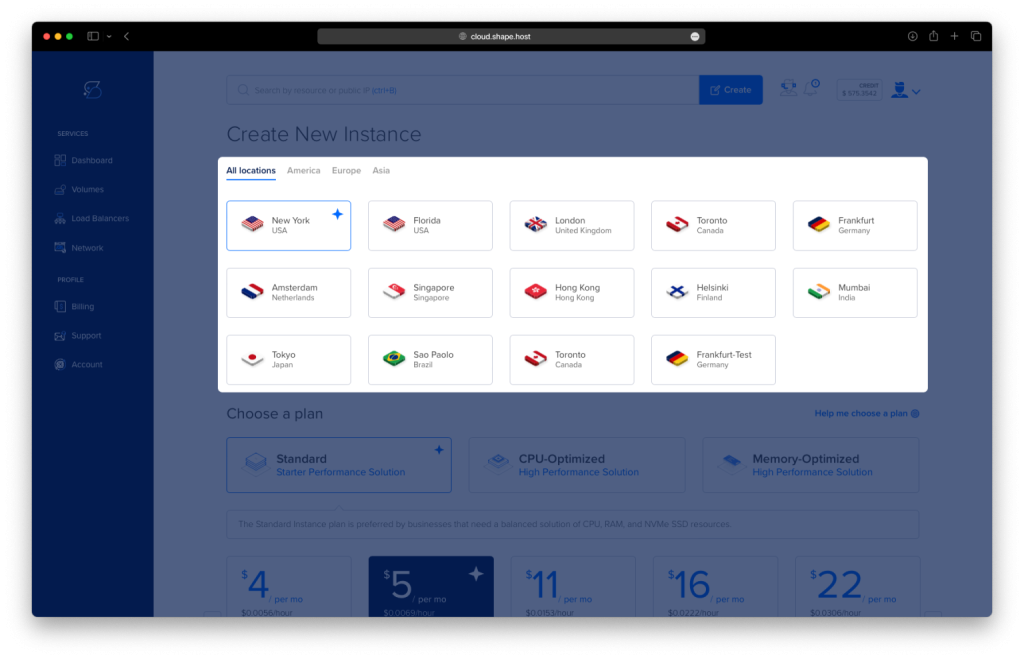
- Choose a Plan: Scroll through the available pricing plans. Select a plan based on your project requirements, such as Standard, CPU-Optimized, or Memory-Optimized.
- Choose an Image: Select Debian 12 as the operating system for your instance.

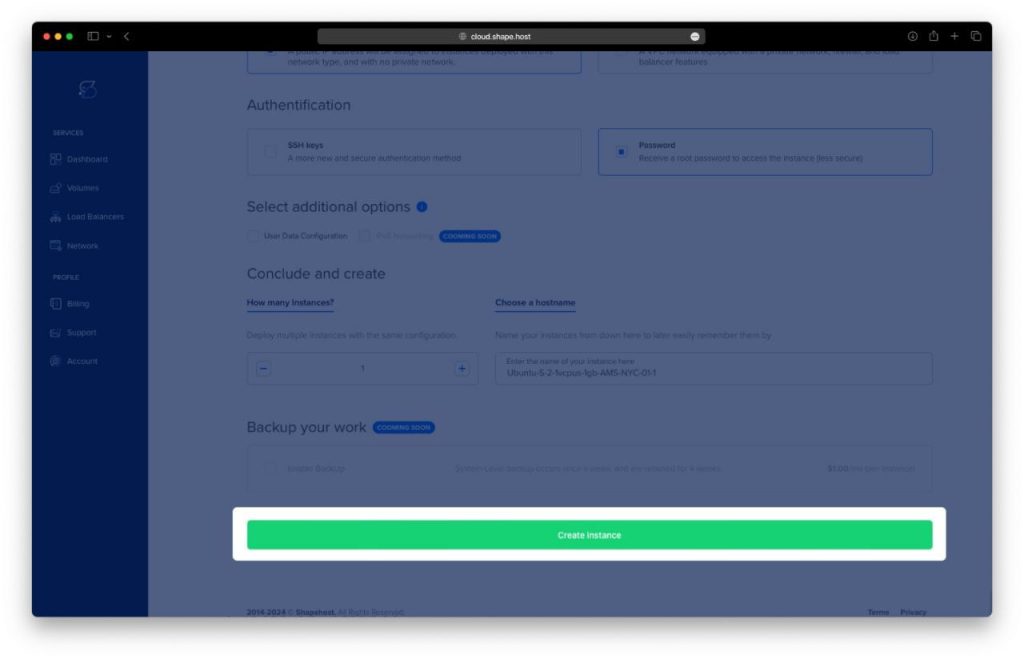
- Authentication and Finalize: Choose your authentication method, either via SSH keys or password. Once done, click Create Instance to launch your server.
Step 2: Access Your Instance
To connect to your instance on Shape.Host, follow these steps:
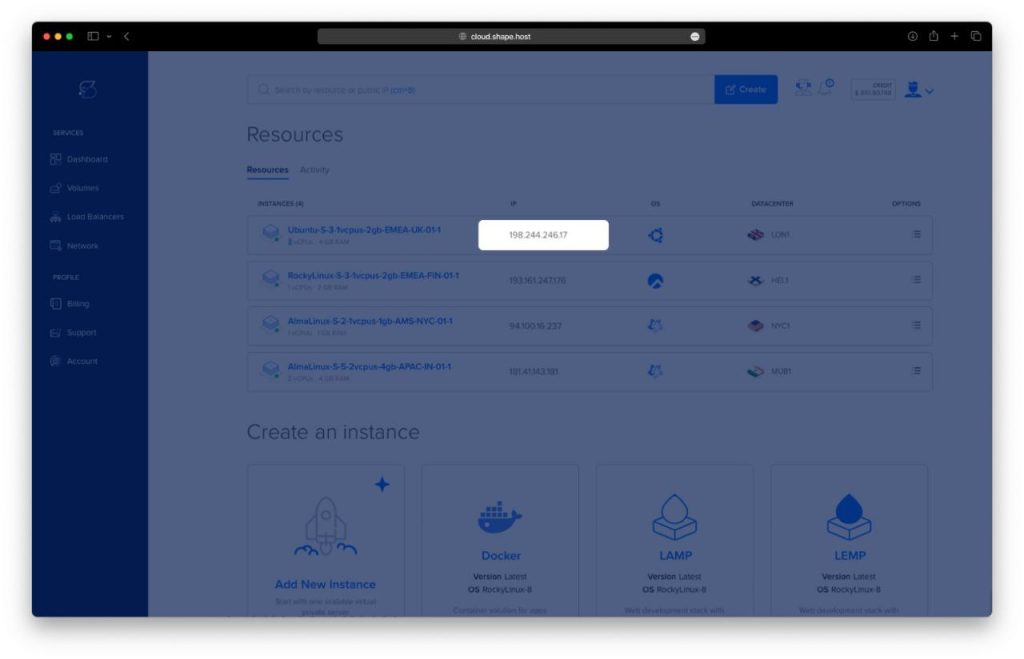
- Get the Instance IP: After creating your instance, find the public IP address in the Shape.Host dashboard under Resources.
- Open SSH Client: Use an SSH client like Terminal (Linux/macOS) or PuTTY (Windows).
- SSH into the Instance: Run the following command in your terminal:
ssh root@<your-instance-ip>Replace <your-instance-ip> with your actual instance IP address.
- Enter the Password: If prompted, enter your instance’s root password or use your SSH key if configured.
You are now connected to your instance!
Step 3: Update and Install Required Packages
Update your system and install necessary packages for Seafile:
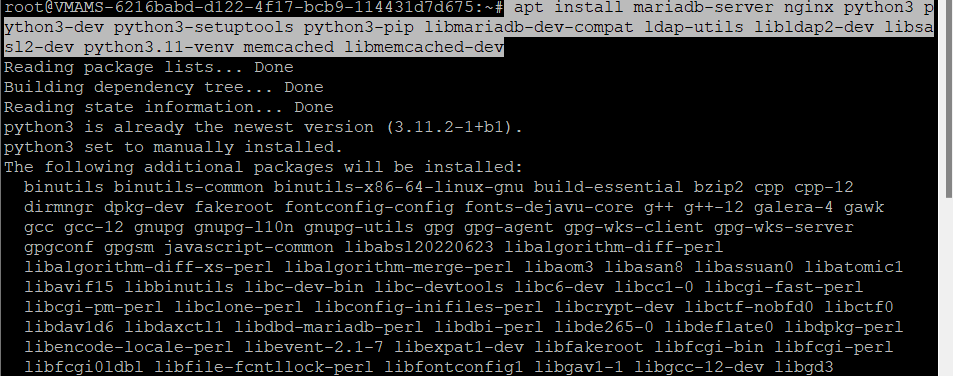
apt update
apt install mariadb-server nginx python3 python3-dev python3-setuptools python3-pip libmariadb-dev-compat ldap-utils libldap2-dev libsasl2-dev python3.11-venv memcached libmemcached-dev -y
Step 4: Verify Services
Check the status of the installed services to ensure they are running properly:
- MariaDB:
  systemctl is-enabled mariadb
  systemctl status mariadb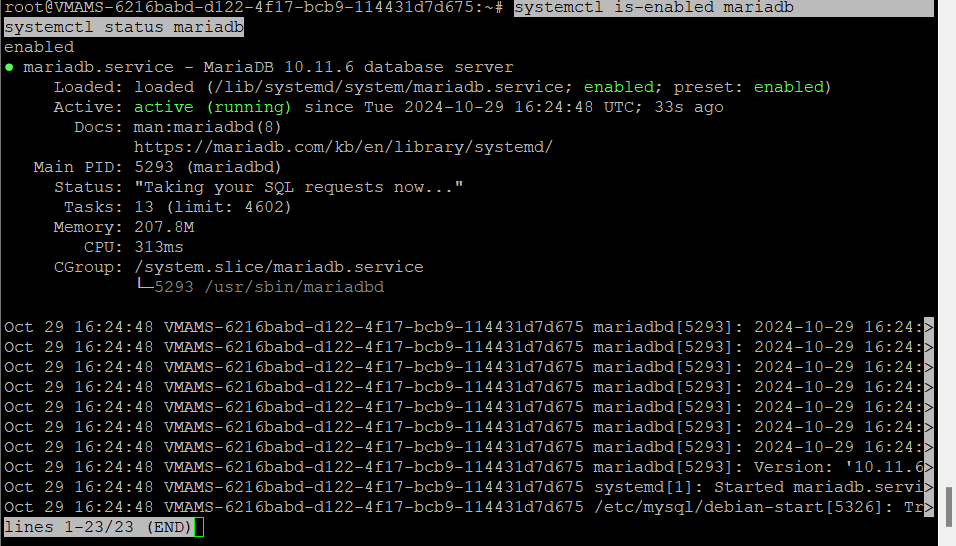
- Nginx:
  systemctl is-enabled nginx
  systemctl status nginx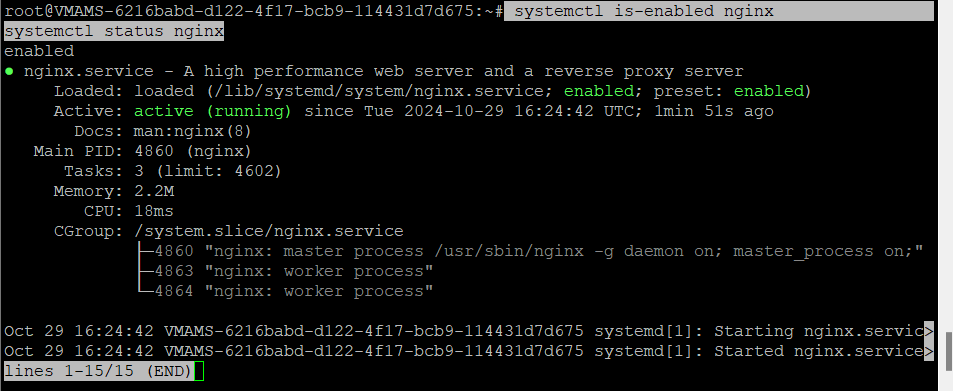
- Memcached:
  systemctl is-enabled memcached
  systemctl status memcached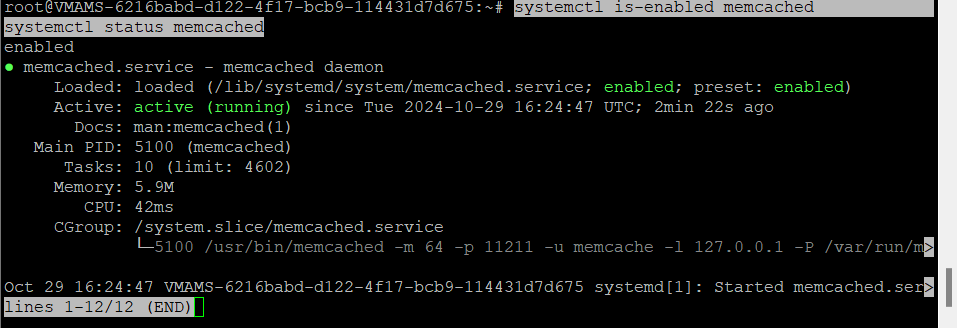
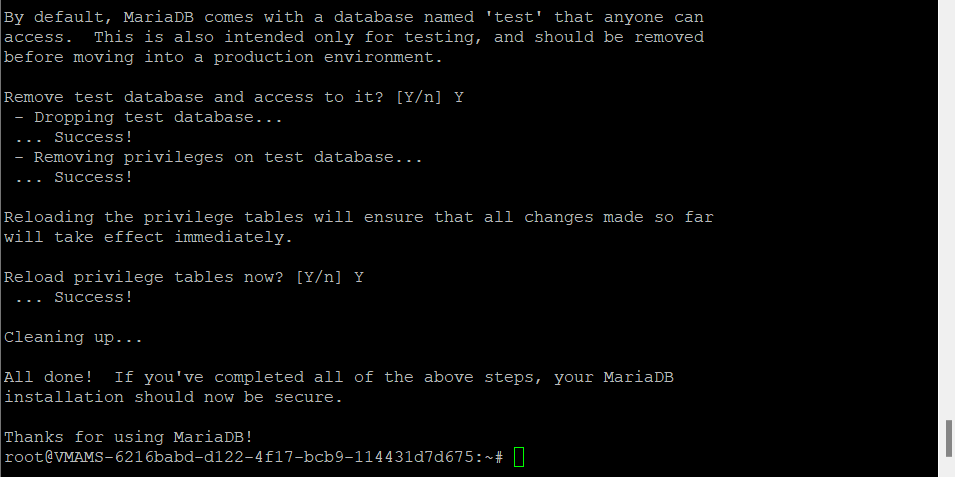
Step 5: Secure MariaDB Installation
Run the following command to secure your MariaDB server installation:
mariadb-secure-installationFollow the prompts to set up the root password and secure your MariaDB installation.

Step 6: Set Up MariaDB Database and User
Log in to the MariaDB server:
mariadb -u root -pCreate a new user and databases for Seafile:
- Create the user:
CREATE USER 'seafile'@'localhost' IDENTIFIED BY 'password';Replace 'password' with a secure password.
- Create the databases:
  CREATE DATABASE ccnet_db CHARACTER SET = 'utf8';
  CREATE DATABASE seafile_db CHARACTER SET = 'utf8';
CREATE DATABASE seahub_db CHARACTER SET = 'utf8';- Grant privileges to the
seafileuser:
  GRANT ALL PRIVILEGES ON ccnet_db.* TO 'seafile'@'localhost';
  GRANT ALL PRIVILEGES ON seafile_db.* TO 'seafile'@'localhost';
  GRANT ALL PRIVILEGES ON seahub_db.* TO 'seafile'@'localhost';
  FLUSH PRIVILEGES;
Verify that the seafile user has the correct privileges:
SHOW GRANTS FOR 'seafile'@'localhost';Exit the MariaDB shell by typing quit.


Step 7: Set Up Seafile User and Directory
Create a new system user for Seafile and set up the directory:
adduser seafile
mkdir -p /opt/seafile
cd /opt/seafile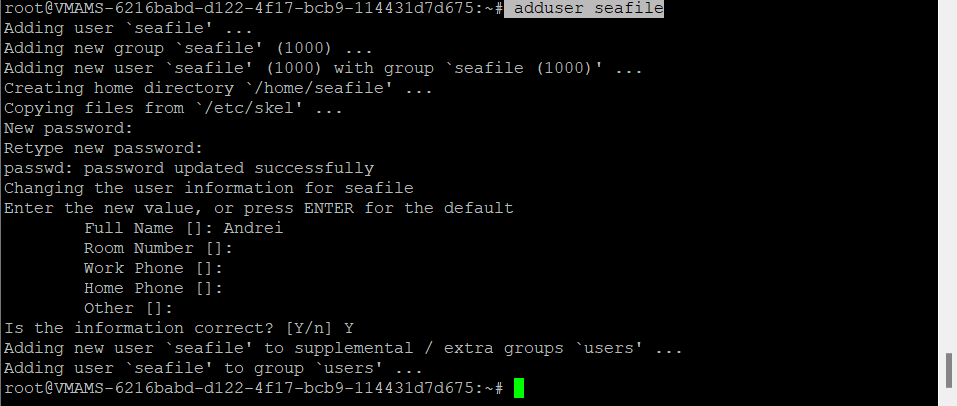
Create a Python virtual environment and activate it:
python3 -m venv venv
source venv/bin/activate
Install Python dependencies for Seafile:
pip3 install --timeout=3600 django==4.2.* future==0.18.* mysqlclient==2.1.* pymysql pillow==10.0.* pylibmc captcha==0.4 markupsafe==2.0.1 jinja2 sqlalchemy==2.0.18 psd-tools django-pylibmc django_simple_captcha==0.5.* djangosaml2==1.5.* pysaml2==7.2.* pycryptodome==3.16.* cffi==1.15.1 lxml python-ldap==3.4.3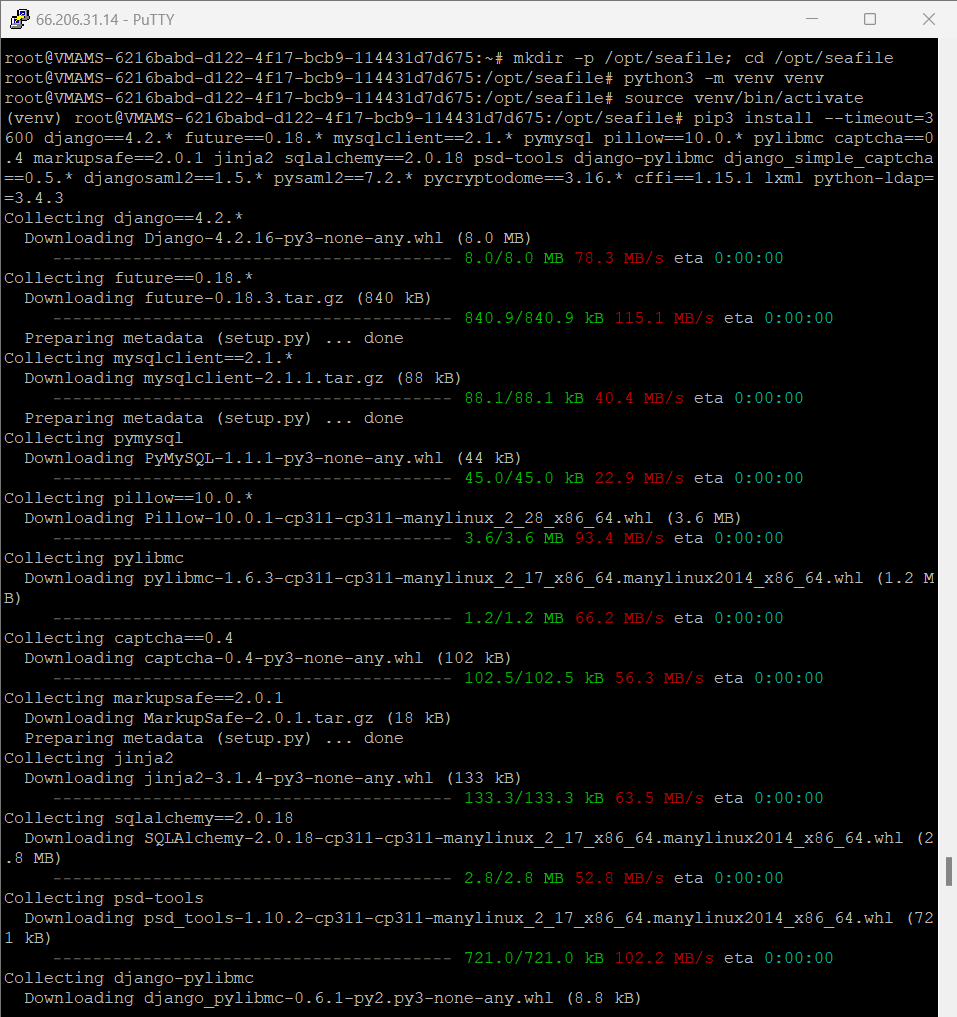
Change ownership of the /opt/seafile directory:
chown -R seafile: /opt/seafileStep 8: Download and Install Seafile
Log in as the seafile user and navigate to the /opt/seafile directory:
su seafile
cd /opt/seafile
Download and extract the Seafile source code:
wget https://s3.eu-central-1.amazonaws.com/download.seadrive.org/seafile-server_11.0.12_x86-64.tar.gz
tar xf seafile-server_11.0.12_x86-64.tar.gz

Activate the Python virtual environment:
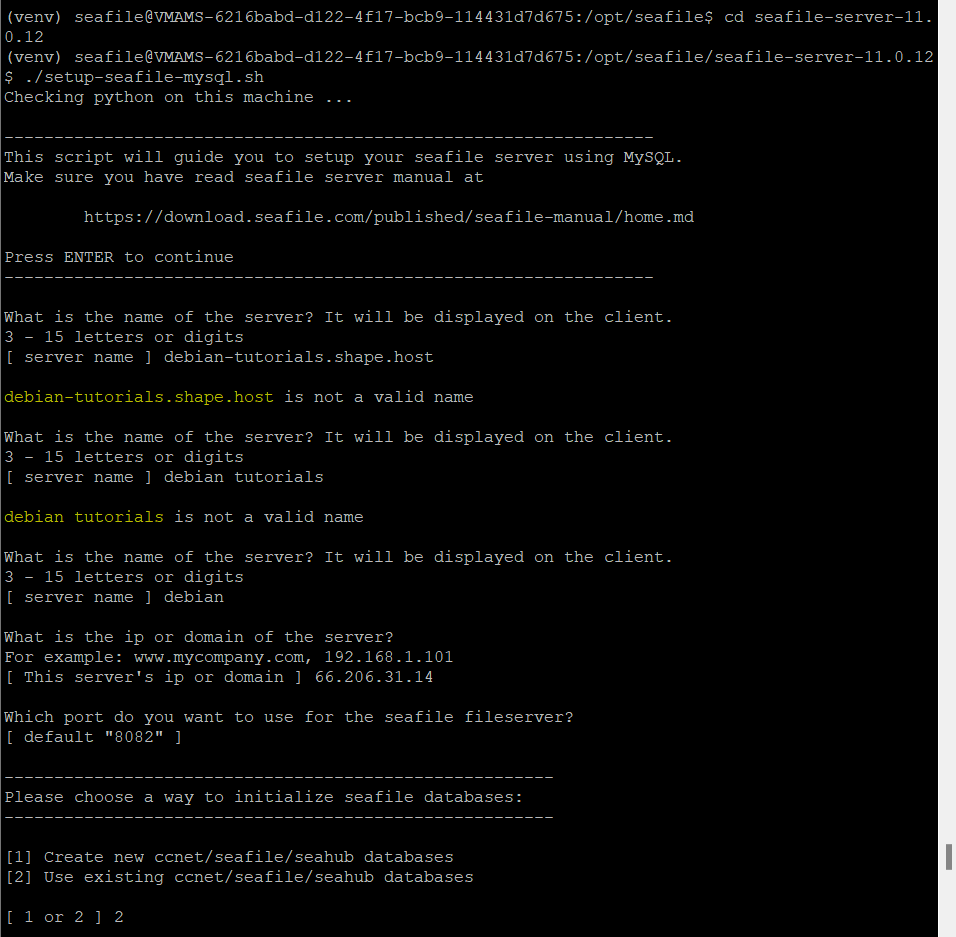
source venv/bin/activateNavigate to the Seafile directory and run the setup script:
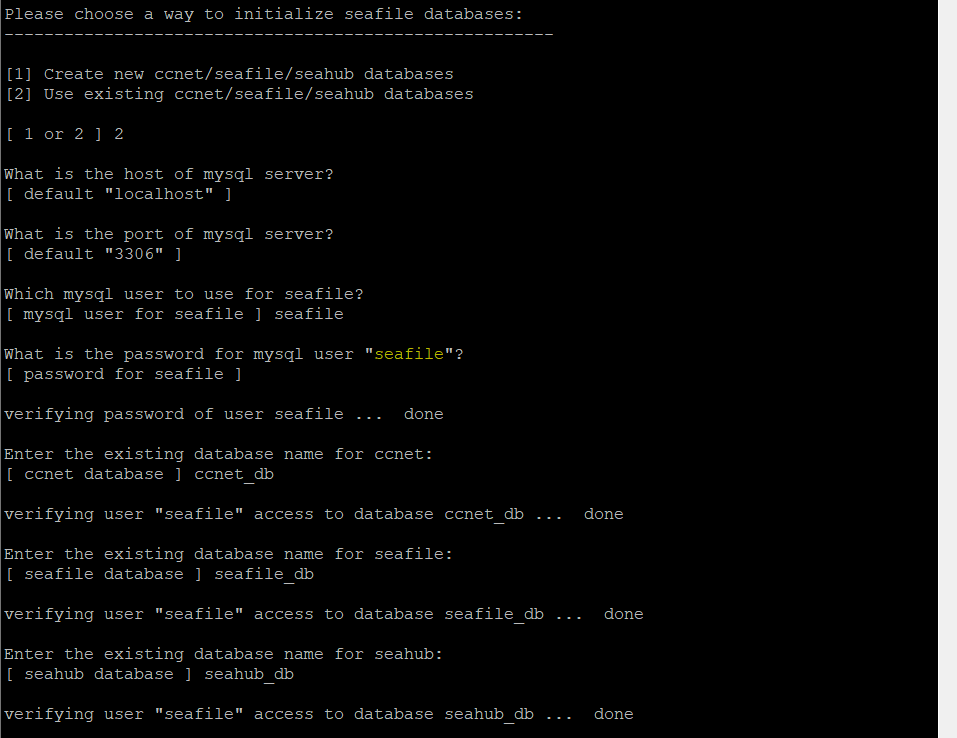
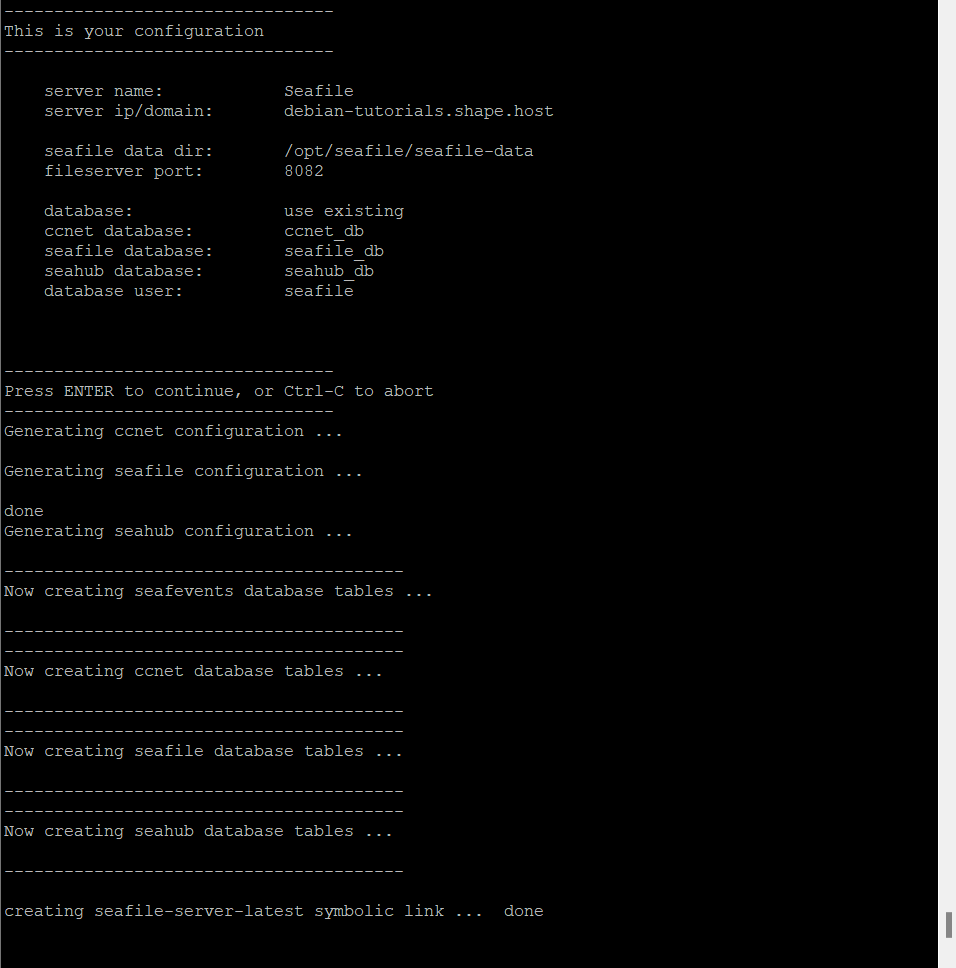
cd seafile-server-11.0.12
./setup-seafile-mysql.sh
Follow the prompts to configure Seafile with your server name, domain, and database details.
Step 9: Configure Seahub Settings
Navigate to the /opt/seafile/conf directory and edit the seahub_settings.py file:
cd /opt/seafile/conf
nano seahub_settings.py
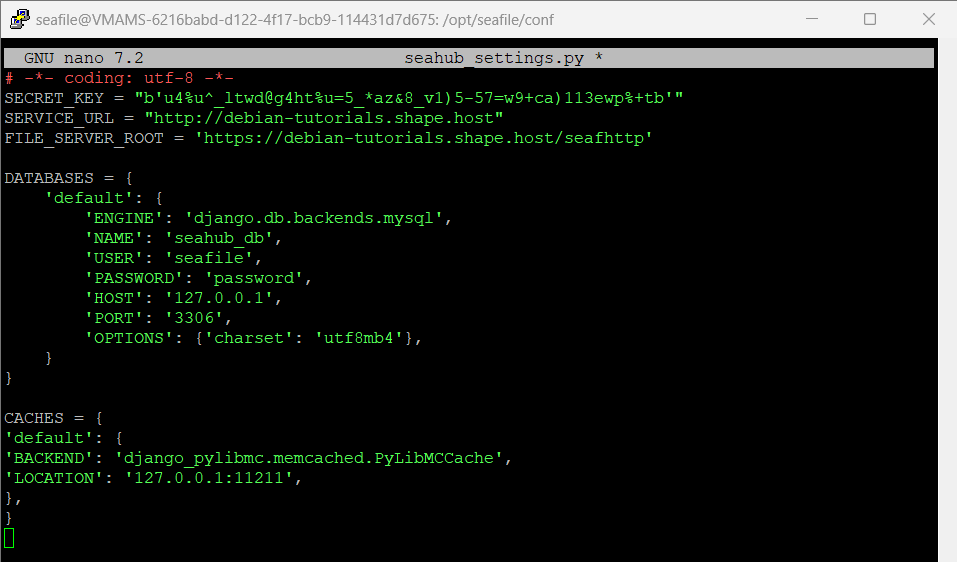
Add the following settings:
SERVICE_URL = 'https://your-domain.com'
FILE_SERVER_ROOT = 'https://your-domain.com/seafhttp'
CACHES = {
    'default': {
        'BACKEND': 'django_pylibmc.memcached.PyLibMCCache',
        'LOCATION': '127.0.0.1:11211',
    },
}
Replace 'https://your-domain.com' with your actual domain.
Step 10: Start Seafile and Seahub
Navigate to the Seafile server directory and start Seafile and Seahub:
cd /opt/seafile/seafile-server-latest/
./seafile.sh start
./seahub.sh start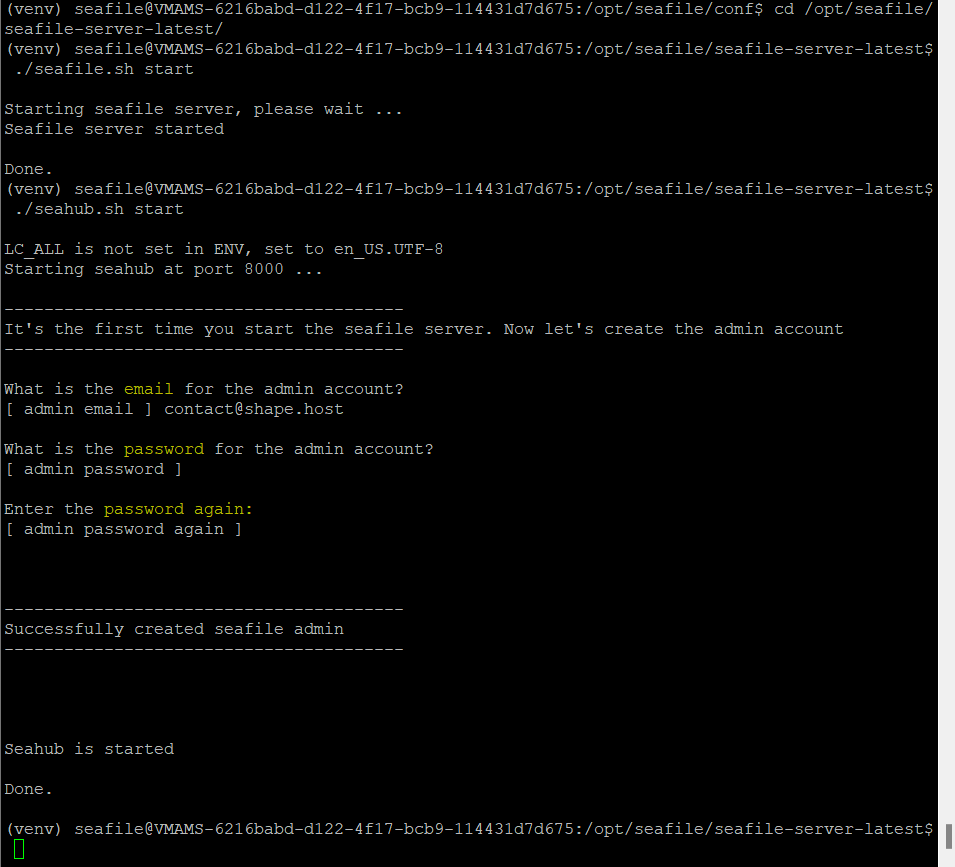
You will be prompted to set up an administrator user for Seafile. Enter your username, email, and password.
Step 11: Configure Nginx as a Reverse Proxy
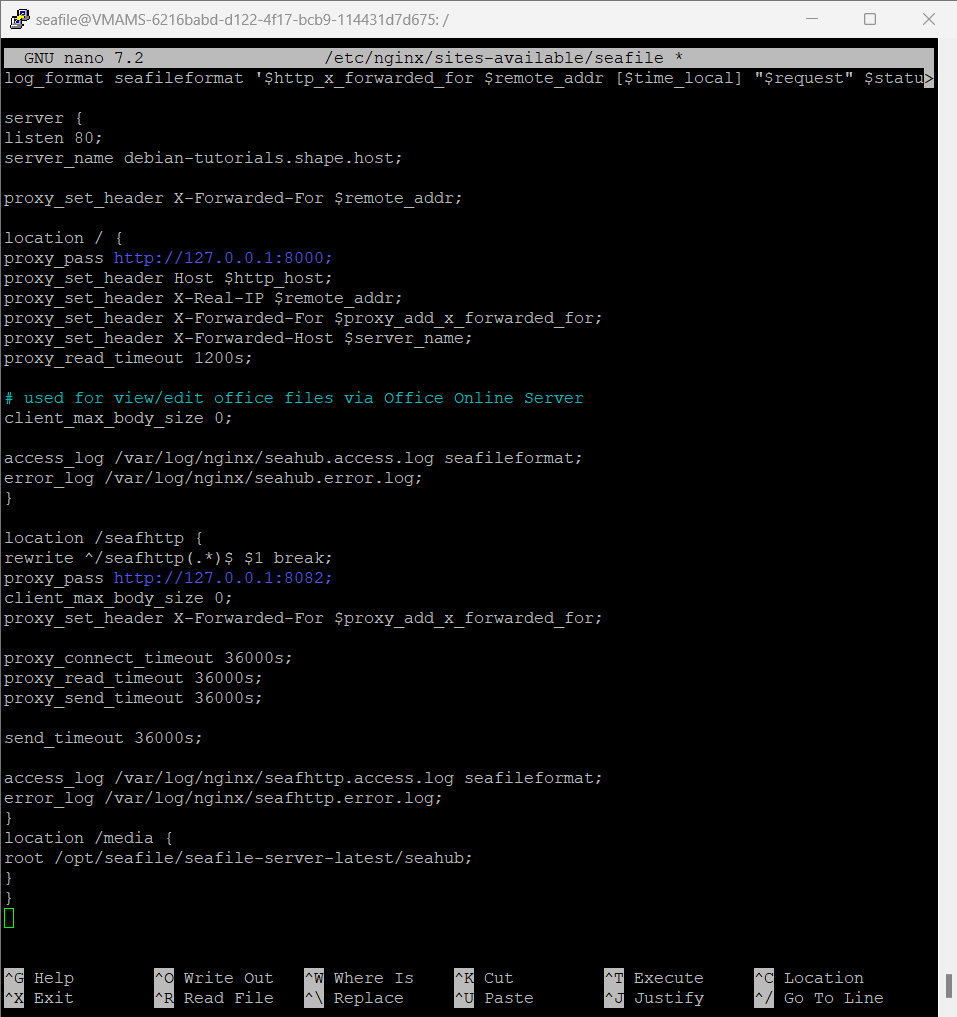
Create a new Nginx server block configuration:
nano /etc/nginx/sites-available/seafileInsert the following configuration, replacing the domain and paths as necessary:
log_format seafileformat '$http_x_forwarded_for $remote_addr [$time_local] "$request" $status $body_bytes_sent "$http_referer" "$http_user_agent" $upstream_response_time';

server {
    listen 80;
    server_name debian-tutorials.shape.host;

    proxy_set_header X-Forwarded-For $remote_addr;

    location / {
        proxy_pass http://127.0.0.1:8000;
        proxy_set_header Host $http_host;
        proxy_set_header X-Real-IP $remote_addr;
        proxy_set_header X-Forwarded-For $proxy_add_x_forwarded_for;
        proxy_set_header X-Forwarded-Host $server_name;
        proxy_read_timeout 1200s;

        # used for view/edit office files via Office Online Server
        client_max_body_size 0;

        access_log /var/log/nginx/seahub.access.log seafileformat;
        error_log /var/log/nginx/seahub.error.log;
    }

    location /seafhttp {
        rewrite ^/seafhttp(.*)$ $1 break;
        proxy_pass http://127.0.0.1:8082;
        client_max_body_size 0;
        proxy_set_header X-Forwarded-For $proxy_add_x_forwarded_for;

        proxy_connect_timeout 36000s;
        proxy_read_timeout 36000s;
        proxy_send_timeout 36000s;

        send_timeout 36000s;

        access_log /var/log/nginx/seafhttp.access.log seafileformat;
        error_log /var/log/nginx/seafhttp.error.log;
    }

    location /media {
        root /opt/seafile/seafile-server-latest/seahub;
    }
}
Step 12: Enable Nginx Configuration and Restart Service
Create a symbolic link to enable the Seafile Nginx server block configuration and verify the syntax:
ln -s /etc/nginx/sites-available/seafile /etc/nginx/sites-enabled/
nginx -t
You should see an output saying syntax is ok - test is successful if the configuration is correct.
Restart Nginx to apply changes:
systemctl restart nginx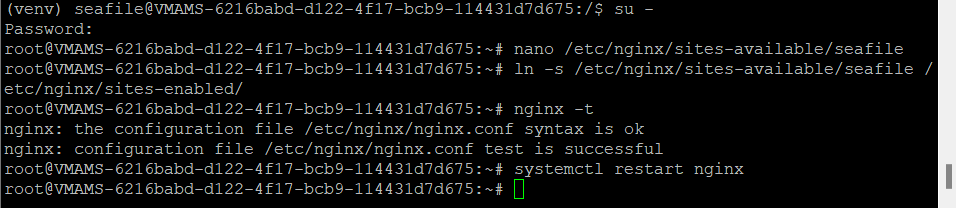
Step 13: Set Up Firewall and SSL
Install UFW and Certbot to manage firewall and SSL:
apt install ufw python3-certbot-nginx -y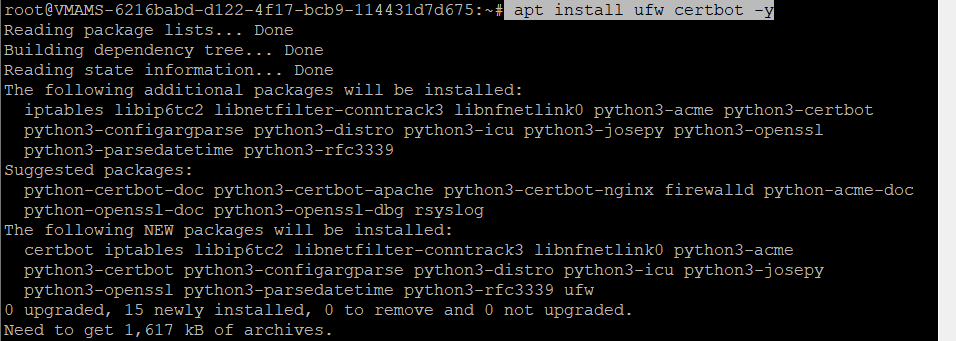
Allow necessary firewall profiles:
ufw allow OpenSSH
ufw allow 'Nginx Full'
ufw enable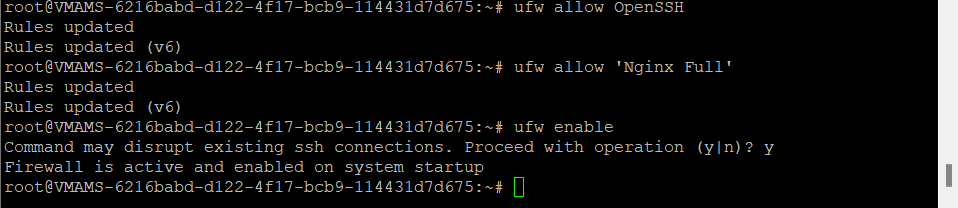
Generate SSL certificates and secure Seafile using Certbot:
certbot --nginx --agree-tos --redirect --hsts --staple-ocsp --email contact@shape.host -d debian-tutorials.shape.host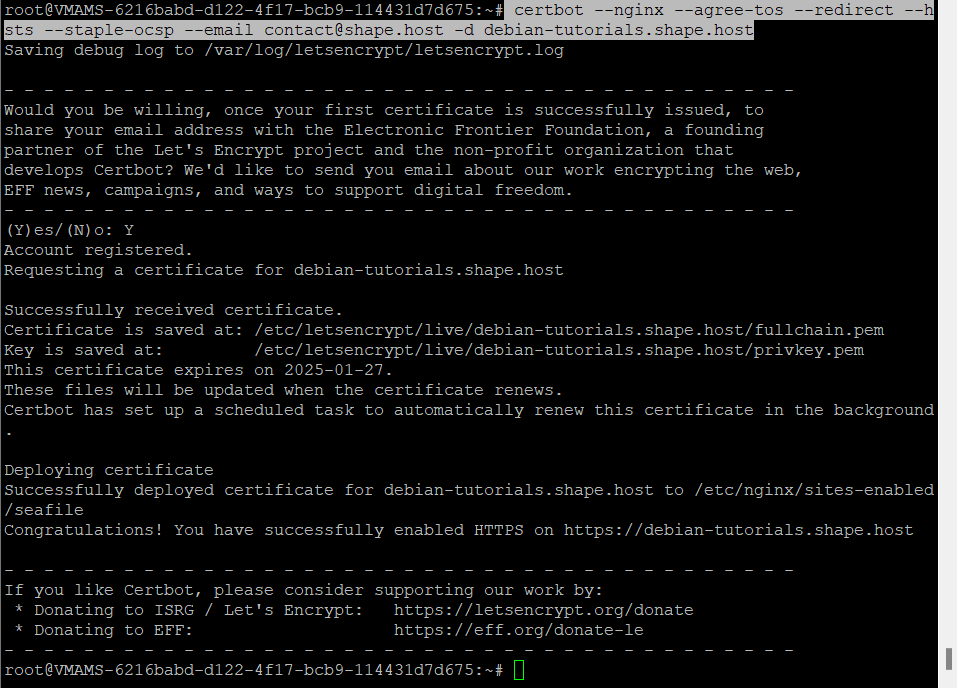
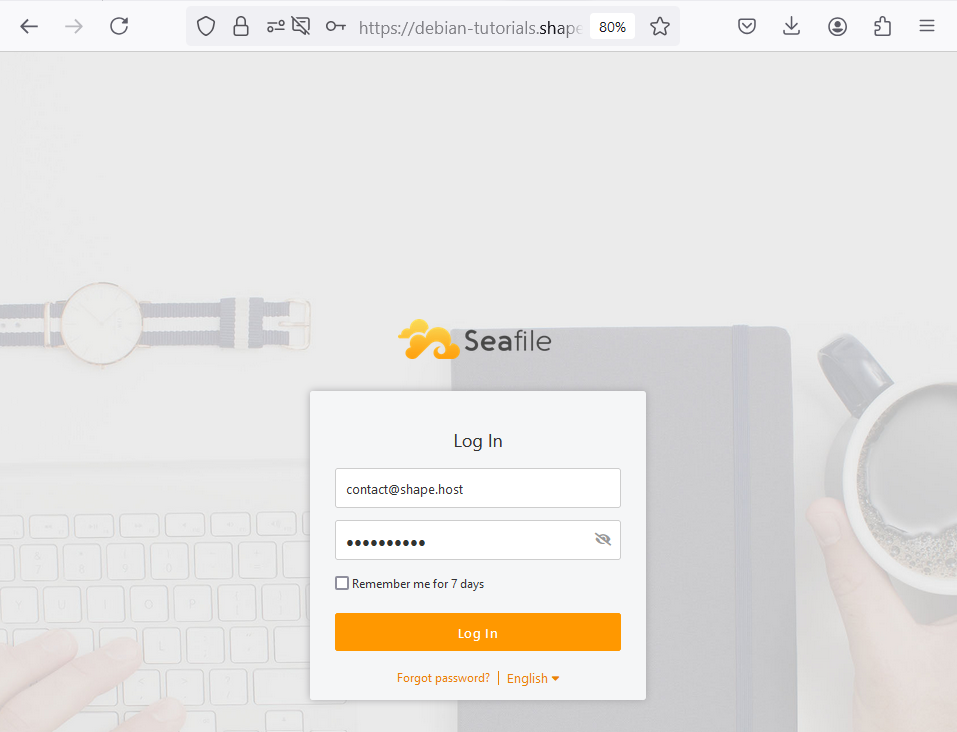
Step 14: Access Seafile Web Interface
Open your web browser and visit your Seafile domain name such as https://your-domain.com. If the installation is successful, you will be prompted with the Seafile login page.
If you have the correct admin credentials, you can see the following Seafile dashboard.

You have successfully installed Seafile on Debian 12, configured Nginx as a reverse proxy, and secured the installation with SSL. Seafile is now ready to be used as your self-hosted cloud storage solution.
For hosting solutions like Linux SSD VPS, visit Shape.Host to explore a wide range of services that can help scale and manage your online presence.