Terraform is an open-source infrastructure as code (IaC) tool that allows you to define and manage infrastructure resources through a high-level configuration language. This guide will walk you through the process of installing and configuring Terraform on an Ubuntu Server 22.04.
1. Access the Cloud Dashboard
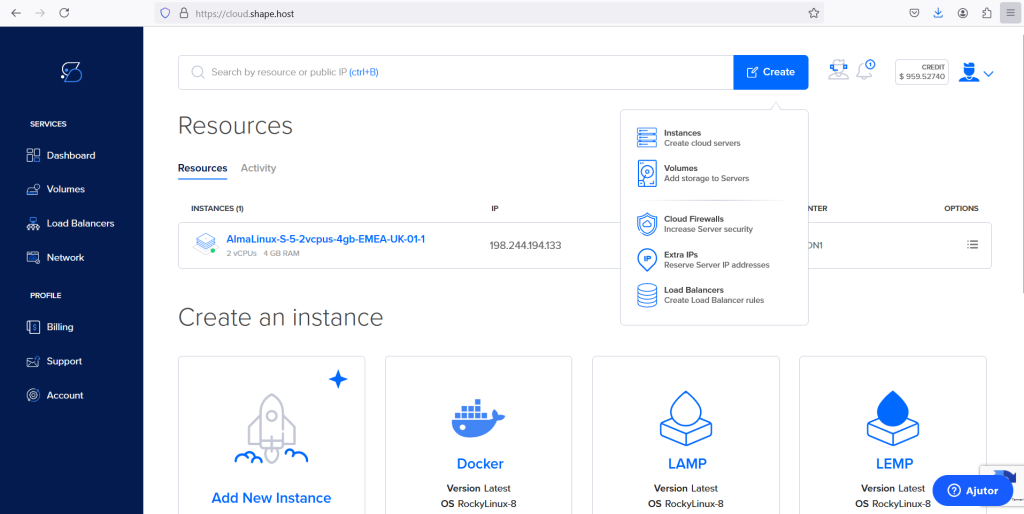
To begin, access the cloud dashboard by logging into your cloud hosting account. Navigate to the main dashboard, and click on the “Create” button in the top-right corner. Select “Instances” from the drop-down menu to start creating a new cloud server instance.
2. Select Data Center Location
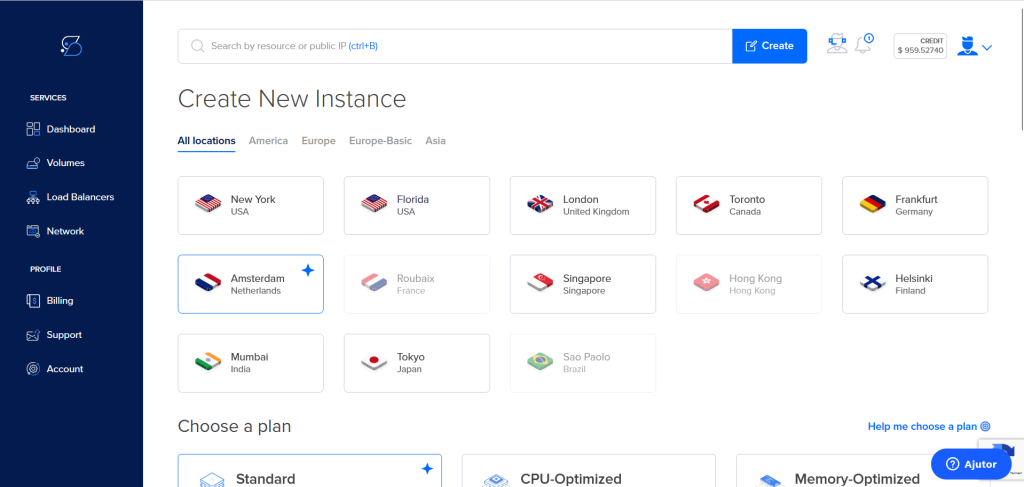
Next, select the data center location on the “Create New Instance” page. Choose a location that is closest to your target audience or best suits your needs. Examples of locations include New York, Amsterdam, and Singapore.
3. Choose a Plan and Operating System
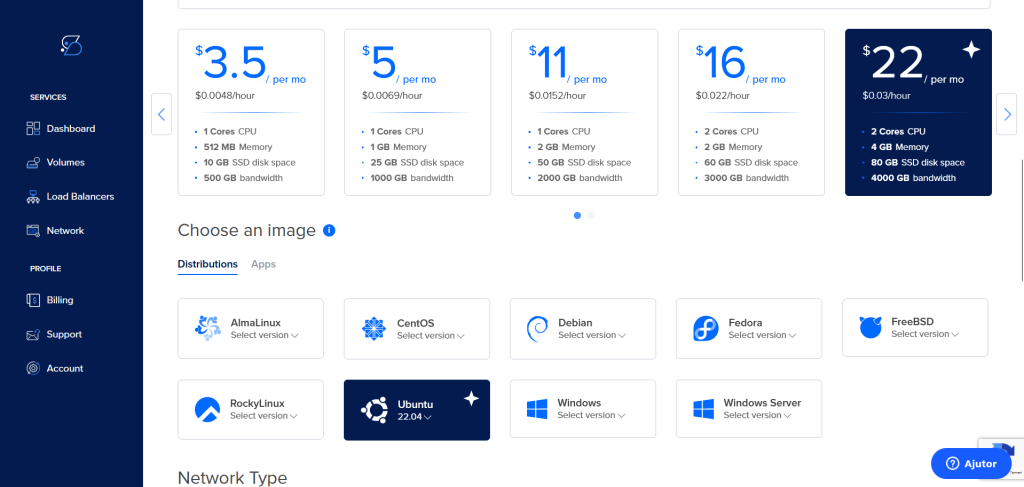
After selecting the location, choose a hosting plan based on your resource requirements. You can select from options like Standard, CPU-Optimized, or Memory-Optimized plans. For example, you might choose a plan with 2 Cores CPU, 4 GB Memory, and 80 GB SSD storage. Then, scroll down to the “Choose an image” section and select “Ubuntu 22.04” from the list of available distributions.
4. Configure Instance and Finalize Creation
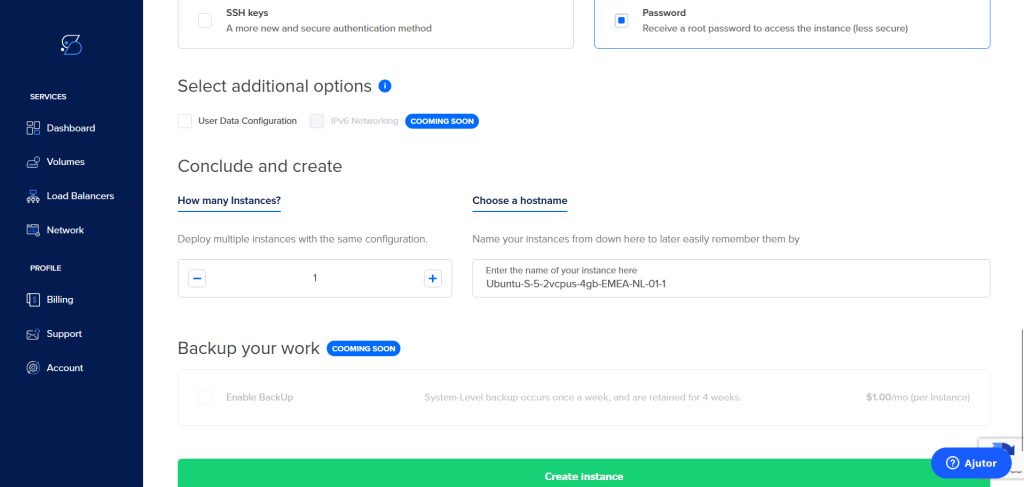
This step involves configuring additional options such as the number of instances, authentication method (SSH keys or password), and hostname. Once everything is configured, click on “Create instance.”
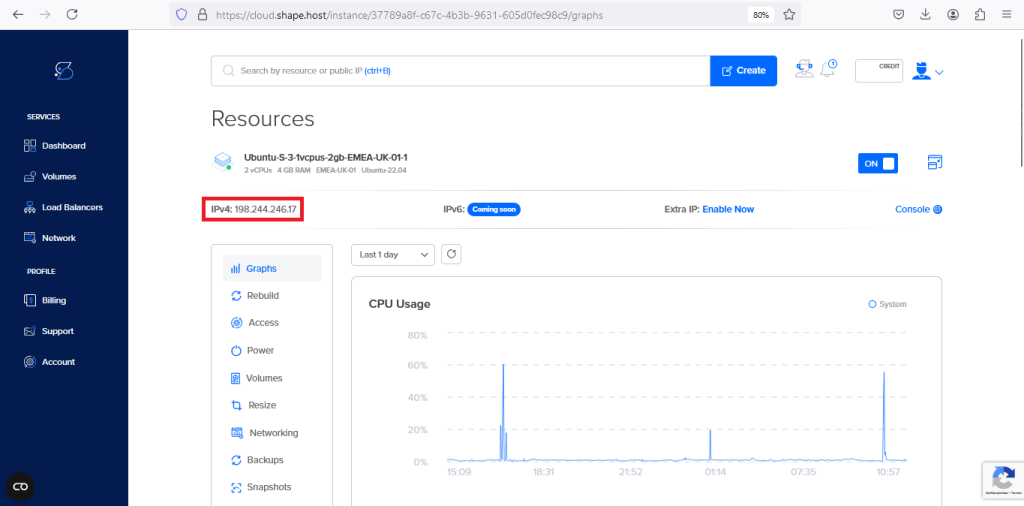
5. Find the IP Address of Your Instance
After your instance has been created, you can find the IP address by navigating back to the dashboard. This IP address will be needed to connect to your server via SSH.
Connect to Your Instance:
Use SSH to connect to your server instance with the provided IP address. Log in as the root user for initial setup.
ssh root@your-server-ip6. Update and Upgrade Your System
Start by updating and upgrading your system. Run the following commands to ensure your system is up to date:
apt update -y
apt upgrade -y
7. Install Required Packages
Next, install the required packages by running:
apt install -y gnupg software-properties-common unzip curl
8. Add HashiCorp GPG Key
To proceed, add the HashiCorp GPG key by executing:
curl -fsSL https://apt.releases.hashicorp.com/gpg | apt-key add -9. Add Terraform Repository
Then, add the official HashiCorp repository to your system using:
apt-add-repository "deb [arch=amd64] https://apt.releases.hashicorp.com $(lsb_release -cs) main"
10. Install Terraform
Now, install Terraform by running:
apt install terraform -y
11. Verify Installation
Verify that Terraform is installed correctly by checking its version with:
terraform --version
12. Install a Specific Version of Terraform
If you need to install a specific version of Terraform, download it using the following command:
wget https://releases.hashicorp.com/terraform/1.3.6/terraform_1.3.6_linux_amd64.zip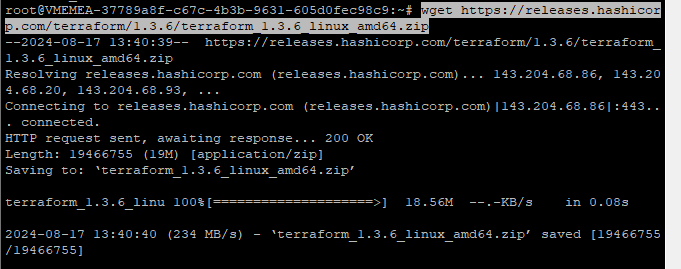
Unzip the downloaded Terraform package:
unzip terraform_1.3.6_linux_amd64.zip
Move the Terraform binary to the system’s bin directory:
mv terraform /usr/bin/
Finally, verify the installed version:
terraform --version
13. Enable Autocompletion for Terraform
Set up autocompletion for Terraform commands by running:
terraform -install-autocomplete
source ~/.bashrc

14. Verify Terraform Command
To ensure everything is functioning correctly, run the following command to verify Terraform:
terraform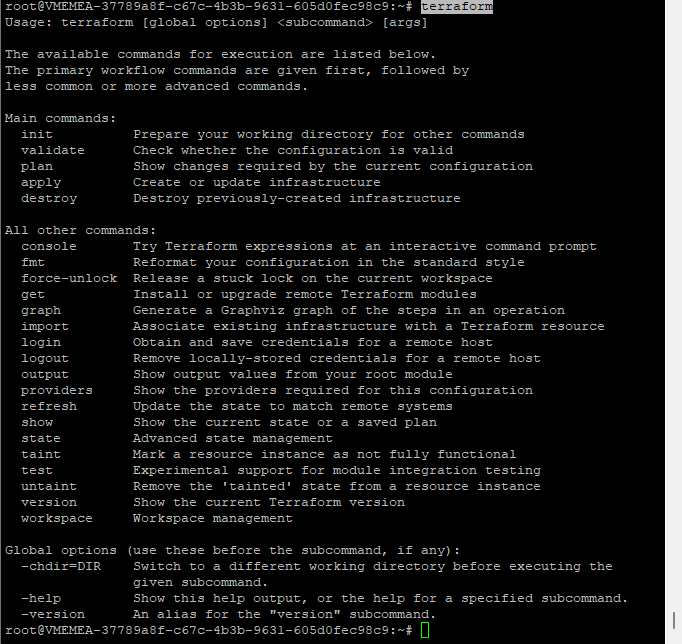
15. Create a Directory for Your Project
First, create a new directory for your project and navigate into it by executing:
mkdir aws
16. Create and Edit the Terraform Configuration File
Next, create and edit the main.tf file using a text editor:
cd aws
nano main.tf
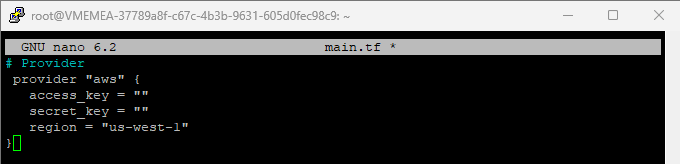
17. Add Configuration Code
Add the following configuration code to the main.tf file:
# Provider
provider "aws" {
  access_key = "your_access_key"
  secret_key = "your_secret_key"
  region     = "us-west-1"
}
18. Initialize Terraform
To proceed, initialize Terraform to download the necessary provider plugins by running:
terraform init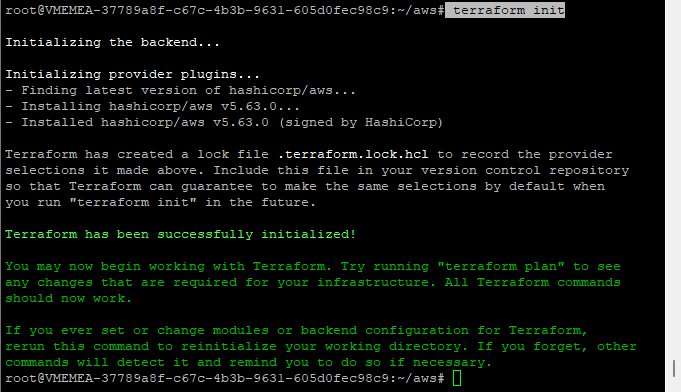
19. Plan the Infrastructure
Review the infrastructure plan with:
terraform plan
20. Apply the Configuration
Apply the configuration to create the defined resources by executing:
terraform apply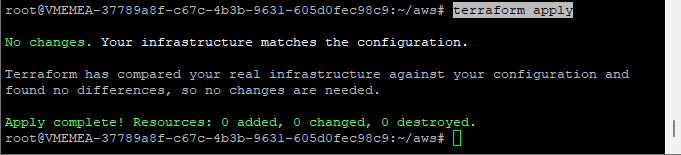
21. Destroy the Infrastructure
Finally, if you want to remove the created resources, use the following command:
terraform destroy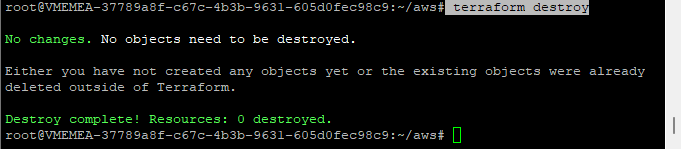
Understanding Terraform and Its Benefits
Terraform is a powerful tool for managing infrastructure as code. It reduces manual intervention, ensuring a consistent and repeatable process. It is provider agnostic, meaning it works with various cloud providers, making it versatile and suitable for multi-cloud environments. Infrastructure as code allows you to version and track changes to your infrastructure just like you do with application code. Terraform can manage small to large-scale infrastructures with ease, allowing for efficient scaling. Using Terraform allows you to manage infrastructure in a way that is reliable, consistent, and efficient, especially as you scale your environments and operations.
By following this guide, you’ve successfully installed and configured Terraform on an Ubuntu Server 22.04. Terraform allows you to define, preview, and apply changes to your infrastructure efficiently. For reliable cloud hosting services, consider using Shape.host’s Linux SSD VPS offerings to enhance your server management experience.