Webmin is a web-based control panel that simplifies the management of your Linux server through a browser interface. With Webmin, you can easily manage web servers, databases, user accounts, and more. In this tutorial, you will learn how to install Webmin on Ubuntu 24.04 and configure it for use with Apache.
What You Can Do with Webmin:
- Server Management: Manage users, services, databases, file systems, and more via a user-friendly interface.
- Web Server Management: Easily manage your Apache or Nginx web servers.
- Database Management: Handle MySQL or PostgreSQL databases through the Webmin interface.
- User Accounts: Manage user accounts and permissions on your server efficiently.
Supported Protocols:
- HTTP/HTTPS: Secure web-based management of your server.
- FTP/SSH: Manage file and remote access services from the Webmin dashboard.
Step 1: Create a Cloud Instance
Before installing Webmin, you need to create a cloud instance to host it. Here’s how to set up your instance:
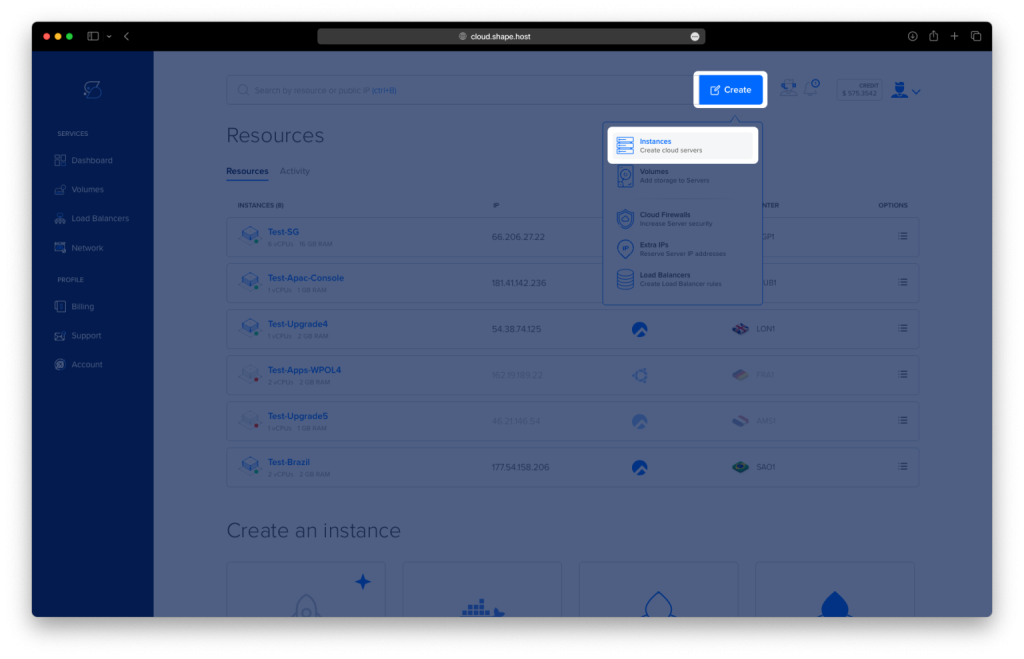
Step 1.1: Click on “Create”
- From the dashboard of your hosting provider, click on the Create button and select Instances.
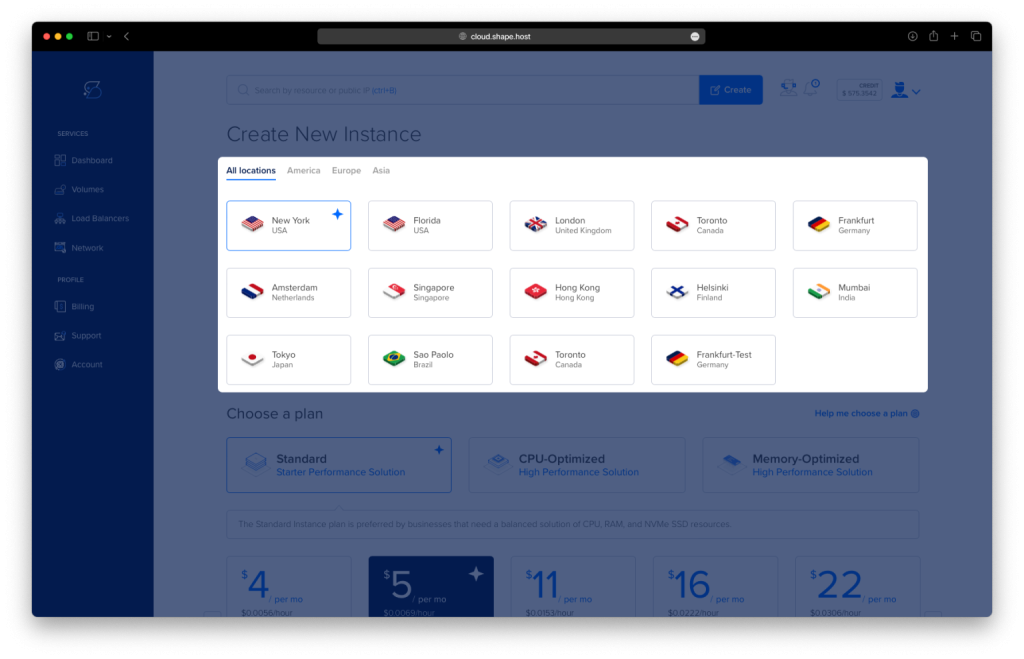
Step 1.2: Choose a Location
- Select the data center closest to your target audience (e.g., New York, London, Tokyo).

Step 1.3: Choose an Instance Plan and OS
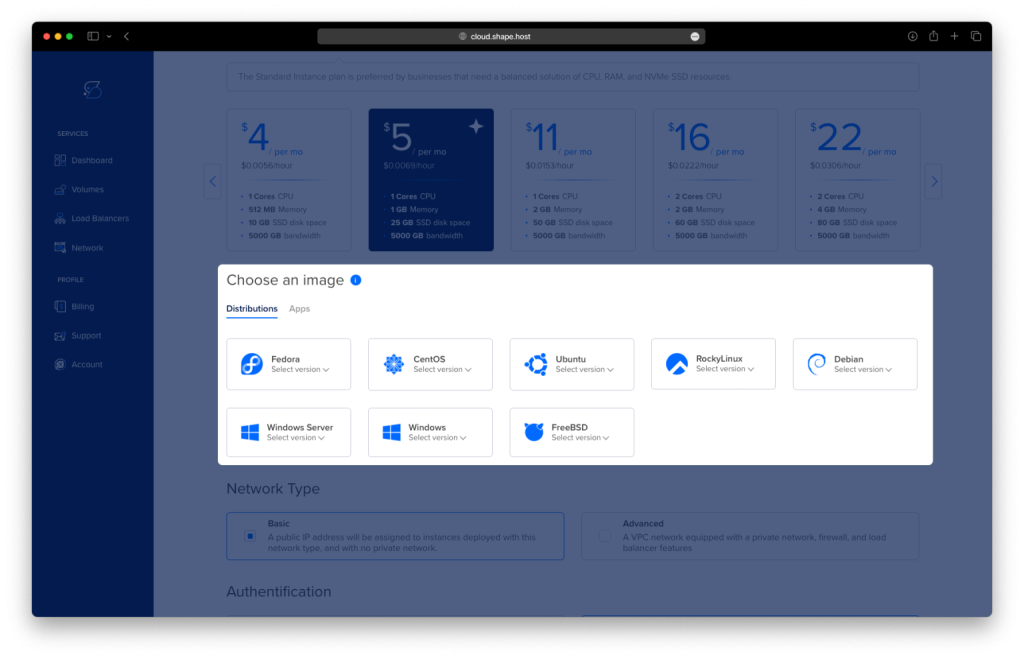
- Choose an instance plan based on your needs (e.g., Standard, CPU-Optimized).
- Select Ubuntu 24.04 as the operating system.
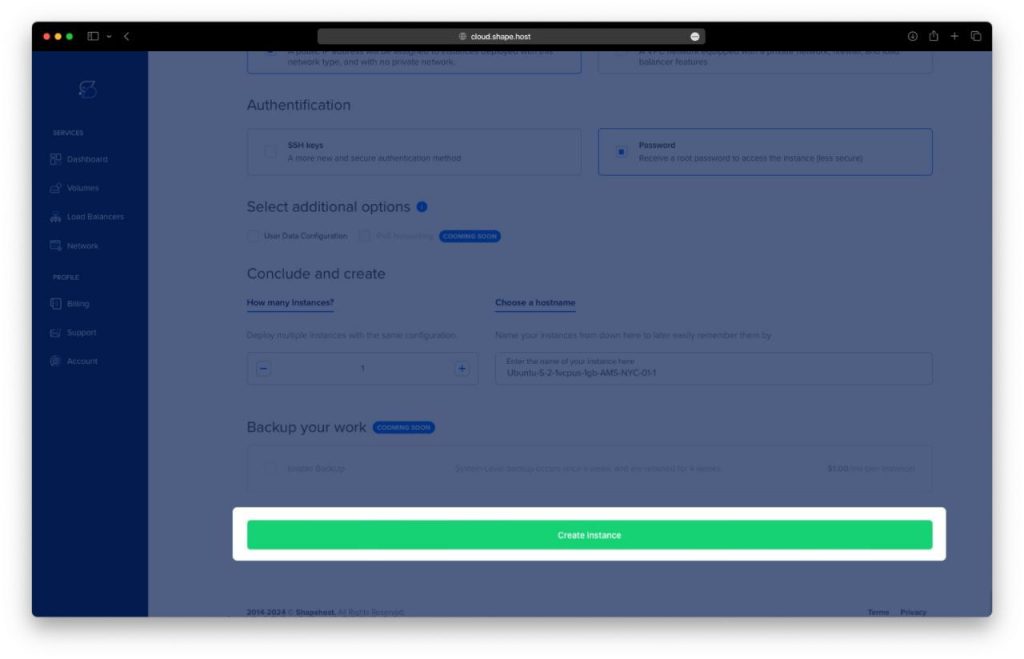
Step 1.4: Create the Instance
- Fill in the necessary details, such as authentication (SSH keys or password), and choose a hostname. Click Create Instance.
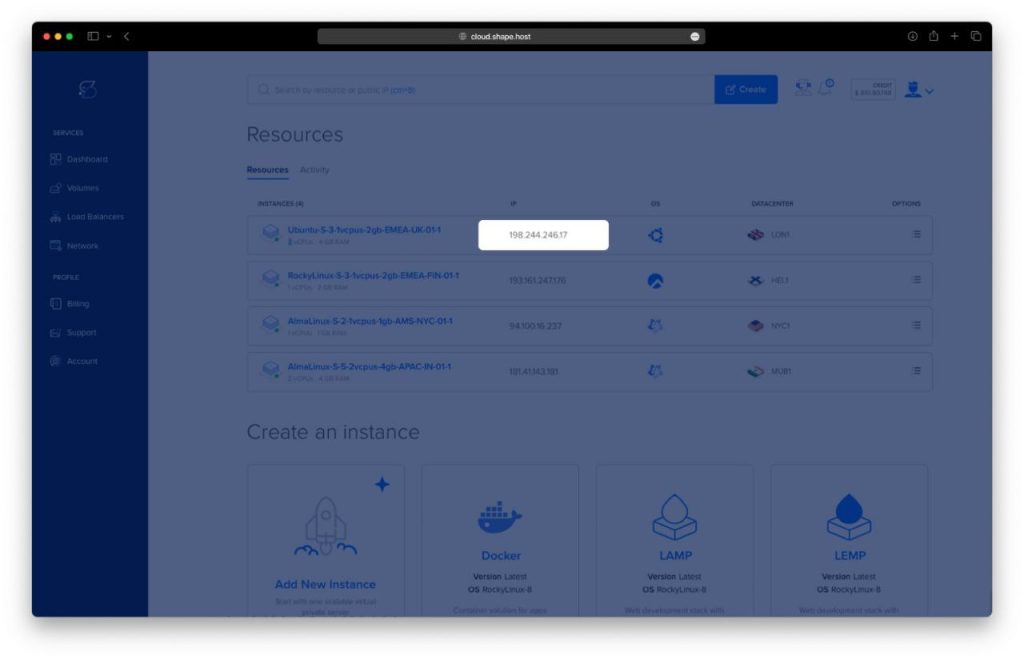
Step 1.5: Find Your IP Address
- Once the instance is created, go to the Resources section to find the public IP address of your instance. You’ll need this to connect to the instance remotely.
Step 2: Update and Upgrade Your System
To ensure your server is using the latest packages, update and upgrade your system:
apt update -y
apt upgrade -y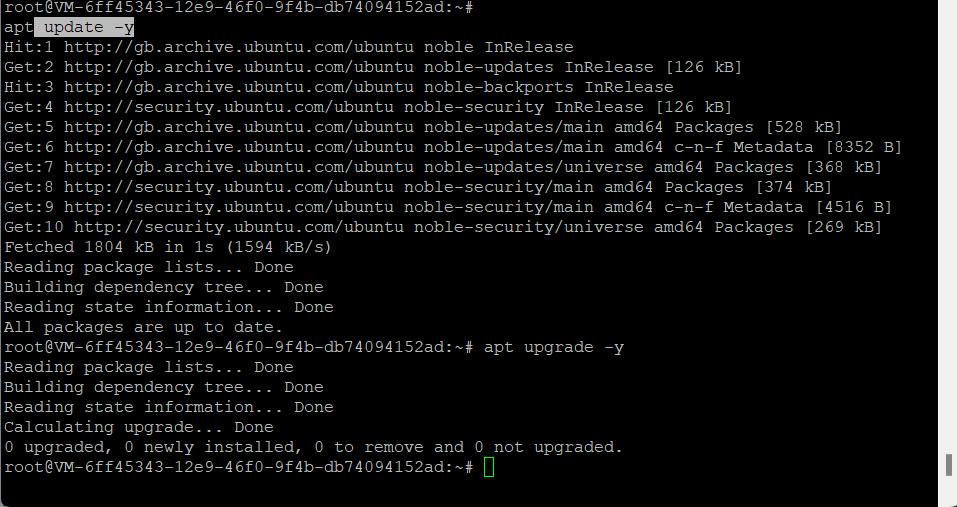
Step 3: Install Required Dependencies
Install the necessary software for managing repositories and downloading files:
apt install software-properties-common apt-transport-https wget -y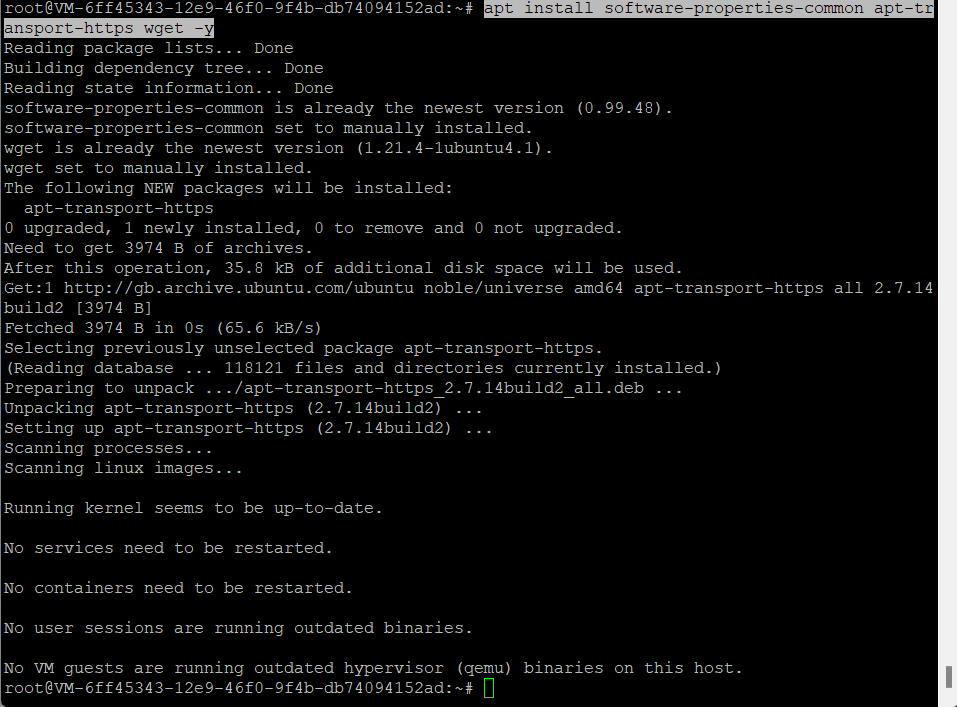
Step 4: Add Webmin Repository and Install Webmin
4.1: Add the Webmin GPG Key
Add the GPG key for Webmin’s repository to ensure secure downloads:
wget -q http://www.webmin.com/jcameron-key.asc -O- | apt-key add -
4.2: Add the Webmin Repository
Add the Webmin repository to your system’s APT sources list:
add-apt-repository "deb [arch=amd64] http://download.webmin.com/download/repository sarge contrib"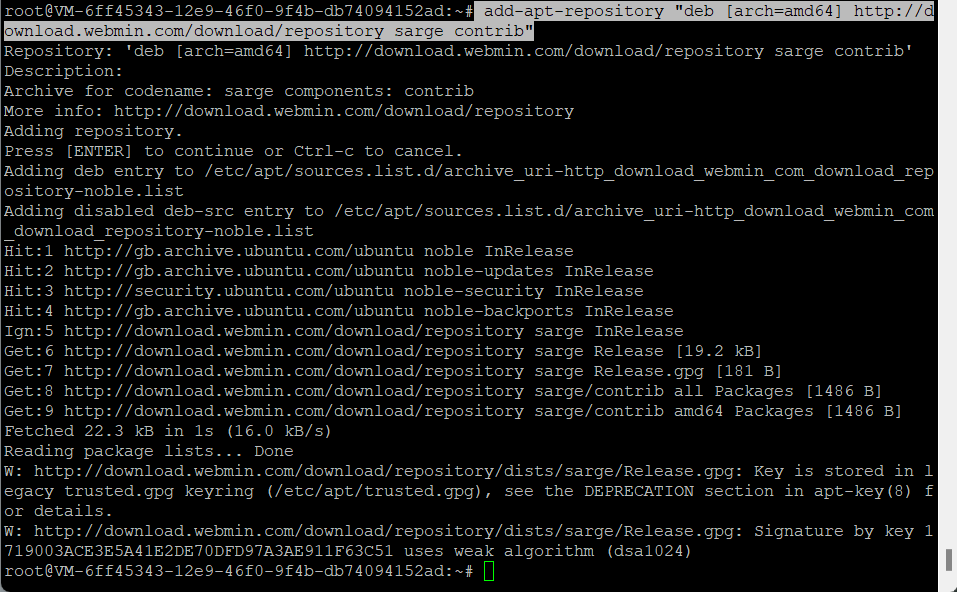
4.3: Install Webmin
Once the repository is added, update your package list and install Webmin:
apt install webmin -y
Step 5: Verify Webmin Installation
After installation, Webmin should start automatically. You can verify the status of Webmin using the following command:
systemctl status webmin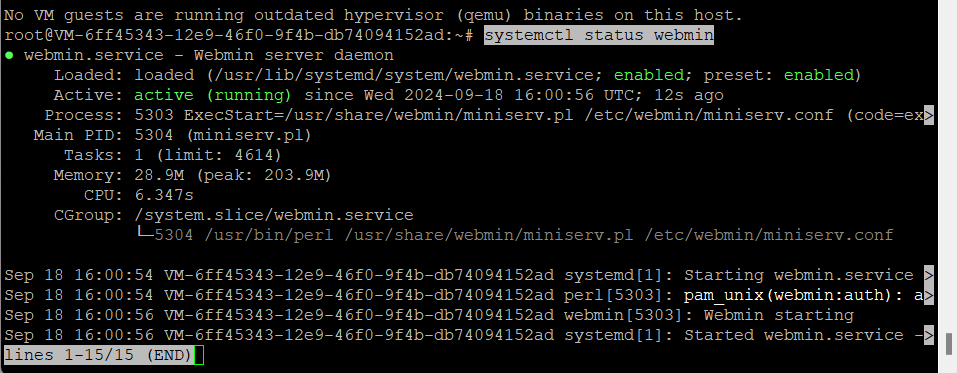
To confirm that Webmin is listening on its default port (10000), run:
ss -antpl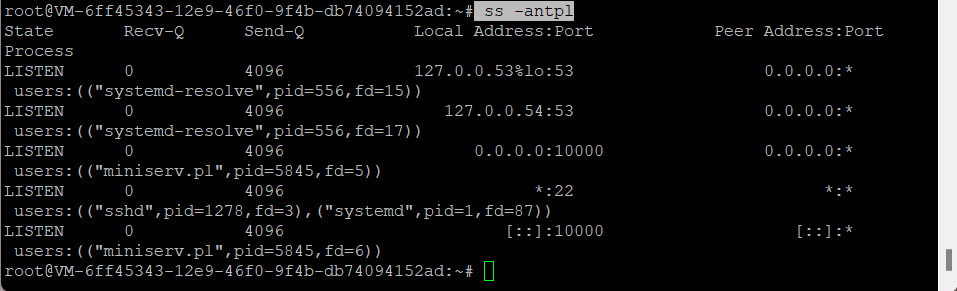
Step 6: Access Webmin Web UI
Now that Webmin is installed and running, you can access its web interface.
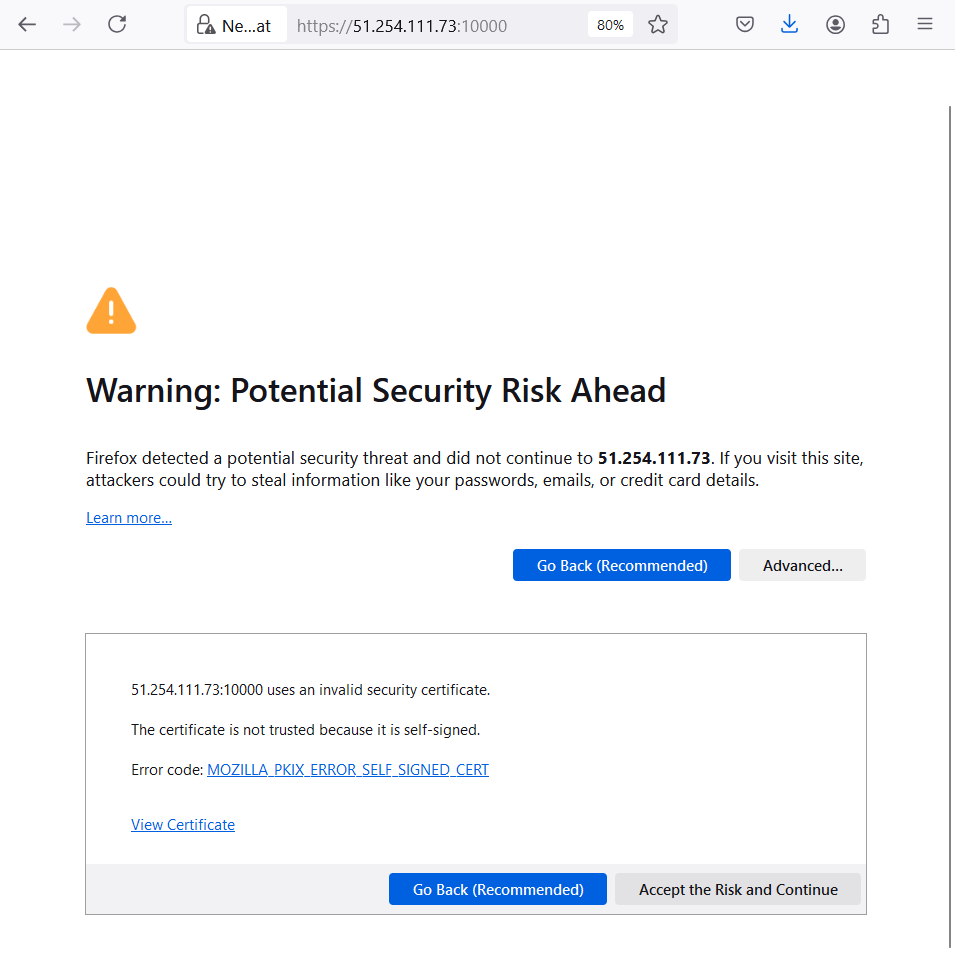
- Open a web browser: Enter
https://<your-server-ip>:10000in your browser’s address bar. - Secure Warning: You might see a security warning regarding the SSL certificate. This is normal for self-signed certificates. Click Proceed Anyway or Advanced and proceed to the Webmin login page.
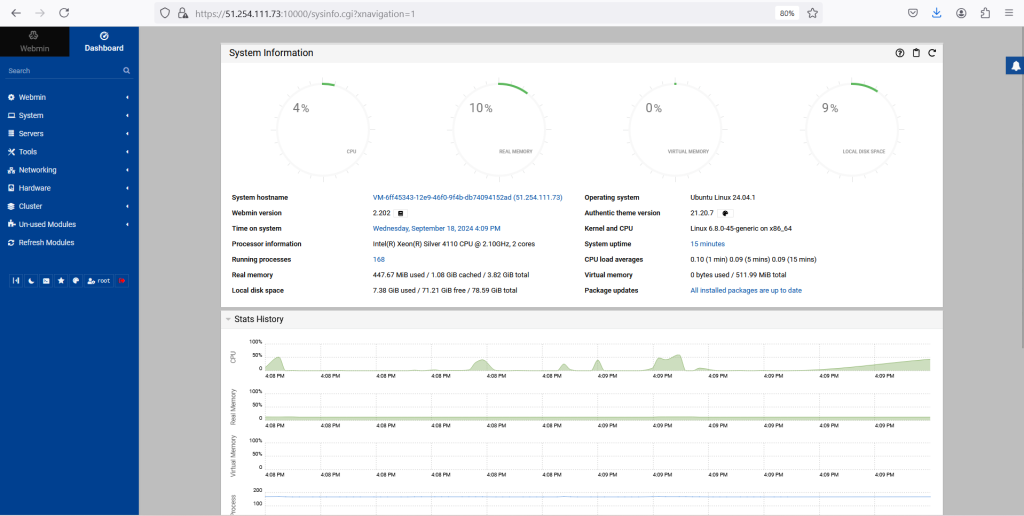
Login: Use your system’s root username and password to log in.Login: Use your system’s root username and password to log in.

After logging in, you will be presented with the Webmin dashboard, where you can begin managing your server.
Step 7: Install and Configure Apache
Webmin integrates well with Apache, and it’s useful to install and configure Apache as part of your setup.
7.1: Install Apache and Certbot
Install Apache and Certbot (for future SSL setup):
apt-get install apache2 certbot python3-certbot-apache -y
7.2: Start and Enable Apache
Start Apache and enable it to run at system boot:
systemctl start apache2
systemctl enable apache2
Check the status of Apache to ensure it’s running:
systemctl status apache2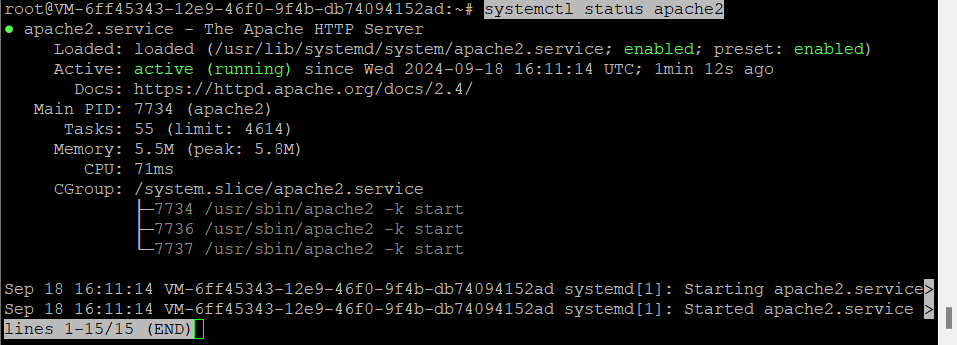
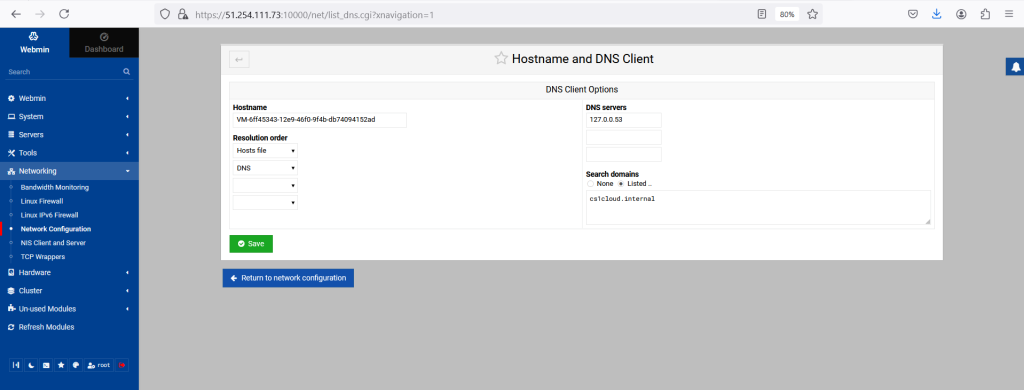
In the Webmin interface, go to Networking => Network Configuration, then click on Hostname and DNS. You should see the following screen:
Enter your fully qualified domain name in the hostname field and click Save to apply the changes.
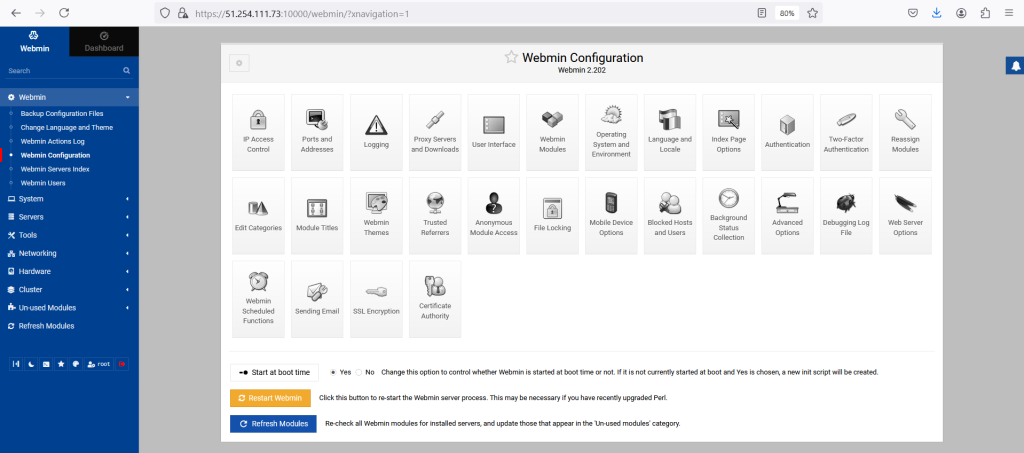
Next, go to Webmin => Webmin Configuration. The following screen will appear:
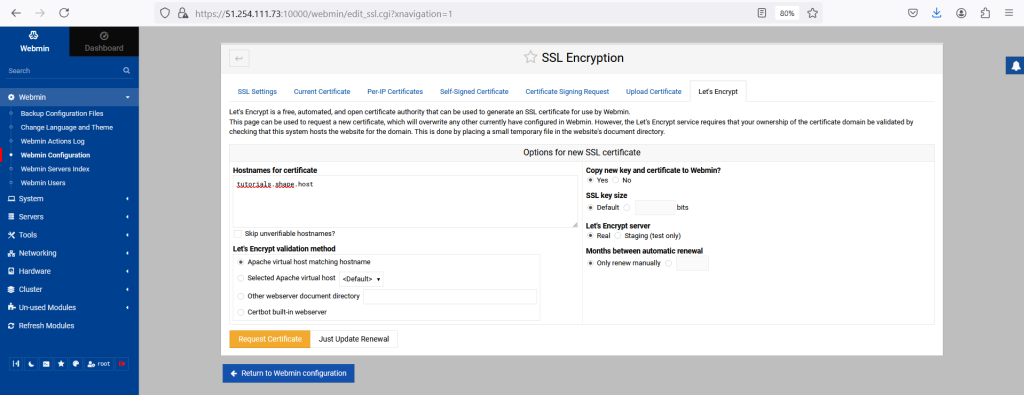
Click on SSL Encryption to access the SSL settings:
Under the Let’s Encrypt tab, enter your domain name in the Hostnames field, specify the website root directory in the Other directory fields, and click Request Certificate to obtain and install the SSL certificate.
Now, log out of Webmin and log in again using the secure URL https://webmin.yourdomain.com.
You have successfully installed Webmin on your Ubuntu 24.04 instance, accessed its Web UI, and configured Apache for future SSL setup. Webmin allows for the efficient management of your Linux server, providing a simple web interface for handling system administration tasks.
To run applications like Webmin smoothly, Shape.Host offers Linux SSD VPS services. Shape.Host provides SSD-powered VPS, ensuring fast, reliable performance for your server management tasks. Whether you need to manage web servers, databases, or other system services, Shape.Host’s infrastructure ensures optimal performance and security.