- Log in to Shape.host Dashboard: Navigate to the Shape.host website and log in to your account.
- Create a New Instance:
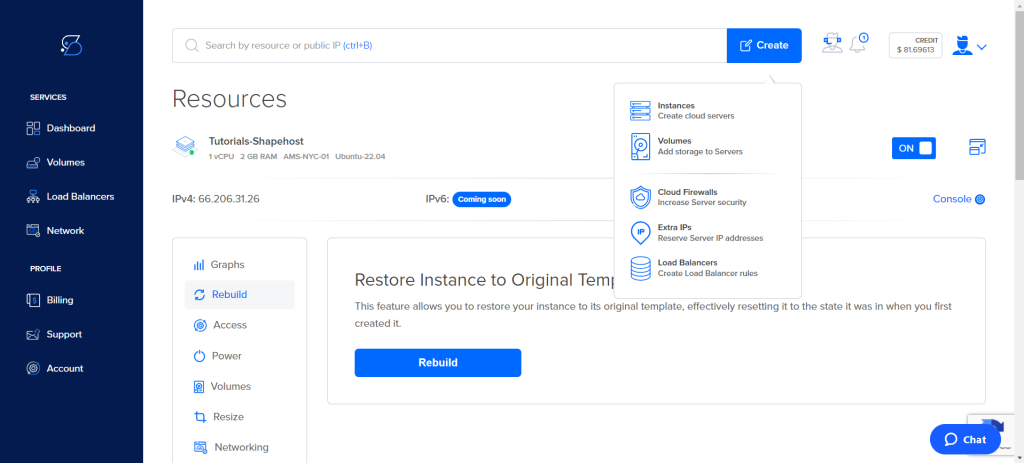
- Click on the “Create” button located at the top right corner of the dashboard.
- From the dropdown menu, select “Instances”.
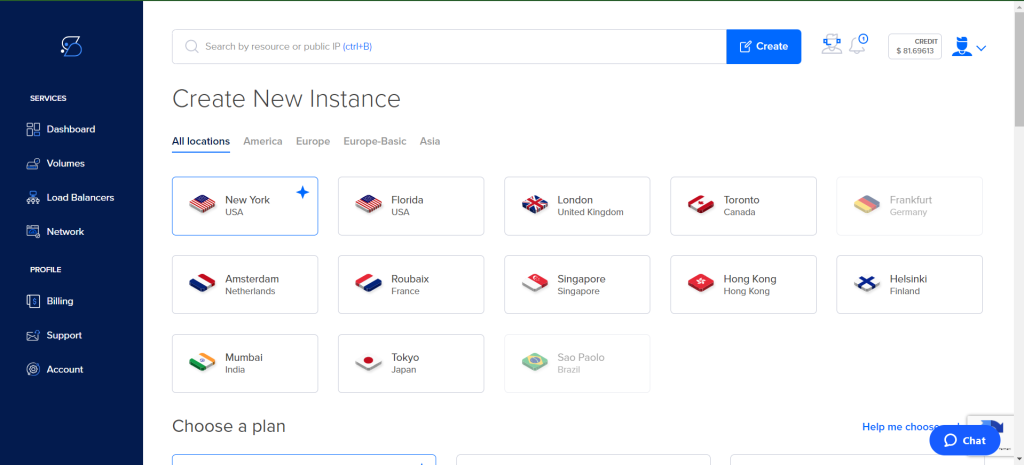
- Select Instance Location:
- Choose the desired location for your server. For this tutorial, we’ll select “New York, USA”.
- Choose a Plan:
- Select a plan that fits your requirements. For example, you might choose a plan with 2 cores CPU, 2 GB Memory, and 50 GB SSD disk space.
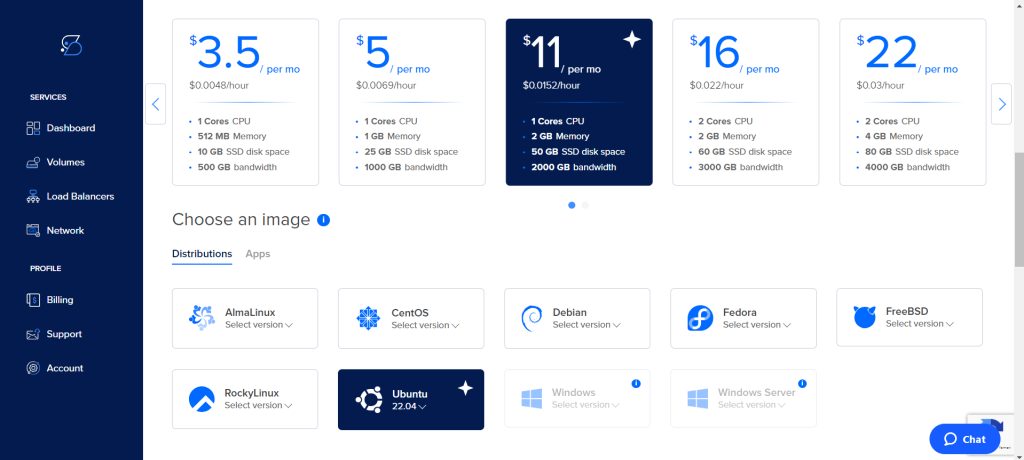
- Select an Operating System:
- Scroll down to the “Choose an image” section and select “Ubuntu 22.04”.
- Configure Additional Options:
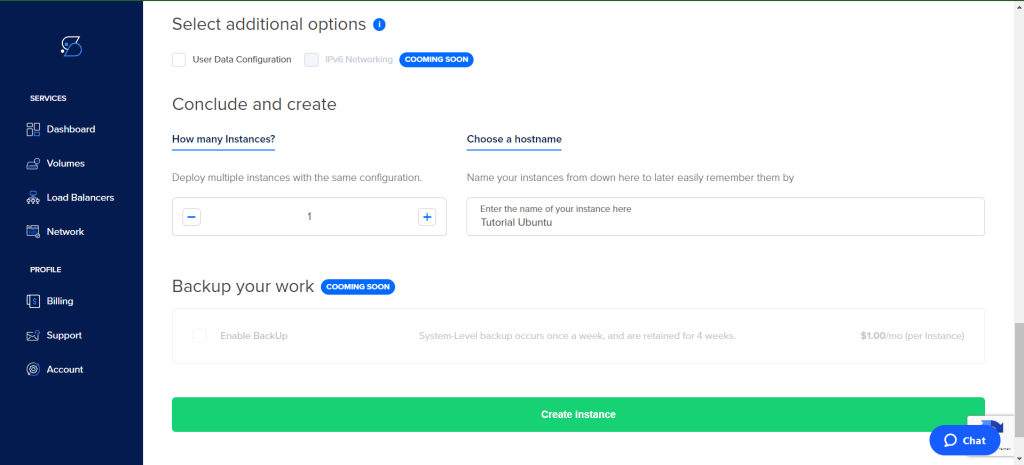
- (Optional) You can configure additional options like User Data Configuration and IPv6 Networking.
- Enter a hostname for your instance, e.g., “Tutorial Ubuntu”.
- Click on the “Create instance” button to deploy the instance.
Step 2: Connecting to Your Instance
Once your instance is created, you need to connect to it using SSH.
- Retrieve SSH Credentials:
- Note the IP address of your newly created instance from the Shape.host dashboard.
- Connect via SSH:
- Open a terminal on your local machine.
- Use the following command to connect to your instance:
sh ssh root@your_instance_ip - Replace
your_instance_ipwith the actual IP address of your instance.
Step 3: Update the System
Before installing CUDA, make sure your system is updated.
sudo apt update
sudo apt upgrade -y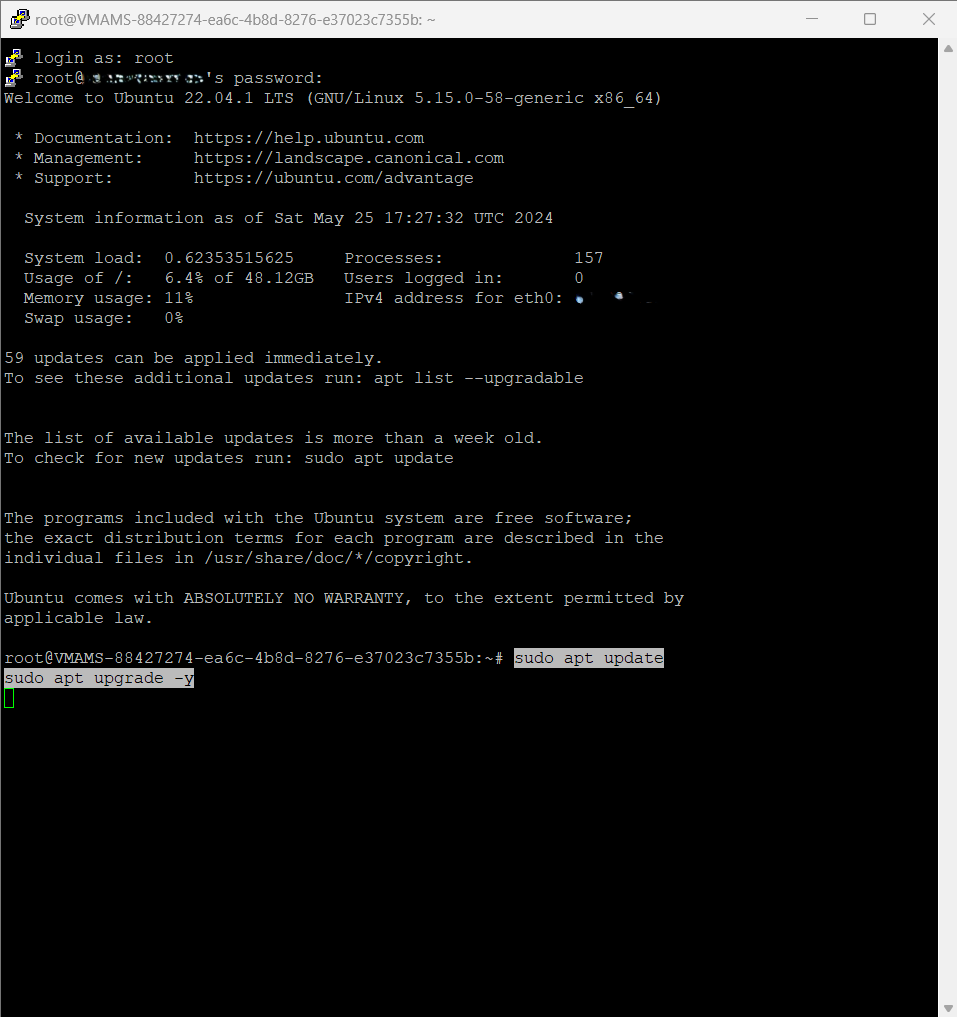
Step 4: Install NVIDIA CUDA Toolkit
- Add NVIDIA Package Repository:
   sudo apt-get update
   sudo apt-get install -y wget
   wget https://developer.download.nvidia.com/compute/cuda/repos/ubuntu2204/x86_64/cuda-ubuntu2204.pin
   sudo mv cuda-ubuntu2204.pin /etc/apt/preferences.d/cuda-repository-pin-600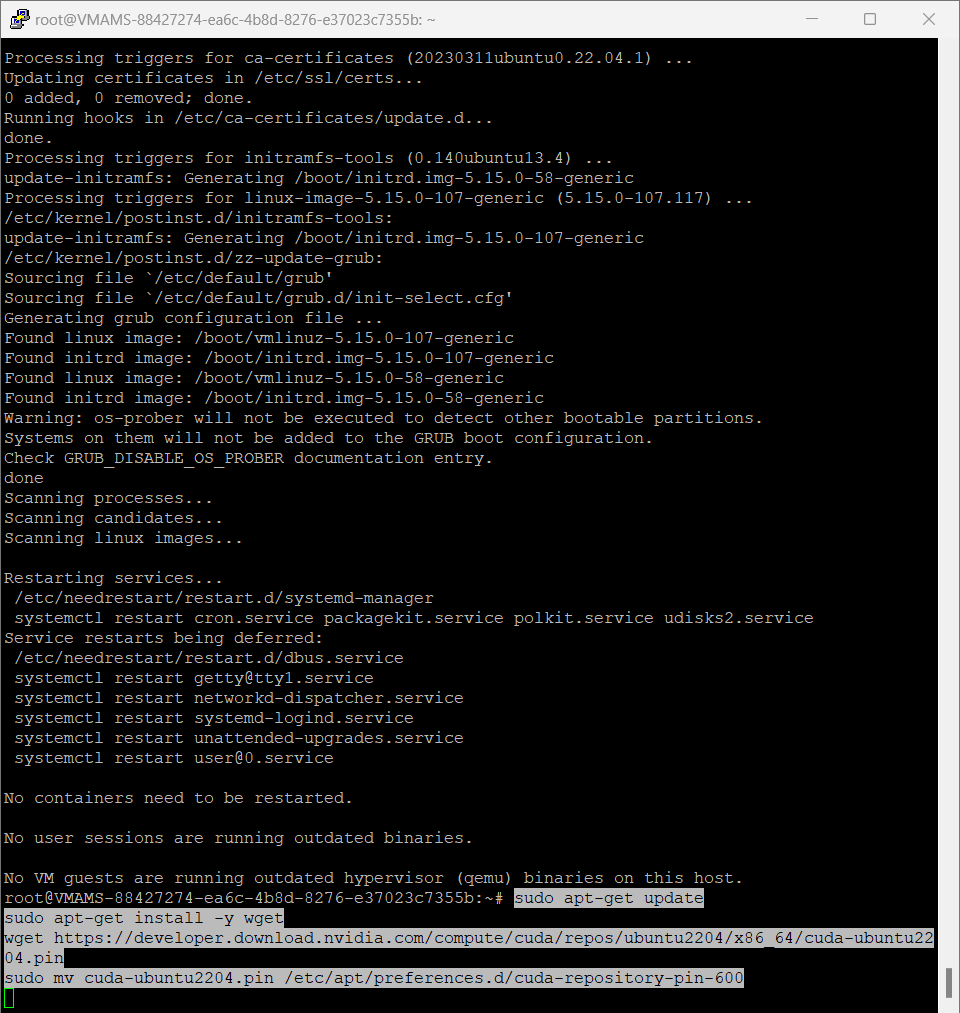
- Add the NVIDIA GPG Key:
sudo apt-key adv --fetch-keys https://developer.download.nvidia.com/compute/cuda/repos/ubuntu2204/x86_64/3bf863cc.pub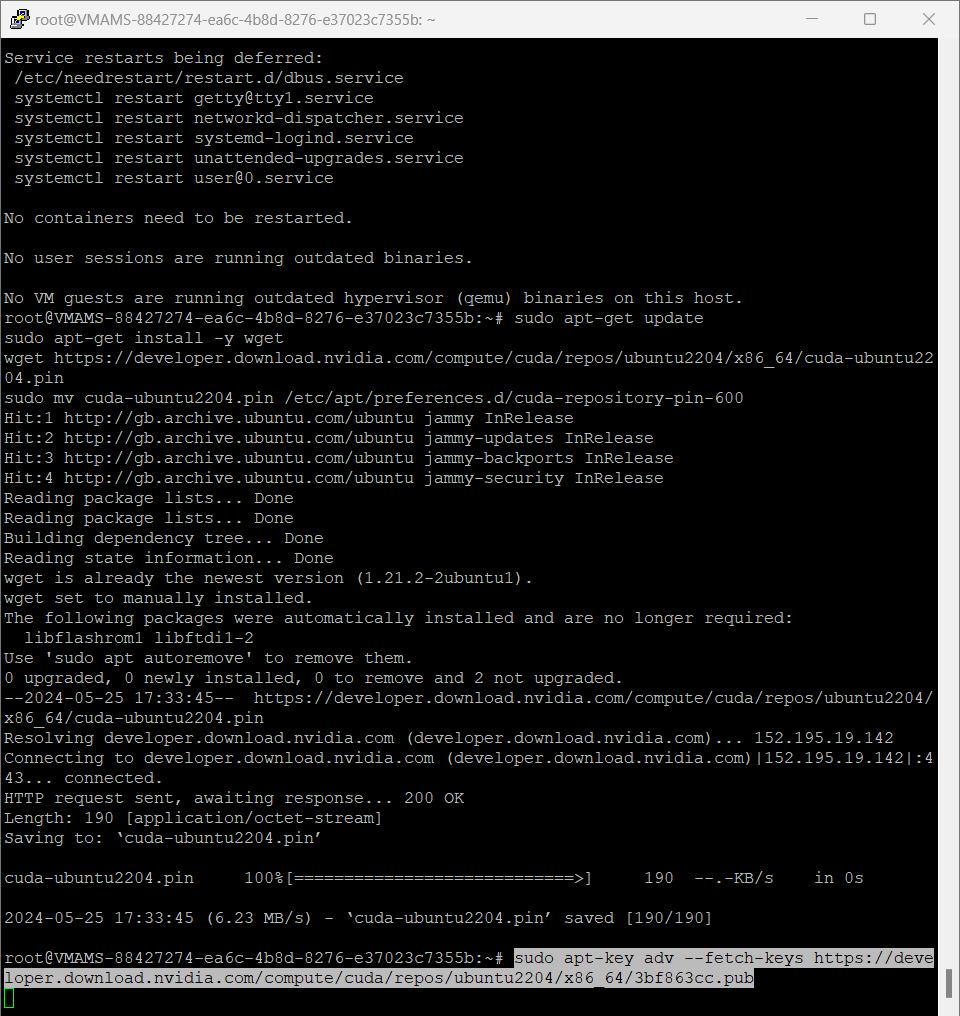
- Add the CUDA Repository:
sudo add-apt-repository "deb https://developer.download.nvidia.com/compute/cuda/repos/ubuntu2204/x86_64/ /"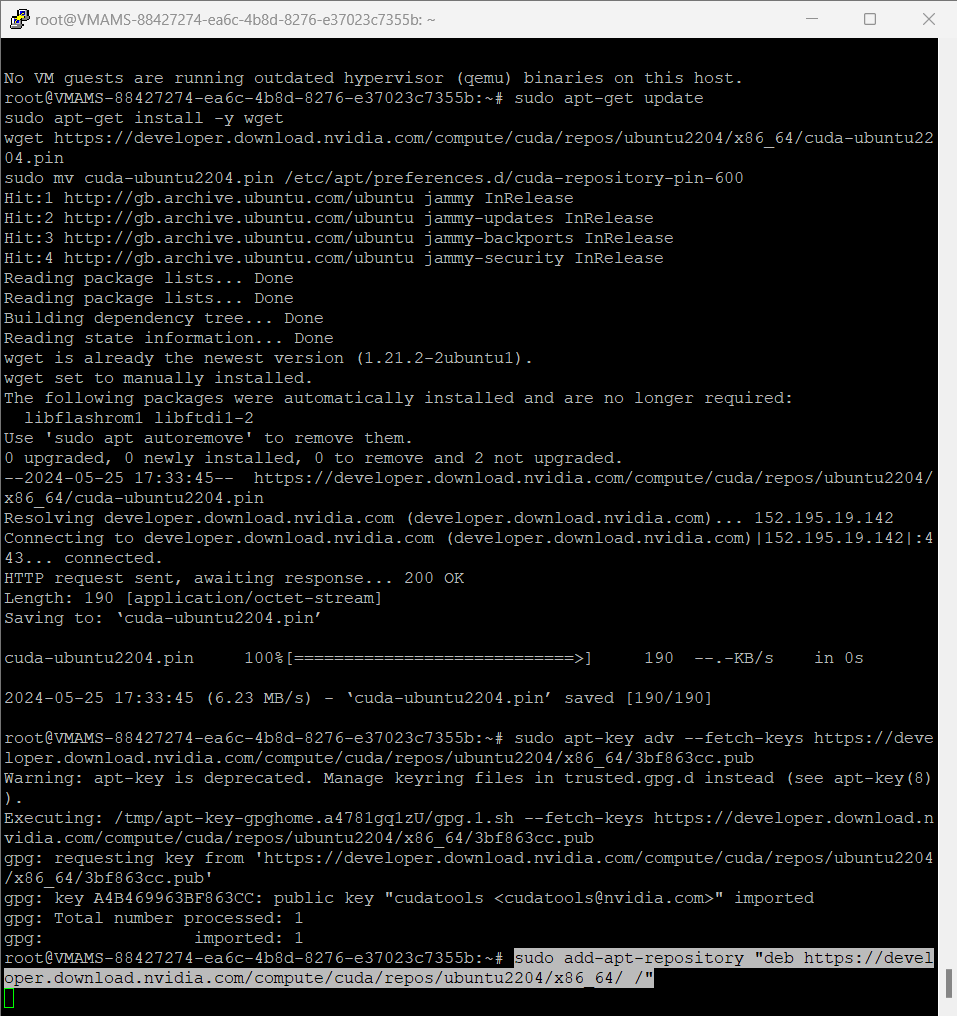
- Update the Package Lists:
sudo apt update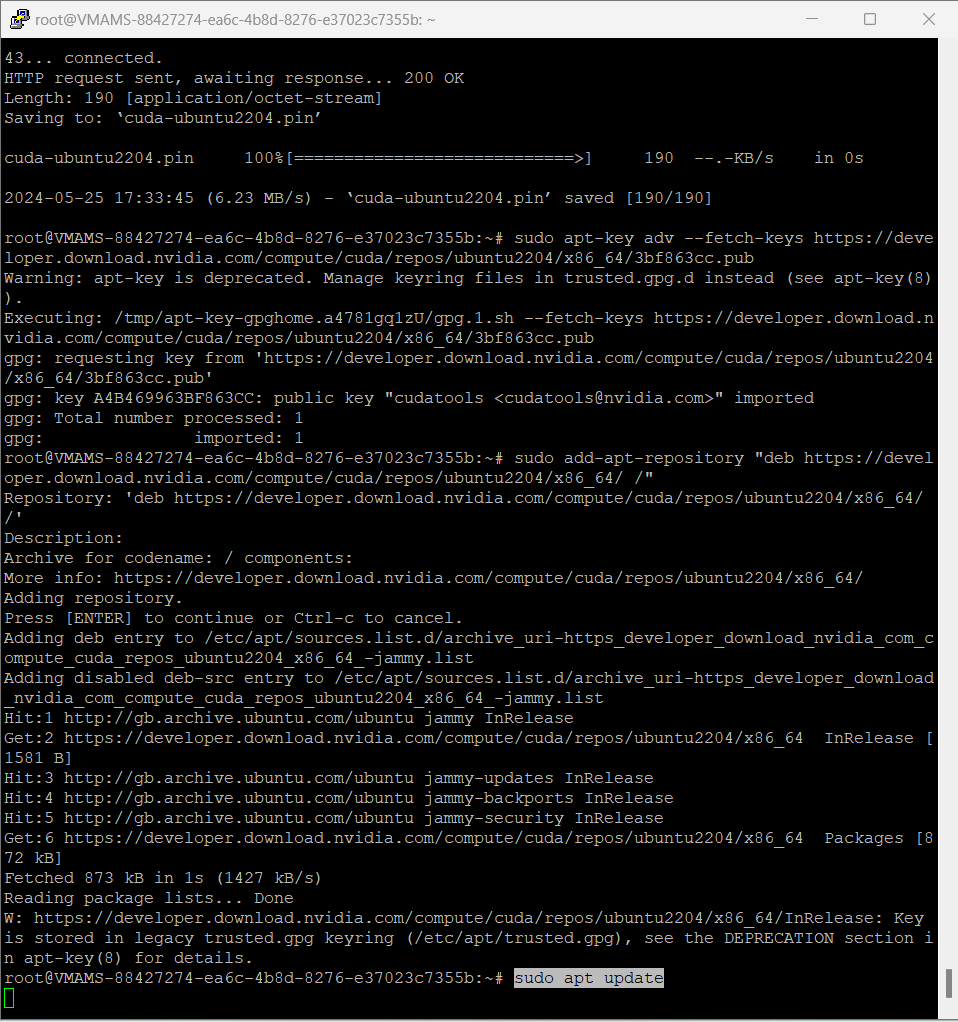
- Install CUDA Toolkit:
sudo apt install -y cuda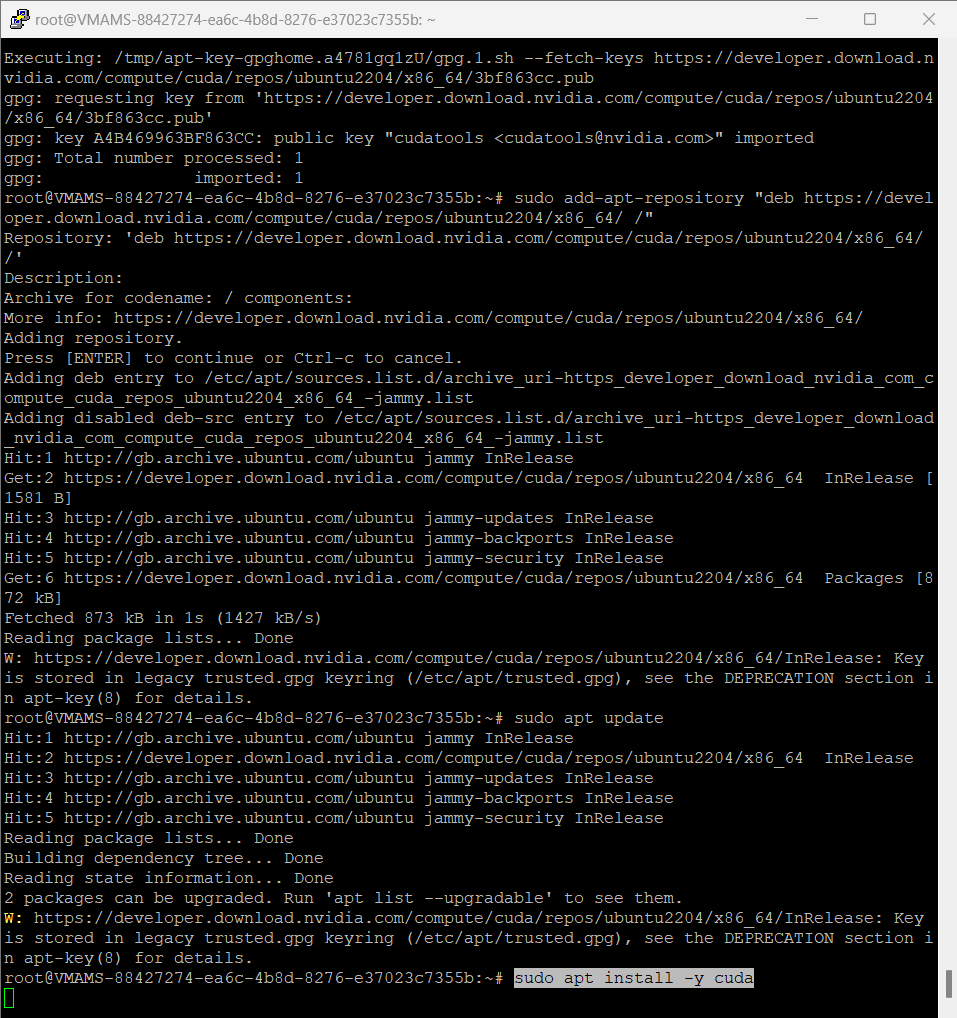
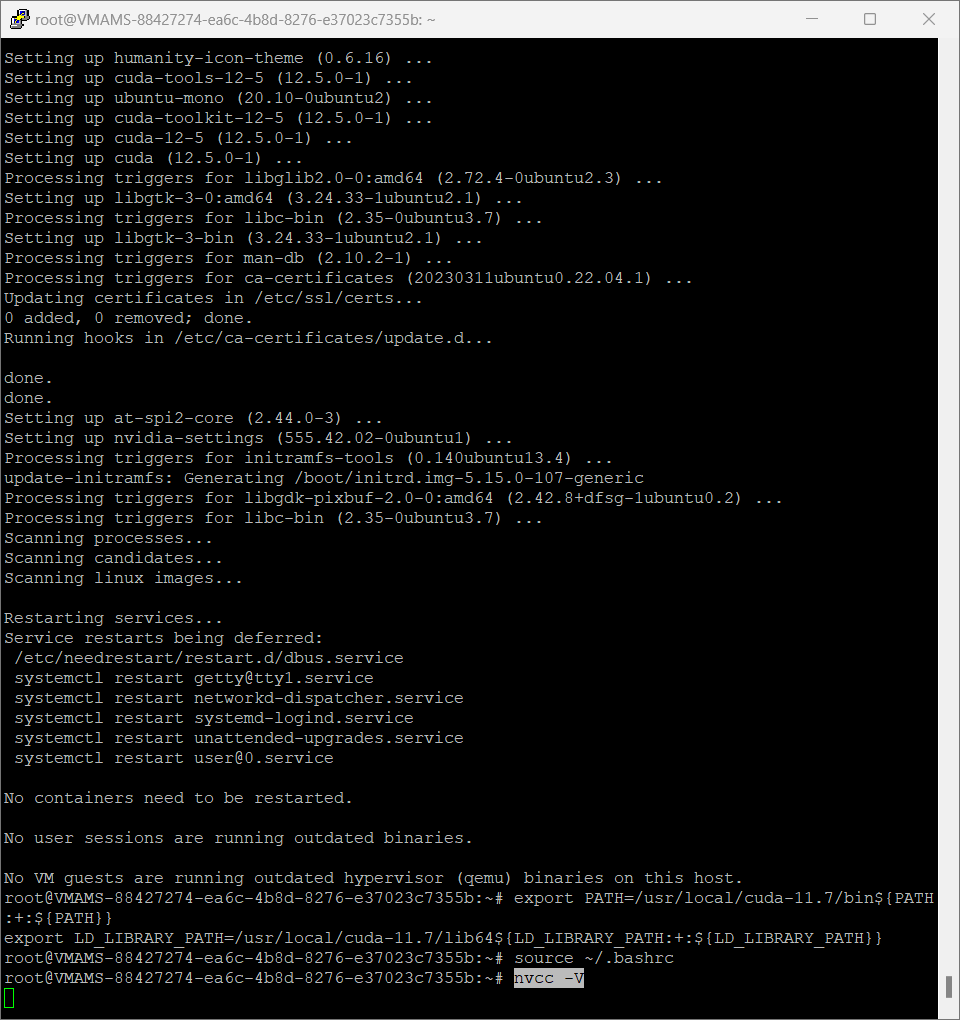
- Set Up Environment Variables:
Add the following lines to your~/.bashrcfile to set up the environment variables:
   export PATH=/usr/local/cuda-11.7/bin${PATH:+:${PATH}}
   export LD_LIBRARY_PATH=/usr/local/cuda-11.7/lib64${LD_LIBRARY_PATH:+:${LD_LIBRARY_PATH}}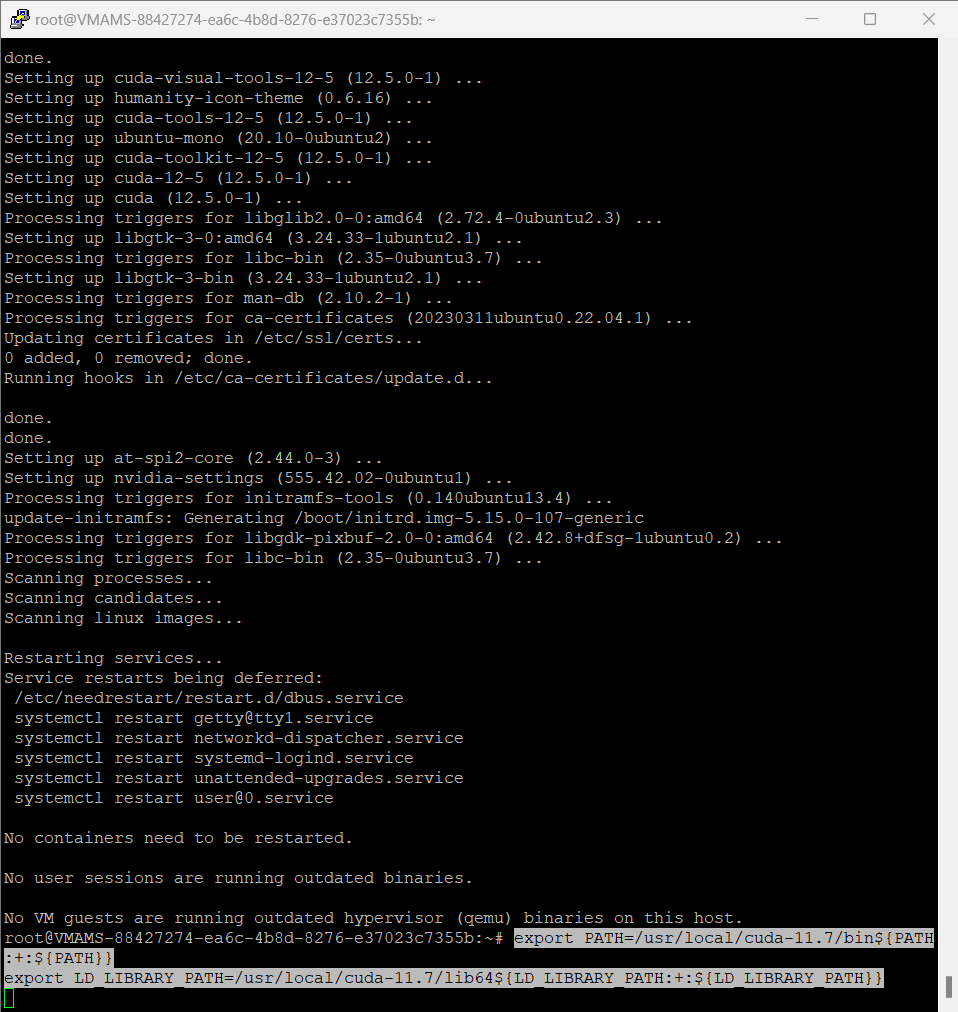
Source the ~/.bashrc file to apply the changes:
source ~/.bashrc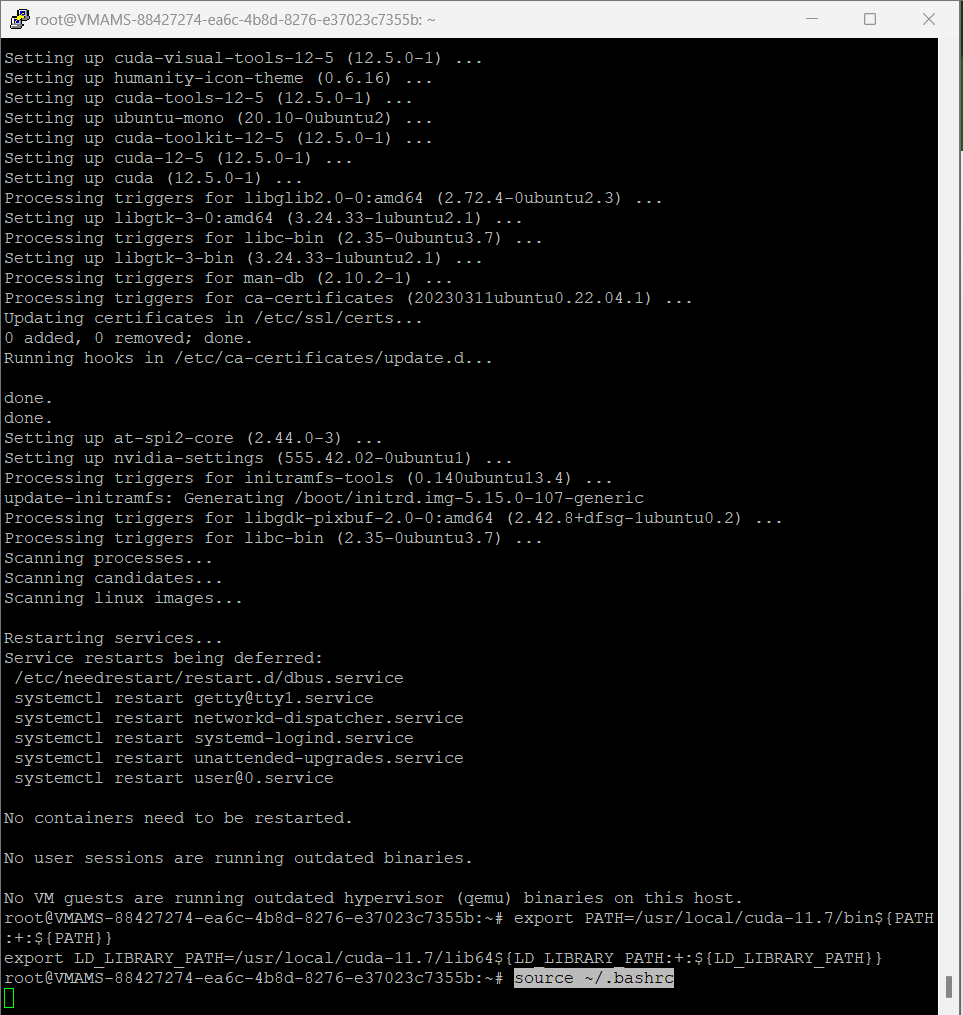
- Verify Installation:
To verify that the CUDA toolkit is installed correctly, run:
nvcc -VThis command should display the version of CUDA installed on your system.
Shape.host offers robust and flexible Linux SSD VPS services, making it an excellent choice for hosting applications like NVIDIA CUDA Toolkit. With their user-friendly dashboard, easy instance deployment, and a variety of plans to choose from, Shape.host provides the tools you need to set up your cloud infrastructure quickly and efficiently. Whether you are setting up a small team chat server or deploying a larger application, Shape.host’s reliable services ensure that your projects run smoothly and securely.