What is Emby Media Server?
Emby is a powerful, self-hosted media server software that enables users to organize, stream, and access personal media content—such as movies, TV shows, music, and photos—across multiple devices. It offers a clean web interface, mobile and TV apps, and supports media streaming over a local network or the internet.
Emby is a great solution for users who want to host their own personal Netflix-like media library, especially on Linux-based systems like Debian 12.
Key Features of Emby
Media Library Management
- Auto-organizes content into structured libraries (Movies, TV Shows, Music, etc.).
- Automatically fetches metadata, cover art, trailers, and subtitles.
- Multi-user support with user-specific watch history and access control.
Multi-Platform Streaming
- Web interface and native apps for Android, iOS, Smart TVs, Roku, Fire TV, Chromecast, and Apple TV.
- DLNA/UPnP support for streaming to compatible devices.
- Sync and offline playback support for mobile devices (with Emby Premiere).
User Management & Parental Controls
- Create multiple users with custom permissions.
- Parental controls for content filtering and screen time limits.
Transcoding & Playback
- Automatic on-the-fly transcoding for incompatible formats based on client device and bandwidth.
- Hardware acceleration support for faster performance (via VAAPI, NVENC, etc.).
Customization and Extensions
- Plugin system to add features like Trakt.tv, LDAP, Auto-Organize, and more.
- Theme and UI customization options.
- API access for developers.
Emby vs Other Media Servers
| Feature | Emby | Plex | Jellyfin |
|---|---|---|---|
| Open Source | ❌ (partially) | ❌ No | ✅ Yes |
| Self-Hosted | ✅ Yes | ✅ Yes | ✅ Yes |
| Free Version | ✅ (Limited) | ✅ (Limited) | ✅ Full |
| Premium Version | ✅ Emby Premiere | ✅ Plex Pass | ❌ Not needed |
| Remote Streaming | ✅ Yes | ✅ Yes | ✅ Yes |
| Live TV/DVR | ✅ With Premiere | ✅ With Plex Pass | ✅ Yes |
| Transcoding Support | ✅ Yes | ✅ Yes | ✅ Yes |
| Parental Controls | ✅ With Premiere | ✅ With Pass | ✅ Limited |
| Performance | ⚡ Fast | ⚡ Fast | ⚡ Medium |
| UI/UX | ✅ Modern | ✅ Modern | ✅ Clean but simpler |
| Device Compatibility | ✅ Excellent | ✅ Excellent | ✅ Good |
Why Use Emby on Debian 12?
- Debian 12 is a stable and secure OS, perfect for self-hosting services like Emby.
- Easy installation and long-term support ensure reliability and maintenance-free operation.
- You can leverage Emby’s hardware transcoding features on Linux for optimal performance.
- Debian’s robust user and permission system integrates well with Emby’s multi-user architecture.
Use Cases of Emby Media Server
- Home media centers for streaming personal collections.
- Family use with individual user profiles and parental controls.
- Offline media access with sync functionality for travel or remote environments.
- Secure media sharing with friends or family.
Limitations of Emby (Free Version)
- Live TV, DVR, mobile sync, and hardware transcoding require an Emby Premiere subscription.
- Not fully open-source; some features are locked behind the paid tier.
- Less polished community ecosystem compared to Jellyfin.
Emby Media Server on Debian 12 is a solid choice for users who want a powerful, self-hosted, and cross-platform media streaming solution with rich features and beautiful UI. While it offers many capabilities for free, unlocking its full potential (e.g. mobile sync, live TV) requires Emby Premiere.
For users who prefer complete open-source software, Jellyfin is a solid alternative. For those who prefer a more plug-and-play commercial option with strong app support, Plex may be more suitable. But for balance between control, features, and flexibility, Emby is hard to beat.
Step 1: Set Up a Debian 12 Server
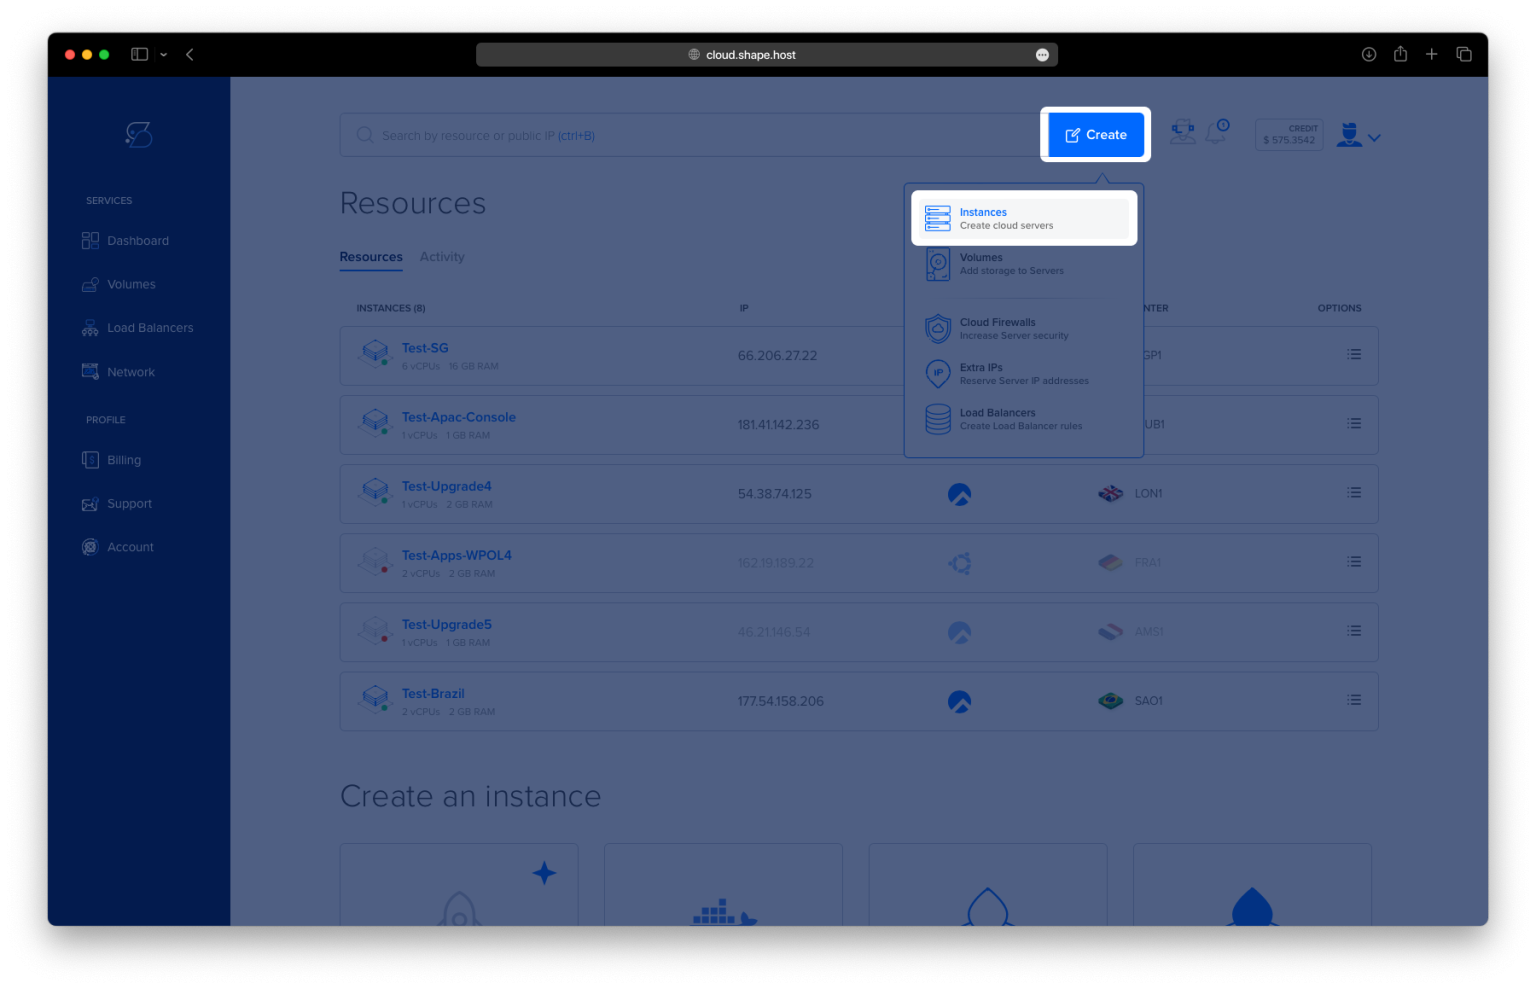
If you’re starting from scratch, create a fresh server on Shape.Host with Debian 12. You can do this from the Shape.Host dashboard:
Log into your Shape.Host account.
Click on “Create” > “Instances”.

Choose Debian 12 as your OS.
Pick a server plan based on your storage and streaming needs.

Finalize and launch your server.

Once the instance is created, go to the Resources section to find the public IP address of your instance. You will use this to connect to the instance remotely.

After it’s live, connect to your server via SSH:
ssh root@your-server-ip
Step 2: Update Your System
Make sure your packages are up to date:
apt update && apt upgrade -y

Step 3: Download and Install Emby Server
Download the official .deb package of Emby:
wget https://github.com/MediaBrowser/Emby.Releases/releases/download/4.7.14.0/emby-server-deb_4.7.14.0_amd64.deb

Install the downloaded package:
dpkg -i emby-server-deb_*.deb
Fix any missing dependencies:
apt install -f -y

Step 4: Start and Verify Emby
Check if Emby is enabled and running:
systemctl is-enabled emby-server
systemctl status emby-server

You can also check the listening ports:
ss -tulpn
By default, Emby listens on port 8096 (non-SSL).

Step 5: Install and Configure Nginx as a Reverse Proxy
Install the Nginx web server:
apt install nginx -y

Check its status:
systemctl is-enabled nginx
systemctl status nginx

Create a new Nginx configuration file for Emby:
nano /etc/nginx/sites-available/emby-server
Paste the following configuration (replace with your real domain):
server {
    listen 80;
    server_name debian-tutorials.shape.host; # replace with your domain

    proxy_hide_header X-Powered-By;
    add_header X-Xss-Protection "1; mode=block" always;
    add_header X-Content-Type-Options "nosniff" always;
    add_header Strict-Transport-Security "max-age=2592000; includeSubdomains" always;
    add_header X-Frame-Options "SAMEORIGIN" always;
    add_header 'Referrer-Policy' 'no-referrer';
    add_header Content-Security-Policy "frame-ancestors debian-tutorials.shape.host;";

    location / {
        proxy_pass http://127.0.0.1:8096;
        proxy_hide_header X-Powered-By;
        proxy_set_header Range $http_range;
        proxy_set_header If-Range $http_if_range;
        proxy_set_header X-Real-IP $remote_addr;
        proxy_set_header Host $host;
        proxy_set_header X-Forwarded-For $proxy_add_x_forwarded_for;

        # WebSocket support
        proxy_http_version 1.1;
        proxy_set_header Upgrade $http_upgrade;
        proxy_set_header Connection "upgrade";
    }
}

Enable the configuration:
ln -s /etc/nginx/sites-available/emby-server /etc/nginx/sites-enabled/
Test the configuration:
nginx -t

Step 6: Enable Firewall and Open Ports
Install and configure the firewall:
apt install ufw -y
ufw allow OpenSSH
ufw allow 'Nginx Full'
ufw enable
ufw status


Step 7: Secure Emby with SSL (Let’s Encrypt Certificate)
Install Certbot with the Nginx plugin:
apt install certbot python3-certbot-nginx -y

Run Certbot to generate and apply the SSL certificate:
certbot --nginx --agree-tos --redirect --hsts --staple-ocsp \
--email contact@shape.host -d debian-tutorials.shape.host
Certbot will automatically update your Nginx configuration to use HTTPS and set up automatic redirection from HTTP to HTTPS.

Step 8: Access Emby Web Interface
You can now access your Emby Media Server securely in your browser:
https://debian-tutorials.shape.host
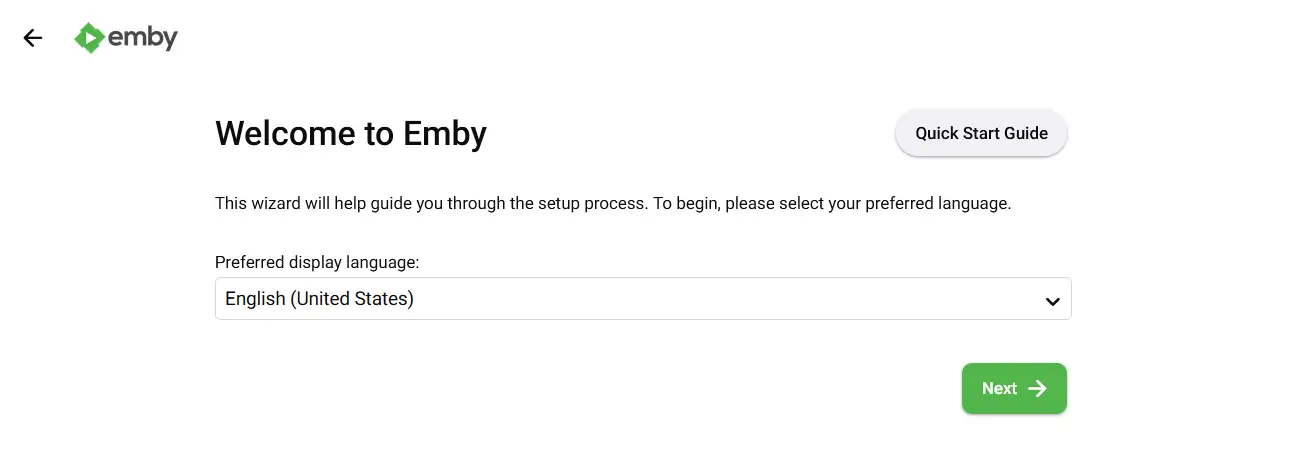
If your installation is successful, you should get a welcome message such as ‘Welcome to Emby‘. Select your preferred language from the dropdown menu and click Next.

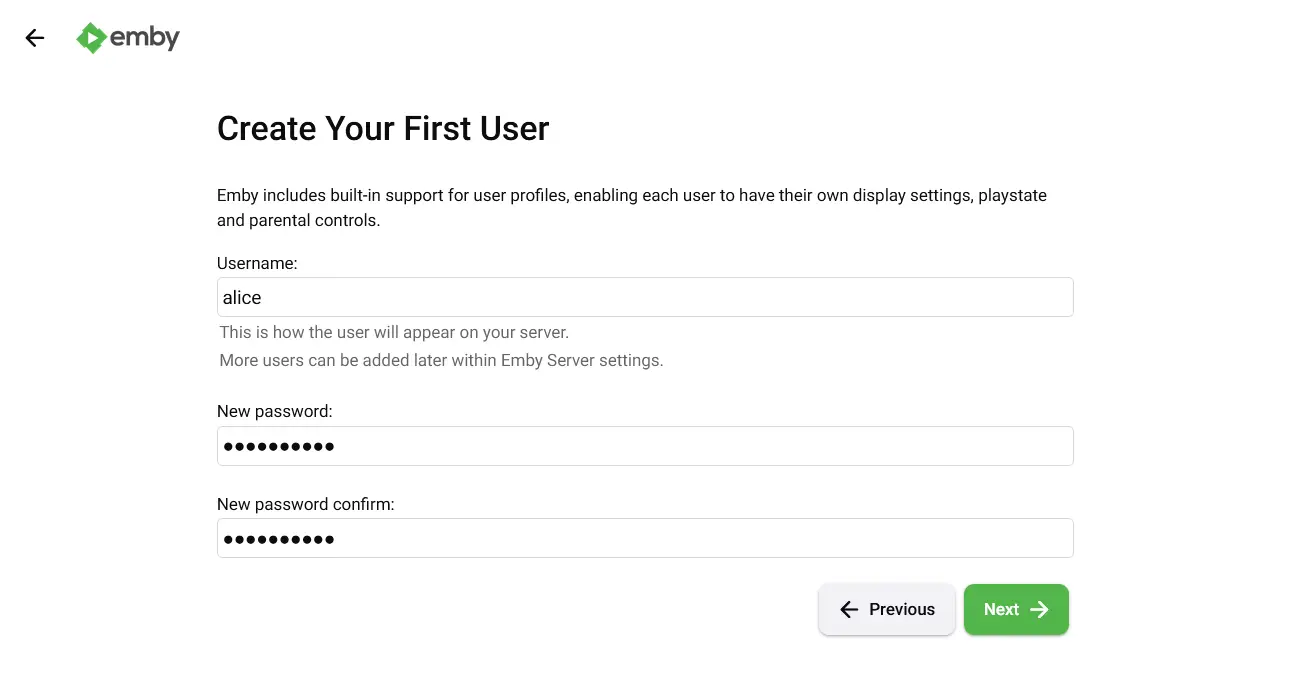
Create your first Emby user and be sure to input the strong password. Then click Next again to continue.

When asked to create a new Library, you can click the New Library button or just click Next to continue. You can add your media library later after the installation is complete.


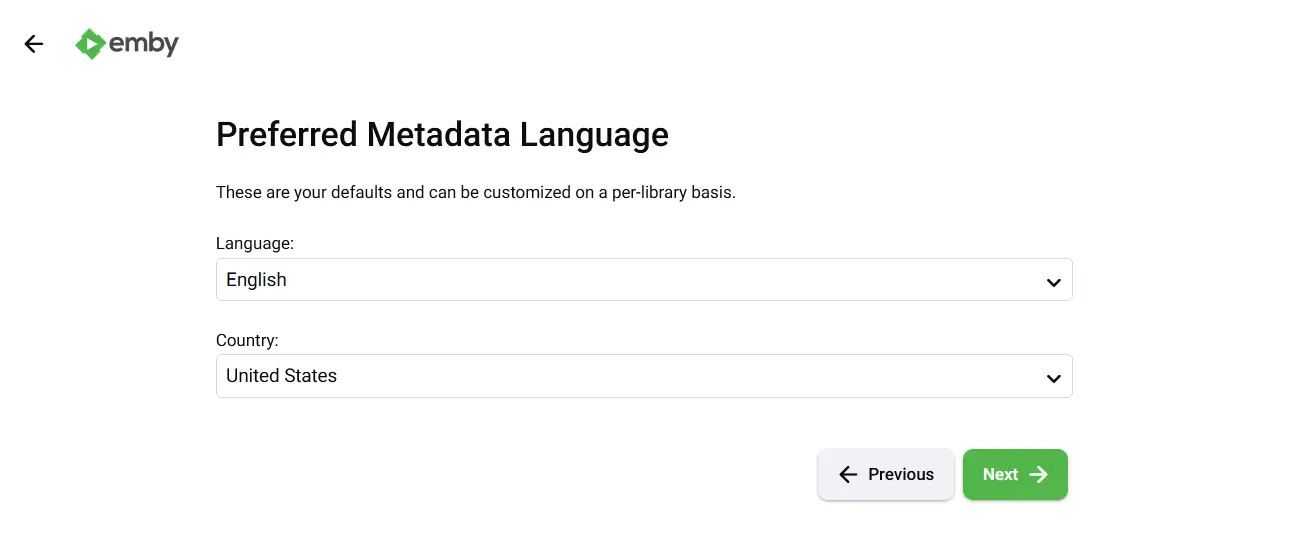
Select the Metadata data language that you prefer and click Next to continue.

Be sure to check ‘Enable automatic port mapping‘ to enable port mapping automatically. Click Next to continue.
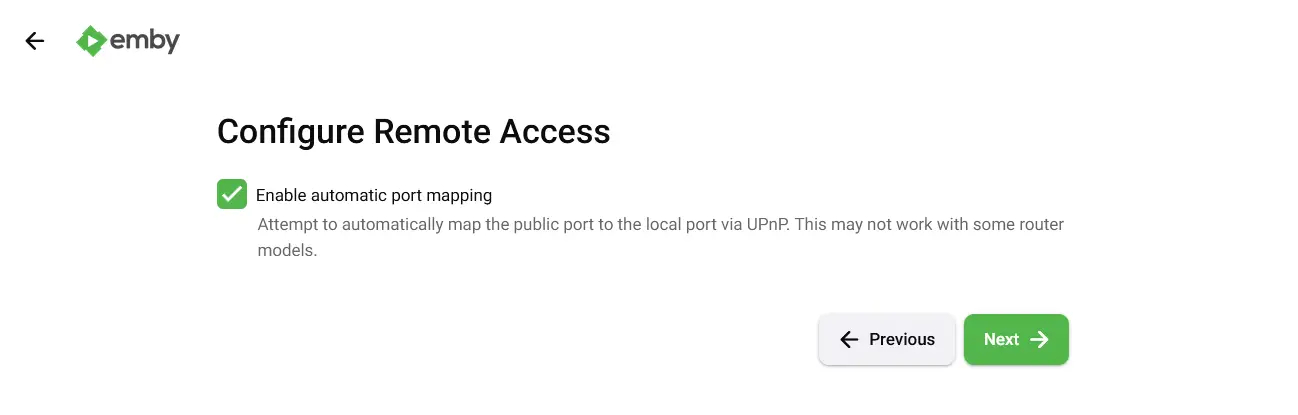

Now check the option ‘I accept the terms of service‘ and click Next.

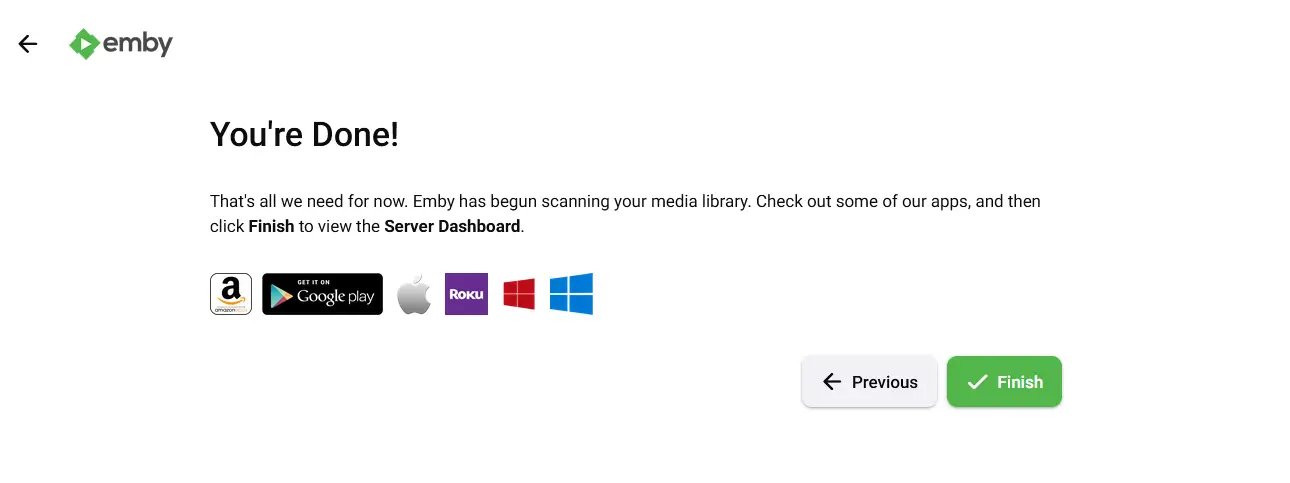
After the process is finished, you will get the message You’re Done!. Click Finish to complete the installation.

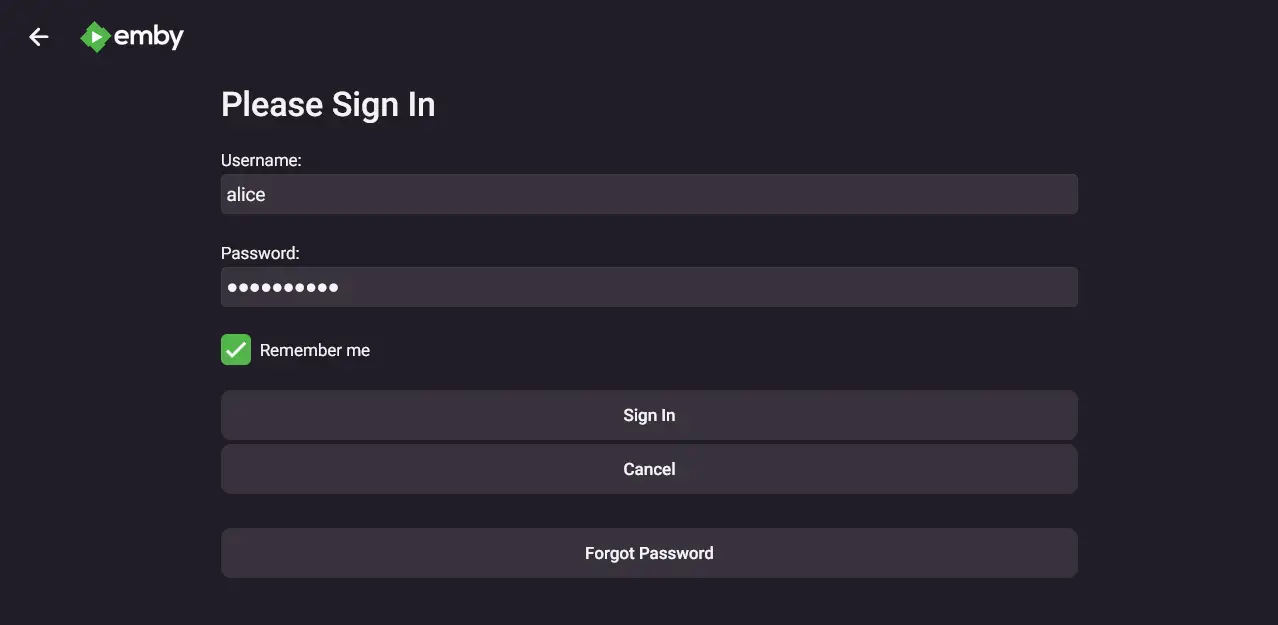
Input your admin user and password, then click Sign In.

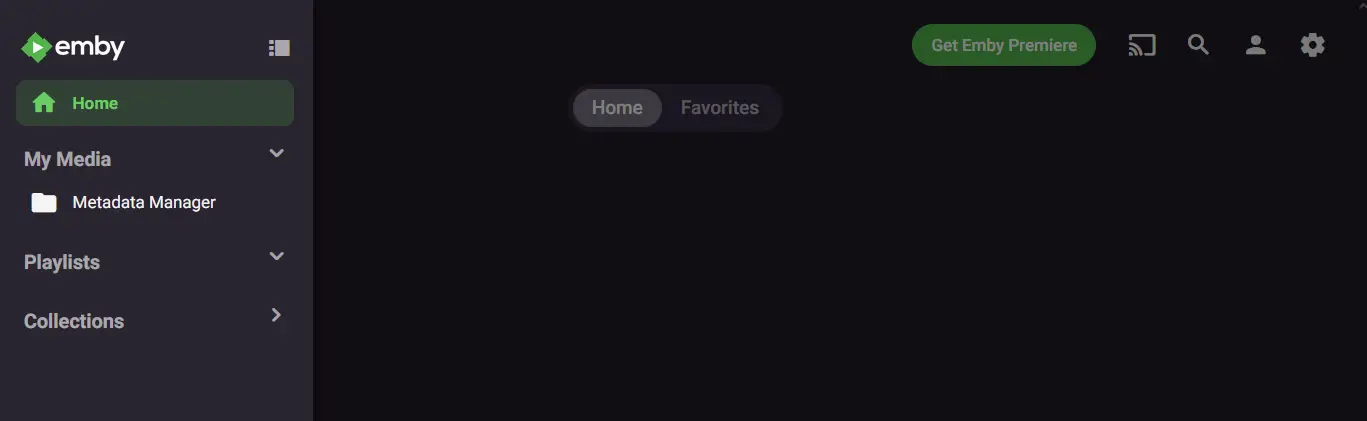
If you have the proper user and password, you will get the Emby dashboard like the following:

For the best server performance and reliable uptime, we recommend running Emby on a Shape.Host Cloud VPS, which offers flexible resources and SSD-powered infrastructure.