n8n on Rocky Linux 9 (Docker Compose + Nginx + SSL)
n8n is an open-source workflow automation and integration platform that allows users to connect APIs, services, and databases through an intuitive visual workflow builder. Similar to Zapier or Make (Integromat), n8n lets you automate complex tasks without coding — but unlike those cloud tools, n8n is self-hosted, giving you full control over data, security, and infrastructure.
Running n8n on Rocky Linux 9, a RHEL-compatible enterprise-grade operating system, provides stability, long-term support, and strong security. With SELinux, systemd 252, OpenSSL 3, and modern Docker Compose support, Rocky Linux 9 is ideal for deploying n8n behind Nginx with SSL encryption for production environments.
Architecture Overview
| Layer | Component | Role |
|---|---|---|
| OS | Rocky Linux 9 | Enterprise-grade, RHEL-compatible base OS |
| Runtime | Docker Engine + Compose | Runs n8n and its supporting containers |
| Database | PostgreSQL / SQLite | Stores workflow configurations, executions, and user data |
| Application | n8n Server (Node.js) | Provides automation logic and the web-based editor |
| Reverse Proxy | Nginx / Traefik | Manages HTTPS termination, caching, and request routing |
| TLS | Let’s Encrypt / PKI | Enables SSL encryption for secure connections |
Why Use n8n?
- Open-source Zapier alternative – full control and no recurring fees.
- Visual workflow designer – create complex automations with drag-and-drop blocks.
- Self-hosted – maintain privacy and compliance with your own infrastructure.
- 400+ built-in integrations – connect with CRMs, APIs, databases, and services.
- Custom node development – extend functionality using JavaScript or TypeScript.
- Scalable architecture – easily scale horizontally with Docker and PostgreSQL.
n8n vs Other Workflow Automation Platforms
| Feature/Capability | n8n (Self-hosted) | Zapier (Cloud) | Make (Cloud) | Node-RED (Self-hosted) |
|---|---|---|---|---|
| Hosting | Self-hosted | SaaS only | SaaS only | Self-hosted |
| Cost | Free, open-source | Subscription | Subscription | Free, open-source |
| Integrations | 400+ | 5000+ | 1500+ | 100+ |
| Extensibility | High (custom nodes) | Low | Moderate | High (custom JS) |
| Privacy | Full control | Cloud-based | Cloud-based | Local only |
| Ideal for | DevOps / SMEs | Non-tech users | SMBs | Developers |
n8n stands out for its flexibility, data control, and extensibility, making it ideal for developers, DevOps engineers, and teams looking for a powerful, self-hosted automation solution.
Security & Best Practices
- Deploy behind Nginx or Traefik with HTTPS enabled.
- Store credentials in environment variables or Docker secrets, not code.
- Run containers as non-root users for better isolation.
- Enable SELinux enforcement and configure
firewalldto allow only 80/443. - Keep Docker, n8n, and Rocky Linux updated regularly.
- Set up automatic database backups (PostgreSQL or SQLite).
- Restrict access to webhook endpoints to trusted IPs only.
- Automate SSL certificate renewals using Certbot or ACME integrations.
Typical Use Cases
- Business process automation – connect CRMs, email services, and APIs.
- DevOps automation – trigger CI/CD jobs, deploy code, or manage alerts.
- Data synchronization – integrate data between databases and SaaS tools.
- Webhook orchestration – automate API-driven workflows.
- AI-powered workflows – connect OpenAI, Hugging Face, or local LLM APIs.
- Marketing and sales automation – manage campaigns and lead tracking.
Deploying n8n on Rocky Linux 9 with Docker Compose and Nginx provides a secure, scalable, and production-ready automation environment, giving your organization full control over integrations, workflows, and data privacy — all powered by open-source flexibility.
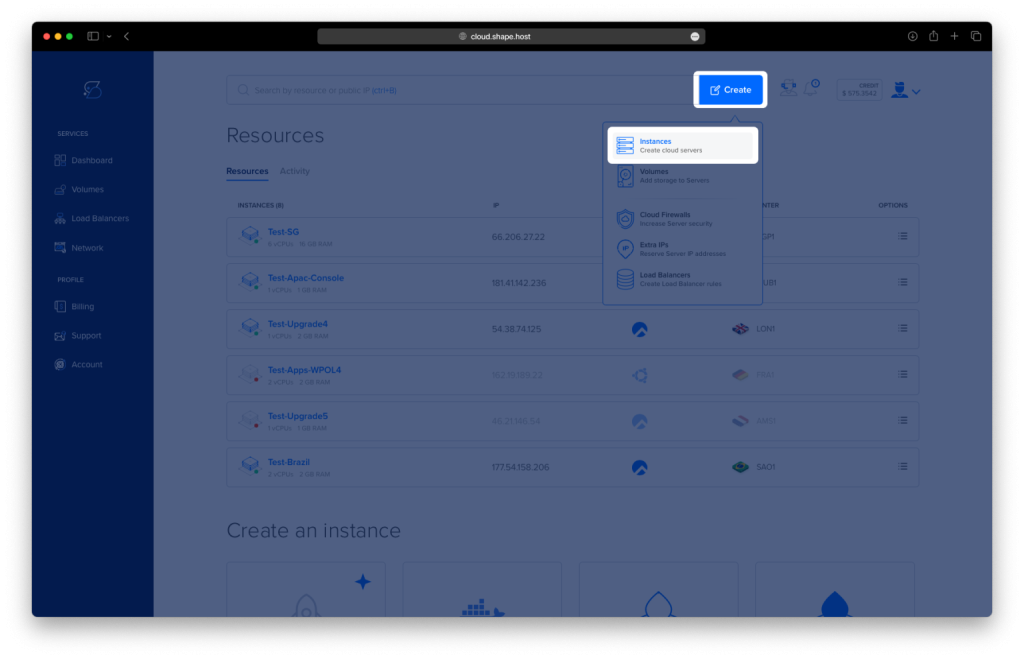
Step 1: Create a Shape.Host Cloud Instance
Visit Shape.Host and sign in.
Click Create → Instance.
Choose your preferred server location.
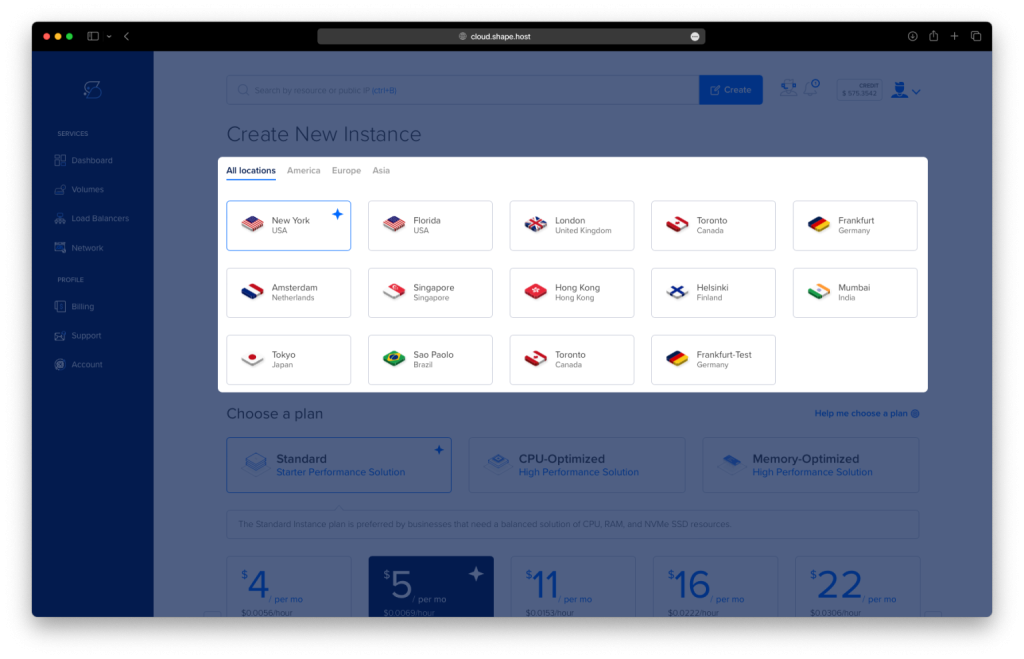
Select a plan with at least 2 CPUs, 4 GB RAM, and 20 GB SSD.
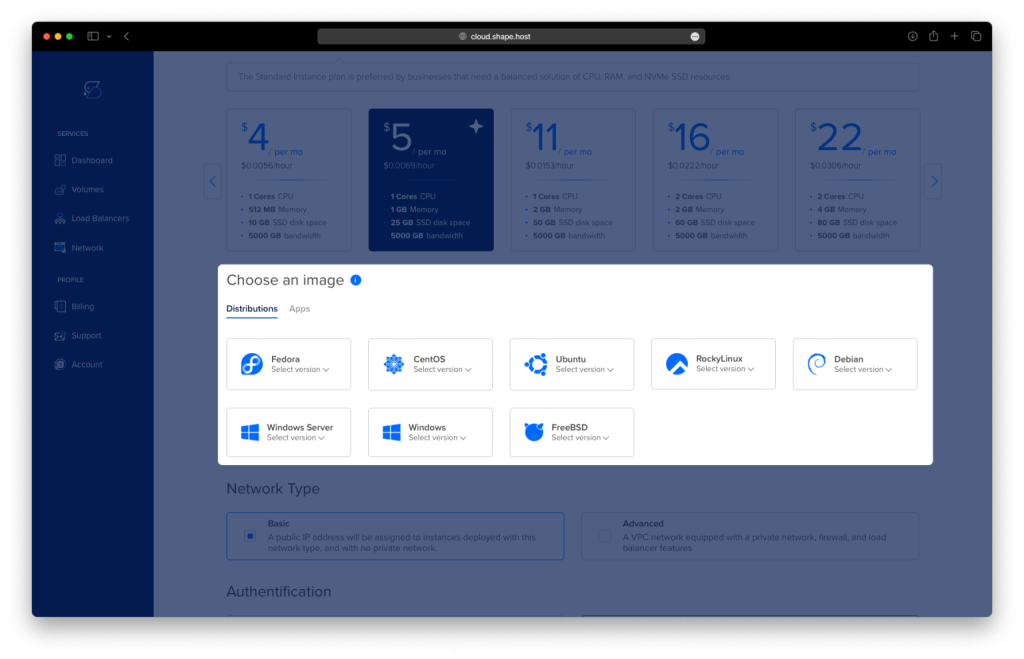
Choose Rocky Linux 9 (64-bit) as your operating system.
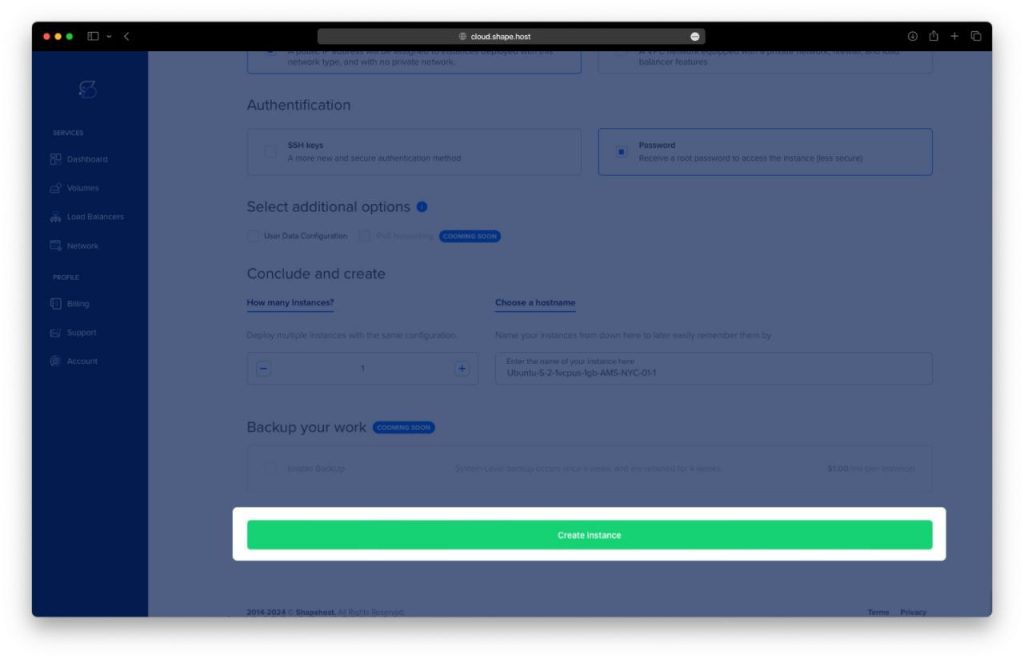
Click Create Instance.
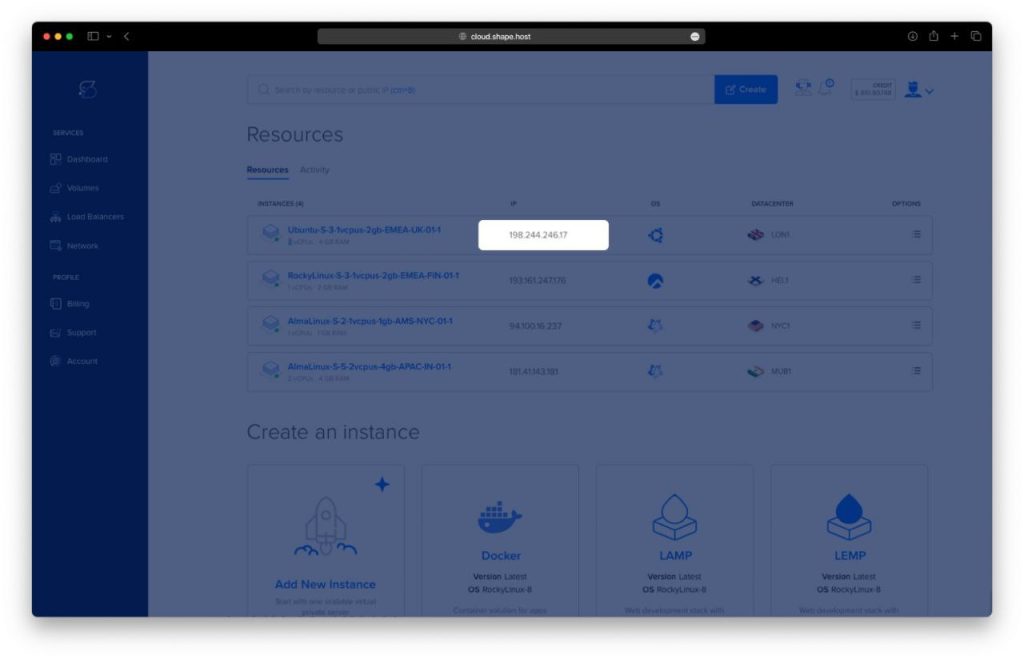
Copy the public IP address from the “Resources” section — you’ll use it to connect via SSH.
Step 2: Connect to Your Server
Use SSH to log in as root:
ssh root@your_server_ip
Step 3: Update Your System
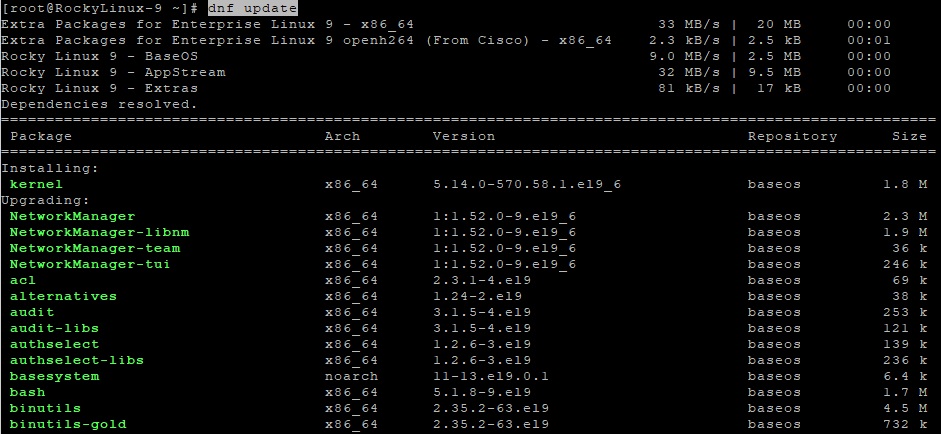
Make sure all system packages are up to date:
dnf update
Keeping the system updated ensures better security and stability.
Step 4: Install Docker and Dependencies
Install essential dependencies first:
dnf install curl ca-certificates gnupg2 yum-utils

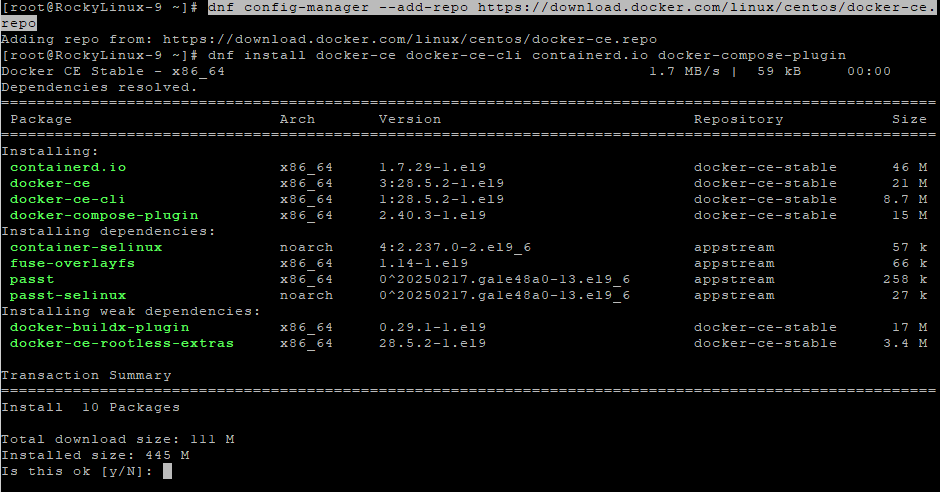
Add the official Docker repository for CentOS-compatible systems:
dnf config-manager --add-repo https://download.docker.com/linux/centos/docker-ce.repo

Now install Docker and the Docker Compose plugin:
dnf install docker-ce docker-ce-cli containerd.io docker-compose-plugin
Enable and start the Docker service:
systemctl enable --now docker
Check if Docker and Docker Compose are installed successfully:
docker --version
docker compose version

Step 5: Set Up the n8n Directory Structure
Create a directory for n8n:
mkdir -p /opt/n8n
cd /opt/n8n
Create folders for persistent storage:
mkdir n8n-data local-files
Assign correct ownership so Docker containers can write to them:
chown -R 1000:1000 n8n-data local-files

Step 6: Create the Docker Compose File
Create the configuration file:
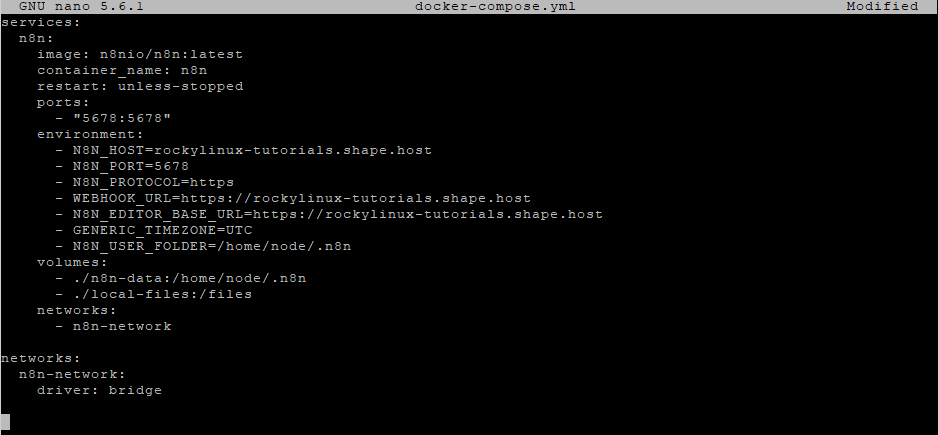
nano docker-compose.yml
Paste the following configuration:
services:
  n8n:
    image: n8nio/n8n:latest
    container_name: n8n
    restart: unless-stopped
    ports:
      - "5678:5678"
    environment:
      - N8N_HOST=n8n.example.com
      - N8N_PORT=5678
      - N8N_PROTOCOL=https
      - WEBHOOK_URL=https://n8n.example.com
      - N8N_EDITOR_BASE_URL=https://n8n.example.com
      - GENERIC_TIMEZONE=UTC
      - N8N_USER_FOLDER=/home/node/.n8n
    volumes:
      - ./n8n-data:/home/node/.n8n
      - ./local-files:/files
    networks:
      - n8n-network

networks:
  n8n-network:
    driver: bridge
Replace all instances of
n8n.example.comwith your actual domain name.
Save and exit (CTRL + O, ENTER, CTRL + X).
Step 7: Start n8n Using Docker Compose
Download the n8n image and run it as a container:
docker compose up -d
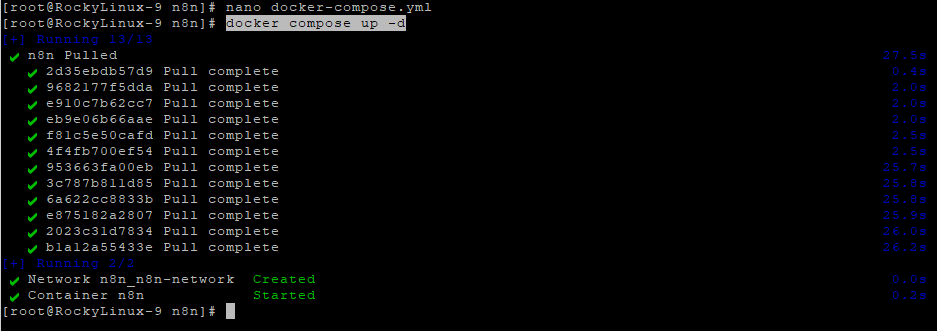
Check container status:
docker compose ps

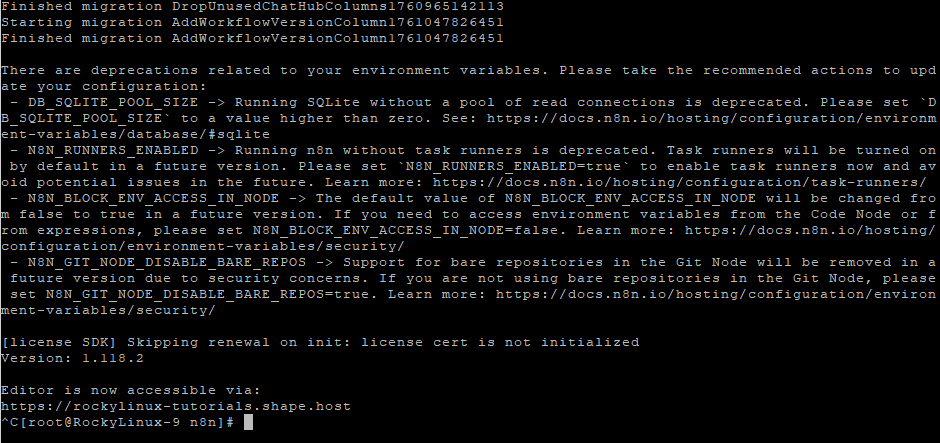
View logs to ensure n8n started correctly:
docker logs -f n8n
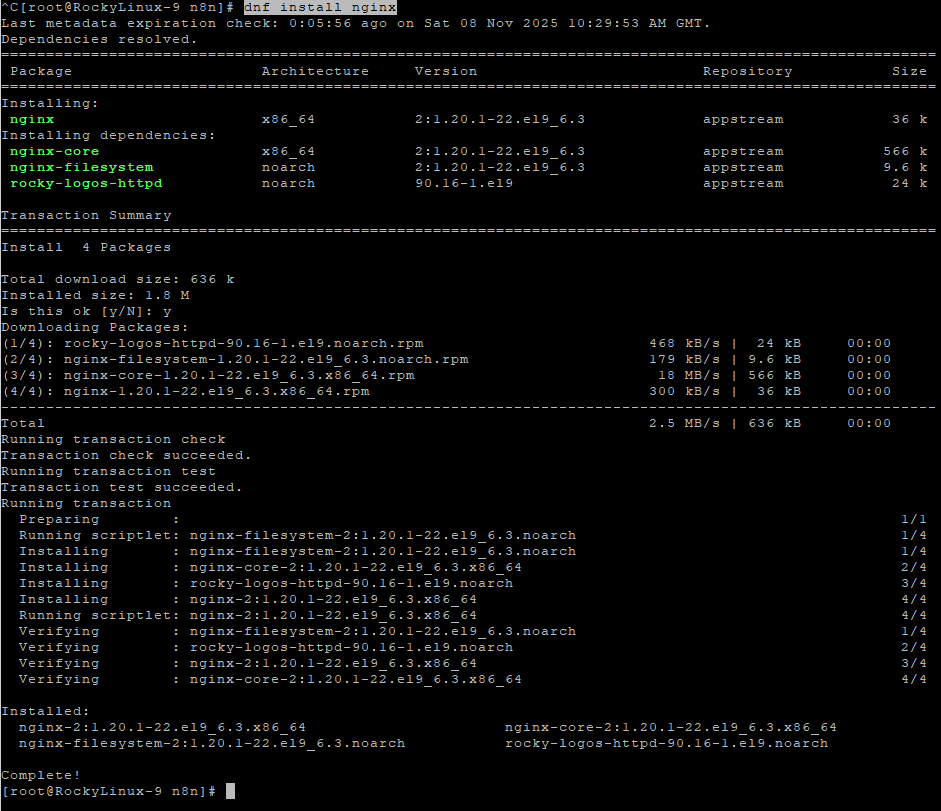
Step 8: Install and Configure Nginx
Install Nginx web server:
dnf install nginx
Enable and start Nginx:
systemctl enable --now nginx

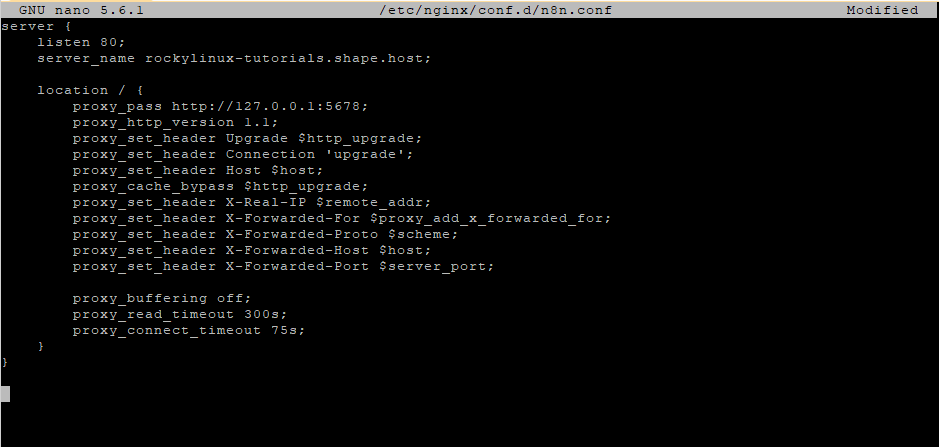
Create an Nginx configuration for n8n:
nano /etc/nginx/conf.d/n8n.conf
Paste this configuration:
server {
    listen 80;
    server_name n8n.example.com;

    location / {
        proxy_pass http://127.0.0.1:5678;
        proxy_http_version 1.1;
        proxy_set_header Upgrade $http_upgrade;
        proxy_set_header Connection 'upgrade';
        proxy_set_header Host $host;
        proxy_cache_bypass $http_upgrade;
        proxy_set_header X-Real-IP $remote_addr;
        proxy_set_header X-Forwarded-For $proxy_add_x_forwarded_for;
        proxy_set_header X-Forwarded-Proto $scheme;
        proxy_set_header X-Forwarded-Host $host;
        proxy_set_header X-Forwarded-Port $server_port;

        proxy_buffering off;
        proxy_read_timeout 300s;
        proxy_connect_timeout 75s;
    }
}
Test Nginx syntax:
nginx -t
Reload Nginx:
systemctl reload nginx

Step 9: Secure n8n with HTTPS (SSL)
Install Certbot and the Nginx plugin:
dnf install certbot python3-certbot-nginx

Run Certbot to generate and apply an SSL certificate automatically:
certbot --nginx -d rockylinux-tutorials.shape.host --email contact@shape.host --agree-tos --non-interactive
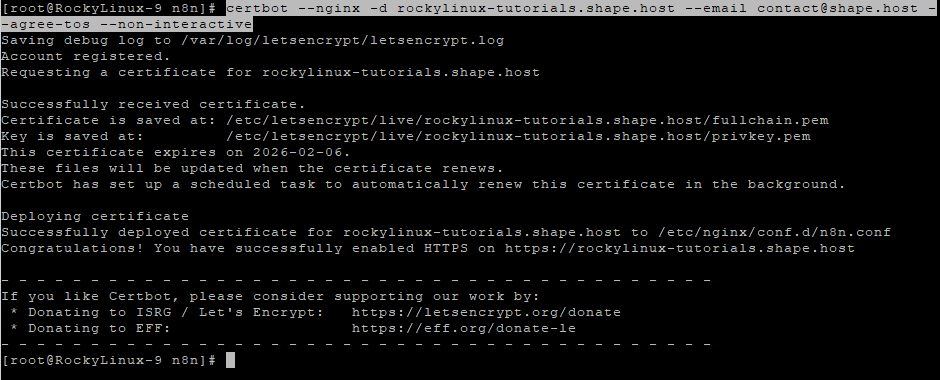
Reload Nginx to activate SSL:
systemctl reload nginx
Step 10: Restart n8n
Restart the n8n container to ensure all environment changes are applied:
docker compose restart

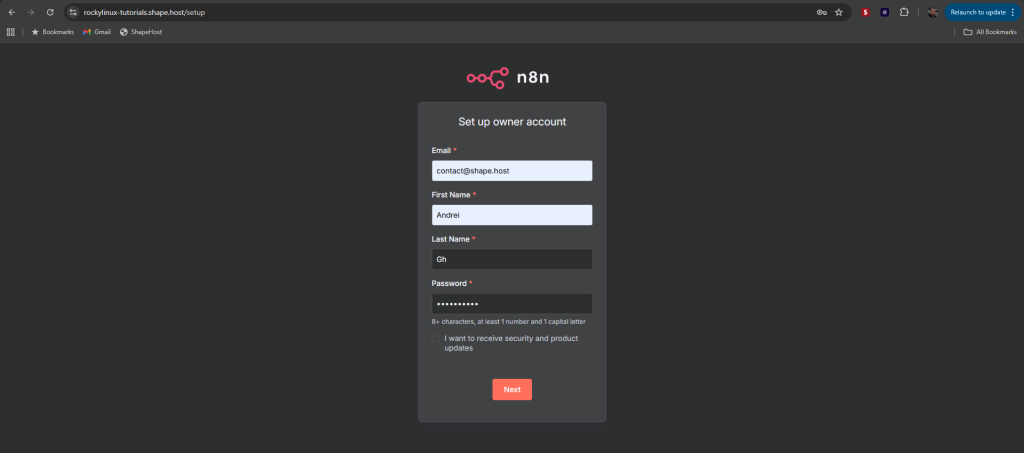
Step 11: Access Your n8n Dashboard
Open your web browser and visit:
https://n8n.example.com
or for local testing:
http://YOUR_SERVER_IP:5678
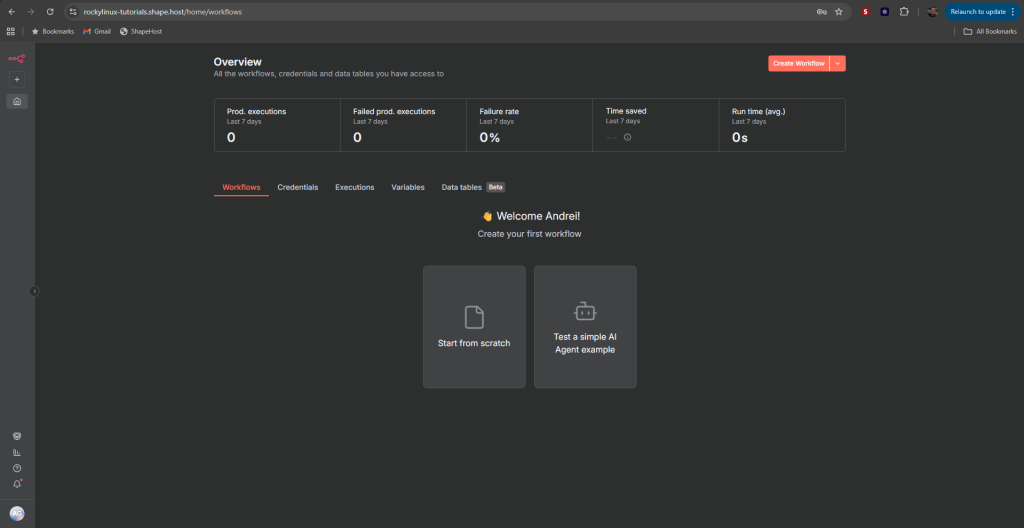
You’ll now see the n8n workflow editor, ready for automation setup.
Step 12: (Optional) Configure Firewall
Allow HTTP, HTTPS, and SSH traffic:
firewall-cmd --permanent --add-service=http
firewall-cmd --permanent --add-service=https
firewall-cmd --permanent --add-service=ssh
firewall-cmd --reload
You have installed n8n on Rocky Linux 9 using Docker Compose, Nginx reverse proxy, and SSL via Certbot.
Your instance is now production-ready, secure, and optimized for automation workflows.
Run it confidently on a Shape.Host Cloud VPS for maximum uptime, SSD speed, and root-level control of your automation stack.