Metabase with PostgreSQL on Rocky Linux 9 (Docker Compose + Nginx + SSL)
Metabase is an open-source business intelligence (BI) and analytics platform that helps teams explore, visualize, and share data quickly — without writing complex SQL. With its intuitive web-based interface, anyone can create dashboards, charts, and reports directly from databases like PostgreSQL, MySQL, or MongoDB, empowering both developers and non-technical users to make data-driven decisions.
Running Metabase on Rocky Linux 9, a community-driven, RHEL-compatible enterprise operating system, ensures a secure, stable, and long-term supported environment for analytics workloads. With SELinux enforcement, systemd 252, OpenSSL 3, and the latest Docker stack, Rocky Linux 9 provides the ideal base for deploying Metabase with PostgreSQL, Nginx, and SSL encryption using Docker Compose.
Architecture Overview
| Layer | Component | Role |
|---|---|---|
| OS | Rocky Linux 9 | RHEL-compatible, enterprise-grade Linux with SELinux enabled |
| Container Runtime | Docker Engine + Compose | Orchestrates Metabase and PostgreSQL containers |
| Database | PostgreSQL 15 | Stores dashboards, user accounts, queries, and configuration data |
| Application | Metabase Server | Provides the BI interface, data exploration, and visualization tools |
| Reverse Proxy | Nginx (optional) | Handles HTTPS termination, routing, and caching |
| TLS | Let’s Encrypt / PKI | Provides HTTPS security for the Metabase web interface |
Why Use Metabase?
- Self-hosted analytics – full control of your data and environment.
- No-code dashboards – create charts and visualizations without SQL.
- SQL for power users – advanced query editor for deeper analysis.
- Broad compatibility – connects with PostgreSQL, MySQL, BigQuery, and more.
- Open-source and cost-free – deploy anywhere, scale easily.
- Enterprise-ready options – SSO, LDAP, and enhanced governance in paid tiers.
Metabase vs Other BI Tools
| Feature/Capability | Metabase (Self-hosted) | Tableau (Cloud) | Power BI (Microsoft) | Apache Superset (Self-hosted) |
|---|---|---|---|---|
| Hosting | Self-hosted (Docker) | SaaS / Desktop | SaaS / Windows only | Self-hosted (Docker) |
| Cost | Free, open-source | Subscription | Subscription | Free, open-source |
| Database support | SQL databases | Broad | Microsoft-focused | SQL databases |
| Ease of use | Very easy | Moderate | Moderate | Developer-oriented |
| Ideal for | Teams, SMBs, startups | Enterprises | Enterprises | Data engineers |
Metabase is perfect for organizations that want to manage analytics in-house, with the flexibility and transparency of open-source software.
Security & Best Practices
- Run Metabase behind Nginx or Traefik with HTTPS enabled.
- Store credentials and environment variables securely using Docker secrets.
- Restrict PostgreSQL to internal Docker networks only.
- Enforce SELinux policies to protect containers and network access.
- Keep Docker images, Rocky Linux, and PostgreSQL updated regularly.
- Automate PostgreSQL backups using
pg_dumpor volume snapshots. - Use firewalld or nftables to expose only ports 80 and 443.
- Automate SSL renewals via Certbot or Traefik ACME integration.
Typical Use Cases
- Data dashboards for small to enterprise teams.
- Marketing and sales analytics powered by PostgreSQL.
- Finance and KPI tracking across business units.
- Product analytics for SaaS platforms and web applications.
- Centralized BI solution integrating multiple data sources.
Deploying Metabase with PostgreSQL on Rocky Linux 9 provides a secure, scalable, and enterprise-ready analytics platform that empowers your team to visualize data, uncover insights, and drive smarter business decisions — while maintaining complete control of your infrastructure.
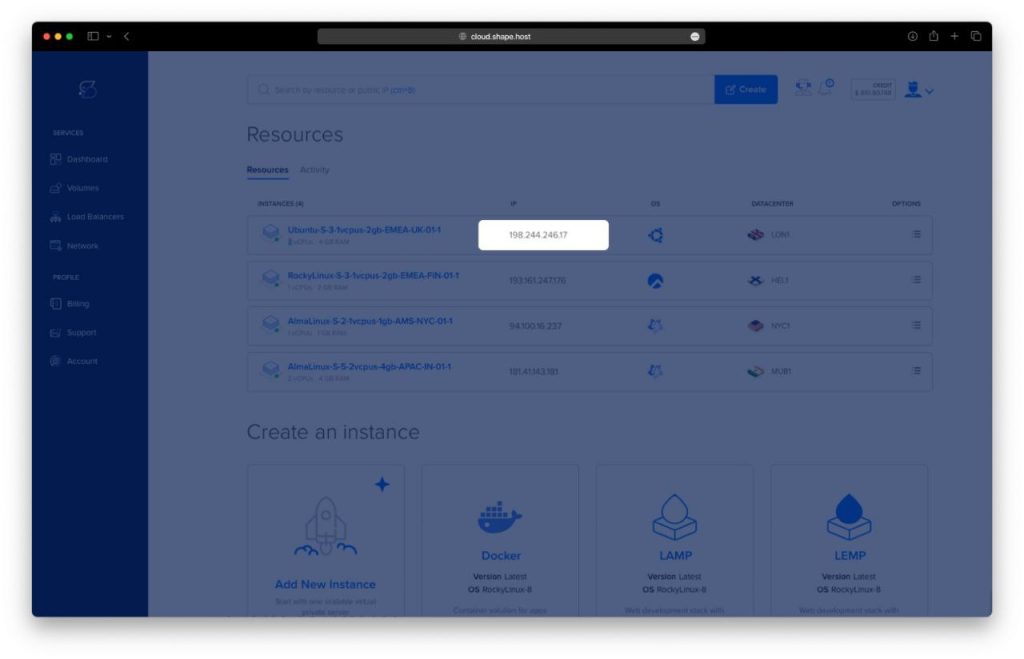
Step 1: Create a Server Instance on Shape.Host
Go to Shape.Host and log in.
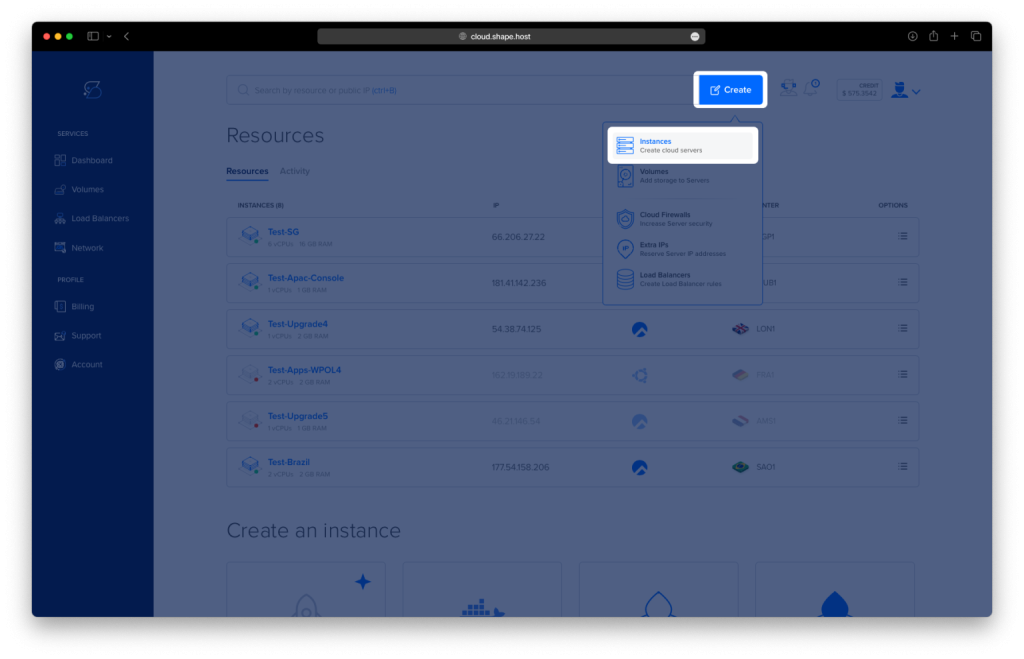
Click Create → Instance.
Choose a server location near your target users.
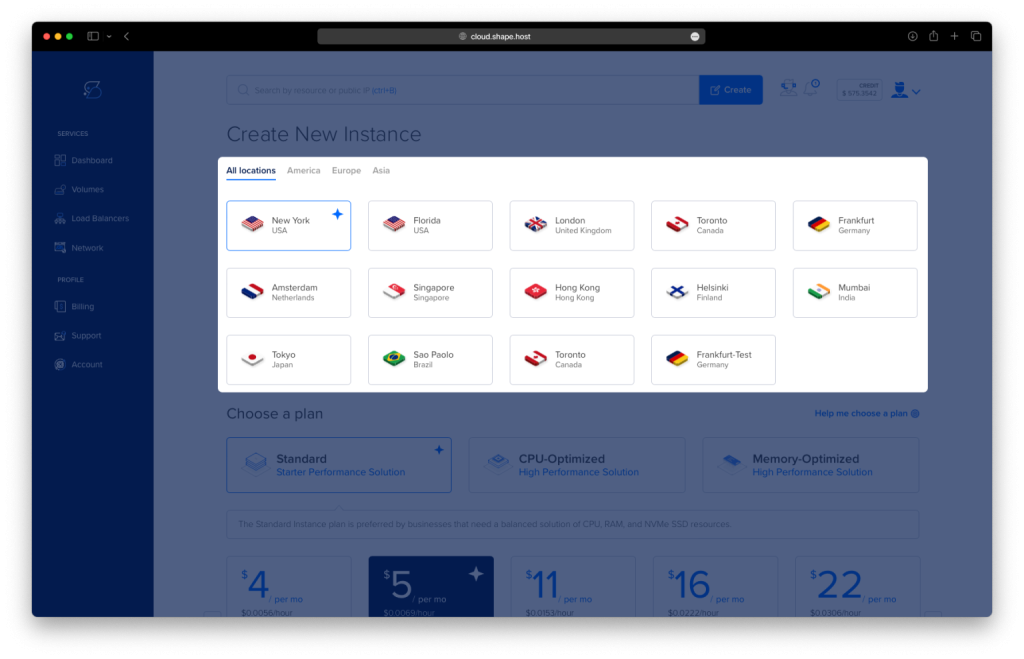
Select a plan with at least 2 CPUs, 4 GB RAM, and 20 GB SSD.
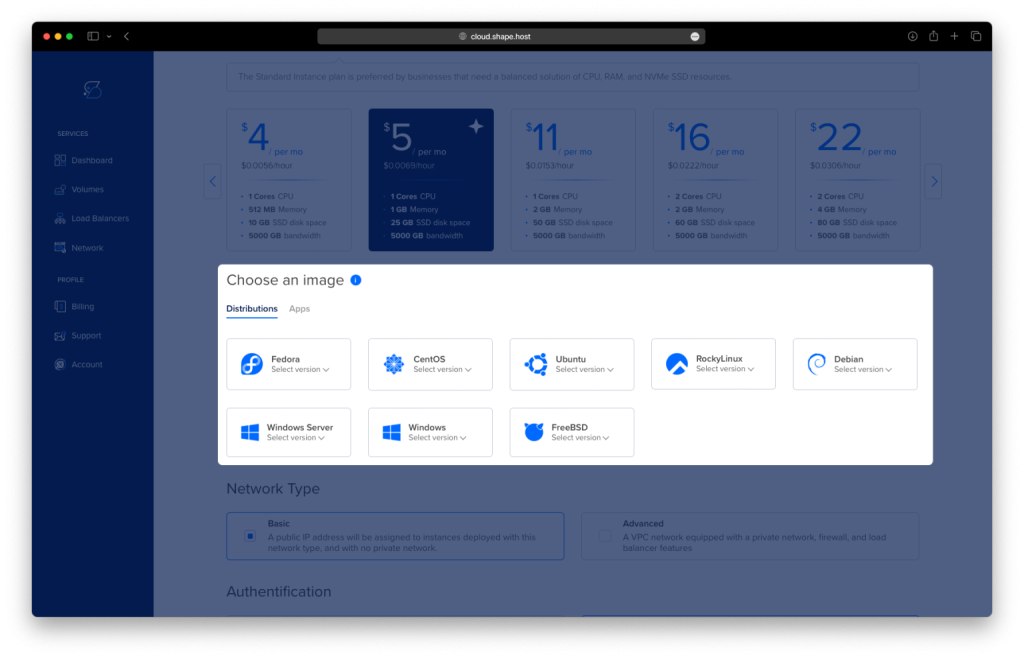
Choose Rocky Linux 9 (64-bit) as the operating system.
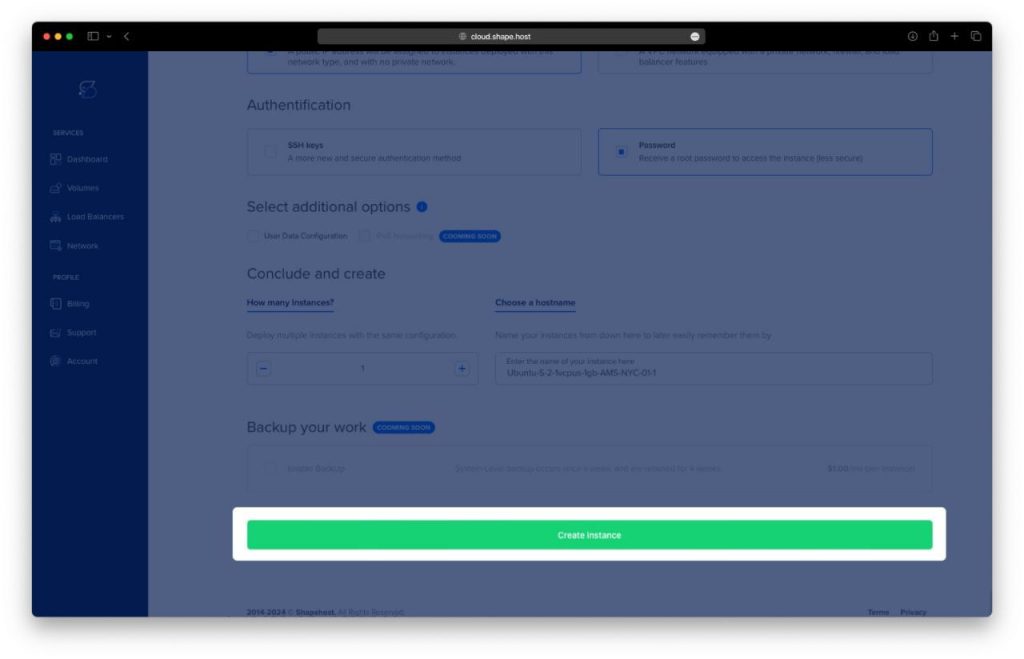
Click Create Instance to deploy your VPS.
Once the instance is ready, find and copy its public IP address from the Resources section.
Step 2: Connect to Your Instance
Use SSH to log in to the server.
- Linux / macOS:
ssh root@your_server_ip - Windows (PuTTY):
- Open PuTTY.
- Enter your IP address and click Open.
- Log in as root.
Step 3: Install Docker and Docker Compose
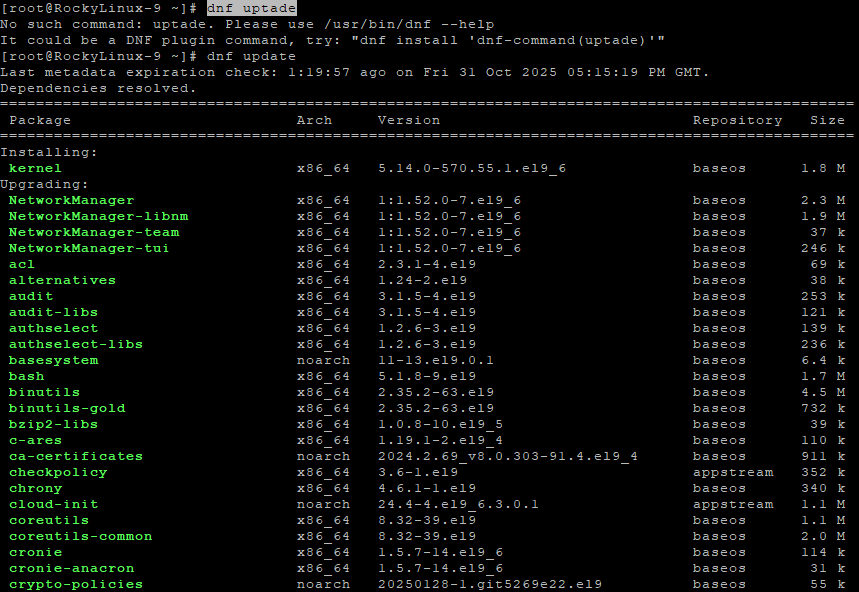
Update system packages to ensure everything is up to date:
dnf update
Install utility tools for repository management and downloads:
dnf install yum-utils curl
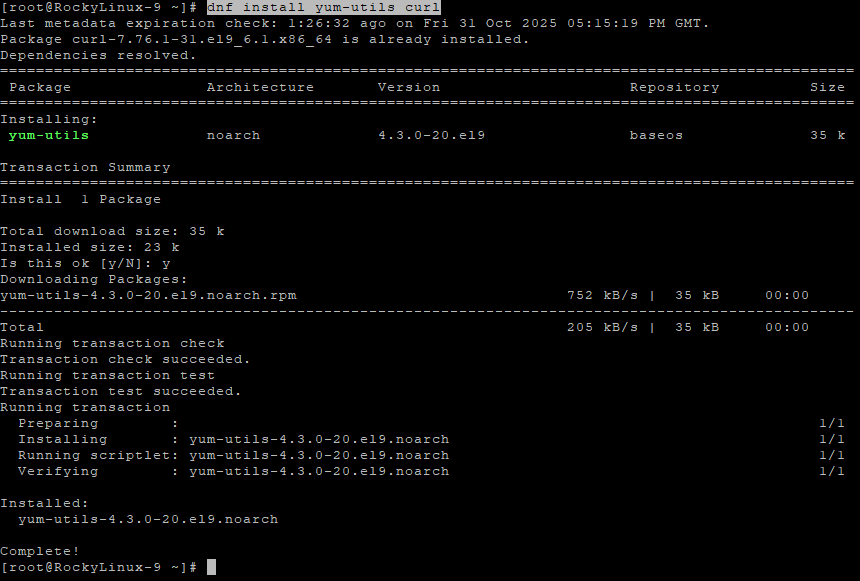
yum-utils allows repository configuration, and curl is used to download the Docker repo key.
Add Docker’s official repository for CentOS/Rocky Linux:
yum-config-manager --add-repo https://download.docker.com/linux/centos/docker-ce.repo
Install Docker Engine, CLI, and Compose plugin:
dnf install docker-ce docker-ce-cli containerd.io docker-buildx-plugin docker-compose-plugin
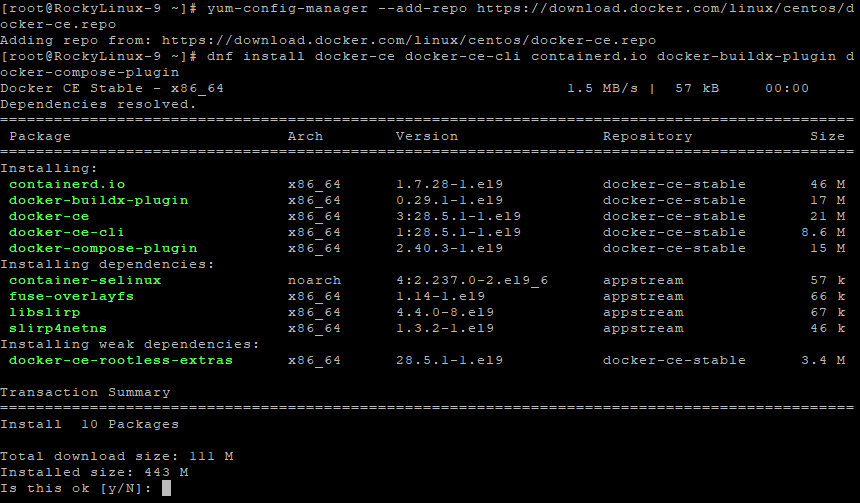
This installs all required Docker components, including the new Docker Compose plugin.
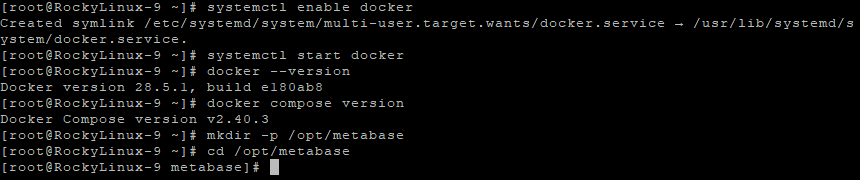
Enable Docker to start automatically on system boot:
systemctl enable docker
Start Docker now:
systemctl start docker
Check installed versions to confirm proper installation:
docker --version
docker compose version
Step 4: Create the Metabase Directory
Create a directory to store Metabase configuration and data:
mkdir -p /opt/metabase
cd /opt/metabase
Step 5: Create the Docker Compose File
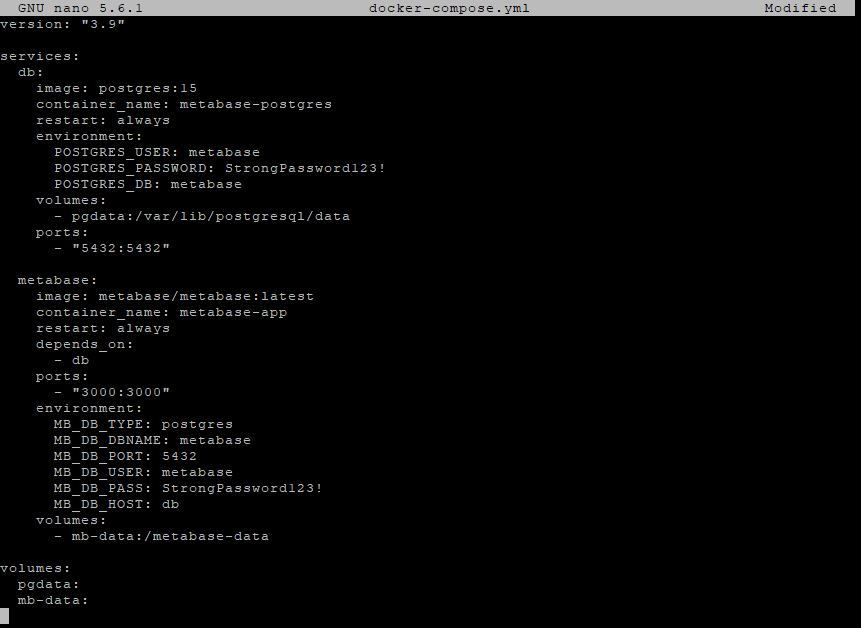
Open a new Docker Compose configuration file:
nano docker-compose.yml
Paste the following content exactly as shown:
version: "3.9"

services:
  db:
    image: postgres:15
    container_name: metabase-postgres
    restart: always
    environment:
      POSTGRES_USER: metabase
      POSTGRES_PASSWORD: StrongPassword123!
      POSTGRES_DB: metabase
    volumes:
      - pgdata:/var/lib/postgresql/data
    ports:
      - "5432:5432"

  metabase:
    image: metabase/metabase:latest
    container_name: metabase-app
    restart: always
    depends_on:
      - db
    ports:
      - "3000:3000"
    environment:
      MB_DB_TYPE: postgres
      MB_DB_DBNAME: metabase
      MB_DB_PORT: 5432
      MB_DB_USER: metabase
      MB_DB_PASS: StrongPassword123!
      MB_DB_HOST: db
    volumes:
      - mb-data:/metabase-data

volumes:
  pgdata:
  mb-data:
Explanation of the configuration
| Section | Description |
|---|---|
| db | Runs a PostgreSQL 15 container as the Metabase database backend. |
| metabase | Runs the Metabase web app, connected to the PostgreSQL database. |
| volumes | Persistent storage for database and application data so it isn’t lost after restarts. |
Save the file (CTRL + O, then ENTER, then CTRL + X).
Step 6: Deploy Metabase
Download the latest images for PostgreSQL and Metabase:
docker compose pull
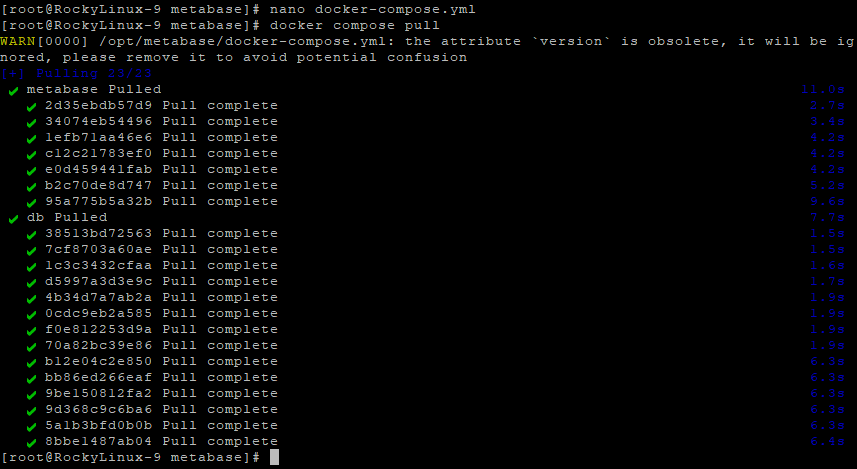
Start the containers in detached mode:
docker compose up -d

List running containers to confirm everything is active:
docker compose ps
If both metabase-app and metabase-postgres show as Up, the setup is successful.

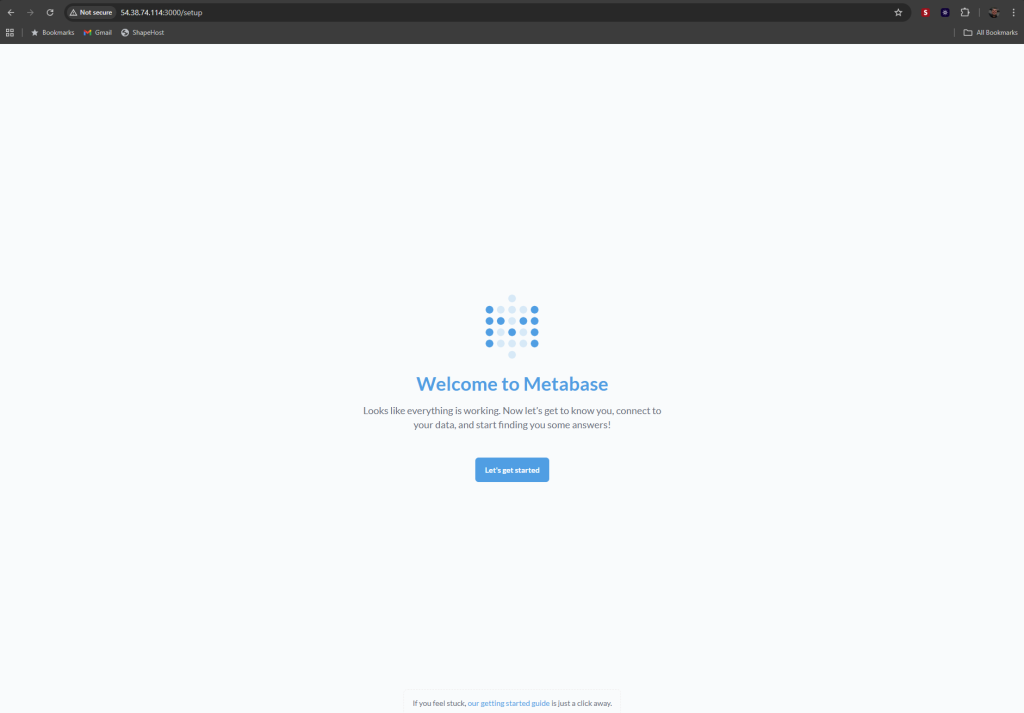
Step 7: Access Metabase
Now open your web browser and navigate to:
http://YOUR_SERVER_IP:3000
You’ll see the Metabase Setup Wizard, where you can:
- Create an admin user
- Configure your PostgreSQL database connection
- Begin creating dashboards and reports
Welcome to Metabase
You’ll see a welcome message confirming that everything is working.
Click “Let’s get started” to begin.
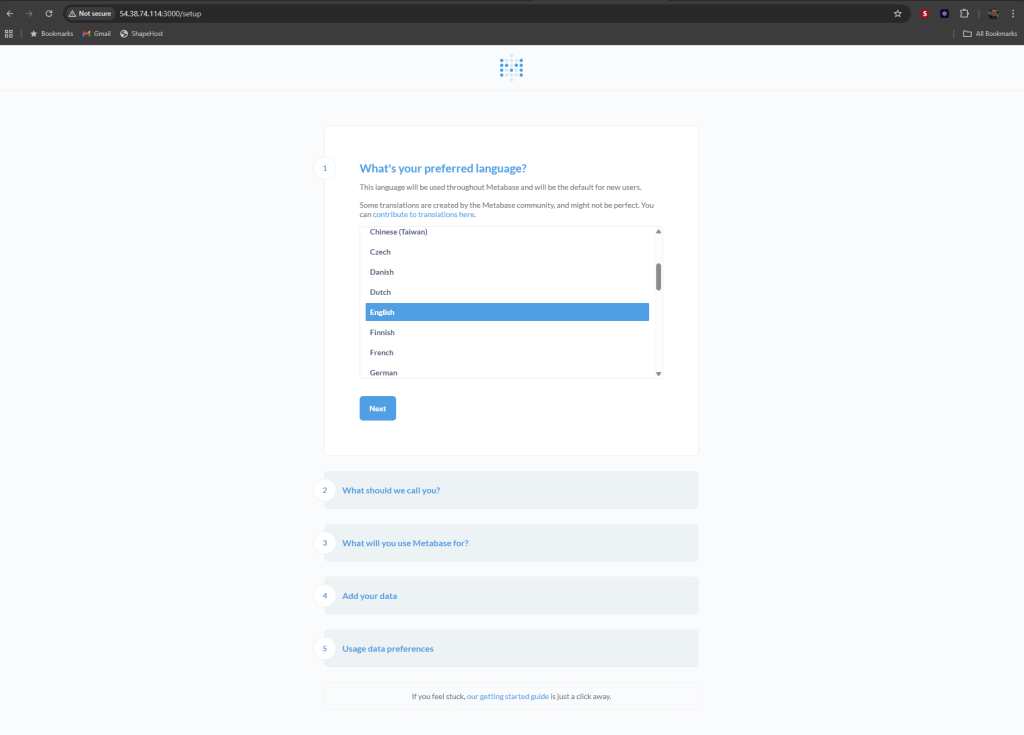
Choose Your Language
Select your preferred interface language.
For example, choose English, then click Next.
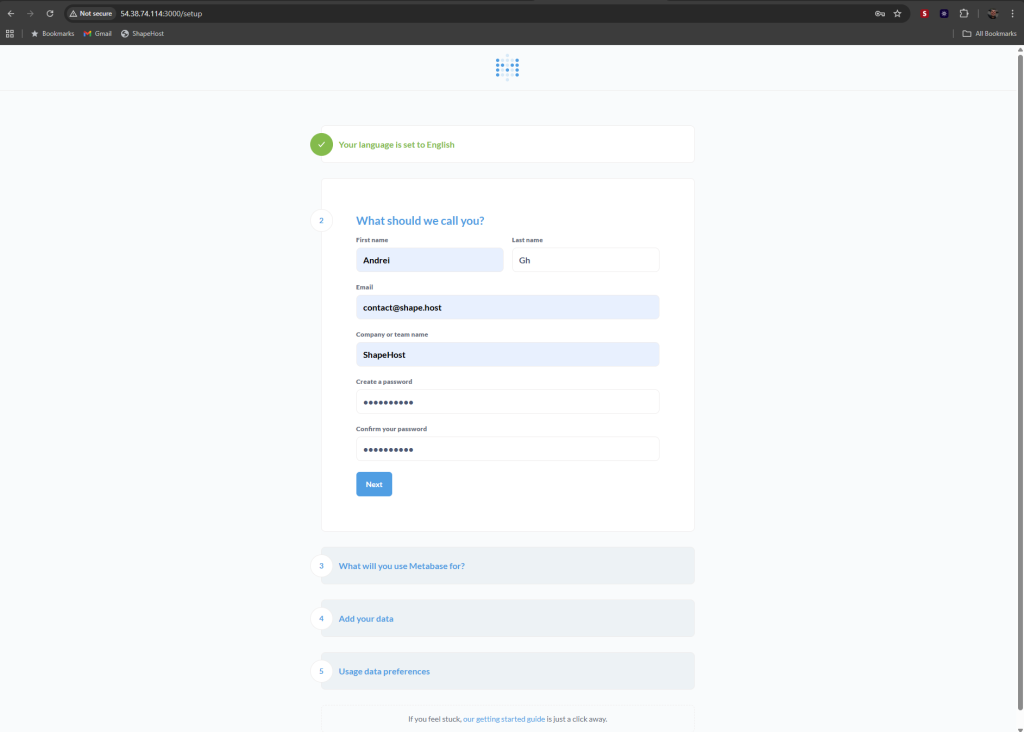
Create Administrator Account
Next, create an admin account for your Metabase instance.
Enter the following information:
- First name: Andrei
- Last name: Gh
- Email: contact@shape.host
- Company or team name: ShapeHost
- Password: Choose a secure password
- Confirm password: Re-enter your password
Click Next to continue.
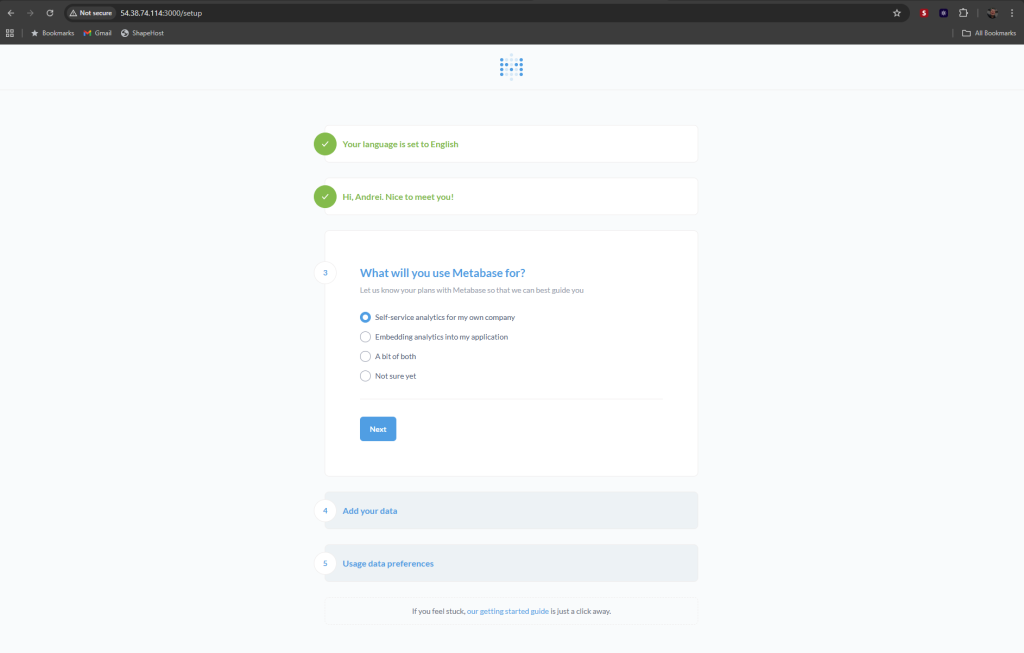
Define Usage Purpose
Metabase will ask how you plan to use it.
Select the option:
Self-service analytics for my own company
Click Next to proceed.
Connect a Database
At this point, Metabase allows you to connect to a database.
If you already configured PostgreSQL, choose PostgreSQL and fill in the connection details:
- Host: your server IP or hostname
- Port: 5432 (default for PostgreSQL)
- Database name: your database name
- Username: your PostgreSQL user
- Password: your PostgreSQL password
If you prefer to explore the interface first, click Continue with sample data.
You can add your PostgreSQL database later from Admin → Databases → Add Database.

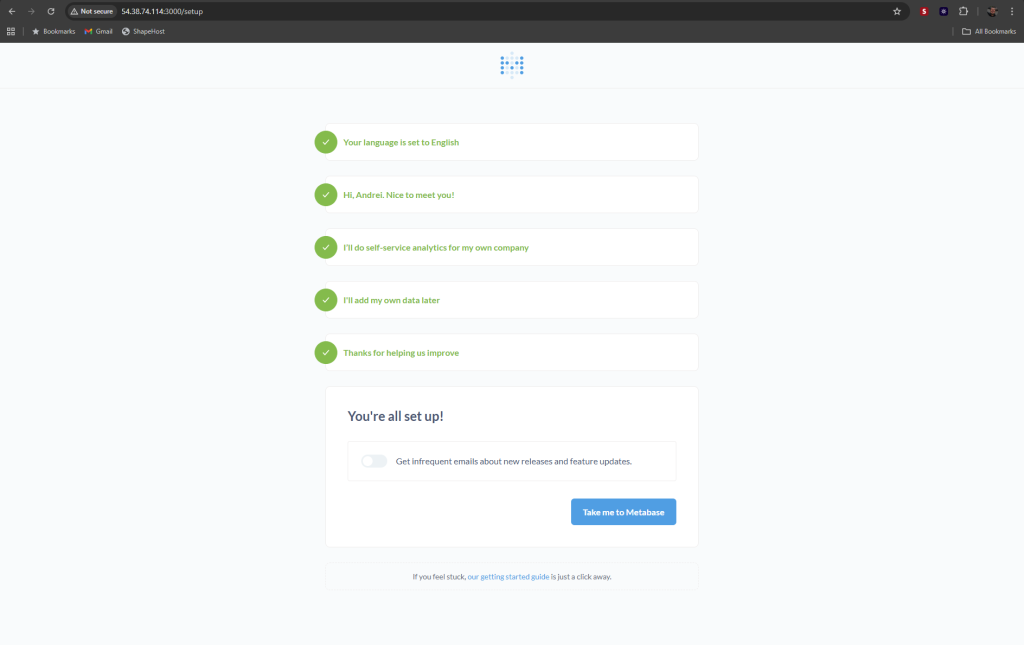
Data Collection Preferences
Metabase asks whether you want to share anonymous usage data to help improve the platform.
You can leave the option enabled or disable it for privacy.
Click Finish to finalize the configuration.
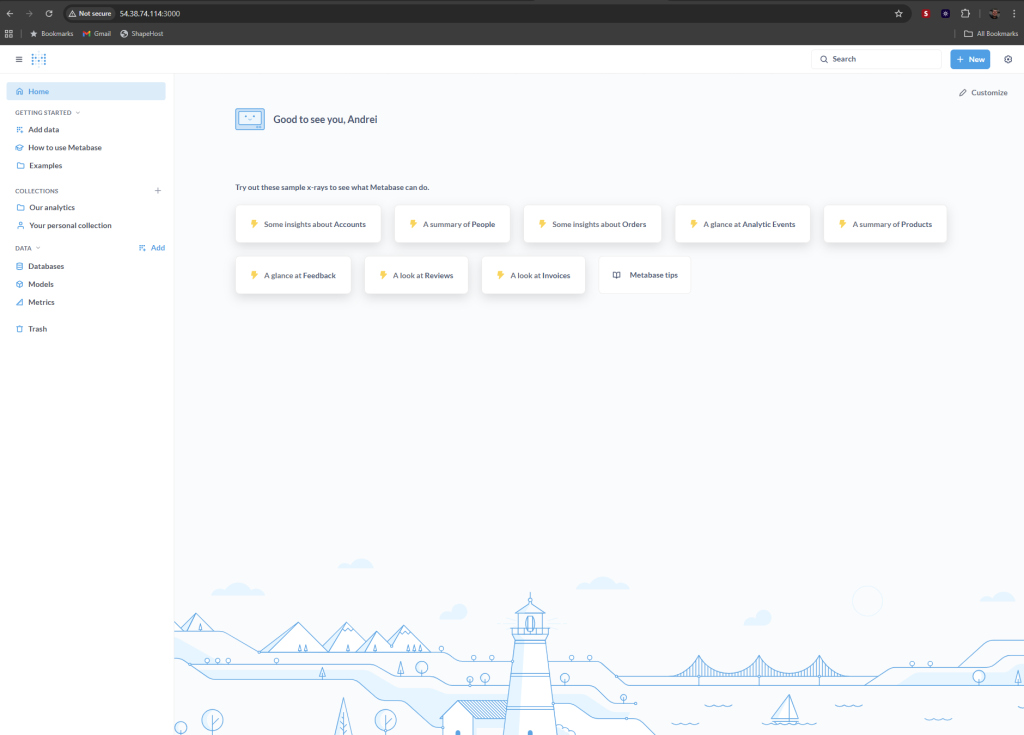
Explore the Metabase Dashboard
Screenshot 7 – Home Page
After setup, you’ll be redirected to the main Metabase dashboard.
From here, you can:
- View the example dashboards and charts
- Add your own data sources
- Create visualizations and reports
- Manage collections, models, and metrics from the left panel
You’ve successfully installed Metabase with PostgreSQL on Rocky Linux 9 using Docker Compose.
You now have a professional, containerized analytics platform ready for business intelligence and data visualization.
For best performance and uptime, host your stack on a Shape.Host Cloud VPS, offering SSD storage, full root access, and scalable resources ideal for Docker environments.