MeshCentral on Ubuntu 24.04
(Self-Hosted Remote Management + Node.js + Nginx + SSL)
MeshCentral is a powerful, open-source remote management and remote access platform used to control, monitor, and administer computers and servers over the internet or local networks. It supports remote desktop, terminal access, file transfer, device grouping, user permissions, and out-of-band management, all through a secure web interface.
Unlike proprietary tools such as TeamViewer or AnyDesk, MeshCentral can be fully self-hosted, giving you complete ownership of devices, credentials, and connection data. This makes it ideal for system administrators, MSPs, IT teams, and privacy-focused organizations.
Running MeshCentral on Ubuntu 24.04 LTS (Noble Numbat) provides a modern, secure, and long-term supported operating system. Ubuntu 24.04 ships with systemd 255, OpenSSL 3, and excellent Node.js support, making it a solid foundation for a production-grade remote management server.
Architecture Overview
| Layer | Component | Role |
|---|---|---|
| OS | Ubuntu 24.04 LTS | Stable, long-term supported Linux base |
| Runtime | Node.js LTS (18 / 20) | Runs the MeshCentral server |
| Application | MeshCentral | Web UI, device management, relay |
| Database | Built-in (NeDB / SQLite) | Stores users, devices, settings |
| Reverse Proxy | Nginx (optional) | HTTPS termination and routing |
| TLS | Let’s Encrypt / PKI | Secure encrypted connections |
| Clients | Browsers + Agents | Remote access and device control |
MeshCentral uses a single-service architecture, which makes it lightweight, easy to deploy, and simple to maintain.
Why Use MeshCentral?
- Fully self-hosted — no vendor lock-in
- Remote desktop & terminal — browser-based access
- Agent-based management — Windows, Linux, macOS
- Granular permissions — users, groups, roles
- WebSocket-based connections — efficient and fast
- File transfer & power controls
- Multi-tenant capable — ideal for MSPs
- Open-source & actively maintained
- Very low resource usage
MeshCentral is designed for secure, scalable remote administration without relying on third-party clouds.
MeshCentral vs Other Remote Management Tools
| Feature / Capability | MeshCentral | TeamViewer | AnyDesk | Guacamole |
|---|---|---|---|---|
| Hosting | Self-hosted | Cloud only | Cloud only | Self-hosted |
| Open-source | ✅ Yes | ❌ No | ❌ No | ✅ Yes |
| Data ownership | Full control | Vendor-controlled | Vendor-controlled | Full control |
| Agent-based | ✅ Yes | ✅ Yes | ✅ Yes | ❌ No |
| Web UI | ✅ Yes | ❌ No | ❌ No | ✅ Yes |
| Cost | Free | Paid | Paid | Free |
MeshCentral stands out for control, transparency, and scalability.
Security & Best Practices on Ubuntu 24.04
- Always run MeshCentral over HTTPS.
- Use Let’s Encrypt SSL certificates with automatic renewal.
- Bind MeshCentral to localhost and expose it via Nginx.
- Store secrets only in environment variables or config files.
- Disable public account creation if not needed.
- Use strong passwords and role-based access.
- Enable UFW firewall and allow only ports 80 / 443.
- Keep Ubuntu, Node.js, and MeshCentral updated.
- Regularly back up:
- MeshCentral data directory
- Configuration files
- Monitor logs for authentication and connection events.
Typical Use Cases
- Remote server administration
- IT support and helpdesk operations
- MSPs managing multiple clients
- Remote access for home labs
- Device monitoring and inventory
- Secure alternative to TeamViewer
- Enterprise or privacy-sensitive environments
Deploying MeshCentral on Ubuntu 24.04 gives you a secure, scalable, and fully self-hosted remote management solution — combining modern Node.js performance with full infrastructure control, strong encryption, and long-term OS stability.
Step 1: Create a Server Instance on Shape.Host
Before starting, you need a VPS with a public IP address.
Log in to https://shape.host
Click Create → Instance

Choose a data center close to your location
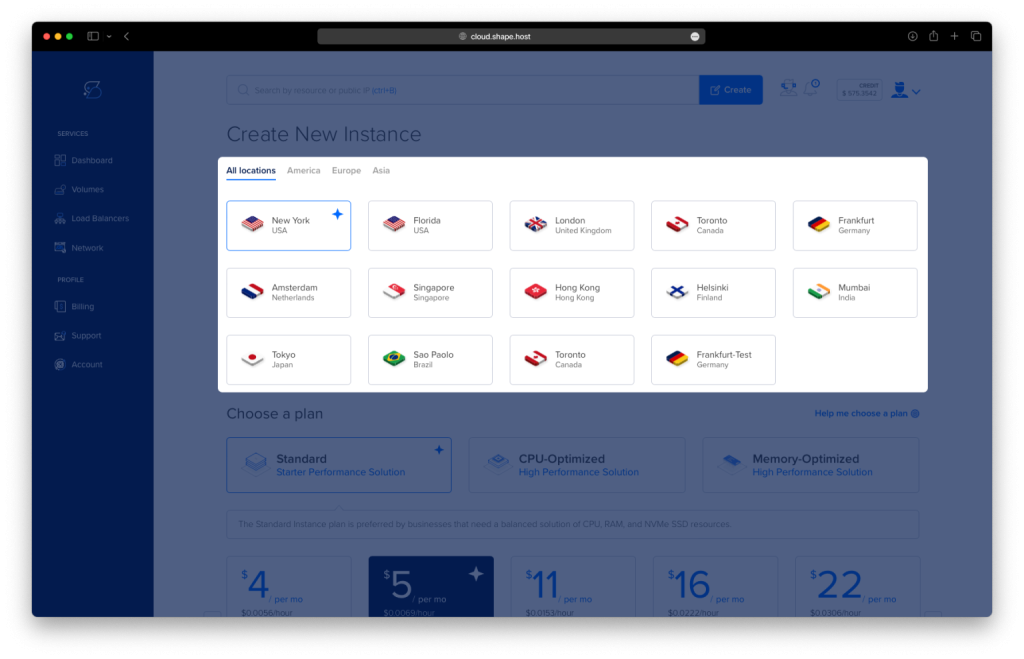
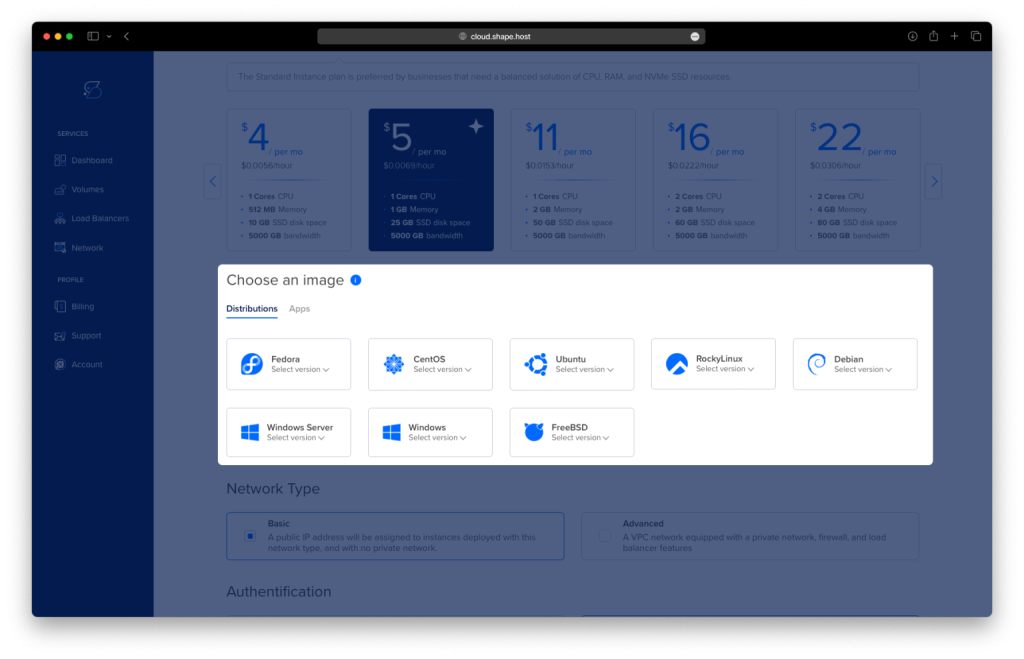
Select a plan with at least:
2 CPU cores
4 GB RAM
30–40 GB SSD
Choose Ubuntu 24.04 (64-bit)
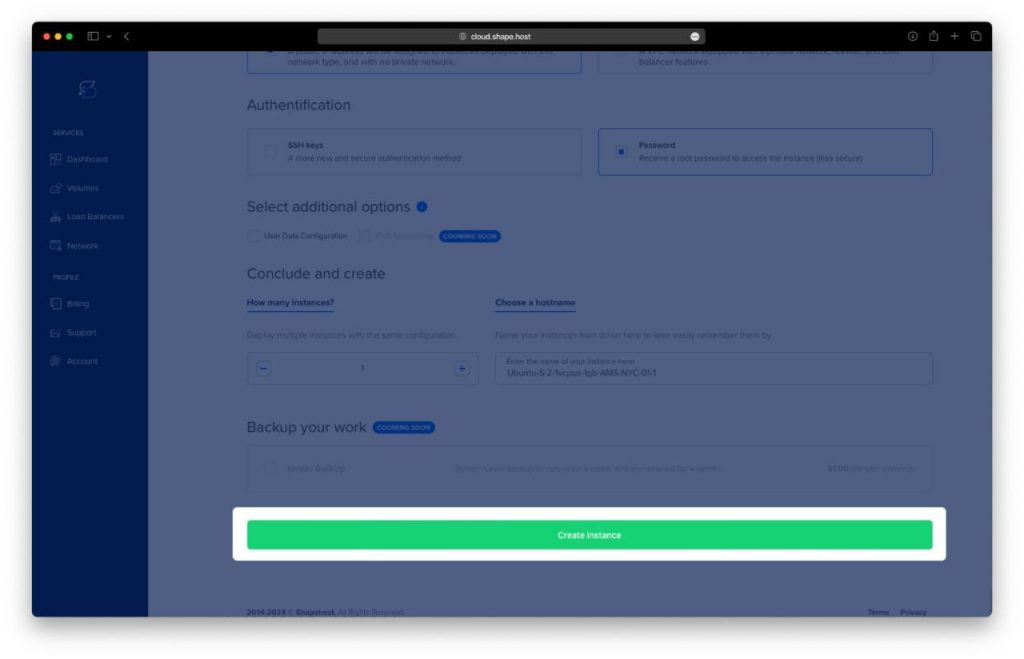
Create the instance and wait for provisioning
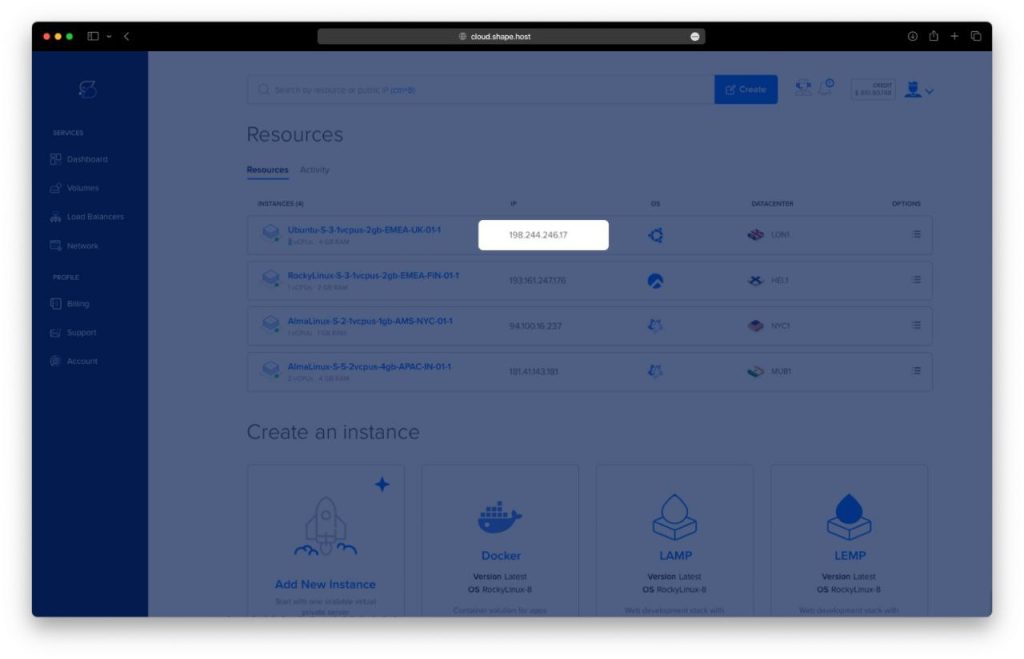
Copy the public IP address
Step 2: Connect to the Server (Linux, macOS & Windows)
Linux / macOS
ssh root@YOUR_SERVER_IP
Windows (PowerShell / Windows Terminal)
ssh root@YOUR_SERVER_IP
Windows (PuTTY)
- Host Name:
YOUR_SERVER_IP - Port:
22 - Connection type:
SSH - Username:
root
Step 3: Update the System
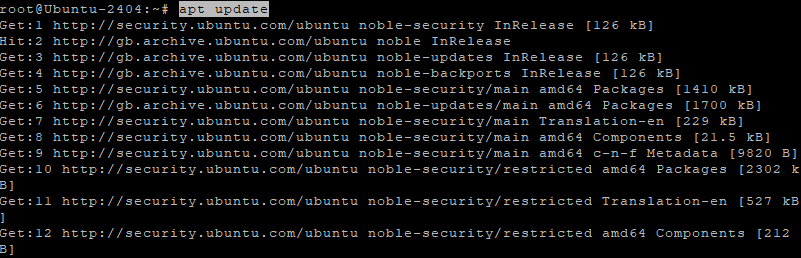
apt update
- Refreshes the package index
apt upgrade -y
- Installs all available security and system updates
- Ensures compatibility with Node.js and MeshCentral
Step 4: Install Required Dependencies
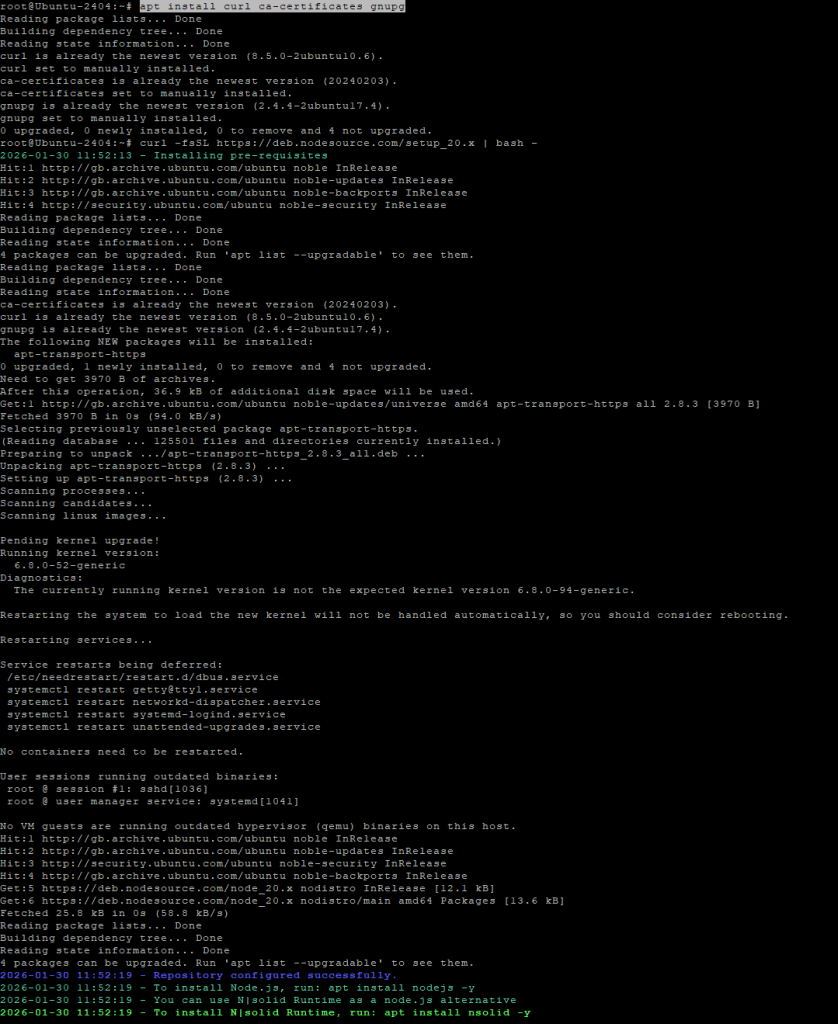
apt install curl ca-certificates gnupg
This installs:
- curl – used to download external scripts and resources
- ca-certificates – ensures secure HTTPS connections
- gnupg – required for repository verification
Step 5: Install Node.js 20 (Required by MeshCentral)
MeshCentral requires a modern Node.js version.
curl -fsSL https://deb.nodesource.com/setup_20.x | bash -
- Adds the official NodeSource repository for Node.js 20
apt install nodejs
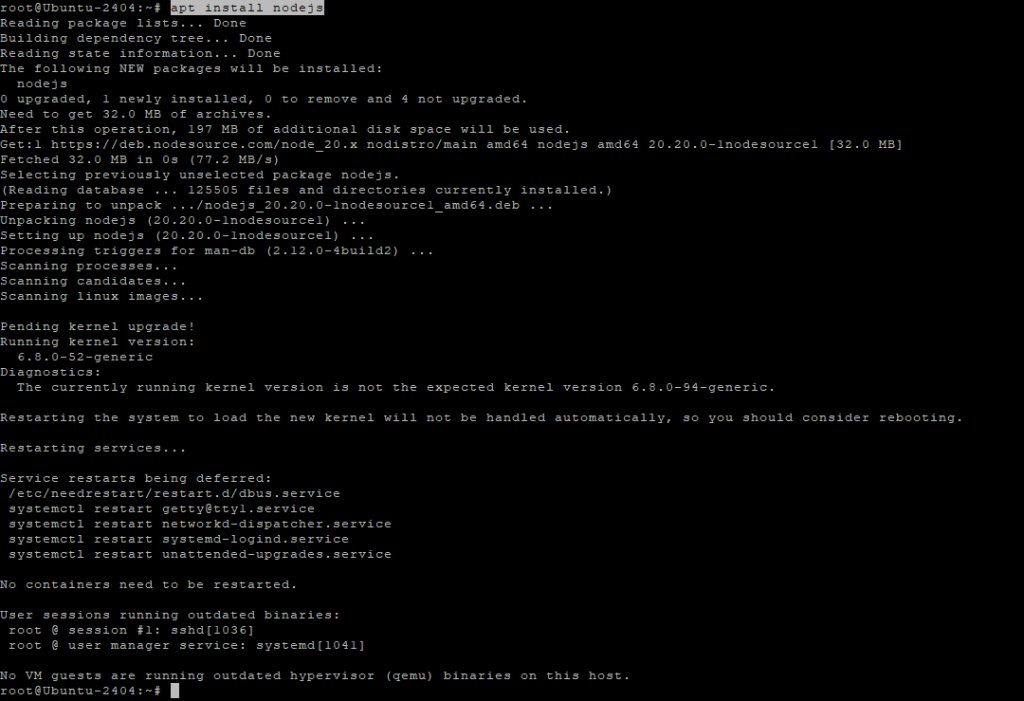
Verify installation:
node -v
npm -v

Step 6: Install MeshCentral
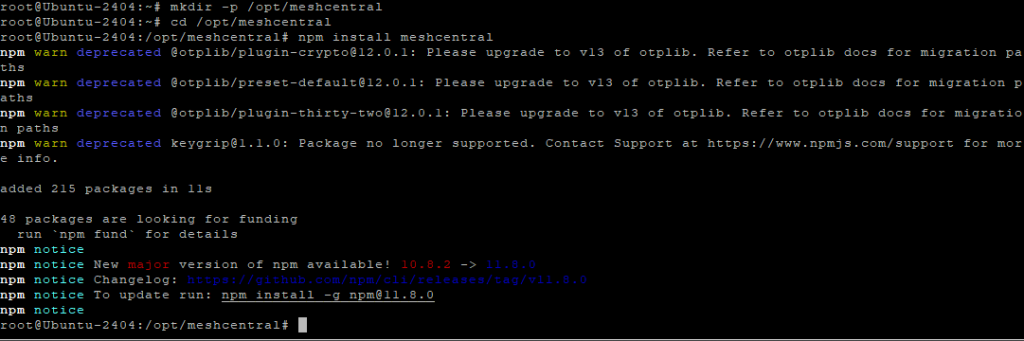
Create the application directory:
mkdir -p /opt/meshcentral
cd /opt/meshcentral
Install MeshCentral via npm:
npm install meshcentral
Create the data directory:
mkdir -p /opt/meshcentral/meshcentral-data
Step 7: Initial MeshCentral Configuration
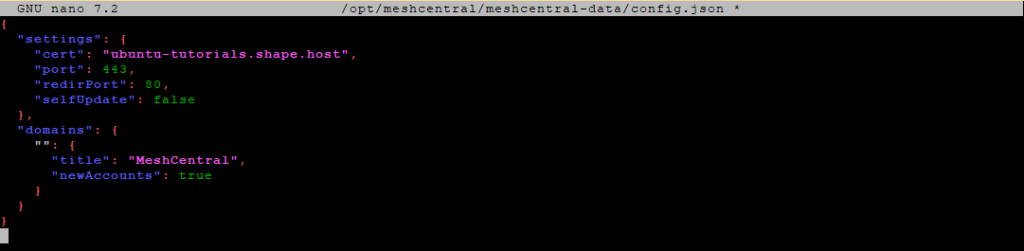
Create the configuration file:
nano /opt/meshcentral/meshcentral-data/config.json

Initial configuration:
{
  "settings": {
    "cert": "mesh.example.com",
    "port": 443,
    "redirPort": 80,
    "selfUpdate": false
  },
  "domains": {
    "": {
      "title": "MeshCentral",
      "newAccounts": true
    }
  }
}
What this does
- Sets the domain name used by MeshCentral
- Listens on ports 443 (HTTPS) and 80 (redirect)
- Disables automatic self-updates
- Allows initial account creation
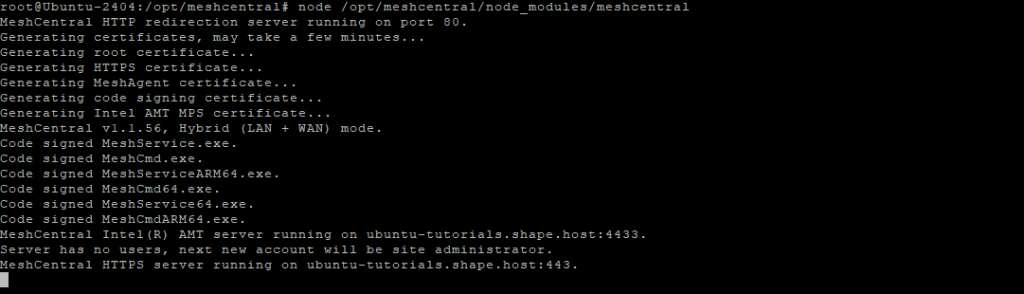
Start MeshCentral manually (test run):
node /opt/meshcentral/node_modules/meshcentral
Stop it with Ctrl + C after confirming it starts correctly.
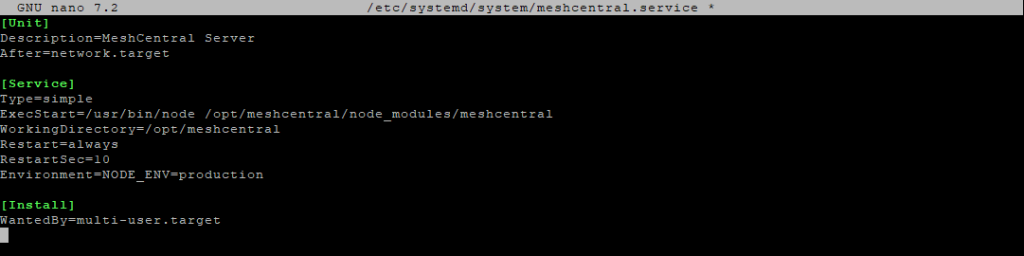
Step 8: Create a systemd Service
Create the service file:
nano /etc/systemd/system/meshcentral.service
Paste:
[Unit]
Description=MeshCentral Server
After=network.target

[Service]
Type=simple
ExecStart=/usr/bin/node /opt/meshcentral/node_modules/meshcentral
WorkingDirectory=/opt/meshcentral
Restart=always
RestartSec=10
Environment=NODE_ENV=production

[Install]
WantedBy=multi-user.target
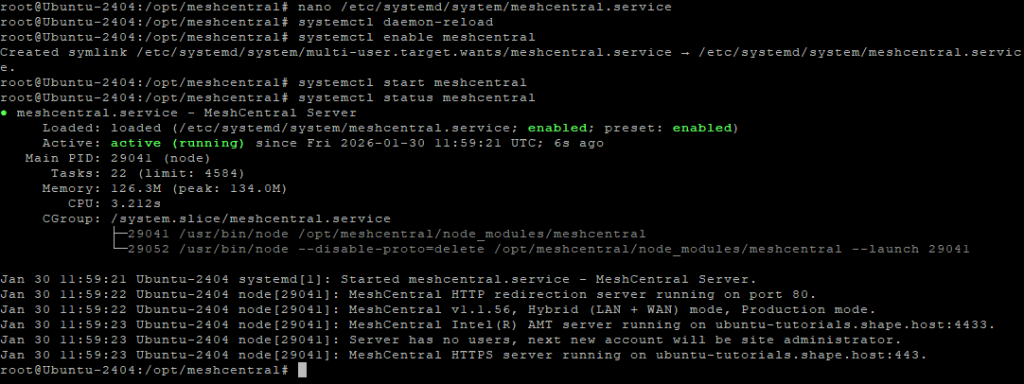
Reload systemd:
systemctl daemon-reload
Enable and start MeshCentral:
systemctl enable meshcentral
systemctl start meshcentral
Check status:
systemctl status meshcentral
Step 9: Enable Let’s Encrypt SSL
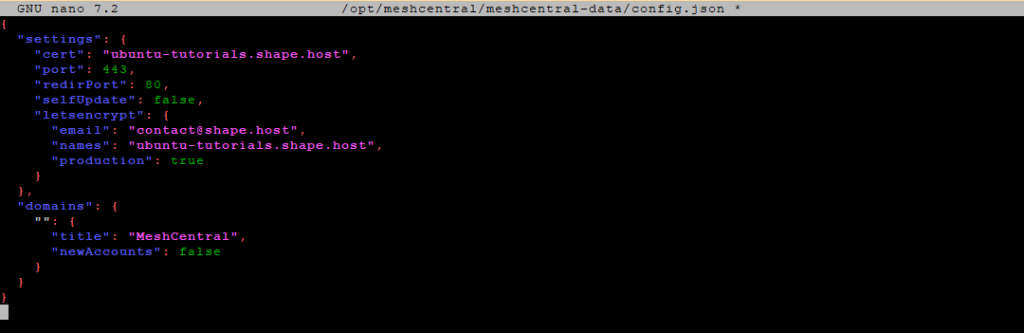
Edit the configuration file again:
nano /opt/meshcentral/meshcentral-data/config.json
Final production configuration:
{
  "settings": {
    "cert": "ubuntu-tutorials.shape.host",
    "port": 443,
    "redirPort": 80,
    "selfUpdate": false,
    "letsencrypt": {
      "email": "contact@shape.host",
      "names": "ubuntu-tutorials.shape.host",
      "production": true
    }
  },
  "domains": {
    "": {
      "title": "MeshCentral",
      "newAccounts": false
    }
  }
}
What changed
- Enables Let’s Encrypt SSL
- Uses a real domain and email
- Disables public account creation (recommended for security)
Restart MeshCentral:
systemctl restart meshcentral
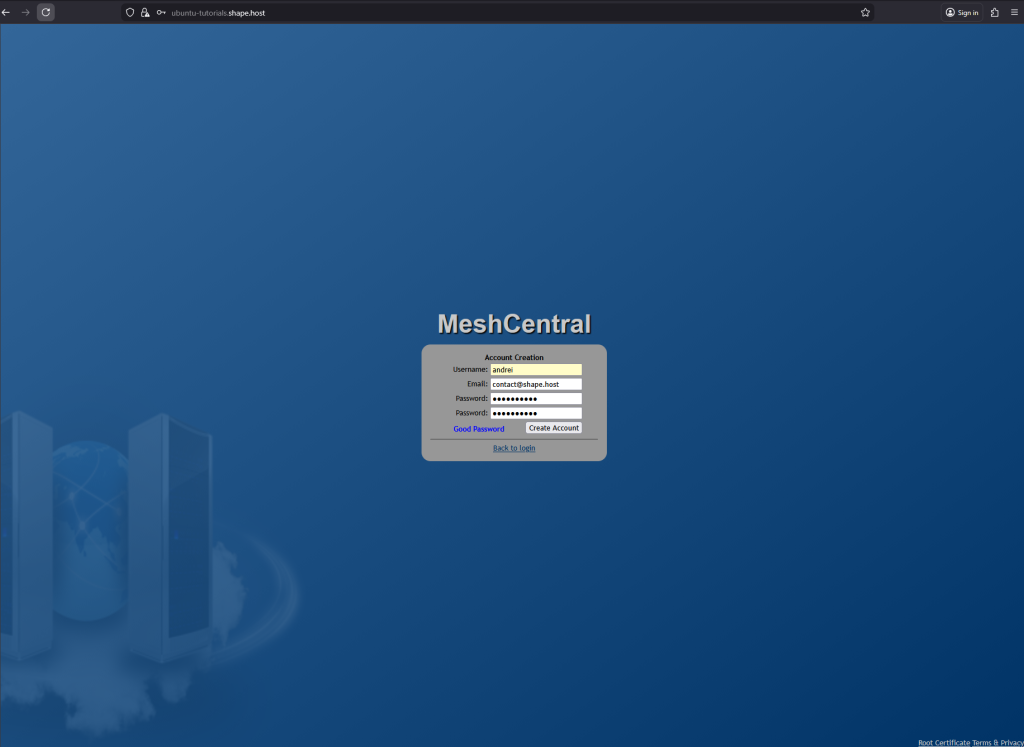
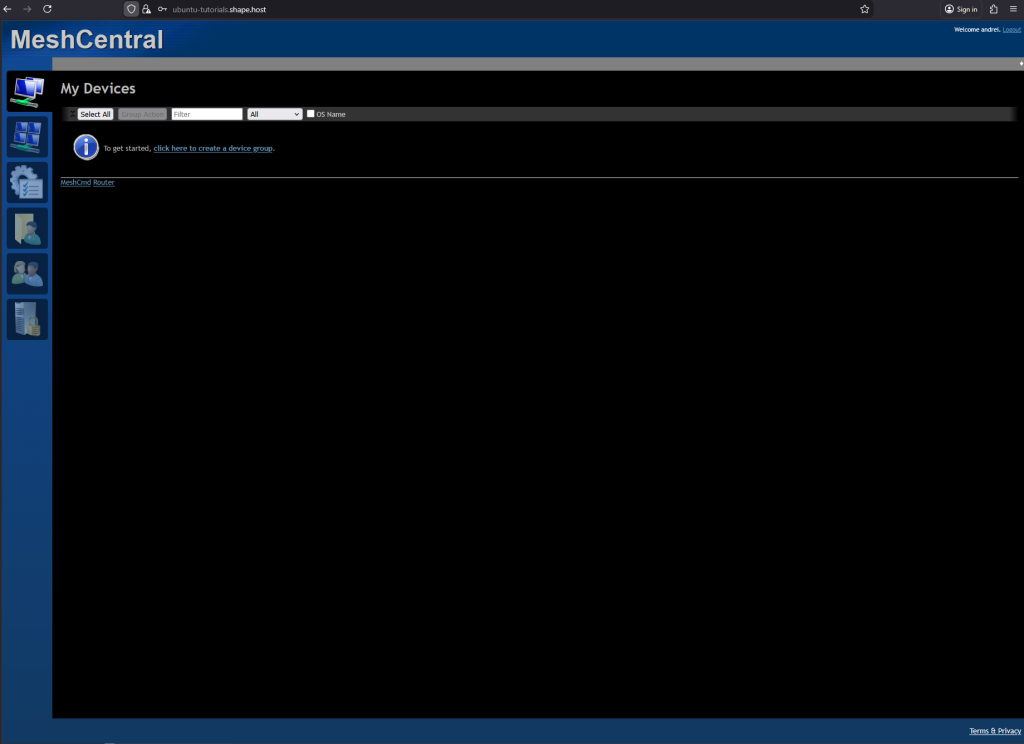
Step 10: Access MeshCentral
Open your browser:
https://ubuntu-tutorials.shape.host
You now have:
A fully self-hosted MeshCentral server
Running on Ubuntu 24.04
Secured with Let’s Encrypt HTTPS
Managed via systemd
You installed MeshCentral on Ubuntu 24.04, configured it as a persistent system service, and secured it with Let’s Encrypt SSL. This setup is ideal for managing remote systems, servers, and devices in a secure, centralized way.
For hosting remote management platforms with stability, performance, and full root access, Shape.Host Linux SSD VPS provides a reliable and scalable foundation for production environments.