pgBackRest for PostgreSQL on Ubuntu 24.04 (Backup + Restore + Encryption + Retention)
pgBackRest is a powerful, open-source backup and restore solution for PostgreSQL, designed to provide reliable, efficient, and secure database protection. It supports full, differential, and incremental backups, WAL archiving, parallel compression, and encryption — all while maintaining low overhead on the production system.
Running pgBackRest on Ubuntu 24.04 LTS (Noble Numbat) ensures long-term stability, high security, and up-to-date PostgreSQL compatibility. Ubuntu 24.04 includes systemd 255, OpenSSL 3, and the latest PostgreSQL 16 packages from the official PGDG repository — making it an excellent environment for setting up enterprise-grade PostgreSQL backup workflows.
Architecture Overview
| Layer | Component | Role |
|---|---|---|
| OS | Ubuntu 24.04 LTS | Stable, secure base with long-term support |
| Database | PostgreSQL 15 / 16 | Primary database instance to be backed up |
| Backup Tool | pgBackRest | Handles backup, restore, archiving, and retention policies |
| Storage | Local or Remote Repository | Stores backup archives and WAL segments |
| Encryption | OpenSSL / GPG | Ensures encrypted, tamper-proof backup data |
| Process Control | systemd | Manages PostgreSQL and pgBackRest services |
Why Use pgBackRest?
- Enterprise-grade reliability – designed for large PostgreSQL databases.
- Parallel processing – fast backups and restores using multiple streams.
- Compression and encryption – saves storage space and secures data.
- Full + incremental backups – efficient retention and recovery strategy.
- WAL archiving – supports point-in-time recovery (PITR).
- Remote backups – supports SSH-based offsite or central repository setups.
- Automated retention policies – keeps recent backups and prunes older ones automatically.
pgBackRest vs Other Backup Tools
| Feature / Capability | pgBackRest | Barman | Native pg_basebackup |
|---|---|---|---|
| Incremental backups | ✅ Yes | ✅ Yes | ❌ No |
| Compression | ✅ Yes | ✅ Yes | ❌ No |
| Parallel processing | ✅ Yes | ❌ No | ❌ No |
| Encryption | ✅ Yes | ✅ Yes | ❌ No |
| Retention policies | ✅ Yes | ✅ Yes | ❌ No |
| Remote backups | ✅ Yes | ✅ Yes | ✅ Limited |
| PITR (WAL restore) | ✅ Yes | ✅ Yes | ✅ Yes |
pgBackRest is the preferred choice for production PostgreSQL environments requiring high-performance, encrypted, and automated backups.
Security & Best Practices
- Use dedicated PostgreSQL and pgBackRest users for separation of privileges.
- Store configuration files under
/etc/pgbackrestwith restrictive permissions (750). - Enable encryption for both data and communication channels.
- Mount or map backup storage to separate disks or network shares for isolation.
- Schedule automated full and incremental backups via systemd timers or cron jobs.
- Keep WAL archiving enabled to allow point-in-time recovery (PITR).
- Monitor backups regularly with
pgbackrest infoand integrate with Prometheus or Grafana. - Use UFW or nftables to limit access to backup repositories if remote.
Typical Use Cases
- Production PostgreSQL environments requiring robust disaster recovery.
- Large databases with frequent transactions and WAL activity.
- Organizations implementing offsite or encrypted backup policies.
- Database administrators needing point-in-time recovery or long-term archival.
- Cloud and hybrid deployments using object storage (S3, Azure Blob, GCS) via pgBackRest plugins.
Deploying pgBackRest for PostgreSQL on Ubuntu 24.04 provides a secure, efficient, and enterprise-grade backup solution that ensures data durability, quick recovery, and minimal downtime — making it the go-to choice for serious PostgreSQL deployments.
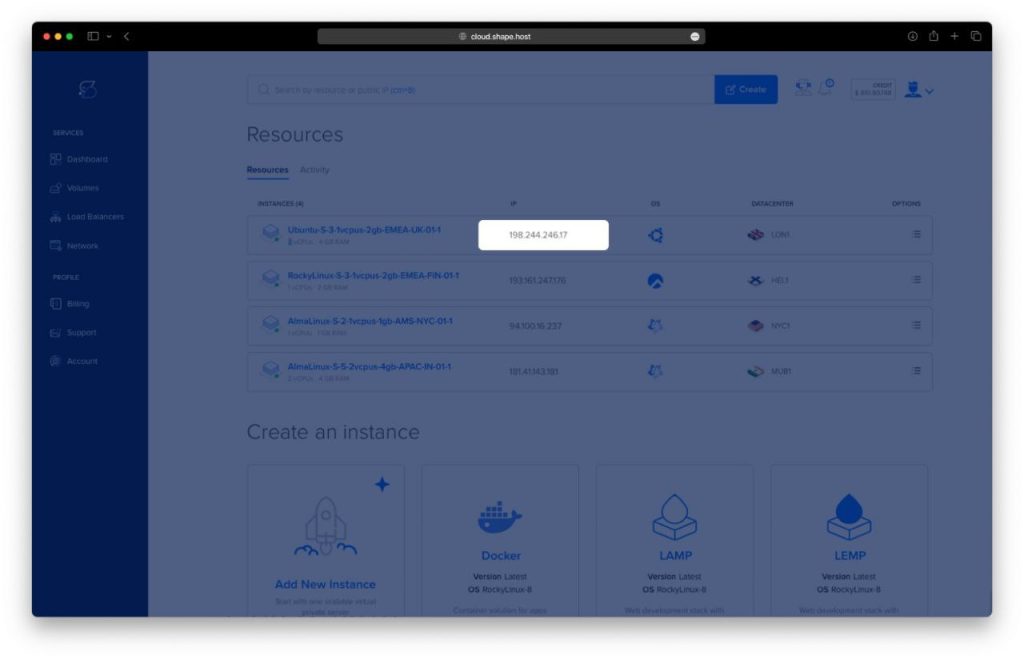
Step 1: Create a Server Instance on Shape.Host
Log in to your Shape.Host account.
Click Create → Instance.
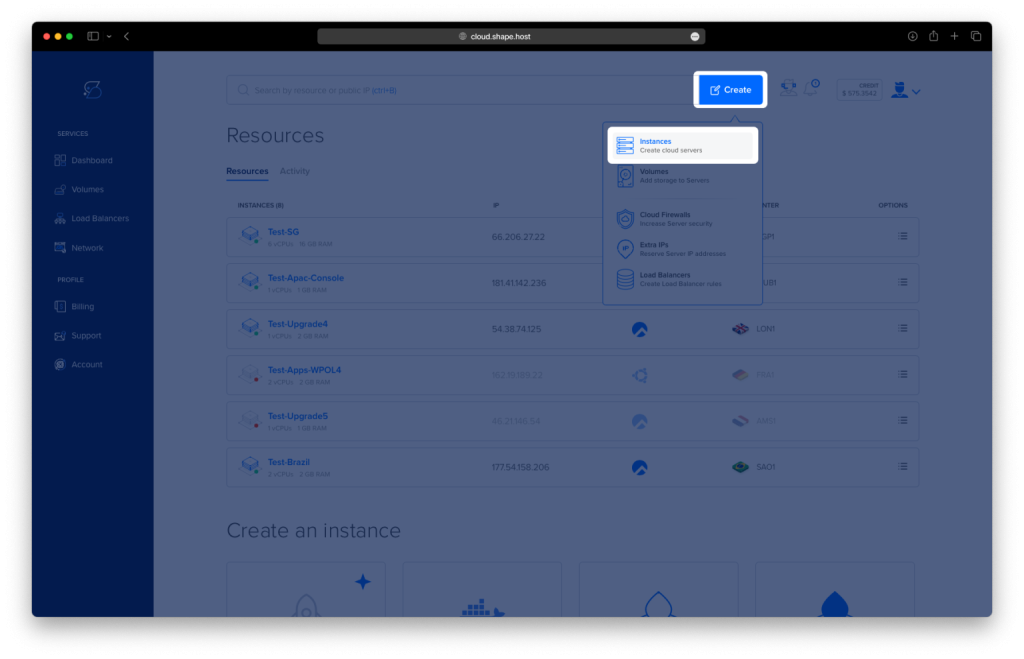
Choose your preferred data center location.
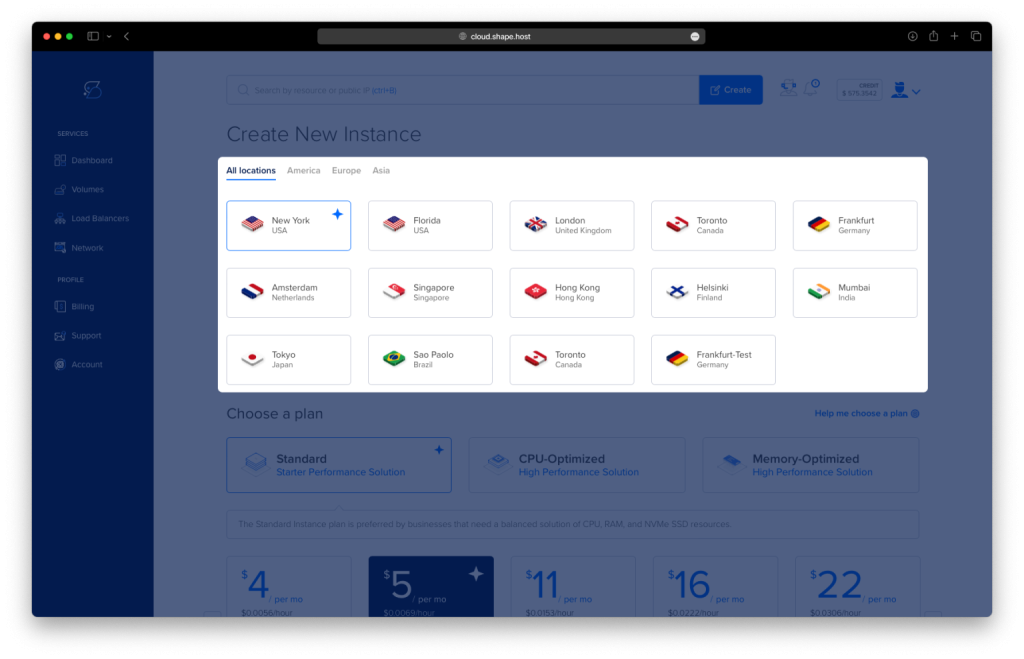
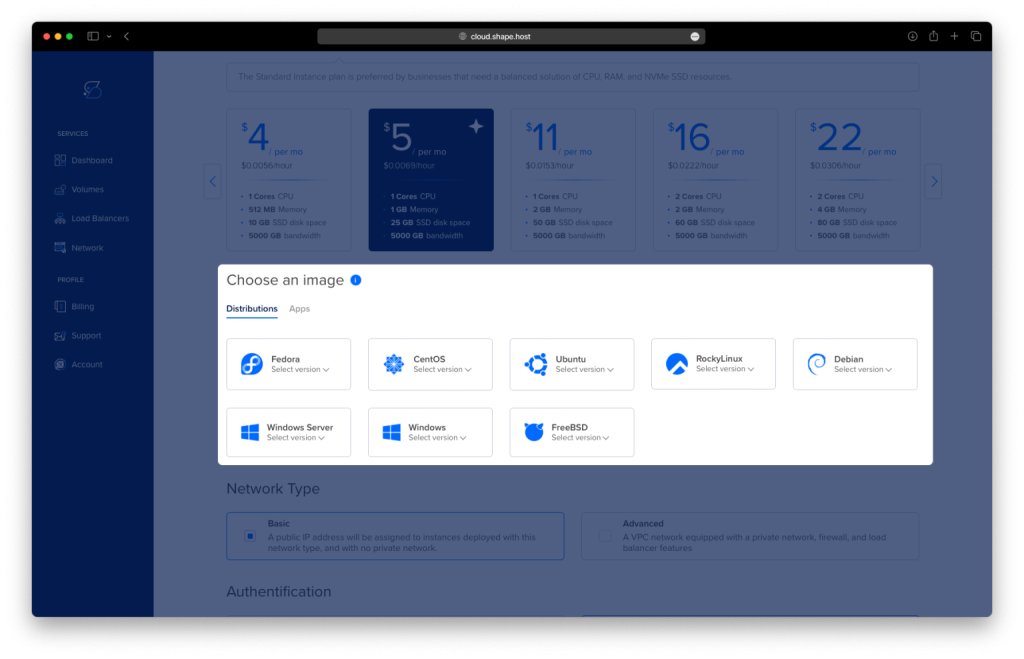
Select a plan with at least 2 CPUs, 4 GB RAM, and 20 GB SSD.
Choose Ubuntu 24.04 (64-bit) as the operating system.
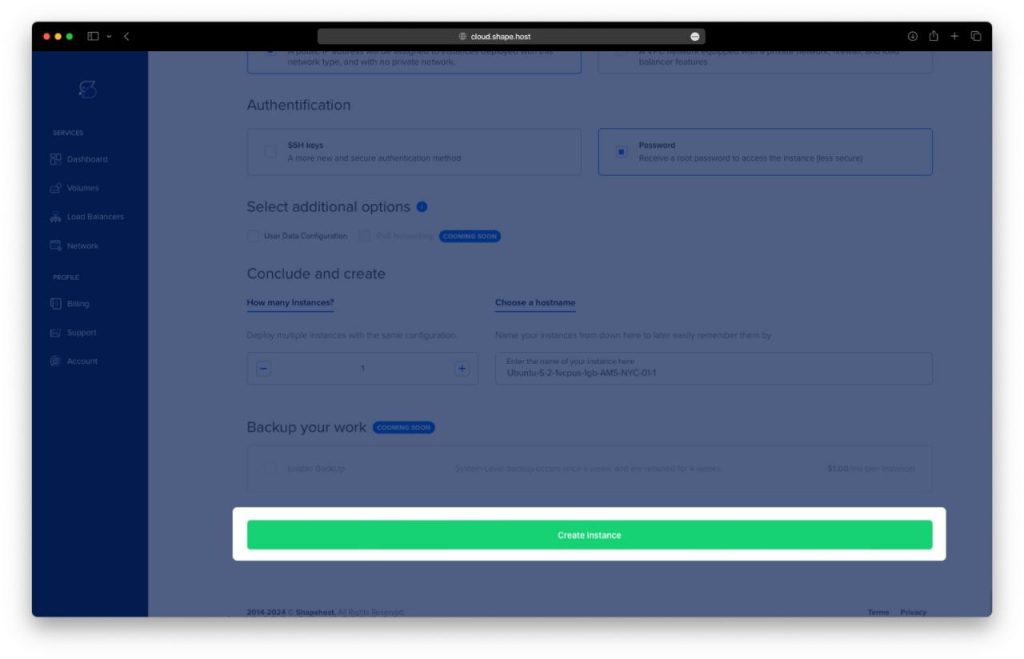
Click Create Instance.
Once created, note down your public IP address under the Resources section.
Step 2: Connect to Your Server
Use SSH to connect to the instance.
- Linux/macOS:
ssh root@your_server_ip - Windows (PuTTY):
- Open PuTTY.
- Enter the IP address and connect as
root.
Step 3: Install PostgreSQL
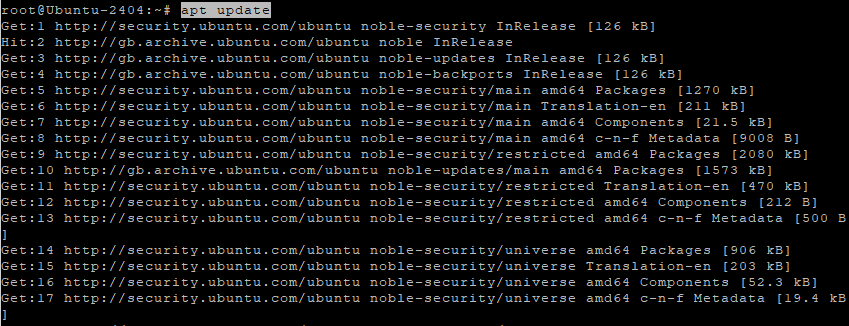
First, update system repositories:
apt update
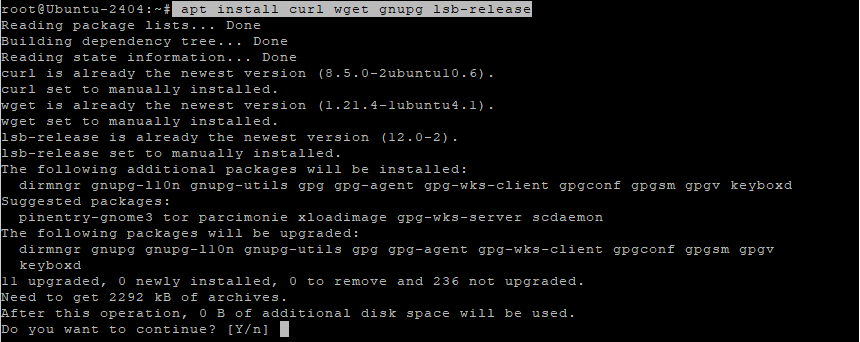
Install the required utilities and PostgreSQL packages:
apt install curl wget gnupg lsb-release
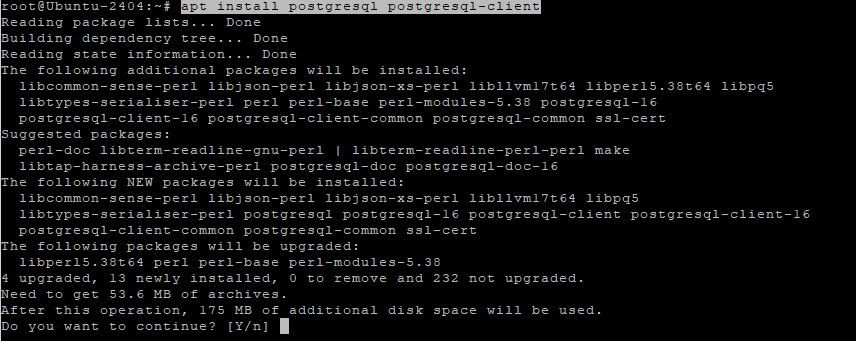
apt install postgresql postgresql-client
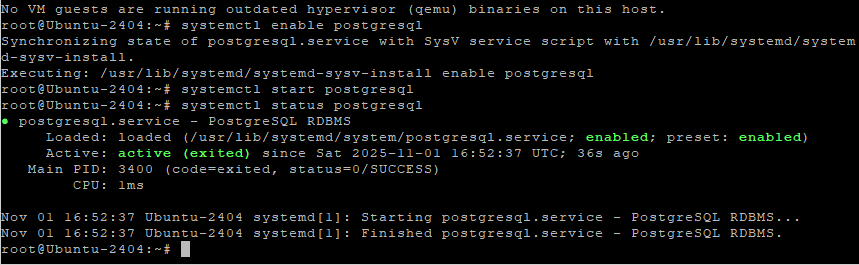
Enable and start the PostgreSQL service:
systemctl enable postgresql
systemctl start postgresql
Check if PostgreSQL is active:
systemctl status postgresql
You should see the service listed as active (running).
Step 4: Add the PostgreSQL APT Repository
pgBackRest is distributed through the official PostgreSQL repository.
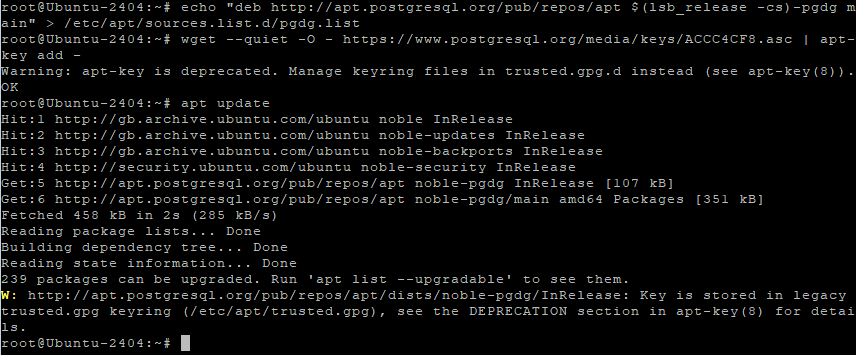
Add the repository to your system:
echo "deb http://apt.postgresql.org/pub/repos/apt $(lsb_release -cs)-pgdg main" > /etc/apt/sources.list.d/pgdg.list
Import the PostgreSQL signing key:
wget --quiet -O - https://www.postgresql.org/media/keys/ACCC4CF8.asc | apt-key add -
Update package lists:
apt update
Step 5: Install pgBackRest
Install pgBackRest:
apt install pgbackrest

Verify the installation:
pgbackrest version
If successful, you’ll see a version number such as pgBackRest 2.x.

Step 6: Configure pgBackRest
Create the main configuration directory:
mkdir -p /etc/pgbackrest
chown postgres:postgres /etc/pgbackrest
chmod 750 /etc/pgbackrest

Open the configuration file:
nano /etc/pgbackrest/pgbackrest.conf
Paste the following content:
[global]
repo1-path=/var/lib/pgbackrest
repo1-retention-full=2
log-level-console=info
log-level-file=detail
start-fast=y
compress-type=gz

[main]
pg1-path=/var/lib/postgresql/16/main
pg1-port=5432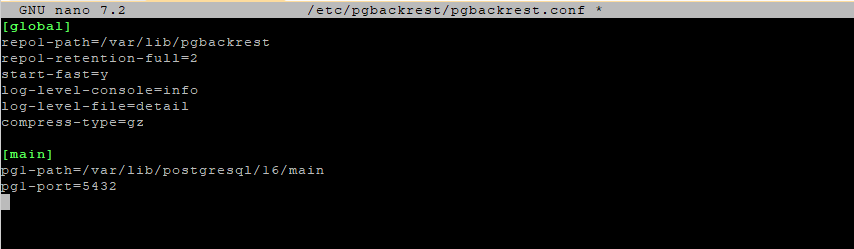
Explanation
| Parameter | Description |
|---|---|
repo1-path | Directory where backups will be stored. |
repo1-retention-full | Keeps the last two full backups. |
compress-type | Uses gzip for compression. |
pg1-path | Location of PostgreSQL data directory. |
pg1-port | Default PostgreSQL port. |
Save and exit (CTRL + O, then CTRL + X).
Step 7: Configure PostgreSQL for Archiving
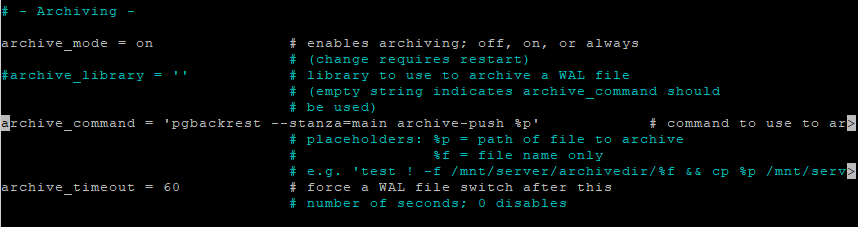
Edit the PostgreSQL configuration file:
nano /etc/postgresql/16/main/postgresql.conf
Find and update (or add) these lines:
archive_mode = on
archive_command = 'pgbackrest --stanza=main archive-push %p'
archive_timeout = 60
These settings enable WAL (Write Ahead Log) archiving, allowing pgBackRest to capture and store transaction logs.
Restart PostgreSQL to apply changes:
systemctl restart postgresql

Step 8: Initialize and Test pgBackRest
Switch to the PostgreSQL user:
su - postgres
Create a new backup stanza:
pgbackrest --stanza=main stanza-create
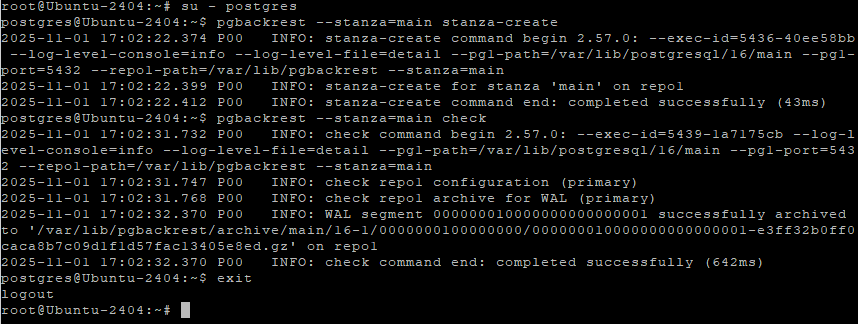
Check system integrity:
pgbackrest --stanza=main check
Run your first full backup:
pgbackrest --stanza=main --type=full backup
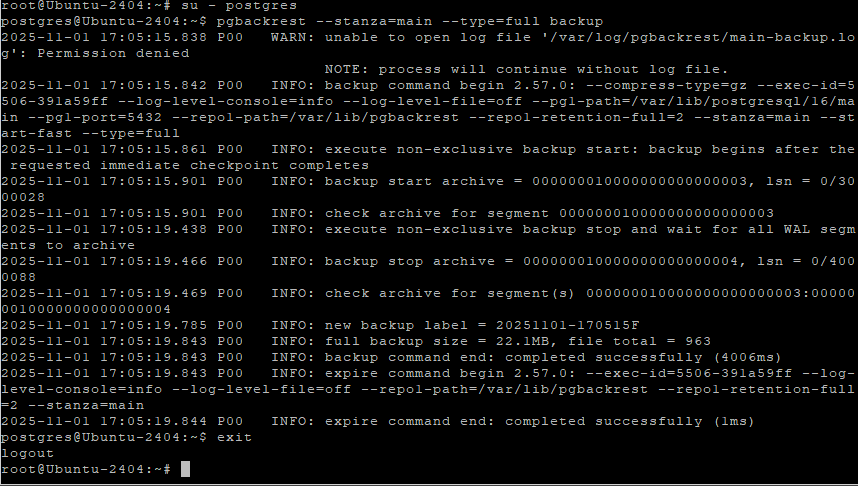
Exit the postgres user:
exit
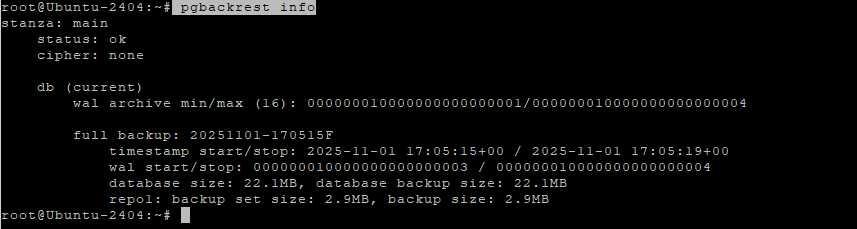
View backup information:
pgbackrest info
You’ve successfully installed and configured pgBackRest on Ubuntu 24.04 with PostgreSQL 16.
You can now easily create, verify, and restore backups to ensure your database’s safety.
For high-performance backup solutions with full root access and SSD storage, host your PostgreSQL infrastructure on a Shape.Host Cloud VPS — optimized for reliability and speed.