HedgeDoc (HackMD/CodiMD Successor) on Debian 12 (Docker + Nginx + SSL)
HedgeDoc is an open-source, real-time collaborative markdown editor that allows teams to write, share, and present documents together. Originally forked from CodiMD/HackMD, it provides a powerful, privacy-focused alternative to cloud note-taking platforms. HedgeDoc supports markdown previews, presentation mode, file uploads, and third-party authentication, making it ideal for documentation teams, developers, and educators who need secure, shared note editing.
Running HedgeDoc on Debian 12 (Bookworm) provides a stable, secure, and efficient environment for self-hosting. Debian’s long-term support, combined with Docker Compose, PostgreSQL, Nginx, and Let’s Encrypt SSL, makes this setup production-ready while remaining simple to maintain and scale.
Architecture Overview
| Layer | Component | Role |
|---|---|---|
| OS | Debian 12 (Bookworm) | Stable, long-term supported base system |
| Container Runtime | Docker Engine + Compose | Manages HedgeDoc and supporting services |
| Application | HedgeDoc (Node.js) | Core collaborative markdown editor and backend API |
| Database | PostgreSQL 15 | Stores users, sessions, and document metadata |
| Reverse Proxy | Nginx | Handles HTTPS termination, caching, and request routing |
| TLS | Let’s Encrypt / PKI | Provides SSL certificates for secure access |
Why Use HedgeDoc?
- Real-time collaboration – multiple users can edit the same markdown document simultaneously.
- Full markdown support – GitHub-flavored markdown with live preview and math rendering (KaTeX/MathJax).
- Presentation mode – convert markdown notes into professional slides instantly.
- Authentication options – supports GitHub, GitLab, LDAP, OIDC, and OAuth2.
- Media and attachments – easily embed images, links, and videos.
- Revision history – track changes and restore previous document versions.
- Privacy-first – self-hosted with complete control over your data.
HedgeDoc vs Other Markdown Collaboration Tools
| Feature/Capability | HedgeDoc (Self-hosted) | HackMD (Cloud) | Obsidian (Local) | Notion (Cloud) |
|---|---|---|---|---|
| Hosting | Self-hosted / Docker | Cloud only | Local filesystem | Cloud only |
| Real-time editing | ✅ Yes | ✅ Yes | ❌ No | ✅ Yes |
| Markdown support | ✅ Full (GFM) | ✅ Full | ✅ Full | Partial (Rich Text) |
| Authentication | OAuth2 / LDAP / SSO | GitHub / Google | Local only | Cloud accounts |
| Collaboration | ✅ Real-time | ✅ Real-time | ❌ No | ✅ Real-time |
| Privacy | Full control | Cloud storage | Local only | Cloud storage |
| Cost | Free, open-source | Paid tiers | Free | Subscription |
HedgeDoc is the most powerful open-source alternative to HackMD and Notion for teams who need real-time collaboration and markdown simplicity under full data ownership.
Security & Best Practices
- Deploy behind Nginx or Traefik for HTTPS and routing.
- Store database passwords and JWT secrets in Docker secrets or
.envsecurely. - Use Debian’s UFW or nftables to allow only ports 80/443.
- Restrict PostgreSQL access to the internal Docker network.
- Enable automatic SSL renewals using Certbot or Traefik’s ACME integration.
- Keep Docker, Node.js, and Debian packages updated regularly.
- Configure HedgeDoc session keys, SMTP settings, and trusted domains properly.
- Set up database backups for PostgreSQL with
pg_dumpor cron jobs. - Enforce strong password policies and limit failed login attempts with rate limiting.
Typical Use Cases
- Collaborative documentation for teams or organizations.
- Internal knowledge bases for DevOps, IT, or software departments.
- Shared technical notes during meetings, interviews, or workshops.
- Educational tools for students and teachers sharing lecture notes.
- Markdown-based presentation tool for tech talks or project demos.
- Private wiki for developers and research groups.
Deploying HedgeDoc on Debian 12 with Docker, Nginx, and SSL gives you a secure, real-time collaborative markdown editor with all the power of HackMD — but entirely under your control. This setup is perfect for teams that value privacy, performance, and open-source freedom.
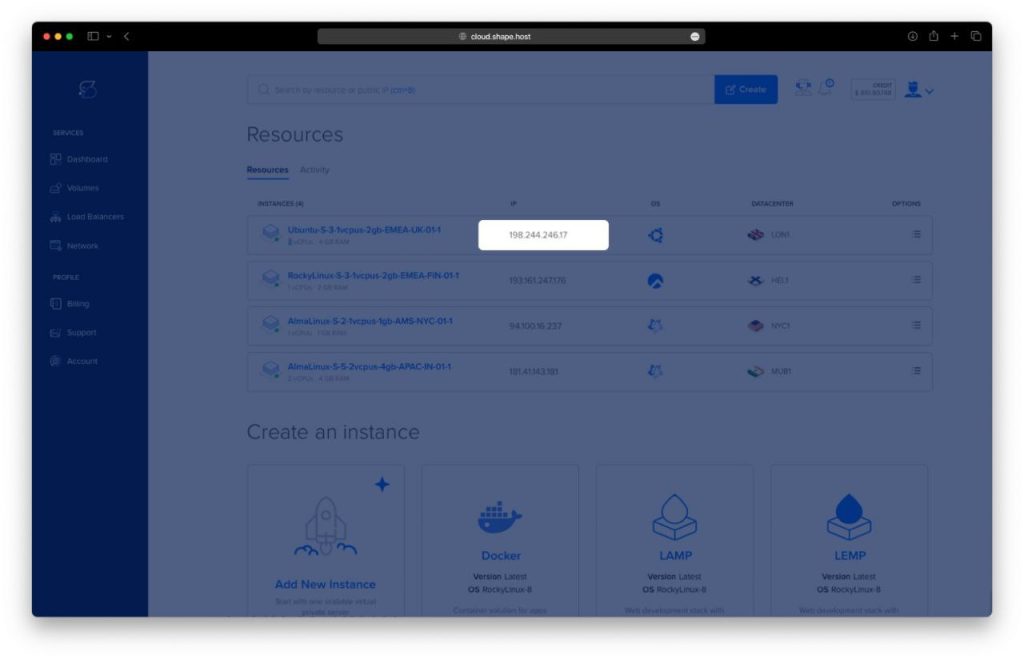
Step 1: Set Up a Server Instance
For best results, use a Shape.Host Cloud VPS, which offers fast NVMe storage, excellent uptime, and smooth Docker performance.
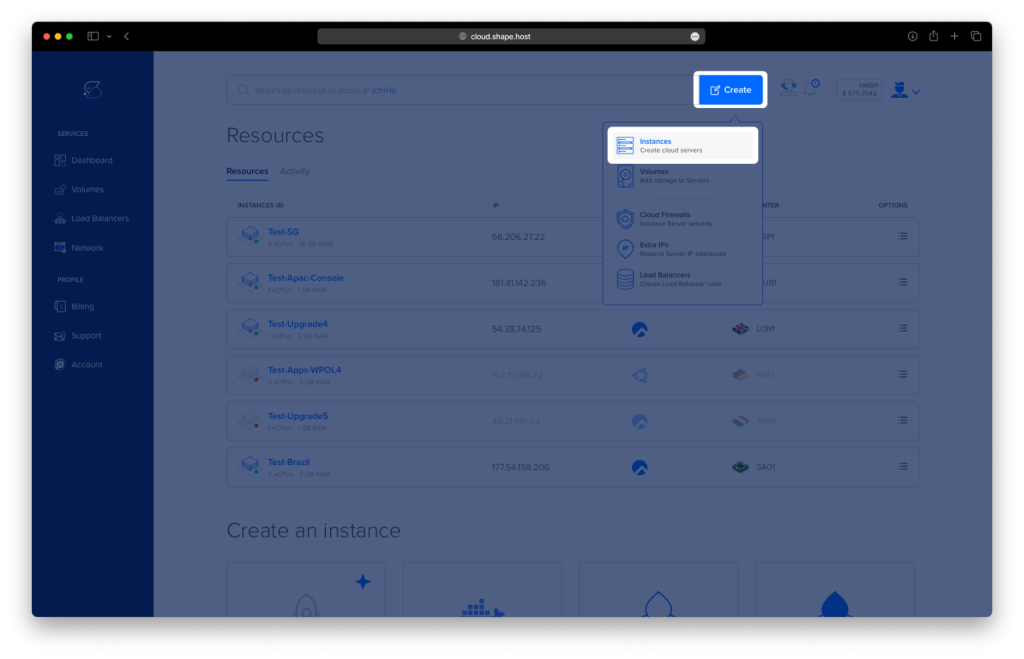
Log in to your Shape.Host dashboard.
Click Create → Instance.
Choose a server location close to your users.
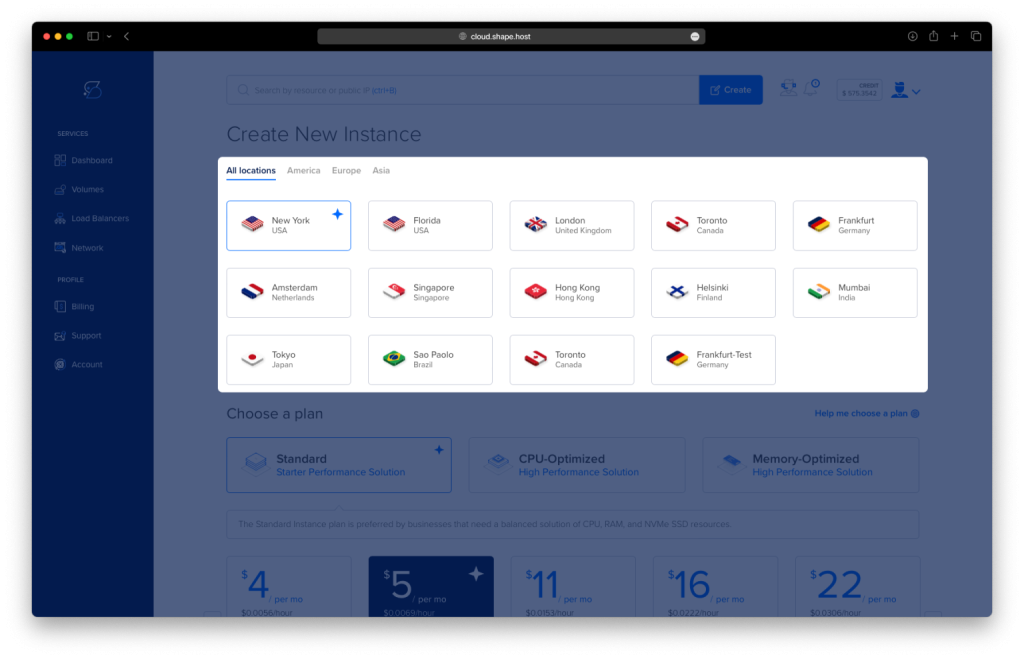
Select a plan with 2 CPU cores, 4 GB RAM, and at least 20 GB SSD/NVMe.
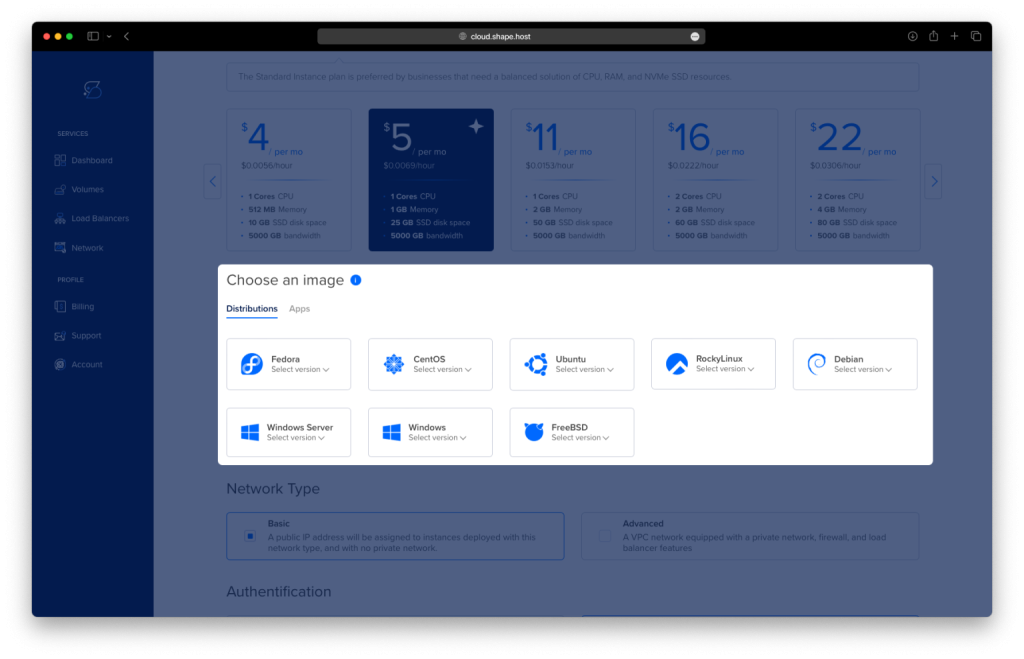
Choose Debian 12 (64-bit) as the operating system.
Click Create Instance.
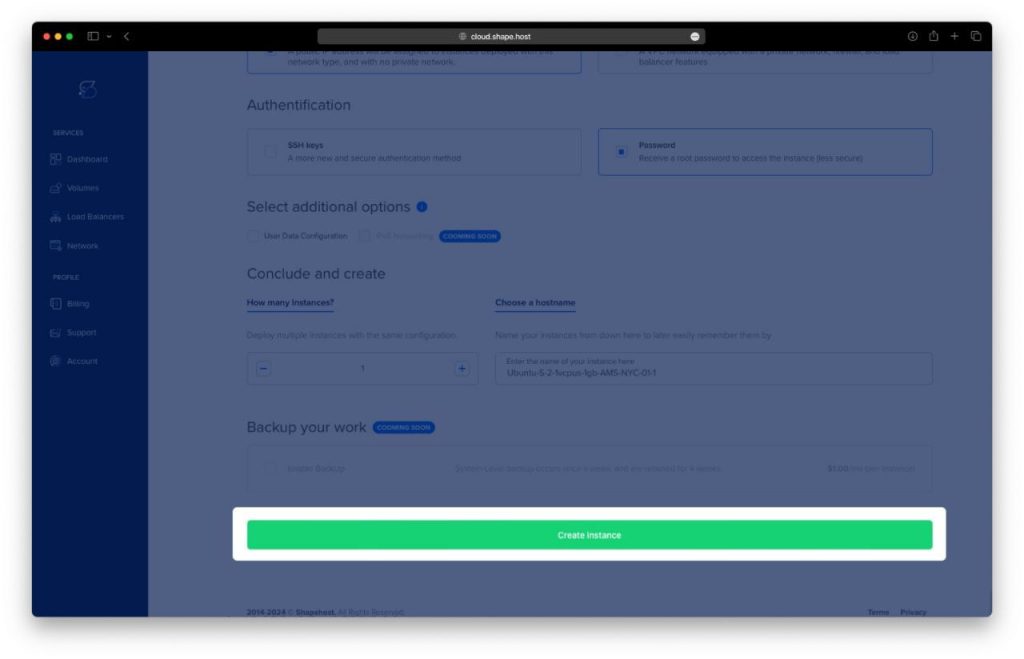
After deployment, you’ll see the server’s public IP address — you’ll need it for SSH.
Your server is now ready.
Step 2: Connect to the Server
On Linux or macOS:
ssh root@your_server_ip
On Windows:
Use PuTTY, enter the IP, and log in as root.
This gives you full control over the machine.
Step 3: Install Docker & Docker Compose
These are the commands from your history — now explained with clarity.
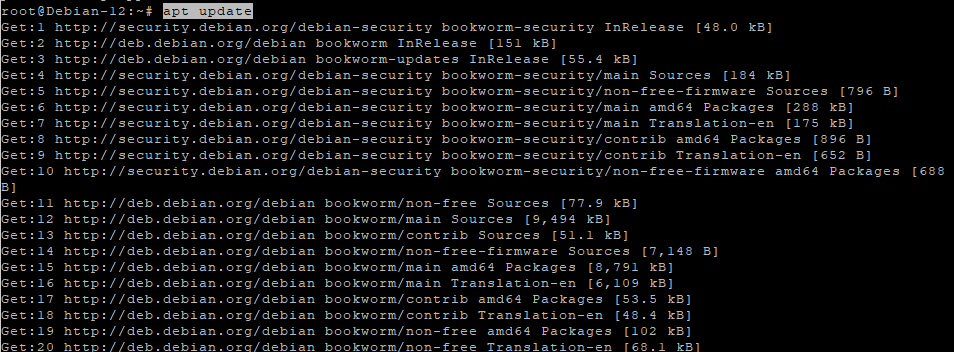
1. Update Debian package lists
apt update
This refreshes the system’s knowledge of available packages.
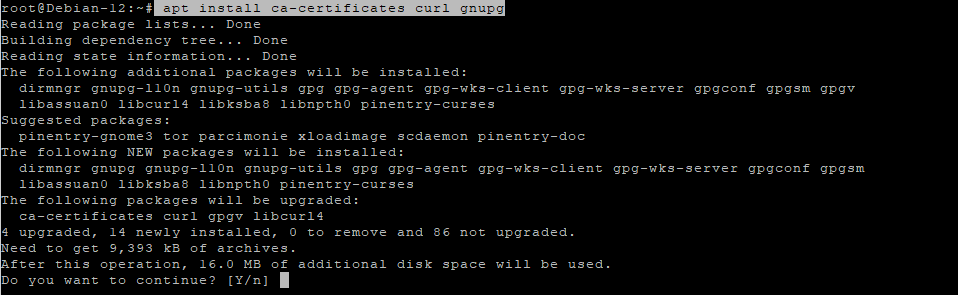
2. Install required tools for secure package download
apt install ca-certificates curl gnupg
ca-certificates: allows HTTPS communicationcurl: downloads filesgnupg: verifies package signatures
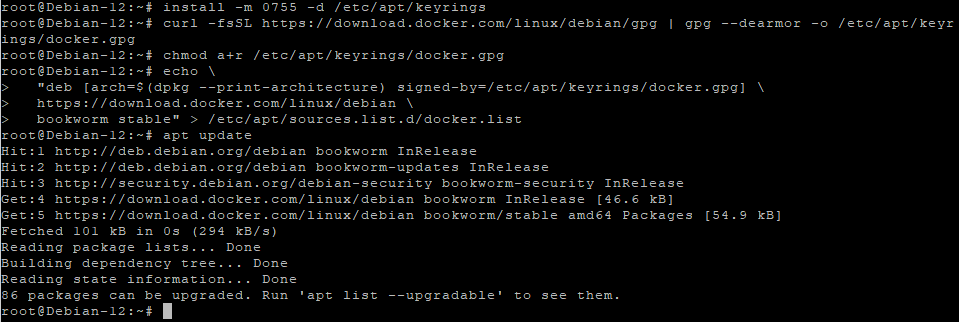
3. Create directory for Docker’s GPG keys
install -m 0755 -d /etc/apt/keyrings
Docker uses GPG keys to ensure package authenticity.
4. Download Docker’s official GPG key
curl -fsSL https://download.docker.com/linux/debian/gpg | gpg --dearmor -o /etc/apt/keyrings/docker.gpg
This ensures Docker packages come from a trusted source.
5. Set key permissions
chmod a+r /etc/apt/keyrings/docker.gpg
Makes the key readable by the package manager.
6. Add Docker repository
echo   "deb [arch=$(dpkg --print-architecture) signed-by=/etc/apt/keyrings/docker.gpg] \
  https://download.docker.com/linux/debian \
  bookworm stable" > /etc/apt/sources.list.d/docker.list
This enables access to official Docker CE packages for Debian 12 (Bookworm).
7. Update again to load Docker’s repo
apt update
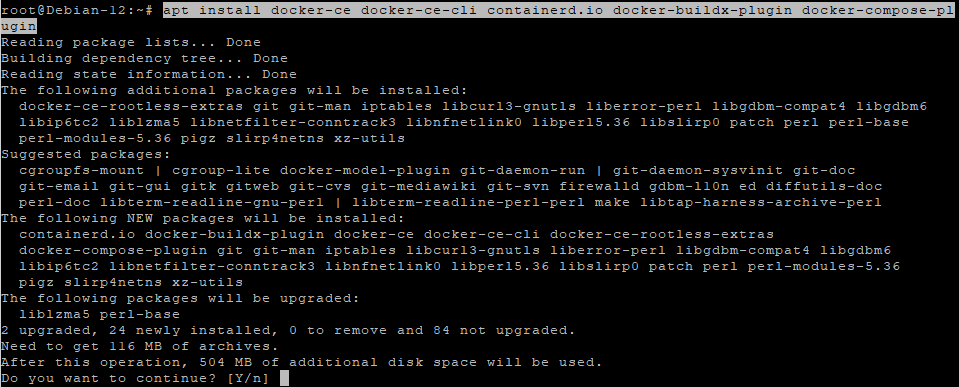
8. Install Docker + Compose
apt install docker-ce docker-ce-cli containerd.io docker-buildx-plugin docker-compose-plugin
This installs:
- Docker Engine
- CLI tools
- Container runtime
- BuildX plugin
- Docker Compose plugin
9. Verify Docker Compose installation
docker compose version
If you see a version number, everything is installed correctly.
Step 4: Deploy HedgeDoc with Docker Compose
10. Create application directory
mkdir -p /opt/hedgedoc
Creates a dedicated folder for HedgeDoc files.
11. Enter the directory
cd /opt/hedgedoc

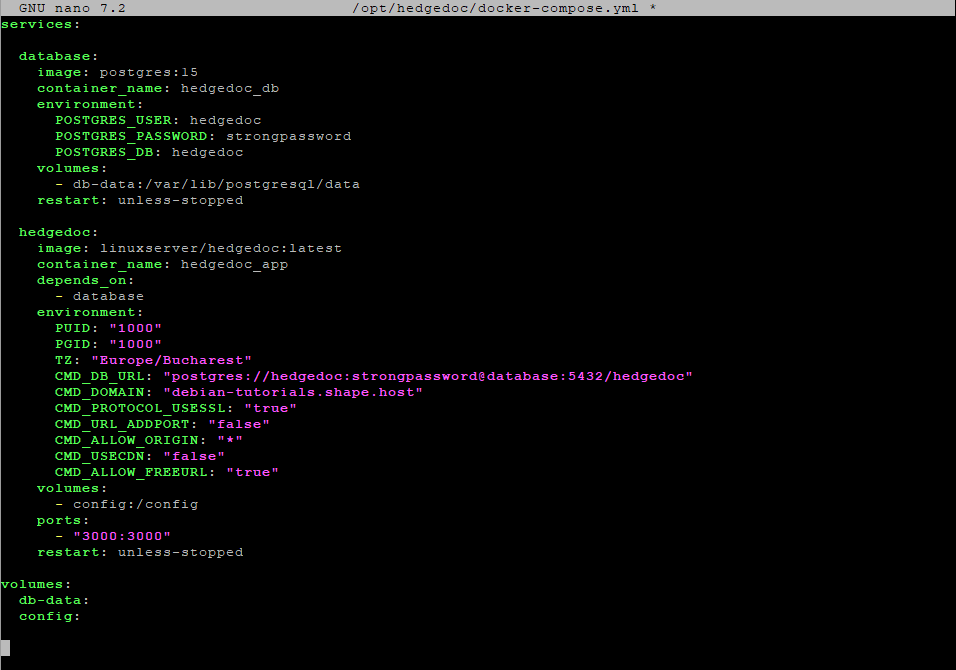
12. Create docker-compose.yml
nano /opt/hedgedoc/docker-compose.yml
Paste your exact configuration:
services:

  database:
    image: postgres:15
    container_name: hedgedoc_db
    environment:
      POSTGRES_USER: hedgedoc
      POSTGRES_PASSWORD: strongpassword
      POSTGRES_DB: hedgedoc
    volumes:
      - db-data:/var/lib/postgresql/data
    restart: unless-stopped

  hedgedoc:
    image: linuxserver/hedgedoc:latest
    container_name: hedgedoc_app
    depends_on:
      - database
    environment:
      PUID: "1000"
      PGID: "1000"
      TZ: "Europe/Bucharest"
      CMD_DB_URL: "postgres://hedgedoc:strongpassword@database:5432/hedgedoc"
      CMD_DOMAIN: "YOUR_DOMAIN"
      CMD_PROTOCOL_USESSL: "true"
      CMD_URL_ADDPORT: "false"
      CMD_ALLOW_ORIGIN: "*"
      CMD_USECDN: "false"
      CMD_ALLOW_FREEURL: "true"
    volumes:
      - config:/config
    ports:
      - "3000:3000"
    restart: unless-stopped

volumes:
  db-data:
  config:
Explanation:
- database: PostgreSQL 15 stores HedgeDoc data.
- hedgedoc: the main application.
CMD_DOMAIN: replace with your real domain.- Ports: HedgeDoc exposes port 3000, which Nginx will proxy later.
- Volumes ensure persistent database & app configuration.
Press CTRL+O → ENTER → CTRL+X to save and exit.
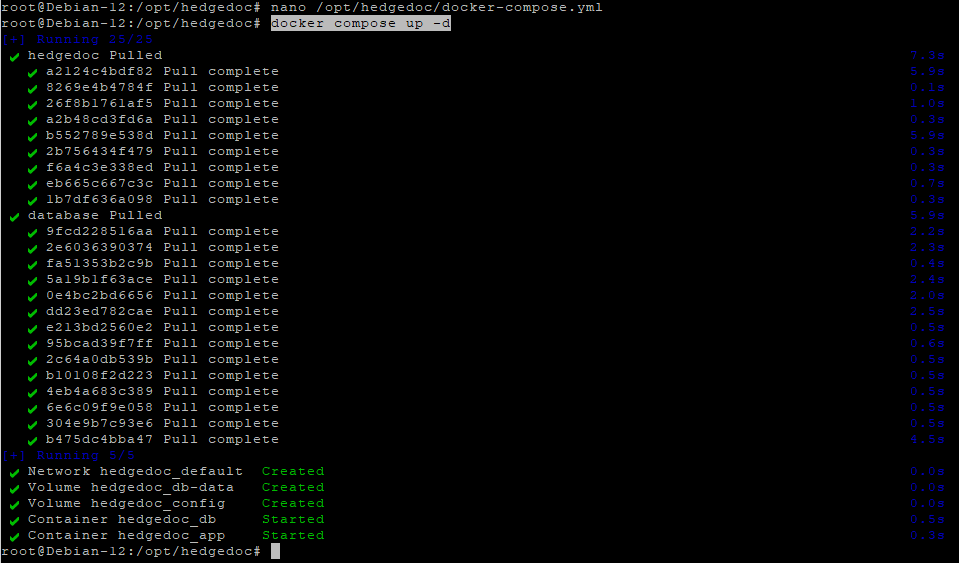
13. Start HedgeDoc
docker compose up -d
Downloads PostgreSQL + HedgeDoc images, then starts the services in the background.
If everything worked — HedgeDoc is running internally.
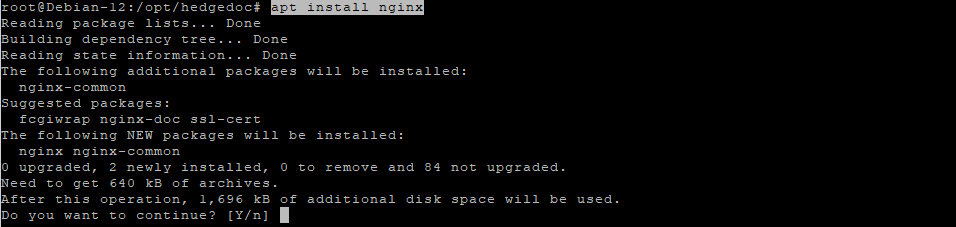
Step 5: Install and Configure Nginx
14. Install the Nginx web server
apt install nginx
15–16. Enable and start Nginx
systemctl enable nginx
systemctl start nginx
Nginx is now active and will start automatically at boot.

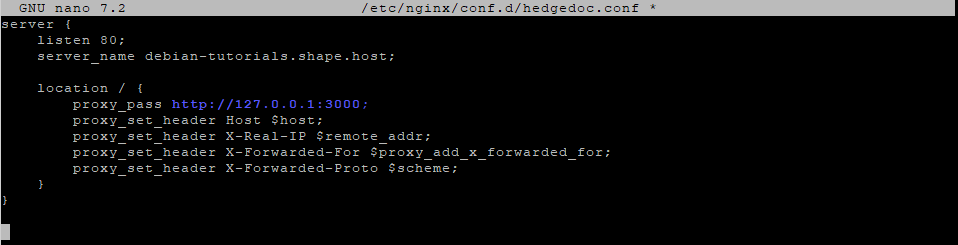
17. Create reverse proxy configuration
nano /etc/nginx/conf.d/hedgedoc.conf
Paste:
server {
    listen 80;
    server_name YOUR_DOMAIN;

    location / {
        proxy_pass http://127.0.0.1:3000;
        proxy_set_header Host $host;
        proxy_set_header X-Real-IP $remote_addr;
        proxy_set_header X-Forwarded-For $proxy_add_x_forwarded_for;
        proxy_set_header X-Forwarded-Proto $scheme;
    }
}
What this does:
- Accepts requests on port 80
- Forwards them to HedgeDoc running on 3000
- Sends real user IP headers
- Prepares the site for HTTPS
18. Check Nginx config
nginx -t
19. Reload the server
systemctl reload nginx
Nginx is now serving HedgeDoc via your domain (but without SSL yet).

Step 6: Enable HTTPS with Let’s Encrypt
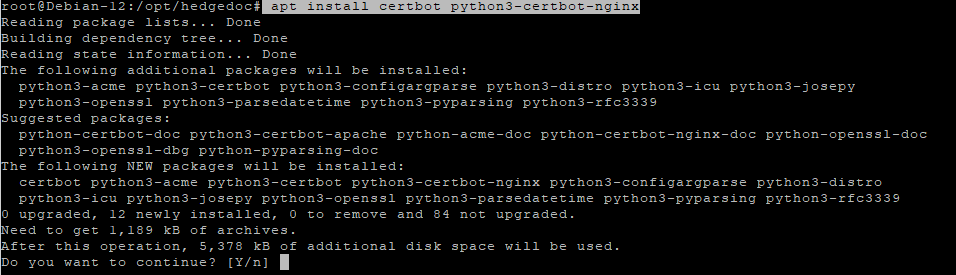
20. Install Certbot
apt install certbot python3-certbot-nginx
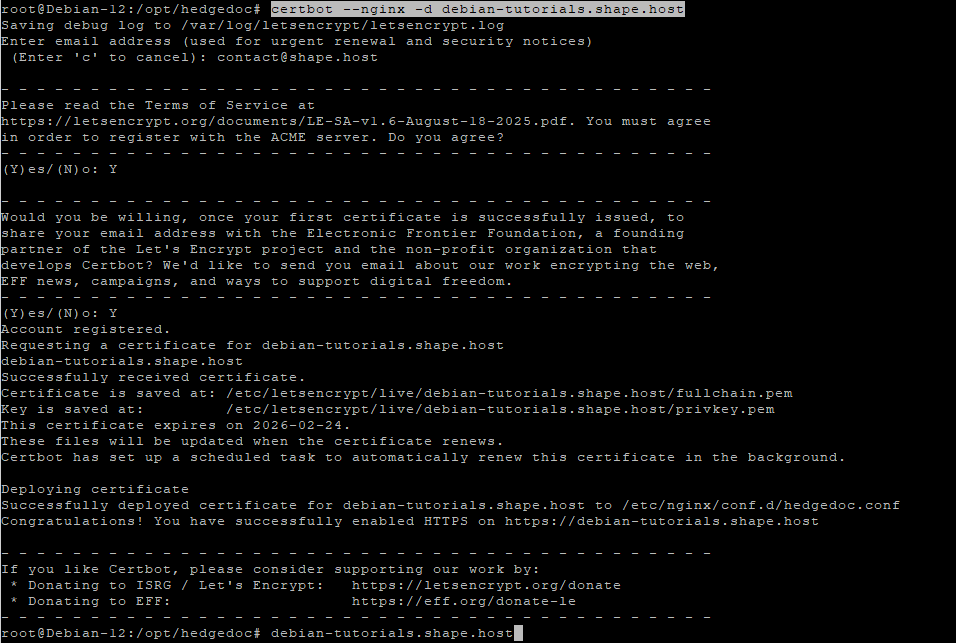
21. Generate SSL certificate
certbot --nginx -d debian-tutorials.shape.host
Certbot will:
- Issue a valid SSL certificate
- Update your Nginx config automatically
- Enable HTTPS
- Reload Nginx
23. Reload Nginx manually
systemctl reload nginx
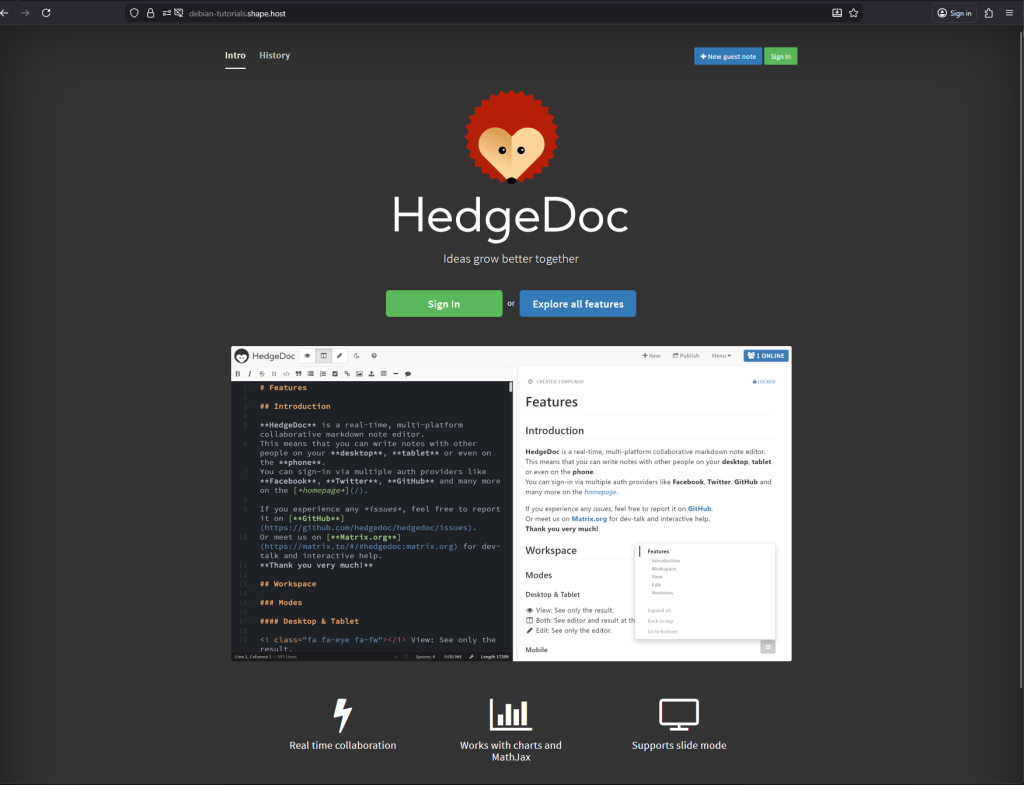
Step 7: Access HedgeDoc
Now visit your domain in a browser:
https://YOUR_DOMAIN
You should see the live HedgeDoc editor.
You have successfully installed HedgeDoc on Debian 12, complete with:
- Docker & PostgreSQL
- Nginx reverse proxy
- Automatic Let’s Encrypt SSL
- Persistent storage
- Production-ready environment
For the best performance, uptime, and Docker experience, consider hosting all your deployments on Shape.Host Linux SSD VPS — optimized for containers, reverse proxies, and modern self-hosted apps.