HedgeDoc (HackMD/CodiMD Successor) on Ubuntu 24.04 (Docker + Nginx + SSL)
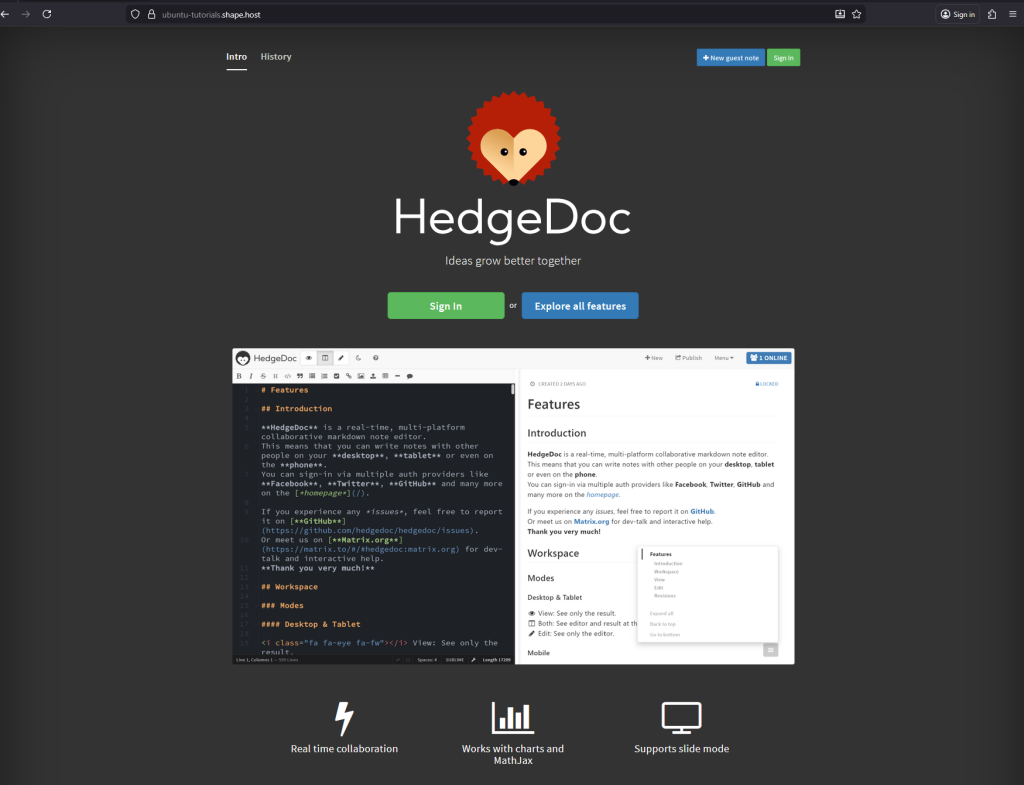
HedgeDoc is an open-source, collaborative markdown editor and note-sharing platform, originally forked from CodiMD/HackMD. It enables real-time collaborative editing, presentation mode, markdown preview, and integrations with external authentication systems like LDAP, GitHub, or GitLab. HedgeDoc is ideal for documentation teams, developer wikis, educational environments, and internal collaboration hubs.
Running HedgeDoc on Ubuntu 24.04 LTS (Noble Numbat) provides a modern, secure, and long-term supported foundation. Ubuntu 24.04 includes systemd 255, OpenSSL 3, and up-to-date Docker and Nginx packages, making it ideal for deploying a containerized HedgeDoc setup with PostgreSQL, Nginx reverse proxy, and Let’s Encrypt SSL for a production-ready environment.
Architecture Overview
| Layer | Component | Role |
|---|---|---|
| OS | Ubuntu 24.04 LTS | Stable and secure Linux base for hosting Docker applications |
| Container Runtime | Docker Engine + Compose | Orchestrates HedgeDoc, PostgreSQL, and related services |
| Application | HedgeDoc (Node.js) | Main collaborative markdown editor and backend service |
| Database | PostgreSQL 15/16 | Stores users, sessions, and document metadata |
| Reverse Proxy | Nginx | Handles HTTPS, compression, caching, and routing |
| TLS | Let’s Encrypt / PKI | Provides secure SSL/TLS for public access |
Why Use HedgeDoc?
- Real-time collaboration – multiple users can edit the same document simultaneously.
- Markdown-based – supports GitHub-flavored markdown with preview.
- Presentation mode – turn notes into slideshow-style presentations instantly.
- Integrations – supports authentication via GitHub, GitLab, LDAP, OAuth2, and more.
- File attachments and embedded media – include images, videos, and charts inline.
- History and revision control – review document changes over time.
- Self-hosted and privacy-focused – your data stays entirely on your server.
HedgeDoc vs Similar Platforms
| Feature/Capability | HedgeDoc (Self-hosted) | HackMD (Cloud) | Obsidian (Local) | Joplin (Desktop) |
|---|---|---|---|---|
| Hosting | Self-hosted / Docker | Cloud | Local filesystem | Local sync/cloud |
| Real-time editing | ✅ Yes | ✅ Yes | ❌ No | ❌ No |
| Markdown support | ✅ Full (GFM) | ✅ Full | ✅ Full | ✅ Full |
| Authentication | OAuth2 / LDAP / SSO | GitHub / Google | Local only | Local only |
| Collaboration | ✅ Real-time | ✅ Real-time | ❌ No | ❌ No |
| Cost | Free, open-source | Paid tiers | Free | Free |
HedgeDoc provides the power of HackMD’s real-time editing, combined with self-hosting flexibility, making it a top choice for development teams, educators, and enterprises who value data ownership and open-source collaboration.
Security & Best Practices
- Run behind Nginx with HTTPS enabled (Let’s Encrypt recommended).
- Store database credentials securely in environment variables or Docker secrets.
- Keep Docker images and Ubuntu system up to date.
- Restrict PostgreSQL to internal Docker networks only.
- Use UFW or
nftablesto expose only ports 80 and 443. - Enable rate limiting and fail2ban for Nginx to protect from brute-force attacks.
- Set up automatic SSL renewal with Certbot or Traefik ACME integration.
- Use strong JWT and session secrets in HedgeDoc’s
.envfile. - Configure backup routines for PostgreSQL and uploaded files.
Typical Use Cases
- Internal documentation and wikis for DevOps or software teams.
- Collaborative note-taking during meetings or lectures.
- Public knowledge bases and technical blogs using markdown.
- Developer documentation shared within teams or open-source projects.
- Educational collaboration between students and teachers.
- Markdown-based presentation creation for quick talks or demos.
Deploying HedgeDoc on Ubuntu 24.04 with Docker, Nginx, and SSL gives you a modern, secure, and collaborative markdown platform that combines the simplicity of markdown with the power of real-time editing — all while maintaining full control and data privacy.
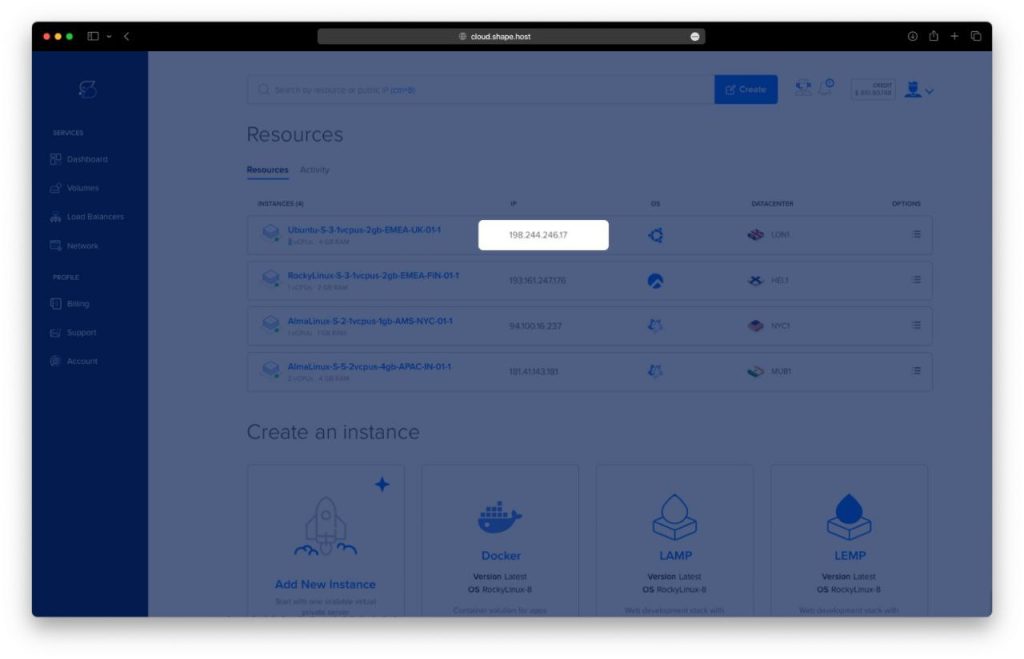
Step 1: Set Up a Server Instance
Use Shape.Host Cloud VPS for the best performance and stability.
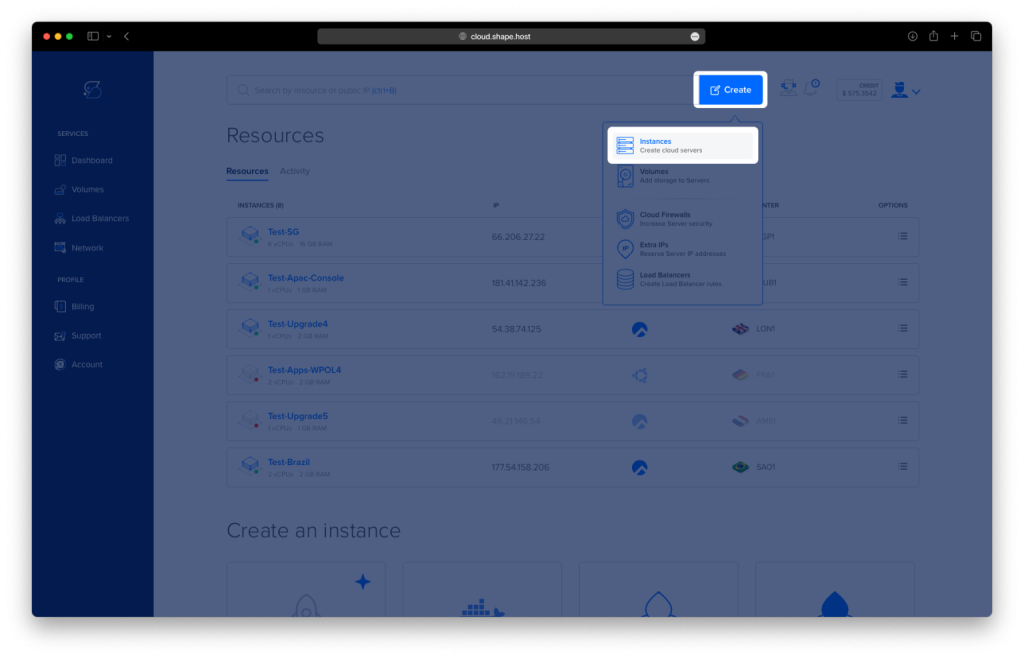
Log into your Shape.Host dashboard.
Click Create → Instance.
Select a server location near your audience.
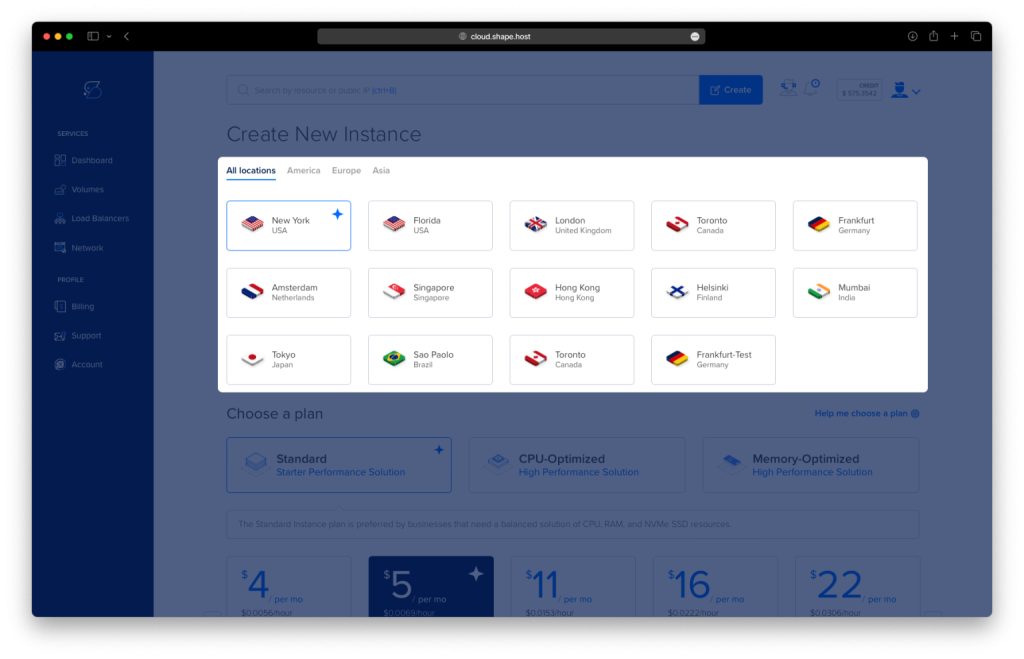
Choose a VPS with 2 CPU, 4 GB RAM, 20+ GB SSD.
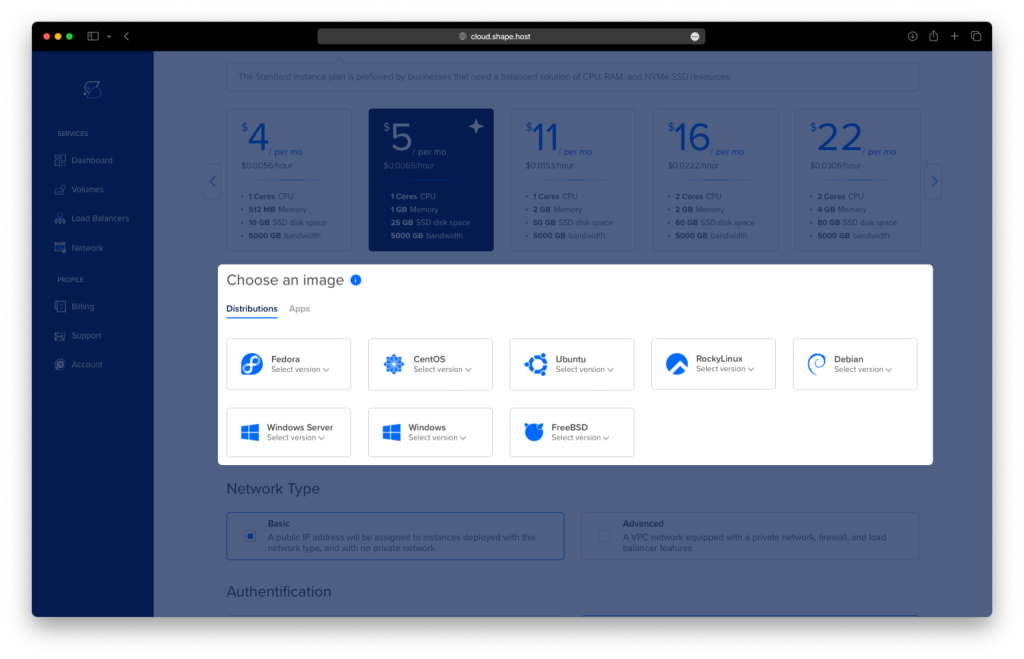
Choose Ubuntu 24.04 (64-bit).
Click Create Instance.
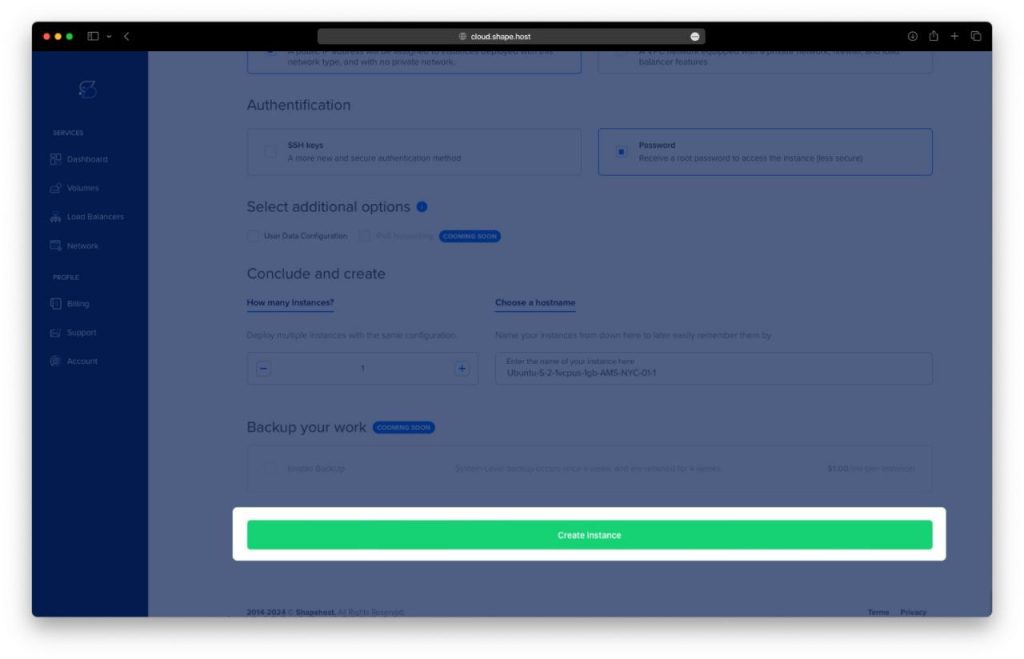
Copy the server’s public IP address.
This server will host HedgeDoc.
Step 2: Connect to Your Server
Linux/macOS
ssh root@your_server_ip
This logs you into the remote server.
Windows
Use PuTTY and connect as root.
Step 3: Install Docker & Docker Compose
These commands come directly from your history — now explained in detail.
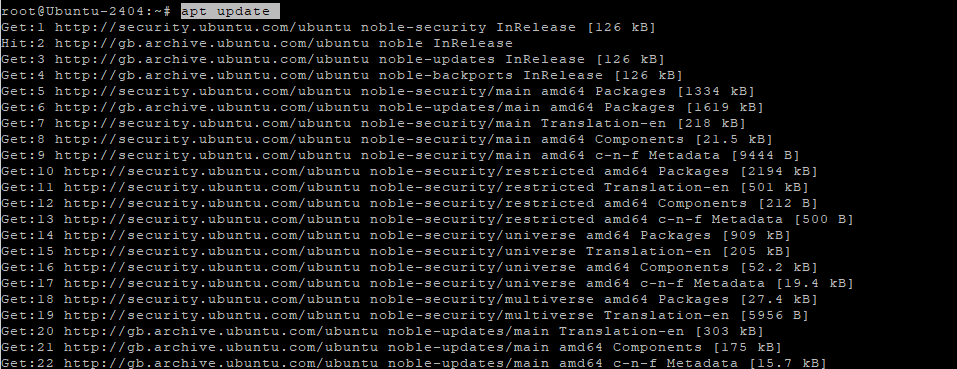
1. Update your system
apt update
- Refreshes Ubuntu’s package list
- Ensures the latest software versions are available
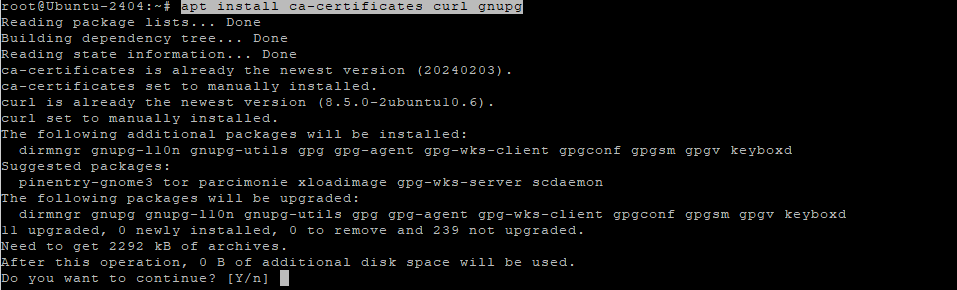
2. Install necessary HTTPS and key-handling packages
apt install ca-certificates curl gnupg
ca-certificates— allows secure communication over HTTPScurl— used to download files from the internetgnupg— handles key encryption used for verifying software packages
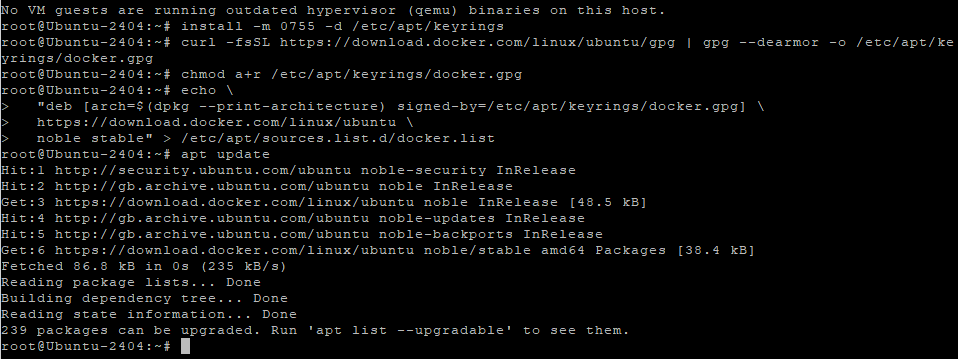
3. Create directory for Docker’s GPG trusted keys
install -m 0755 -d /etc/apt/keyrings
- Creates a secure folder to store Docker’s repository key
- Ensures proper file permissions (
0755)
4. Download Docker’s GPG key
curl -fsSL https://download.docker.com/linux/ubuntu/gpg | gpg --dearmor -o /etc/apt/keyrings/docker.gpg
- Downloads Docker’s official repository key
- Converts it into a GPG format Ubuntu can use
- Saves it in
/etc/apt/keyrings/docker.gpg
This verifies that Docker packages are authentic.
5. Set permissions for the key
chmod a+r /etc/apt/keyrings/docker.gpg
- Allows Ubuntu’s package manager to read the key
6. Add Docker repository
echo   "deb [arch=$(dpkg --print-architecture) signed-by=/etc/apt/keyrings/docker.gpg] \
  https://download.docker.com/linux/ubuntu \
  noble stable" > /etc/apt/sources.list.d/docker.list
- Adds the official Docker repository to your system
- Ensures you get the latest Docker packages
"noble"is Ubuntu 24.04’s codename
7. Update again to load Docker repository
apt update
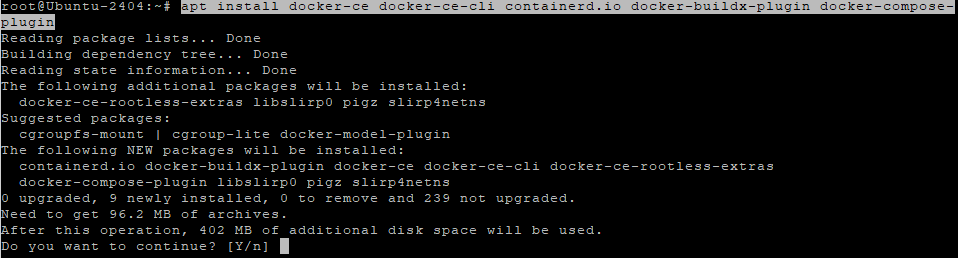
8. Install Docker Engine + Compose plugin
apt install docker-ce docker-ce-cli containerd.io docker-buildx-plugin docker-compose-plugin
This installs:
docker-ce: Docker Community Editiondocker-ce-cli: Docker command-line toolscontainerd: container runtimedocker-buildx-plugin: advanced build tooldocker-compose-plugin: compose support
9. Check Docker Compose version
docker compose version
- Confirms Docker Compose is available and working
Step 4: Deploy HedgeDoc Using Docker Compose
10. Create installation directory
mkdir -p /opt/hedgedoc
cd /opt/hedgedoc
- Creates a folder for HedgeDoc
cdmoves into it

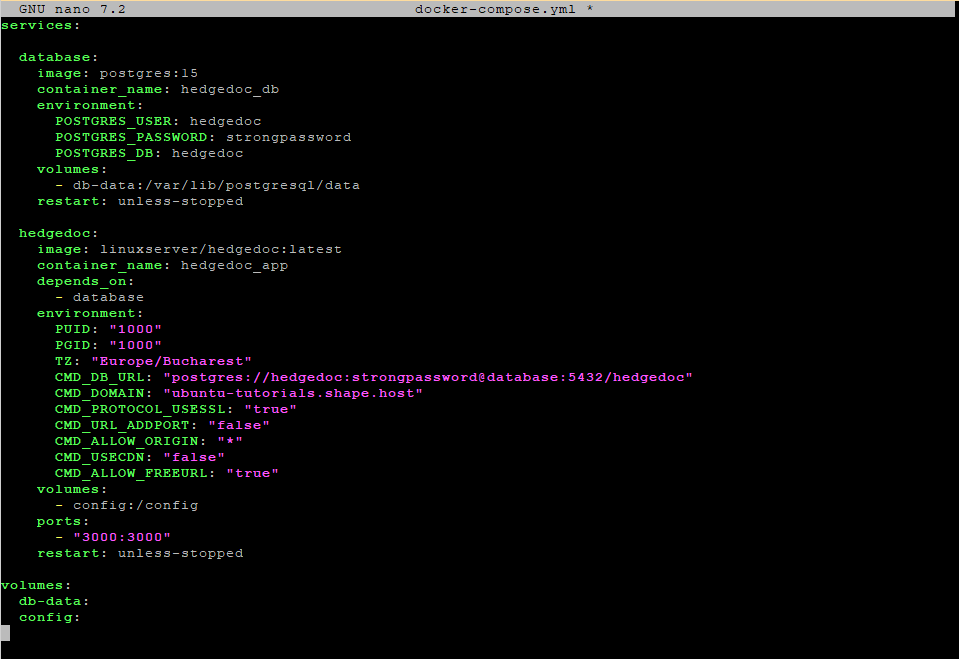
11. Create the compose file
nano docker-compose.yml
- Opens the file in Nano text editor
Paste your configuration (kept unchanged):
services:

  database:
    image: postgres:15
    container_name: hedgedoc_db
    environment:
      POSTGRES_USER: hedgedoc
      POSTGRES_PASSWORD: strongpassword
      POSTGRES_DB: hedgedoc
    volumes:
      - db-data:/var/lib/postgresql/data
    restart: unless-stopped

  hedgedoc:
    image: linuxserver/hedgedoc:latest
    container_name: hedgedoc_app
    depends_on:
      - database
    environment:
      PUID: "1000"
      PGID: "1000"
      TZ: "Europe/Bucharest"
      CMD_DB_URL: "postgres://hedgedoc:strongpassword@database:5432/hedgedoc"
      CMD_DOMAIN: "ubuntu-tutorials.shape.host"
      CMD_PROTOCOL_USESSL: "true"
      CMD_URL_ADDPORT: "false"
      CMD_ALLOW_ORIGIN: "*"
      CMD_USECDN: "false"
      CMD_ALLOW_FREEURL: "true"
    volumes:
      - config:/config
    ports:
      - "3000:3000"
    restart: unless-stopped

volumes:
  db-data:
  config:
Explanation of services:
databaseuses PostgreSQL 15 for HedgeDochedgedocruns the HedgeDoc server itself- Environment variables configure timezone, database URL, domain, SSL mode, etc.
- Volumes ensure persistent data storage
- Port
3000is exposed so Nginx can access the service
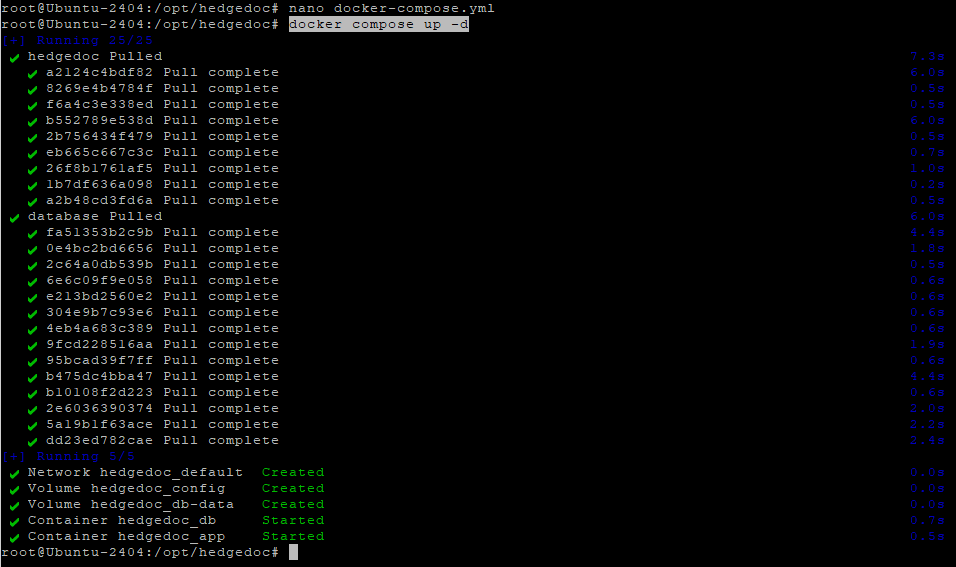
12. Start HedgeDoc
docker compose up -d
- Downloads the needed images
- Starts HedgeDoc + PostgreSQL as background services (
-d= detached)
13. Test HedgeDoc locally
curl http://127.0.0.1:3000
- If you see HTML output, HedgeDoc is running
- It’s not yet accessible via domain because we still need Nginx
Step 5: Install and Configure Nginx Reverse Proxy
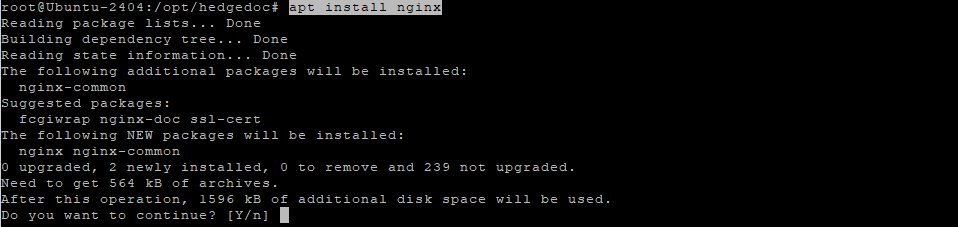
15. Install Nginx
apt install nginx
- Installs the web server that will route traffic to HedgeDoc
- Required for SSL
16–17. Enable and start Nginx
systemctl enable nginx
systemctl start nginx

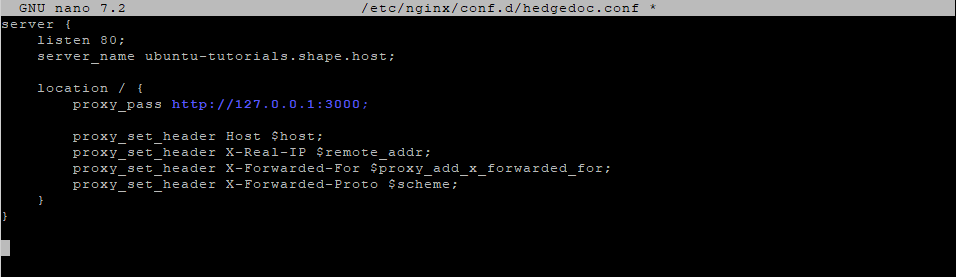
18. Create reverse proxy configuration
nano /etc/nginx/conf.d/hedgedoc.conf
Paste your config:
server {
    listen 80;
    server_name YOUR_DOMAIN;

    location / {
        proxy_pass http://127.0.0.1:3000;

        proxy_set_header Host $host;
        proxy_set_header X-Real-IP $remote_addr;
        proxy_set_header X-Forwarded-For $proxy_add_x_forwarded_for;
        proxy_set_header X-Forwarded-Proto $scheme;
    }
}
Explanation:
- Listens on port 80
- Forwards all traffic to the HedgeDoc container
- Sends real IP headers needed for HTTPS, logs, and security
- Prepares your domain for SSL
19. Test config
nginx -t
- Checks for syntax errors
20. Reload Nginx
systemctl reload nginx

Step 6: Secure the Site with Let’s Encrypt SSL
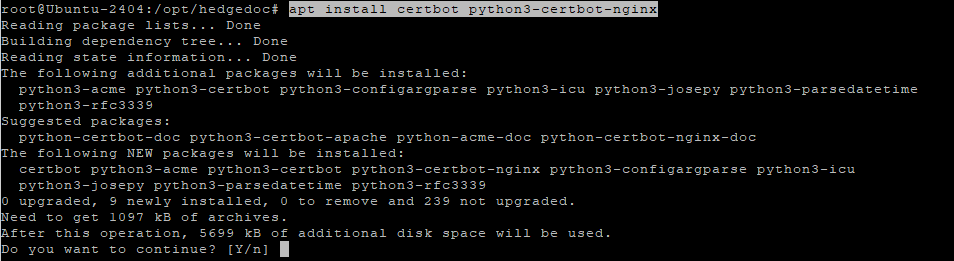
21. Install Certbot
apt install certbot python3-certbot-nginx
- Certbot will automatically configure HTTPS
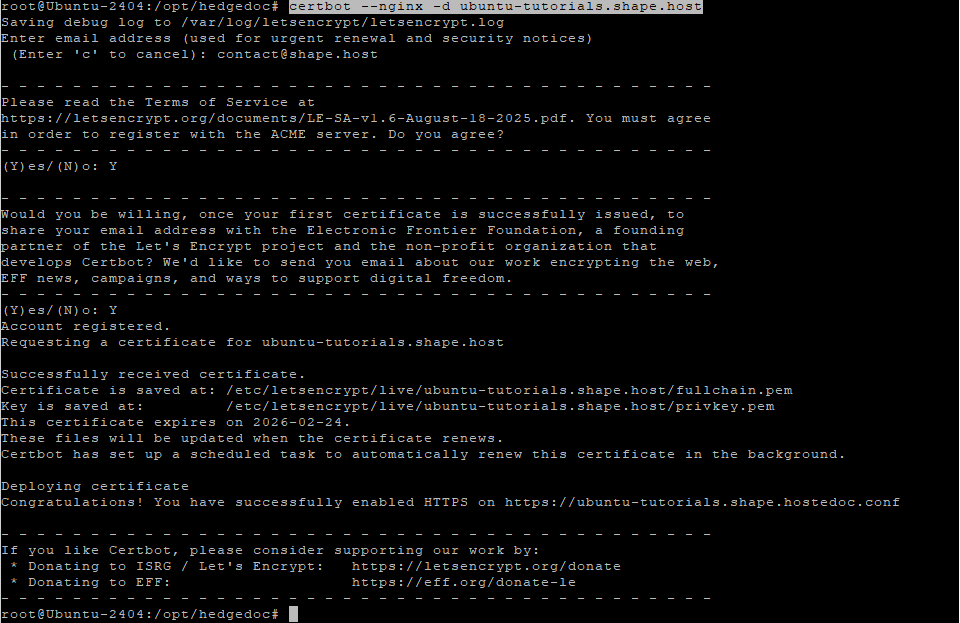
22. Generate SSL certificate
certbot --nginx -d ubuntu-tutorials.shape.host
- Activates HTTPS
- Certbot edits your Nginx config automatically
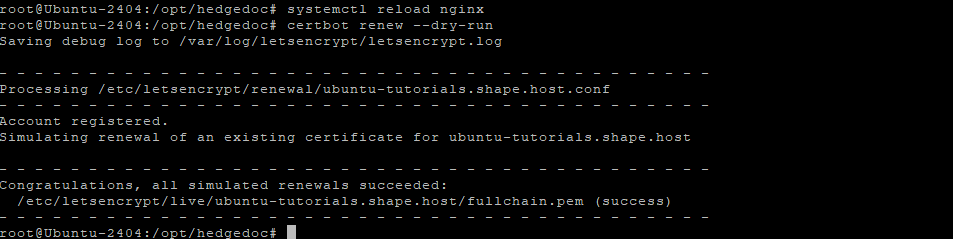
23. Reload Nginx after SSL
systemctl reload nginx
24. Test automatic renewal
certbot renew --dry-run
- Ensures SSL certificates will auto-renew
- Prevents future expiration issues
Step 7: Access HedgeDoc
Visit:
https://ubuntu-tutorials.shape.host
You now have a fully working, SSL-secured HedgeDoc installation.
Your HedgeDoc instance is now:
✓ Running in Docker
✓ Using PostgreSQL
✓ Protected by Nginx
✓ Fully SSL-secured with Let’s Encrypt
✓ Production-ready
For the best reliability, performance, and uptime, run your applications on Shape.Host Cloud VPS, especially when using Docker-based deployments.