HedgeDoc (HackMD/CodiMD Successor) on Rocky Linux 9 (Docker + Nginx + SSL)
HedgeDoc is an open-source collaborative markdown editor designed for real-time note-taking, documentation, and presentations. As the successor to HackMD/CodiMD, it enables multiple users to edit and share markdown documents simultaneously, offering built-in presentation mode, media embedding, and third-party authentication (GitHub, GitLab, LDAP, OIDC). HedgeDoc is ideal for teams, developers, educators, and organizations seeking secure, self-hosted collaboration tools.
Running HedgeDoc on Rocky Linux 9, a RHEL-compatible enterprise-grade operating system, ensures stability, long-term support, and security. Combined with Docker Compose, PostgreSQL, Nginx, and SSL encryption, this setup provides a robust and production-ready foundation for teams that value performance and privacy.
Architecture Overview
| Layer | Component | Role |
|---|---|---|
| OS | Rocky Linux 9 | Enterprise-grade, RHEL-compatible Linux distribution |
| Container Runtime | Docker Engine + Compose | Orchestrates HedgeDoc, PostgreSQL, and supporting services |
| Application | HedgeDoc (Node.js) | Core web application for markdown collaboration and editing |
| Database | PostgreSQL 15 | Stores users, documents, sessions, and configuration data |
| Reverse Proxy | Nginx | Handles HTTPS, routing, caching, and gzip compression |
| TLS | Let’s Encrypt / PKI | Provides secure HTTPS connections for web access |
Why Use HedgeDoc?
- Real-time collaborative editing – work together on markdown documents instantly.
- Full markdown support – GitHub-flavored markdown (GFM) with code highlighting, KaTeX, and Mermaid diagrams.
- Presentation mode – transform markdown files into interactive slides.
- Authentication support – integrate with GitHub, GitLab, LDAP, or OAuth2 providers.
- Media and file uploads – embed images and media directly into notes.
- Privacy-first and self-hosted – all data remains on your server.
- Lightweight and modern – optimized for minimal resource usage and high performance.
HedgeDoc vs Other Markdown Collaboration Tools
| Feature/Capability | HedgeDoc (Self-hosted) | HackMD (Cloud) | Notion (Cloud) | Obsidian (Local) |
|---|---|---|---|---|
| Hosting | Self-hosted / Docker | Cloud | Cloud | Local filesystem |
| Real-time editing | ✅ Yes | ✅ Yes | ✅ Yes | ❌ No |
| Markdown support | ✅ Full (GFM) | ✅ Full | Partial | ✅ Full |
| Authentication | OAuth2 / LDAP / SSO | GitHub / Google | Notion account | Local only |
| Collaboration | ✅ Real-time | ✅ Real-time | ✅ Real-time | ❌ No |
| Privacy | 100% self-hosted | Cloud storage | Cloud storage | Local only |
| Cost | Free, open-source | Paid tiers | Subscription | Free |
HedgeDoc stands out as the most feature-complete open-source markdown collaboration platform, offering a HackMD-like experience with full data ownership and enterprise-grade security.
Security & Best Practices
- Deploy behind Nginx or Traefik with HTTPS enabled (Let’s Encrypt recommended).
- Store sensitive environment variables (JWT secrets, DB credentials) in Docker secrets or
.env. - Limit PostgreSQL access to the internal Docker network.
- Enable SELinux enforcing mode for extra protection.
- Use firewalld to expose only ports 80 and 443.
- Keep Rocky Linux, Docker, and HedgeDoc images updated regularly.
- Automate SSL certificate renewal using Certbot or Traefik ACME.
- Set up PostgreSQL backups (cron jobs or snapshot strategy).
- Enforce strong password and authentication policies for users.
Typical Use Cases
- Team collaboration and documentation for DevOps or developers.
- Internal company wiki with markdown-based pages and permissions.
- Lecture notes and shared research for educational environments.
- Real-time meeting notes and brainstorming sessions.
- Markdown presentation creation for workshops or tech events.
- Knowledge sharing and developer journals within teams.
Deploying HedgeDoc on Rocky Linux 9 with Docker, Nginx, and SSL gives you a fast, secure, and fully self-hosted real-time markdown platform, ideal for collaborative documentation, internal wikis, and note-taking — all under your complete control.
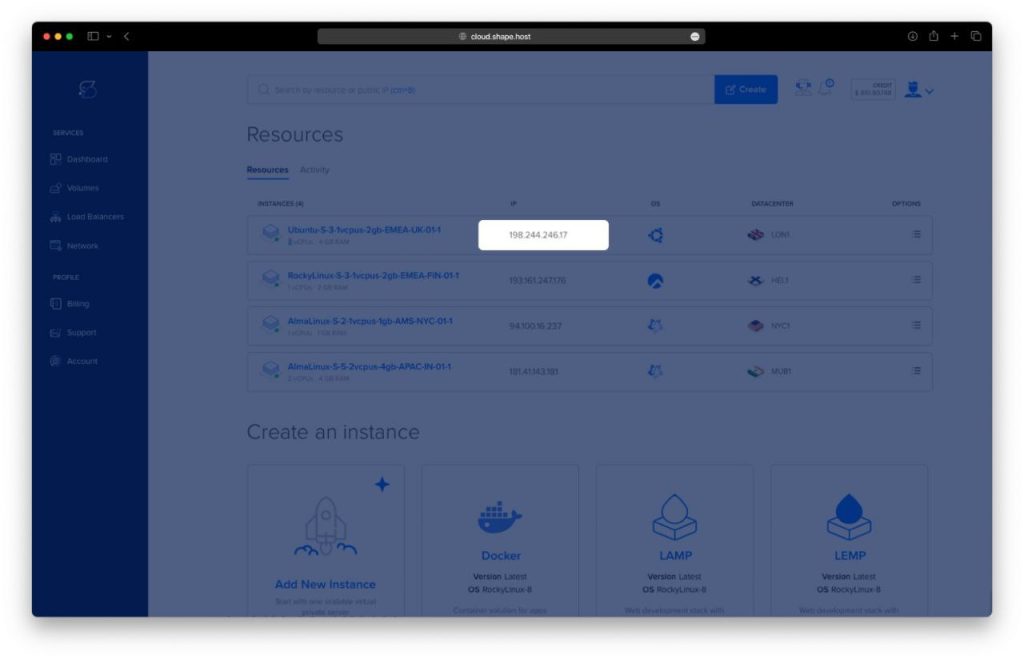
Create a Cloud Server Instance on Shape.Host
Before installing HedgeDoc, you need a fresh Rocky Linux 9 server.
Here’s how to create one using Shape.Host Cloud VPS:
Go to https://shape.host and log in.
Click the “Create” button in the top-right corner.
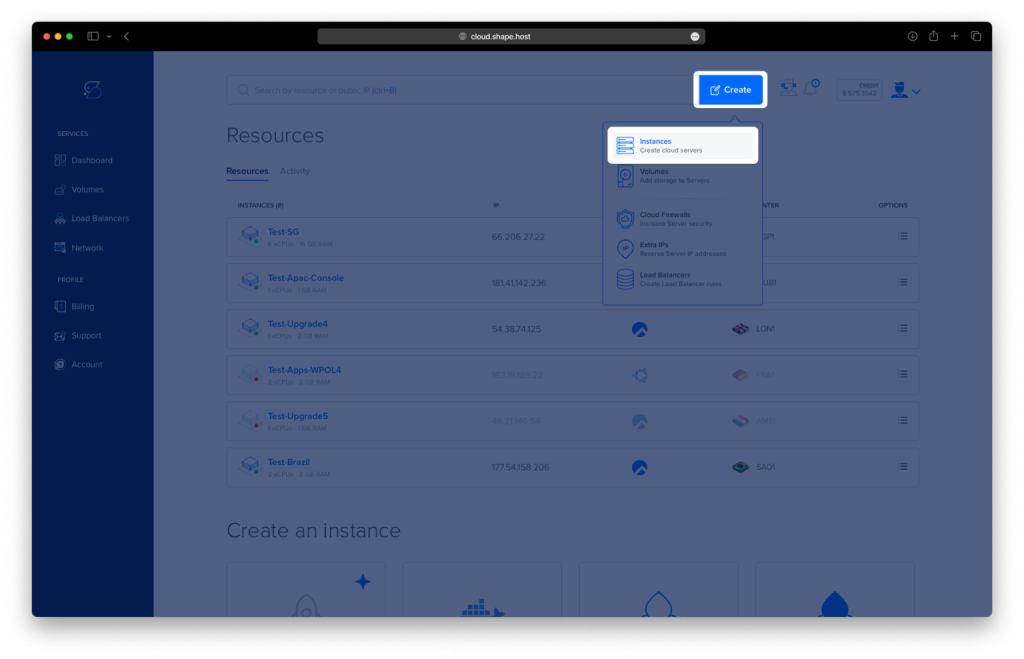
Select “Instance” from the dropdown.
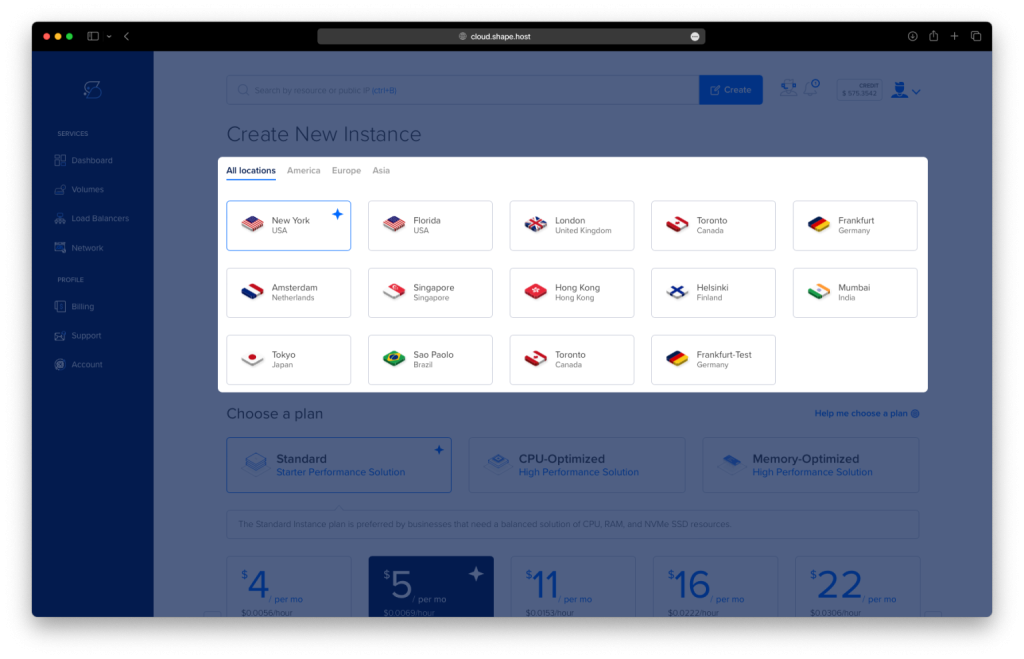
Choose your preferred server location (closest region = best speed).
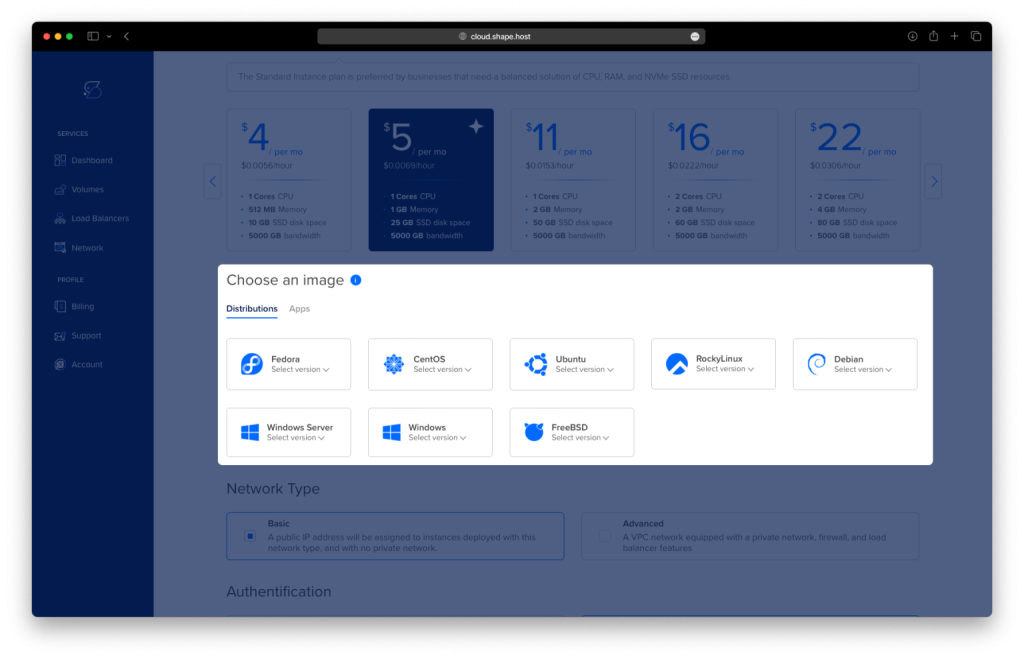
Select the operating system: Rocky Linux 9 (64-bit).
Choose a plan — recommended minimum:
2 vCPUs
4 GB RAM
20 GB SSD/NVMe
Click Create Instance to deploy the server.
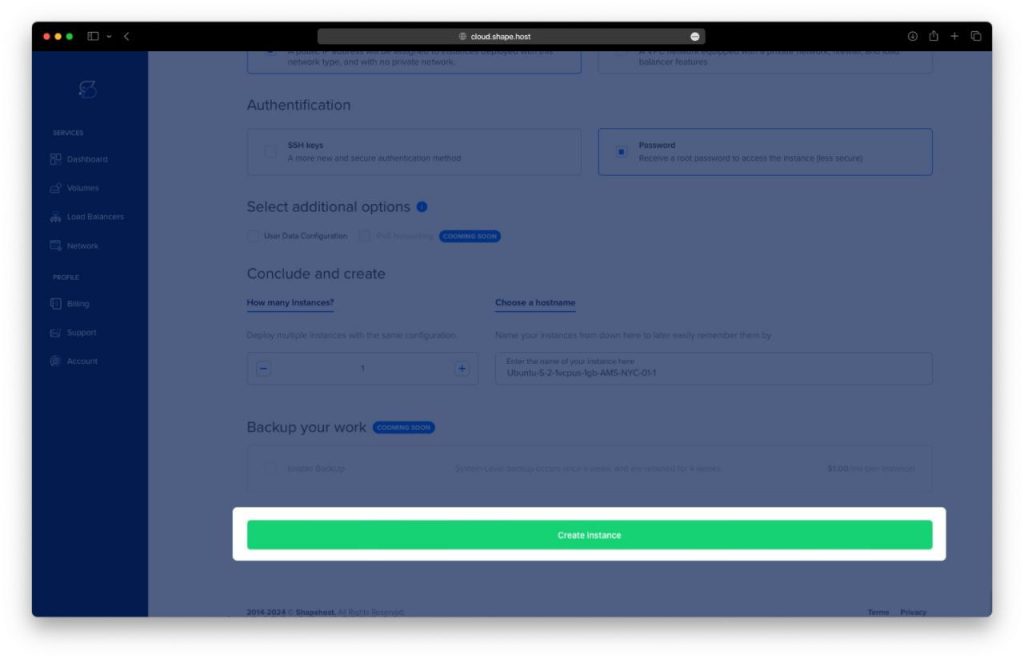
Copy the server’s IP address from your dashboard.
Now your Rocky Linux 9 server is ready for SSH access.
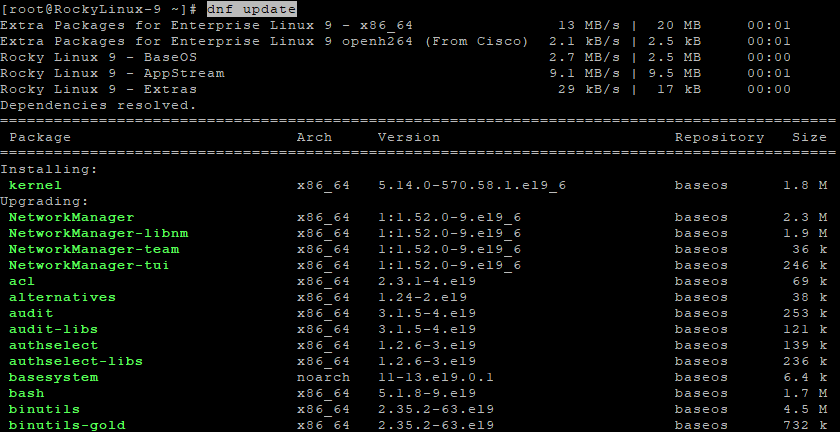
Step 1: Update Your Server
dnf update
Refreshes the system and installs the newest security patches.
Step 2: Remove Old or Conflicting Docker Versions
dnf remove docker docker-client docker-client-latest docker-common docker-latest docker-latest-logrotate docker-logrotate docker-engine
This ensures the system has no old Docker components that might cause conflicts with the official Docker CE installation.
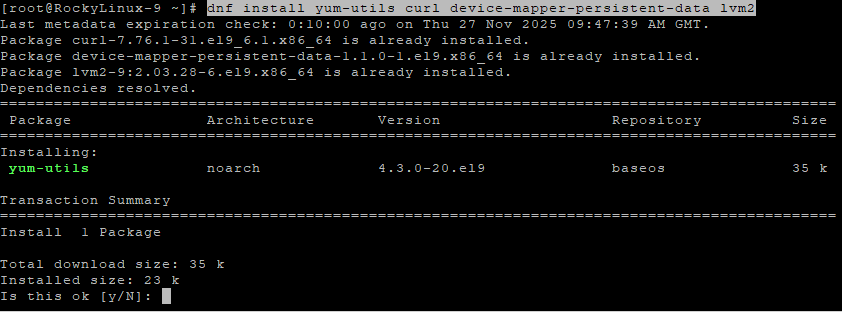
Step 3: Install Required Tools
dnf install yum-utils curl device-mapper-persistent-data lvm2
These packages do the following:
- yum-utils → needed for
yum-config-manager(to add Docker repo) - curl → required to download files
- device-mapper + lvm2 → storage engine dependencies that Docker needs
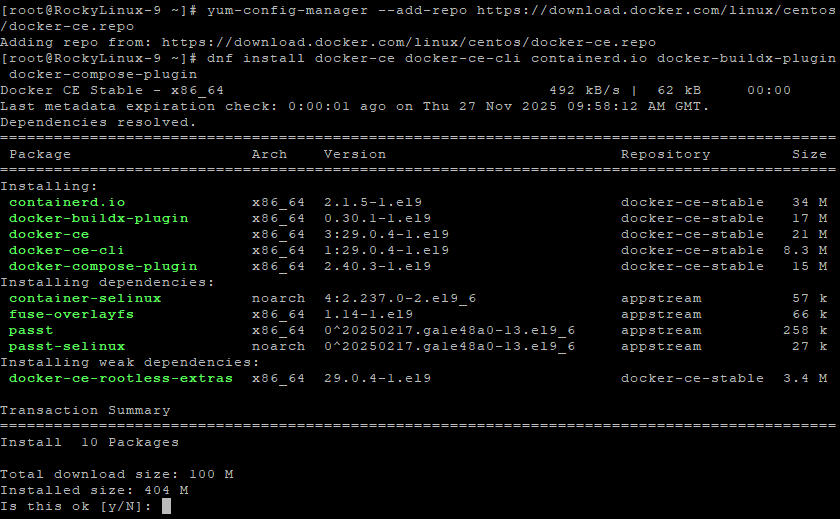
Step 4: Add Docker CE Repository
yum-config-manager --add-repo https://download.docker.com/linux/centos/docker-ce.repo
Adds the official Docker repository for CentOS/Rocky, ensuring up-to-date Docker packages.
Step 5: Install Docker Engine & Docker Compose
dnf install docker-ce docker-ce-cli containerd.io docker-buildx-plugin docker-compose-plugin
This installs:
- Docker Engine (CE)
- Docker CLI tools
- containerd runtime
- Buildx plugin
- Docker Compose v2 plugin (
docker compose)
Step 6: Enable Docker at Boot
systemctl enable docker
Step 7: Start Docker
systemctl start docker
Starts the Docker service immediately.
Step 8: Verify Docker Compose
docker compose version
If a version is printed, Docker Compose is installed correctly.

Step 9: Create HedgeDoc Directory
mkdir -p /opt/hedgedoc
Creates a dedicated folder to store your HedgeDoc files.
Step 10: Move Inside the Directory
cd /opt/hedgedoc

Step 11: Create Docker Compose File
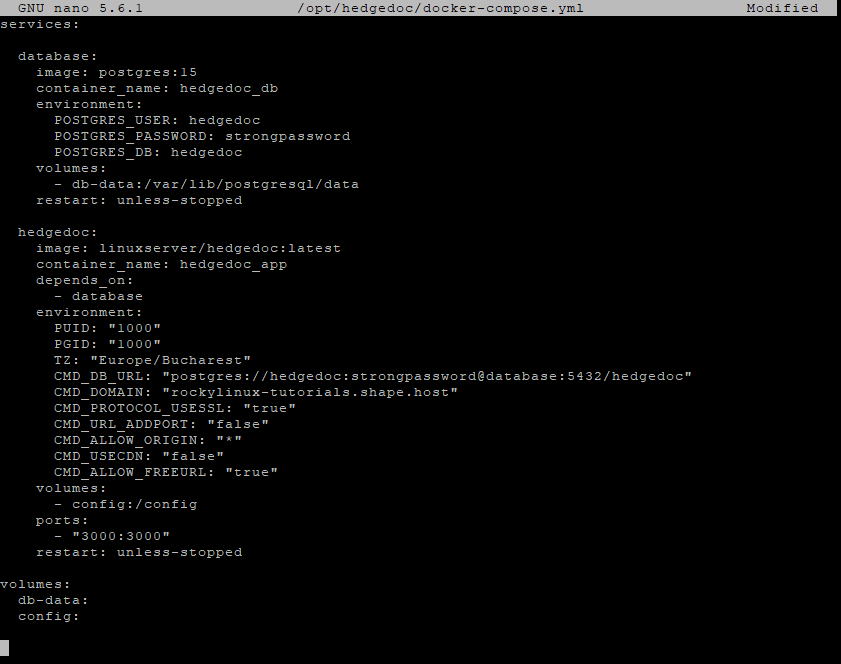
nano /opt/hedgedoc/docker-compose.yml
Paste your exact configuration:
services:

  database:
    image: postgres:15
    container_name: hedgedoc_db
    environment:
      POSTGRES_USER: hedgedoc
      POSTGRES_PASSWORD: strongpassword
      POSTGRES_DB: hedgedoc
    volumes:
      - db-data:/var/lib/postgresql/data
    restart: unless-stopped

  hedgedoc:
    image: linuxserver/hedgedoc:latest
    container_name: hedgedoc_app
    depends_on:
      - database
    environment:
      PUID: "1000"
      PGID: "1000"
      TZ: "Europe/Bucharest"
      CMD_DB_URL: "postgres://hedgedoc:strongpassword@database:5432/hedgedoc"
      CMD_DOMAIN: "YOUR_DOMAIN"
      CMD_PROTOCOL_USESSL: "true"
      CMD_URL_ADDPORT: "false"
      CMD_ALLOW_ORIGIN: "*"
      CMD_USECDN: "false"
      CMD_ALLOW_FREEURL: "true"
    volumes:
      - config:/config
    ports:
      - "3000:3000"
    restart: unless-stopped

volumes:
  db-data:
  config:
What this file does:
- Deploys PostgreSQL 15 as the database
- Deploys HedgeDoc using
linuxserver/hedgedoc - Connects HedgeDoc to PostgreSQL
- Exposes the app on port 3000
- Stores data persistently using Docker volumes
Save file: CTRL+O → ENTER → CTRL+X
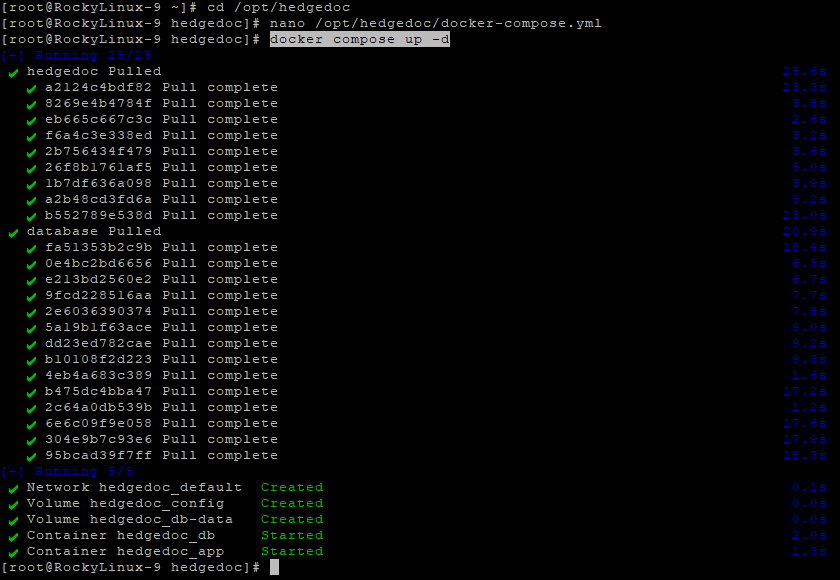
Step 12: Start HedgeDoc & PostgreSQL
docker compose up -d
- Downloads all required images
- Starts everything in the background
- Sets up persistent volumes
At this point, HedgeDoc is running internally.
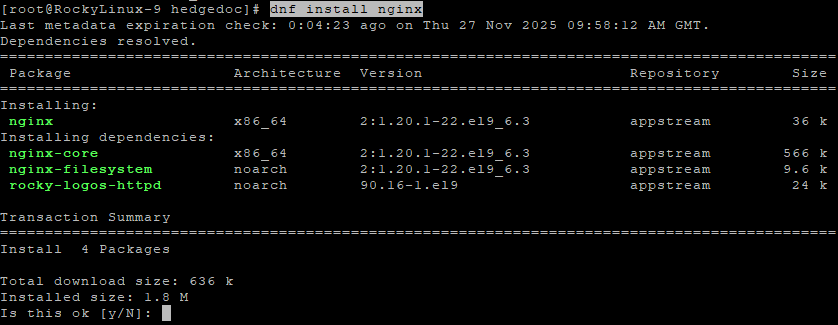
Step 13: Install Nginx
dnf install nginx
Nginx will act as a reverse proxy, forwarding external traffic to HedgeDoc.
Step 14: Enable Nginx
systemctl enable nginx
Step 15: Start Nginx
systemctl start nginx
Starts the web server right away.

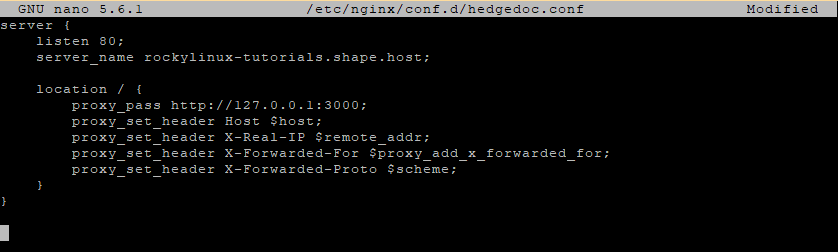
Step 16: Create Nginx Reverse Proxy
nano /etc/nginx/conf.d/hedgedoc.conf
Paste:
server {
    listen 80;
    server_name YOUR_DOMAIN;

    location / {
        proxy_pass http://127.0.0.1:3000;
        proxy_set_header Host $host;
        proxy_set_header X-Real-IP $remote_addr;
        proxy_set_header X-Forwarded-For $proxy_add_x_forwarded_for;
        proxy_set_header X-Forwarded-Proto $scheme;
    }
}
What this does:
- Accepts requests on port 80
- Forwards them to HedgeDoc running on localhost:3000
- Passes correct headers (IP/host/protocol)
- Prepares the domain for SSL
Step 17: Test Nginx Configuration
nginx -t
If no errors → continue.
Step 18: Reload Nginx
systemctl reload nginx
Applies the new reverse proxy configuration.

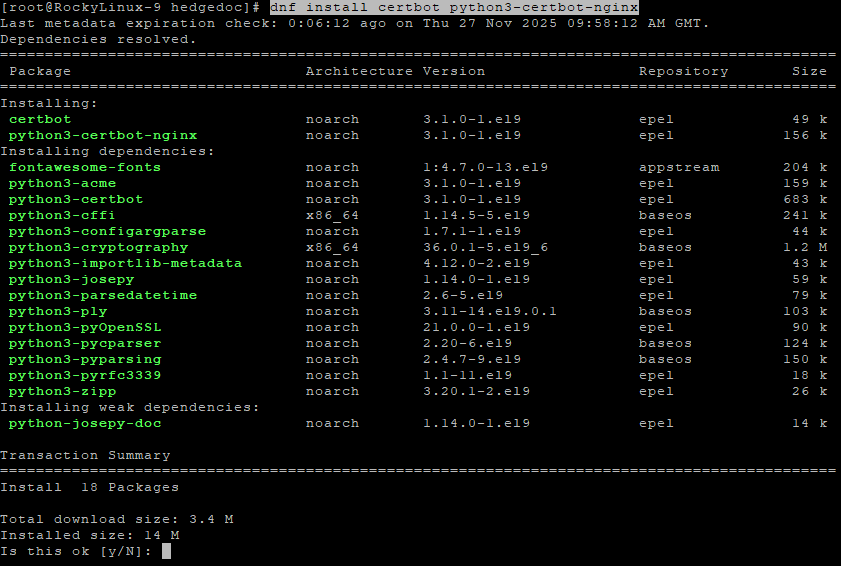
Step 19: Install Certbot (Let’s Encrypt)
dnf install certbot python3-certbot-nginx
This installs the tools needed to generate free SSL certificates.
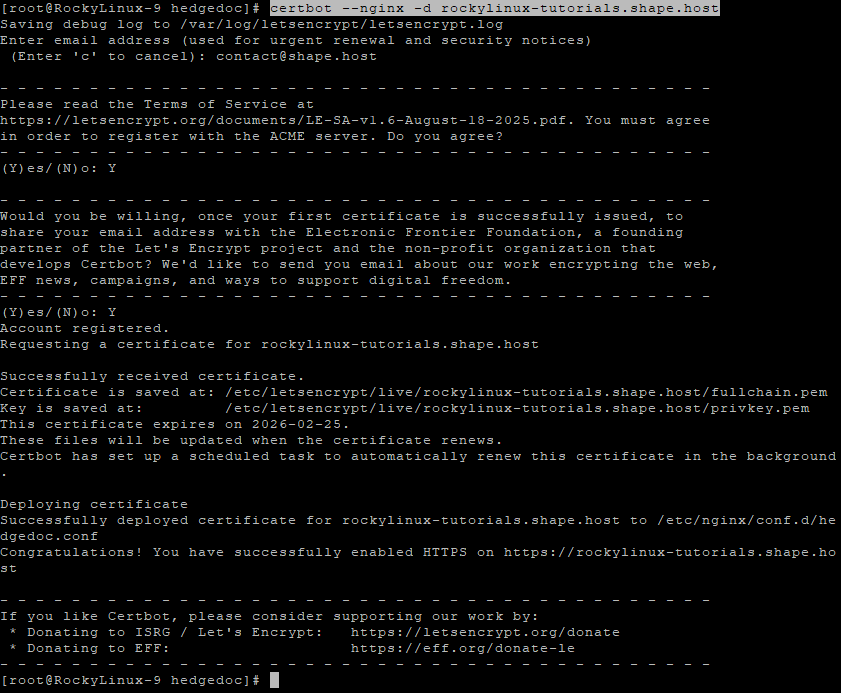
Step 20: Generate SSL Certificate
certbot --nginx -d rockylinux-tutorials.shape.host
Certbot will:
- Verify your domain
- Configure HTTPS automatically
- Update your Nginx config
- Reload Nginx
Step 21: Reload Nginx Again
systemctl reload nginx
Finalizes your HTTPS configuration.
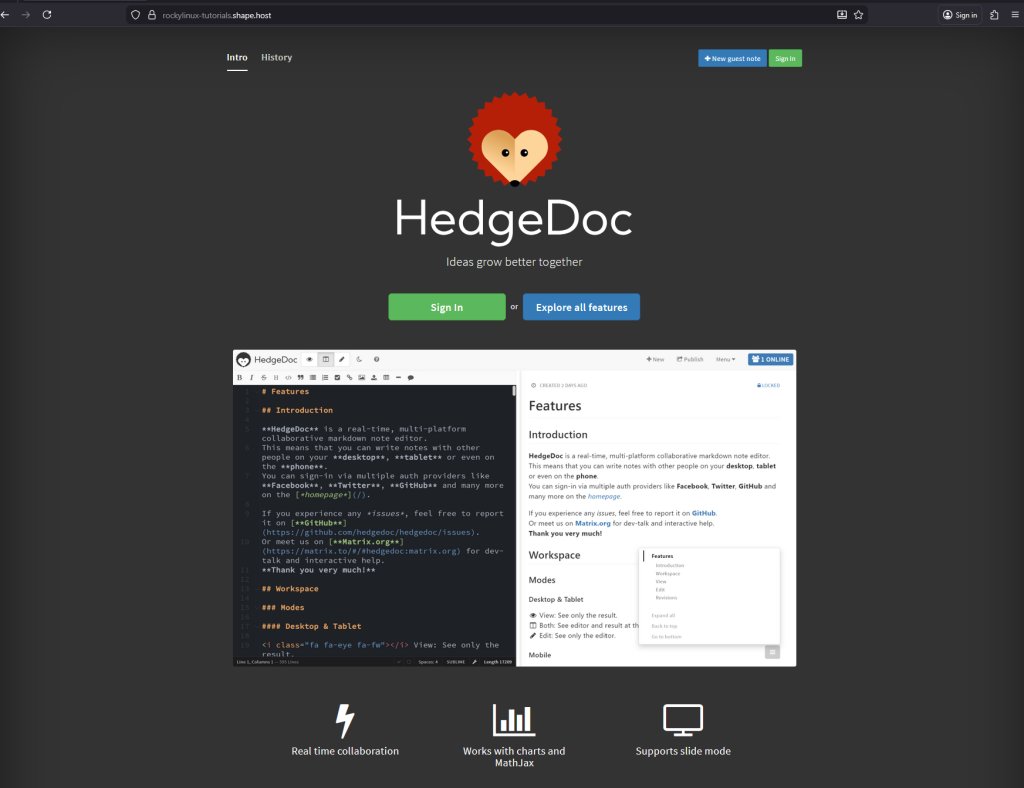
HedgeDoc is Now Installed & Secured!
Open your browser and visit:
https://YOUR_DOMAIN
You now have:
- HedgeDoc running in Docker
- PostgreSQL database
- Nginx reverse proxy
- Valid SSL certificate
- A fully production-ready installation
For the best performance and reliability, deploy your apps on Shape.Host Cloud VPS, especially Docker applications like HedgeDoc.