Cockpit is a lightweight, browser-based graphical interface for Linux server administration. It is particularly useful for system administrators who want to manage servers through a GUI without abandoning the flexibility of terminal commands.
Ubuntu 24.04 supports the latest version of Cockpit through its official repositories, making installation and usage seamless.
Key Features
| Feature | Description |
|---|---|
| Web-based Interface | Manage your system from any browser, including mobile devices |
| Real-Time System Monitoring | View CPU, memory, disk usage, network traffic in real-time |
| Service Management | Start/stop/restart services, enable or disable at boot |
| Journal Log Access | Browse and search system logs directly from the interface |
| User Account Management | Add, modify, or delete user accounts |
| Software Updates | View and install available software and security updates |
| Networking Management | Configure IP addresses, DNS, bridges, VLANs |
| Terminal Access | Built-in web terminal for command-line operations |
| Integration | Works well with other tools like systemd, NetworkManager, and firewalld |
Why Use Cockpit?
- Beginner-friendly: Offers an intuitive UI for new users managing Linux servers.
- Remote Management: Administer multiple servers from a single interface.
- No Disruption: You can use command line and Cockpit simultaneously — changes are reflected in real-time.
- Modular: Includes additional packages like
cockpit-storaged,cockpit-networkmanager, andcockpit-dockerfor specific tasks.
Default Port
- Cockpit runs on port 9090.
- You can access it via
https://your-server-ip:9090.
Security
- Supports PAM authentication (same as SSH)
- Requires HTTPS and can be configured with a trusted SSL certificate
- Access is restricted to system users with login privileges
Use Cases
- Managing Ubuntu 24.04 home servers or VPS
- Monitoring logs and services on production environments
- Simple GUI for setting up and administering multiple services (network, containers, storage)
Limitations
- Best suited for small to medium-sized deployments
- Not a full replacement for advanced configuration via CLI
- Some features may require optional Cockpit packages to be installed
Cockpit provides a modern, responsive, and easy-to-use graphical interface for managing Ubuntu 24.04 servers. It’s ideal for real-time system monitoring, user management, service control, and lightweight administration without the need to remember every CLI command.
Create a Server Instance on Shape.Host
Before installing Cockpit, create a new VPS running Ubuntu 24.04:
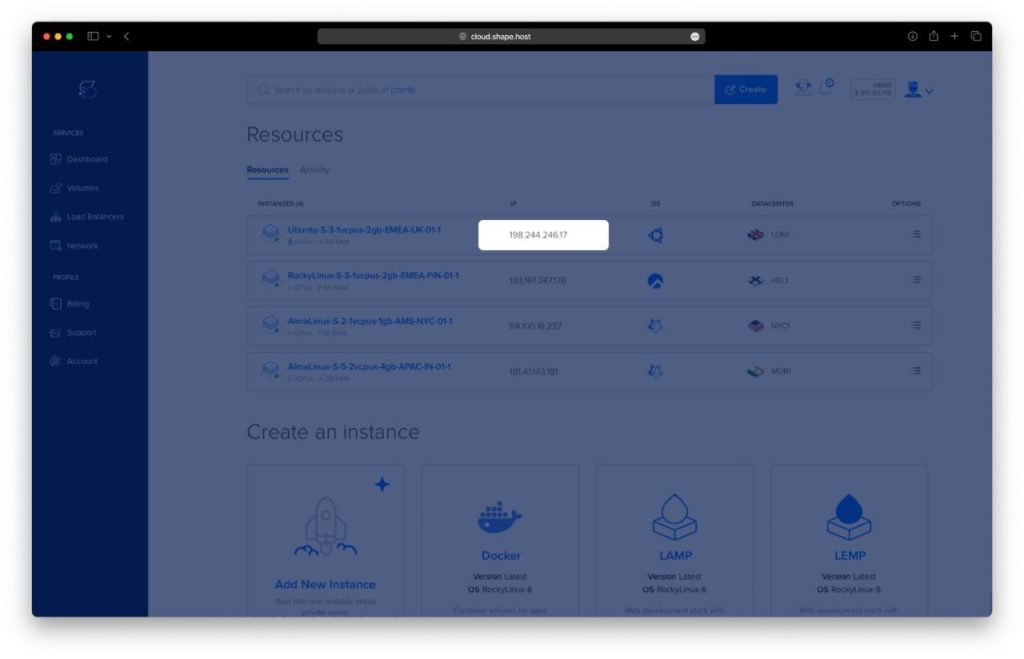
Go to https://shape.host and log in.
Click “Create” → “Instance”.
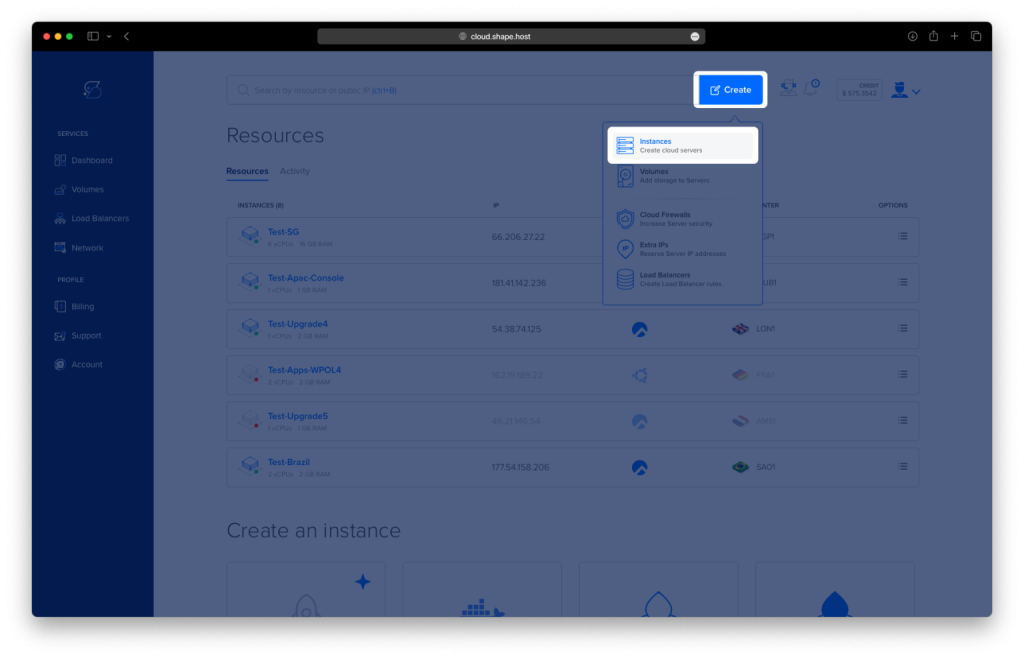
Set the following:
Location: Choose a nearby data center.
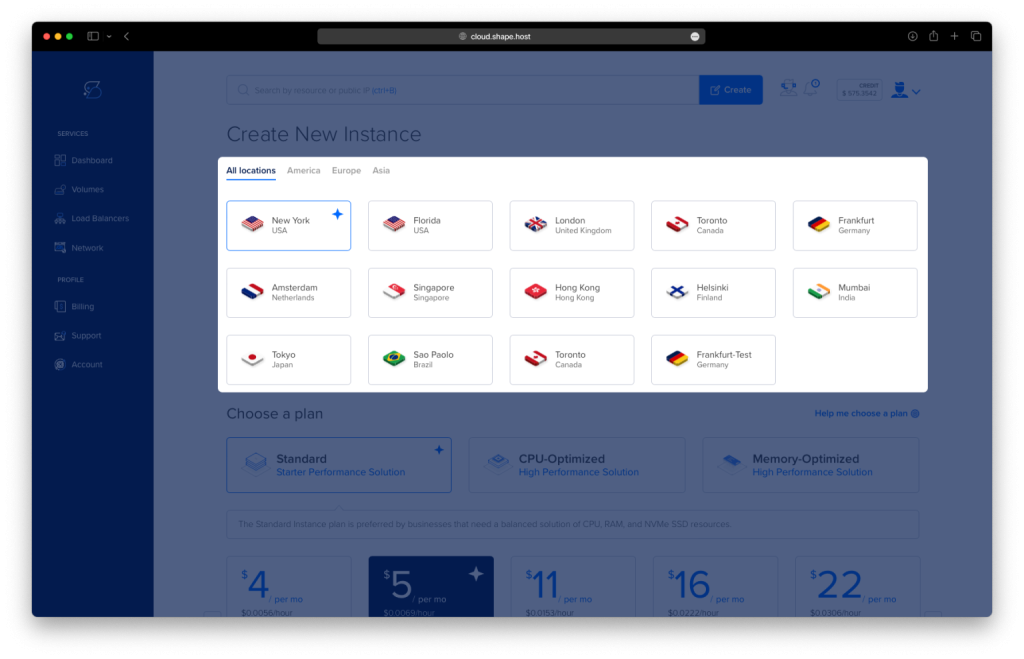
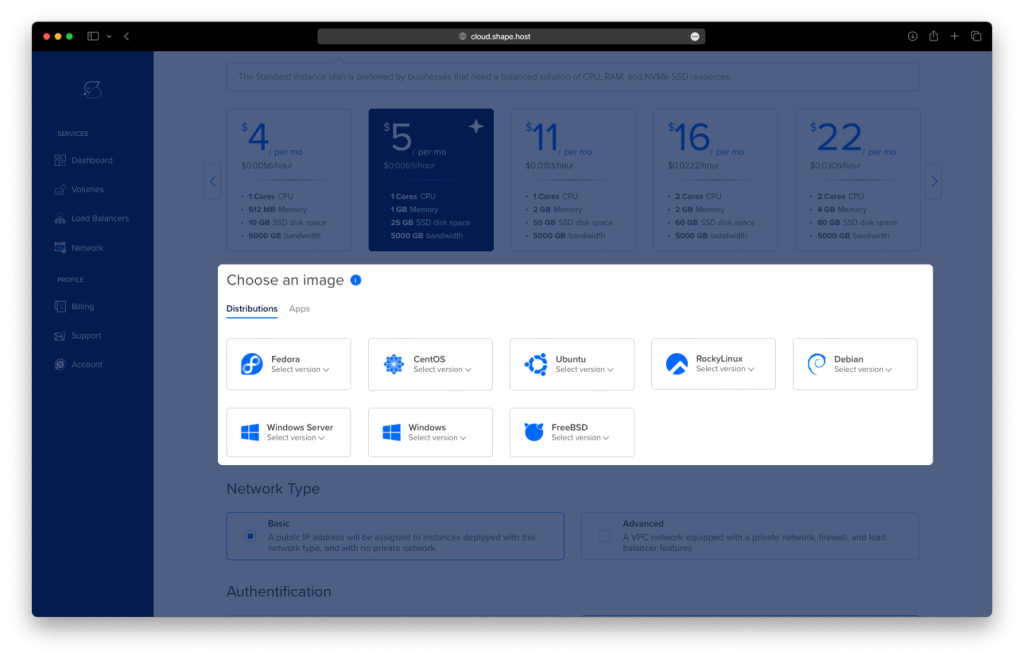
OS: Select Ubuntu 24.04 (64-bit)
Resources: Minimum 1 CPU, 1 GB RAM, 10 GB SSD
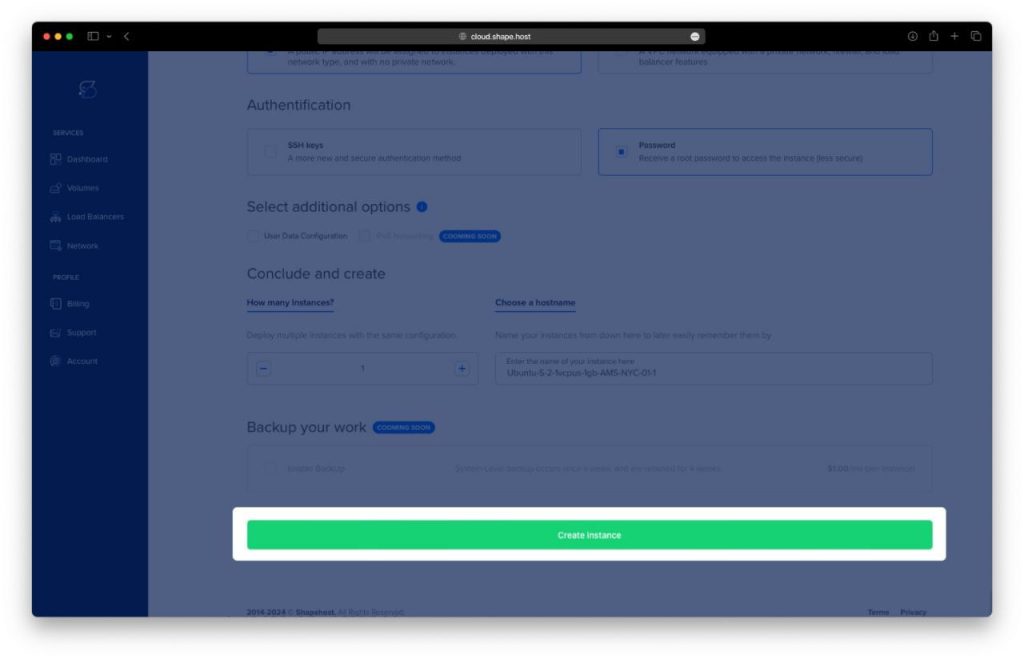
Click “Create Instance”.
After deployment, note the IP address for SSH access.
Connect via SSH:
ssh root@your-server-ipOn Windows, use PuTTY.
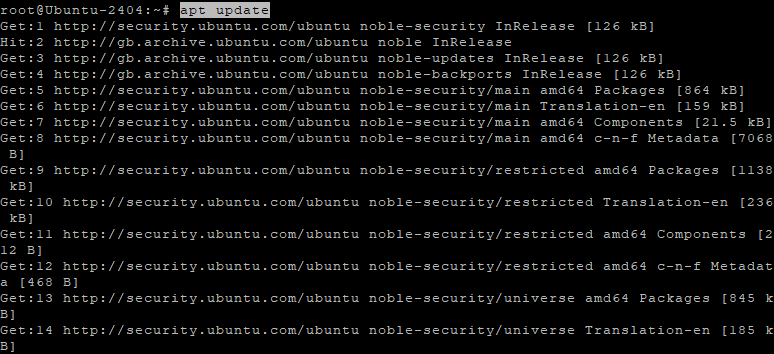
Step 1: Update the System
apt update
🔹 Refreshes the package lists to ensure you get the latest version of available software.
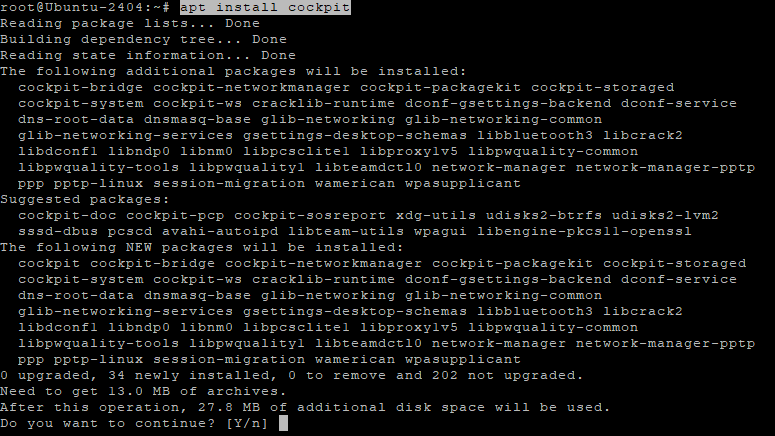
Step 2: Install Cockpit
apt install cockpit
🔹 Installs the Cockpit web-based server management tool.
Step 3: Enable and Start Cockpit Service
systemctl enable --now cockpit.socket
🔹 Enables the Cockpit service to start on boot and starts it immediately.
Step 4: Check Cockpit Service Status
systemctl status cockpit.socket
🔹 Verifies that the Cockpit socket is active and running.

Step 5: Configure the Firewall (UFW)
Allow access to Cockpit (port 9090):
ufw allow 9090/tcp
🔹 Opens the web management port for Cockpit.
Allow SSH access to avoid being locked out:
ufw allow ssh
🔹 Ensures you can still SSH into the server after enabling UFW.
Enable UFW:
ufw enable
🔹 Activates the firewall with the current rules.

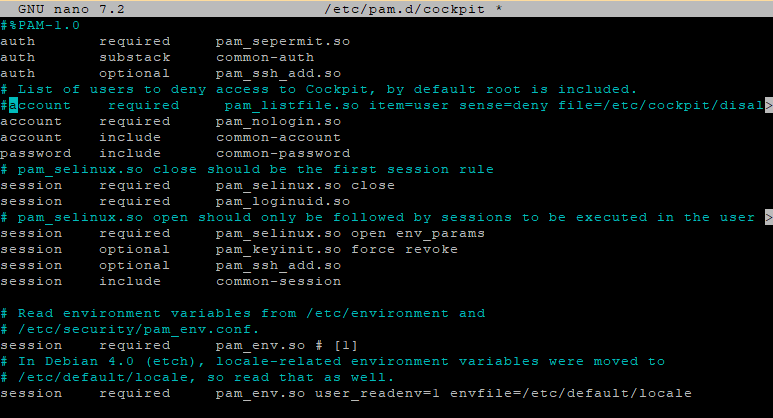
Step 6: Allow Admin Login (Optional PAM Fix)
Open PAM Cockpit config:
nano /etc/pam.d/cockpit
Find and comment out the following line:
account required pam_listfile.so item=user sense=deny file=/etc/cockpit/disallowed-users onerr=succeed
🔹 This line restricts Cockpit access for some users. Commenting it out allows login for all users unless explicitly denied elsewhere.
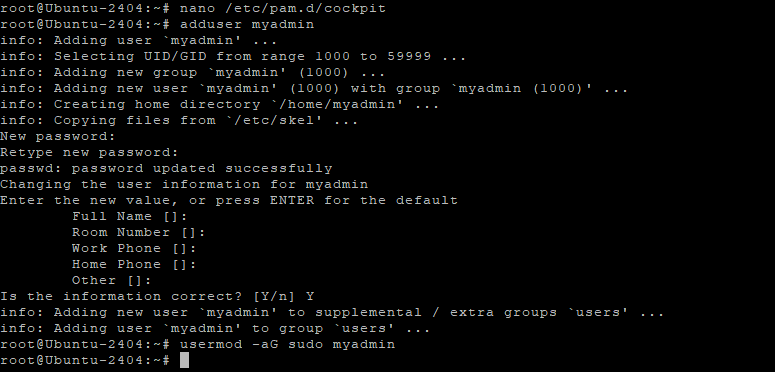
Step 7: Create a Cockpit Admin User
adduser myadmin
🔹 Creates a new user named myadmin.
usermod -aG sudo myadmin
🔹 Adds myadmin to the sudo group, giving it administrative rights in Cockpit and via SSH.
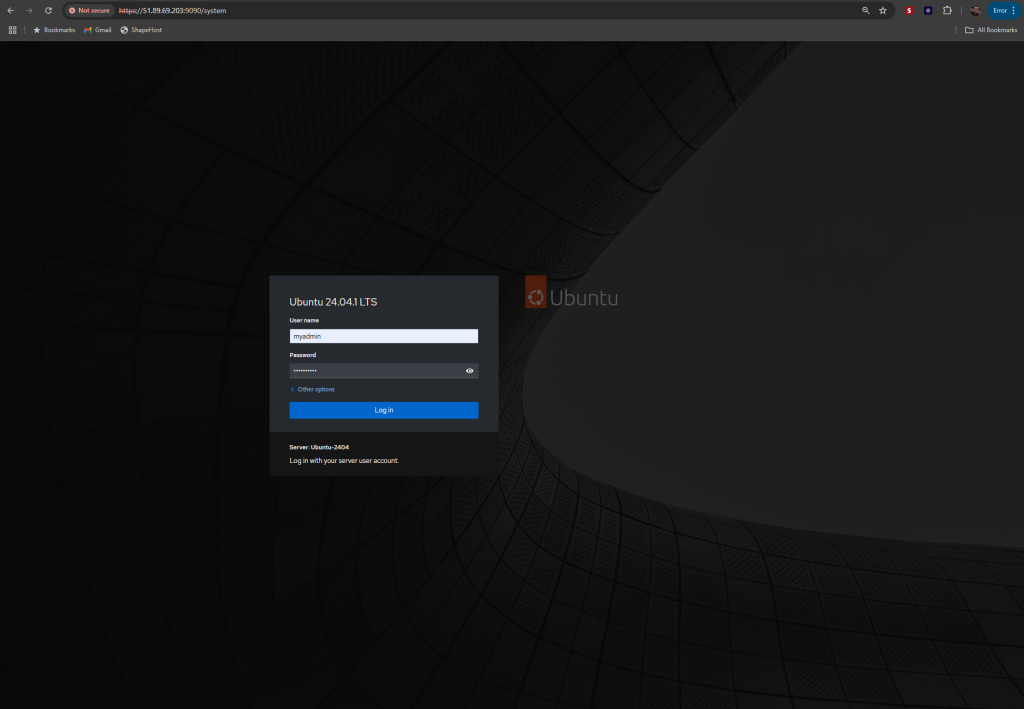
Step 8: Access Cockpit Web UI
Open your browser and visit:
https://YOUR_SERVER_IP:9090
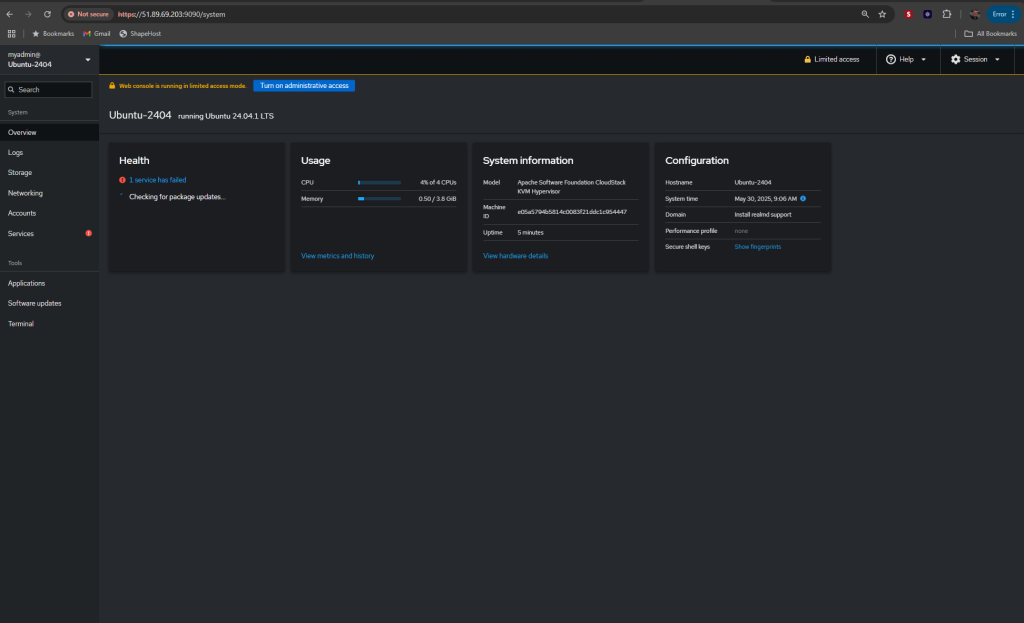
Log in with the myadmin user and the password you set.
You’ll see a modern dashboard where you can manage your server in real time.
This Cockpit setup runs smoothly on a secure, lightweight server.
Choose Shape.Host Cloud VPS for:
- Instant deployment of Ubuntu 24.04 and other OSes
- SSD-based storage and powerful CPUs
- Full root access for total control
- Perfect for Cockpit, WordPress, Docker, and more
Spin up your server and take control—only with Shape.Host.