What Is Apache Tomcat?
Apache Tomcat is a lightweight, open-source web server and servlet container developed by the Apache Software Foundation. It supports Jakarta EE specifications such as:
- Jakarta Servlets
- Jakarta Server Pages (JSP)
- Jakarta WebSocket
Version 11.0.7 brings full compatibility with Jakarta EE 11, reflecting the namespace migration from javax.* to jakarta.*.
Why Use Tomcat with Nginx?
Running Tomcat behind Nginx provides:
- Reverse proxying for clean and flexible request routing
- TLS/SSL termination using Let’s Encrypt and Certbot
- Improved performance for static content (CSS, JS, images)
- Protection against direct Tomcat exposure to the public internet
Why Rocky Linux 9?
Rocky Linux 9 is an Enterprise Linux distribution, fully compatible with RHEL 9, making it a stable and secure choice for production environments. It features:
- SELinux enforcing mode (secure by default)
- Modern kernel and security patches
- Compatibility with enterprise-grade services
System Architecture Overview
[User Browser] --> HTTPS (port 443)
      ↓
[Nginx Reverse Proxy + SSL]
      ↓
[Apache Tomcat 11.0.7 on port 8080]
      ↓
[Java Web Application]
Key Components
| Component | Role |
|---|---|
| Tomcat 11 | Serves dynamic Java applications via servlet engine |
| Nginx | Reverse proxy and TLS termination |
| Certbot | Issues and auto-renews SSL certificates |
| Rocky 9 | Stable OS with SELinux, firewalld, and systemd |
Features of Tomcat 11.0.7
- Full Jakarta EE 11 support
- Native HTTP/2 and WebSocket support
- Improved startup time and memory management
- Better TLS and OpenSSL integration when combined with a reverse proxy
Security Recommendations
- Run Tomcat under a dedicated non-root system user
- Bind Tomcat to
127.0.0.1:8080so it isn’t directly exposed - Use SELinux in enforcing mode with correct policies
- Restrict
server.xmlto minimal connectors and secure headers - Use Certbot for TLS with automatic renewal
- Enable firewalld to only expose ports
80and443
Common Use Cases
- Hosting Spring Boot or Jakarta EE-based web apps
- Running admin panels or dashboards in Java
- Deploying APIs behind HTTPS reverse proxy
- Serving enterprise SaaS with role-based access
SSL & Nginx Benefits
| Feature | Benefit |
|---|---|
| TLS 1.3 via Nginx | Modern and secure encryption |
| Let’s Encrypt + Certbot | Free and automated certificate management |
| gzip & Brotli compression | Faster client load times for static files |
| Custom Nginx headers | HSTS, X-Frame-Options, Referrer-Policy hardening |
| Reverse proxy rules | Flexible routing and cache behavior |
Logging Locations
- Tomcat logs:
/opt/tomcat/latest/logs/ - Nginx logs:
/var/log/nginx/ - SSL renewal logs:
/var/log/letsencrypt/
Deploying Apache Tomcat 11.0.7 with Nginx and SSL on Rocky Linux 9 provides a modern, secure, and scalable environment for Java web applications. The architecture offers separation of concerns, better performance, and out-of-the-box SSL integration using open tools like Certbot.
It’s an ideal setup for production web APIs, Java dashboards, enterprise intranet apps, and backend microservices with frontend integration.
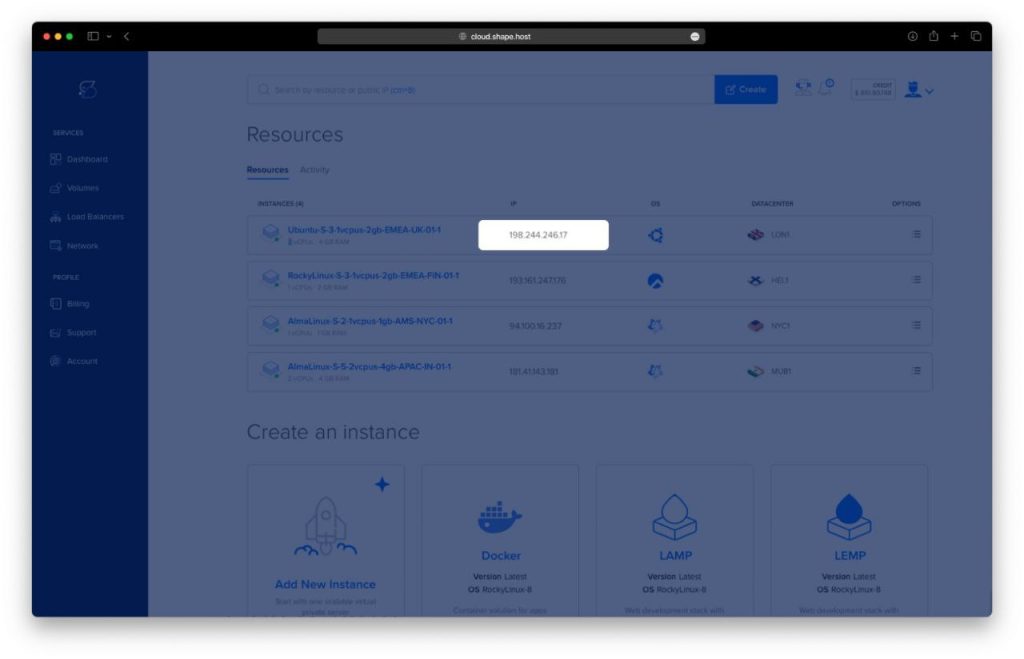
Step 1: Create a Shape.Host Instance
Go to https://shape.host and log in.
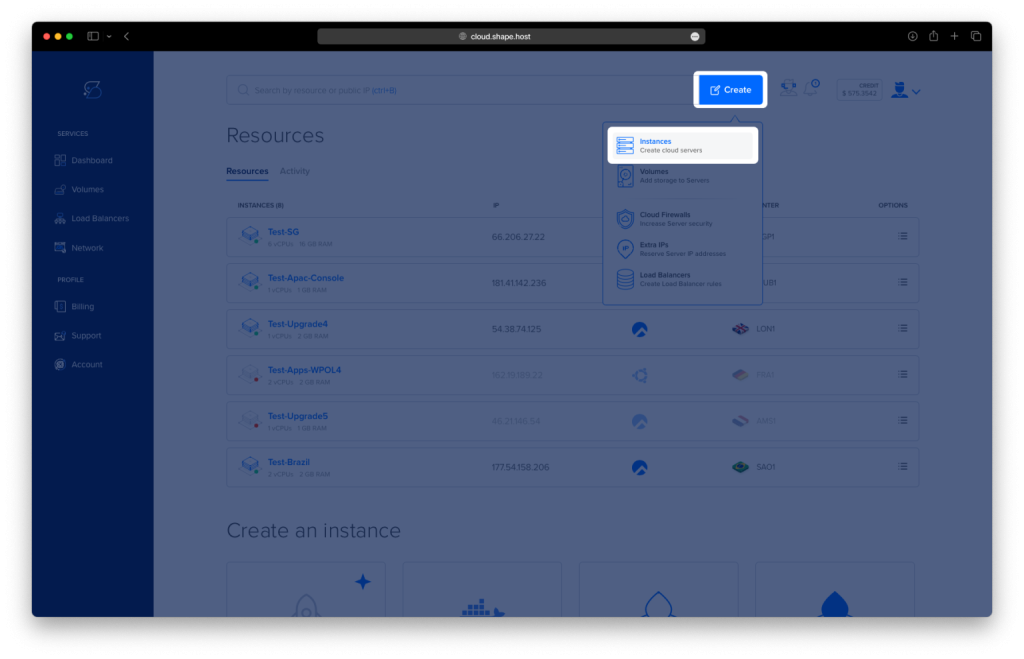
Click “Create”.
Choose “Instance”.
Select your desired server location.
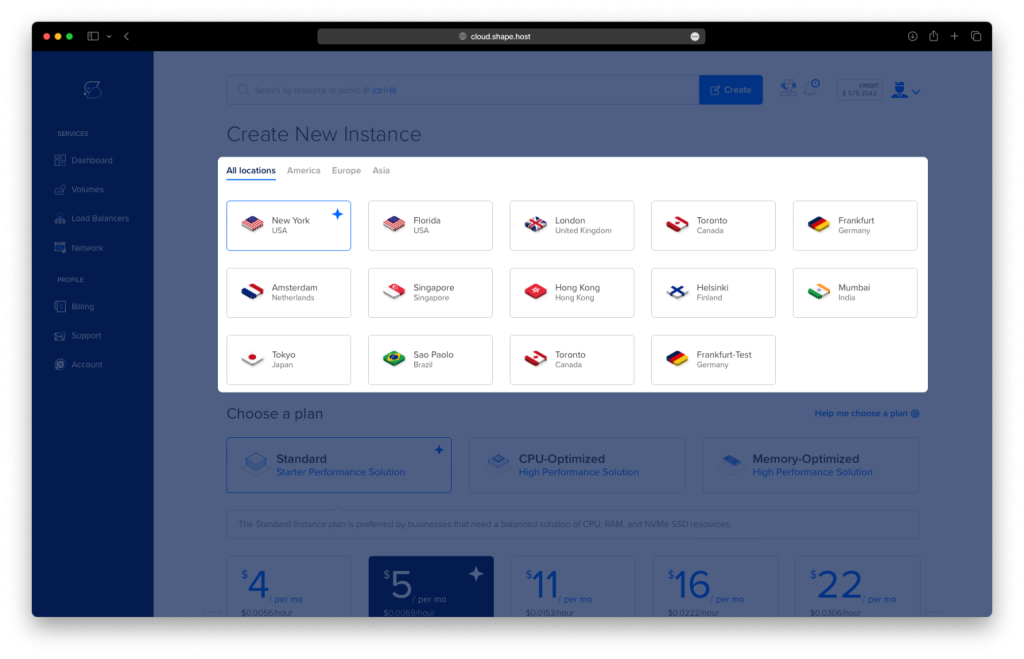
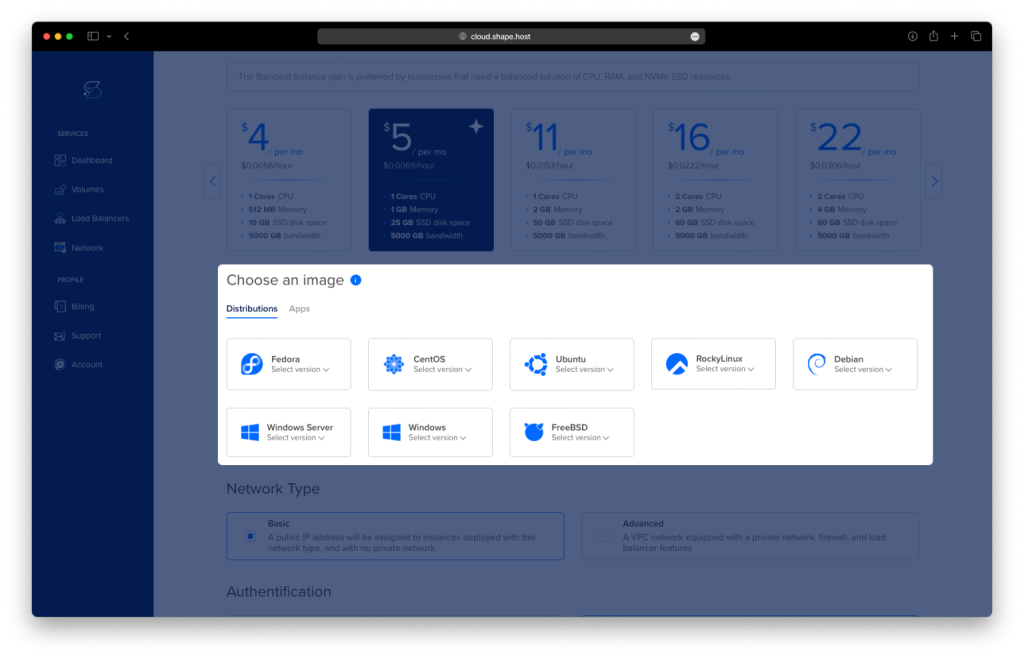
Choose Rocky Linux 9 (64-bit) as the operating system.
Pick a plan with at least 2 CPUs, 4 GB RAM, and 20 GB SSD.
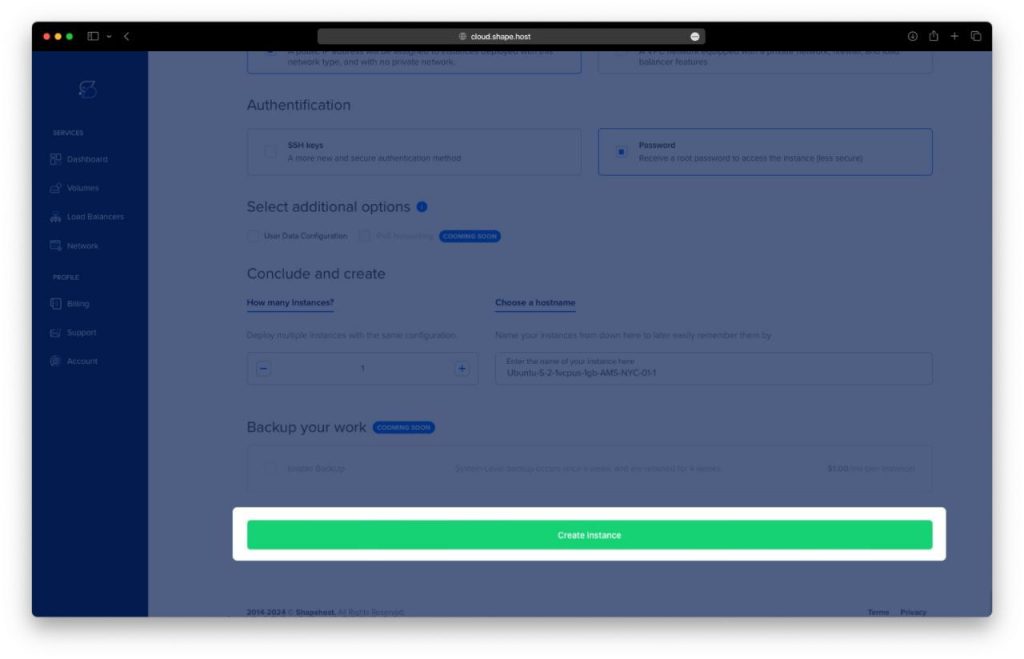
Click Create Instance.
Find your instance’s IP address under the “Resources” section.
Connect via SSH:
ssh root@your-server-ipOn Windows, use PuTTY.
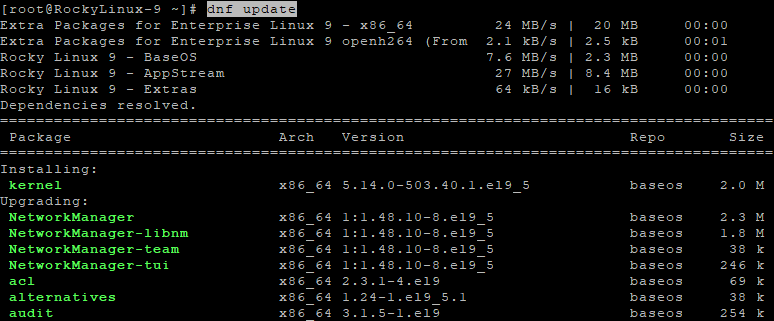
Step 2: Update the System
dnf update -y
This updates all system packages to their latest versions.
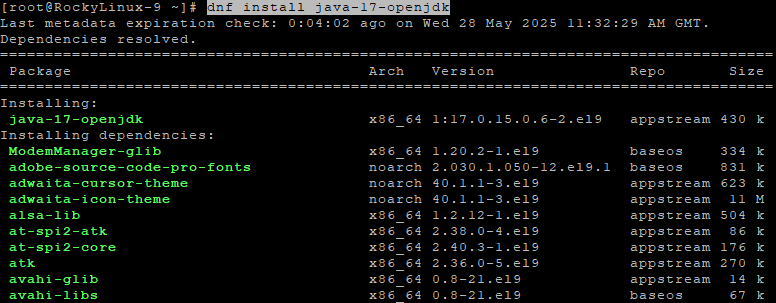
Step 3: Install Java 17
dnf install java-17-openjdk -y
Apache Tomcat requires Java. This installs OpenJDK 17.
java -version
Check that Java is installed correctly.

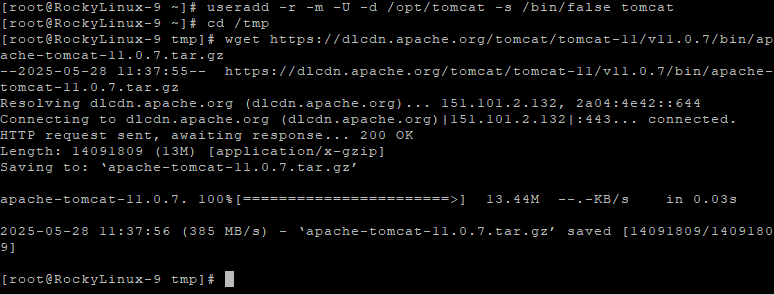
Step 4: Create Tomcat User and Download Tomcat
useradd -r -m -U -d /opt/tomcat -s /bin/false tomcat
Creates a system user named tomcat with no login shell.
cd /tmp
wget https://dlcdn.apache.org/tomcat/tomcat-11/v11.0.7/bin/apache-tomcat-11.0.7.tar.gz
tar -xzf apache-tomcat-11.0.7.tar.gz
mv apache-tomcat-11.0.7 /opt/tomcat/latest
chown -R tomcat: /opt/tomcat
Downloads Tomcat, extracts it, moves it to the final directory, and sets proper permissions.

Step 5: Create Tomcat Systemd Service
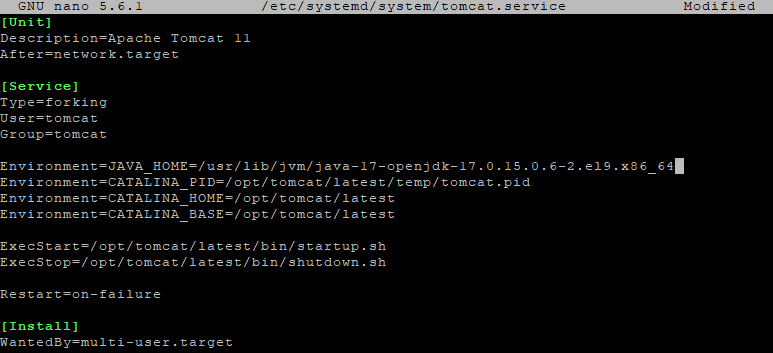
nano /etc/systemd/system/tomcat.service
Paste this configuration:
[Unit]
Description=Apache Tomcat 11
After=network.target

[Service]
Type=forking
User=tomcat
Group=tomcat

Environment=JAVA_HOME=/usr/lib/jvm/java-17-openjdk-17.0.15.0.6-2.el9.x86_64
Environment=CATALINA_PID=/opt/tomcat/latest/temp/tomcat.pid
Environment=CATALINA_HOME=/opt/tomcat/latest
Environment=CATALINA_BASE=/opt/tomcat/latest

ExecStart=/opt/tomcat/latest/bin/startup.sh
ExecStop=/opt/tomcat/latest/bin/shutdown.sh

Restart=on-failure

[Install]
WantedBy=multi-user.target
Step 6: Start and Enable Tomcat
systemctl daemon-reload
systemctl enable --now tomcat
This reloads systemd and enables Tomcat to start on boot.

Step 7: Configure Firewall
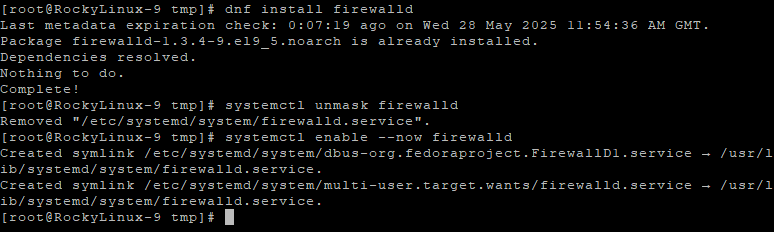
dnf install firewalld -y
systemctl unmask firewalld
systemctl enable --now firewalld
firewall-cmd --permanent --add-service=http
firewall-cmd --permanent --add-service=https
firewall-cmd --permanent --add-port=8080/tcp
firewall-cmd --reload
Installs and configures the firewall to allow HTTP, HTTPS, and Tomcat’s port 8080.

Step 8: Install and Configure Nginx
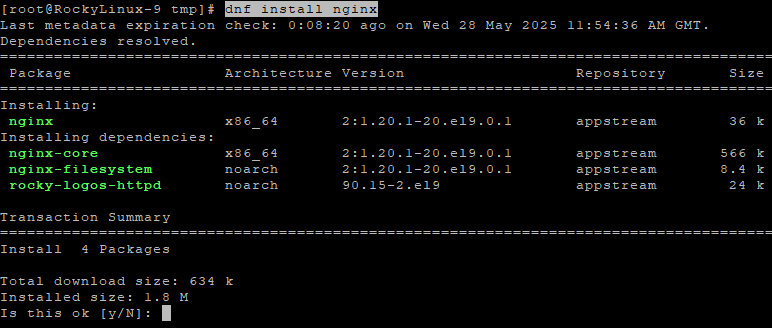
dnf install nginx -y
systemctl enable --now nginx
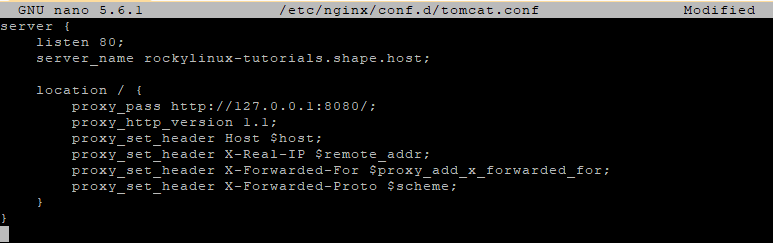
nano /etc/nginx/conf.d/tomcat.conf
Paste this configuration:
server {
    listen 80;
    server_name your-domain.com;

    location / {
        proxy_pass http://127.0.0.1:8080/;
        proxy_http_version 1.1;
        proxy_set_header Host $host;
        proxy_set_header X-Real-IP $remote_addr;
        proxy_set_header X-Forwarded-For $proxy_add_x_forwarded_for;
        proxy_set_header X-Forwarded-Proto $scheme;
    }
}
Then reload Nginx:
nginx -t && systemctl reload nginx

Step 9: Install Certbot and Enable SSL
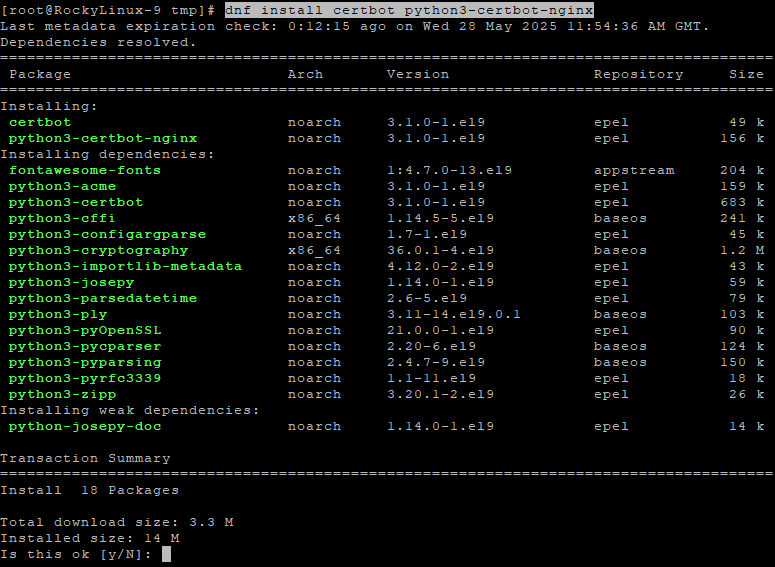
dnf install epel-release -y
dnf install certbot python3-certbot-nginx -y
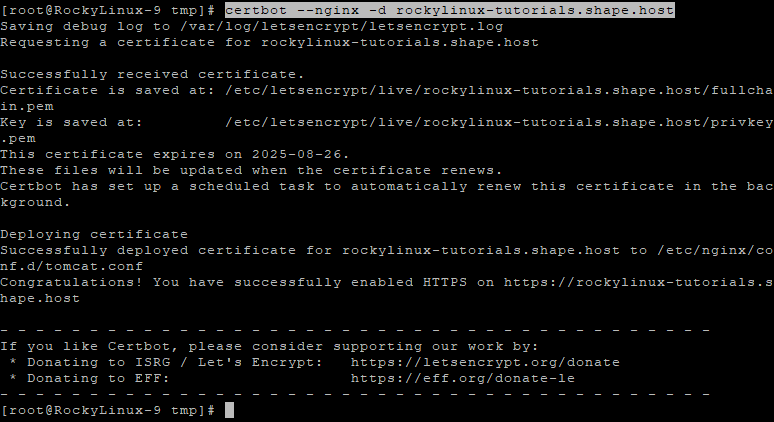
certbot --nginx -d your-domain.com
This enables HTTPS using Let’s Encrypt SSL certificate.

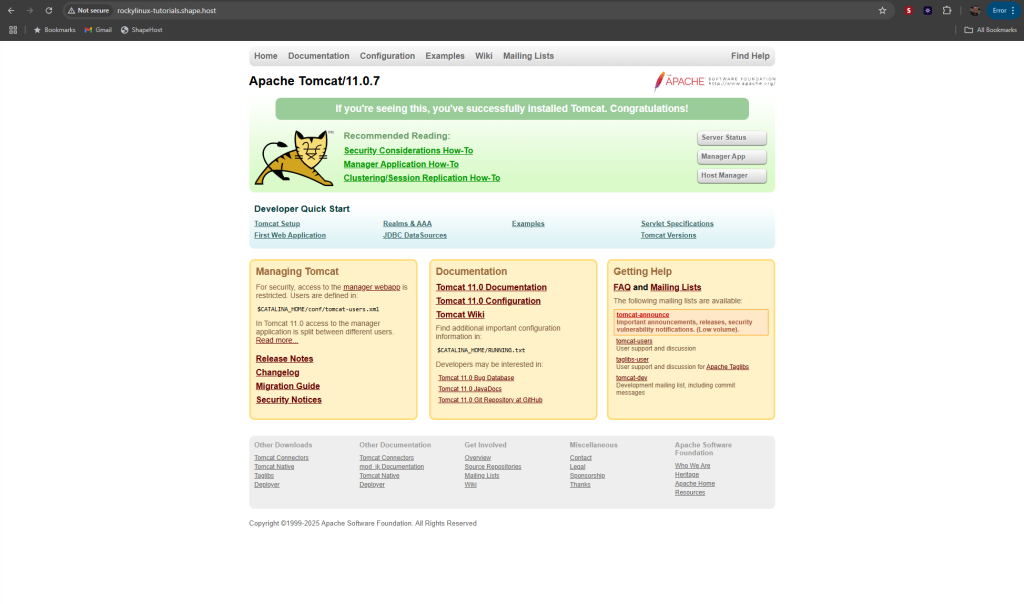
Step 10: Access Tomcat in Your Browser
Open your browser and go to:
https://your-domain.com
You should see the Tomcat welcome page if everything is set up correctly.
Get started quickly with a reliable cloud server using Shape.Host Linux SSD VPS:
👉 Deploy now at https://shape.host