What is Apache Tomcat?
Apache Tomcat is a widely used open-source application server that runs Java web applications using the Jakarta Servlet, JSP, and WebSocket specifications. Version 11.0.7 introduces support for Jakarta EE 11, which completes the namespace transition from javax.* to jakarta.*.
Tomcat is commonly used for hosting:
- Web applications built with Spring, JSF, or Struts
- RESTful APIs in Java
- Microservices within a Jakarta EE stack
What is Nginx?
Nginx is a high-performance, event-driven web server and reverse proxy. It’s commonly used to improve security and performance by sitting in front of application servers like Tomcat.
In this setup, Nginx handles:
- Incoming web traffic on ports 80 (HTTP) and 443 (HTTPS)
- SSL/TLS termination for secure communication
- Static file serving
- Proxying dynamic requests to Tomcat running on an internal port (e.g., 8080)
Why Use Nginx with Tomcat on Debian 12?
Debian 12 “Bookworm” is a reliable, long-term support operating system with key advantages:
- Compatible with OpenJDK 17+, systemd, firewalld, and UFW
- Secure and lightweight — ideal for web application hosting
- Supports modern versions of Nginx and libraries required for TLS 1.3
- Stable package updates and extended security support through Debian LTS
By combining Tomcat with Nginx on Debian 12, you benefit from:
- Security: Isolate Tomcat behind Nginx and use HTTPS
- Performance: Nginx handles static files, caching, and concurrent connections better
- Control: Fine-grained access rules and better logging
- Ease of SSL: Easily enable HTTPS using Let’s Encrypt and Certbot
Tomcat 11.0.7 Key Features
- Full support for Jakarta EE 11
- Enhanced support for WebSocket, HTTP/2, and OpenSSL integration
- Modernized architecture with improved memory and threading performance
- Better compatibility with current Java frameworks and build tools
Nginx + SSL Integration Benefits
| Component | Role and Benefit |
|---|---|
| Nginx | Reverse proxy and TLS termination for Tomcat |
| Let’s Encrypt | Free SSL certificates with automatic renewal using Certbot |
| Static file serving | Nginx can serve images, CSS, and JS files faster than Tomcat |
| Security layer | Hides Tomcat from the public and adds DDoS, IP, and header protections |
| HTTP to HTTPS | Easily redirect all traffic to secure connections |
Typical Architecture on Debian 12
[Client Browser]
        ↓ HTTPS (443)
     [Nginx with SSL]
        ↓ Proxy
  [Apache Tomcat 11.0.7 on port 8080]
        ↓
 [Java Web Application (WAR)]
Deployment Use Cases
- Hosting Java-based admin portals and dashboards
- Exposing Java APIs securely over HTTPS
- Running Spring Boot apps behind Tomcat for legacy compatibility
- Web apps requiring secure file upload/download features
- Internal tools or microservices secured via TLS
Security Best Practices
- Do not expose Tomcat directly to the internet; bind it to localhost
- Use firewalld or UFW to restrict access to ports 8080, 8009
- Protect Tomcat’s admin interface (
/manager,/host-manager) with IP allowlists - Use strong Diffie-Hellman parameters and TLS 1.3 in Nginx
- Regularly update Tomcat, Nginx, and system packages
- Set SELinux or AppArmor profiles for process confinement if enabled
Logging and Monitoring
- Tomcat logs:
/opt/tomcat/latest/logs/or/var/log/tomcat/ - Nginx logs:
/var/log/nginx/access.loganderror.log - Certbot renewal logs:
/var/log/letsencrypt/ - Use Prometheus + Grafana, or Filebeat + Elasticsearch, for observability
Running Apache Tomcat 11.0.7 with Nginx and SSL on Debian 12 gives you a secure, scalable, and performant stack for deploying Java web applications. Tomcat handles dynamic Java workloads, while Nginx serves as a powerful frontend for security, HTTPS, and performance optimization.
This architecture is especially suited for production-grade environments where SSL, uptime, and backend isolation are critical.
Step 1: Deploy a Clean Server on Shape.Host
Go to https://shape.host and log in.
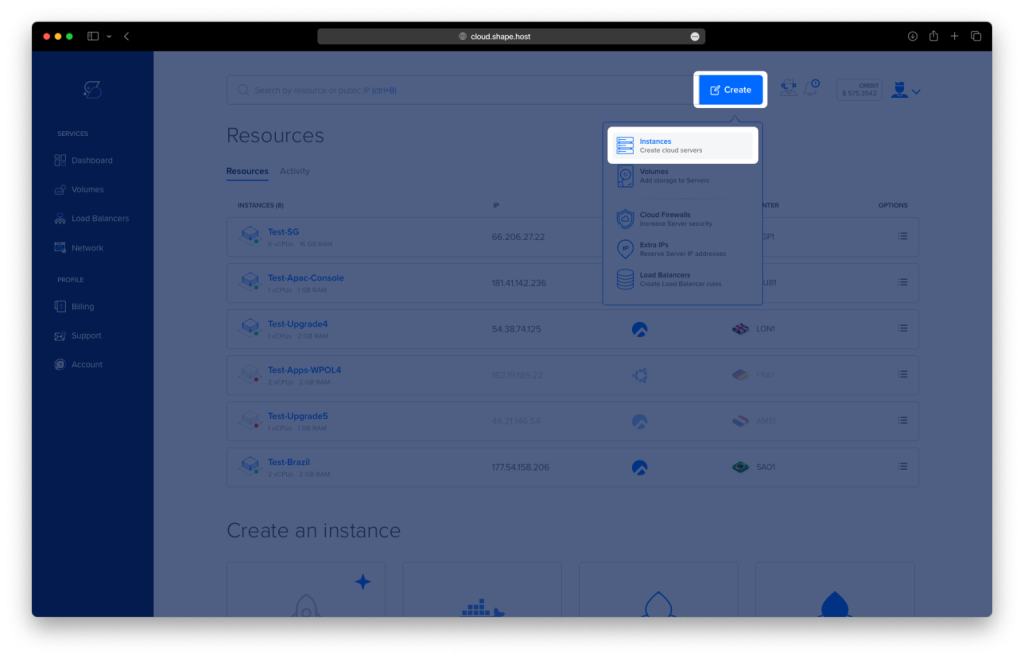
Click “Create”, then select “Instance”.
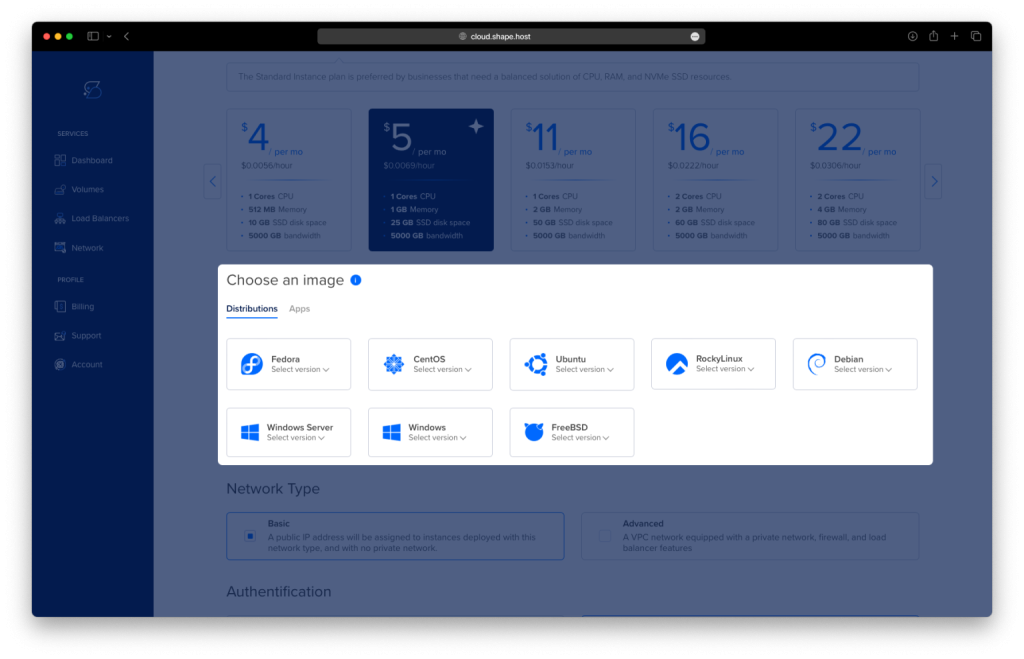
Choose a server location.

Choose Debian 12 (64-bit) as your OS.
Select a plan with at least 2 CPUs, 4 GB RAM, and 20 GB SSD.
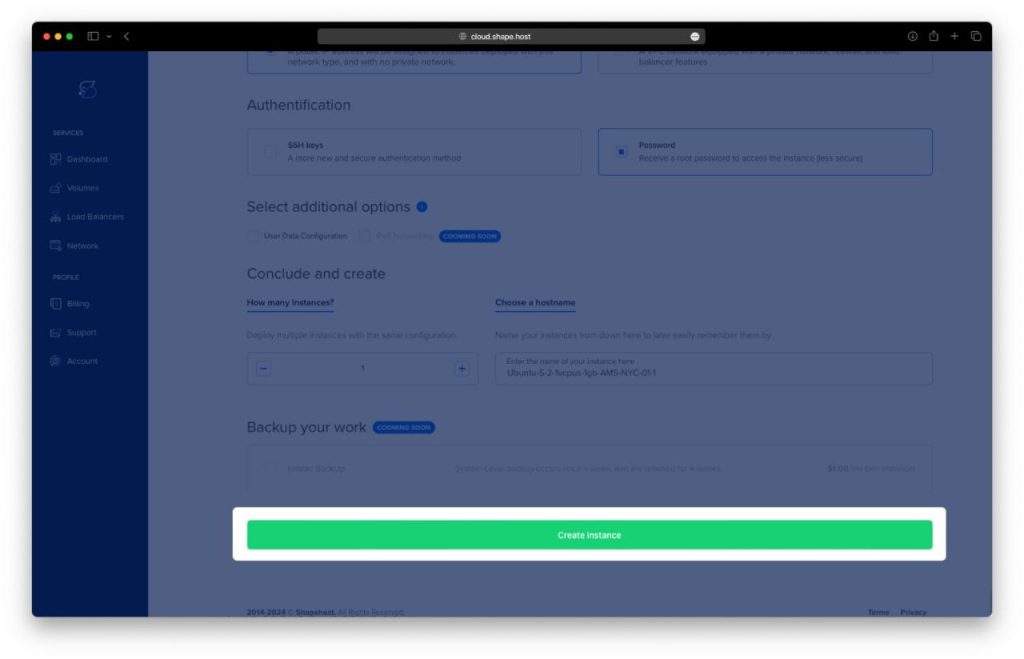
Click “Create Instance”.
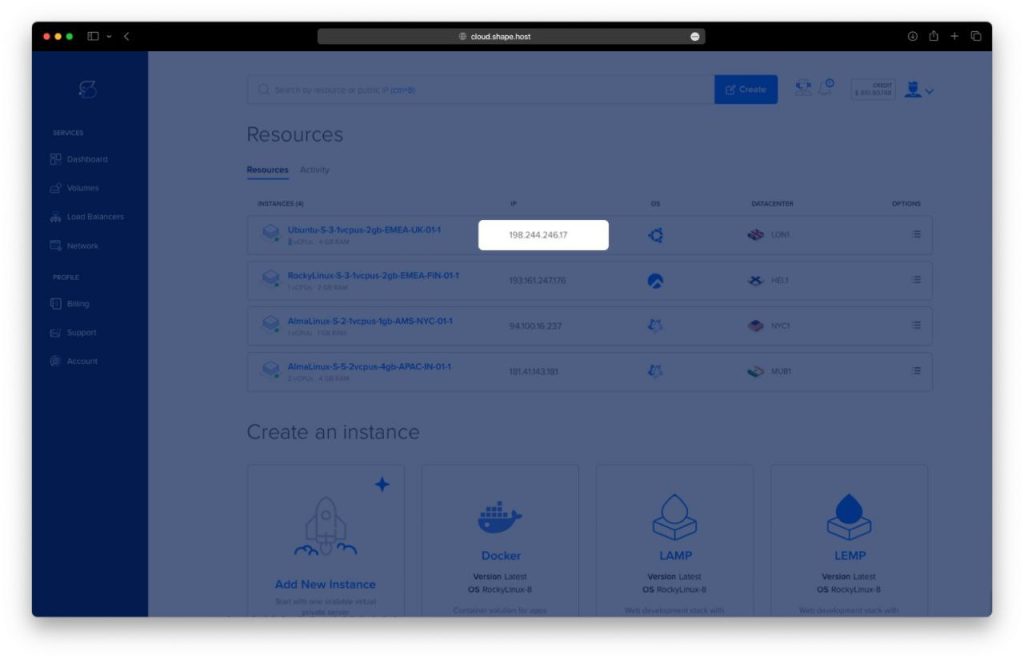
Copy your server’s IP address from the Resources section.
Step 2: Connect to Your Instance
On Linux/macOS:
ssh root@your_server_ip
On Windows, use PuTTY.
Step 3: Install Java
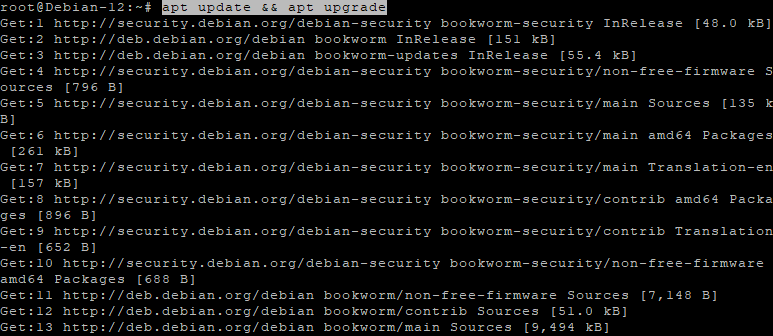
apt update && apt upgrade
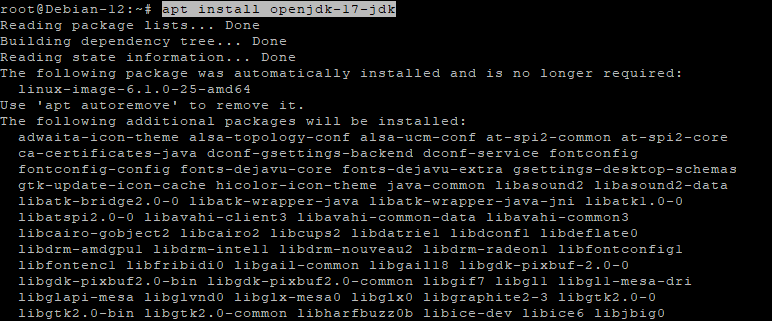
apt install openjdk-17-jdk
java -version
This installs Java 17, required to run Tomcat.

Step 4: Create the Tomcat User and Setup
useradd -r -m -U -d /opt/tomcat -s /bin/false tomcat
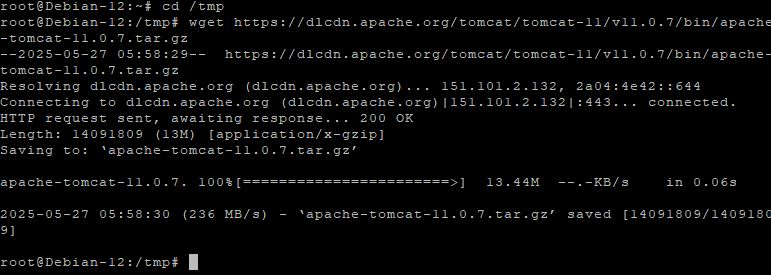
cd /tmp
wget https://dlcdn.apache.org/tomcat/tomcat-11/v11.0.7/bin/apache-tomcat-11.0.7.tar.gz
tar -xzf apache-tomcat-11.0.7.tar.gz
mv apache-tomcat-11.0.7 /opt/tomcat/latest
chown -R tomcat: /opt/tomcat


Step 5: Create a Systemd Service for Tomcat
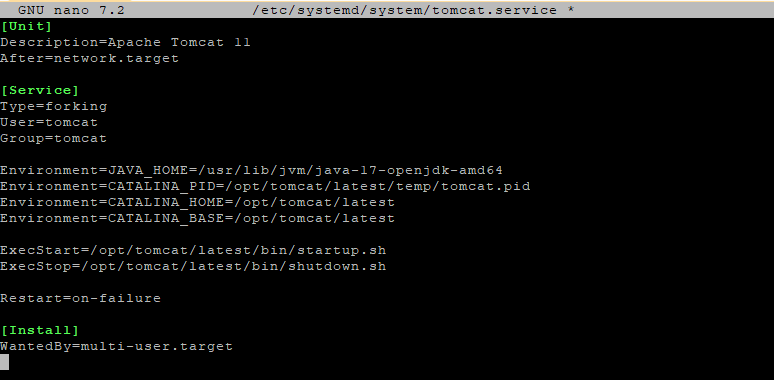
nano /etc/systemd/system/tomcat.service
Paste this content:
[Unit]
Description=Apache Tomcat 11
After=network.target

[Service]
Type=forking
User=tomcat
Group=tomcat

Environment=JAVA_HOME=/usr/lib/jvm/java-17-openjdk-amd64
Environment=CATALINA_PID=/opt/tomcat/latest/temp/tomcat.pid
Environment=CATALINA_HOME=/opt/tomcat/latest
Environment=CATALINA_BASE=/opt/tomcat/latest

ExecStart=/opt/tomcat/latest/bin/startup.sh
ExecStop=/opt/tomcat/latest/bin/shutdown.sh

Restart=on-failure

[Install]
WantedBy=multi-user.target
Enable and start Tomcat:
systemctl daemon-reload
systemctl enable --now tomcat

Step 6: Configure Firewall
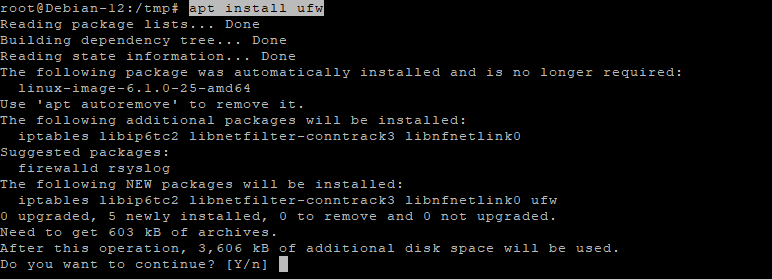
apt install ufw
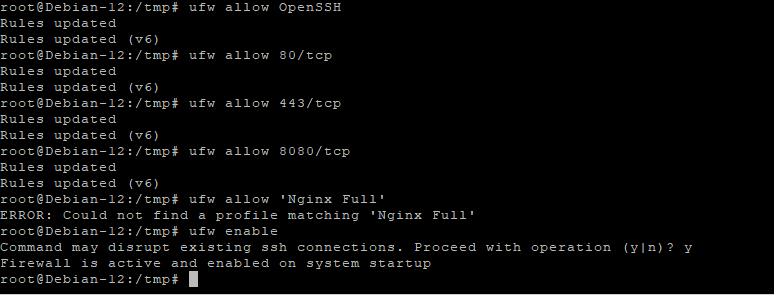
ufw allow OpenSSH
ufw allow 80/tcp
ufw allow 443/tcp
ufw allow 8080/tcp
ufw enable
Step 7: Install Nginx and Configure Proxy
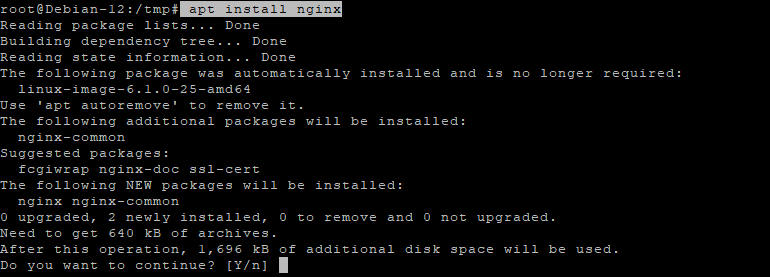
apt install nginx
ufw allow 'Nginx Full'
Create a proxy config:
nano /etc/nginx/sites-available/tomcat
Paste the config below:
server {
    listen 80;
    server_name your-domain.com;

    location / {
        proxy_pass http://localhost:8080/;
        proxy_http_version 1.1;
        proxy_set_header Host $host;
        proxy_set_header X-Real-IP $remote_addr;
        proxy_set_header X-Forwarded-For $proxy_add_x_forwarded_for;
        proxy_set_header X-Forwarded-Proto $scheme;
    }
}

Enable the site:
ln -s /etc/nginx/sites-available/tomcat /etc/nginx/sites-enabled/
nginx -t && systemctl reload nginx

Step 8: Install SSL with Certbot
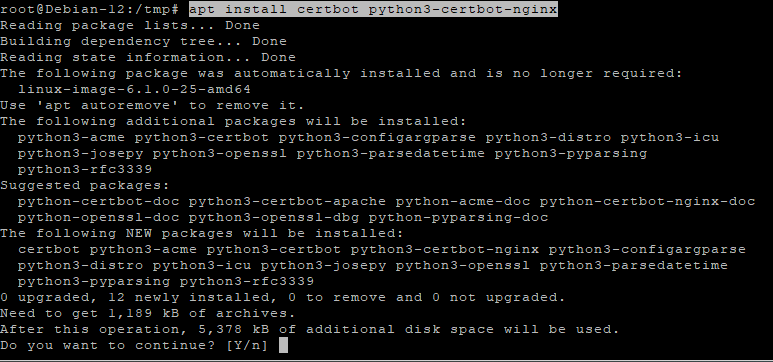
apt install certbot python3-certbot-nginx
certbot --nginx -d debian-tutorials.shape.host
This will automatically obtain and install a Let’s Encrypt SSL certificate.

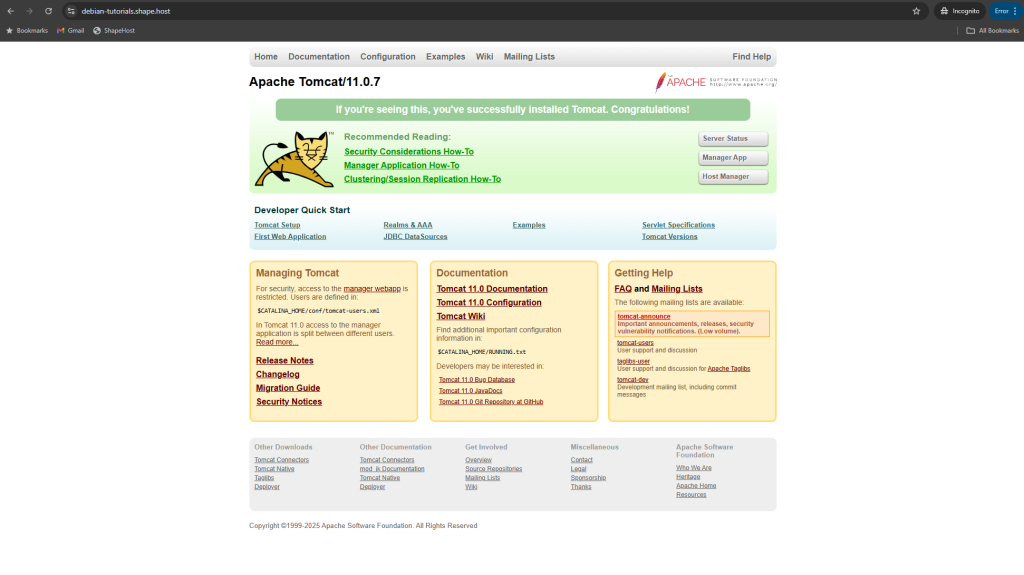
Step 9: Access Tomcat from Browser
To confirm everything is working:
- Open your browser.
- Navigate to:
https://debian-tutorials.shape.host
You should see the Tomcat welcome page, served securely via Nginx and HTTPS.
If using a different domain, replace the address accordingly.
Shape.Host lets you:
- Deploy Cloud VPS with Debian 12 in seconds
- Run Java apps with full control and root access
- Get SSD speed and global data center reach
Start building on a reliable VPS today at https://shape.host.