What is Apache Tomcat?
Apache Tomcat is an open-source application server developed by the Apache Software Foundation. It implements the Jakarta Servlet, Jakarta Server Pages (JSP), and WebSocket specifications, providing a runtime environment for deploying Java-based web applications.
Tomcat 11.0.7 is a modern, stable release that supports the latest Jakarta EE specifications (with full jakarta.* namespace migration).
What is Nginx?
Nginx is a high-performance, event-driven web server and reverse proxy. It’s commonly used in front of application servers like Tomcat to:
- Handle HTTPS and TLS termination
- Serve static files efficiently
- Load balance or proxy requests to Tomcat
- Add caching, rate limiting, or security layers
Why Use Tomcat with Nginx on Ubuntu 24.04?
Ubuntu 24.04 LTS provides an ideal platform for this stack due to:
- Long-term security updates and support (until 2029)
- Native availability of OpenJDK 17+, which Tomcat 11 requires
- Up-to-date system libraries and TLS support (OpenSSL 3.x)
- Efficient integration of Tomcat (Java-based) with Nginx (C-based) for optimal performance
Combining Tomcat and Nginx brings together Java’s backend capabilities with Nginx’s efficiency and frontend versatility.
How They Work Together
| Component | Role | Example |
|---|---|---|
| Tomcat | Runs Java web applications (Servlets, JSP) | Handles dynamic app logic at port 8080 |
| Nginx | Acts as a reverse proxy | Forwards traffic from port 80/443 to Tomcat |
| Ubuntu 24.04 | Underlying OS | Provides system services, security, and package management |
Key Use Cases
- Hosting Java web apps with a clean, scalable frontend
- Serving REST APIs developed with Spring, Struts, or Jakarta EE
- Deploying admin panels, web portals, and microservices
- Securely exposing Tomcat apps via HTTPS with Nginx termination
- Running multi-tier apps with Nginx proxying to multiple Tomcat instances
Tomcat 11.0.7 Highlights
- Updated to Jakarta EE 11 (uses
jakarta.*instead ofjavax.*) - Full HTTP/1.1 and HTTP/2 support
- Better memory and thread management
- Improved WebSocket and annotation processing
- Enhanced security configuration and default hardening
Nginx Benefits in This Setup
- TLS/SSL offloading with Certbot + Let’s Encrypt
- Static content delivery (CSS, JS, images) outside Tomcat
- Protection features: rate limiting, IP filtering, headers
- GZIP compression and caching for improved performance
- Better concurrency model than Tomcat alone for high-traffic apps
Security and Maintenance Tips
- Keep Tomcat updated (monitor CVEs and patch regularly)
- Configure Nginx to block direct access to Tomcat’s port
- Secure admin interfaces (
/manager,/host-manager) with IP restrictions - Use UFW or
iptablesto limit open ports - Harden both servers: disable default examples and expose only required endpoints
- Rotate logs and back up configs (
/opt/tomcat,/etc/nginx,/etc/letsencrypt)
Typical Deployment Architecture
Client → Nginx (port 80/443)
          ↓
   Reverse proxy
          ↓
     Apache Tomcat (port 8080)
          ↓
     Java web application (WAR)
Using Apache Tomcat 11.0.7 with Nginx on Ubuntu 24.04 provides a reliable and performant stack for deploying Java web applications. Tomcat handles business logic and application services, while Nginx optimizes delivery, enhances security, and simplifies HTTPS management.
This combination is ideal for developers and DevOps teams building secure, production-grade web platforms using Java technologies, while leveraging the stability and efficiency of Ubuntu 24.04 LTS.
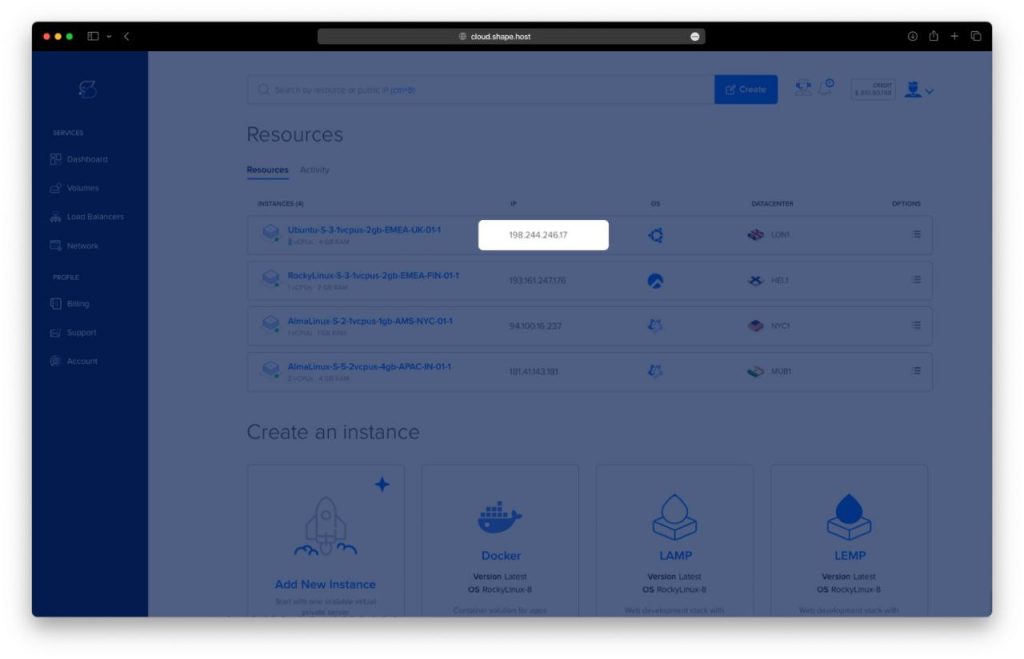
Step 1: Create a Clean Server with Shape.Host
Start by launching a new Ubuntu 24.04 server:
Visit https://shape.host and log in.
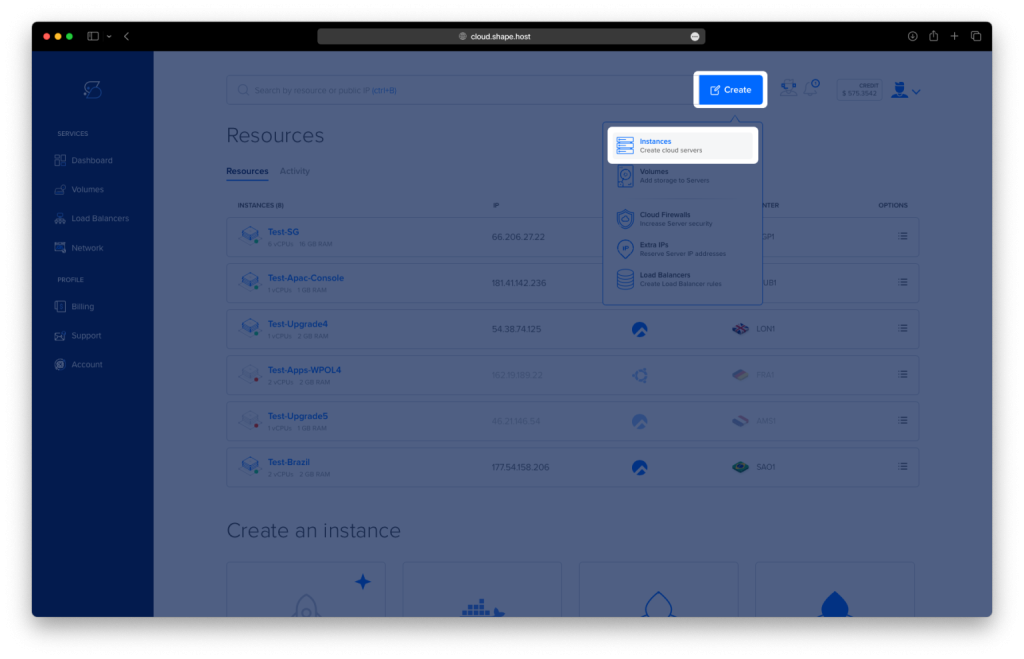
Click “Create”, then choose “Instance”.
Select your preferred server location.
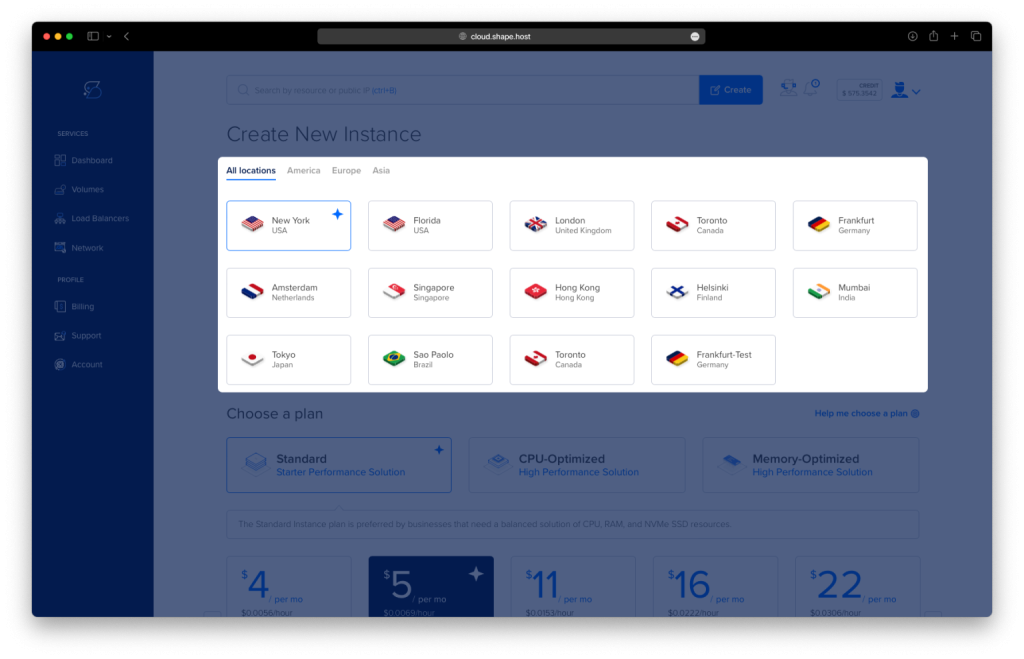
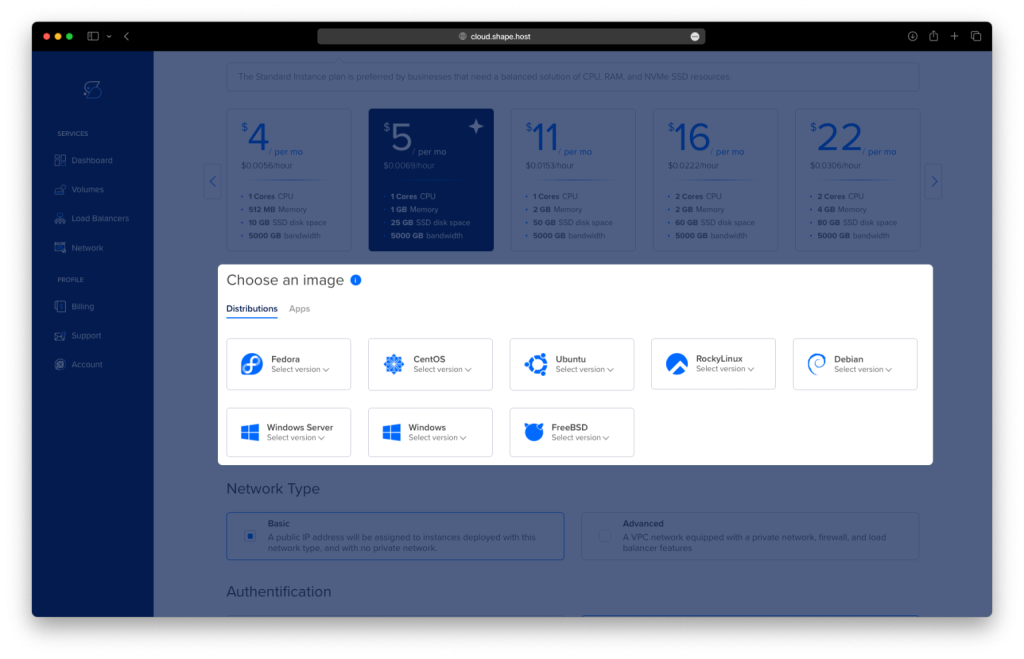
Choose Ubuntu 24.04 (64-bit) as the OS.
Pick a plan with at least 2 CPUs, 4 GB RAM, and 20 GB SSD.
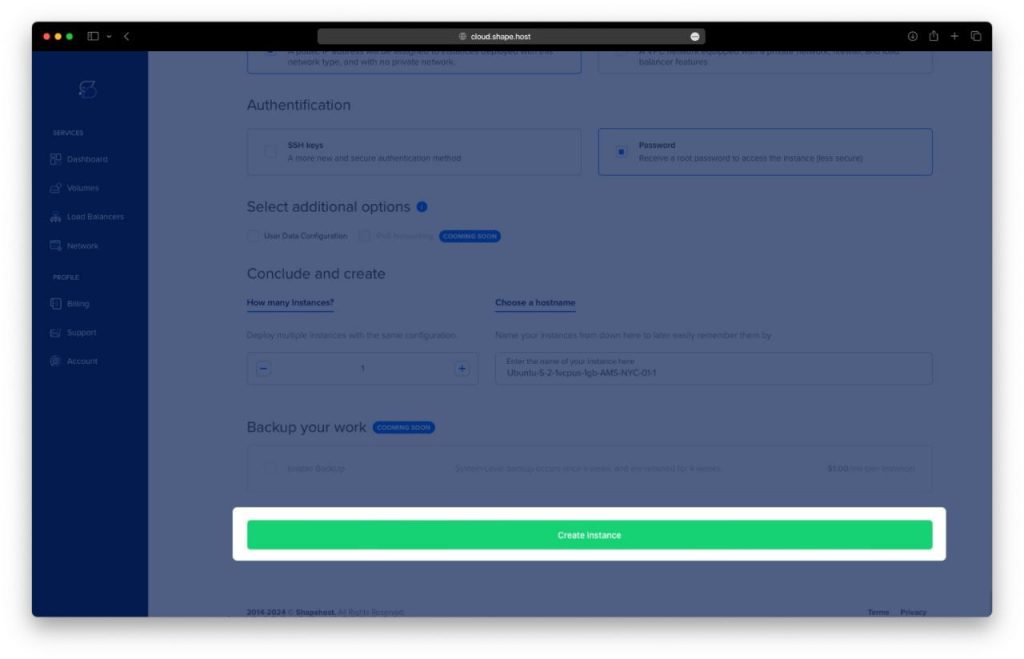
Click “Create Instance”.
After deployment, copy your server’s IP address from the Resources tab.
Step 2: Connect to the Server
From your terminal (Linux/macOS):
ssh root@your_server_ip
Or use PuTTY if you’re on Windows.
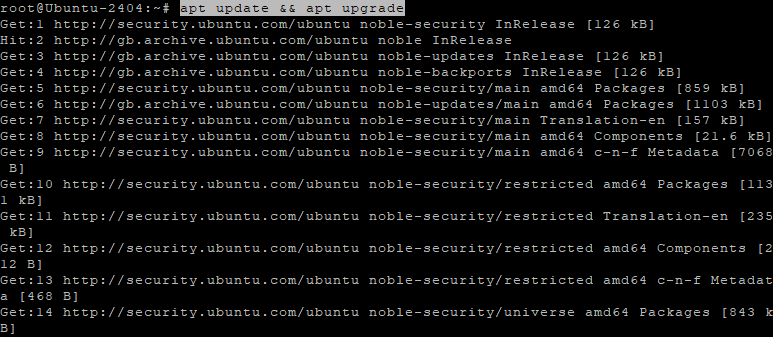
Step 3: Update and Upgrade Packages
apt update && apt upgrade
apt updateupdates the local package index.apt upgradeinstalls the latest versions of all packages.
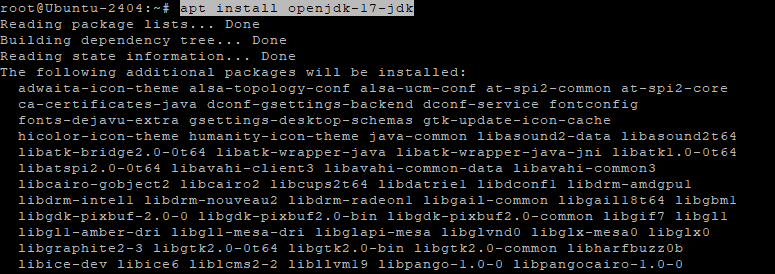
Step 4: Install Java (OpenJDK 17)
apt install openjdk-17-jdk
This installs the OpenJDK 17, which is required to run Tomcat.
Verify the installation:
java -version

Step 5: Create a Tomcat System User
useradd -r -m -U -d /opt/tomcat -s /bin/false tomcat
-r: creates a system user.-m: creates the user’s home directory.-U: creates a group with the same name.-d: sets the home directory.-s /bin/false: prevents shell access.
Step 6: Download and Extract Tomcat
Navigate to a temporary directory:
cd /tmp
Download Tomcat 11.0.7:
wget https://dlcdn.apache.org/tomcat/tomcat-11/v11.0.7/bin/apache-tomcat-11.0.7.tar.gz

Extract the archive:
tar -xzvf apache-tomcat-11.0.7.tar.gz
Move it to the Tomcat directory:
mv apache-tomcat-11.0.7 /opt/tomcat/latest
Give ownership of the directory to the Tomcat user:
chown -R tomcat: /opt/tomcat

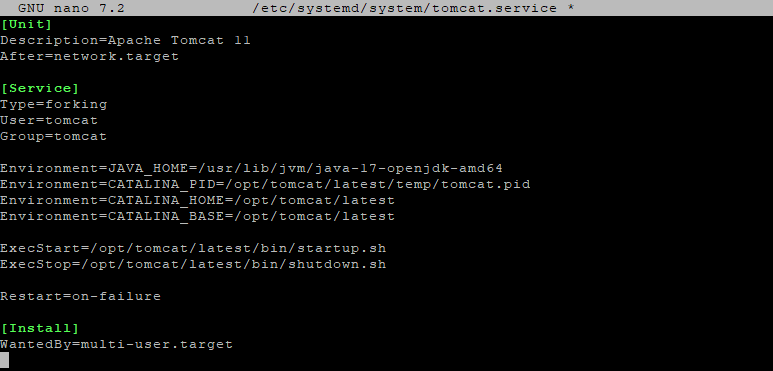
Step 7: Create a Systemd Service File for Tomcat
Open the service file for editing:
nano /etc/systemd/system/tomcat.service
Paste the following content:
[Unit]
Description=Apache Tomcat 11
After=network.target

[Service]
Type=forking
User=tomcat
Group=tomcat

Environment=JAVA_HOME=/usr/lib/jvm/java-17-openjdk-amd64
Environment=CATALINA_PID=/opt/tomcat/latest/temp/tomcat.pid
Environment=CATALINA_HOME=/opt/tomcat/latest
Environment=CATALINA_BASE=/opt/tomcat/latest

ExecStart=/opt/tomcat/latest/bin/startup.sh
ExecStop=/opt/tomcat/latest/bin/shutdown.sh

Restart=on-failure

[Install]
WantedBy=multi-user.target
Step 8: Start Tomcat and Enable It on Boot
Reload systemd to recognize the new service:
systemctl daemon-reexec
systemctl daemon-reload
Enable and start Tomcat:
systemctl enable --now tomcat

Step 9: Allow Tomcat Traffic in Firewall
ufw allow 8080/tcp
ufw enable
This allows traffic to the Tomcat web interface on port 8080.

Step 10: Install and Configure Nginx
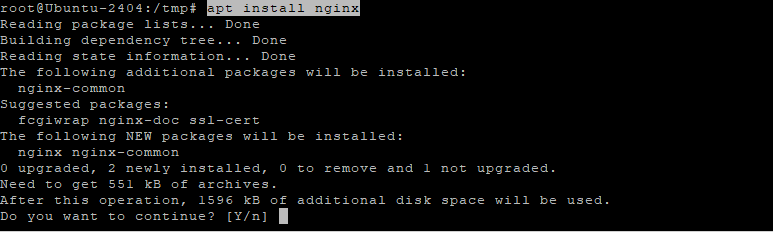
Install Nginx:
apt install nginx
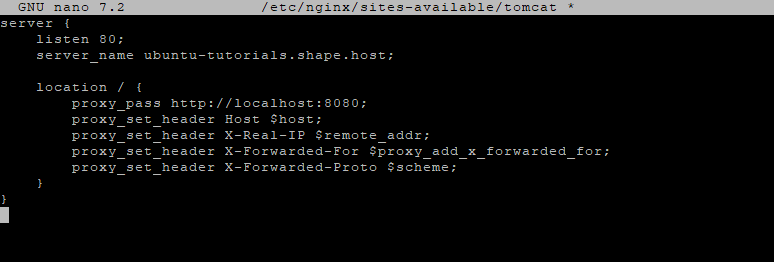
Create a reverse proxy configuration:
nano /etc/nginx/sites-available/tomcat
Paste the config:
server {
    listen 80;
    server_name your-domain.com;

    location / {
        proxy_pass http://localhost:8080;
        proxy_set_header Host $host;
        proxy_set_header X-Real-IP $remote_addr;
        proxy_set_header X-Forwarded-For $proxy_add_x_forwarded_for;
        proxy_set_header X-Forwarded-Proto $scheme;
    }
}
Enable the config:
ln -s /etc/nginx/sites-available/tomcat /etc/nginx/sites-enabled/
Check for syntax errors and restart Nginx:
nginx -t && systemctl restart nginx

Step 11: Secure the Site with Let’s Encrypt SSL
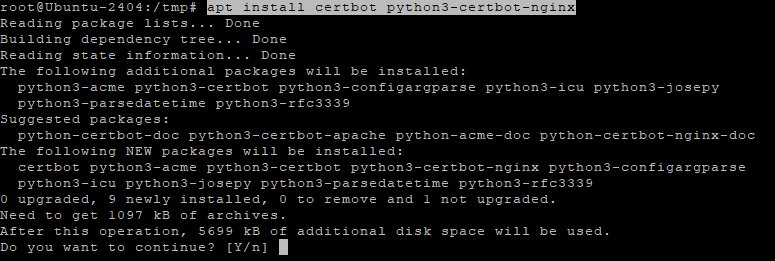
Install Certbot for automatic SSL:
apt install certbot python3-certbot-nginx
Allow HTTP and HTTPS through the firewall:
ufw allow 80
ufw allow 443
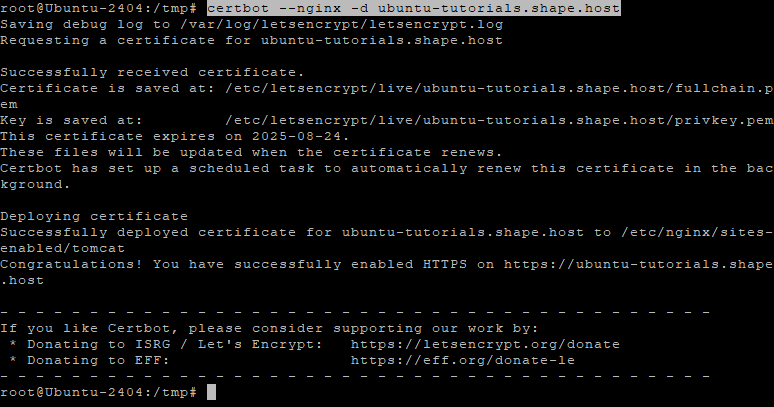
Run Certbot to get a certificate:
certbot --nginx -d ubuntu-tutorials.shape.host
Follow the prompts to enable HTTPS.
Now visit:
http://your-domain.com/
Shape.Host gives you:
- Fast Linux SSD VPS
- Global server locations
- Full root access for full control
- One-click deployments for Ubuntu 24.04
Deploy your next app now at https://shape.host