BoxBilling on Rocky Linux 9 (Apache + MariaDB + PHP + SSL)
BoxBilling is a free, open-source billing and client management software made for web hosting providers, freelancers, and digital businesses. It brings together invoicing, subscriptions, product automation, domain registration, and support ticketing into a single platform. With its plugin and theme system, BoxBilling is flexible enough to adapt to different business models while remaining lightweight and easy to manage.
Running BoxBilling on Rocky Linux 9 — a community-driven, RHEL-compatible enterprise distribution — ensures a stable, secure, and long-supported operating system. With SELinux enforced by default, hardened libraries, systemd 252, and OpenSSL 3, Rocky Linux is trusted for production deployments, making it a strong choice for financial and customer-facing applications.
Architecture Overview
| Layer | Component | Role |
|---|---|---|
| OS | Rocky Linux 9 | RHEL-compatible enterprise base with SELinux enforcement |
| Web Server | Apache HTTPD | Serves the PHP-based BoxBilling frontend and backend |
| Database | MariaDB/MySQL | Stores client records, invoices, orders, and transactions |
| Runtime | PHP 8.x + Extensions | Executes BoxBilling application logic |
| Reverse Proxy | Nginx (optional) | TLS termination, caching, load balancing |
| TLS | Let’s Encrypt / PKI | Provides HTTPS for secure client and admin access |
Why Use BoxBilling?
- Billing automation – invoices, recurring payments, multi-currency support.
- Client management – centralized customer, order, and support handling.
- Hosting-ready – integrates with domain registrars and control panels.
- Free & open-source – unlike WHMCS or Blesta, no license fees required.
- Global support – multilingual and multi-currency features built in.
BoxBilling vs Other Billing Platforms
| Feature/Capability | BoxBilling (Free) | WHMCS (Paid) | Blesta (Paid) | ClientExec (Paid) |
|---|---|---|---|---|
| License cost | Free, open-source | Commercial license | Commercial license | Commercial license |
| Core features | Billing, hosting, support | Full suite + large ecosystem | Billing + support | Billing + support |
| Extensibility | Plugins + themes | Wide marketplace | Limited | Limited |
| Best for | Freelancers, SMBs | Hosting providers | SMBs | SMBs |
BoxBilling is especially attractive for freelancers, startups, and smaller hosting providers who want automation and client management without the recurring costs of WHMCS or Blesta.
Security & Best Practices
- Run BoxBilling over HTTPS only, using Let’s Encrypt or enterprise PKI.
- Secure MariaDB with strong passwords, role-based permissions, and regular backups.
- Harden PHP configuration (
php.iniadjustments, disable dangerous functions). - Protect the admin panel with firewall restrictions and SELinux policies.
- Keep Rocky Linux, Apache, PHP, and BoxBilling updated regularly.
- Add Fail2Ban or Nginx rate limiting to prevent brute-force login attempts.
Typical Use Cases
- Web hosting companies – manage domains, hosting plans, and billing automation.
- Freelancers/agencies – handle client invoicing, projects, and support tickets.
- SaaS startups – subscription management with recurring payments.
- Testing/educational setups – explore billing automation without licensing fees.
Step 1: Set Up a Server Instance on Shape.Host
First, you need a Rocky Linux 9 server. Shape.Host provides fast and flexible VPS hosting. Here’s how to deploy your instance:
Log in to your Shape.Host dashboard.
Click Create → Instance.

Select the server type and choose the data center location nearest to your customers.
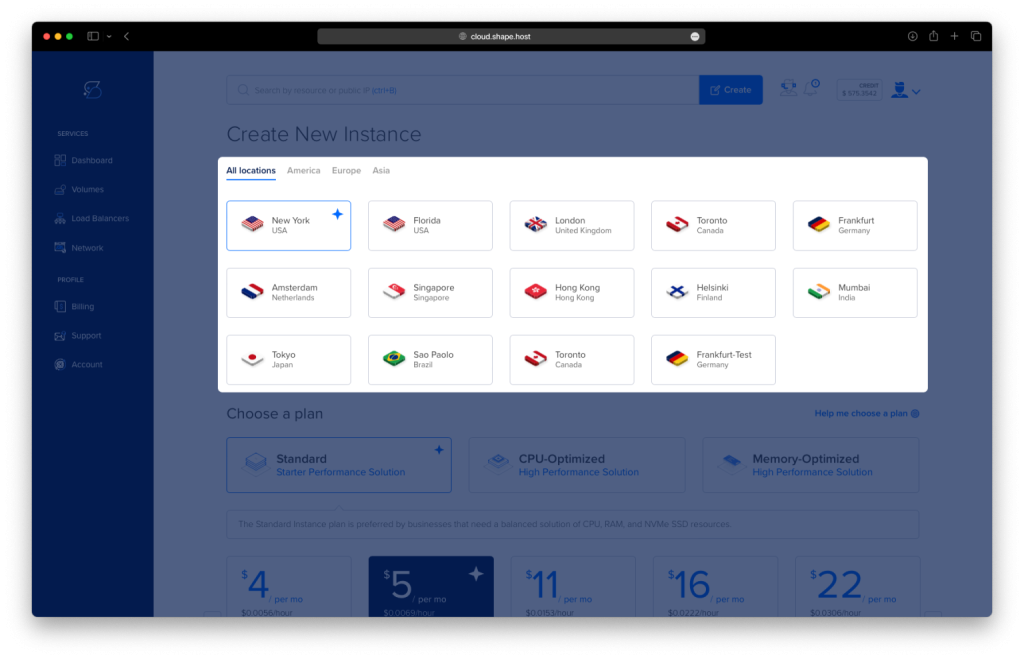
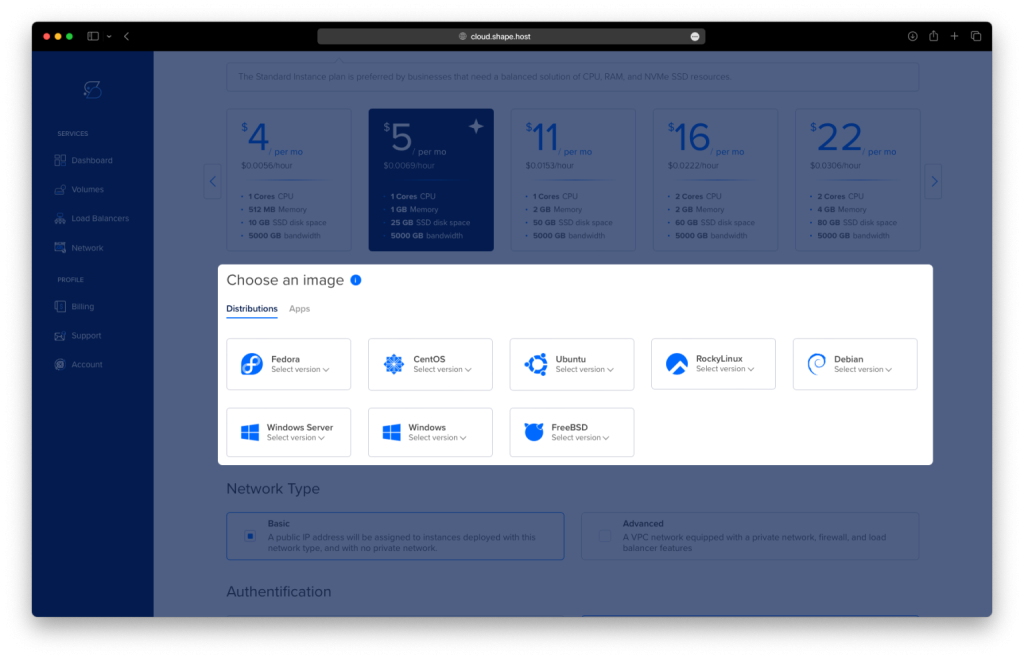
Pick a hosting plan — we recommend at least 2 CPUs, 4 GB RAM, and 20 GB SSD.
Under the Operating System option, select Rocky Linux 9 (64-bit).
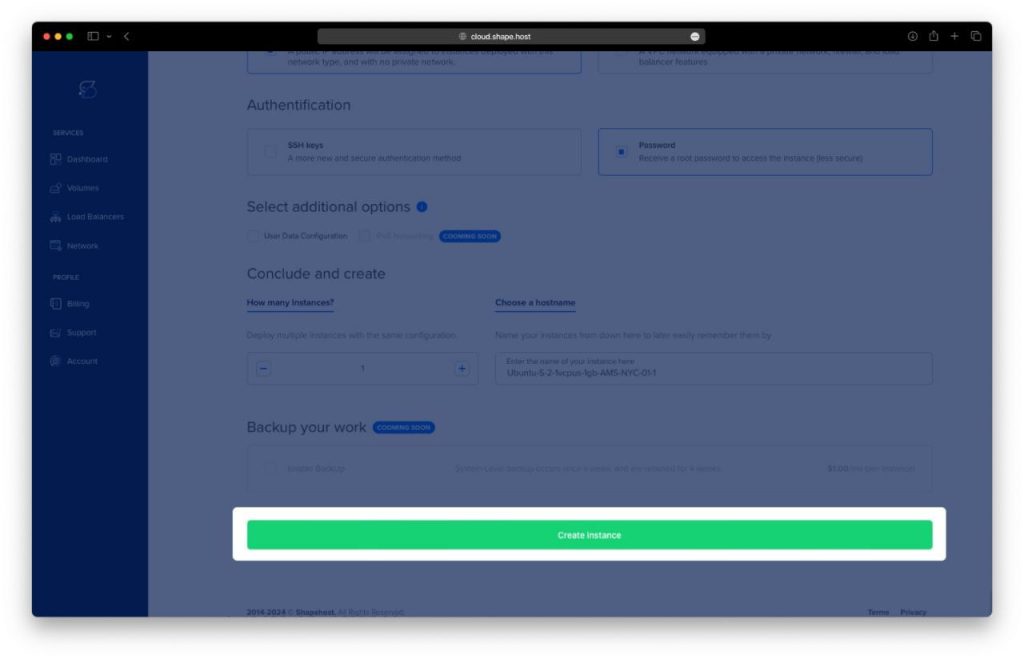
Finalize the setup by clicking Create Instance.
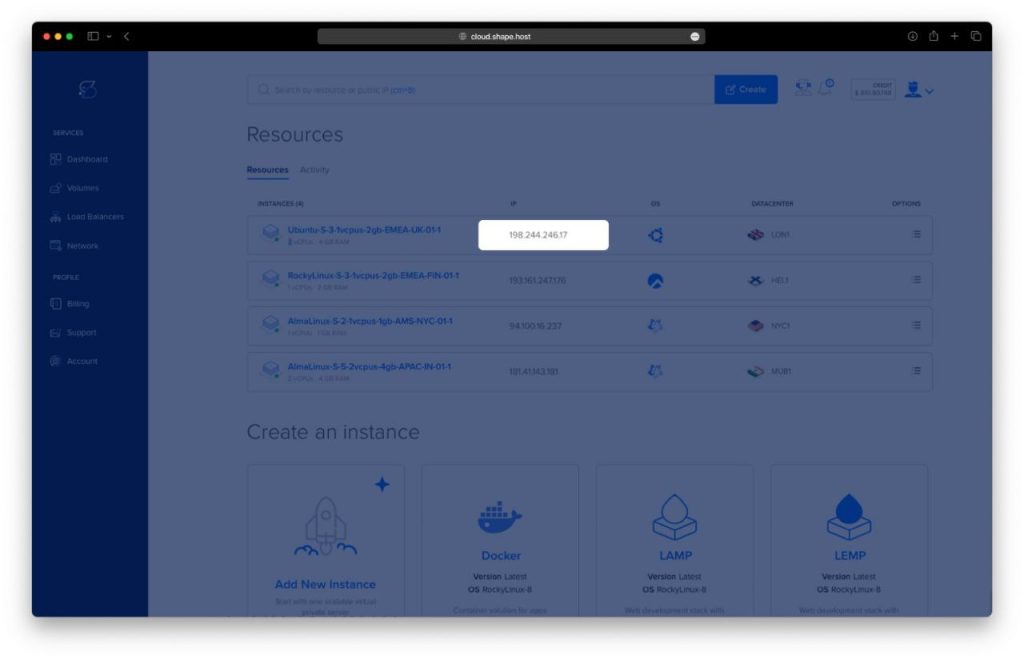
Copy the IP address of your new instance from the Resources tab for later use.
Step 2: Connect to Your Instance
- Linux/macOS:
ssh root@your_server_ip(Connects securely to your server as root.) - Windows (using PuTTY):
- Download PuTTY.
- Enter your server’s IP in the Host Name field.
- Choose SSH connection type and click Open.
- Log in with your Shape.Host root credentials.
Step 3: Install and Configure BoxBilling on Rocky Linux 9
Now follow the commands in exact order. Each command is explained so beginners understand what it does.
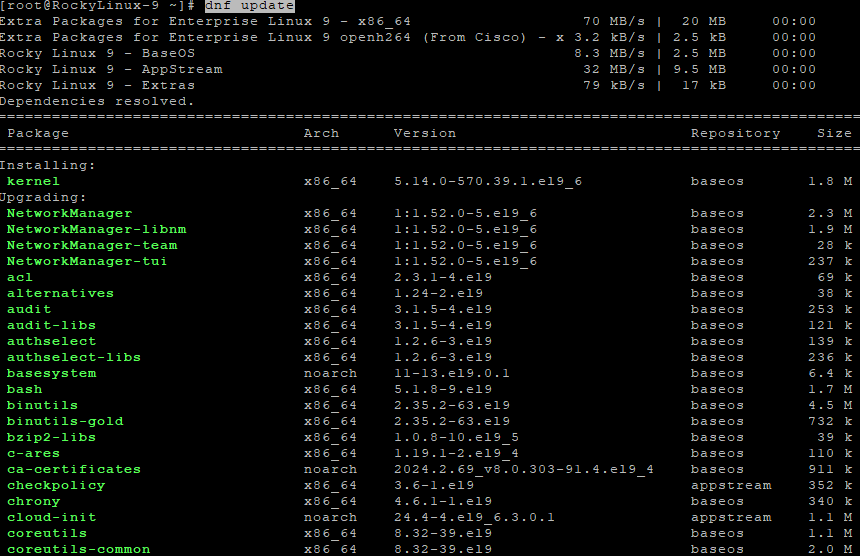
Update System Packages
dnf update
Updates all installed packages to the latest versions.
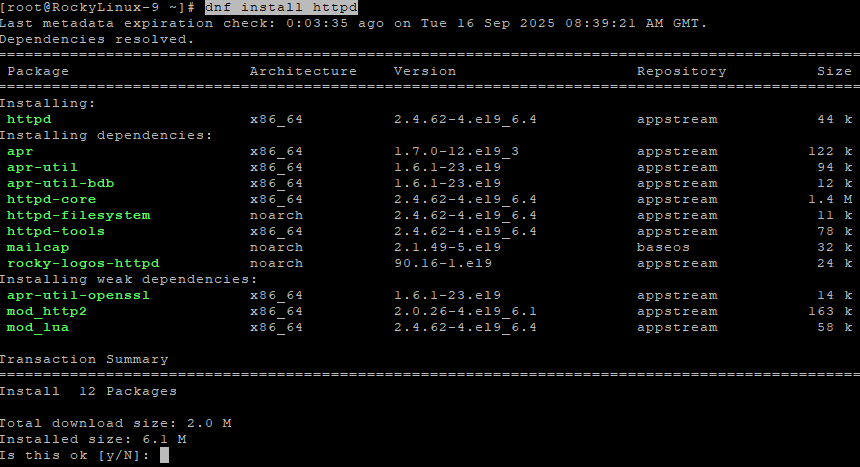
Install Apache Web Server
dnf install httpd
Installs Apache, which will serve BoxBilling’s web interface.
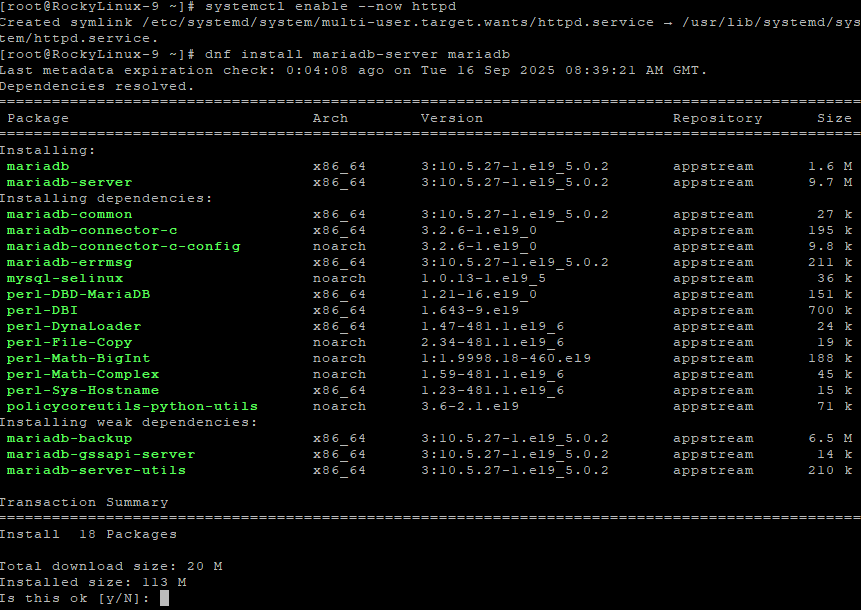
systemctl enable --now httpd
Starts Apache immediately and enables it on boot.
Install MariaDB Database Server
dnf install mariadb-server mariadb
Installs MariaDB (a MySQL-compatible database) and its client tools.
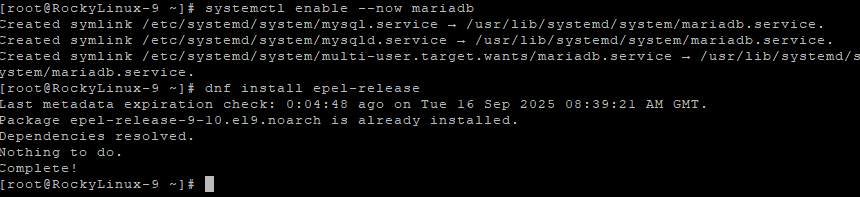
systemctl enable --now mariadb
Starts MariaDB and ensures it runs on reboot.
Enable EPEL Repository
dnf install epel-release
Adds the Extra Packages for Enterprise Linux (EPEL) repository to get additional software.
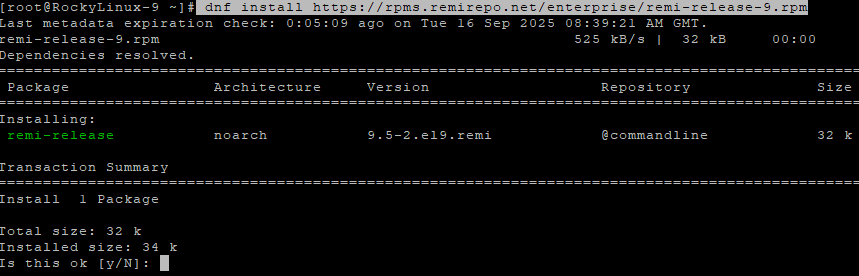
Install Remi Repository for PHP 8.2
dnf install https://rpms.remirepo.net/enterprise/remi-release-9.rpm
Installs the Remi repository which provides the latest PHP builds.
dnf module reset php
Resets any existing PHP module configuration.

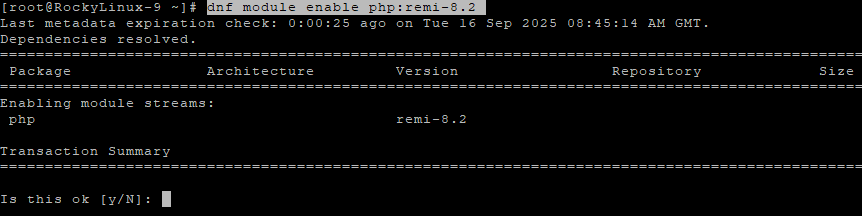
dnf module enable php:remi-8.2
Enables PHP 8.2 (needed by BoxBilling).
Install PHP and Extensions
dnf install php php-cli php-mysqlnd php-curl php-mbstring php-xml php-gd php-zip php-imagick unzip wget
Installs PHP with all required extensions plus unzip and wget tools.

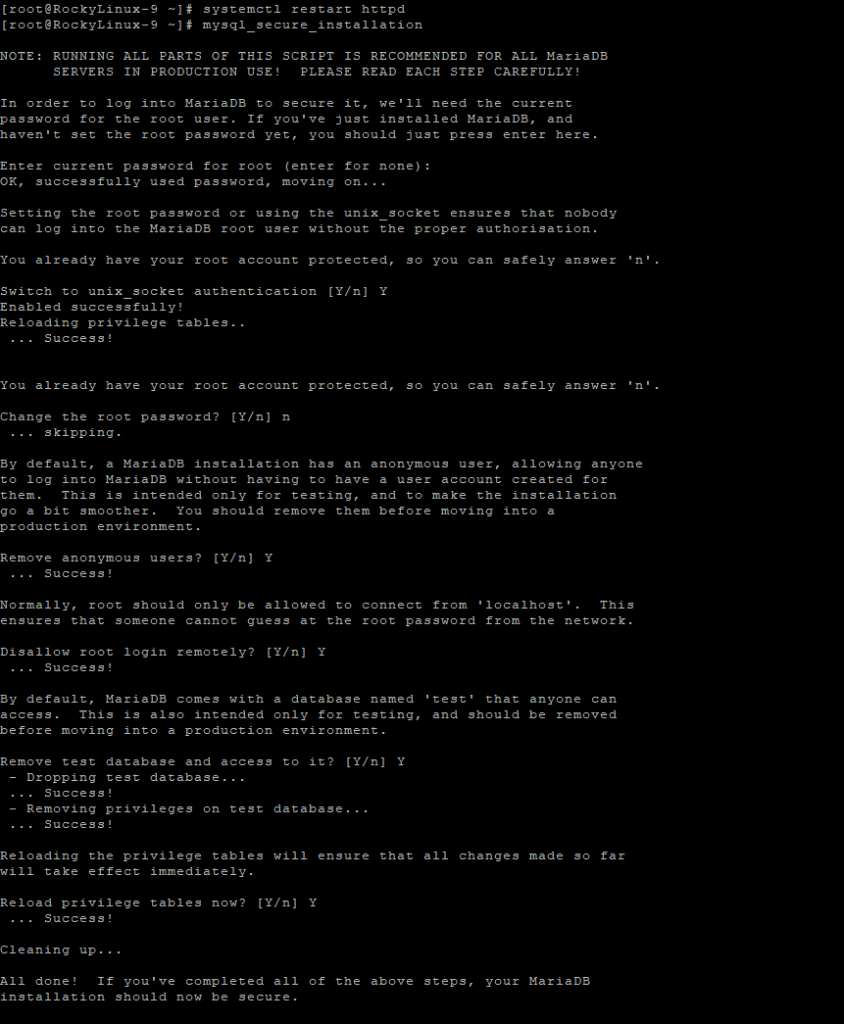
systemctl restart httpd
Restarts Apache to load PHP.
Secure MariaDB
mysql_secure_installation
Runs a security script to set the root password and remove unsafe defaults.
Create Database and User
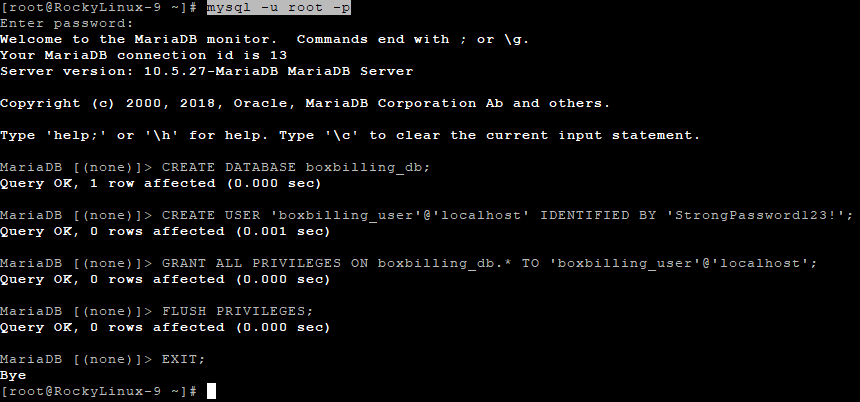
mysql -u root -p
Logs into MariaDB with the root account.
Inside the MySQL shell:
CREATE DATABASE boxbilling_db;
CREATE USER 'boxbilling_user'@'localhost' IDENTIFIED BY 'StrongPassword123!';
GRANT ALL PRIVILEGES ON boxbilling_db.* TO 'boxbilling_user'@'localhost';
FLUSH PRIVILEGES;
EXIT;
Creates a new database and user for BoxBilling with full access rights.
Download and Extract BoxBilling
cd /var/www/html
Switches to Apache’s web directory.
wget https://github.com/boxbilling/boxbilling/releases/latest/download/boxbilling.zip -O boxbilling.zip
Downloads the latest BoxBilling release from GitHub.
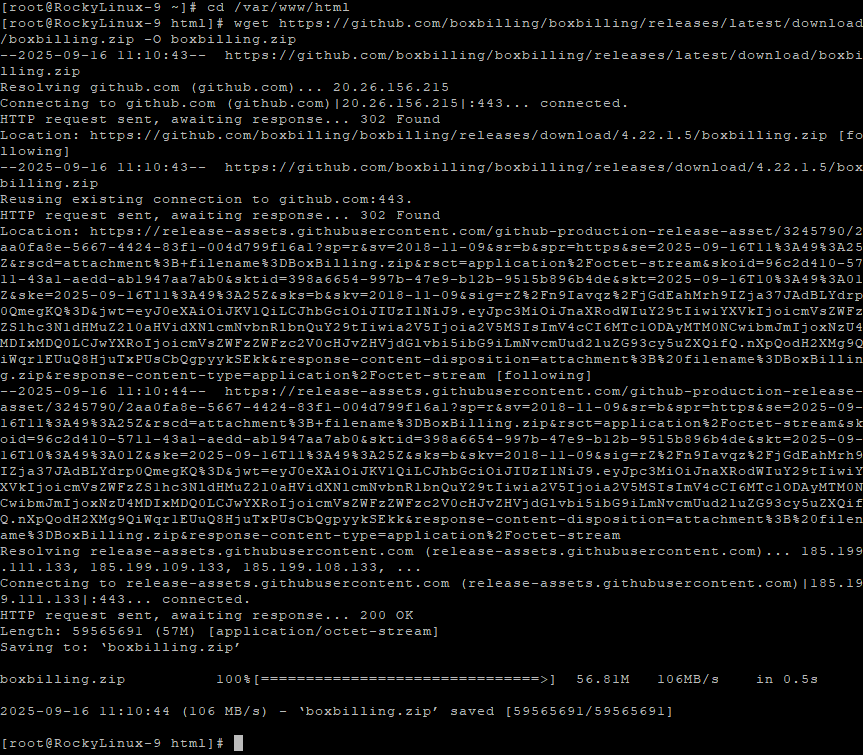
unzip boxbilling.zip -d boxbilling
Extracts the BoxBilling files into a new directory.
chown -R apache:apache /var/www/html/boxbilling
Gives ownership of the files to Apache.
chmod -R 755 /var/www/html/boxbilling
Sets correct file permissions.

Configure Apache Virtual Host
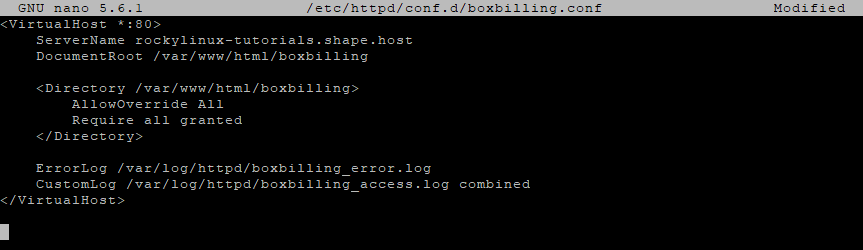
nano /etc/httpd/conf.d/boxbilling.conf
Creates and opens a new Apache virtual host file.
Paste this config:
<VirtualHost *:80>
    ServerName yourdomain.com
    DocumentRoot /var/www/html/boxbilling

    <Directory /var/www/html/boxbilling>
        AllowOverride All
        Require all granted
    </Directory>

    ErrorLog /var/log/httpd/boxbilling_error.log
    CustomLog /var/log/httpd/boxbilling_access.log combined
</VirtualHost>
Defines how Apache will serve BoxBilling.
systemctl restart httpd
Applies the new configuration.
Adjust PHP Configuration
nano /etc/php.ini
Opens the PHP settings file.
Set the following values:
memory_limit = 256M
upload_max_filesize = 64M
post_max_size = 64M
max_execution_time = 300
Optimizes PHP for BoxBilling performance.
systemctl restart httpd
Restarts Apache to apply changes.

Create Required Directories
mkdir -p /var/www/html/boxbilling/bb-data/cache
mkdir -p /var/www/html/boxbilling/bb-data/uploads
Creates cache and upload directories required by BoxBilling.
chown -R apache:apache /var/www/html/boxbilling/bb-data
chmod -R 775 /var/www/html/boxbilling/bb-data
Sets correct ownership and permissions so Apache can write to these folders.

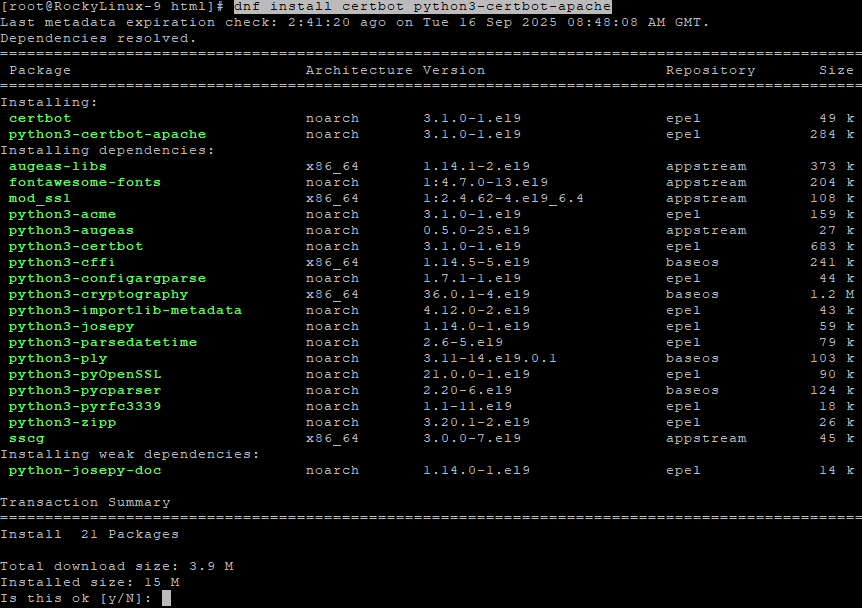
Enable SSL with Certbot
dnf install certbot python3-certbot-apache
Installs Certbot for generating free Let’s Encrypt SSL certificates.
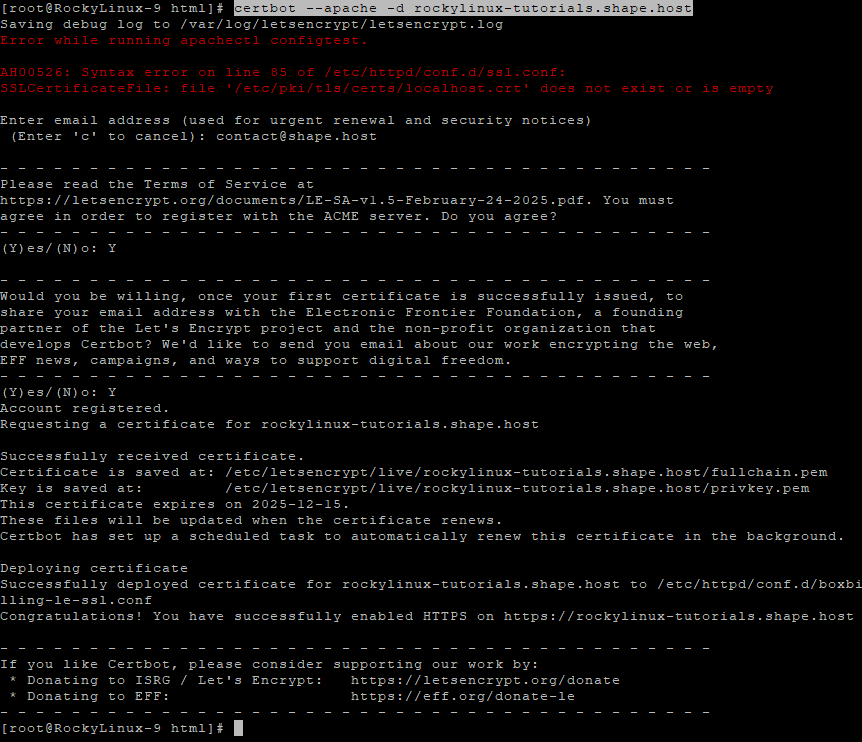
certbot --apache -d rockylinux-tutorials.shape.host
Issues and configures an SSL certificate for your domain. Replace with your actual domain name.
Step 4: Verify Installation
Open:
http://yourdomain.com
or
https://yourdomain.com
You should now see the BoxBilling web-based installer. Follow the wizard to finalize setup.
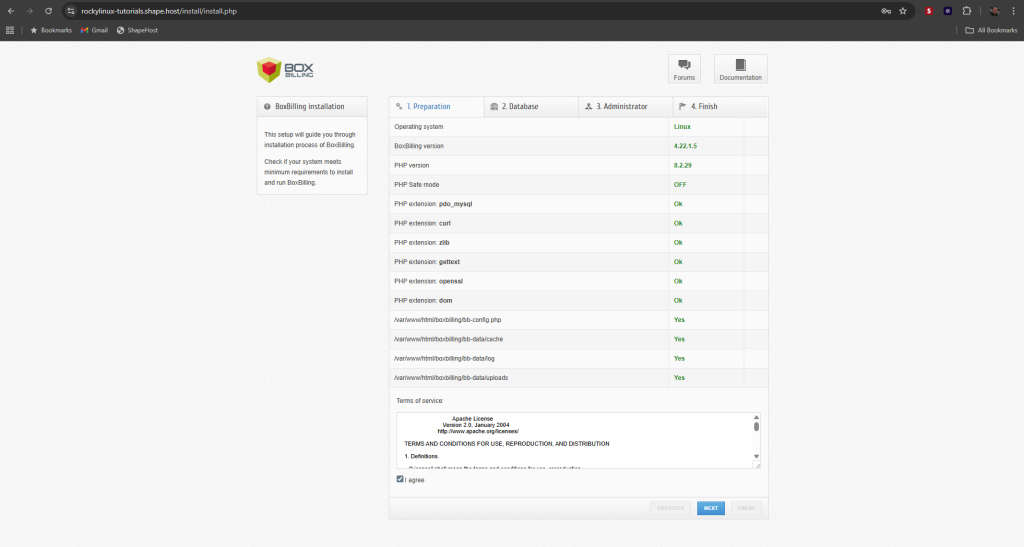
Once BoxBilling files are placed on your Rocky Linux 9 server, go to http://your-domain/install/install.php in a browser. The online installer will guide you through the setup:
Environment Check – The wizard scans your Rocky Linux 9 server to confirm PHP and required extensions. Agree to the terms and click Next.
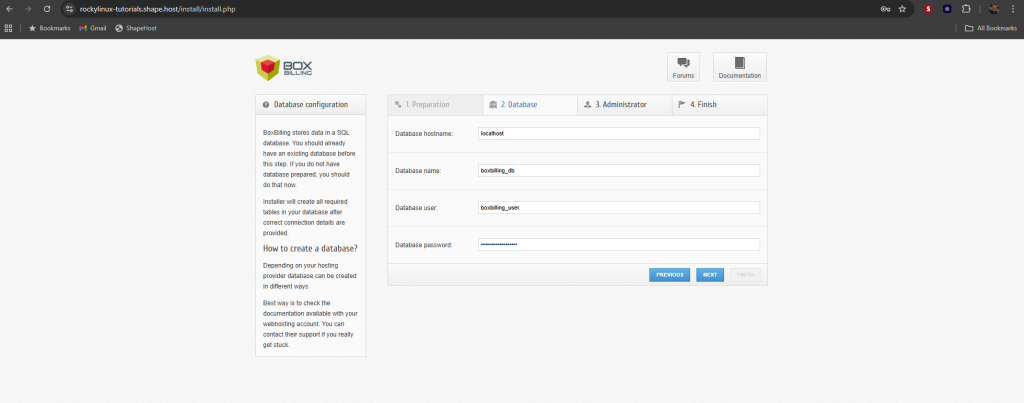
Connect Database – Enter the database connection details (host, database name, username, password) you created earlier, then press Next to import the tables automatically.
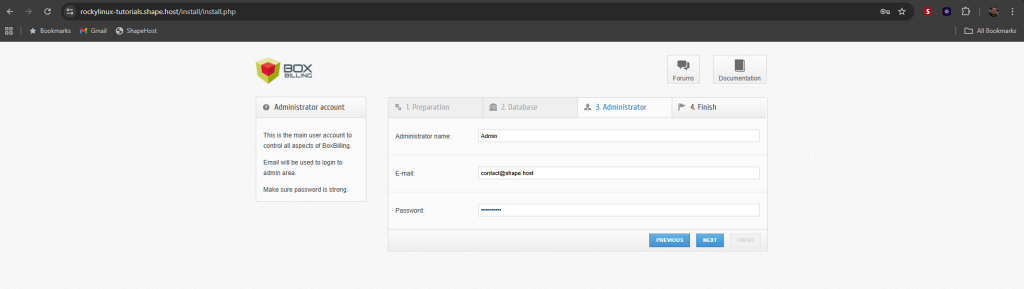
Admin Profile – Choose a username, admin email and strong password to control BoxBilling. Click Next to save the account.
Finalize Installation – After the success message appears, delete the install folder, change bb-config.php permissions to read-only (chmod 644), and add the cron job line shown on screen.
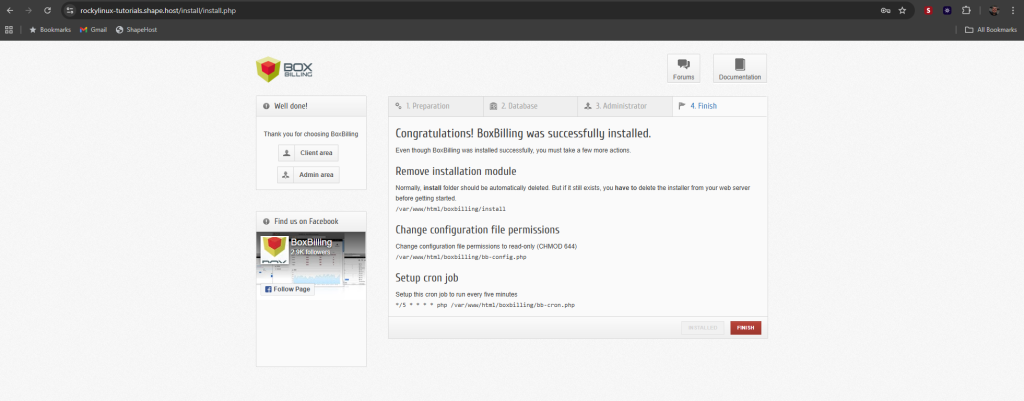
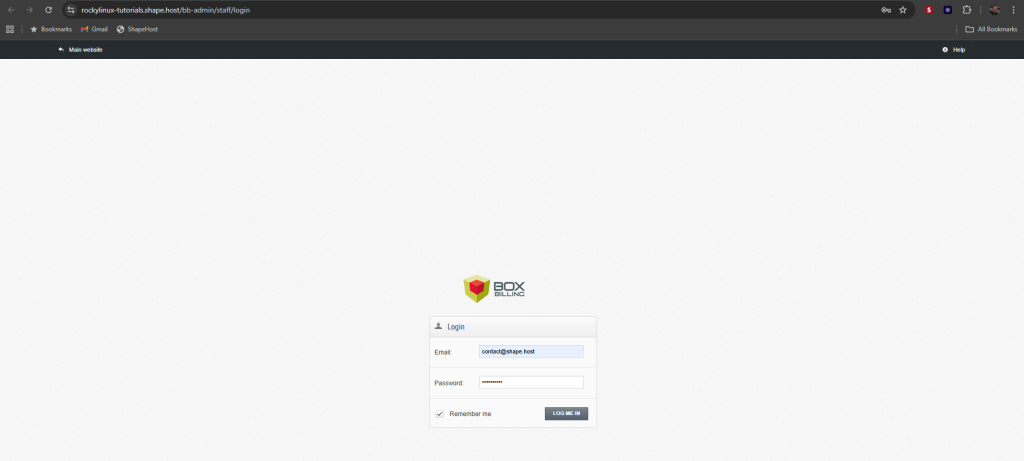
You can now log in to your admin area at http://your-domain/bb-admin using the new credentials.
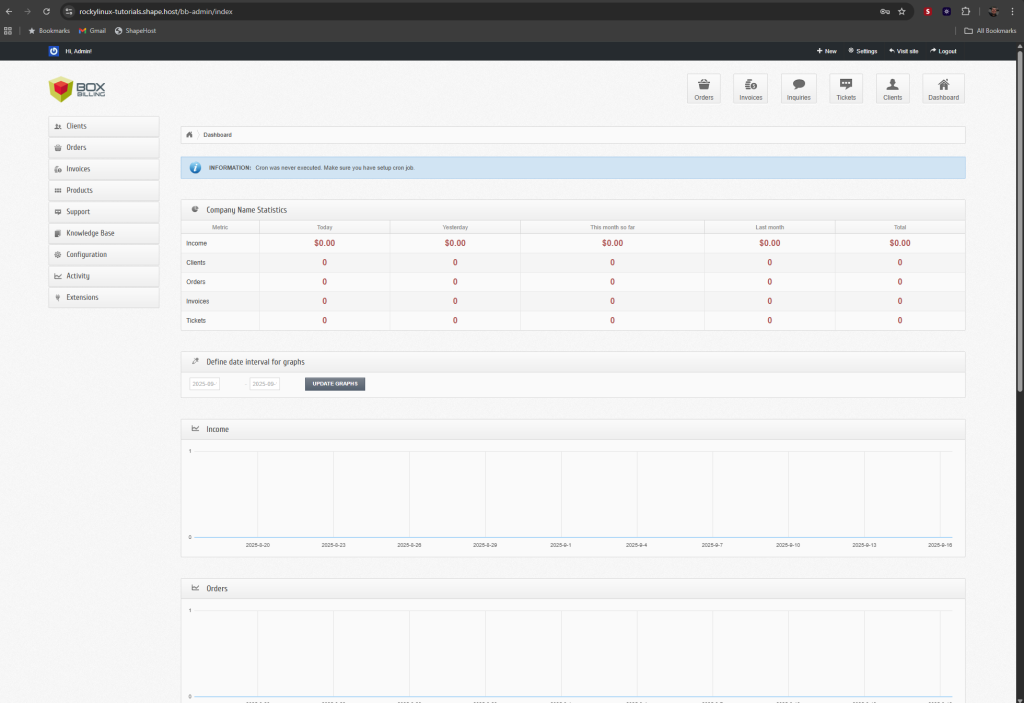
You have successfully installed BoxBilling on Rocky Linux 9. This setup includes Apache, MariaDB, PHP 8.2, and SSL — everything needed for a secure billing and client management platform.
For performance, scalability, and reliability, we recommend hosting on Shape.Host Linux SSD VPS. With flexible plans and enterprise-grade infrastructure, it’s the perfect environment to run BoxBilling smoothly.