Budibase on Ubuntu 24.04 (Docker Compose + CouchDB + Redis + SSL)
Budibase is an open-source low-code platform that allows developers and teams to quickly build internal tools, dashboards, and CRUD web apps without extensive frontend coding. With features like form builders, data connectors, authentication, and automation, Budibase is ideal for creating custom internal applications, admin panels, and process management systems — all self-hosted and fully customizable.
Running Budibase on Ubuntu 24.04 LTS (Noble Numbat) with Docker Compose ensures a fast, secure, and long-term supported environment. Ubuntu 24.04 provides systemd 255, OpenSSL 3, and the latest Docker stack, making it a reliable platform for hosting Budibase in production, complete with SSL and Nginx reverse proxy integration.
Architecture Overview
| Layer | Component | Role |
|---|---|---|
| OS | Ubuntu 24.04 LTS | Stable and secure Linux foundation with long-term support |
| Container Runtime | Docker Engine + Compose | Orchestrates Budibase and its dependent services |
| Database | CouchDB / PostgreSQL (optional) | Stores app data, users, and configurations |
| Cache Queue | Redis | Handles caching, sessions, and background jobs |
| Backend | Budibase Server | Manages APIs, automation, and database logic |
| Frontend | Budibase Web App | Provides the visual builder and admin interface |
| Reverse Proxy | Nginx (optional) | TLS termination, routing, compression, and caching |
| TLS | Let’s Encrypt / PKI | Enables HTTPS for secure app access |
Why Use Budibase?
- Low-code development – build apps visually with minimal programming.
- Open-source – free, self-hosted, and extensible for any business logic.
- Rapid prototyping – create internal tools and admin panels in minutes.
- Integrations – connect to external databases, APIs, and webhooks.
- User management – built-in authentication, roles, and permissions.
- Self-hosted control – keep sensitive data on your own infrastructure.
Budibase vs Other Low-Code Platforms
| Feature/Capability | Budibase (Self-hosted) | Retool (Cloud) | Appsmith (Self-hosted) | ToolJet (Self-hosted) |
|---|---|---|---|---|
| Hosting | Self-hosted (Docker) | SaaS only | Self-hosted | Self-hosted |
| Cost | Free, open-source | Subscription-based | Free + enterprise tier | Free + enterprise tier |
| Database options | CouchDB / PostgreSQL | External connectors | PostgreSQL / MongoDB | PostgreSQL / MongoDB |
| Authentication | Built-in | External (SaaS) | Built-in | Built-in |
| Extensibility | High (custom plugins) | Moderate | High | High |
Budibase stands out for its ease of use, modular architecture, and strong self-hosted support, making it perfect for teams building internal tools securely and efficiently.
Security & Best Practices
- Run Budibase behind Nginx with HTTPS enabled.
- Store environment variables and credentials in
.envsecurely. - Use Docker secrets for sensitive values like API keys and database passwords.
- Restrict CouchDB/Redis access to internal Docker networks.
- Keep Ubuntu, Docker, and Budibase images regularly updated.
- Automate SSL renewal with Certbot or Traefik.
- Use UFW or nftables to expose only ports 80 and 443.
Typical Use Cases
- Internal tools for HR, operations, or finance teams.
- CRUD dashboards for managing data from APIs or databases.
- Client portals for sharing data securely.
- Workflow automation integrated with webhooks and third-party APIs.
- Prototyping business apps rapidly without full-stack development.
Deploying Budibase on Ubuntu 24.04 with Docker Compose gives you a self-hosted, low-code app platform that’s fast, secure, and enterprise-ready — empowering teams to build custom tools without depending on external SaaS services.
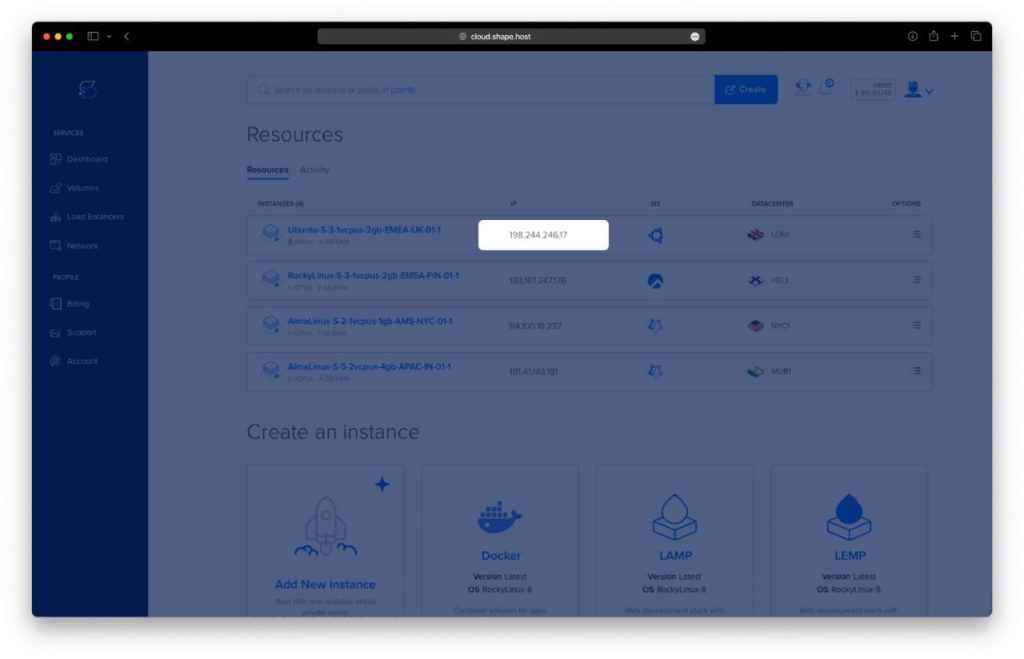
Step 1: Create a Server Instance on Shape.Host
To host Budibase securely, start by creating a server on Shape.Host:
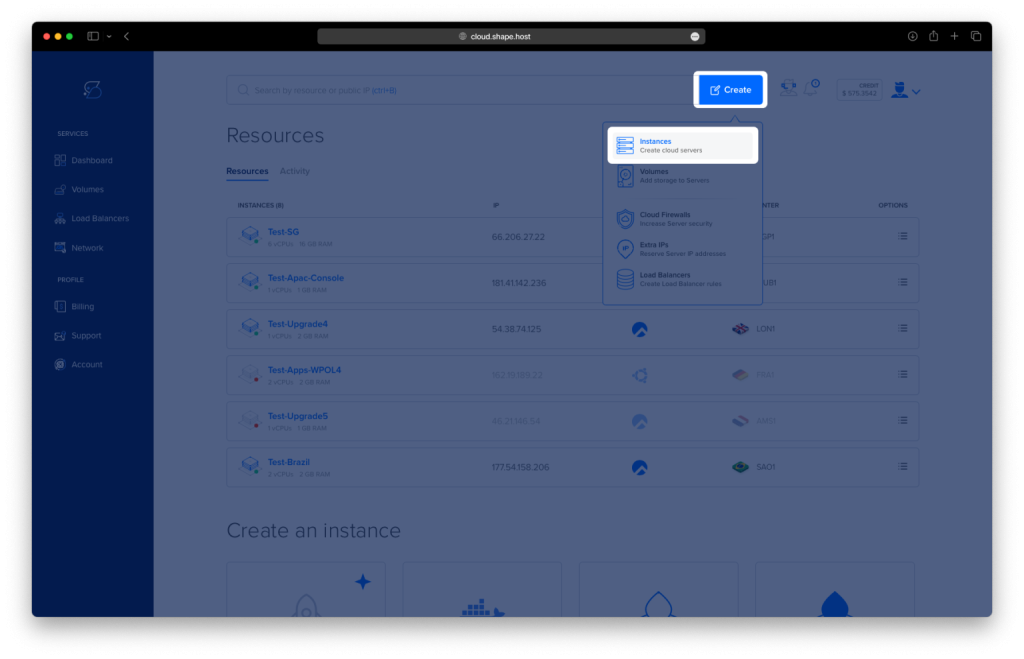
Log into your Shape.Host account.
Click Create → Instance.
Choose your preferred data center location.
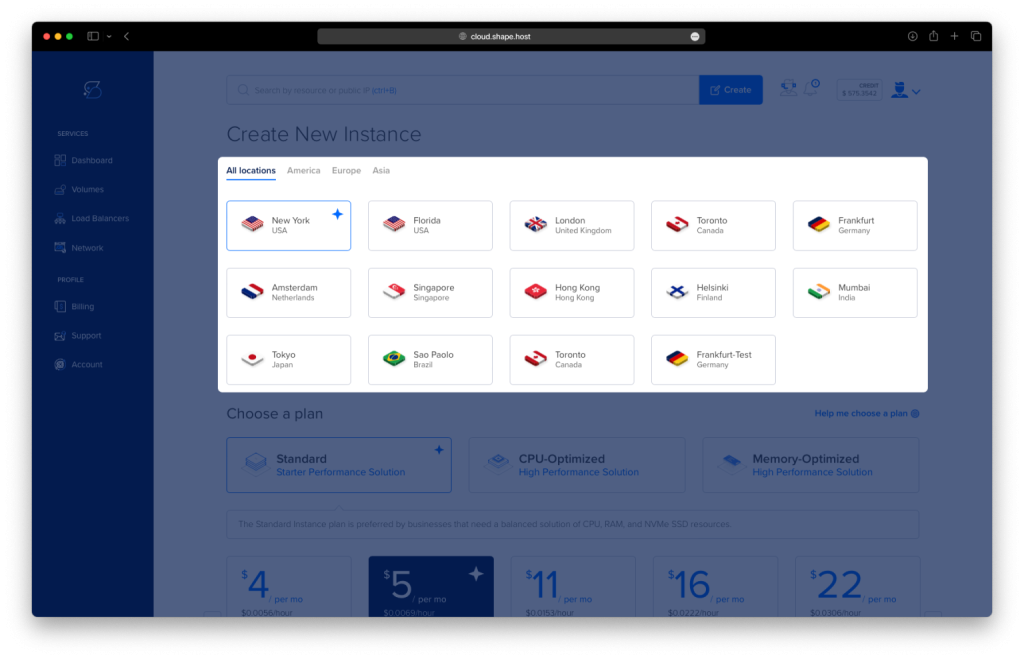
Select a plan with at least 2 CPUs, 4 GB RAM, and 20 GB SSD (recommended).
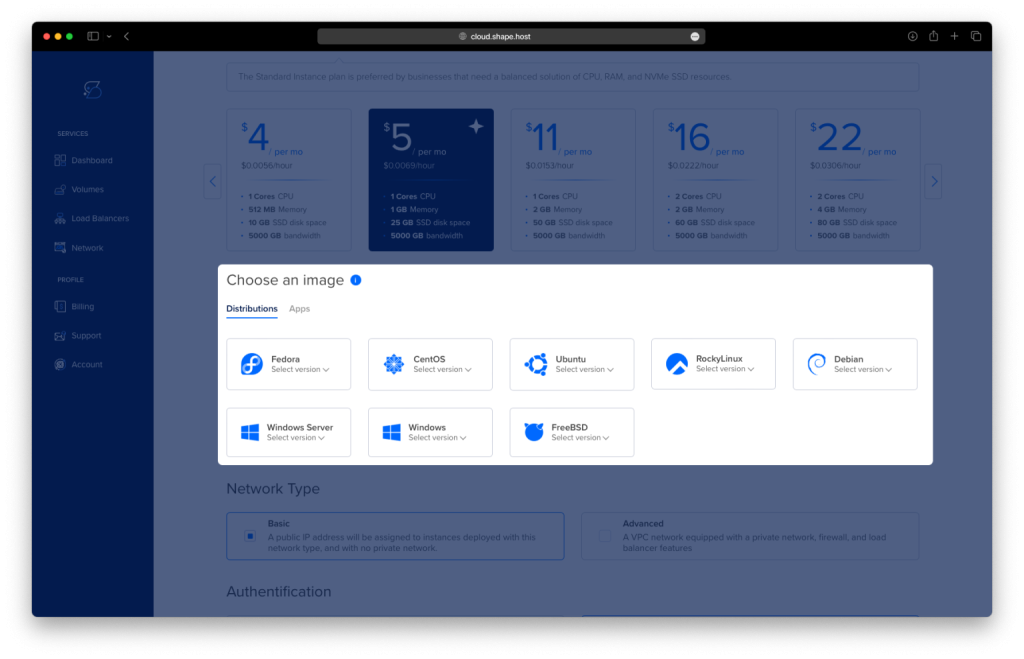
Choose Ubuntu 24.04 (64-bit) as your operating system.
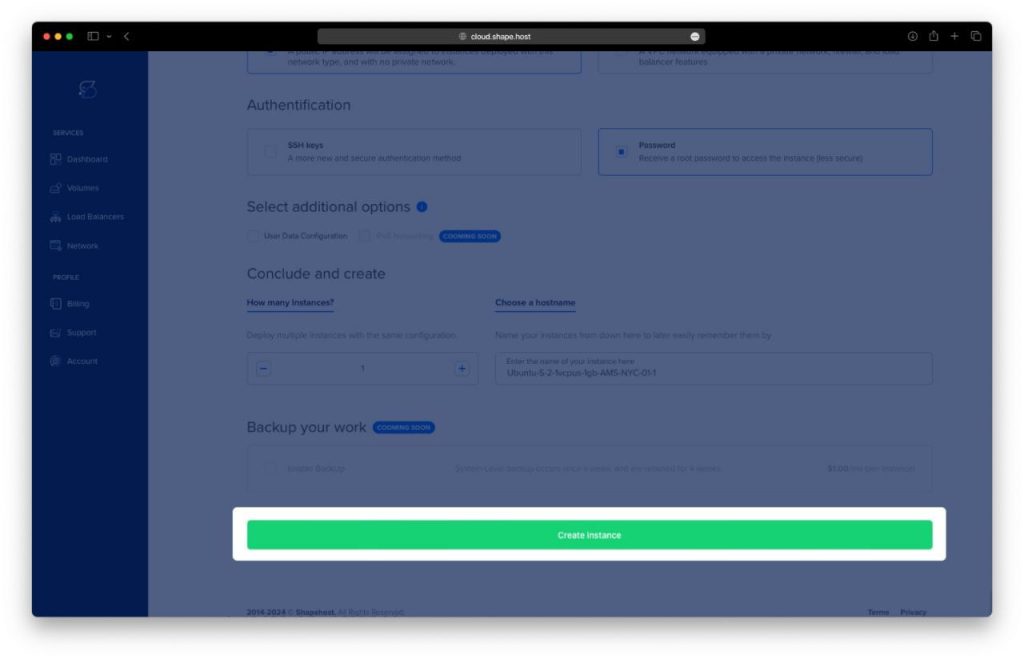
Click Create Instance.
Once the instance is ready, copy the public IP address from the Resources section.
Step 2: Connect to Your Server
- Linux/macOS:
ssh root@your_server_ip - Windows (PuTTY):
- Enter your Shape.Host IP address.
- Choose SSH connection type.
- Click Open and log in using your credentials.
Step 3: Install Docker and Docker Compose
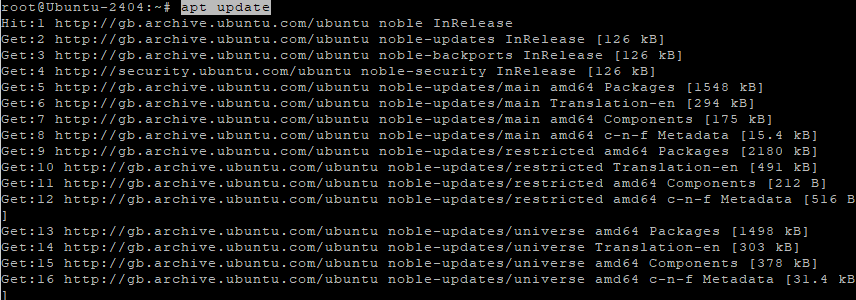
Update your system packages:
apt update
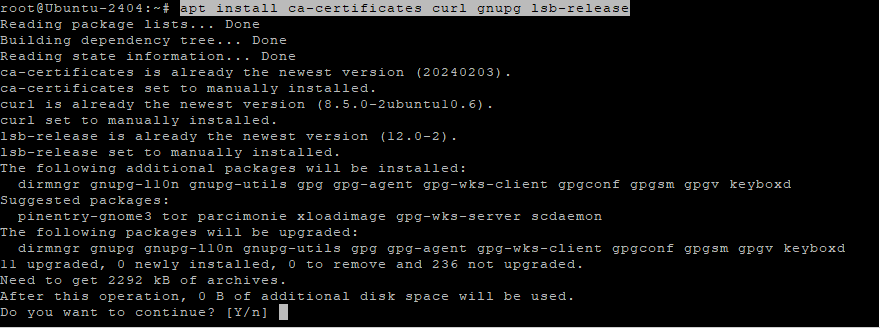
Install dependencies required for Docker:
apt install ca-certificates curl gnupg lsb-release
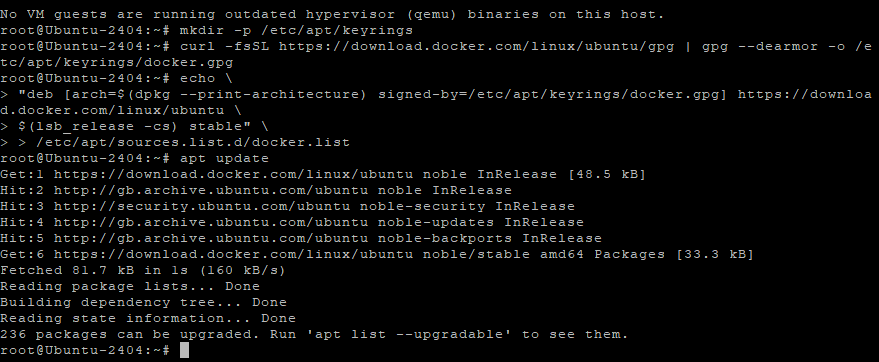
Create a directory for Docker’s GPG key:
mkdir -p /etc/apt/keyrings
Add Docker’s official GPG key:
curl -fsSL https://download.docker.com/linux/ubuntu/gpg | gpg --dearmor -o /etc/apt/keyrings/docker.gpg
Add Docker’s stable repository to your system:
echo "deb [arch=$(dpkg --print-architecture) signed-by=/etc/apt/keyrings/docker.gpg] https://download.docker.com/linux/ubuntu \
$(lsb_release -cs) stable" > /etc/apt/sources.list.d/docker.list
Update the package list again:
apt update
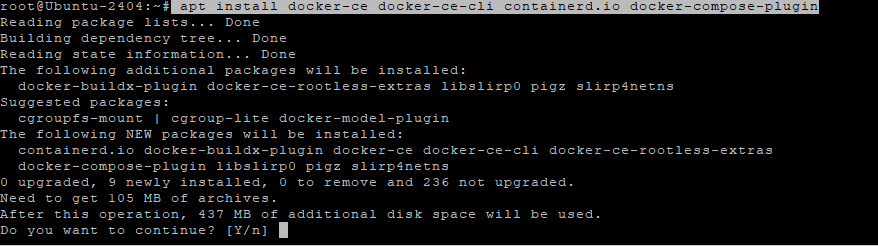
Install Docker Engine and Compose plugin:
apt install docker-ce docker-ce-cli containerd.io docker-compose-plugin
Enable and start the Docker service:
systemctl enable --now docker
Verify that Docker Compose is installed correctly:
docker compose version
If you see the version number, everything is ready.

Step 4: Create a Directory for Budibase
Make a directory where Budibase will live:
mkdir /opt/budibase
Change into that directory:
cd /opt/budibase
Step 5: Create the Docker Compose File
Open the Docker Compose configuration file:
nano docker-compose.yml
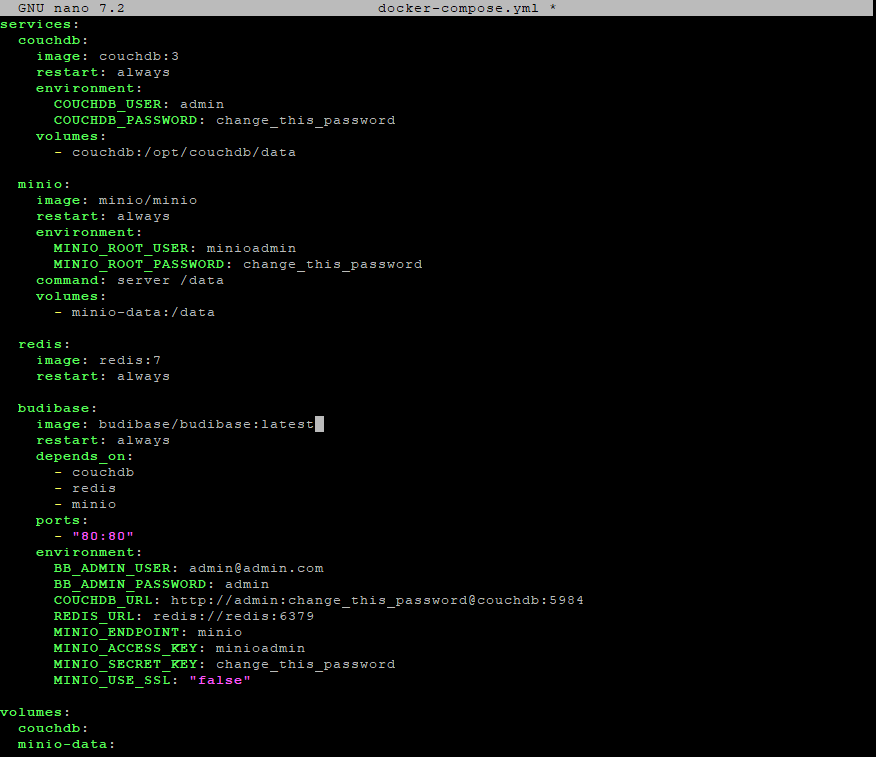
Paste the following content:
services:
  couchdb:
    image: couchdb:3
    restart: always
    environment:
      COUCHDB_USER: admin
      COUCHDB_PASSWORD: change_this_password
    volumes:
      - couchdb:/opt/couchdb/data

  minio:
    image: minio/minio
    restart: always
    environment:
      MINIO_ROOT_USER: minioadmin
      MINIO_ROOT_PASSWORD: change_this_password
    command: server /data
    volumes:
      - minio-data:/data

  redis:
    image: redis:7
    restart: always

  budibase:
    image: budibase/budibase:latest
    restart: always
    depends_on:
      - couchdb
      - redis
      - minio
    ports:
      - "80:80"
    environment:
      BB_ADMIN_USER: admin@admin.com
      BB_ADMIN_PASSWORD: admin
      COUCHDB_URL: http://admin:change_this_password@couchdb:5984
      REDIS_URL: redis://redis:6379
      MINIO_ENDPOINT: minio
      MINIO_ACCESS_KEY: minioadmin
      MINIO_SECRET_KEY: change_this_password
      MINIO_USE_SSL: "false"

volumes:
  couchdb:
  minio-data:
Explanation:
- CouchDB — stores app data and configuration.
- MinIO — object storage used for file uploads.
- Redis — caching and session handling.
- Budibase — main application container.
Use strong, unique passwords for all fields marked change_this_password.
Save and close with CTRL + O, then CTRL + X.
Step 6: Pull and Start Budibase
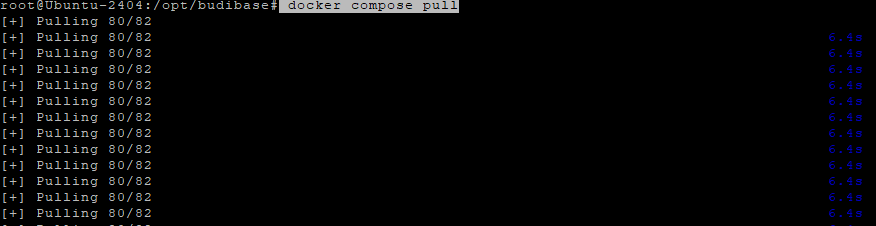
Download the latest Docker images:
docker compose pull

Start all services in detached mode:
docker compose up -d
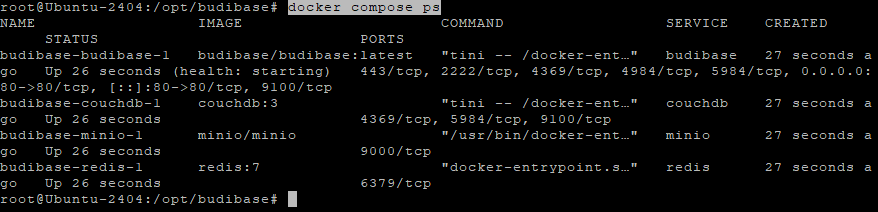
Check the status of containers:
docker compose ps
If all containers show as “Up,” your installation is successful.
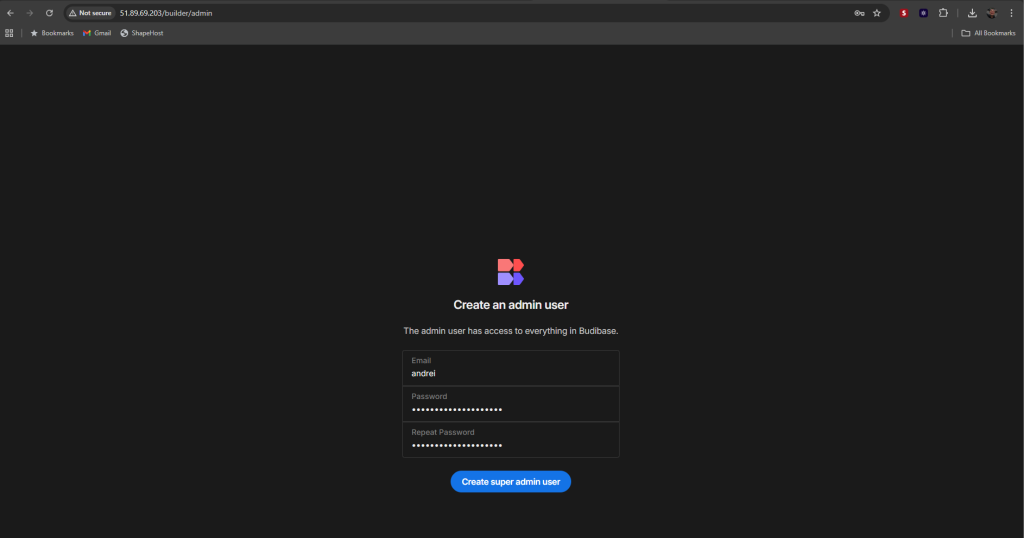
Step 7: Access the Budibase Web Interface
Open your browser and visit:
http://YOUR_SERVER_IP
Log in using:
- Email:
admin@admin.com - Password:
admin
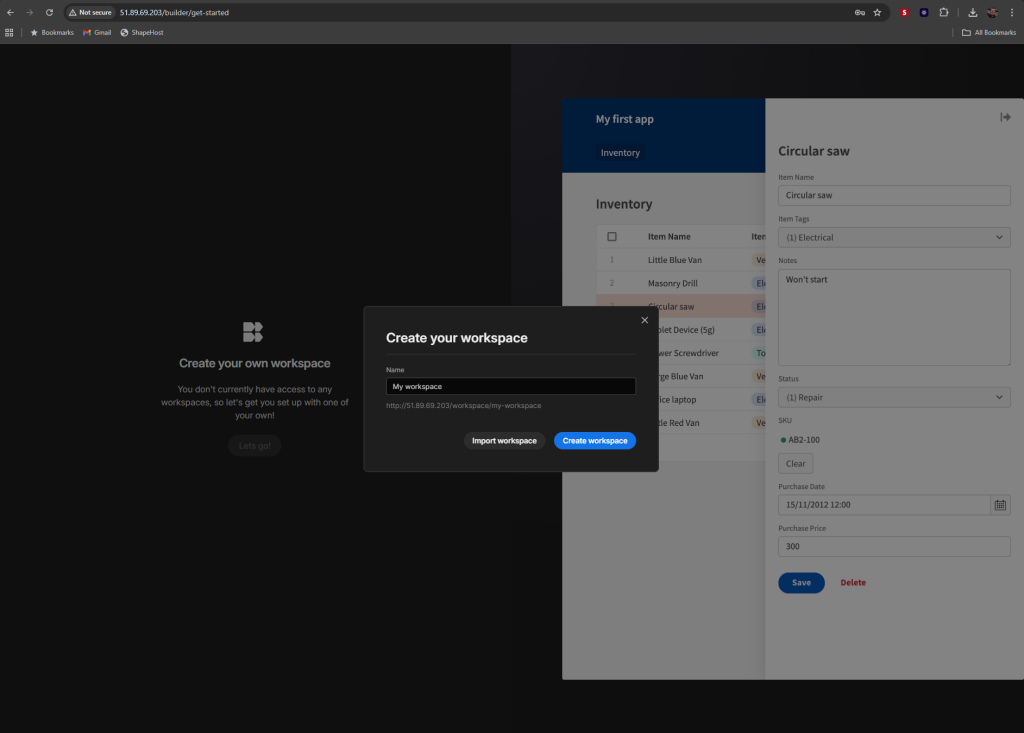
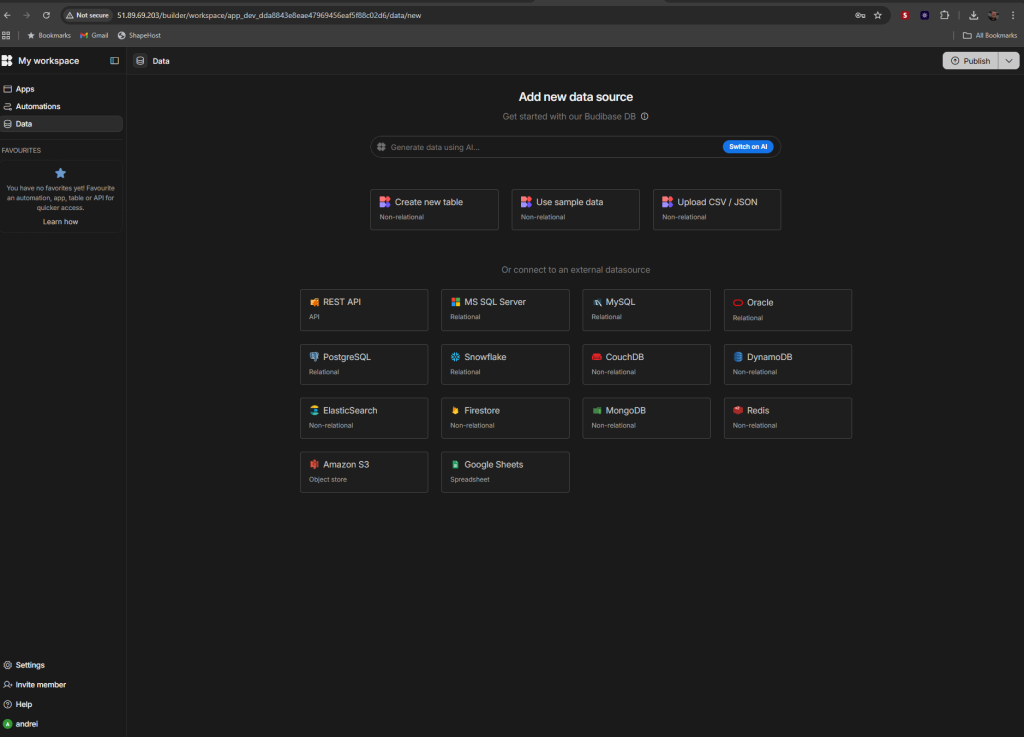
After logging in, you can change your admin credentials and start creating internal tools.
Step 8 (Optional): Enable SSL with Certbot
If you have a domain (e.g., apps.example.com), you can secure Budibase with HTTPS:
apt install python3-certbot-nginx
certbot --nginx -d yourdomain.com
Certbot will automatically configure SSL certificates from Let’s Encrypt.
You’ve successfully installed Budibase on Ubuntu 24.04 using Docker Compose.
Your setup includes CouchDB, Redis, and MinIO, providing a full-featured environment for rapid internal app development.
For better scalability and reliability, deploy your Budibase instance on a Shape.Host Linux SSD VPS, optimized for container-based workloads with guaranteed performance and uptime.