Supabase with Docker on Debian 12 (PostgreSQL + Kong + Studio + SSL)
Supabase is an open-source backend-as-a-service (BaaS) platform designed to give developers Firebase-like features with full data control. It provides authentication, a RESTful and real-time API, storage management, and an admin dashboard, all powered by PostgreSQL. Supabase is ideal for teams who want rapid app development without giving up flexibility or ownership of their data.
Running Supabase on Debian 12 (Bookworm) with Docker offers a stable, secure, and long-term supported base for deploying self-hosted backend services. Debian’s proven reliability, paired with modern components like systemd 252, OpenSSL 3, and the latest Docker Engine and Compose plugin, makes it an excellent environment for hosting Supabase in production.
Architecture Overview
| Layer | Component | Role |
|---|---|---|
| OS | Debian 12 (Bookworm) | Stable, secure foundation with long-term support |
| Container Runtime | Docker Engine + Compose | Orchestrates Supabase and all dependent services |
| Database | PostgreSQL 15 | Stores application, authentication, and metadata |
| API Gateway | Kong | Handles routing, rate limiting, and JWT validation |
| Realtime | Supabase Realtime (Elixir) | Pushes database change notifications over websockets |
| Auth | Supabase Auth (GoTrue) | Provides JWT-based authentication and user management |
| Storage | Supabase Storage | Handles file uploads and permissions linked to PostgreSQL |
| Dashboard | Supabase Studio | Web UI for managing users, database, and policies |
| TLS | Let’s Encrypt / PKI | Enables secure HTTPS access for APIs and the Studio console |
Why Use Supabase?
- Open-source alternative to Firebase with full backend control.
- Powered by PostgreSQL – advanced SQL, JSONB, triggers, and extensions.
- Integrated authentication – email, magic links, and OAuth providers.
- Realtime data – event-driven updates using PostgreSQL replication.
- Admin dashboard – manage schemas, policies, and storage visually.
- Self-hosted – deploy anywhere with Docker or Kubernetes.
Supabase vs Other Backend Platforms
| Feature/Capability | Supabase (Self-hosted) | Firebase (Google) | Appwrite (Self-hosted) | PocketBase (Lightweight) |
|---|---|---|---|---|
| Database | PostgreSQL | Firestore (NoSQL) | MariaDB/PostgreSQL | SQLite |
| Hosting | Self-hosted or Cloud | SaaS only | Self-hosted | Self-hosted |
| APIs | REST + GraphQL | Proprietary SDKs | REST + GraphQL | REST |
| Authentication | GoTrue (JWT + OAuth) | Firebase Auth | OAuth, JWT | Built-in |
| Realtime updates | Yes | Yes (Firestore) | Limited | WebSocket |
| Open-source | Yes | No | Yes | Yes |
Supabase shines when you need Firebase-like functionality but prefer the freedom and transparency of open-source infrastructure.
Security & Best Practices
- Deploy behind Nginx or Traefik with SSL (HTTPS).
- Generate strong JWT secrets using
openssl rand -hex 32. - Store credentials securely in
.env(never commit them to Git). - Restrict PostgreSQL access to internal Docker networks only.
- Keep Docker images updated with
docker compose pull. - Limit open ports using Debian’s UFW or nftables firewall.
- Automate SSL renewals with Certbot or ACME clients.
Typical Use Cases
- Web and mobile backends with real-time data sync.
- Self-hosted Firebase replacement for compliance and data control.
- Prototyping or MVPs that need instant backend APIs.
- Enterprise systems requiring on-premises or private cloud deployment.
- Realtime apps like chat, dashboards, IoT, and collaborative tools.
Deploying Supabase with Docker on Debian 12 gives you a scalable, secure, and open-source backend stack built on PostgreSQL — perfect for developers who want the power of Firebase with full ownership of their data and infrastructure.
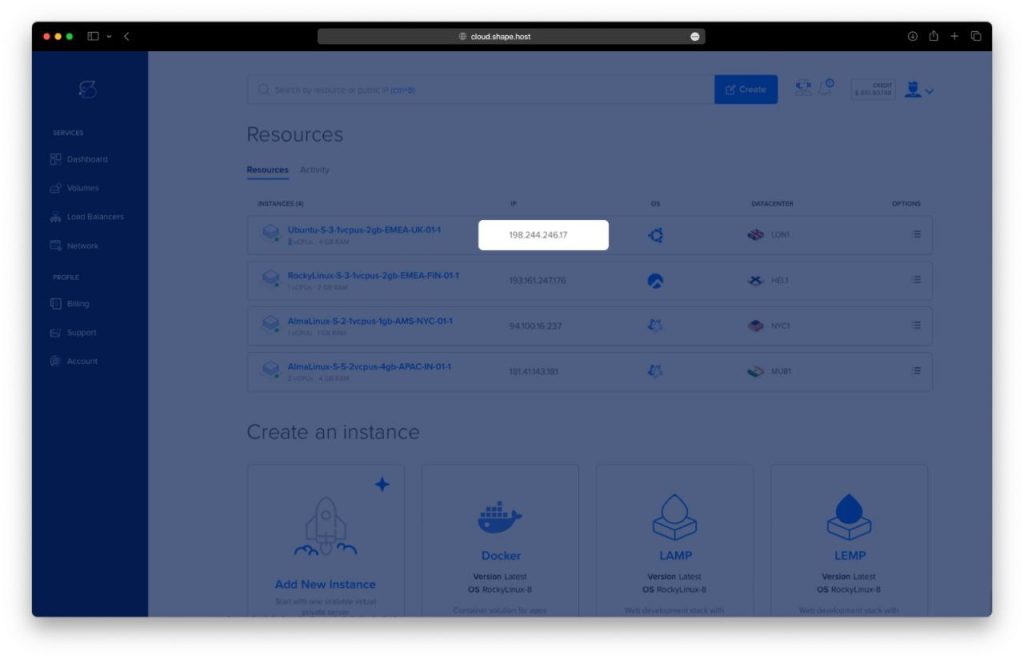
Step 1: Create a Server Instance on Shape.Host
To begin, create a new Debian 12 VPS:
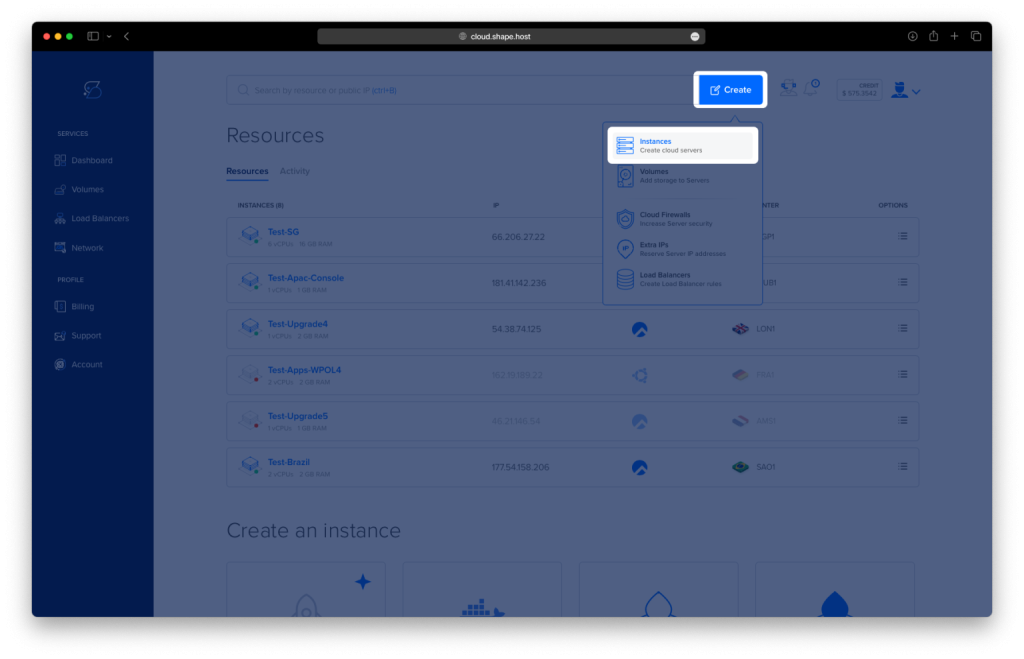
Log in to your Shape.Host dashboard.
Click Create → Instance.
Choose your server location closest to your users.
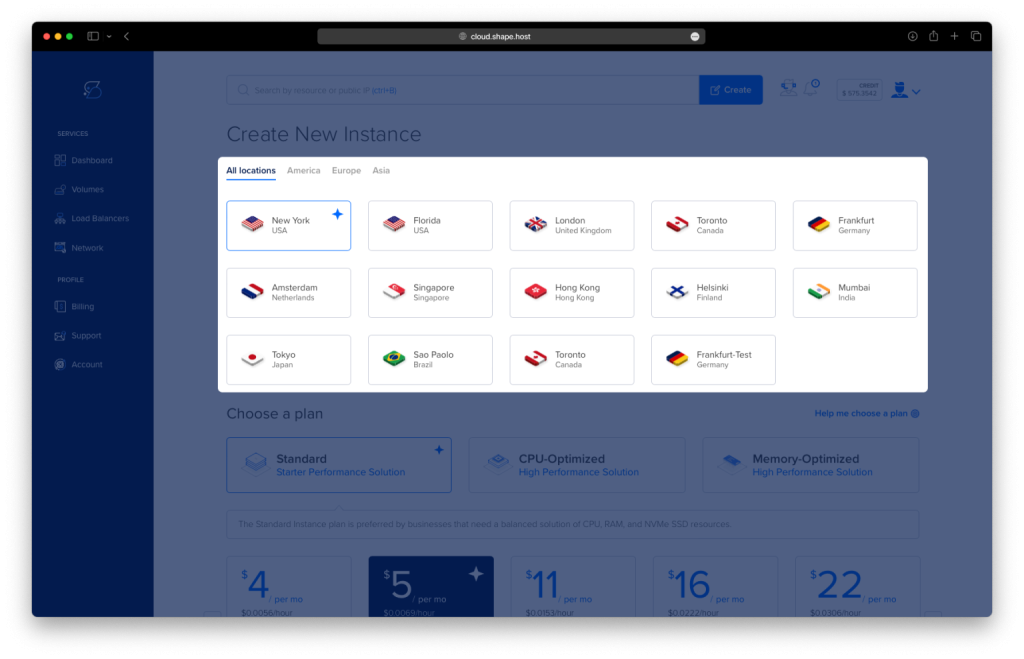
Select a plan with at least 4 CPUs, 8 GB RAM, and 40 GB SSD (recommended for Supabase).
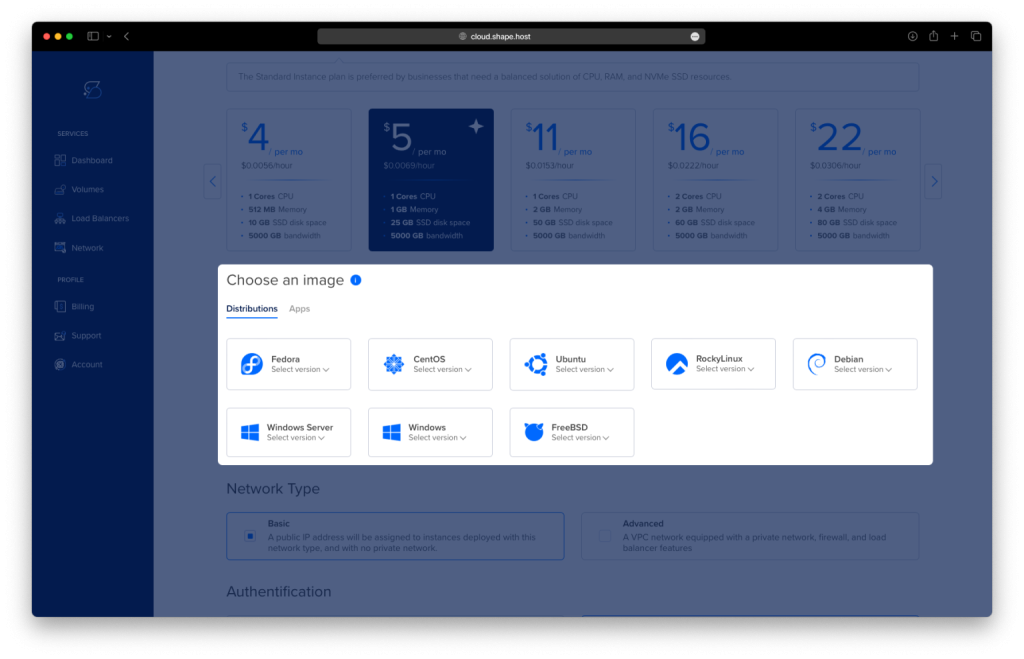
Choose Debian 12 (64-bit) as your operating system.
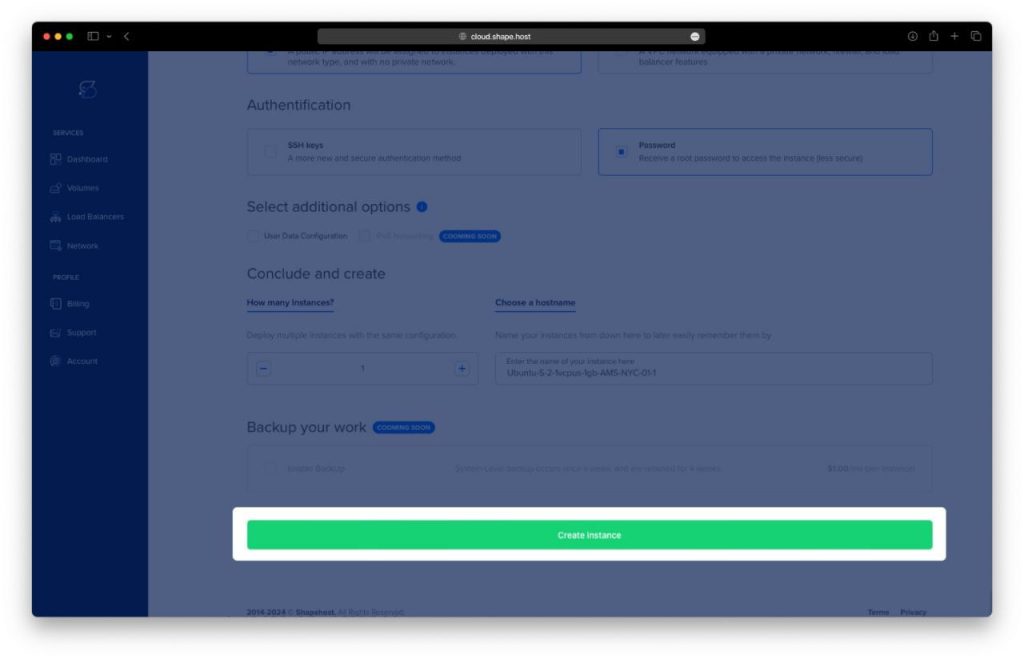
Click Create Instance.
Copy your instance’s public IP address from the Resources section once it’s ready.
Step 2: Connect to Your Server
- Linux/macOS:
ssh root@your_server_ip - Windows (PuTTY):
- Open PuTTY, enter your server IP, and select SSH.
- Click Open and log in with your Shape.Host credentials.
Step 3: Install Docker and Docker Compose
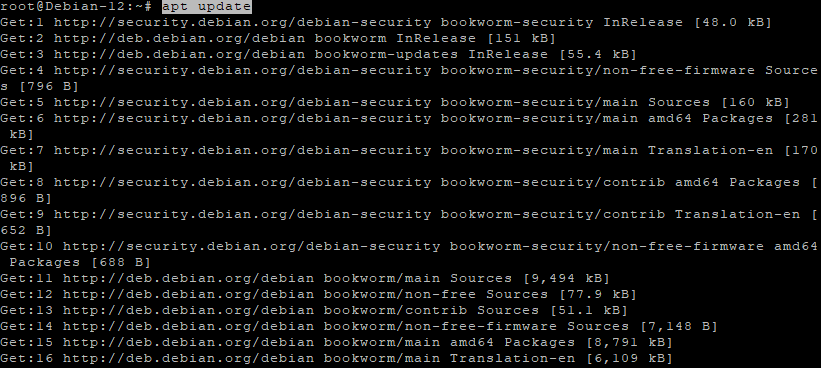
Update your system:
apt update
Install dependencies:
apt install -y ca-certificates curl gnupg lsb-release

Add Docker’s official GPG key:
install -m 0755 -d /etc/apt/keyrings
curl -fsSL https://download.docker.com/linux/debian/gpg | gpg --dearmor -o /etc/apt/keyrings/docker.gpg
chmod a+r /etc/apt/keyrings/docker.gpg

Add the Docker repository:
echo "deb [arch=$(dpkg --print-architecture) signed-by=/etc/apt/keyrings/docker.gpg] https://download.docker.com/linux/debian \
$(. /etc/os-release && echo "$VERSION_CODENAME") stable" > /etc/apt/sources.list.d/docker.list
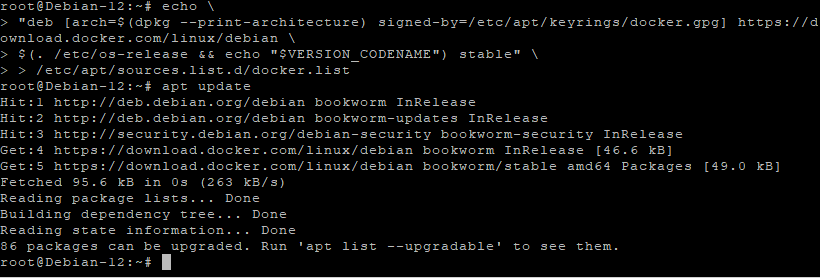
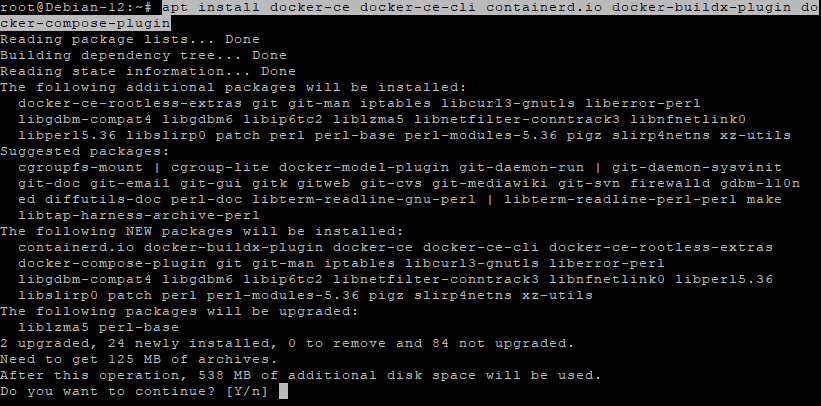
Update again and install Docker Engine with plugins:
apt update
apt install docker-ce docker-ce-cli containerd.io docker-buildx-plugin docker-compose-plugin
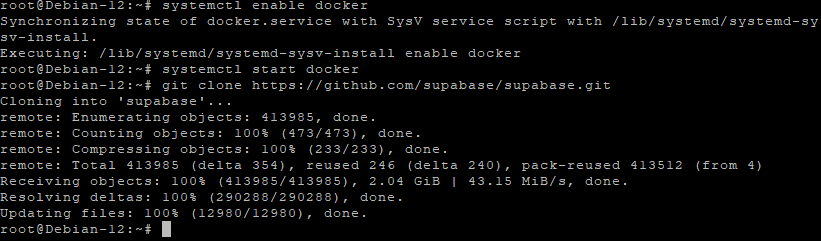
Enable and start Docker:
systemctl enable docker
systemctl start docker
Step 4: Clone the Supabase Repository
Clone the official Supabase Docker setup:
git clone https://github.com/supabase/supabase.git
cd supabase/docker
Copy the example environment file:
cp .env.example .env
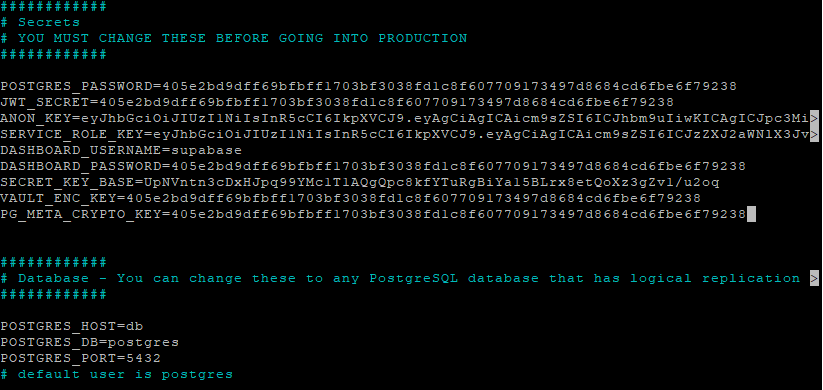
Step 5: Configure Environment Variables
Open the .env file for editing:
nano .env
Update the following important variables with strong, unique values:
POSTGRES_PASSWORD=MyStrongP4ssword!
JWT_SECRET=$(openssl rand -hex 32)
ANON_KEY=myanonkey123456
SERVICE_ROLE_KEY=myservicerolekey456789
SECRET_KEY_BASE=$(openssl rand -hex 32)

SITE_URL=http://localhost:3000
SUPABASE_PUBLIC_URL=http://localhost:8000
API_EXTERNAL_URL=http://localhost:8000
KONG_HTTP_PORT=8000
KONG_HTTPS_PORT=8443

DOCKER_SOCKET_LOCATION=/var/run/docker.sock

STUDIO_DEFAULT_ORGANIZATION=MyOrg
STUDIO_DEFAULT_PROJECT=MyProject
💡 Tip:
Generate strong random strings for secrets using:
openssl rand -hex 32
Press CTRL + O, ENTER, then CTRL + X to save and exit.

Step 6: Fix Docker Socket Mount (Important)
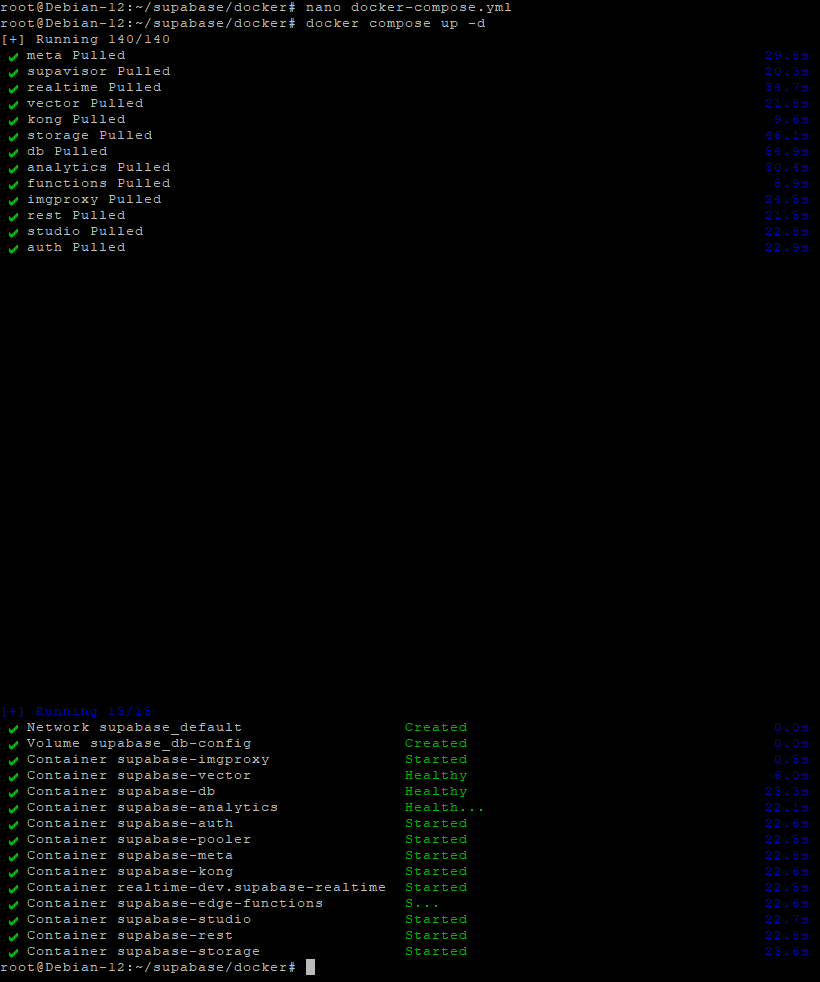
Edit the Docker Compose file:
nano docker-compose.yml
Locate the line:
- ${DOCKER_SOCKET_LOCATION}:/var/run/docker.sock:ro,z
If ${DOCKER_SOCKET_LOCATION} is not defined, replace it with the absolute path:
- /var/run/docker.sock:/var/run/docker.sock:ro,z
Save and close the file.

Step 7: Launch Supabase Containers
Start Supabase with Docker Compose:
docker compose up -d
Check running containers:
docker ps
You should see containers for services like:
- kong
- studio
- rest
- realtime
- postgres
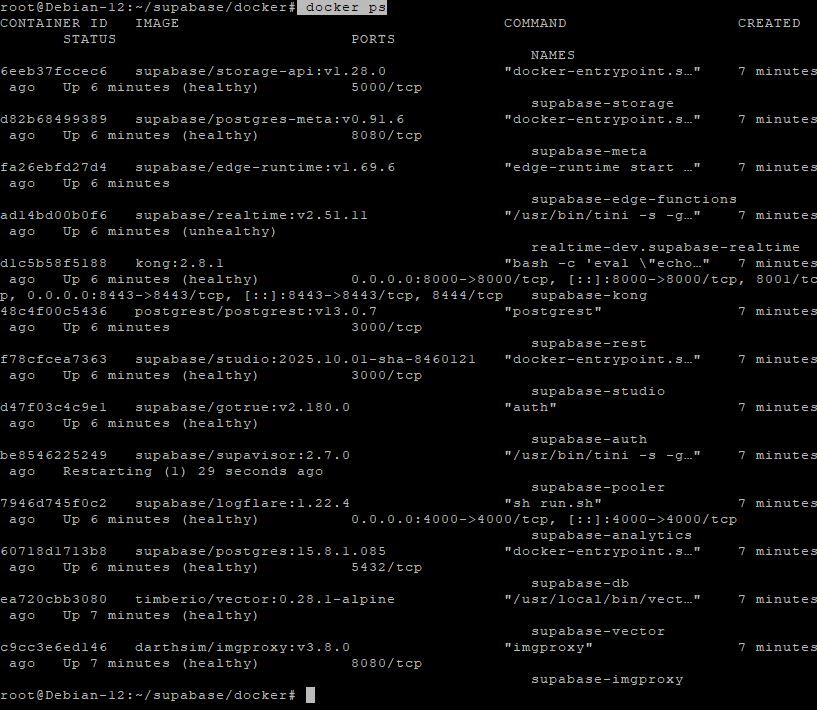
Step 8: Access Supabase
Once all containers are running, access the Supabase Studio dashboard in your browser:
http://YOUR_SERVER_IP:8000
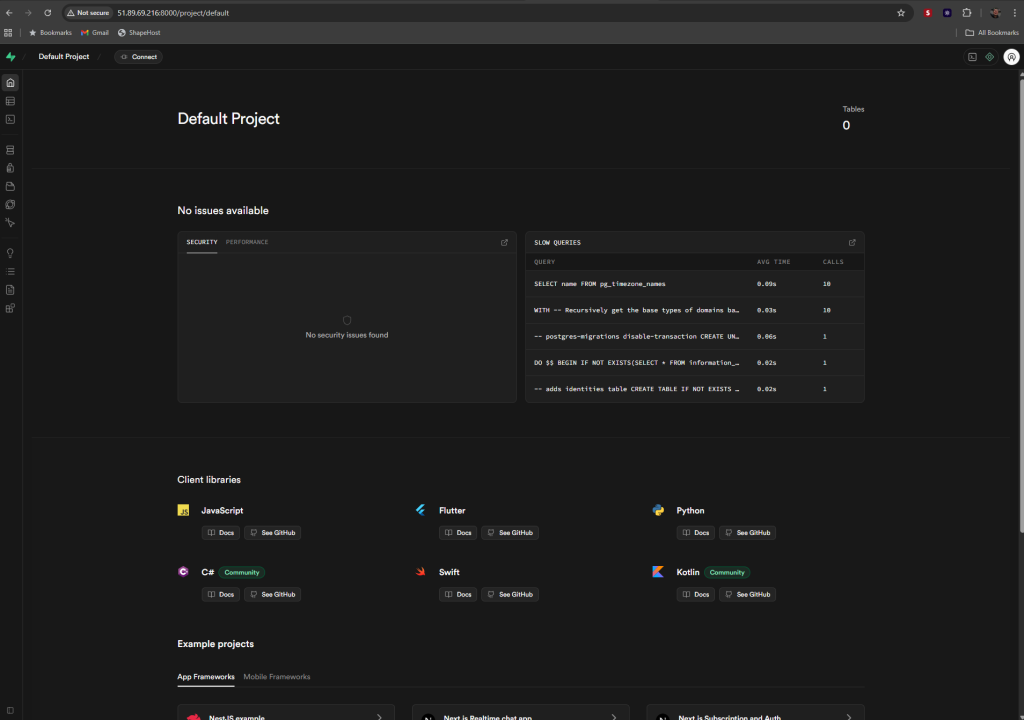
You’ll see the Supabase interface, allowing you to manage your database, authentication, APIs, and projects.

Step 9: Manage the Stack
Stop Supabase:
docker compose down
Restart later:
docker compose up -d
View logs for troubleshooting:
docker compose logs -f
You installed Supabase with Docker on Debian 12, giving you a full self-hosted backend stack including PostgreSQL, authentication, storage, and APIs — all running securely in containers.
For best performance and reliability, deploy your applications on Shape.Host Cloud VPS, optimized for Docker and production workloads.