Langflow (OpenAI Visual Tool) on Ubuntu 24.04 (Python + Docker + Nginx + SSL)
Langflow is an open-source visual programming interface for building and orchestrating Large Language Model (LLM) applications. It provides an intuitive, drag-and-drop environment for connecting AI components such as OpenAI models, LangChain, Hugging Face Transformers, and custom APIs, allowing developers to design workflows visually without writing complex backend code.
Running Langflow on Ubuntu 24.04 LTS (Noble Numbat) offers a stable, secure, and modern base for developing, testing, and deploying AI-driven applications. With Python 3.12, Docker Engine, and OpenSSL 3, Ubuntu 24.04 provides all the necessary components to host Langflow behind Nginx with SSL, ensuring both performance and security.
Architecture Overview
| Layer | Component | Role |
|---|---|---|
| OS | Ubuntu 24.04 LTS | Long-term supported base for stable deployments |
| Runtime | Python 3.12 / Docker | Executes Langflow backend and containers |
| Framework | Langflow (LangChain UI) | Visual interface for LLM pipelines and agents |
| Backend API | FastAPI + LangChain | Handles data flow, LLM calls, and component integration |
| Frontend | React / Vite | Provides web-based drag-and-drop interface |
| Reverse Proxy | Nginx | TLS termination, static asset delivery, and routing |
| TLS | Let’s Encrypt / PKI | Provides HTTPS for secure access to the Langflow interface |
Why Use Langflow?
- Visual AI pipeline builder – connect prompts, tools, and APIs using blocks.
- LangChain integration – design LLM workflows without code.
- OpenAI support – easily connect GPT-3.5, GPT-4, or custom API keys.
- Custom nodes and extensions – build reusable components for advanced use cases.
- Local or remote hosting – deploy Langflow anywhere, from development machines to production servers.
- Collaborative environment – share, export, and version AI workflows visually.
Langflow vs Other AI Development Platforms
| Feature/Capability | Langflow (Self-hosted) | FlowiseAI (Self-hosted) | Dust.tt (Cloud) | OpenAI Playground (Cloud) |
|---|---|---|---|---|
| Hosting | Self-hosted / Cloud | Self-hosted | SaaS only | SaaS only |
| Interface type | Visual builder | Visual builder | Web UI | Web UI |
| LLM Integration | OpenAI, Anthropic, HF | OpenAI, HF | Proprietary | OpenAI only |
| Extensibility | High (custom nodes) | Moderate | Limited | None |
| Cost | Free, open-source | Free, open-source | Subscription | Pay-per-use |
Langflow stands out as a powerful, open-source alternative for teams that want to build and iterate on AI applications locally with full customization and data control.
Security & Best Practices
- Always run Langflow behind Nginx with HTTPS for secure access.
- Store API keys (like OpenAI tokens) in environment variables or .env files, never in public scripts.
- Restrict access using firewall (UFW/nftables) and basic authentication if public.
- Keep Python dependencies and Docker images updated.
- Use systemd services or Docker Compose for process supervision.
- Backup project and configuration directories regularly.
- Monitor application logs for API usage and performance bottlenecks.
Typical Use Cases
- AI workflow prototyping – visually test prompt chains, tools, and retrieval models.
- LLM orchestration – build conversational or autonomous agents using LangChain.
- Internal AI tools – create no-code dashboards for data teams.
- Education and research – teach LLM architectures and prompt engineering visually.
- Enterprise deployments – host secure, local AI environments without sending data to the cloud.
Deploying Langflow on Ubuntu 24.04 gives you a powerful, flexible, and visual environment for building AI applications. With Docker or Python, Nginx, and SSL integration, you can create, test, and deploy complex LLM workflows — all within a secure, self-hosted ecosystem.
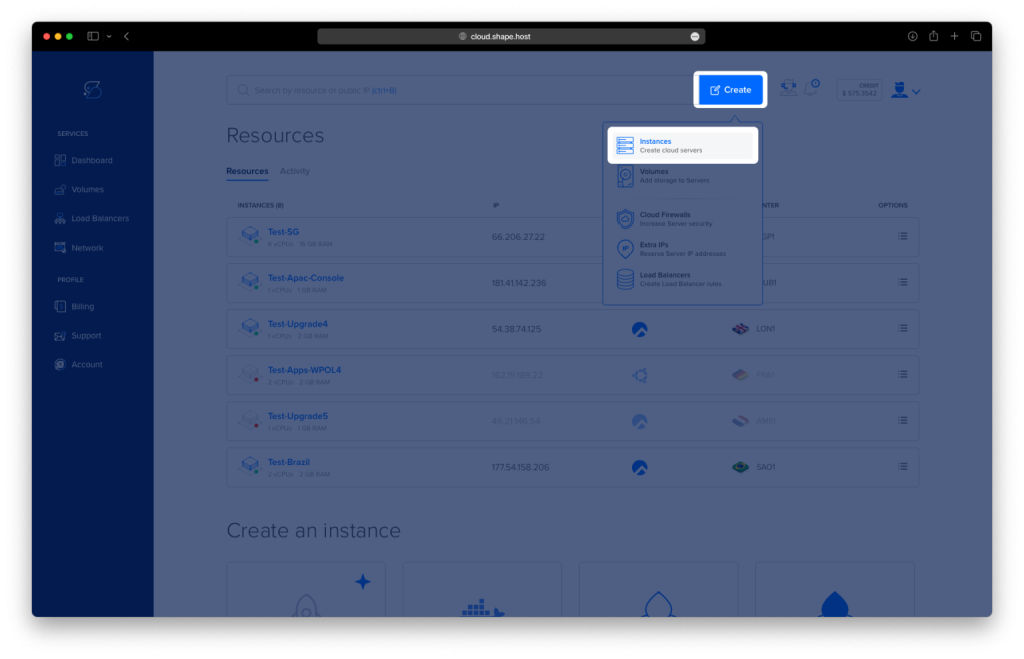
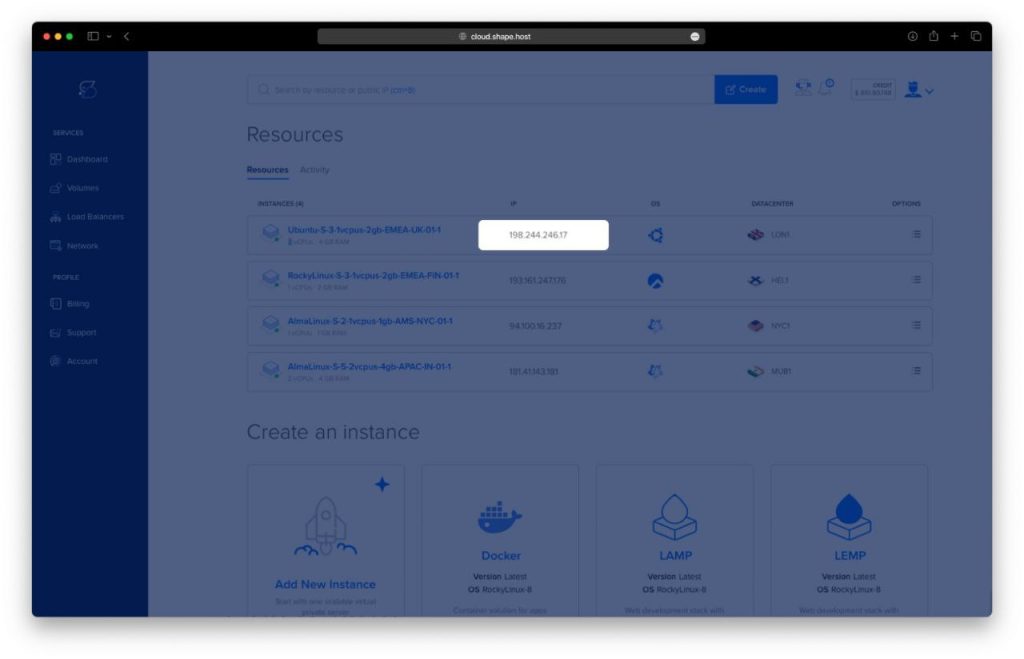
Step 1: Create a Server Instance on Shape.Host
Log in to your Shape.Host account.
Click Create → Instance.
Choose your preferred server location.
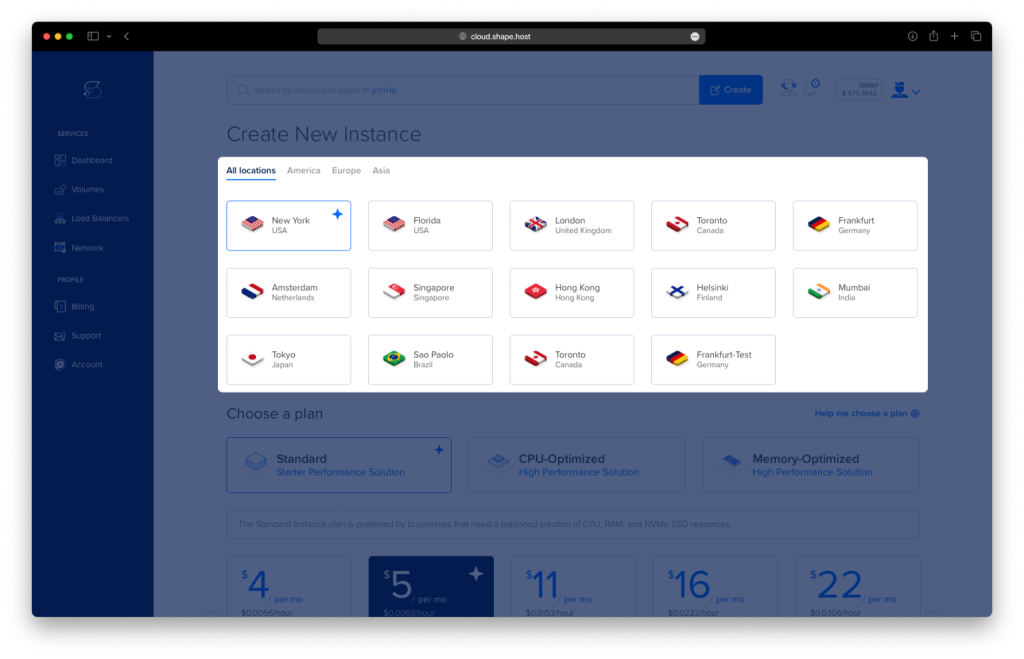
Select a plan with at least 2 CPUs, 4 GB RAM, and 20 GB SSD.
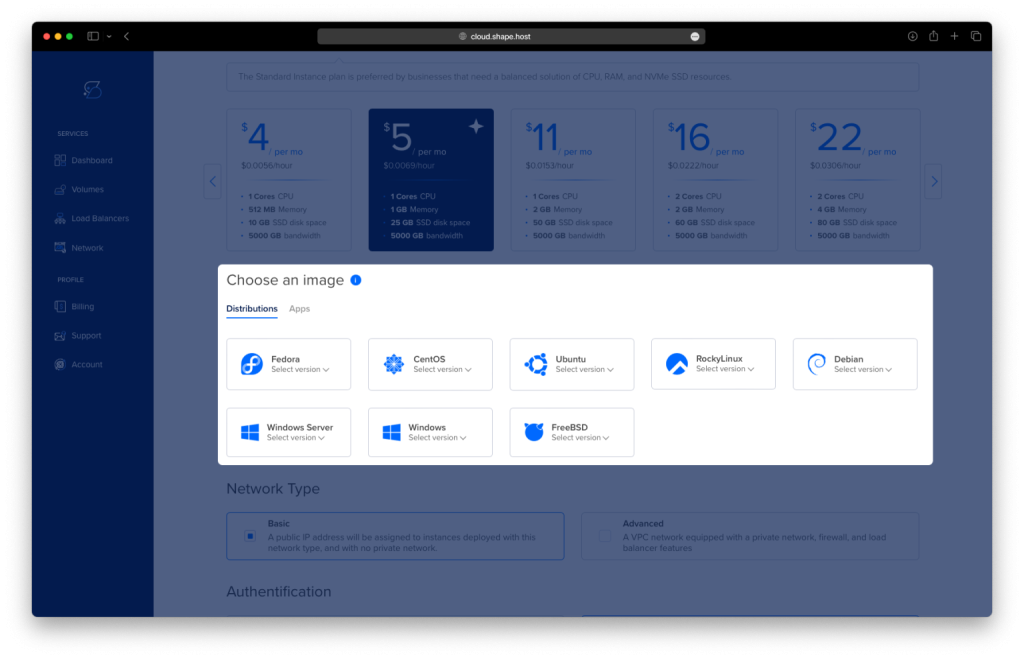
Choose Ubuntu 24.04 (64-bit) as the operating system.
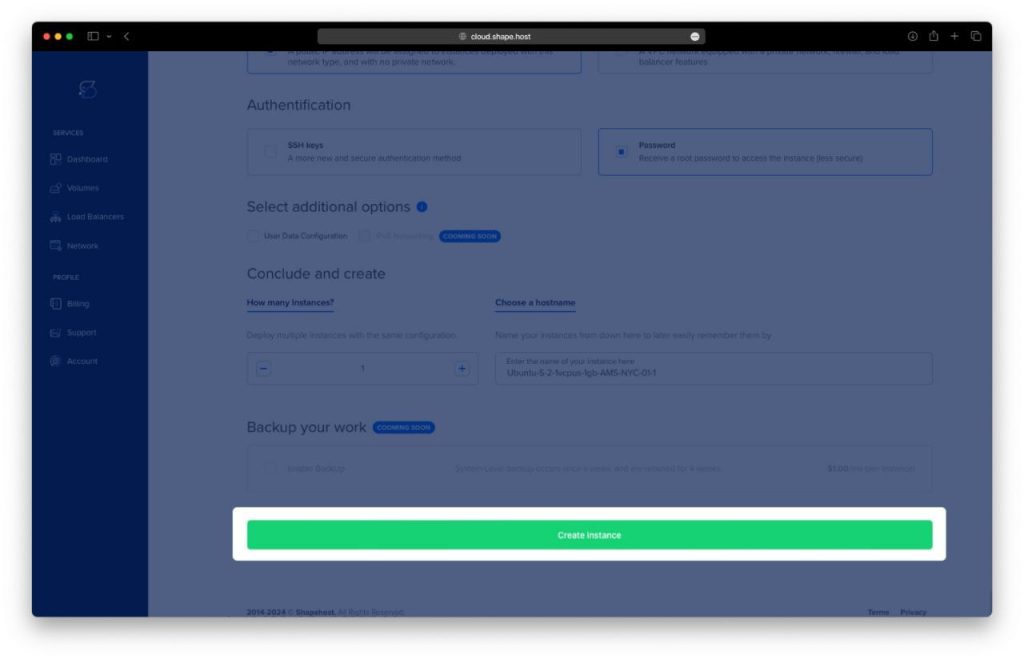
Click Create Instance.
Once deployed, note down your public IP address under Resources — you’ll use it to access Langflow later.
Step 2: Connect to Your Server
Use SSH to connect to your Shape.Host VPS:
ssh root@your_server_ip
Now you’re ready to install the dependencies.
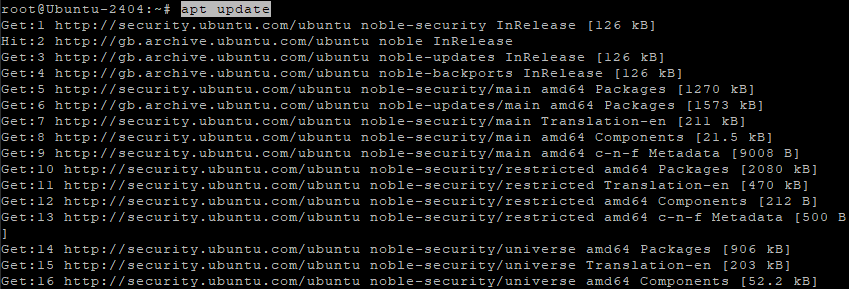
Step 3: Update Packages and Install Prerequisites
Update the system repositories:
apt update
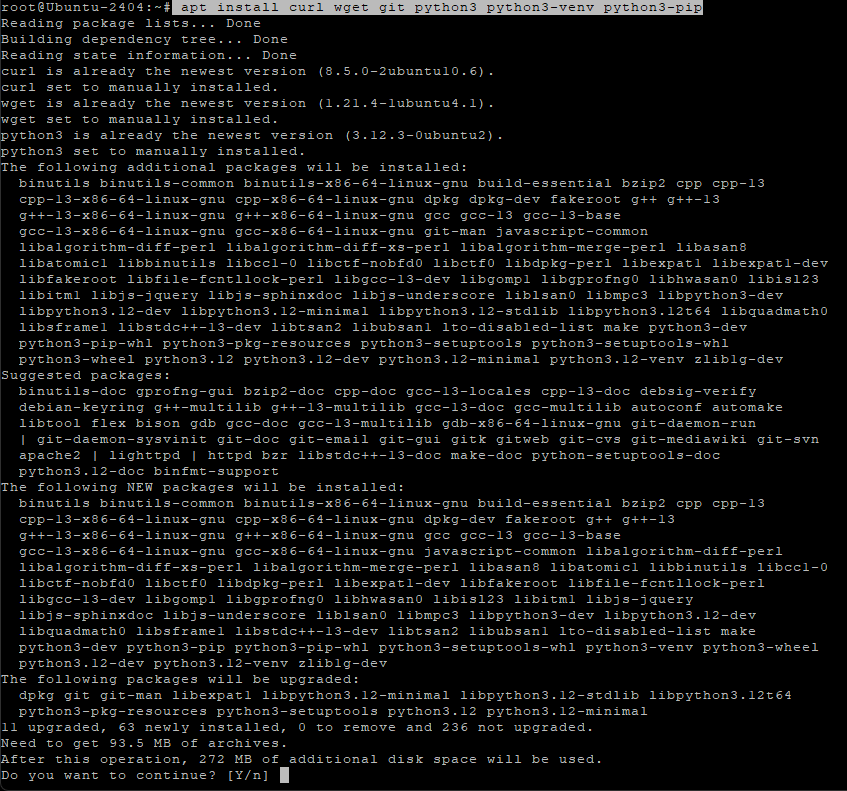
Install the required tools:
apt install curl wget git python3 python3-venv python3-pip
- curl / wget – for downloading files
- git – for version control (optional, but useful)
- python3 / venv / pip – Python runtime, virtual environment manager, and package installer
Check Python version:
python3 --version
It should display something like Python 3.12.x (the default in Ubuntu 24.04).

Step 4: Create a Dedicated Directory
Create a directory for Langflow and navigate to it:
mkdir -p /opt/langflow
cd /opt/langflow
This keeps the installation organized in one central location.
Step 5: Set Up a Python Virtual Environment
Create a virtual environment (isolated Python space):
python3 -m venv venv
Activate the environment:
source venv/bin/activate
Once activated, your prompt will show (venv) at the start — this ensures all packages are installed locally to Langflow.

Step 6: Install Langflow and Dependencies
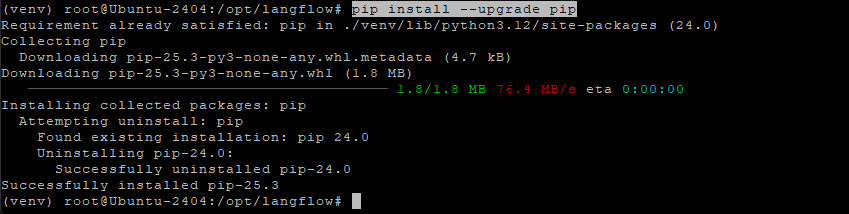
Upgrade pip first:
pip install --upgrade pip
Then install Langflow:
pip install langflow
Install optional integrations (for LangChain and OpenAI):
pip install --upgrade langflow langchain openai
You can also add the Composio-LangChain connector:
pip install composio-langchain
Check for dependency issues:
pip check
If everything is OK, no errors will be shown.
Step 7: Run Langflow Manually
To test your setup:
langflow run --host 0.0.0.0 --port 7860
--host 0.0.0.0makes Langflow accessible from any IP address.--port 7860defines the port.
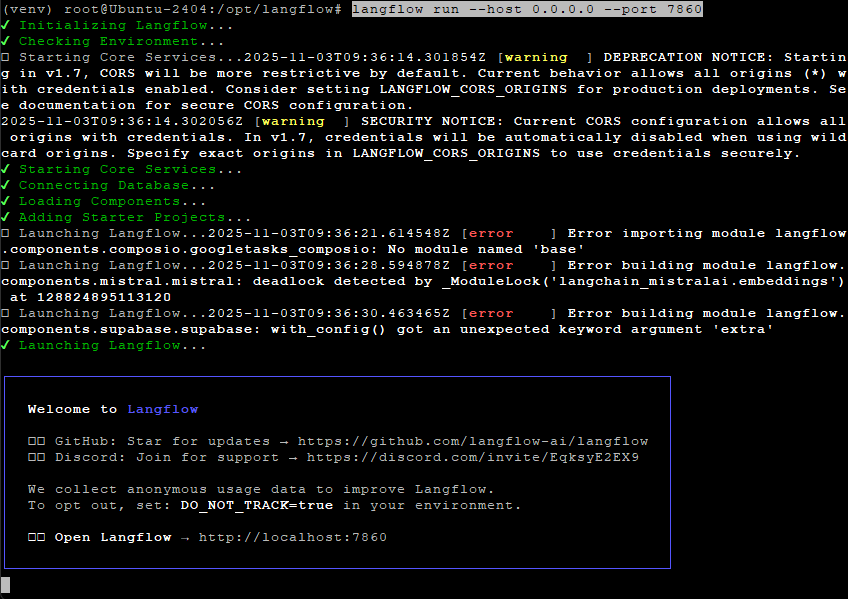
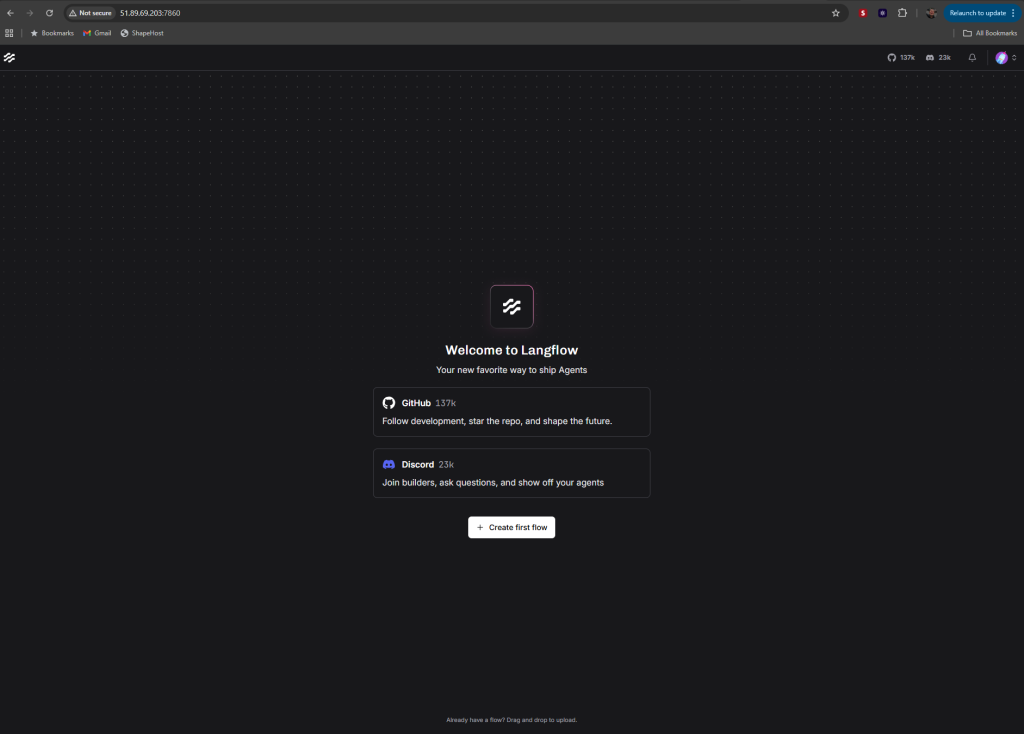
Now open your browser and visit:
http://YOUR_SERVER_IP:7860
You should see the Langflow UI.
Press Ctrl + C to stop it before proceeding to create a background service.
Step 8: Create a Systemd Service for Langflow
To make Langflow start automatically on boot, create a service file:
nano /etc/systemd/system/langflow.service
Paste the following configuration:
[Unit]
Description=Langflow Visual AI Tool
After=network.target
[Service]
# Run as root because you installed Langflow as root
User=root
Group=root
# Working directory where Langflow is installed
WorkingDirectory=/opt/langflow
# Start command
ExecStart=/opt/langflow/venv/bin/langflow run --host 0.0.0.0 --port 7860
# Restart if it crashes
Restart=always
RestartSec=5
# Environment variables
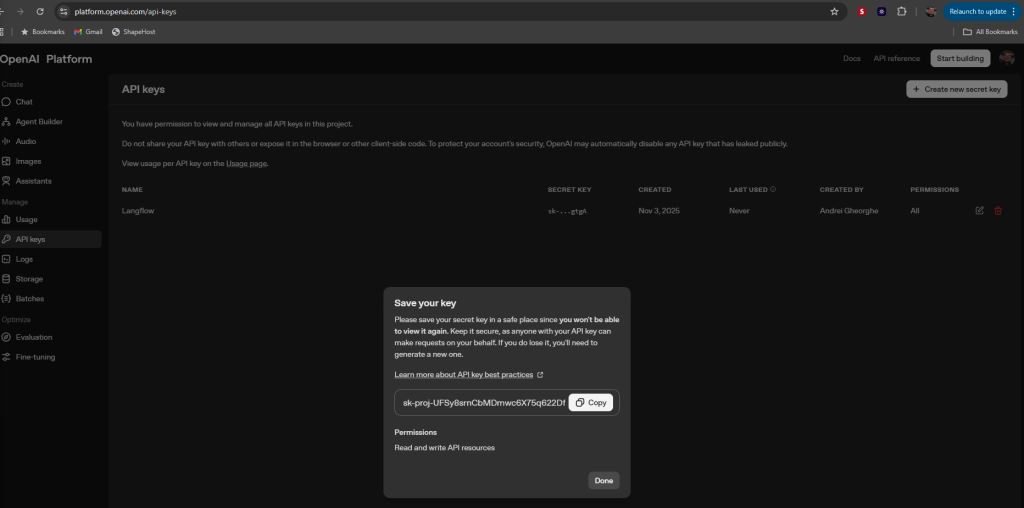
Environment="OPENAI_API_KEY=your_openai_key_here"
Environment="LANGFLOW_CORS_ORIGINS=http://your_server_ip:7860"
Environment="DO_NOT_TRACK=true"
[Install]
WantedBy=multi-user.target
Save and close (CTRL + O, ENTER, CTRL + X).

Step 9: Enable and Start Langflow Service
Reload systemd to recognize the new service:
systemctl daemon-reload
Start Langflow:
systemctl start langflow
Enable it to start automatically on reboot:
systemctl enable langflow
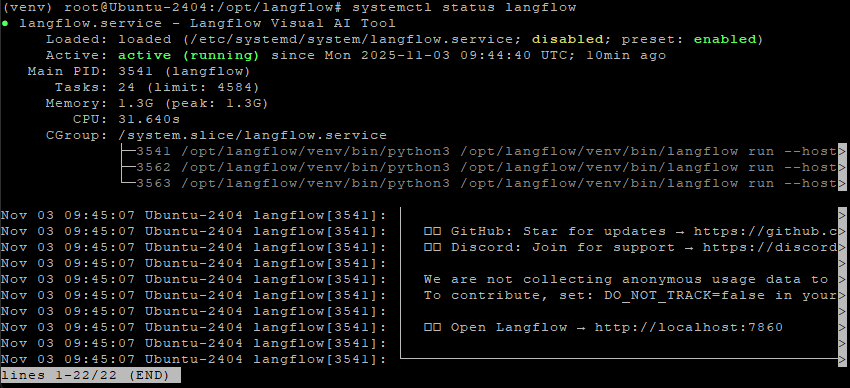
Check status:
systemctl status langflow
If it says active (running), Langflow is now live.

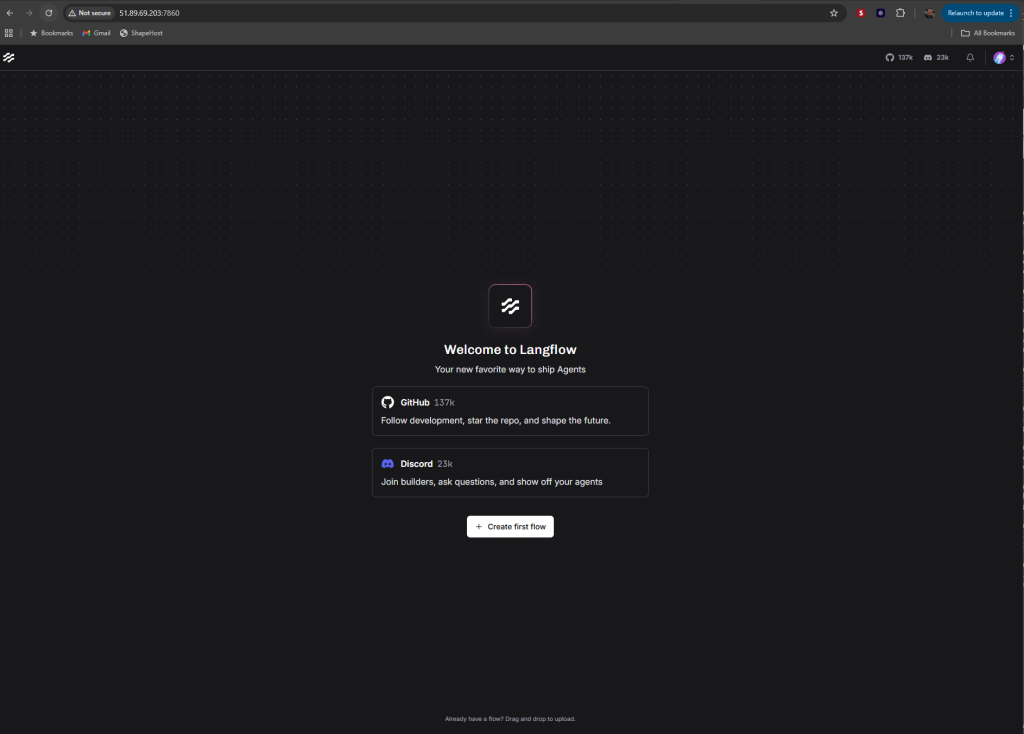
Step 10: Access Langflow
Open your web browser and navigate to:
http://YOUR_SERVER_IP:7860
or, using your example:
http://51.89.69.203:7860
You’ll now see the Langflow Visual Interface, ready to build AI pipelines visually using LangChain + OpenAI.
You’ve successfully installed Langflow on Ubuntu 24.04 with systemd integration and OpenAI support.
Your server now runs a visual AI builder that integrates with LangChain and OpenAI, ideal for prototyping and deploying intelligent workflows.
For optimal uptime and performance, host Langflow on a Shape.Host Linux SSD VPS, offering SSD-powered infrastructure and full root access — perfect for AI development environments.