ONLYOFFICE Docs is a powerful, self-hosted office suite that allows you to create, edit, and collaborate on a variety of document formats, making it a robust solution for organizations and teams. It supports text documents, spreadsheets, and presentations, with a high degree of compatibility with Microsoft Office and OpenDocument formats. ONLYOFFICE Docs is ideal for businesses, educational institutions, and developers who need a secure, scalable, and feature-rich document editing platform.
What You Can Do with ONLYOFFICE Docs:
- Collaborate in Real Time: Work on documents, spreadsheets, and presentations simultaneously with team members.
- Track Changes and Comments: Keep track of edits, add comments, and view the revision history.
- Document Sharing and Permissions: Set permissions (view, edit, comment) for team members, ensuring the right level of access.
- Integration with Popular Platforms: ONLYOFFICE can be integrated with services like Nextcloud, SharePoint, and Confluence, among others.
- Extensibility: Use APIs to extend its capabilities or integrate with existing systems.
Supported Document Formats:
ONLYOFFICE Docs supports a wide range of document formats, ensuring compatibility with various office tools:
- Text Documents: DOCX, ODT, RTF, TXT, and PDF.
- Spreadsheets: XLSX, ODS, CSV.
- Presentations: PPTX, ODP.
- Other Formats: Supports viewing of image files (PNG, JPG), PDFs, and other formats like EPUB.
Step 1: Create a Cloud Instance
Before installing ONLYOFFICE Docs, you’ll need to create a cloud instance where it will run. Here’s how to create the instance:
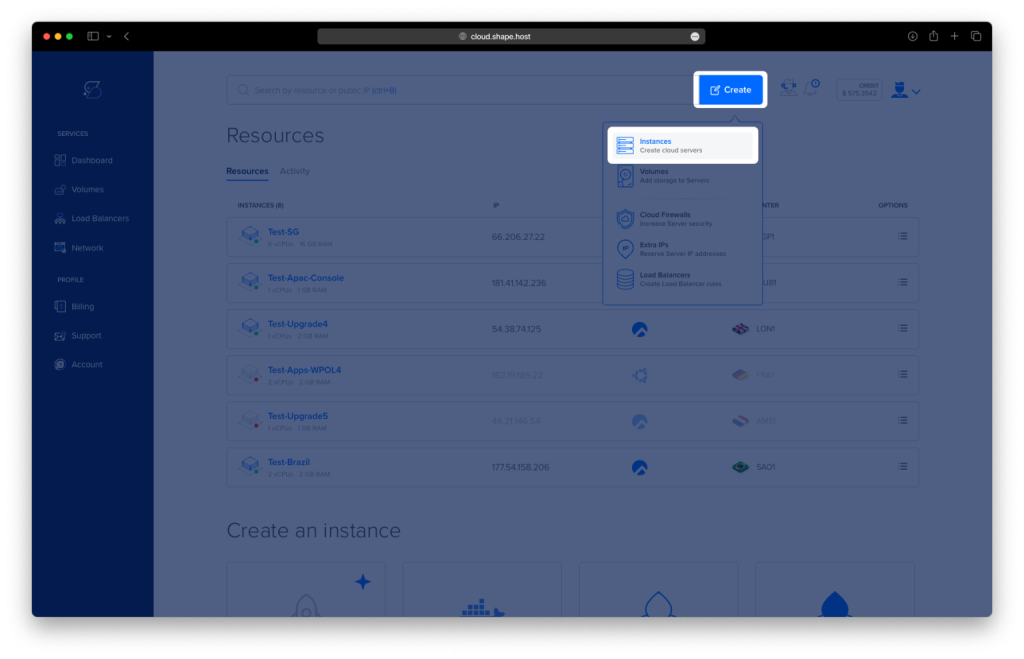
Step 1.1: Click on “Create”
- From your hosting provider’s dashboard, click on the Create button and select Instances.
Step 1.2: Choose a Location
- Select the data center location closest to your target audience, such as New York, London, or Tokyo.
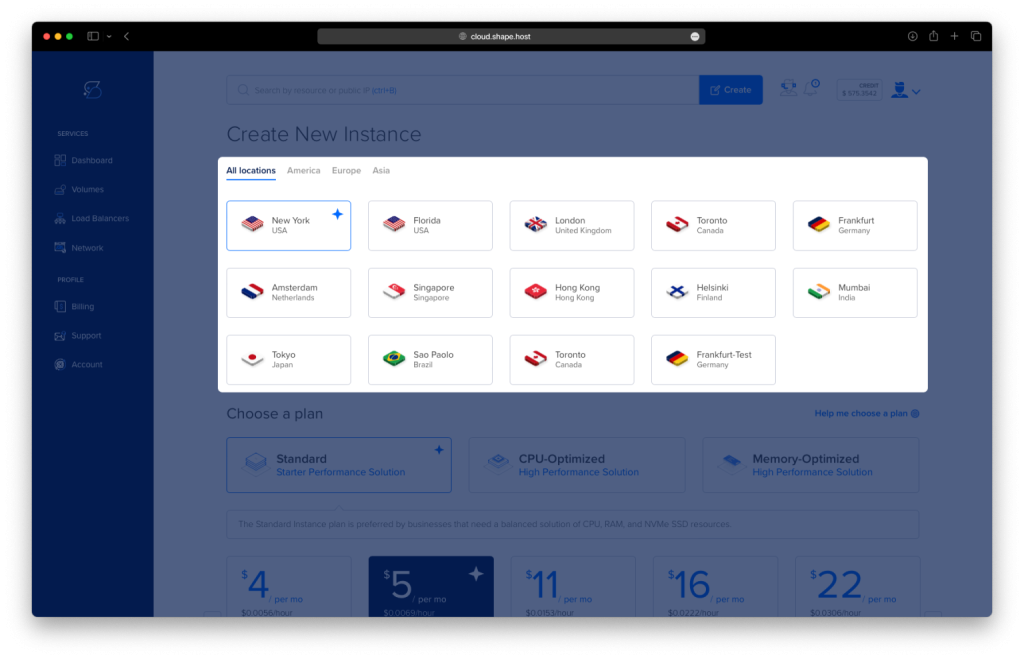
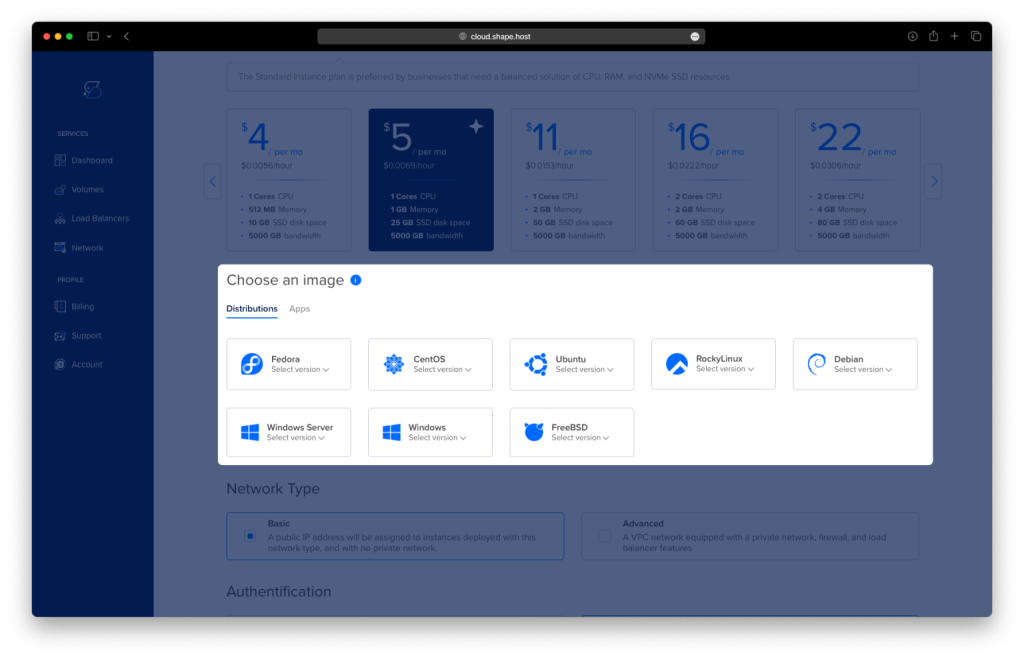
Step 1.3: Choose an Instance Plan and OS
- Choose an instance plan based on your needs (e.g., Standard, CPU-Optimized).
- Select Ubuntu 24.04 as the operating system.
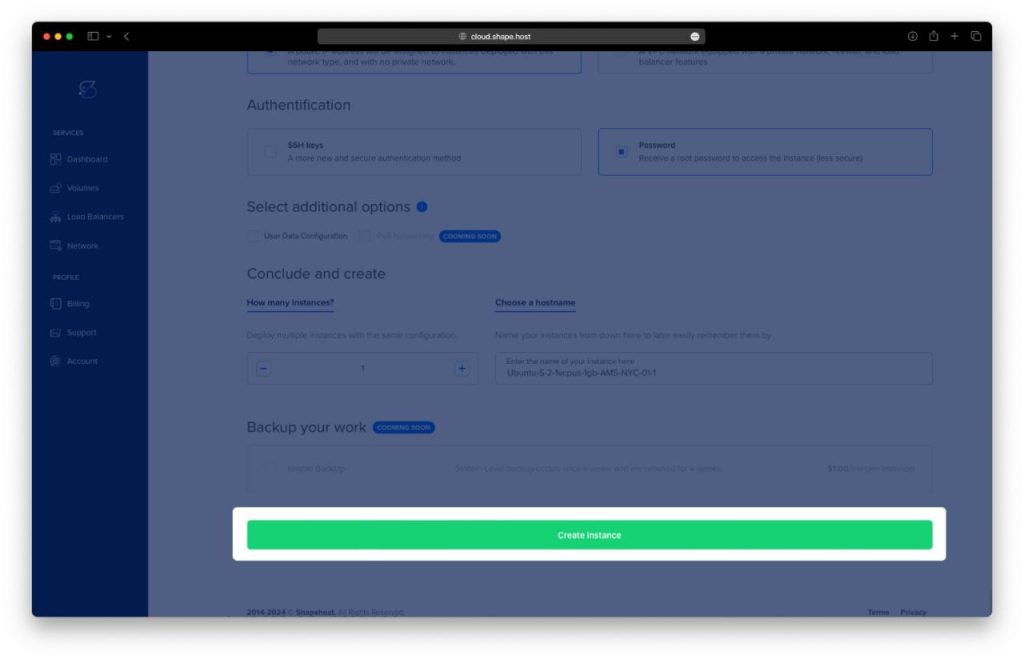
Step 1.4: Create the Instance
- Fill in the required details, including authentication (SSH keys or password) and a hostname. Click Create Instance.
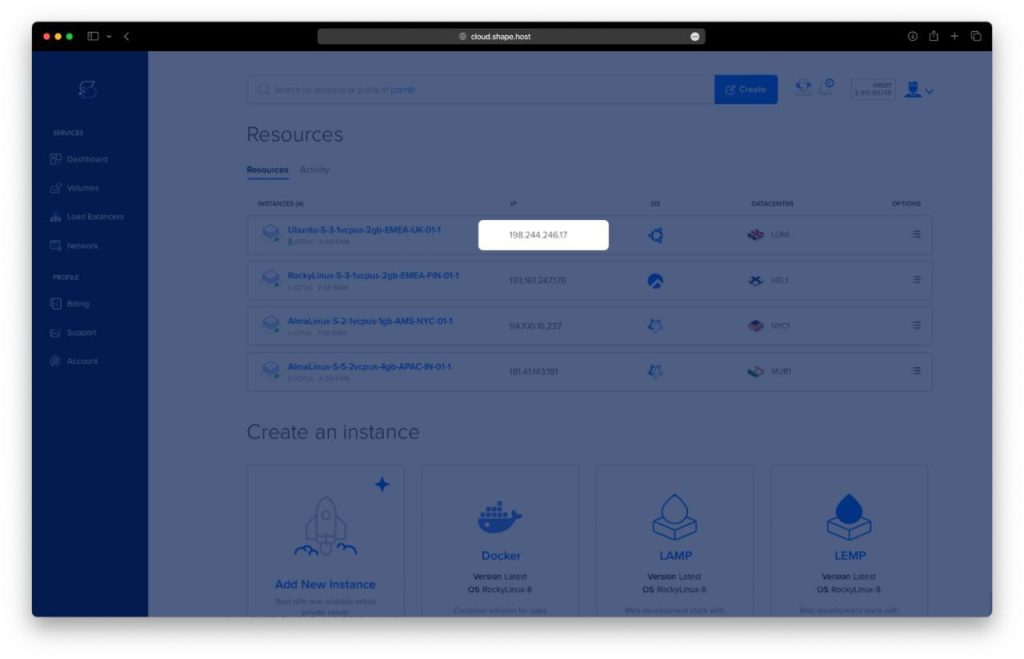
Step 1.5: Find Your IP Address
- Once the instance is created, go to the Resources section to find the public IP address of your instance. You will use this to connect to the instance remotely.
Step 2: Install ONLYOFFICE Docs on Ubuntu 24.04
Once your instance is ready, follow the steps below to install ONLYOFFICE Docs on it.
2.1: Update Your System
Start by updating the system packages:
apt update -y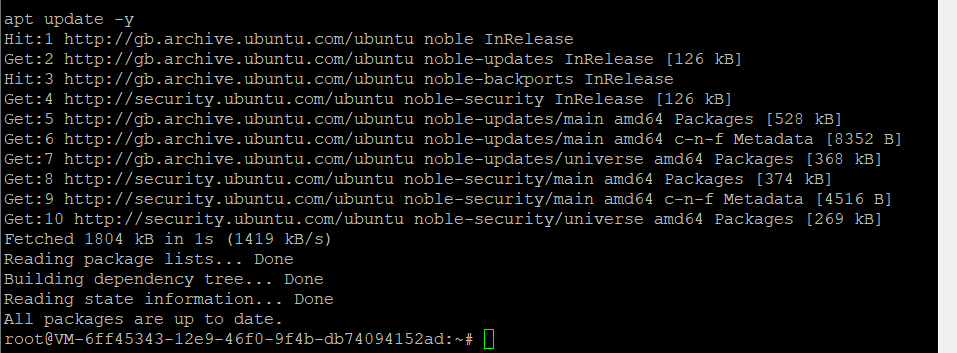
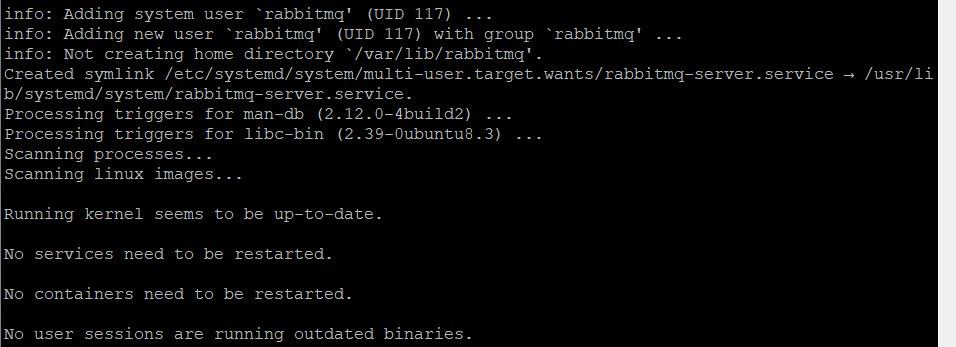
2.2: Install PostgreSQL and RabbitMQ
Install PostgreSQL and RabbitMQ, which are required by ONLYOFFICE Docs:
apt install postgresql rabbitmq-server -y
2.3: Check PostgreSQL and RabbitMQ Status
Verify if PostgreSQL is enabled and running:
systemctl is-enabled postgresql
systemctl status postgresql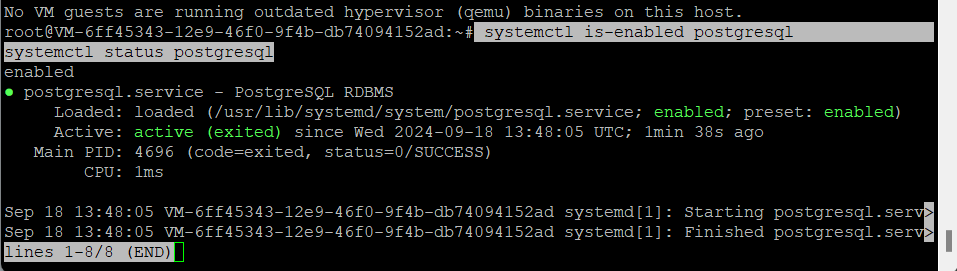
Similarly, check RabbitMQ:
systemctl is-enabled rabbitmq-server
systemctl status rabbitmq-server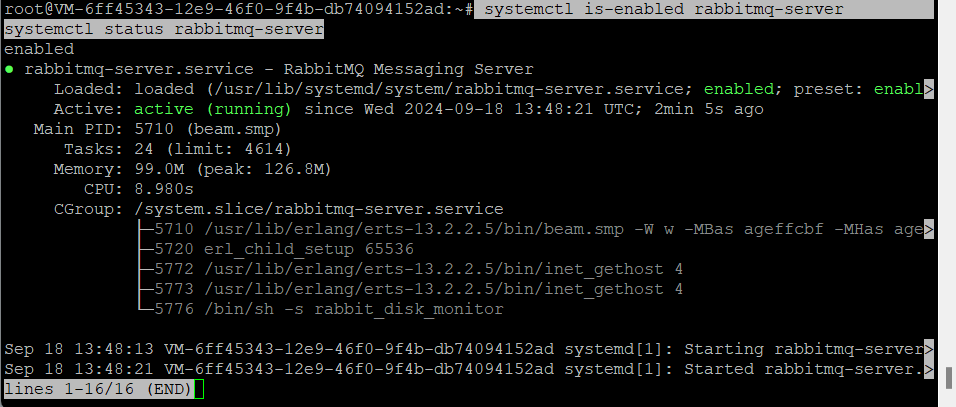
2.4: Set Up PostgreSQL for ONLYOFFICE
Create a user and a database for ONLYOFFICE in PostgreSQL:
sudo -i -u postgres psql -c "CREATE USER onlyoffice WITH PASSWORD 'onlyoffice';"
Create the ONLYOFFICE database:
sudo -i -u postgres psql -c "CREATE DATABASE onlyoffice OWNER onlyoffice;"
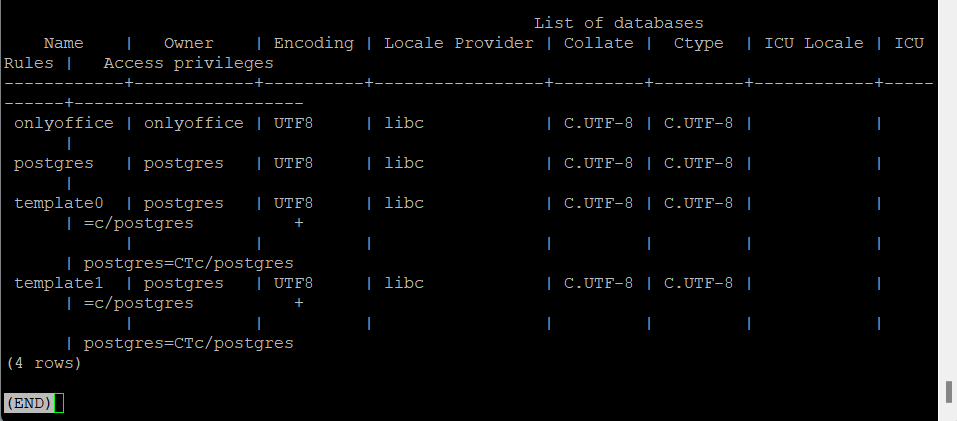
2.5: Verify PostgreSQL Setup
Check if the user and database are set up correctly:
sudo -i -u postgres psql -c "\du"
sudo -i -u postgres psql -c "\l"
Step 3: Install ONLYOFFICE Docs
3.1: Add ONLYOFFICE Repository
Add the GPG key for the ONLYOFFICE repository:
curl -fsSL https://download.onlyoffice.com/GPG-KEY-ONLYOFFICE | gpg --dearmor -o /etc/apt/trusted.gpg.d/onlyoffice.gpg
Add the ONLYOFFICE repository to your system:
echo "deb [signed-by=/etc/apt/trusted.gpg.d/onlyoffice.gpg] https://download.onlyoffice.com/repo/debian squeeze main" | tee /etc/apt/sources.list.d/onlyoffice.list
3.2: Update System and Install ONLYOFFICE Docs
Update the package list and Install ONLYOFFICE Docs:
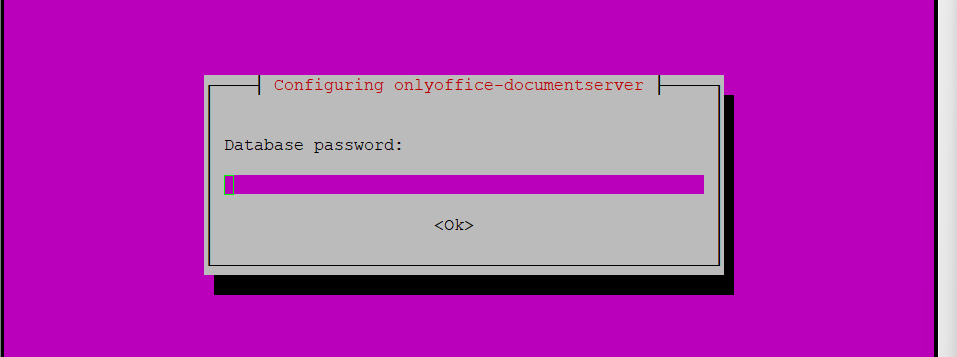
apt update && apt install onlyoffice-documentserver -y
Enter the database postgreSQL password ‘onlyoffice‘.
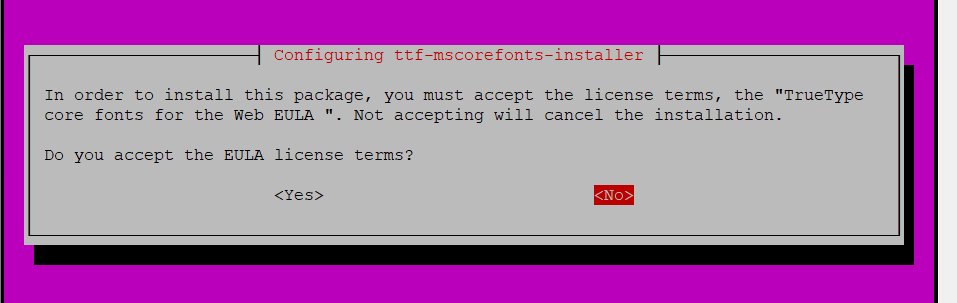
Select OK to accept the TTF mscorefont license.
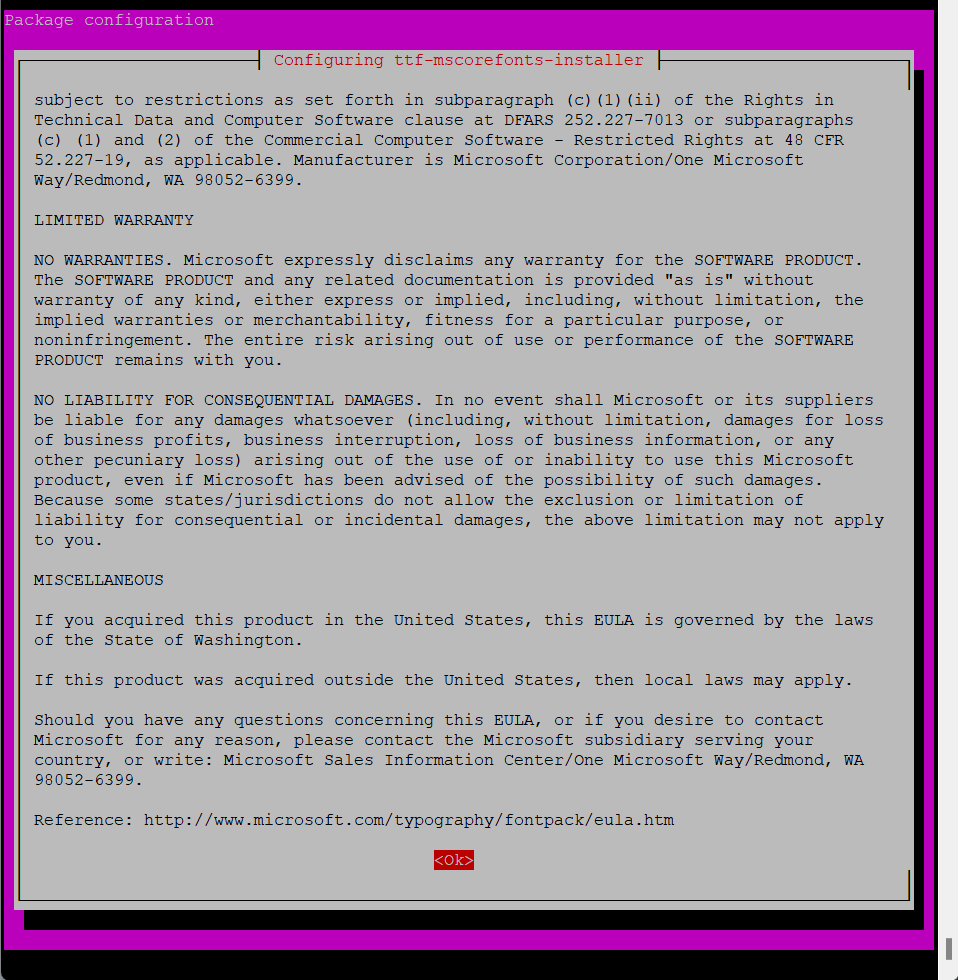
Select Yes to accept EULA license terms.
Step 4: Configure Nginx and SSL
4.1: Check Nginx Status
Ensure Nginx is installed and running:
systemctl is-enabled nginx
systemctl status nginx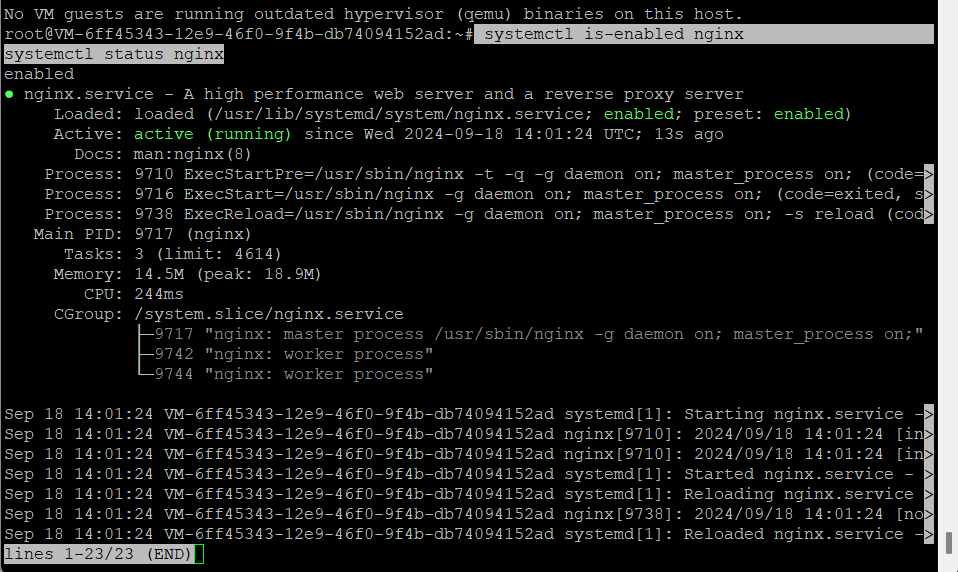
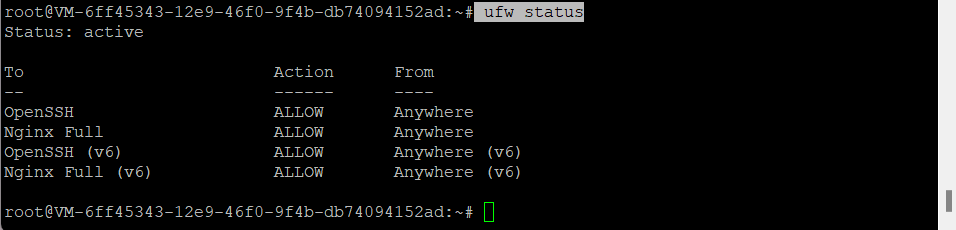
4.2: Configure Firewall
Allow Nginx and OpenSSH through the firewall:
ufw allow OpenSSH
ufw allow 'Nginx Full'
ufw enable
ufw status

4.3: Stop Nginx for SSL Configuration
Stop Nginx to configure SSL:
systemctl stop nginx
Step 5: Install and Configure SSL with Certbot
5.1: Install Certbot
Install Certbot to manage SSL certificates:
apt install certbot -y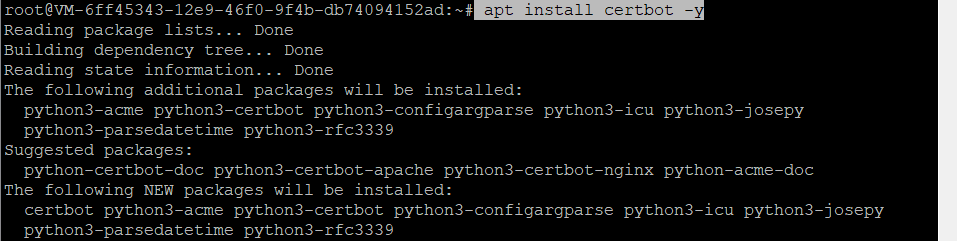
5.2: Generate SSL Certificate
Generate the SSL certificate for your domain (replace with your actual domain):
certbot certonly --standalone -m contact@shape.host --agree-tos --no-eff-email -d tutorials.shape.host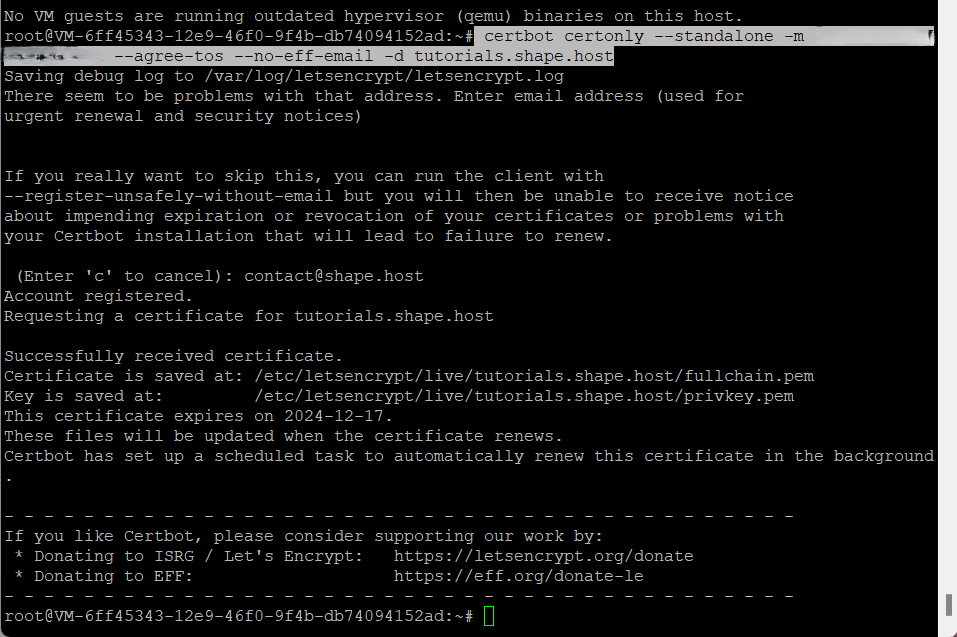
Step 6: Configure Nginx for SSL
6.1: Configure ONLYOFFICE Nginx Settings
Copy the SSL configuration template for ONLYOFFICE:
cp -f /etc/onlyoffice/documentserver/nginx/ds-ssl.conf.tmpl /etc/onlyoffice/documentserver/nginx/ds.conf
6.2: Modify Nginx SSL Configuration
Now, edit the Nginx configuration file to update the paths for SSL certificates. Follow these steps:
- Open the Nginx configuration file:
nano /etc/onlyoffice/documentserver/nginx/ds.conf
- Change the
ssl_certificateto point to the path of the fullchain.pem file:
ssl_certificate /etc/letsencrypt/live/tutorials.shape.host/fullchain.pem;- Change the
ssl_certificate_keyto point to the privkey.pem file:
ssl_certificate_key /etc/letsencrypt/live/tutorials.shape.host/privkey.pem;
6.3: Test Nginx Configuration
Test the Nginx configuration for any errors and Start Nginx again after configuring SSL:
nginx -t
systemctl start nginx
Step 7: Finalize ONLYOFFICE Installation
Run the ONLYOFFICE secure link update script:
bash /usr/bin/documentserver-update-securelink.sh
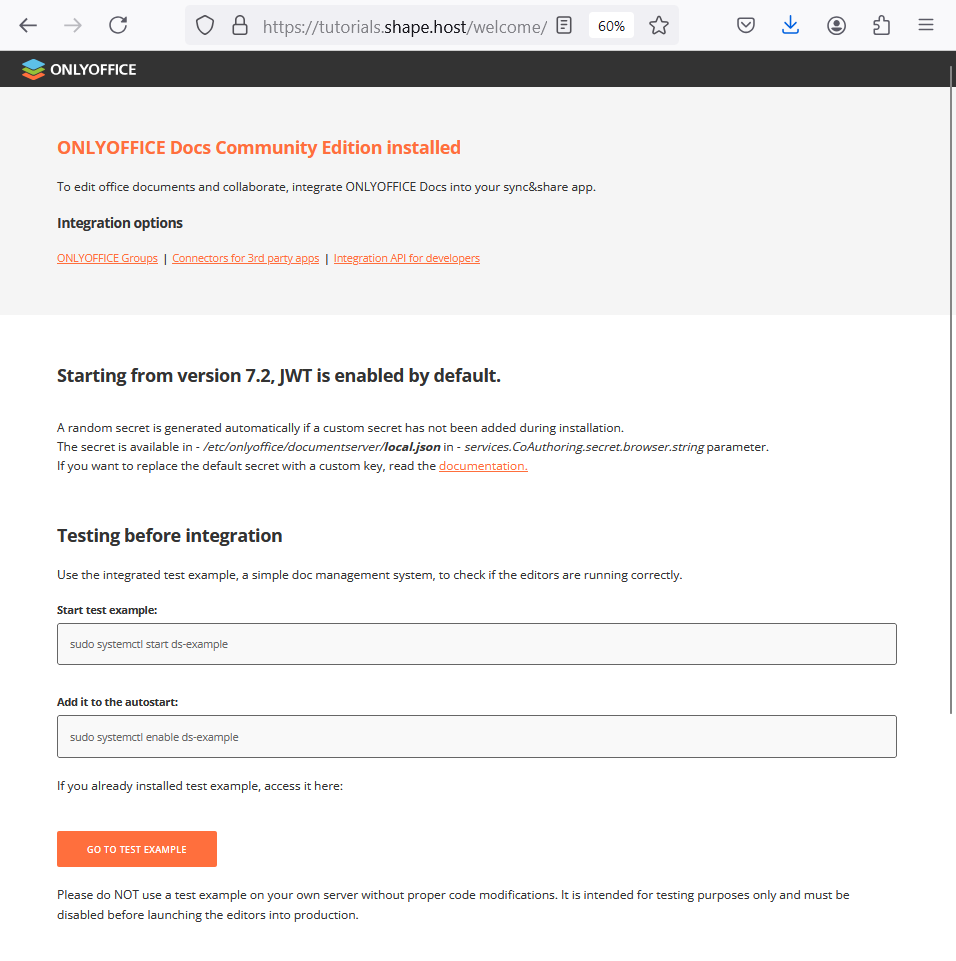
Step 8: Verify ONLYOFFICE Installation from Web
Once the installation is complete and Nginx is running, you can verify that ONLYOFFICE Docs is correctly installed and accessible via your domain.
- Open your web browser and navigate to
https://<your-domain>(in this case,https://tutorials.shape.host). - You should see the ONLYOFFICE Docs welcome screen. This confirms that the document server has been installed successfully and is functioning.
- Test document editing by opening a sample file or uploading one through the ONLYOFFICE Docs interface.
If everything works as expected, your ONLYOFFICE Docs instance is now live and ready for use!
You have successfully created a cloud instance, installed ONLYOFFICE Docs on Ubuntu 24.04, secured it with an SSL certificate, and verified its accessibility via the web.
To run applications like ONLYOFFICE Docs efficiently, Shape.Host offers https://shape.host/ services, ensuring high performance, reliability, and scalability. Shape.Host’s SSD-powered VPS solutions provide a stable and fast environment, perfect for hosting applications like ONLYOFFICE Docs, enabling seamless document editing and collaboration.