Ansible Semaphore is a web-based user interface for running Ansible playbooks. It allows teams to manage and automate infrastructure tasks using Ansible in a simplified and structured way. In this guide, we will walk through installing Semaphore on Debian 12.
Ansible Semaphore is a web-based solution that helps teams manage and automate their IT infrastructure using Ansible. It provides a user-friendly graphical interface for executing Ansible playbooks, organizing tasks, and managing inventories without needing to use the command line. Semaphore allows you to:
- Manage automation tasks efficiently.
- Schedule and monitor playbook execution.
- Collaborate with team members on Ansible tasks.
- Manage inventories, environments, and secrets securely.
- Integrate with version control systems like Git.
This makes Semaphore useful for teams looking to streamline their Ansible-based infrastructure automation.
Step 1: Create an Instance on Cloud.shape.host
Step 1.1: Log in
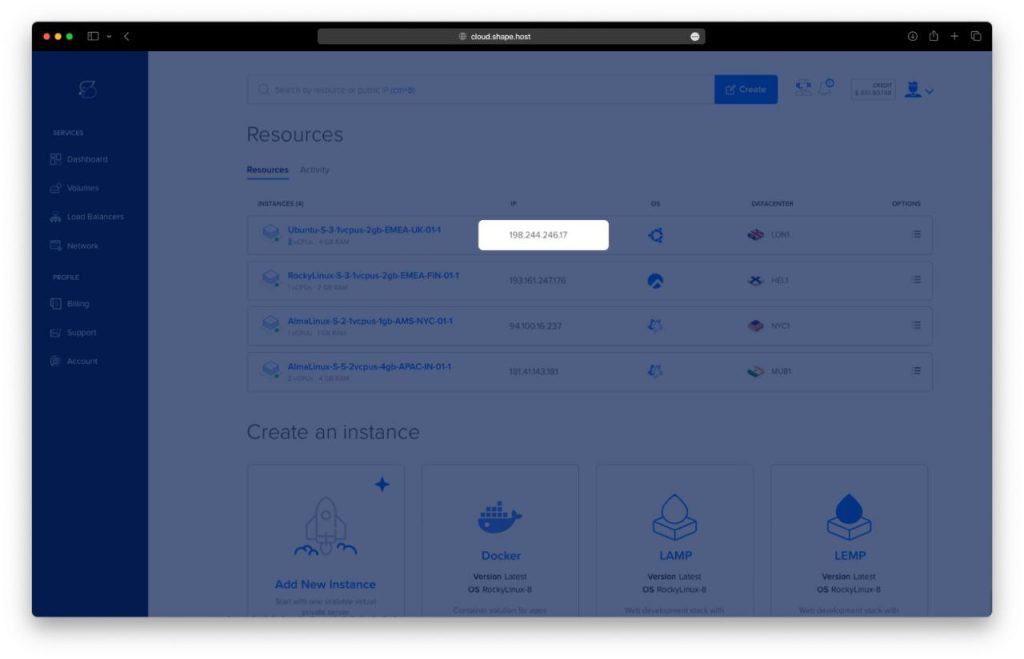
First, log in to your Cloud.shape.host account and access your Dashboard.
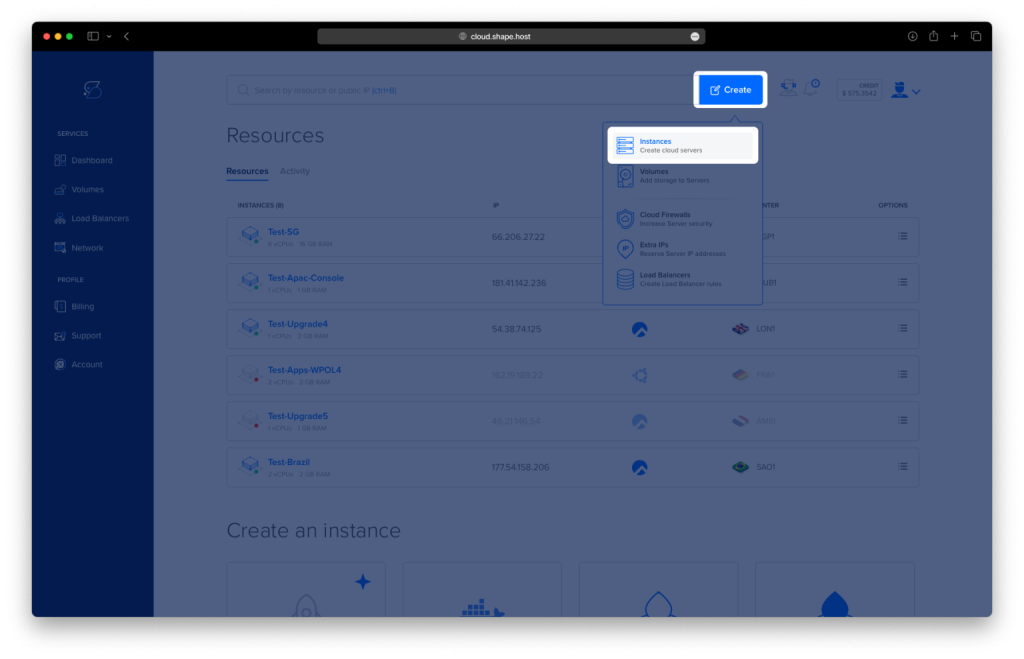
Step 1.2: Create a New Instance
Click the Create button and select Instances from the dropdown menu.
Step 1.3: Choose Datacenter
On the next screen, select the datacenter location closest to your users.
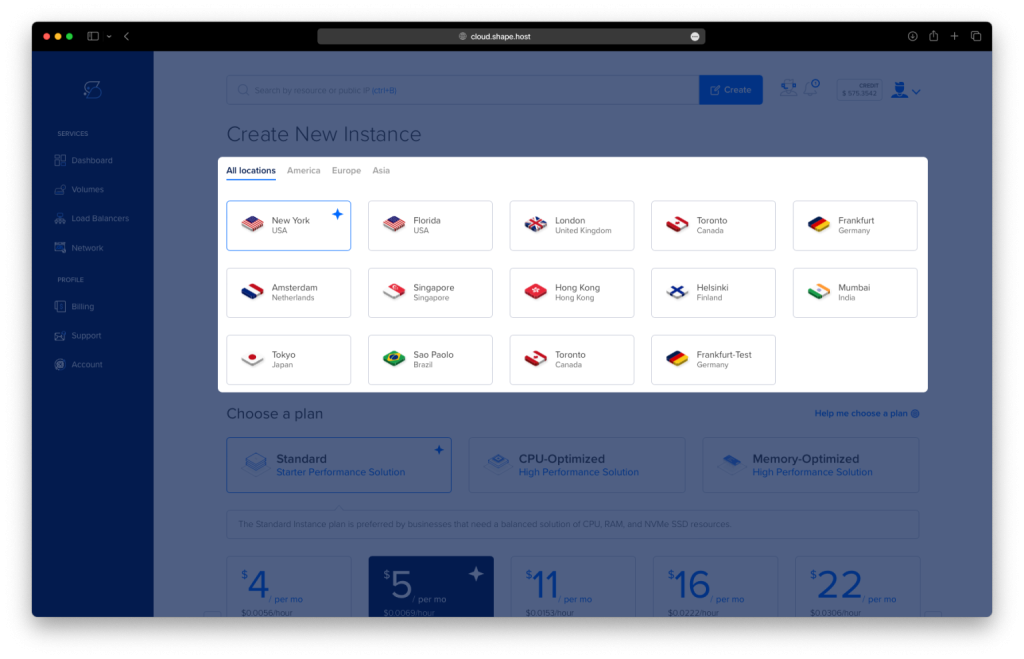
Step 1.4: Configure the Instance
Choose Debian 12 as your operating system. Configure authentication (SSH keys or password) and adjust any other instance settings.
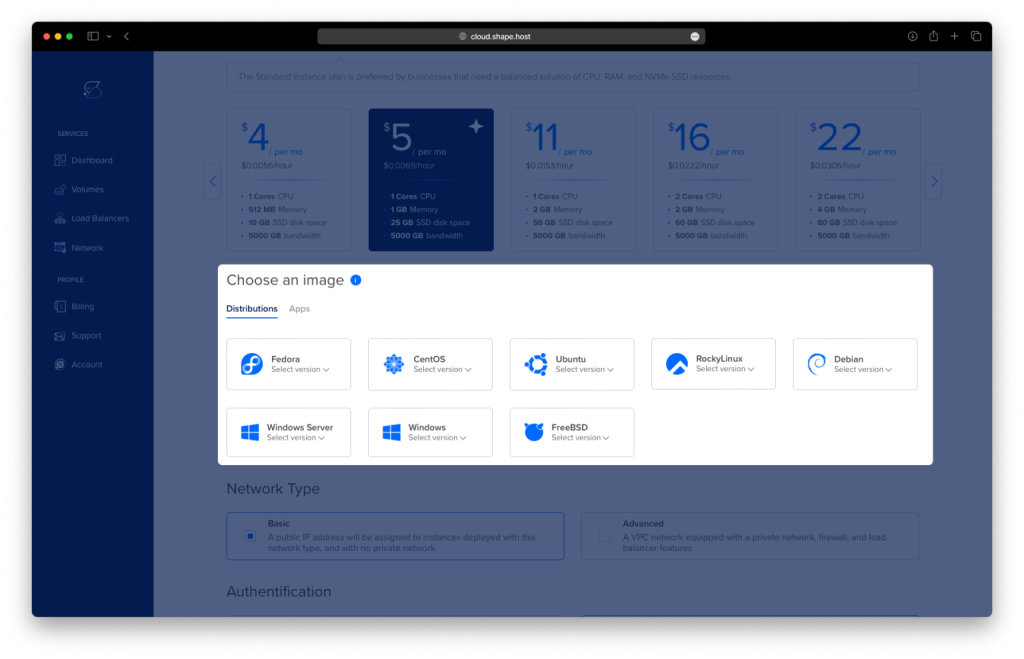
Step 1.5: Configure and Launch
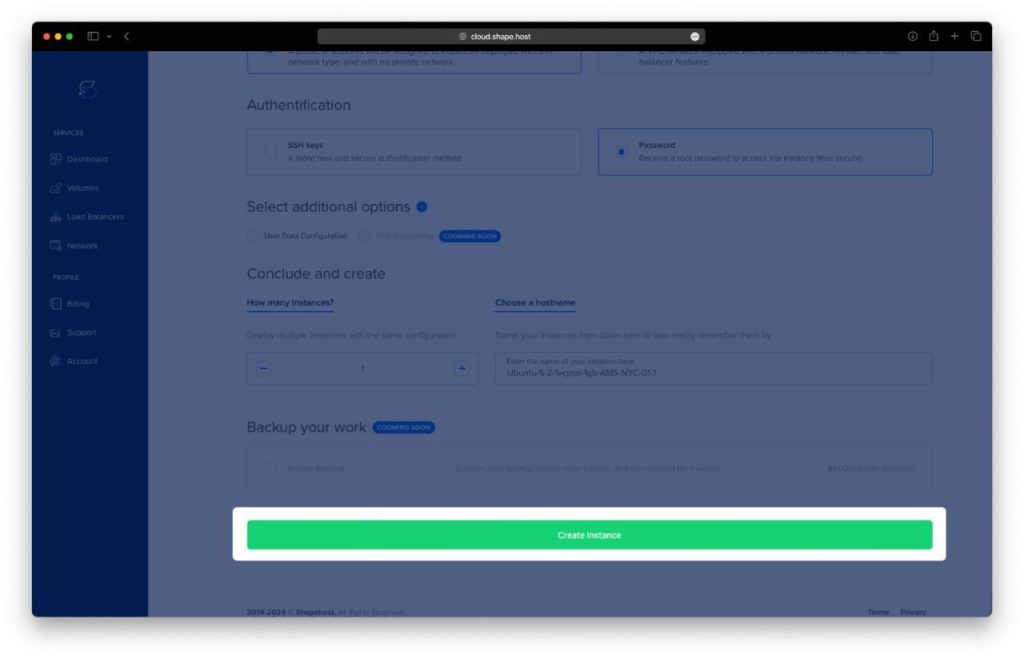
- Set the Network Type and Authentication Method (SSH key or password).
- Click Create Instance.
Step 1.6: Locate your Instance’s IP
Step 1.7: Create and Access
Click Create Instance to finalize. After the instance is created, connect via SSH using:
ssh root@<your-instance-ip>Step 2: Update System and Install Required Packages
Update the system and install the necessary packages:
apt update
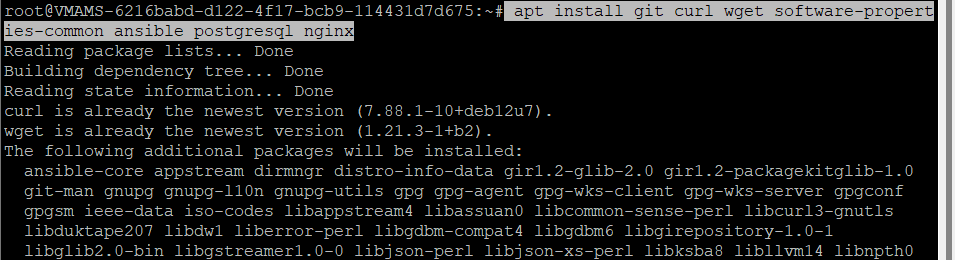
apt install git curl wget software-properties-common ansible postgresql nginx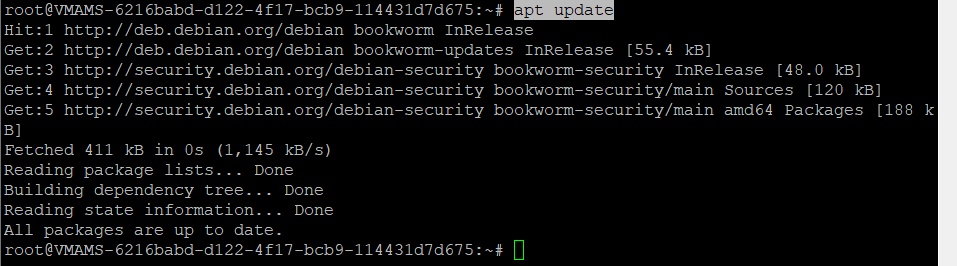
Verify PostgreSQL and Nginx services:
systemctl is-enabled postgresql
systemctl status postgresql
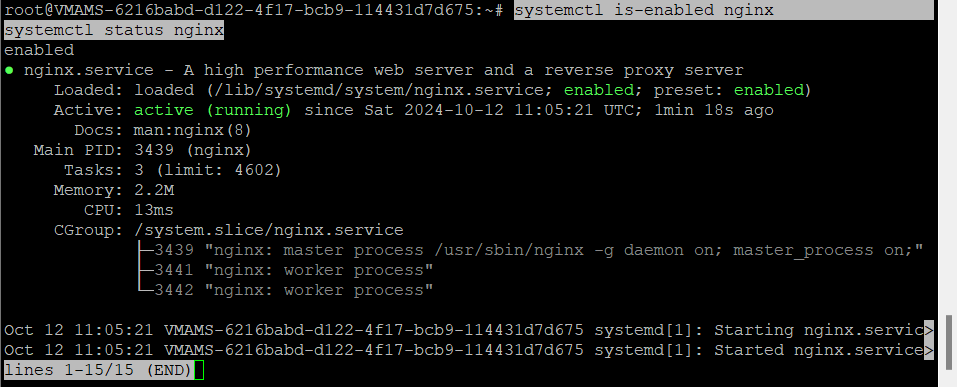
systemctl is-enabled nginx
systemctl status nginx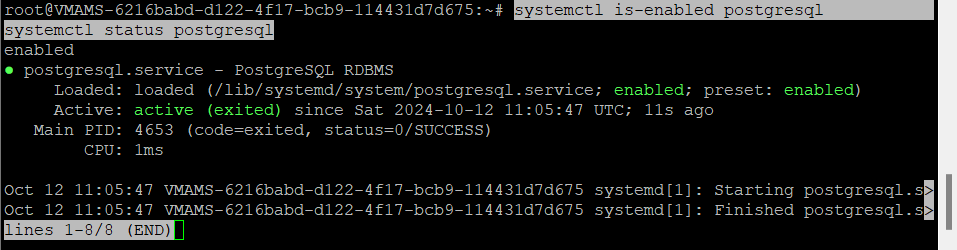
Check the Ansible version:
ansible --version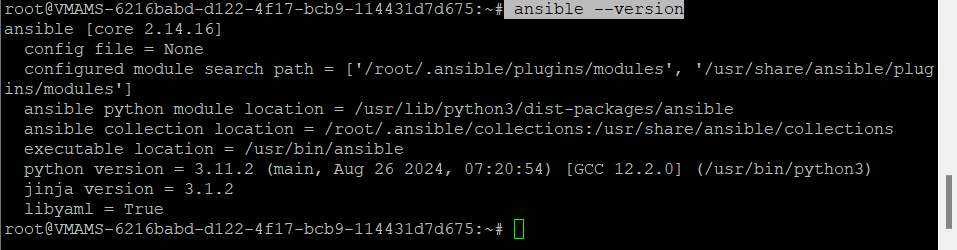
Step 3: Configure PostgreSQL for Semaphore
Log in to PostgreSQL:
sudo -u postgres psqlCreate a new user and database for Semaphore:
CREATE USER semaphore WITH PASSWORD 'passw0rd';
CREATE DATABASE semaphoredb OWNER semaphore;
Verify the creation:
\du
\l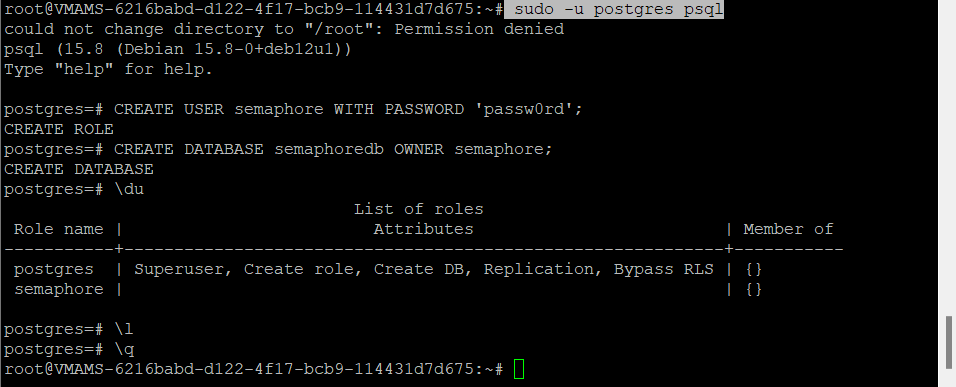
Type \q to exit from the PostgreSQL.
Step 4: Download and Install Semaphore
Download the latest version of Semaphore:
VER=$(curl -s https://api.github.com/repos/semaphoreui/semaphore/releases/latest | grep tag_name | cut -d '"' -f 4 | sed 's/v//g')
wget -q https://github.com/semaphoreui/semaphore/releases/download/v${VER}/semaphore_${VER}_linux_amd64.deb
Install Semaphore:
dpkg -i semaphore_${VER}_linux_amd64.deb
Verify the installation:
which semaphore
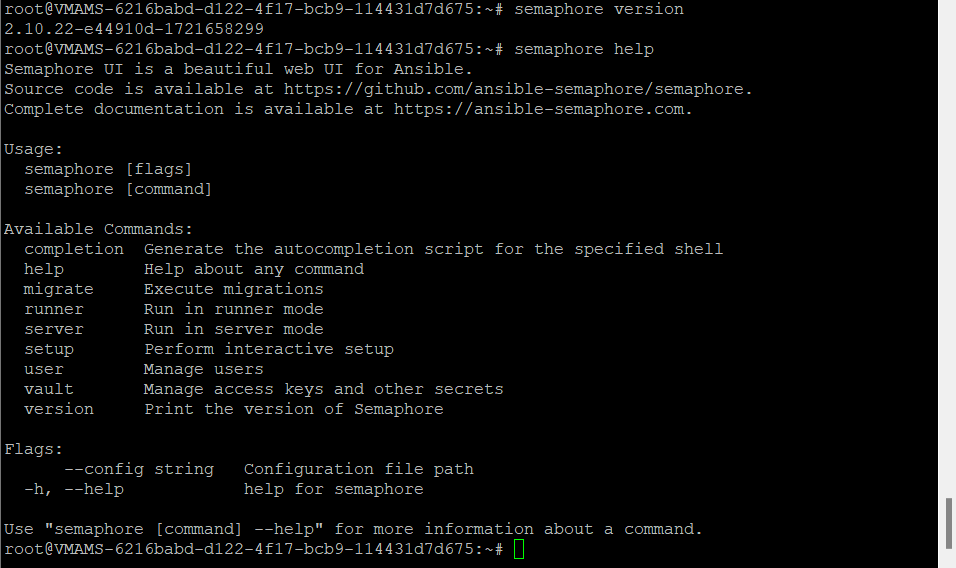
semaphore version
semaphore help
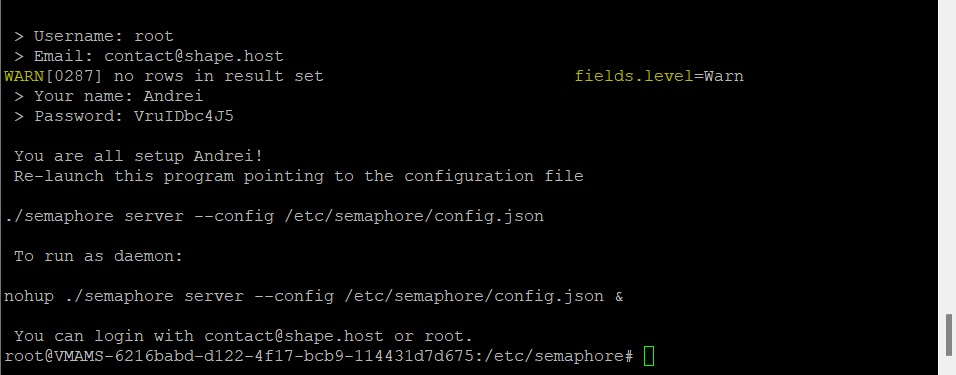
Step 5: Configure Semaphore
Create the necessary directories and run the setup:
mkdir -p /etc/semaphore; cd /etc/semaphore
semaphore setup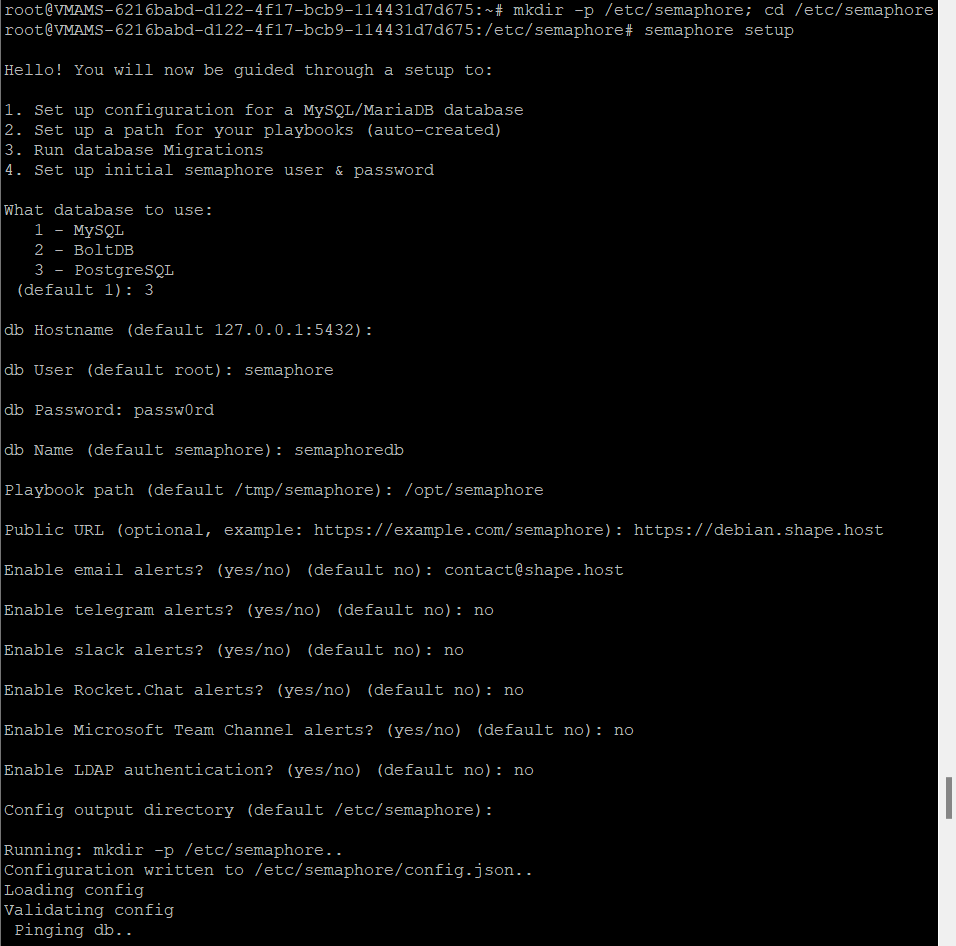
Step 6: Create Systemd Service for Semaphore
Create a new systemd service file for Semaphore:
nano /etc/systemd/system/semaphore.serviceInsert the following content:
[Unit]
Description=Semaphore Ansible
Documentation=https://github.com/ansible-semaphore/semaphore
Wants=network-online.target
After=network-online.target

[Service]
Type=simple
ExecReload=/bin/kill -HUP $MAINPID
ExecStart=/usr/bin/semaphore service --config=/etc/semaphore/config.json
SyslogIdentifier=semaphore
Restart=always

[Install]
WantedBy=multi-user.target
Reload systemd and enable Semaphore:
systemctl daemon-reload
Check its status:
systemctl enable --now semaphore
systemctl status semaphore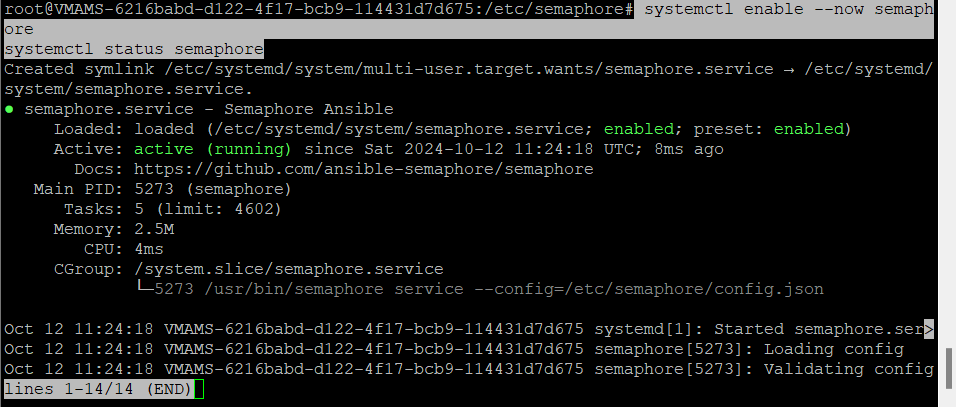
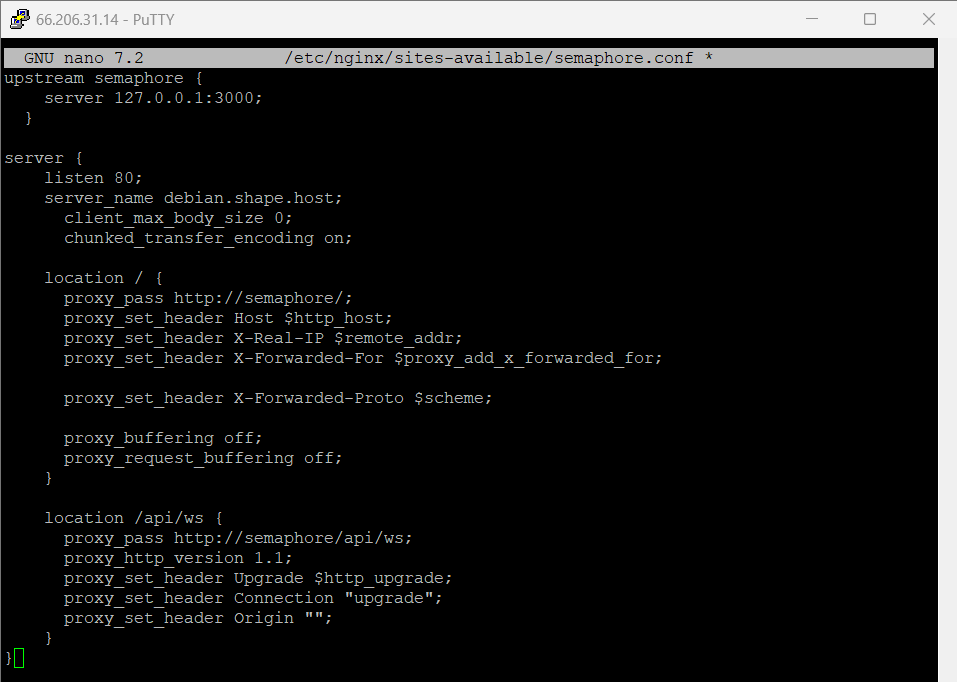
Step 7: Configure Nginx as a Reverse Proxy
Create an Nginx server block for Semaphore:
nano /etc/nginx/sites-available/semaphore.confInsert the following configuration:
upstream semaphore {
    server 127.0.0.1:3000;
}

server {
    listen 80;
    server_name debian.shape.host;
    client_max_body_size 0;
    chunked_transfer_encoding on;

    location / {
      proxy_pass http://semaphore/;
      proxy_set_header Host $http_host;
      proxy_set_header X-Real-IP $remote_addr;
      proxy_set_header X-Forwarded-For $proxy_add_x_forwarded_for;
      proxy_set_header X-Forwarded-Proto $scheme;
      proxy_buffering off;
      proxy_request_buffering off;
    }

    location /api/ws {
      proxy_pass http://semaphore/api/ws;
      proxy_http_version 1.1;
      proxy_set_header Upgrade $http_upgrade;
      proxy_set_header Connection "upgrade";
      proxy_set_header Origin "";
    }
}
Enable the configuration:
ln -s /etc/nginx/sites-available/semaphore.conf /etc/nginx/sites-enabled/
nginx -t
systemctl restart nginx


Step 8: Secure Semaphore with SSL
Install Certbot and the Nginx plugin:
apt install certbot python3-certbot-nginx -y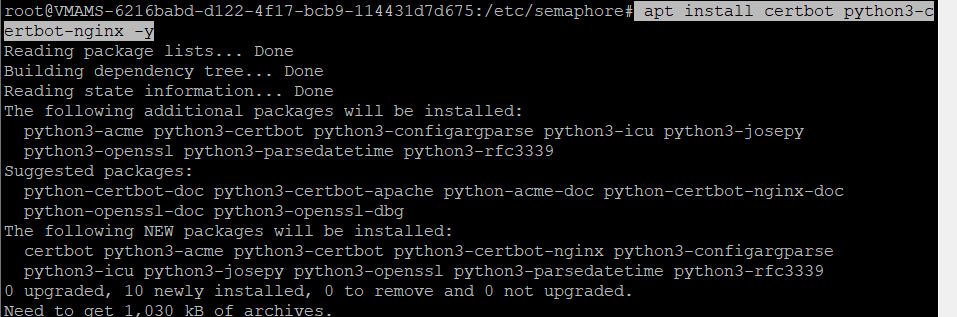
Generate SSL certificates for Semaphore:
certbot --nginx --agree-tos --no-eff-email --redirect --email contact@shape.host -d debian.shape.host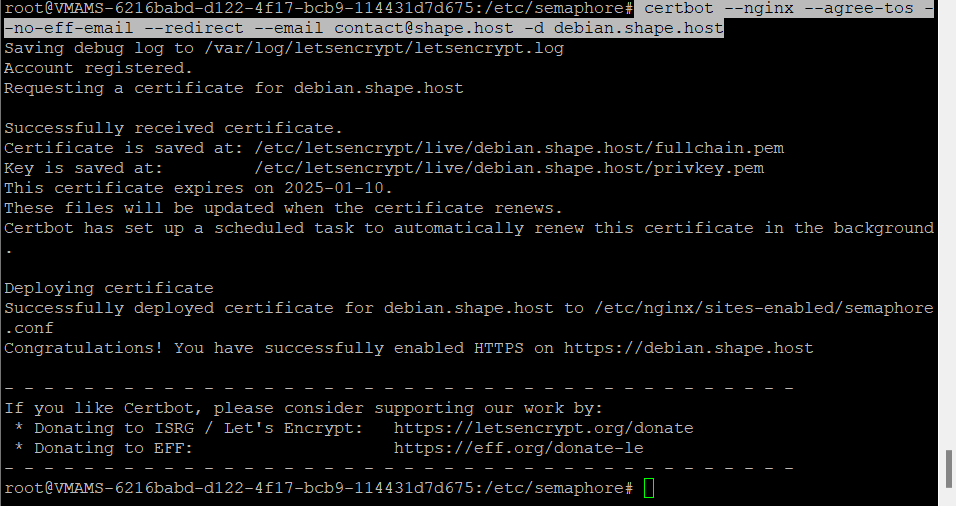
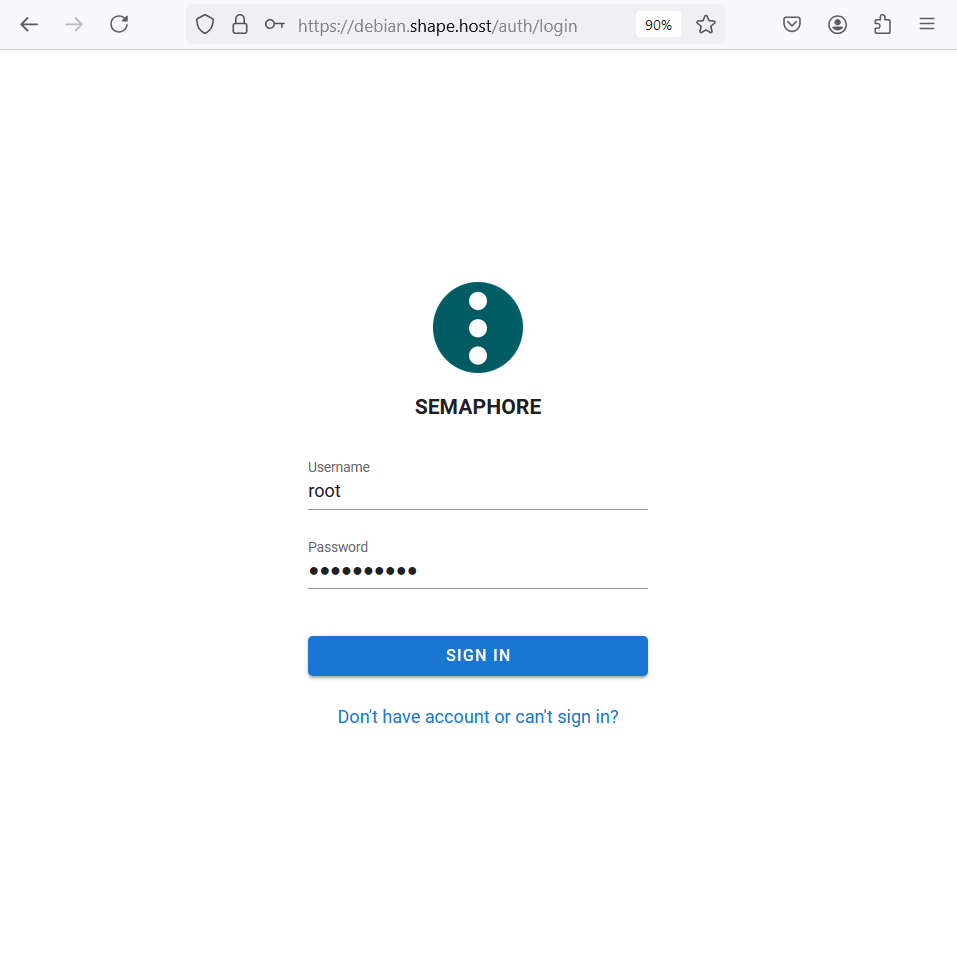
Step 9: Access Semaphore
Open your web browser and visit:
https://debian.shape.hostYou will see the Ansible Semaphore login page where you can log in and start managing your automation tasks.
Enter your admin user and password, and then click SIGN IN to confirm.
Now enter the name of your first project and click Create to continue.

You’ll see the Semaphore dashboard like the following:
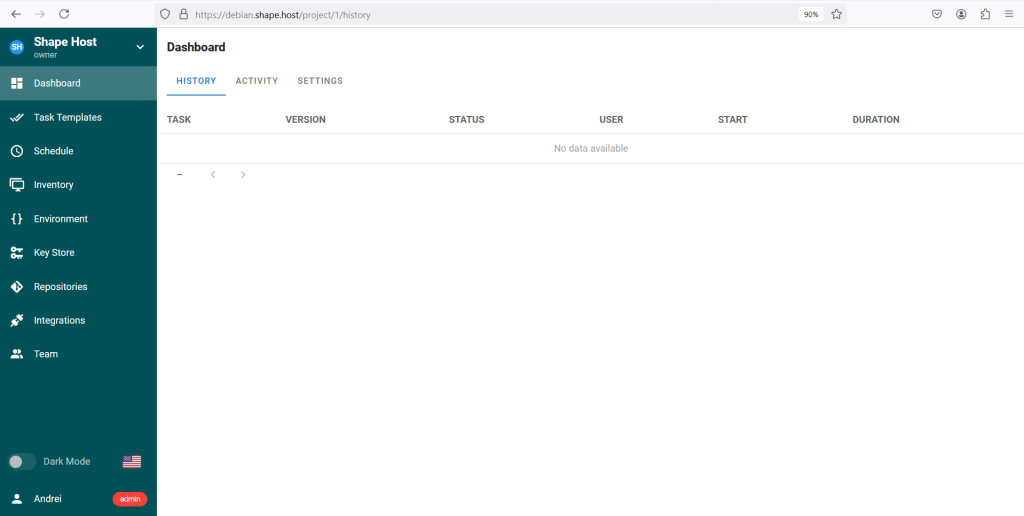
By following this guide, you have successfully installed Ansible Semaphore on Debian 12, configured it with Nginx as a reverse proxy, and secured the installation with SSL. Semaphore provides an intuitive web interface for managing Ansible tasks, improving collaboration, and simplifying automation processes. For reliable performance and uptime, consider hosting Semaphore on Shape.Host’s Linux SSD VPS, which offers scalable and high-performance hosting solutions.