Snipe-IT on Debian 12 (Nginx + PHP-FPM + MariaDB + SSL)
Snipe-IT is a free, open-source IT asset management system (ITAM) designed to help organizations keep track of hardware, software licenses, accessories, and users in a structured and auditable way. It provides a modern web interface built on Laravel (PHP framework) and offers features like check-in/check-out tracking, user assignment, depreciation management, and REST API integration.
Running Snipe-IT on Debian 12 (Bookworm) provides a stable, secure, and long-term supported base for enterprise asset management. With PHP 8.2, MariaDB 10.11, and Nginx, Debian 12 ensures excellent performance, security, and compatibility — making it a perfect choice for production environments requiring reliability and control.
Architecture Overview
| Layer | Component | Role |
|---|---|---|
| OS | Debian 12 (Bookworm) | Stable, long-term supported Linux base for production systems |
| Web Server | Nginx | Handles HTTP/HTTPS requests, compression, and caching |
| Backend Runtime | PHP 8.2 + PHP-FPM | Executes Snipe-IT’s Laravel application code |
| Database | MariaDB 10.11 / MySQL 8 | Stores assets, users, and system configuration |
| App Framework | Laravel (PHP) | Provides routing, authentication, and ORM logic |
| TLS | Let’s Encrypt / PKI | Secures the web interface and API access |
Why Use Snipe-IT?
- Centralized IT asset management – track everything from laptops to licenses.
- Flexible role-based access control – assign permissions by team or department.
- Audit trails and check-out history – maintain full accountability of all assets.
- REST API – integrate Snipe-IT with ticketing systems or automation tools.
- Free and open-source – deploy on your infrastructure without vendor lock-in.
- Multi-language support – ideal for global or distributed teams.
Snipe-IT vs Other IT Asset Management Platforms
| Feature/Capability | Snipe-IT (Self-hosted) | GLPI (Self-hosted) | Odoo (IT Module) | ManageEngine (Cloud) |
|---|---|---|---|---|
| Hosting | Self-hosted | Self-hosted | Cloud/Self-hosted | Cloud only |
| Cost | Free, open-source | Free, open-source | Subscription | Subscription |
| Backend | PHP + MariaDB | PHP + MySQL | Python + PostgreSQL | Proprietary stack |
| REST API | ✅ Yes | ✅ Yes | ✅ Yes | ✅ Yes |
| Customization | High | High | Medium | Low |
Snipe-IT excels in simplicity and control, providing all core ITAM features without the complexity or cost of commercial solutions.
Security & Best Practices
- Deploy behind Nginx with HTTPS (Let’s Encrypt or PKI certificates).
- Store database credentials and app keys in a secure
.envfile. - Limit MariaDB connections to
localhostor private networks only. - Keep PHP, Composer, and Laravel dependencies updated regularly.
- Use Debian’s UFW or nftables to allow only ports 80 and 443.
- Configure automatic database backups and test restore procedures.
- Use strong passwords and 2FA for admin accounts.
- Harden file permissions under
/var/www/snipe-it(onlywww-datashould have write access).
Typical Use Cases
- Corporate IT departments managing laptops, phones, and accessories.
- Universities and schools tracking shared lab equipment.
- MSPs and IT service providers managing multiple client inventories.
- Startups and SMEs implementing organized asset management.
- Nonprofits needing a transparent, free asset tracking system.
Deploying Snipe-IT on Debian 12 with Nginx, PHP-FPM, and MariaDB gives you a secure, efficient, and fully customizable IT asset management platform — ideal for organizations of all sizes looking for open-source transparency and reliability in asset tracking.
Step 1: Create a Cloud Instance on Shape.Host
Log in to your Shape.Host account.
Click Create → Instance.

Choose a server location close to your users.

Select a plan with at least 2 CPUs, 4 GB RAM, and 30 GB SSD.
Choose Debian 12 (64-bit) as the operating system.
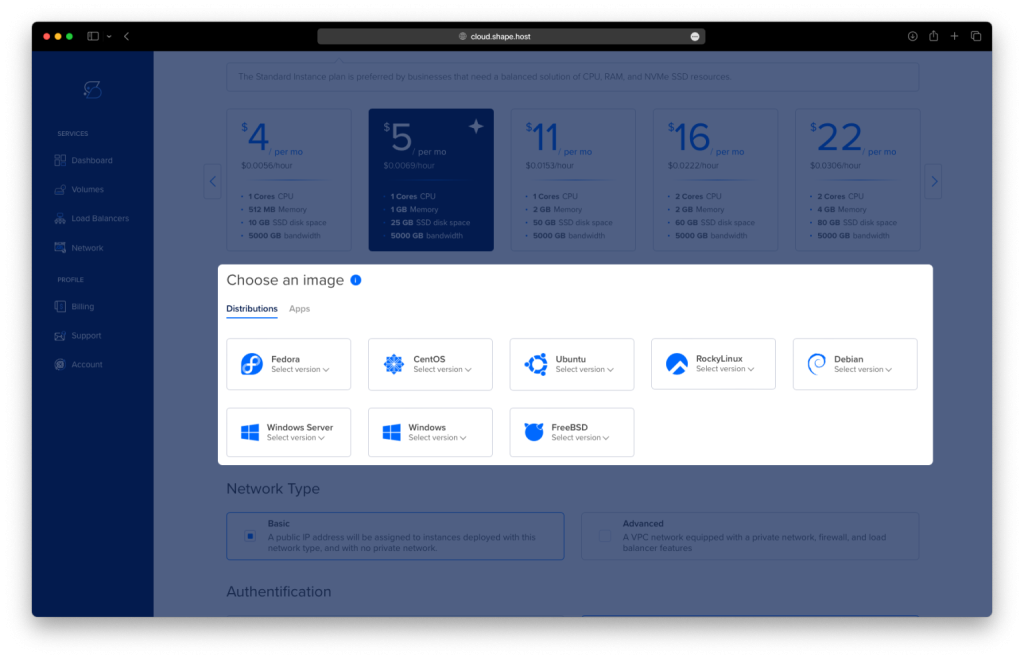
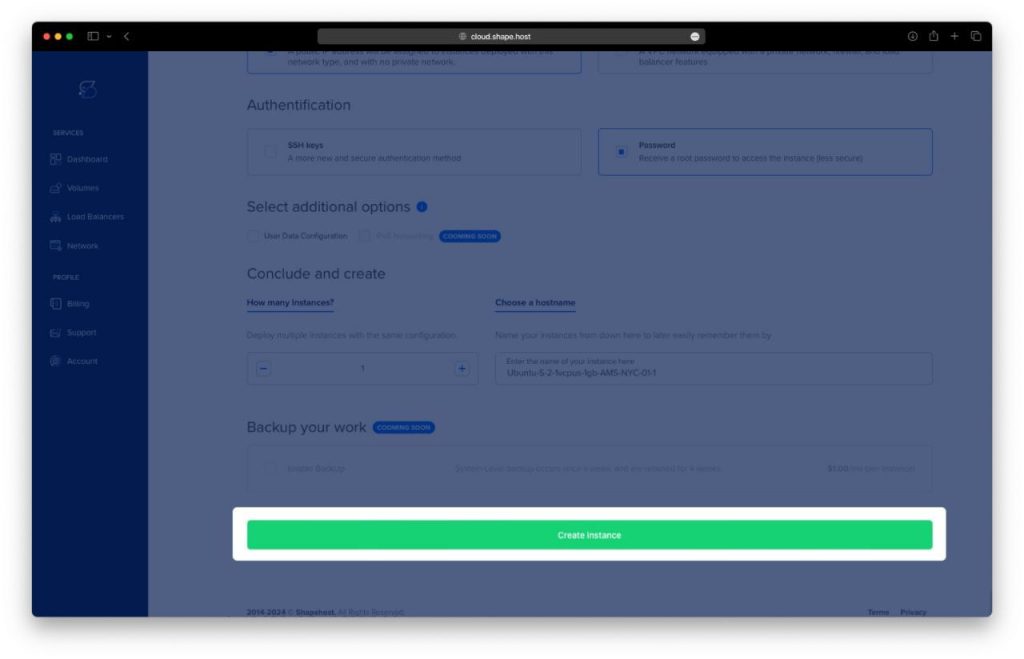
Click Create Instance.
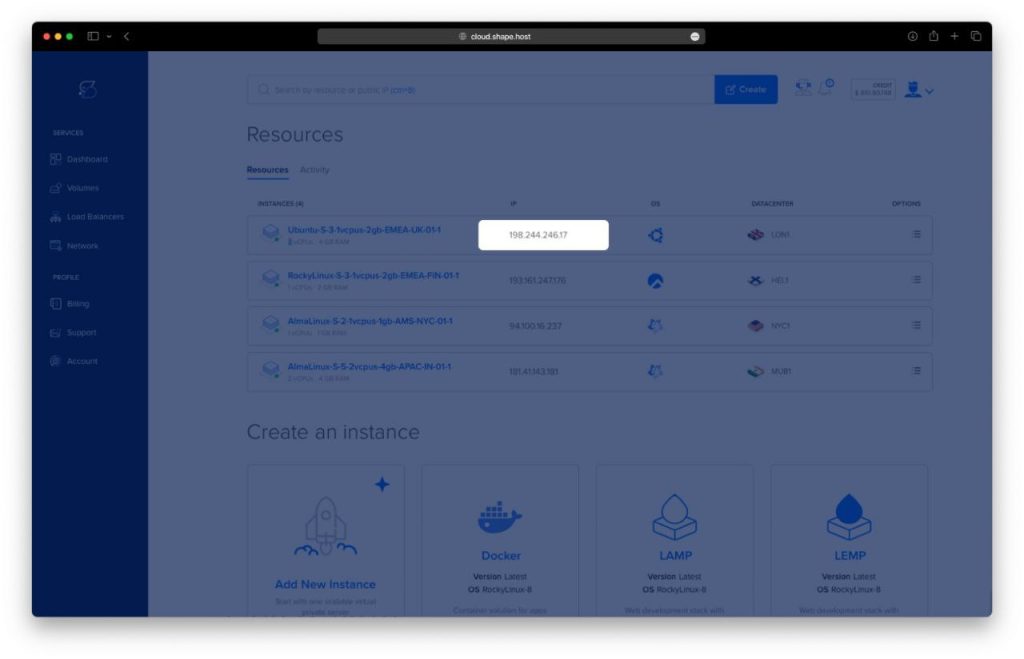
Copy your public IP address from the Resources section.
Step 2: Connect to the Server
Use SSH to access your instance:
ssh root@your_server_ip
Step 3: Update System Packages
Before installing any software, update your package list:
apt update

Step 4: Install Nginx, MariaDB, and PHP
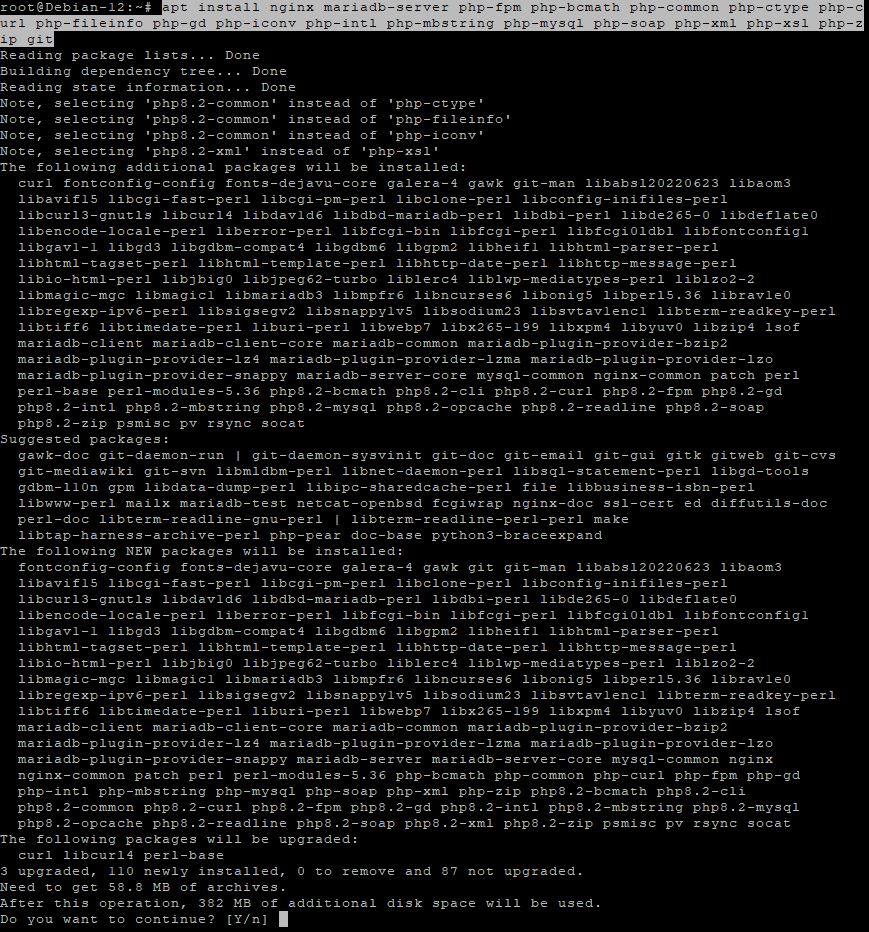
Install the Nginx web server, MariaDB database server, and all required PHP extensions for Snipe-IT:
apt install nginx mariadb-server php-fpm php-bcmath php-common php-ctype php-curl php-fileinfo php-gd php-iconv php-intl php-mbstring php-mysql php-soap php-xml php-xsl php-zip git
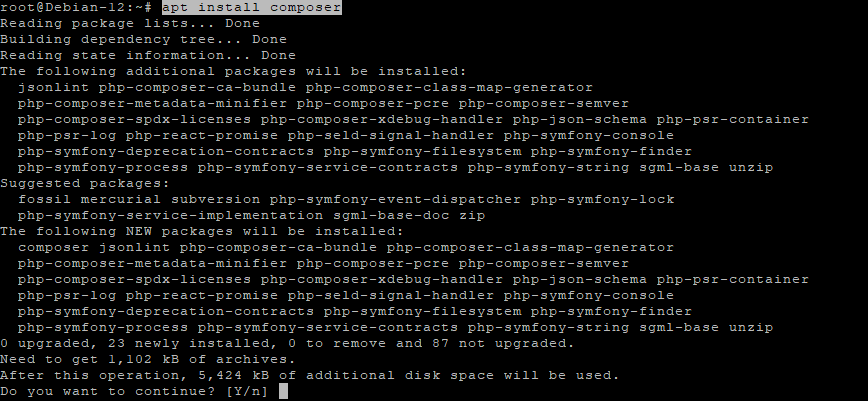
Install Composer, the PHP dependency manager:
apt install composer
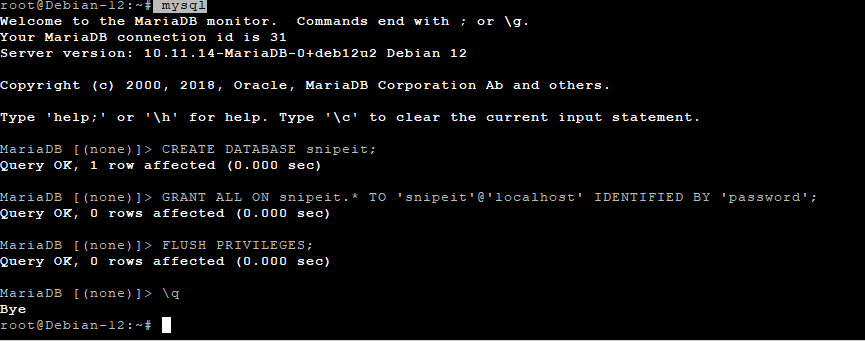
Step 5: Configure the Database
Access the MariaDB shell:
mysql
Create the Snipe-IT database and user:
CREATE DATABASE snipeit;
GRANT ALL ON snipeit.* TO 'snipeit'@'localhost' IDENTIFIED BY 'password';
FLUSH PRIVILEGES;
\q
⚠️ Replace
'password'with a strong password for security.
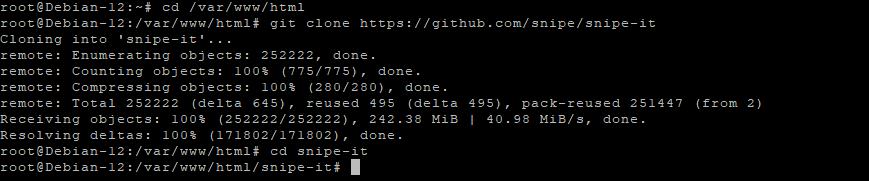
Step 6: Download and Configure Snipe-IT
Move to the web directory:
cd /var/www/html
Clone the Snipe-IT repository:
git clone https://github.com/snipe/snipe-it
cd snipe-it
Copy the example environment file:
cp .env.example .env
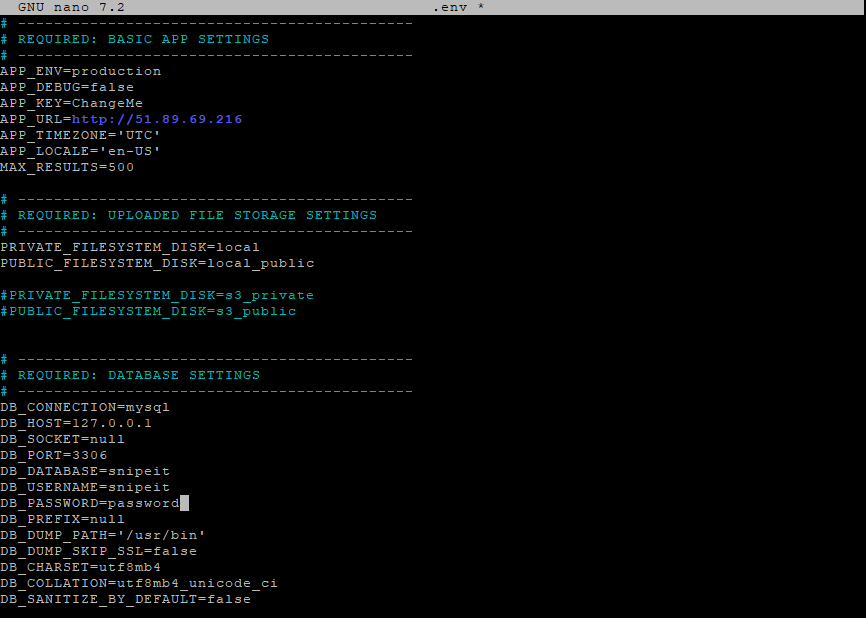
Edit the configuration file:
nano .env
Update the following values:
APP_URL=http://snipeit.example.com
APP_TIMEZONE='UTC'

DB_DATABASE=snipeit
DB_USERNAME=snipeit
DB_PASSWORD=password
Save and close (CTRL + O, ENTER, CTRL + X).
Step 7: Set Permissions
Assign ownership and set proper permissions for the web directory:
chown -R www-data: /var/www/html/snipe-it
chmod -R 755 /var/www/html/snipe-it

Step 8: Install PHP Dependencies
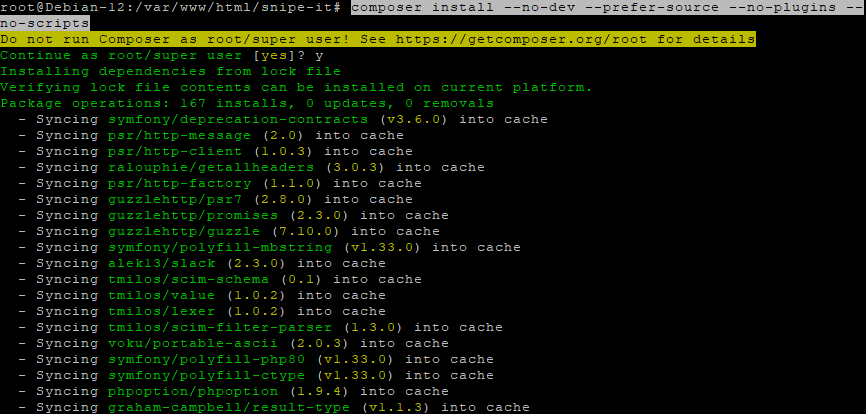
Run Composer to install the required Laravel dependencies:
composer update --no-plugins --no-scripts
composer install --no-dev --prefer-source --no-plugins --no-scripts
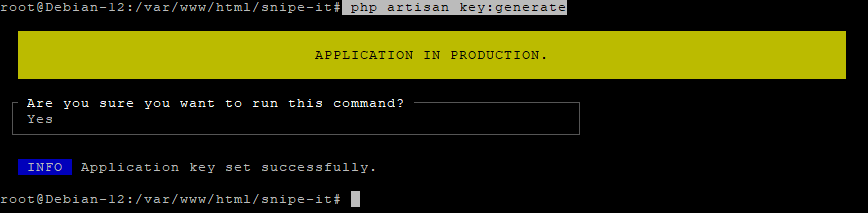
Generate the Laravel application key:
php artisan key:generate
This creates a unique key required for encryption and security.
Step 9: Configure Nginx
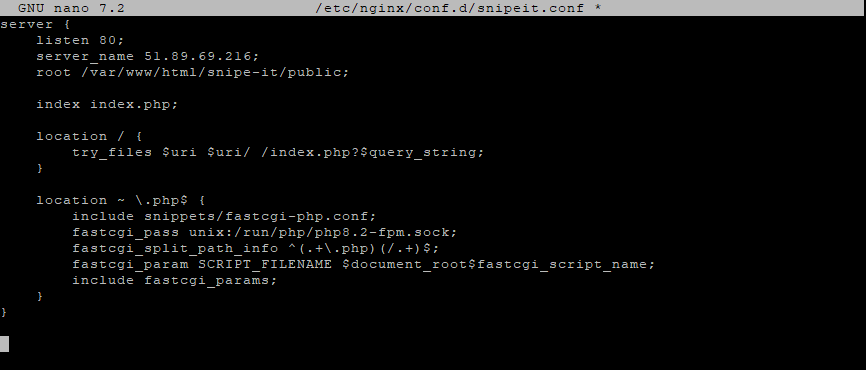
Create a new Nginx virtual host configuration file:
nano /etc/nginx/conf.d/snipeit.conf
Paste the following configuration:
server {
    listen 80;
    server_name snipeit.example.com;
    root /var/www/html/snipe-it/public;

    index index.php;

    location / {
        try_files $uri $uri/ /index.php?$query_string;
    }

    location ~ \.php$ {
        include snippets/fastcgi-php.conf;
        fastcgi_pass unix:/run/php/php8.2-fpm.sock;
        fastcgi_split_path_info ^(.+\.php)(/.+)$;
        fastcgi_param SCRIPT_FILENAME $document_root$fastcgi_script_name;
        include fastcgi_params;
    }
}
Replace snipeit.example.com with your real domain or server IP.
Save and exit the file.
Step 10: Adjust Global Nginx Settings
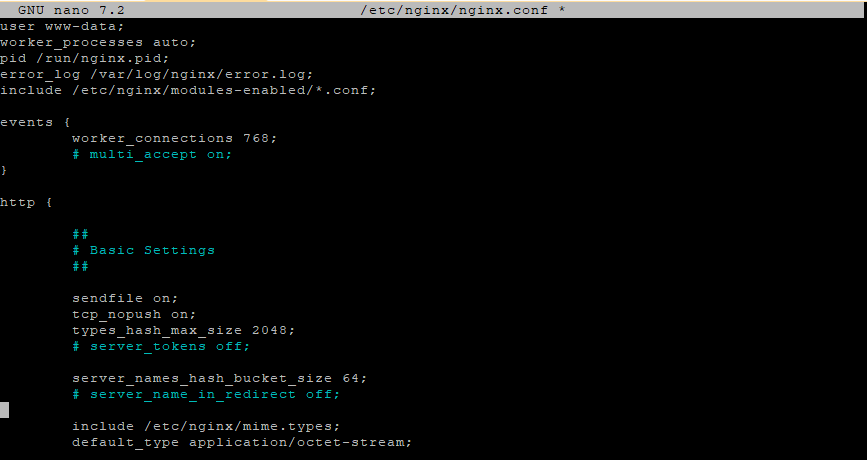
Edit the main Nginx configuration file:
nano /etc/nginx/nginx.conf
Inside the http block, add the following line:
server_names_hash_bucket_size 64;
Save and exit the file.
Test the configuration:
nginx -t
If you see syntax is ok, restart Nginx:
systemctl restart nginx

Step 11: Access Snipe-IT Web Interface
Now open your browser and go to:
http://YOUR_SERVER_IP
or, if you’ve set up a domain:
http://snipeit.example.com
You’ll be greeted with the Snipe-IT installation wizard.
Follow the steps to configure the admin account, mail settings, and organization details.
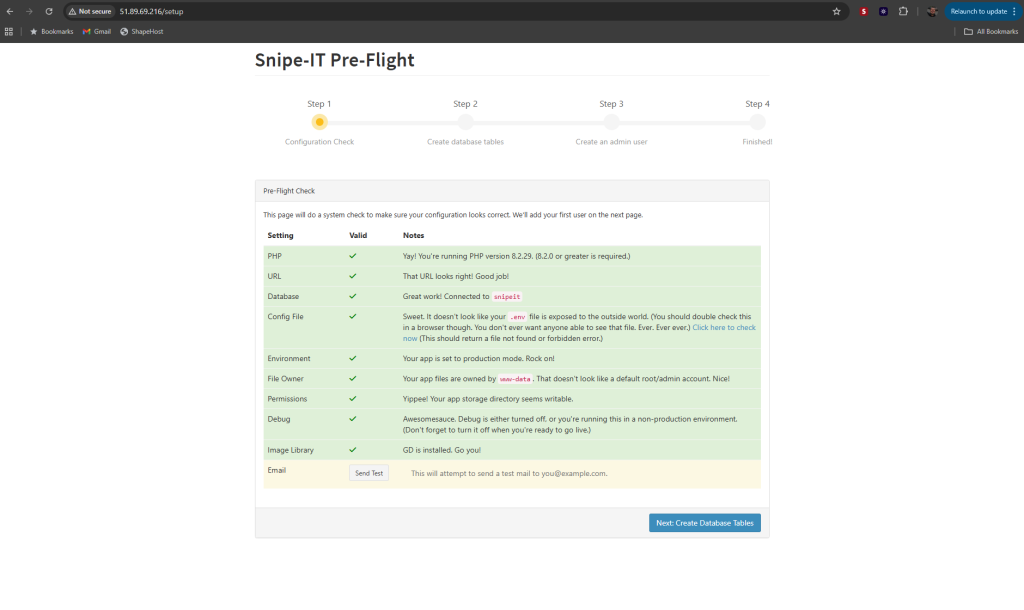
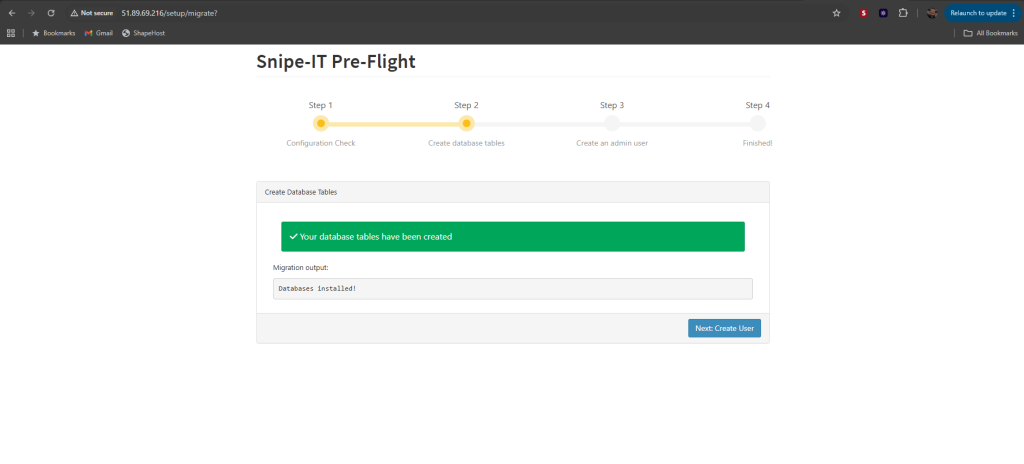
Ensure all required dependencies are installed, then click the Next: Create Database Table. You will see the following page.
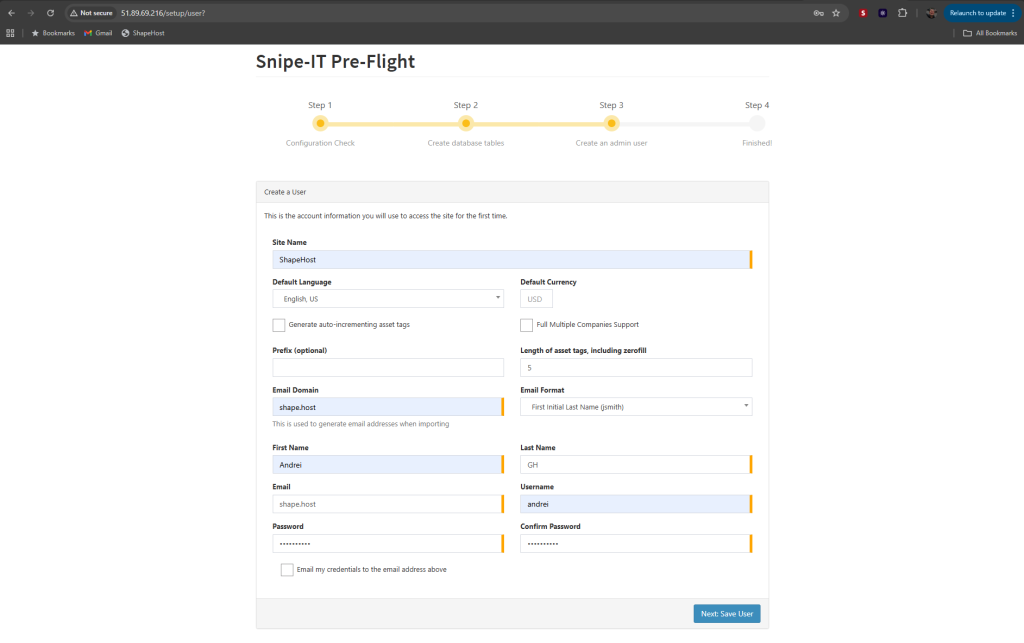
Define your site name, email, user, and password, then click Next: Save User. You will see the Snipe-IT dashboard.
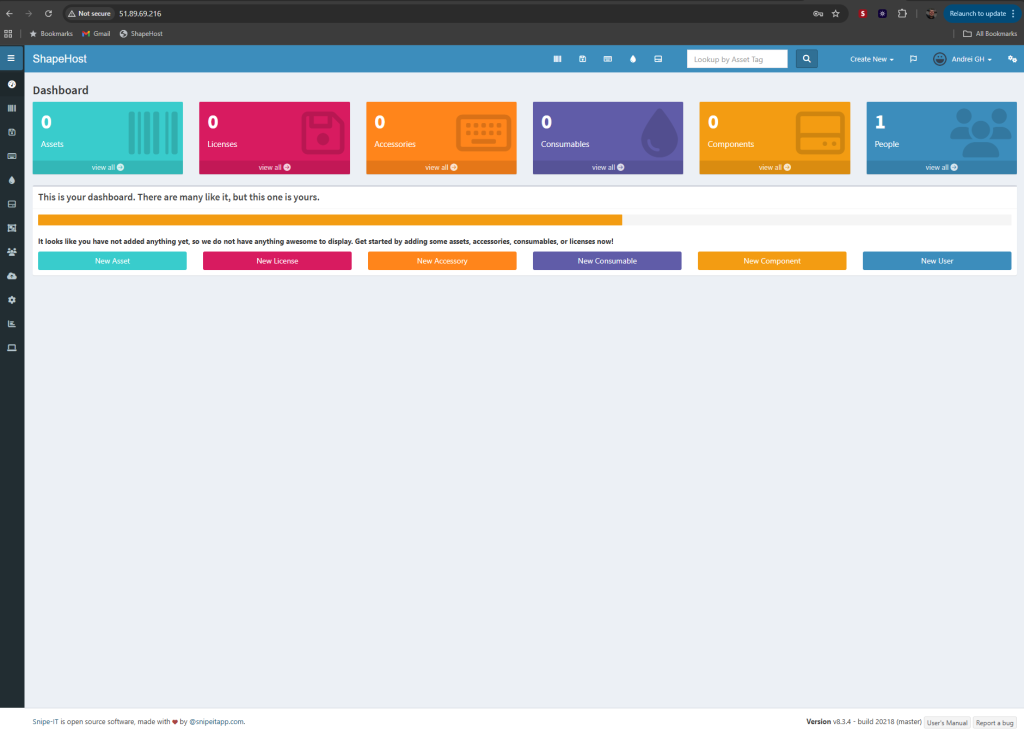
Congratulations! You installed Snipe-IT on Debian 12 with Nginx, PHP 8.2, and MariaDB.
You can now manage all your company’s IT assets securely from a single web-based dashboard.
For reliable performance and uptime, host your Snipe-IT instance on a Shape.Host Cloud VPS — optimized for business applications with root access and SSD storage.