Snipe-IT on Ubuntu 24.04 (Nginx + PHP-FPM + MariaDB + SSL)
Snipe-IT is a free, open-source asset management system designed for IT teams and organizations to manage hardware, software licenses, accessories, and users from a centralized web interface. It helps businesses track asset ownership, maintenance schedules, and depreciation while ensuring accountability and compliance.
Running Snipe-IT on Ubuntu 24.04 LTS (Noble Numbat) provides a modern, stable, and secure foundation for asset management in production environments. With PHP 8.3, MariaDB 10.11, Nginx, and OpenSSL 3, Ubuntu 24.04 offers excellent performance, improved encryption standards, and long-term support — ideal for enterprise deployments.
Architecture Overview
| Layer | Component | Role |
|---|---|---|
| OS | Ubuntu 24.04 LTS | Stable, long-term supported base for production use |
| Web Server | Nginx | Handles HTTP/HTTPS requests, caching, and compression |
| Backend Runtime | PHP 8.3 + PHP-FPM | Executes Snipe-IT’s Laravel-based application logic |
| Database | MariaDB 10.11 / MySQL 8 | Stores asset, user, and license data |
| App Framework | Laravel (PHP) | Provides routing, authentication, and ORM functionality |
| TLS | Let’s Encrypt / PKI | Enables HTTPS for secure dashboard and API access |
Why Use Snipe-IT?
- Centralized asset management – track hardware, licenses, and consumables in one place.
- Multi-user support – assign permissions and roles for IT staff and departments.
- Audit and history logs – monitor asset checkouts, transfers, and updates.
- Integrations – API support for external systems and automation.
- Open-source and free – no license costs, customizable, and enterprise-ready.
- Multi-language interface – supports global organizations.
Snipe-IT vs Other IT Asset Management Tools
| Feature/Capability | Snipe-IT (Self-hosted) | Odoo (IT Module) | GLPI (Self-hosted) | ManageEngine (Cloud) |
|---|---|---|---|---|
| Hosting | Self-hosted | Self-hosted/Cloud | Self-hosted | SaaS only |
| Cost | Free, open-source | Paid modules | Free, open-source | Subscription-based |
| Backend | PHP + MariaDB | Python + PostgreSQL | PHP + MySQL | Proprietary stack |
| REST API | ✅ Yes | ✅ Yes | ✅ Yes | ✅ Yes |
| Customization | High | Medium | High | Low |
Snipe-IT stands out for its simplicity, scalability, and open-source flexibility, making it a favorite for IT departments managing large inventories.
Security & Best Practices
- Run Snipe-IT behind Nginx with HTTPS enabled.
- Use strong database credentials and store them in
.envsecurely. - Restrict database access to
localhostor internal network only. - Keep PHP, Laravel, and dependencies up to date using Composer.
- Configure automatic database backups and test restores regularly.
- Harden file permissions: restrict
/storageand/bootstrap/cacheto web server user. - Enable UFW to allow only ports 80 and 443.
- Automate SSL renewals with Certbot or ACME scripts.
Typical Use Cases
- Corporate IT departments managing laptops, peripherals, and software licenses.
- Schools and universities tracking shared equipment and student assets.
- Managed service providers (MSPs) managing multiple client inventories.
- Nonprofits and NGOs managing donated hardware.
- Startups implementing structured IT tracking early in their growth.
Deploying Snipe-IT on Ubuntu 24.04 with Nginx, PHP-FPM, and MariaDB gives you a powerful, secure, and customizable IT asset management platform — perfect for organizations that want complete control, transparency, and efficiency in managing their digital and physical assets.
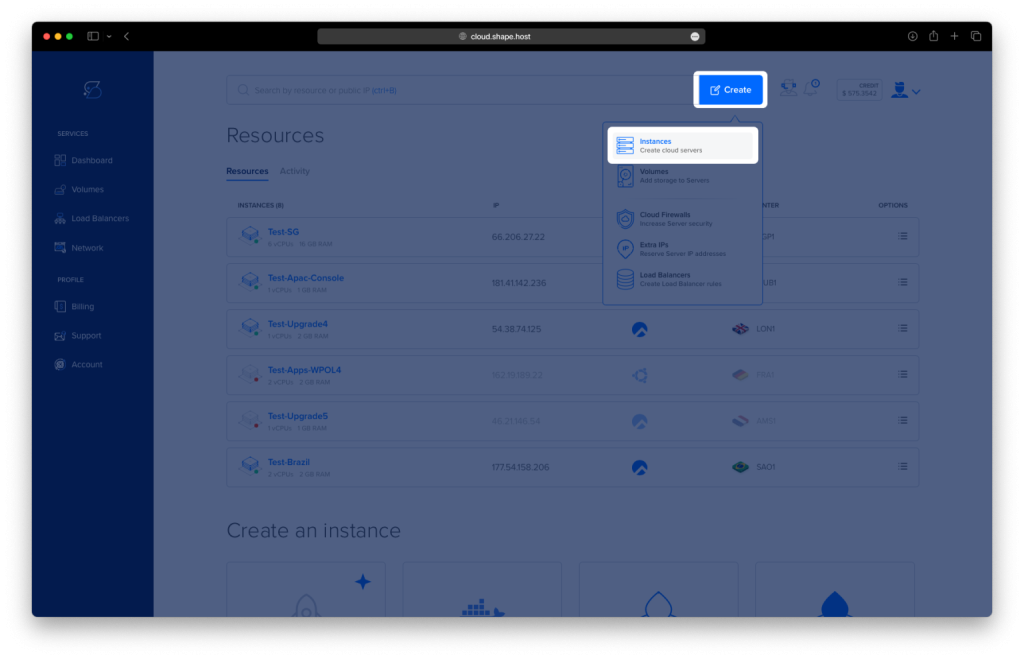
Step 1: Create a Cloud Instance on Shape.Host
Log in to your Shape.Host account.
Click Create → Instance.
Choose your desired location.
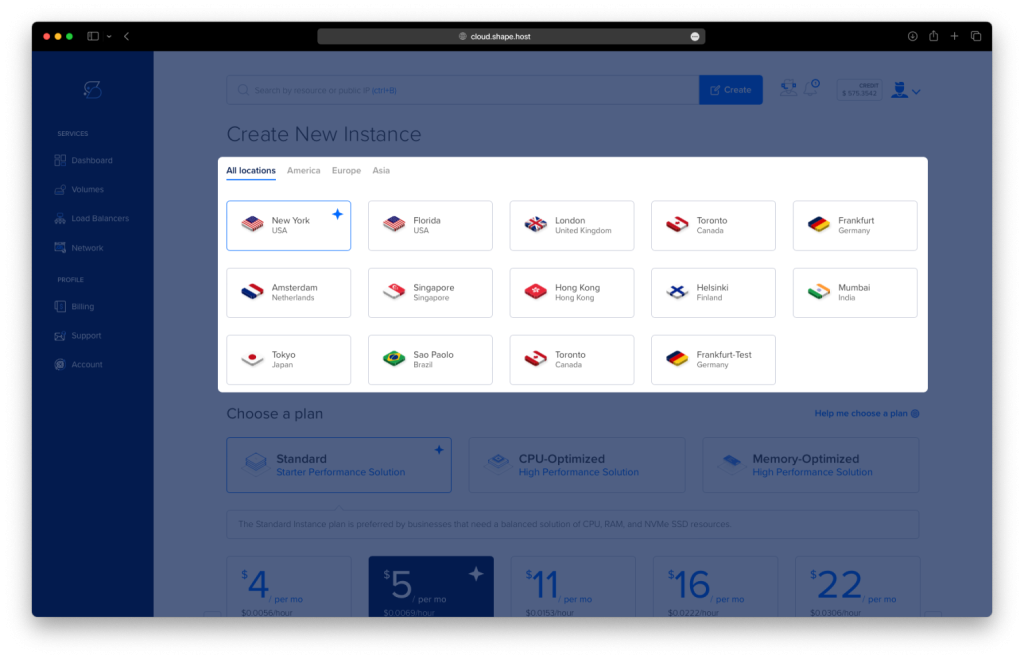
Select a plan with at least 2 CPUs, 4 GB RAM, and 30 GB SSD.
Choose Ubuntu 24.04 (64-bit) as the operating system.

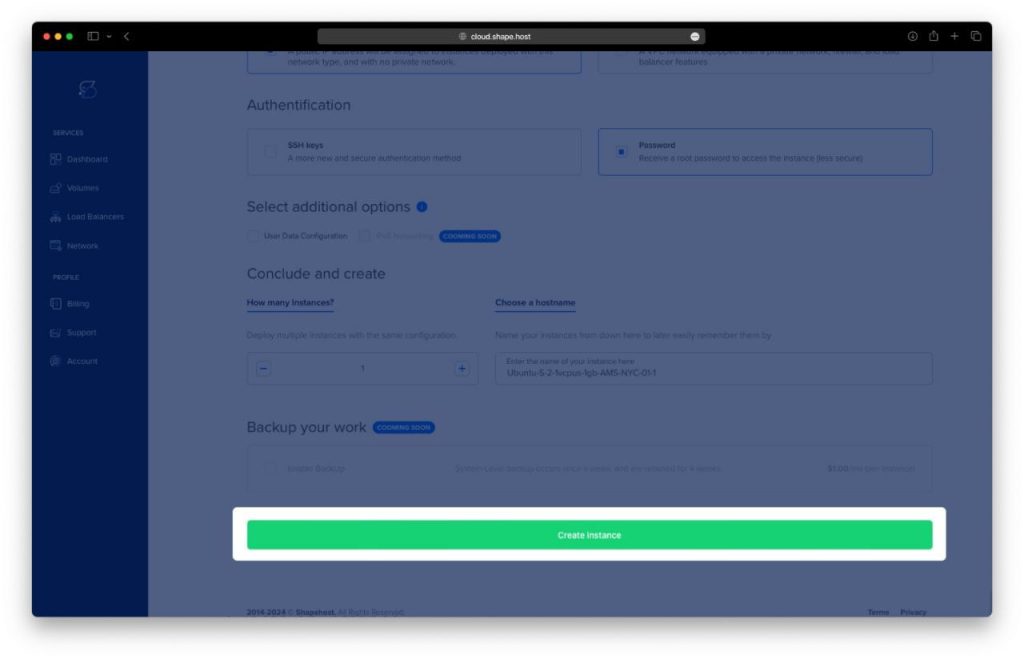
Click Create Instance.
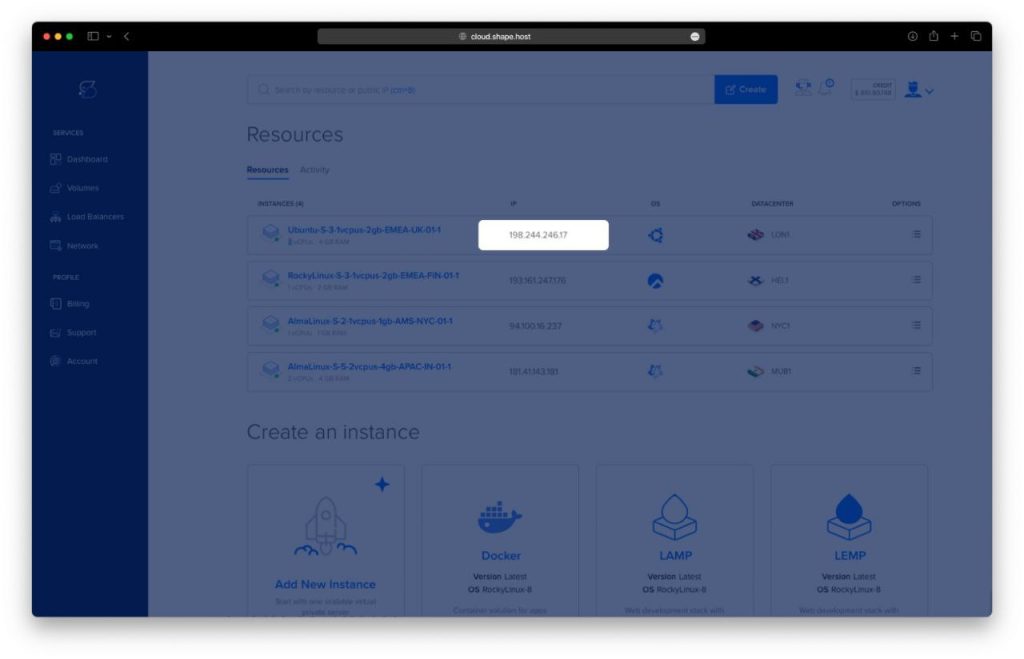
Once deployed, copy your public IP address from the Resources section.
Step 2: Connect to Your Server
Use SSH to log in to your server as the root user:
ssh root@your_server_ip
Step 3: Update Your System
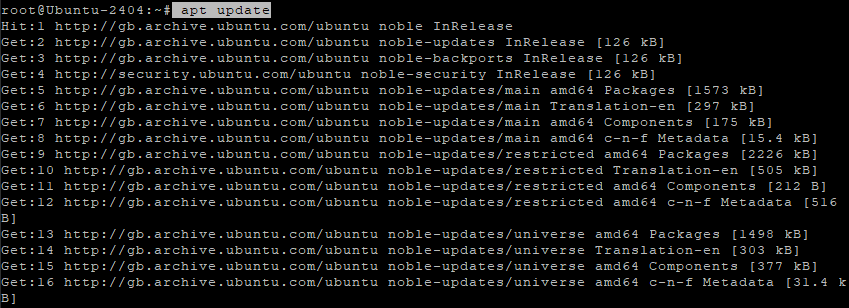
Always start by updating your repositories and installed packages:
apt update
Step 4: Install Nginx, MariaDB, and PHP
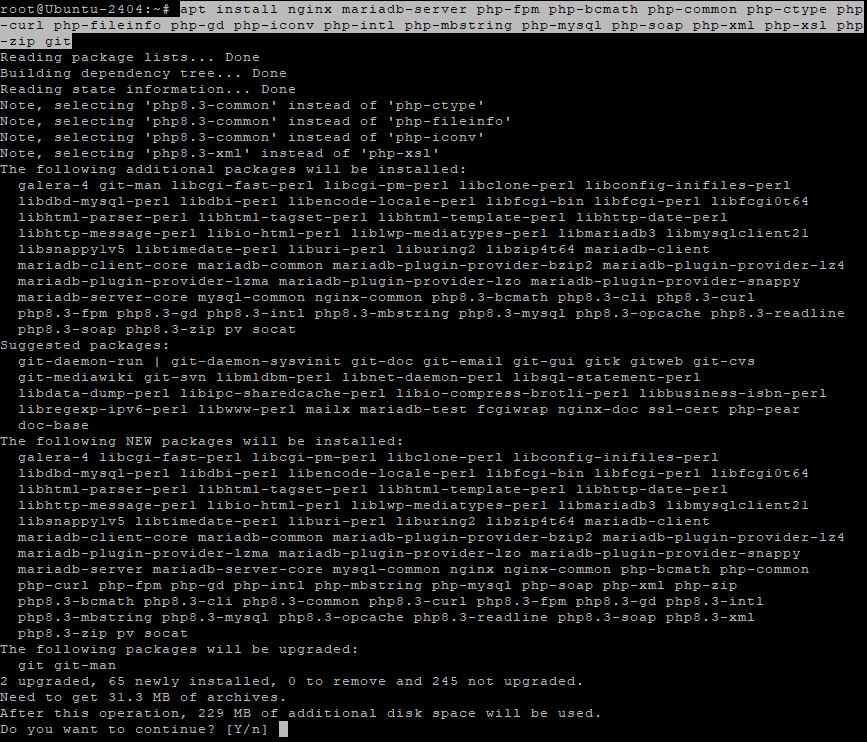
Install Nginx, MariaDB, and all required PHP 8.3 extensions for Laravel and Snipe-IT:
apt install nginx mariadb-server php-fpm php-bcmath php-common php-ctype php-curl php-fileinfo php-gd php-iconv php-intl php-mbstring php-mysql php-soap php-xml php-xsl php-zip git
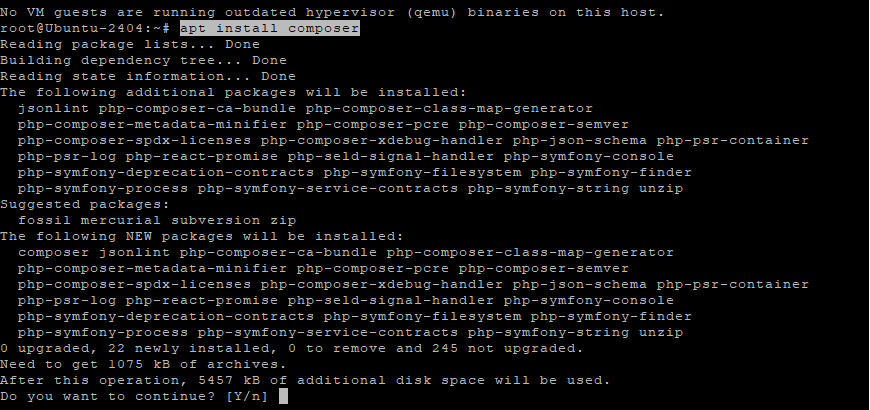
Then, install Composer, which manages PHP dependencies:
apt install composer
Step 5: Create the Snipe-IT Database
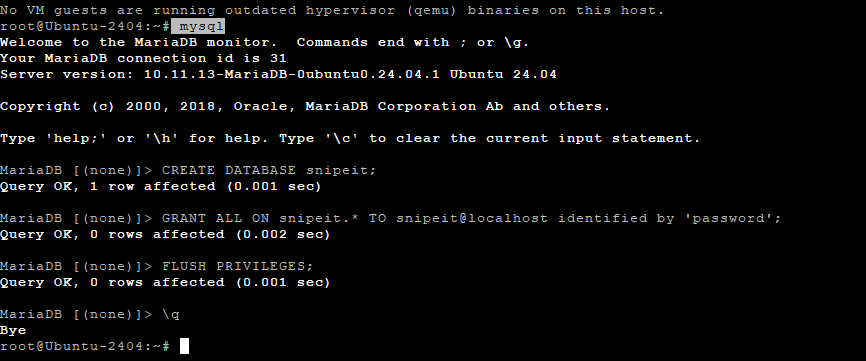
Access the MariaDB shell:
mysql
Create a new database and user for Snipe-IT:
CREATE DATABASE snipeit;
GRANT ALL ON snipeit.* TO 'snipeit'@'localhost' IDENTIFIED BY 'password';
FLUSH PRIVILEGES;
\q
💡 Replace
'password'with a strong, secure password.
Step 6: Download Snipe-IT
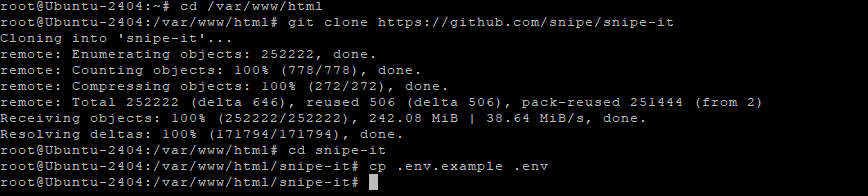
Move into your web directory and clone the Snipe-IT repository:
cd /var/www/html
git clone https://github.com/snipe/snipe-it
cd snipe-it
Step 7: Configure Environment Variables
Copy the example configuration file:
cp .env.example .env
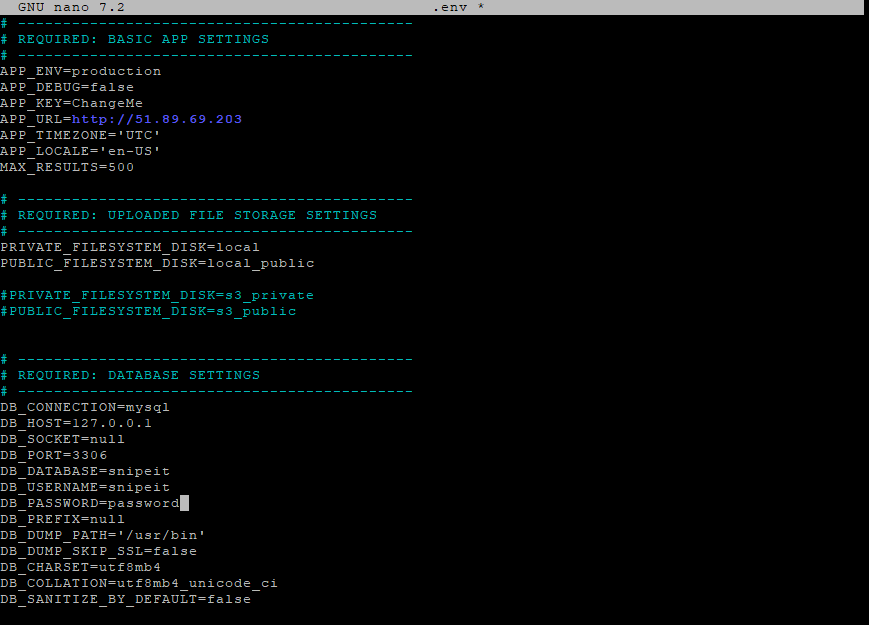
Edit it with your own database and application settings:
nano .env
Update the following lines:
APP_URL=http://snipeit.example.com
APP_TIMEZONE='UTC'

DB_DATABASE=snipeit
DB_USERNAME=snipeit
DB_PASSWORD=password
Save and exit (CTRL + O, ENTER, CTRL + X).
Step 8: Set Permissions
Assign ownership to the web server user and set correct permissions:
chown -R www-data: /var/www/html/snipe-it
chmod -R 755 /var/www/html/snipe-it
Step 9: Install PHP Dependencies
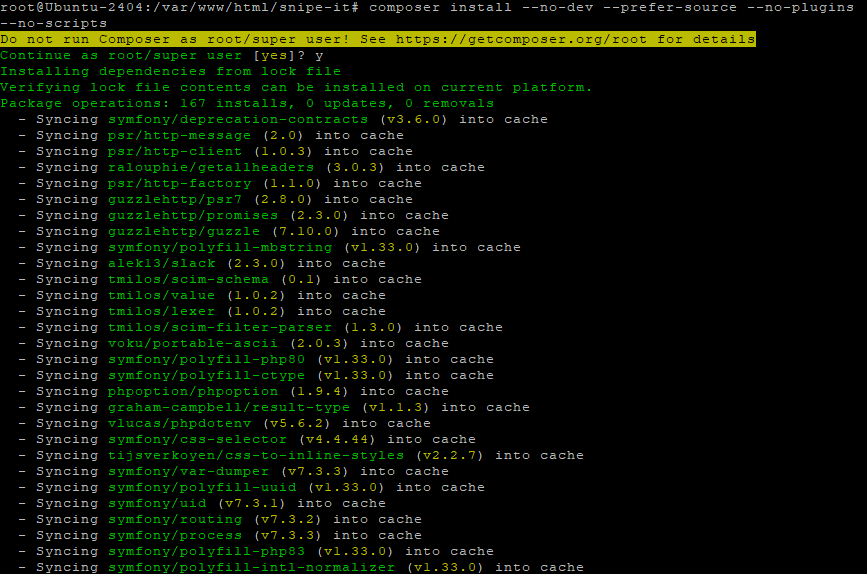
Update Composer and install the required Laravel packages:
composer update --no-plugins --no-scripts
composer install --no-dev --prefer-source --no-plugins --no-scripts
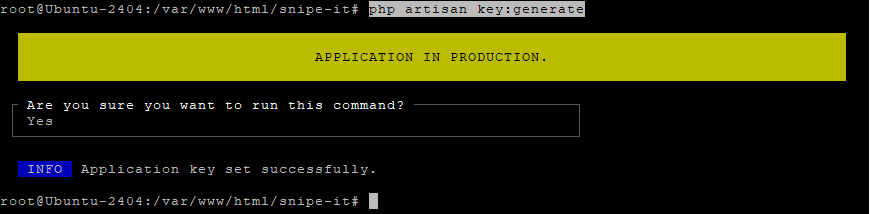
Generate the Laravel application key:
php artisan key:generate
This key is essential for encrypting sensitive application data.
Step 10: Configure Nginx
Create a new Nginx configuration file:
nano /etc/nginx/conf.d/snipeit.conf
Paste the following configuration:
server {
    listen 80;
    server_name snipeit.example.com;
    root /var/www/html/snipe-it/public;

    index index.php;

    location / {
        try_files $uri $uri/ /index.php?$query_string;
    }

    location ~ \.php$ {
        include fastcgi.conf;
        include snippets/fastcgi-php.conf;
        fastcgi_pass unix:/run/php/php8.3-fpm.sock;
        fastcgi_split_path_info ^(.+\.php)(/.+)$;
        fastcgi_param SCRIPT_FILENAME $document_root$fastcgi_script_name;
        include fastcgi_params;
    }
}
Replace snipeit.example.com with your actual domain or server IP.

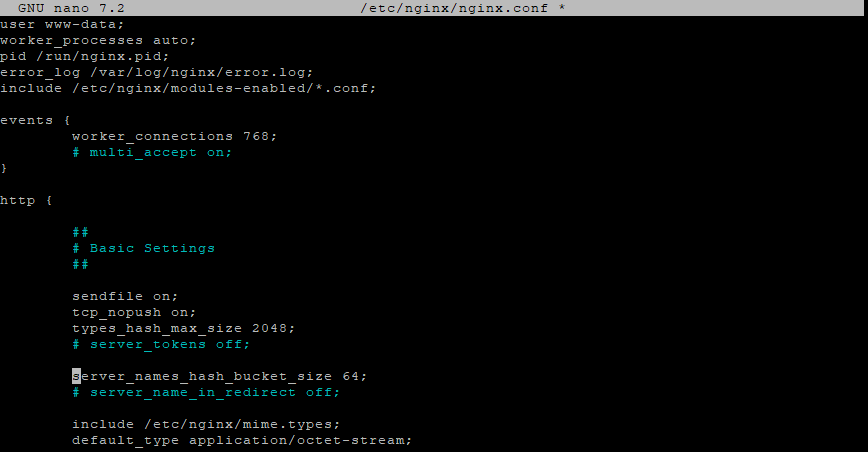
Step 11: Adjust Nginx Configuration
To prevent hash size errors, edit the main Nginx config:
nano /etc/nginx/nginx.conf
Find and add the following line inside the http block:
server_names_hash_bucket_size 64;
Save the file and test your configuration:
nginx -t
Restart Nginx:
systemctl restart nginx
Step 12: Access Snipe-IT
Now open your web browser and navigate to:
http://YOUR_SERVER_IP
or, if you configured a domain:
http://snipeit.example.com
You’ll see the Snipe-IT setup wizard, where you can finish installation by creating an admin account and configuring your site.
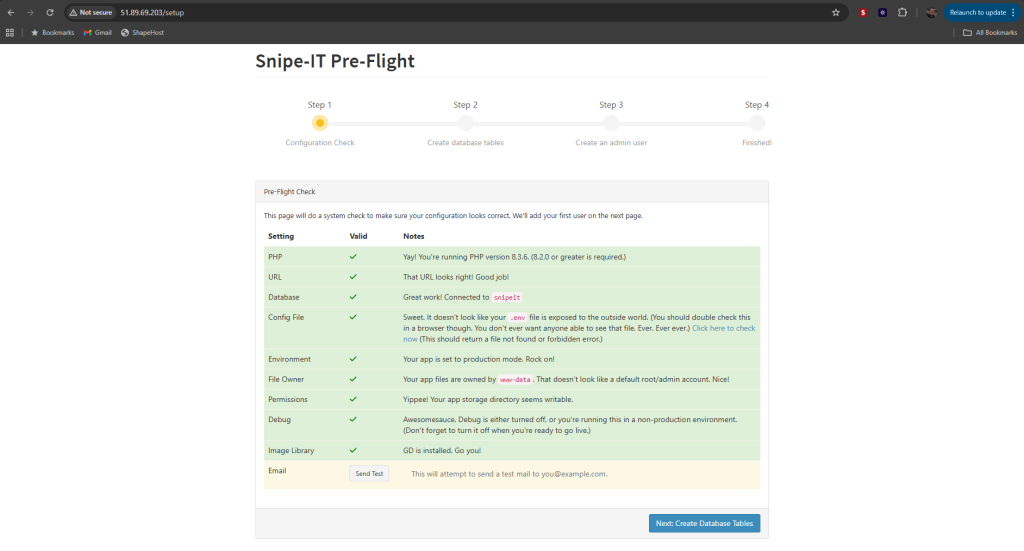
Ensure all required dependencies are installed, then click the Next: Create Database Table. You will see the following page.

Click on the Next: Create User. You will see the following page.

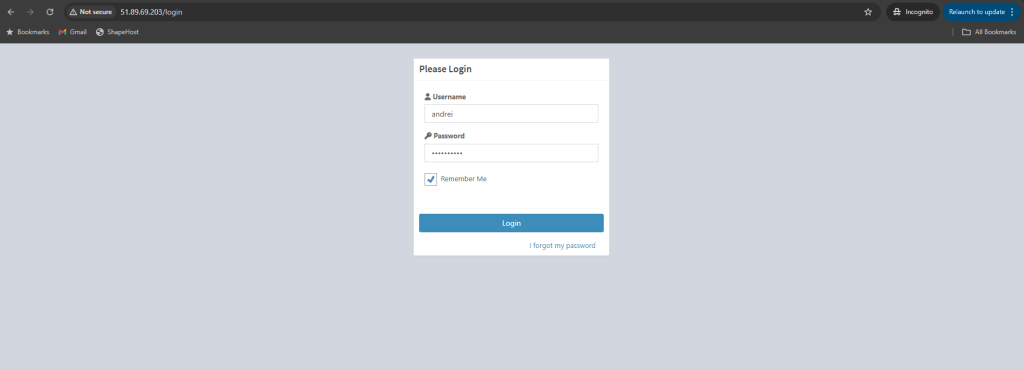
Define your site name, email, user, and password, then click Next: Save User. You will see the Snipe-IT dashboard.
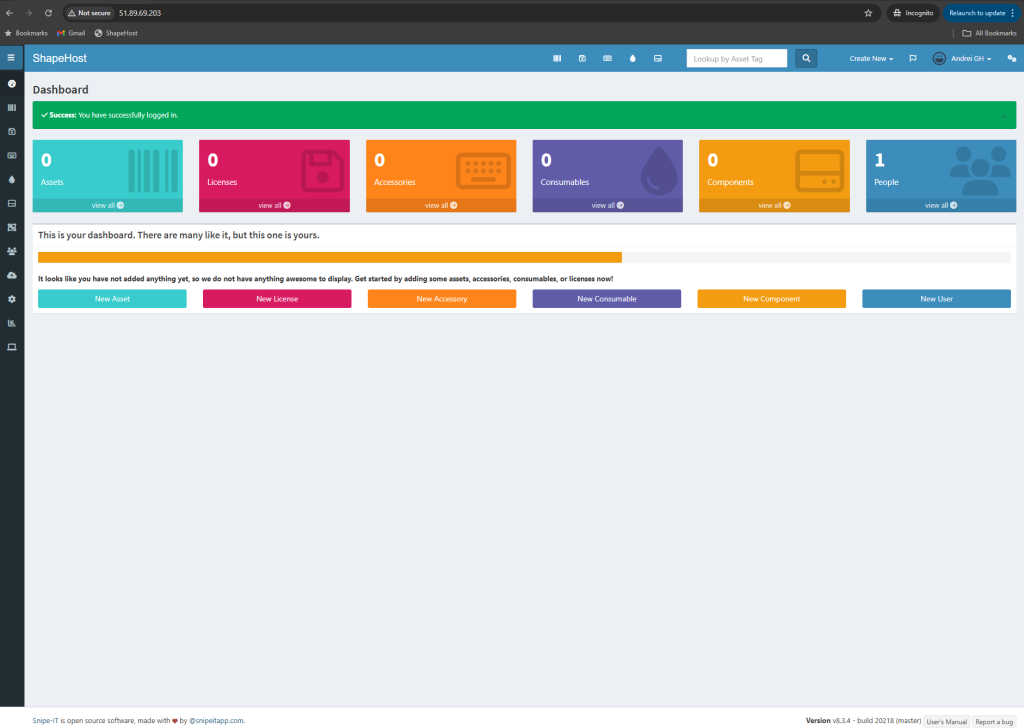
You’ve successfully installed Snipe-IT on Ubuntu 24.04 using Nginx, MariaDB, and PHP 8.3.
Your asset management system is now up and running, ready to track and manage company hardware, software, and licenses efficiently.
For high performance, automatic backups, and root-level access, consider hosting Snipe-IT on a Shape.Host Linux SSD VPS — optimized for business-critical web applications.