ProcessWire CMS on Ubuntu 24.04 — A Flexible, Developer-Oriented CMS
ProcessWire is a modern, open-source content management framework (CMF) written in PHP. Known for its flexibility, powerful API, and clean codebase, ProcessWire is ideal for developers who want fine control over structure, templating, and content. Running it on Ubuntu 24.04 LTS provides a solid, up-to-date hosting platform backed by long-term support and a mature server ecosystem.
Why Use Ubuntu 24.04 for ProcessWire?
Ubuntu 24.04 (Noble Numbat) is a Long-Term Support (LTS) release, supported until 2029. It brings improvements in system performance, security, and package freshness.
| Ubuntu 24.04 Feature | Benefit for ProcessWire CMS |
|---|---|
| PHP 8.3 available by default | Compatible with modern ProcessWire versions and modules |
| Apache 2.4.57 / Nginx mainline | High-performance web server options |
| MySQL 8.0 / MariaDB 10.11 | Supported database engines for relational content storage |
| OpenSSL 3.0+ | Secure HTTPS handling with modern TLS protocols |
| Systemd, Journald | Simplified service control and logging |
Ubuntu’s package ecosystem and Snap/Flatpak support also make it developer-friendly for workflows involving Docker, version control, or site automation.
ProcessWire CMS Architecture Overview
ProcessWire is not just a CMS—it’s a CMF that acts as a PHP-powered API-first platform. Its key architectural features include:
- API-Centric Core – Every content element is accessible via object-oriented PHP
- Template Files as PHP – Total control over HTML output without using a template engine
- Page Tree Model – Hierarchical structure similar to a filesystem, great for managing nested content
- Fieldtype and Inputfield System – Extensible field definitions with strong type handling
- Modules and Hooks – Customizable behavior without altering core files
This makes it a good alternative to WordPress, Joomla, or Drupal for custom or content-heavy applications.
Ideal Use Cases
- Custom Websites & Web Applications — Where clean code and content flexibility are required
- Intranet Portals & Dashboards — Thanks to its built-in API and access control system
- Multilingual Sites — Full multilingual support for fields, templates, and URLs
- Headless CMS Use — Through REST or direct PHP API access
- Client Projects with Unique Content Models — Where predefined themes and rigid layouts are limiting
Web Stack Compatibility on Ubuntu 24.04
| Component | Recommendation |
|---|---|
| Web Server | Apache (with mod_rewrite) or Nginx (with PHP-FPM) |
| PHP Version | PHP 8.2 or 8.3 (both supported by ProcessWire ≥3.0.200) |
| Database | MySQL 8.0 or MariaDB 10.6+ |
| Storage | Ext4 or ZFS, optional Redis for caching |
| HTTPS | Let’s Encrypt, OpenSSL 3.0+ |
Ubuntu’s package support ensures all these components are well-tested and regularly patched.
Developer Experience
ProcessWire is developer-first, providing:
- A single unified $pages, $templates, $fields API
- No “theme layer” — developers write raw PHP/HTML templates
- Modular system with hookable methods
- Fully documented internal API
- Ability to export/import field/template structures via JSON or modules
- Simple upgrade paths, Git-friendly structure
The flat structure and clear separation of logic, content, and markup are highly compatible with modern CI/CD workflows.
Security and Maintenance
| Security Feature | ProcessWire CMS Benefit |
|---|---|
| CSRF + Form Tokening | Built-in form protection |
| Role-Based Access Control | Granular permission system per field/template/page |
| HTTPS-First Architecture | Compatible with Let’s Encrypt and HTTP/2 |
| Ubuntu 24.04 LTS Hardening | Regular kernel and OpenSSL updates |
| Error Logging via Systemd | Logs available via journalctl or Apache logs |
For production environments, developers are encouraged to disable core file editing in the admin and enable file permissions and session hardening.
Comparison with Other CMS Platforms
| Feature/Aspect | ProcessWire CMS | WordPress | Drupal |
|---|---|---|---|
| Templating | Raw PHP | Theme-based | Twig-based |
| Custom Fields | Built-in (Fieldtypes) | With ACF plugin | Built-in (Field API) |
| Performance | Fast (lean core) | Moderate | Heavy without caching |
| API Design | Built-in PHP API | REST via plugins | JSON:API/GraphQL |
| Security Model | Fine-grained ACLs | Role-based | Role + permission |
| Developer Focus | High | Moderate | Moderate |
ProcessWire excels when developers need full control, clean output, and a structured content model without dealing with complex configuration UIs or plugin dependency chains.
Running ProcessWire CMS on Ubuntu 24.04 offers:
- An efficient, secure, and LTS-supported Linux base
- Compatibility with modern PHP versions and databases
- An ideal environment for custom, API-driven websites
- Native developer tools and logging via systemd and journald
- A highly scalable structure for both small sites and large content systems
This combination is recommended for developers and agencies building tailor-made sites that prioritize content flexibility, performance, and clean architectural separation.
Step 1: Create a Shape.Host VPS Instance
Go to https://shape.host and log in.
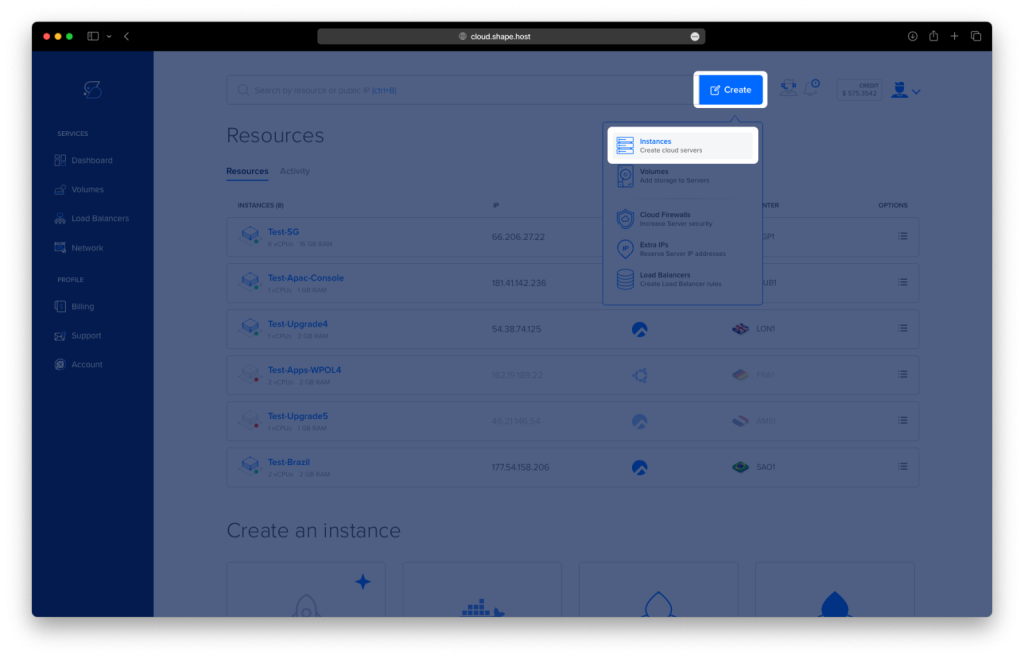
Click “Create”, then choose “Instance”.
Choose your preferred server location.
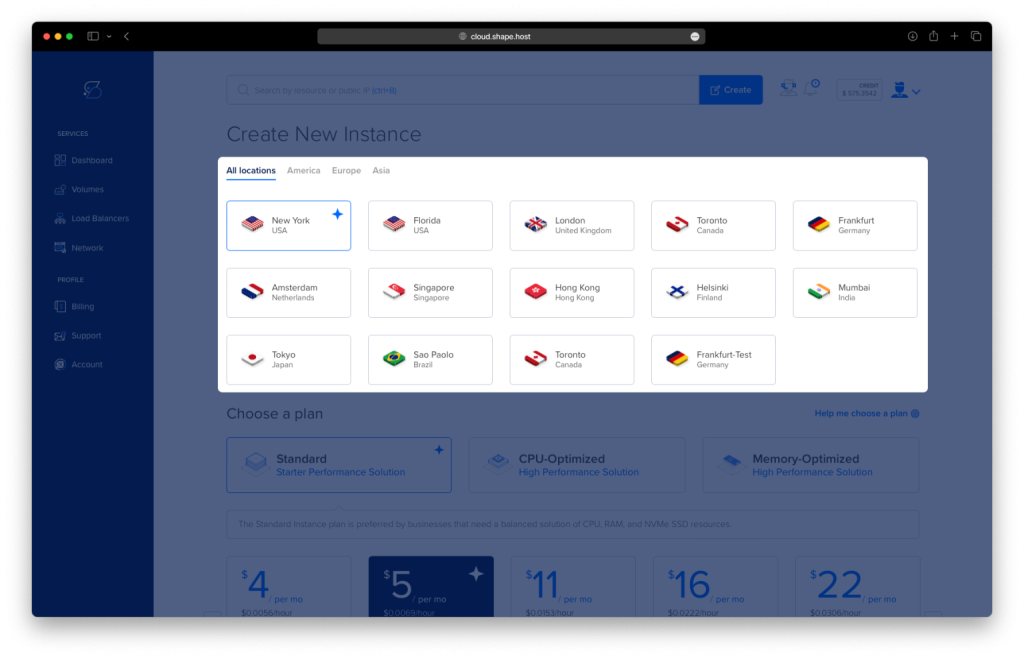
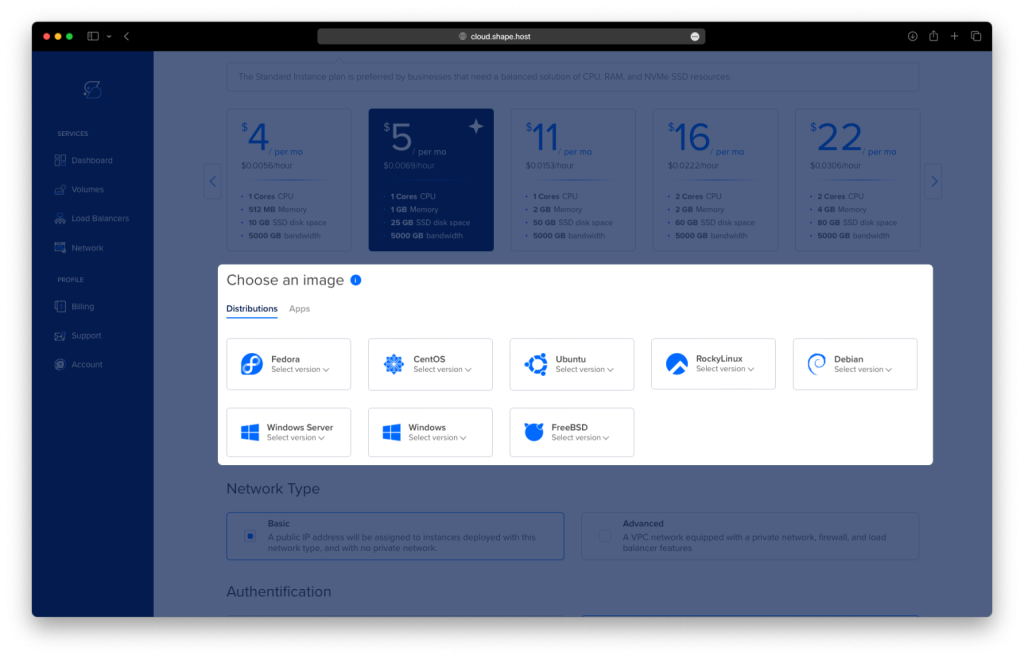
Select Ubuntu 24.04 (64-bit) as the operating system.
Pick a plan with at least 2 GB RAM and 2 CPUs.
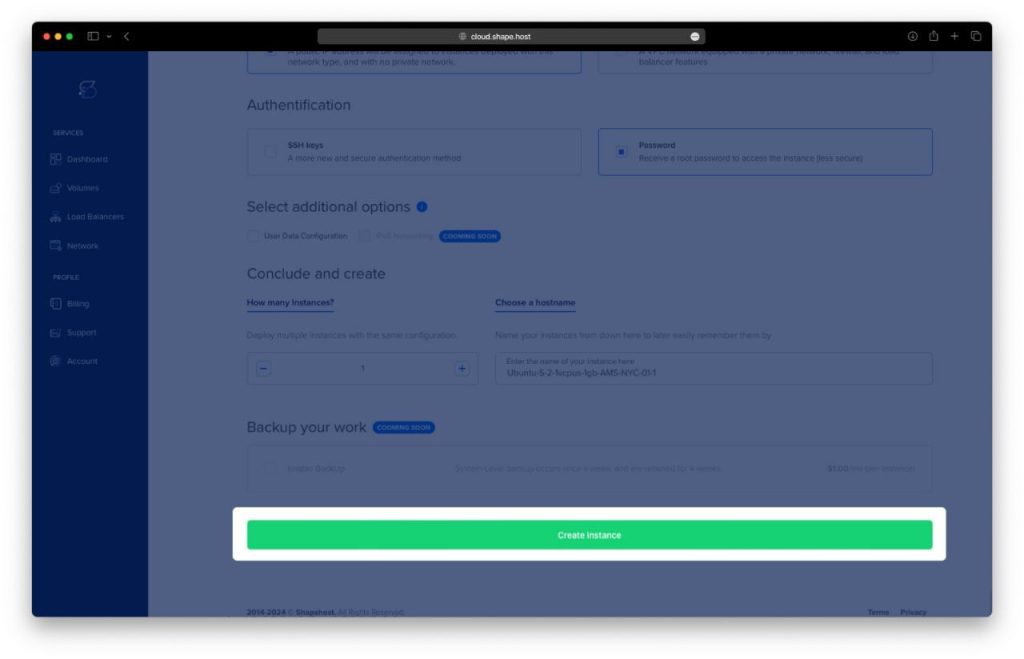
Click “Create Instance”.
After the VPS is deployed, copy its IP address.

Step 2: Connect to Your VPS
On Linux or macOS:
ssh root@your-server-ip
On Windows:
Use PuTTY to connect:
- Host Name:
your-server-ip - Port:
22 - Login as:
root
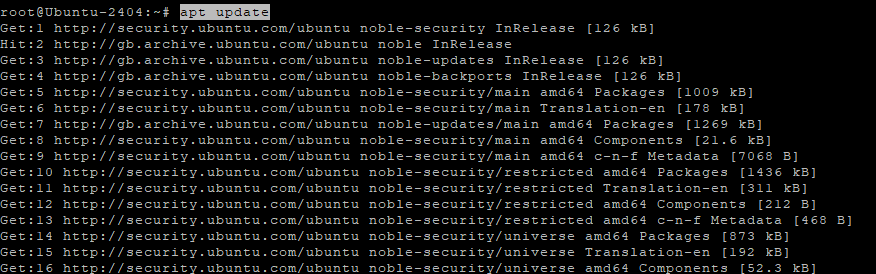
Step 3: Update Package Index
apt update
Refreshes the local list of available packages.
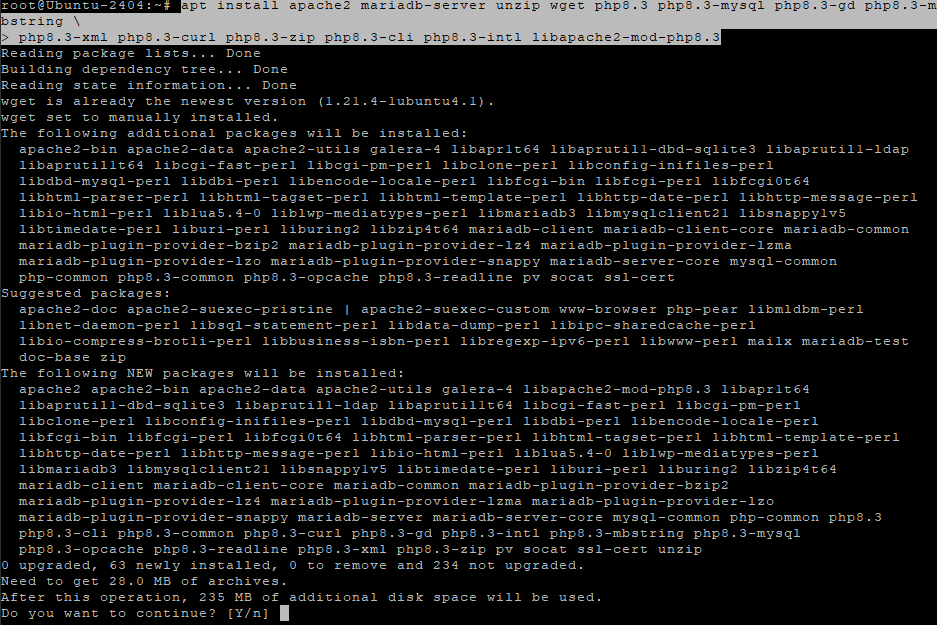
Step 4: Install Apache, MariaDB, PHP, and Dependencies
apt install apache2 mariadb-server unzip wget php8.3 php8.3-mysql php8.3-gd php8.3-mbstring php8.3-xml php8.3-curl php8.3-zip php8.3-cli php8.3-intl libapache2-mod-php8.3 -y
Installs the Apache web server, MariaDB database server, and all required PHP 8.3 modules for ProcessWire.
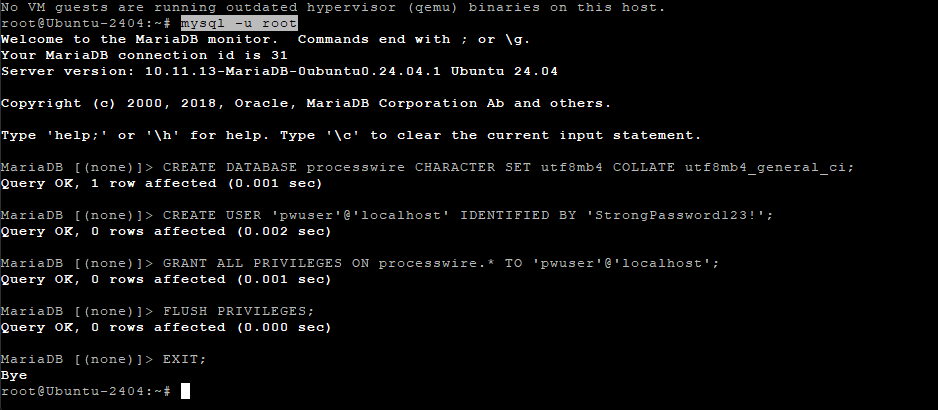
Step 5: Create the MySQL Database and User
mysql -u root
Then run the following SQL commands one by one:
CREATE DATABASE processwire CHARACTER SET utf8mb4 COLLATE utf8mb4_general_ci;
CREATE USER 'pwuser'@'localhost' IDENTIFIED BY 'StrongPassword123!';
GRANT ALL PRIVILEGES ON processwire.* TO 'pwuser'@'localhost';
FLUSH PRIVILEGES;
EXIT;
This creates the processwire database and a user with full access.
Step 6: Download and Unzip ProcessWire
cd /var/www
wget https://github.com/processwire/processwire/archive/master.zip
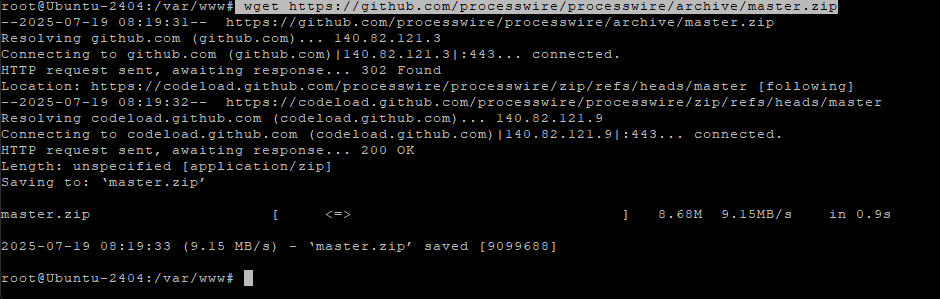
Downloads the latest ProcessWire source.
unzip master.zip
mv processwire-master processwire
Renames the directory for easier access.
rm master.zip
Cleans up the downloaded ZIP file.
Step 7: Set Proper Permissions
chown -R www-data:www-data /var/www/processwire
Gives ownership to the web server.
chmod -R 755 /var/www/processwire
Ensures the correct permissions for directories and files.

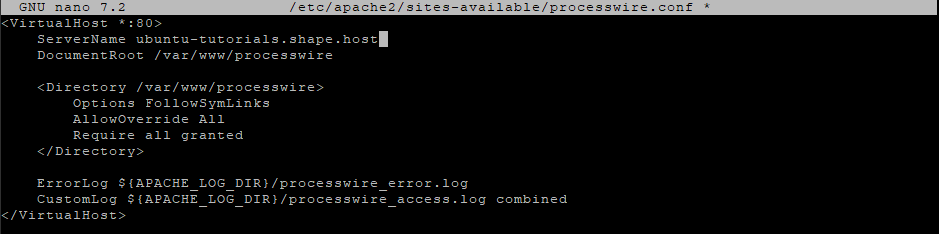
Step 8: Create Apache Virtual Host
nano /etc/apache2/sites-available/processwire.conf
Paste the following inside the file (replace your-domain.com):
<VirtualHost *:80>
    ServerName your-domain.com
    DocumentRoot /var/www/processwire

    <Directory /var/www/processwire>
        Options FollowSymLinks
        AllowOverride All
        Require all granted
    </Directory>

    ErrorLog ${APACHE_LOG_DIR}/processwire_error.log
    CustomLog ${APACHE_LOG_DIR}/processwire_access.log combined
</VirtualHost>
Step 9: Enable the Site and Apache Modules
a2ensite processwire.conf
a2enmod rewrite
systemctl restart apache2
Applies the new virtual host and enables URL rewriting.

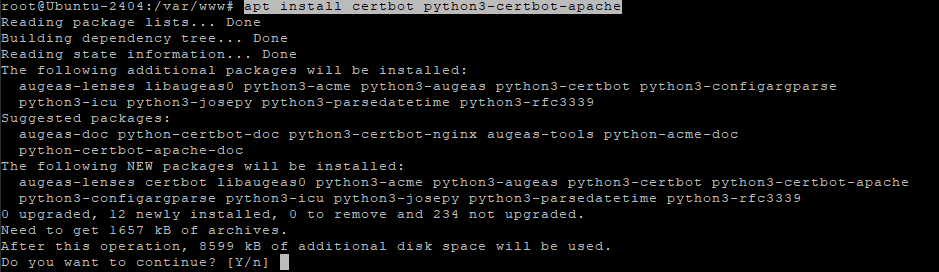
Step 10: Secure with HTTPS (Let’s Encrypt)
apt install certbot python3-certbot-apache -y
Installs the Certbot SSL client.
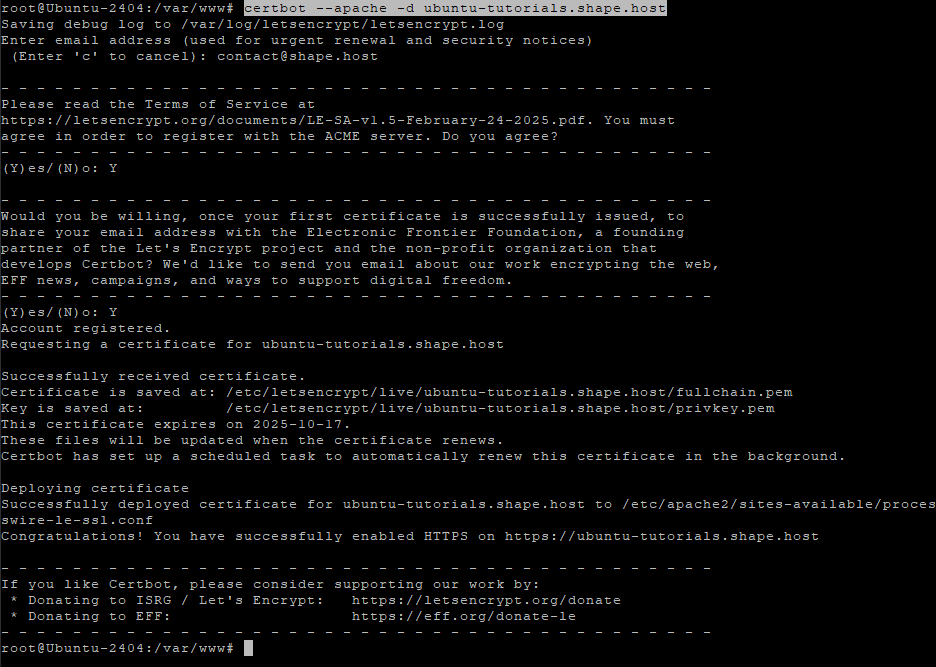
certbot --apache -d your-domain.com
Automatically generates and installs a free SSL certificate.
Step 11: Access ProcessWire in Your Browser
Visit:
http://your-domain.com
Or, after SSL:
https://your-domain.com
Follow the on-screen installer and enter the database credentials you created earlier.
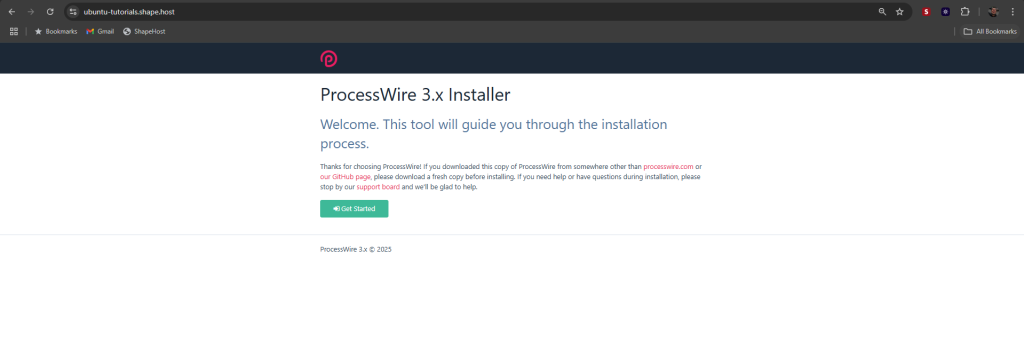
Welcome Screen
This is the welcome page of the ProcessWire installer. It confirms that you’re about to begin the installation process.
To continue, just click the green Get Started button.
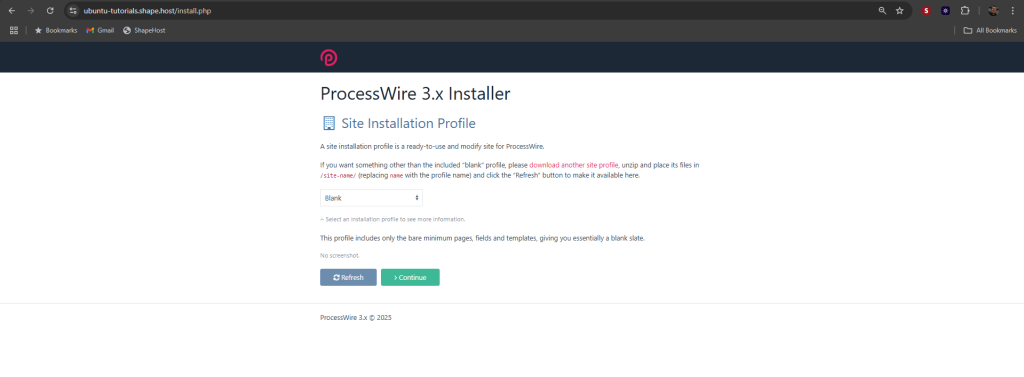
Choose Site Installation Profile
Select the type of site you want to install. The default Blank profile gives you a minimal setup with no content — great if you want to build everything from scratch.
Leave it as Blank and click Continue to move on. You can add other profiles later if needed.
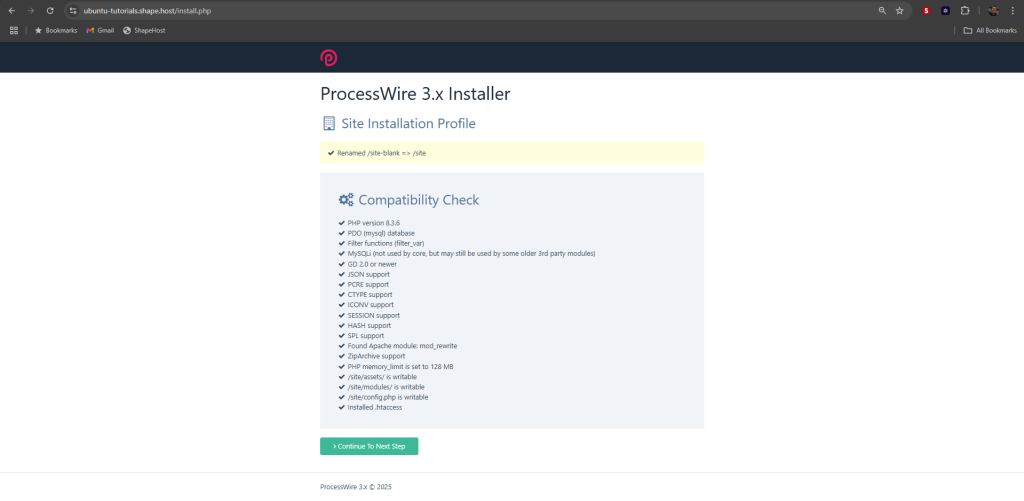
Compatibility Check
This step checks if your server meets all the requirements for running ProcessWire.
If everything is marked with a check (✔), you’re good to go.
Click Continue To Next Step to proceed with the installation.
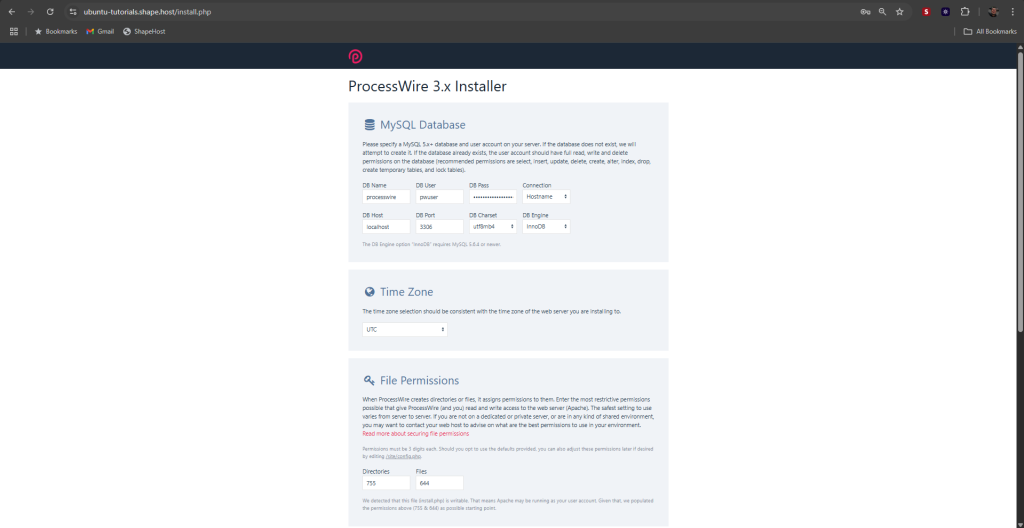
Database and Site Configuration
1. MySQL Database
Fill in the database details:
- DB Name – name of your database (e.g.
processwire) - DB User and DB Pass – your database credentials
- DB Host – usually
localhost - Leave port
3306, charsetutf8mb4, and engineInnoDBas-is unless needed otherwise.
2. Time Zone
Choose the time zone that matches your server or your preferred location (e.g. UTC).
3. File Permissions
Leave the default values:
- Directories:
755 - Files:
644
These are usually safe for most setups.
4. HTTP Host Names
Add your domain or hostname here. For example: ubuntu-tutorials.shape.host.
5. Debug Mode
- Keep it disabled for production sites.
- You can enable it later during development if needed.
Click Continue when everything is filled in.

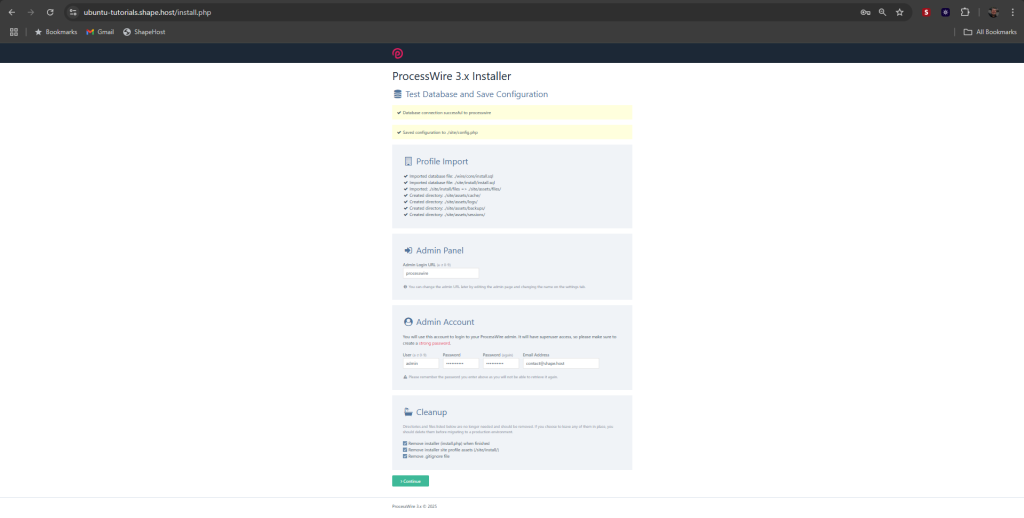
Create Admin Account and Final Setup
1. Profile Import
This section confirms everything was imported correctly — no action needed here.
2. Admin Panel
Set your admin panel URL (e.g. /processwire). You’ll use this to log into the admin area.
3. Admin Account
Fill in the login details for your admin user:
- Username
- Password (entered twice)
- Email address
This will be your main login, so make sure the password is secure.
4. Cleanup
Leave all checkboxes selected to remove install files. This is recommended for security.
Click Continue to finish the installation.
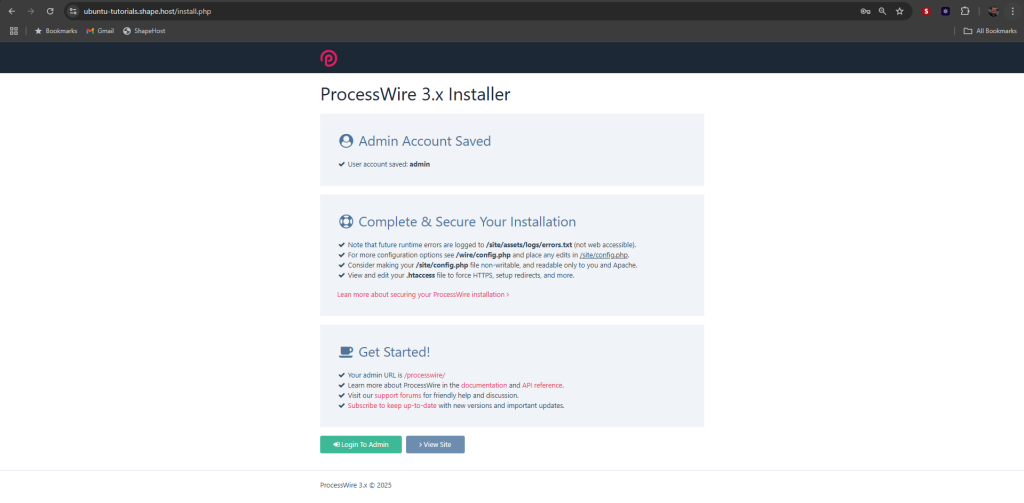
Installation Complete
Your ProcessWire installation is now finished.
- Your admin account has been created (e.g.
admin). - Your admin URL is shown (e.g.
/processwire/) — bookmark it for later. - Optional: Secure your site by making
/site/config.phpnon-writable and reviewing.htaccess.
You can now:
- Click Login To Admin to start managing your site.
- Click View Site to see the front-end.
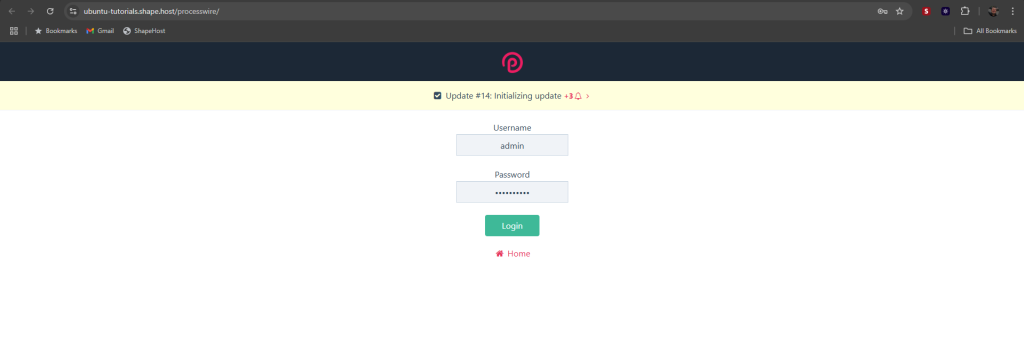
Admin Login
Now that the installation is complete, you can log in to the ProcessWire admin panel.
- Enter your username and password created earlier.
- Click Login to access the admin dashboard.
This is where you’ll manage your entire site — pages, templates, users, and more.
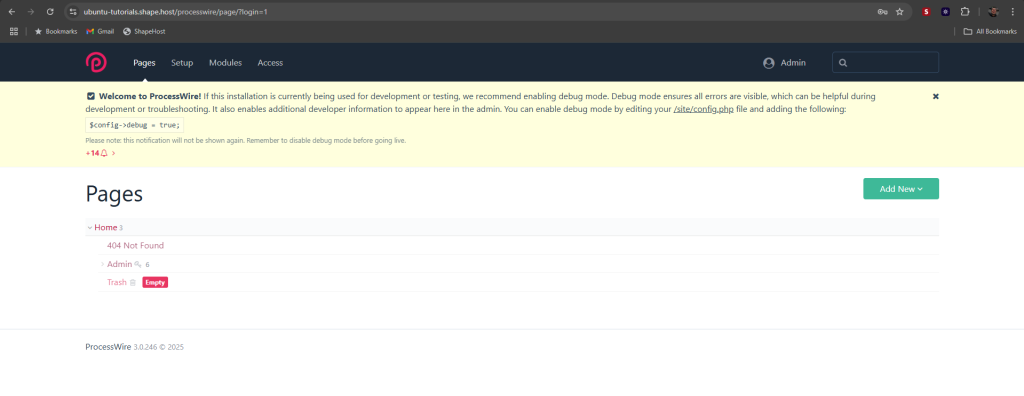
Admin Dashboard
You’ve successfully logged in to the ProcessWire admin area.
- From the Pages section, you can manage all site pages.
- You’ll see some default pages like 404 Not Found, Admin, and Trash.
- To start building your site, click “Add New”.
You may also see a message suggesting to enable debug mode. This is optional and useful only during development. You can do it by editing /site/config.php and adding:
$config->debug = true;
This tutorial was tested and built using Shape.Host Linux SSD VPS. For a secure and high-performance cloud server, choose Shape.Host.