Nagios Core on Rocky Linux 9 — Enterprise Monitoring on a RHEL-Compatible Platform
Nagios Core is a lightweight, extensible monitoring platform for hosts, services, applications, and networks. When deployed on Rocky Linux 9, a binary-compatible fork of Red Hat Enterprise Linux 9 (RHEL 9), it becomes a robust solution for monitoring mission-critical infrastructure in environments that require long-term support, stability, and security.
Why Use Nagios Core on Rocky Linux 9?
Rocky Linux 9 offers a solid, predictable foundation aligned with RHEL 9—making it ideal for long-running infrastructure like monitoring servers.
| Feature of Rocky Linux 9 | Benefit for Nagios Core |
|---|---|
| Kernel 5.14 LTS | Stable platform for hardware compatibility and performance |
| Systemd 250+ | Modern service supervision with socket and dependency handling |
| SELinux (Enforcing) | Enforces access controls on Nagios and its plugins |
| OpenSSL 3.x | Enables secure communication (e.g., NRPE, HTTPS web UI) |
| PHP 8.x (via AppStream) | Ensures CGI compatibility for the Nagios Classic UI |
| 10-year lifecycle | Excellent for long-term deployments and compliance environments |
Nagios Core: Components and Architecture
Nagios Core is based on a declarative configuration model and includes:
- Daemon (
nagios) – The core scheduling and event-processing engine - Apache Web UI (CGI) – Lightweight, browser-accessible monitoring interface
- Plugin system – Uses scripts and binaries for actual health checks (e.g.,
check_http,check_ping) - Service templates – Define common thresholds and commands across similar resources
- Notification system – Alerts via email, SMS, Slack, or custom scripts
- Remote agents (NRPE/NCPA) – Perform secure checks on remote systems
The system is designed to be predictable, auditable, and extendable, which fits well with Rocky Linux’s goals of deterministic, enterprise-grade operation.
Enterprise Use Cases
Nagios Core on Rocky Linux 9 is well suited for:
- Air-gapped or restricted environments where minimal external dependencies are critical
- Custom plugin workflows tailored to internal systems or security models
- On-premise data centers with legacy or mixed OS infrastructure
- Service-level availability monitoring across physical and virtual assets
- Monitoring for compliance (e.g., HIPAA, ISO 27001) where audit logs and deterministic configs are required
System-Level Integration
On Rocky Linux 9, Nagios Core benefits from:
- Systemd service integration (
systemctl start nagios) - FirewallD management to restrict web access (
firewall-cmd --add-service=http) - SELinux controls to isolate plugin execution
- Apache with mod_ssl to provide HTTPS access to the web UI
- Script-friendly plugin support (Bash, Perl, Python, etc.)
Rocky Linux also supports role-based access control (RBAC) models and minimal installation footprints, useful for securing monitoring systems.
Security Considerations
| Security Layer | Implementation with Nagios Core on Rocky Linux 9 |
|---|---|
| SELinux | Confinement of Nagios and plugins to reduce attack surface |
| HTTPS (TLS) | Enabled via Apache’s mod_ssl and OpenSSL 3.x |
| User Access Control | Managed via .htpasswd and Nagios’ CGI authorized_for_* options |
| Firewall | Hardened access to ports (e.g., 80/443 or NRPE on 5666) |
| Log Auditing | Integrated with journald and auditd for system traceability |
You can create custom SELinux policies for plugins that interact with sensitive files or services, especially when monitoring system metrics or logs.
Comparison with Other Tools
| Feature/Aspect | Nagios Core | Zabbix | Icinga 2 |
|---|---|---|---|
| Configuration | Manual text files | Web GUI or API | Text + Web Director |
| UI Experience | CGI-based (basic) | Full-featured dashboards | Rich web UI |
| Plugin Flexibility | High (custom, local) | Limited to templates | Compatible with Nagios |
| Data Storage | State retention only | Time series (built-in DB) | SQL + external integrations |
| Alerting Mechanism | Shell scripts, mail, etc | Integrated rules | Built-in + external support |
Nagios Core is a strong fit where custom monitoring logic, security auditing, and simplicity are key priorities. It may not suit large-scale metrics-heavy deployments unless extended via addons like Mod-Gearman or integrated with external tools like InfluxDB or Grafana.
Addon Ecosystem and Extensibility
Nagios on Rocky Linux can be extended with:
- NRPE / NCPA – Secure remote execution of checks
- PNP4Nagios / Graphite / InfluxDB – Performance data logging and visualization
- Grafana Dashboards – For centralized visual monitoring (via plugins)
- Slack / PagerDuty integration – For modern alerting pipelines
- Check_MK / NagiosQL – For simplifying configuration management
Custom checks and integrations can be developed in any scripting language and executed using command definitions in object files.
Running Nagios Core on Rocky Linux 9 delivers a dependable, auditable, and enterprise-ready monitoring system built on a RHEL-compatible foundation. It’s ideal for:
- Security-conscious organizations requiring full transparency
- Long-lived environments that value OS and monitoring stack stability
- Infrastructure teams using text-based configuration control or GitOps
- Mixed or hybrid fleets where plugin-based monitoring is easier to standardize
This pairing is particularly effective for regulated or mission-critical environments where full control and compliance matter more than dynamic orchestration or built-in metrics dashboards.
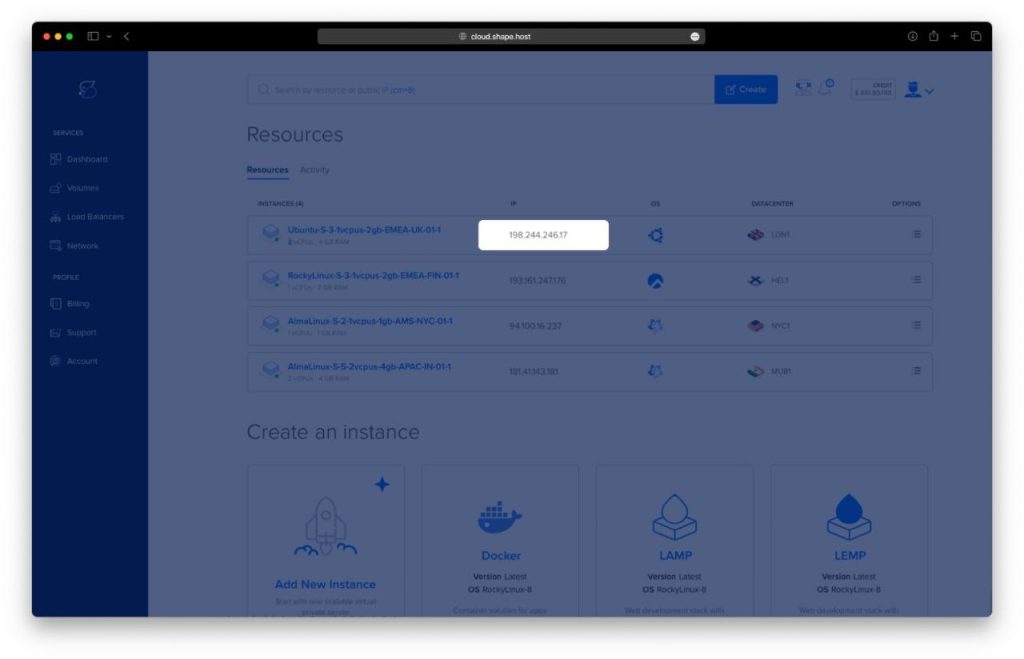
Step 1: Create a Shape.Host Instance
Go to https://shape.host and log in.
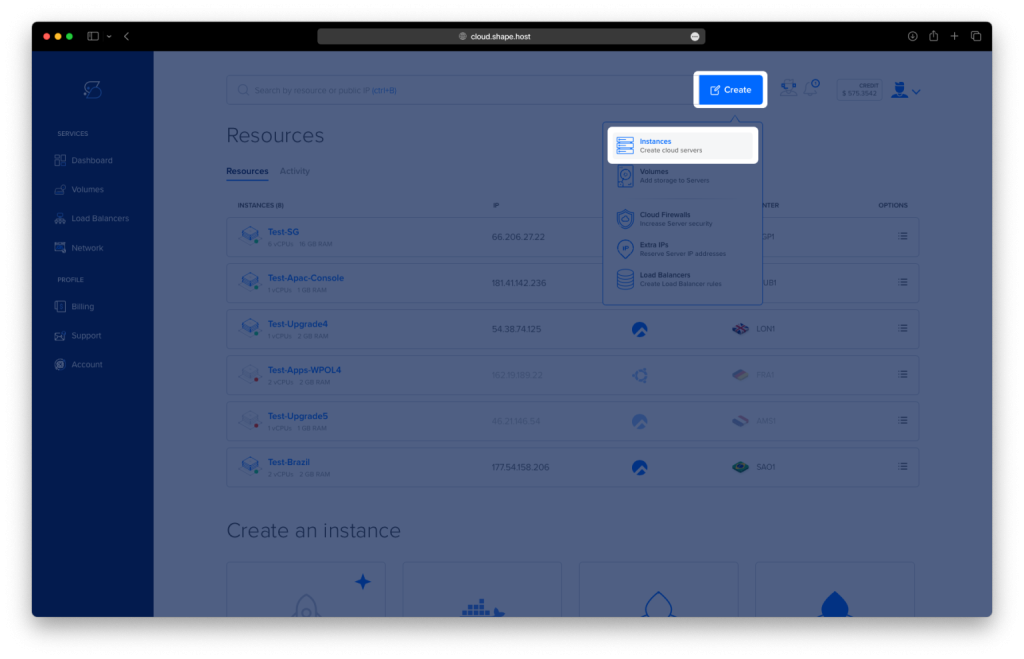
Click “Create”, then choose “Instance”.
Choose a server location close to your audience.
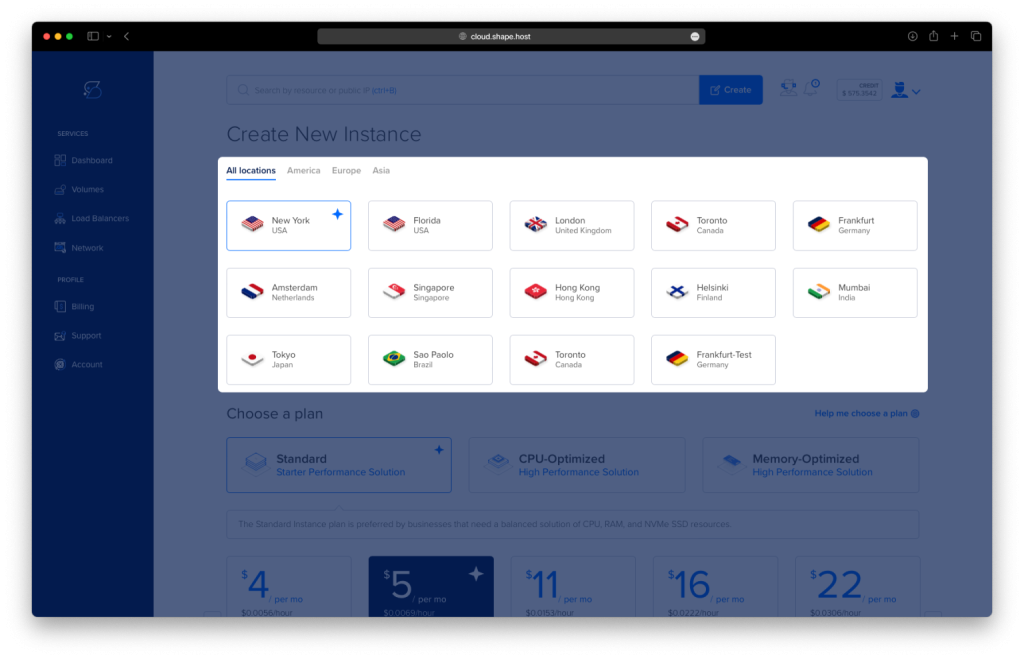
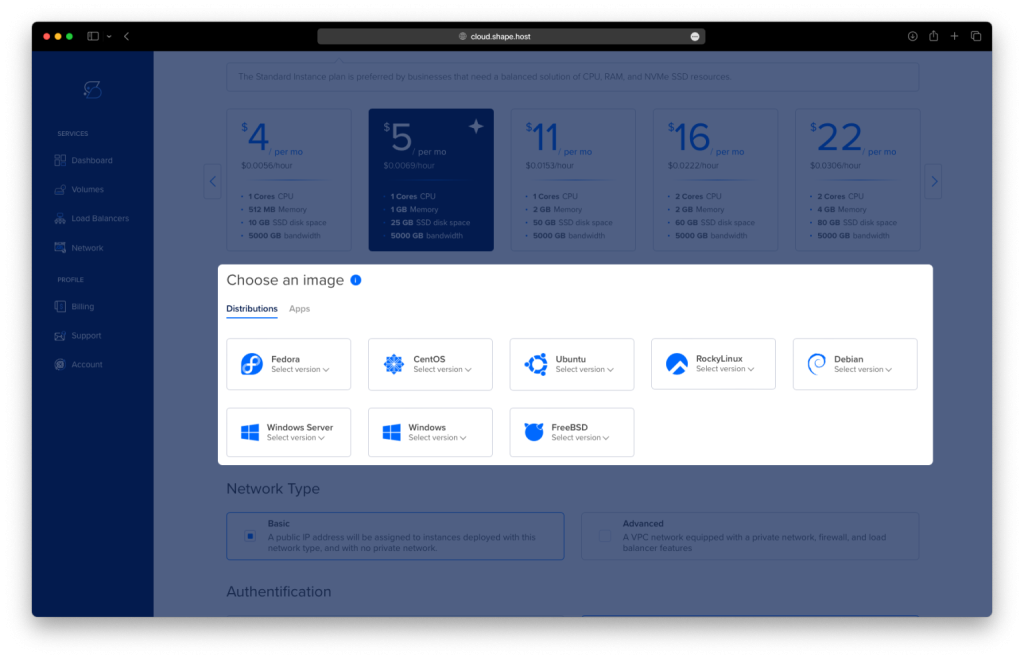
Select Rocky Linux 9 (64-bit) as the OS.
Pick a VPS plan with at least 2 CPUs and 2 GB RAM.
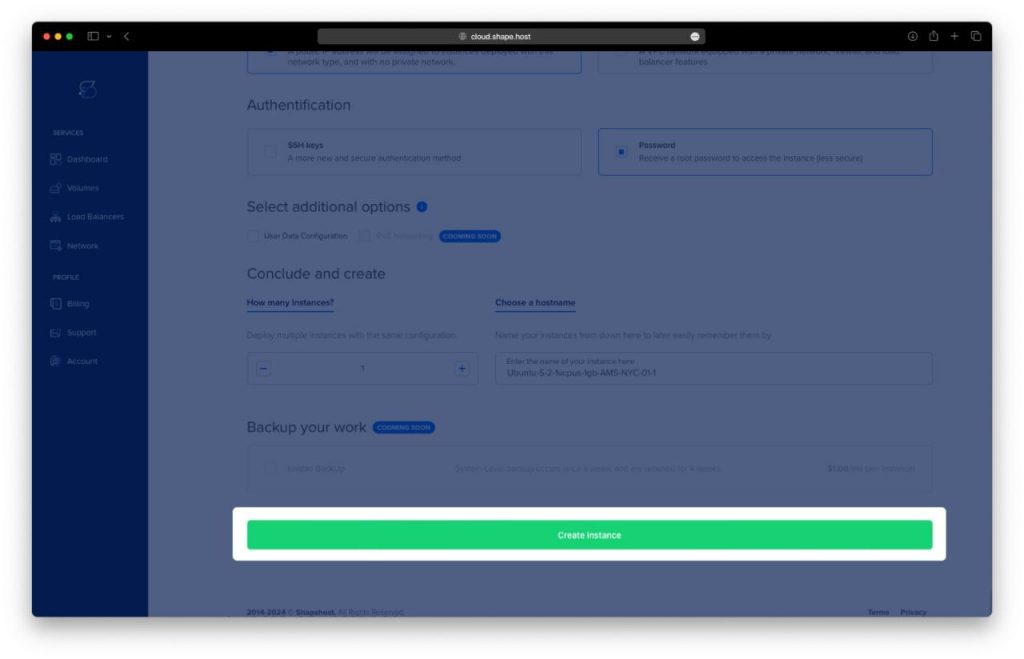
Click “Create Instance” and wait for deployment.
Copy the public IP address of the new server.
Step 2: Connect to the Instance
On Linux or macOS:
ssh root@your-server-ip
On Windows:
- Download and install PuTTY
- Open it and enter your server IP
- Click “Open” and log in as
root
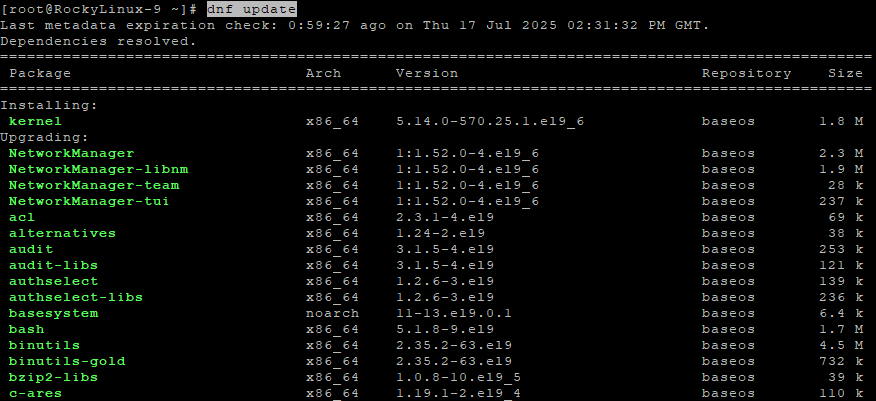
Step 3: Update System Packages
dnf update -y
Updates all installed packages to their latest versions.
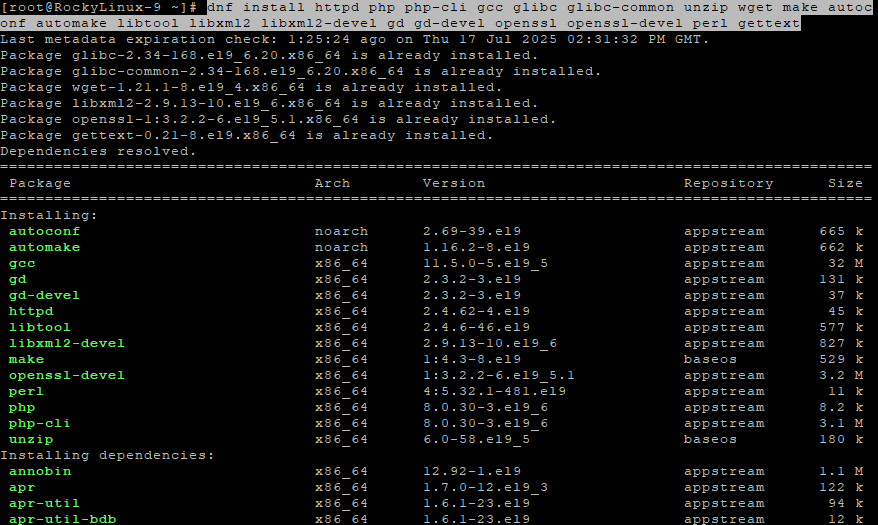
Step 4: Install Required Dependencies
dnf install httpd php php-cli gcc glibc glibc-common unzip wget make autoconf automake libtool libxml2 libxml2-devel gd gd-devel openssl openssl-devel perl gettext -y
Installs Apache, PHP, compilers, libraries, and other required tools for building and running Nagios.
Step 5: Create User and Group for Nagios
useradd nagios
Creates a dedicated user called nagios.
groupadd nagcmd
Creates the nagcmd group that will be used to run external commands.
usermod -a -G nagcmd nagios
usermod -a -G nagcmd apache
Adds both nagios and apache users to the nagcmd group for proper permissions.

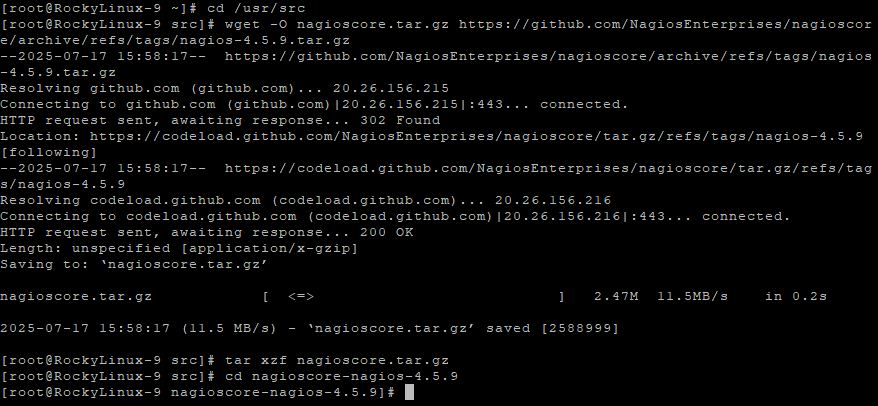
Step 6: Download and Extract Nagios Core
cd /usr/src
Switches to the /usr/src directory where sources are typically stored.
wget -O nagioscore.tar.gz https://github.com/NagiosEnterprises/nagioscore/archive/refs/tags/nagios-4.5.9.tar.gz
Downloads the latest Nagios Core source code archive.
tar xzf nagioscore.tar.gz
cd nagioscore-nagios-4.5.9
Extracts the archive and enters the extracted folder.
Step 7: Compile and Install Nagios Core
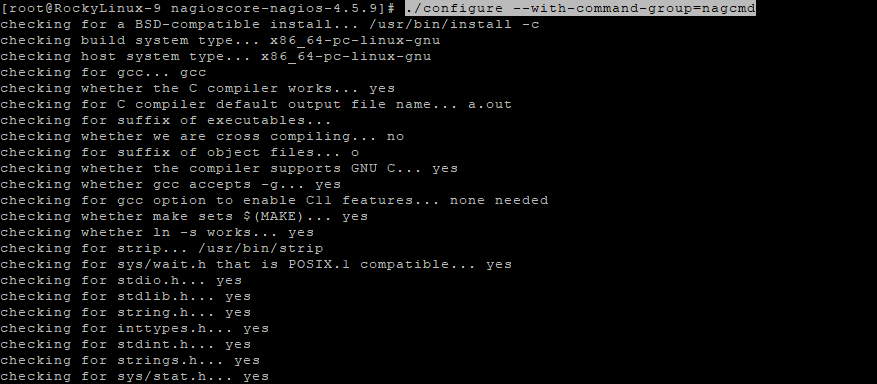
./configure --with-command-group=nagcmd
Prepares the build system with proper group settings.
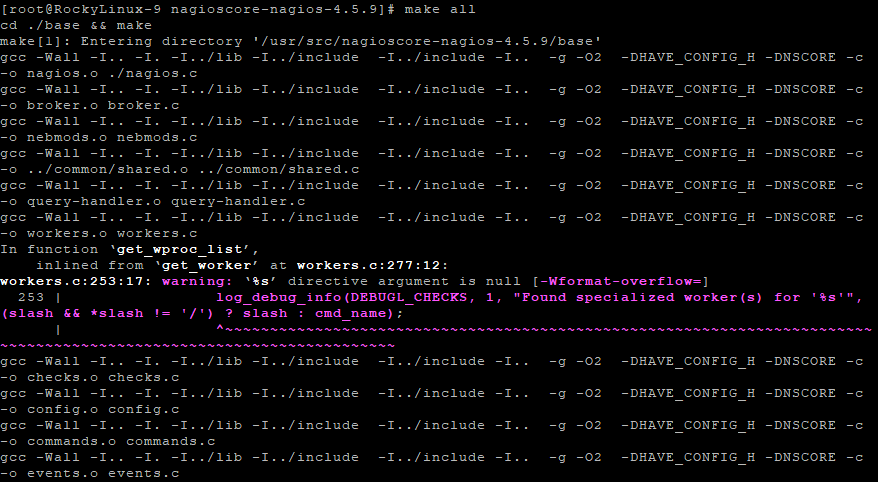
make all
Compiles the Nagios binaries and configuration files.
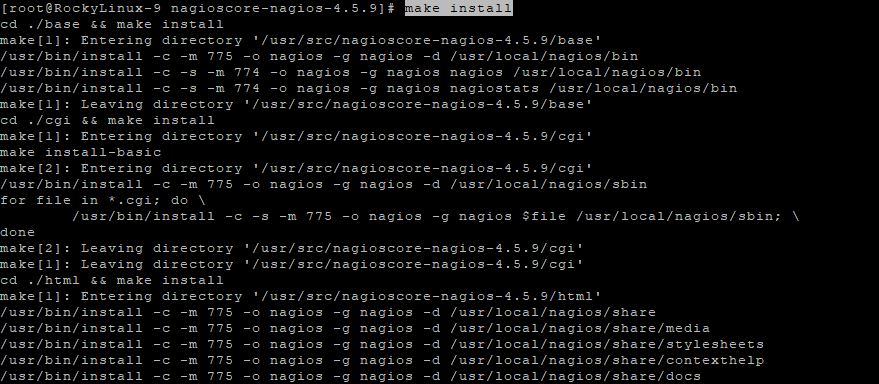
make install
make install-init
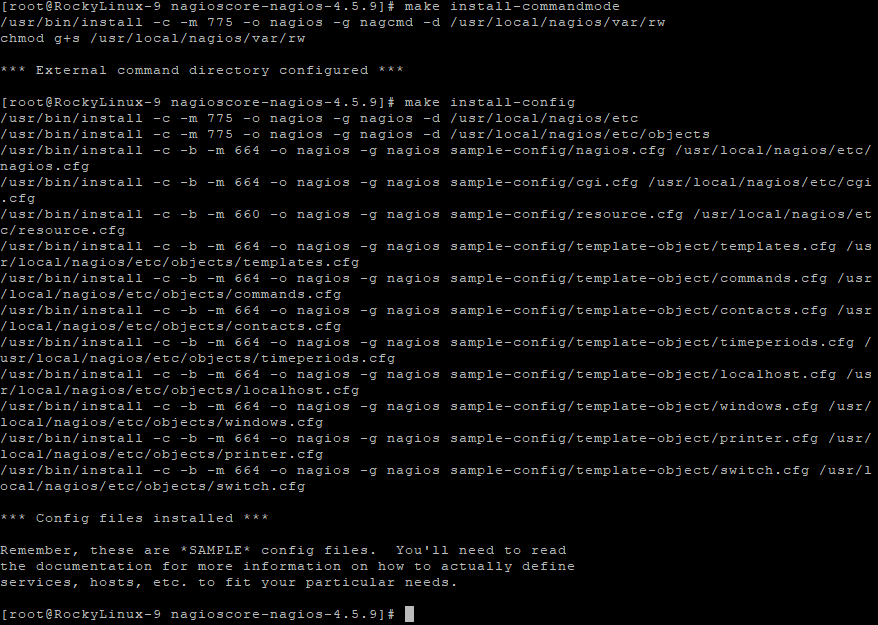
make install-commandmode
make install-config
make install-webconf
Installs Nagios, its init system, sets up permissions, configuration, and Apache web interface.


Step 8: Set Web Access for Nagios
htpasswd -c /usr/local/nagios/etc/htpasswd.users nagiosadmin
Creates a login for the Nagios web interface with username nagiosadmin.

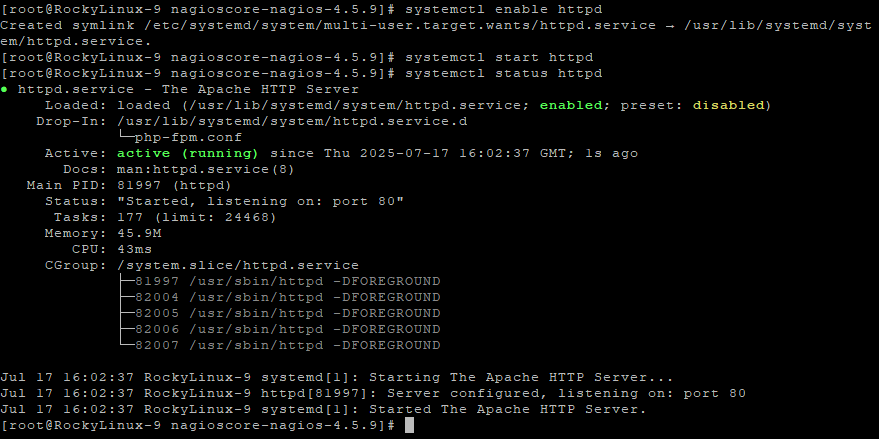
Step 9: Start Apache Web Server
systemctl enable httpd
systemctl start httpd
systemctl status httpd
Enables and starts Apache so you can access the Nagios web UI.
Step 10: Download and Install Nagios Plugins
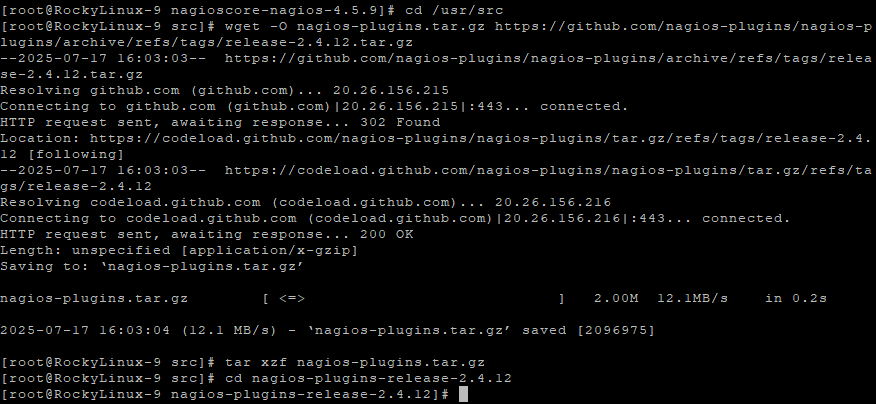
cd /usr/src
Returns to source directory.
wget -O nagios-plugins.tar.gz https://github.com/nagios-plugins/nagios-plugins/archive/refs/tags/release-2.4.12.tar.gz
Downloads Nagios plugins source code.
tar xzf nagios-plugins.tar.gz
cd nagios-plugins-release-2.4.12
Extracts the plugin archive and enters the folder.
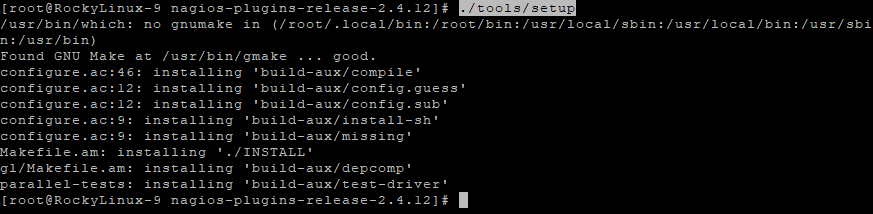
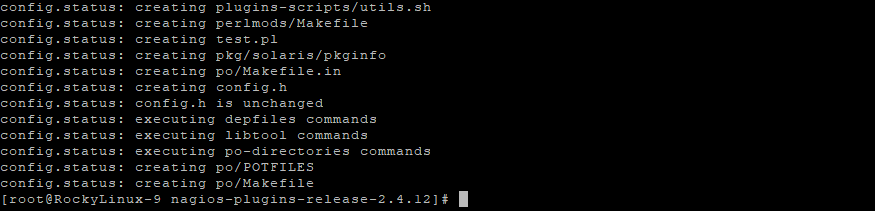
./tools/setup
./configure --with-nagios-user=nagios --with-nagios-group=nagios
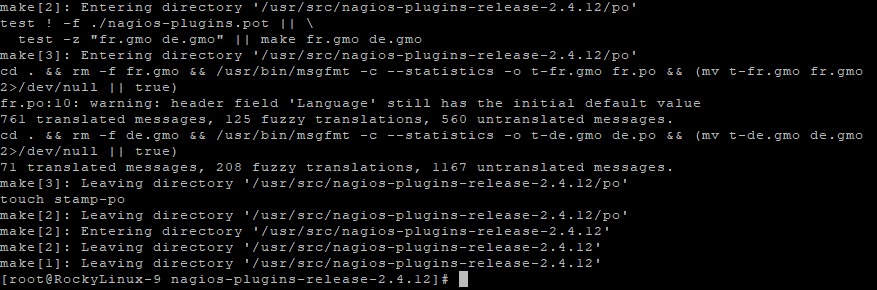
make
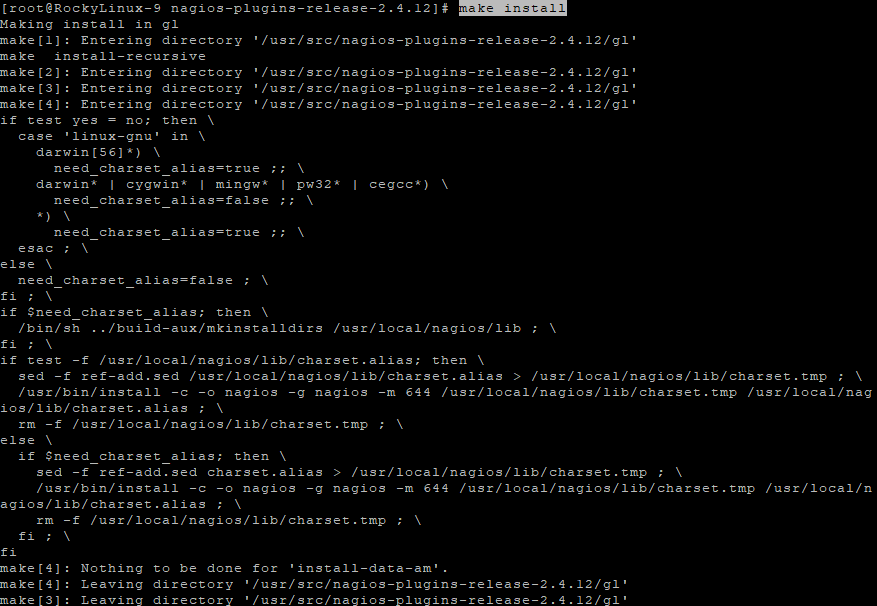
make install
Compiles and installs all monitoring plugins used by Nagios.
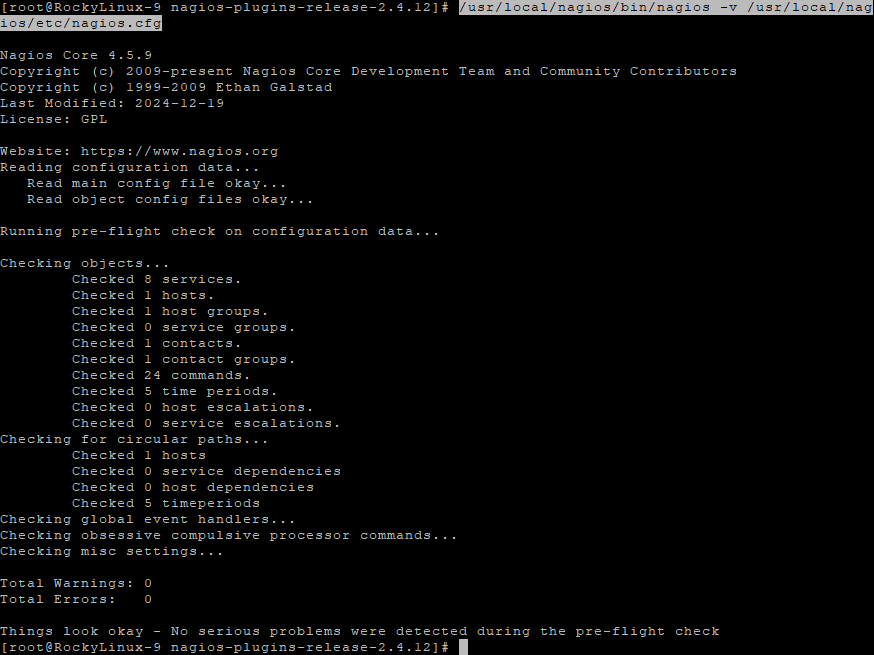
Step 11: Verify Configuration and Start Nagios
/usr/local/nagios/bin/nagios -v /usr/local/nagios/etc/nagios.cfg
Checks for syntax errors in the Nagios config file.
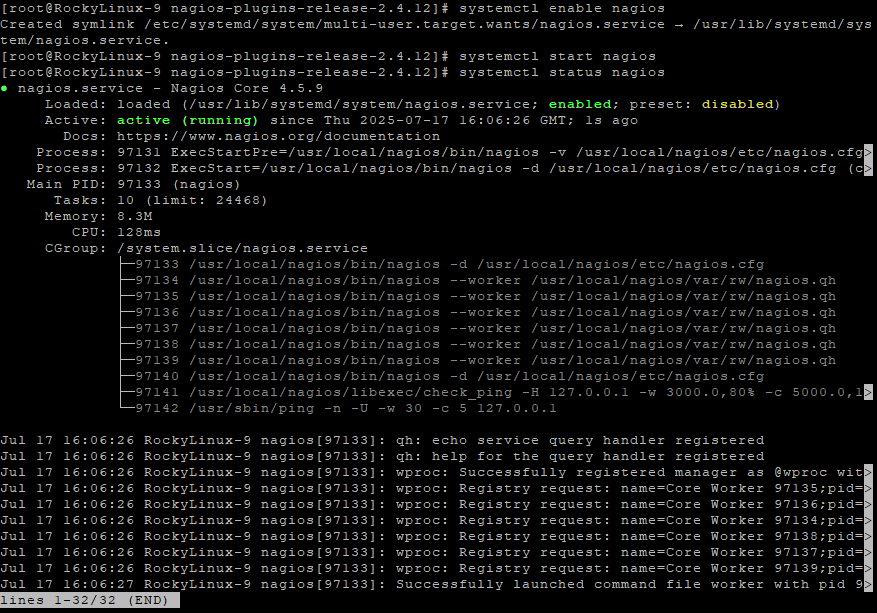
systemctl enable nagios
systemctl start nagios
systemctl status nagios
Enables and starts Nagios service.
Step 12: Access Nagios Dashboard
Open your browser and visit:
http://your-server-ip/nagios
Login with:
- Username:
nagiosadmin - Password: the one you set earlier
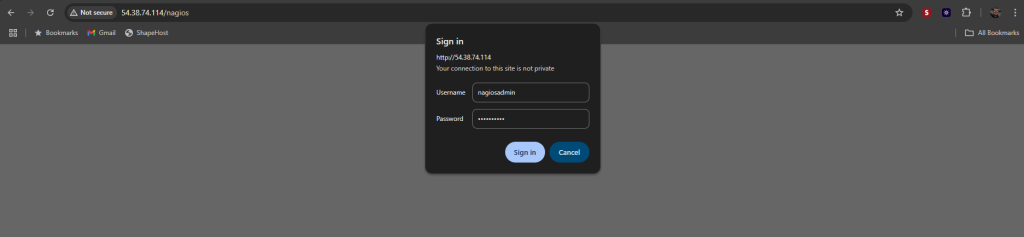
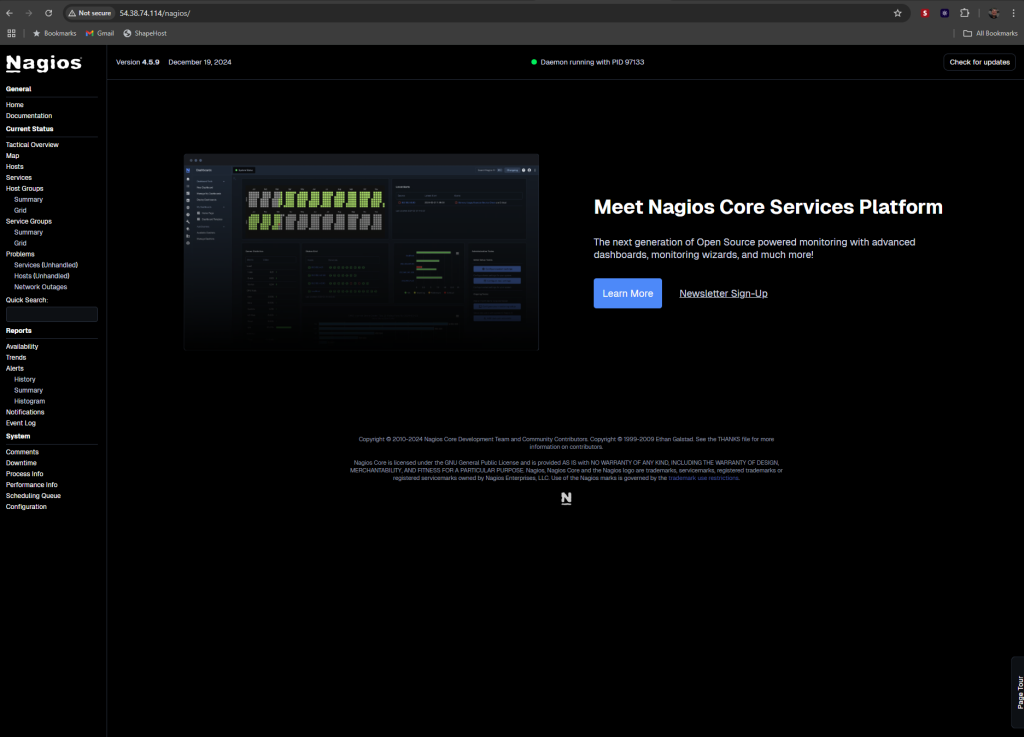
Need a reliable server? This tutorial works perfectly on Shape.Host Linux SSD VPS — fast, secure, and optimized for hosting tools like Nagios.