Miniflux (Minimal RSS Reader) on Ubuntu 24.04 (PostgreSQL + Nginx + SSL)
Miniflux is a fast, lightweight, and opinionated self-hosted RSS reader designed for users who want a distraction-free reading experience. Unlike feature-heavy feed aggregators, Miniflux focuses on speed, reliability, and simplicity, providing a clean web interface, powerful filtering rules, and first-class keyboard navigation. It supports RSS, Atom, and JSON feeds and exposes a REST API compatible with multiple mobile and desktop clients.
Running Miniflux on Ubuntu 24.04 LTS (Noble Numbat) provides a modern, secure, and long-term supported platform. Ubuntu 24.04 includes systemd 255, OpenSSL 3, and up-to-date PostgreSQL and Nginx packages, making it an excellent choice for a production-ready Miniflux deployment with HTTPS and strong performance.
Architecture Overview
| Layer | Component | Role |
|---|---|---|
| OS | Ubuntu 24.04 LTS | Stable, long-term supported Linux base |
| Application | Miniflux (Go binary) | Core RSS reader and feed processing engine |
| Database | PostgreSQL 15/16 | Stores users, feeds, entries, and metadata |
| Reverse Proxy | Nginx | HTTPS termination, compression, routing |
| TLS | Let’s Encrypt / PKI | Secure HTTPS access to the web interface |
Miniflux runs as a single static Go binary, making it extremely efficient and easy to operate.
Why Use Miniflux?
- Minimalist by design – no ads, no tracking, no unnecessary UI elements
- Extremely fast – written in Go, optimized for low resource usage
- Self-hosted & private – your reading habits stay on your server
- Powerful filtering rules – auto-tag, auto-remove, or rewrite feed content
- Keyboard-driven workflow – ideal for power users
- REST API – compatible with mobile apps and third-party clients
- Reliable feed fetching – handles flaky or malformed feeds gracefully
Miniflux vs Other RSS Readers
| Feature / Capability | Miniflux | FreshRSS | Tiny Tiny RSS | Feedly |
|---|---|---|---|---|
| Hosting | Self-hosted | Self-hosted | Self-hosted | Cloud only |
| Backend | Go + PostgreSQL | PHP + MySQL | PHP + PostgreSQL | Proprietary |
| Resource usage | Very low | Medium | Medium–High | N/A |
| Ads / tracking | ❌ None | ❌ None | ❌ None | ✅ Yes |
| API support | ✅ Yes | ✅ Yes | ✅ Yes | Limited |
| Philosophy | Minimal & fast | Feature-rich | Feature-rich | SaaS |
Miniflux is ideal for users who value speed, clarity, and reliability over visual clutter and social features.
Security & Best Practices
- Run Miniflux behind Nginx with HTTPS enabled.
- Store database credentials using environment variables, not hardcoded values.
- Bind Miniflux to 127.0.0.1 and expose only Nginx publicly.
- Use strong admin credentials and rotate API tokens periodically.
- Keep PostgreSQL vacuuming and backups scheduled.
- Enable UFW and allow only ports 80 and 443.
- Automate SSL renewals with Certbot.
- Regularly update Miniflux to benefit from security and feed parser improvements.
Typical Use Cases
- Personal RSS reader replacing Google Reader or Feedly
- Developers and DevOps engineers tracking blogs, changelogs, and security advisories
- Journalists and researchers monitoring multiple news sources
- Privacy-focused users avoiding cloud-based feed readers
- Automation workflows consuming feeds via Miniflux API
Deploying Miniflux on Ubuntu 24.04 with PostgreSQL, Nginx, and SSL gives you a fast, secure, and distraction-free RSS reading platform that scales effortlessly, consumes minimal resources, and keeps full control of your data in your hands.
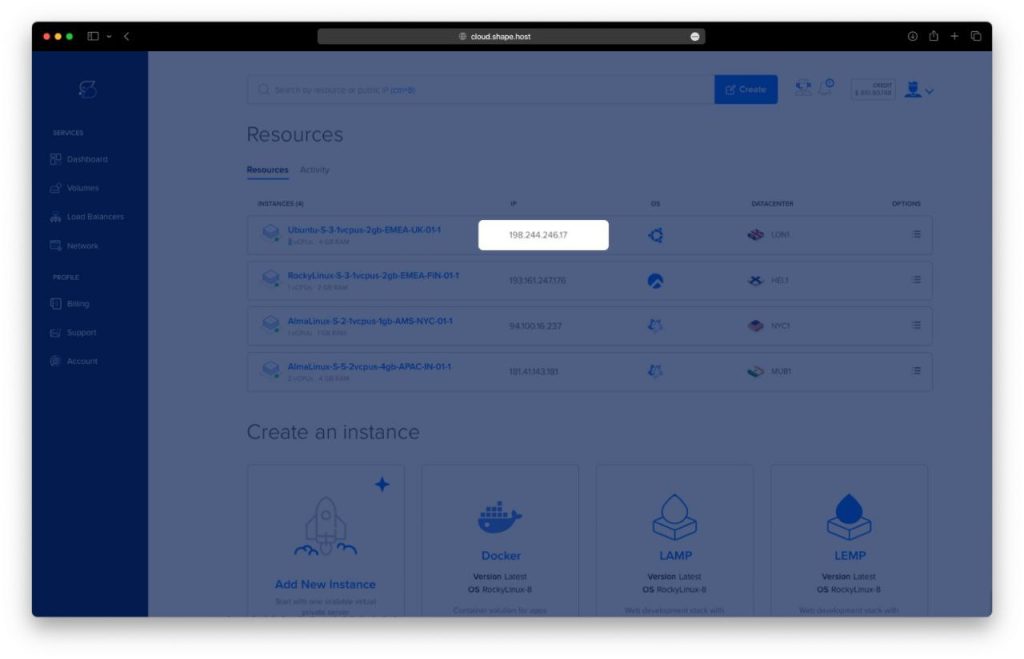
Create a Cloud Server Instance on Shape.Host
Before installing Miniflux, you need a clean Ubuntu 24.04 VPS.
Go to https://shape.host and log in.
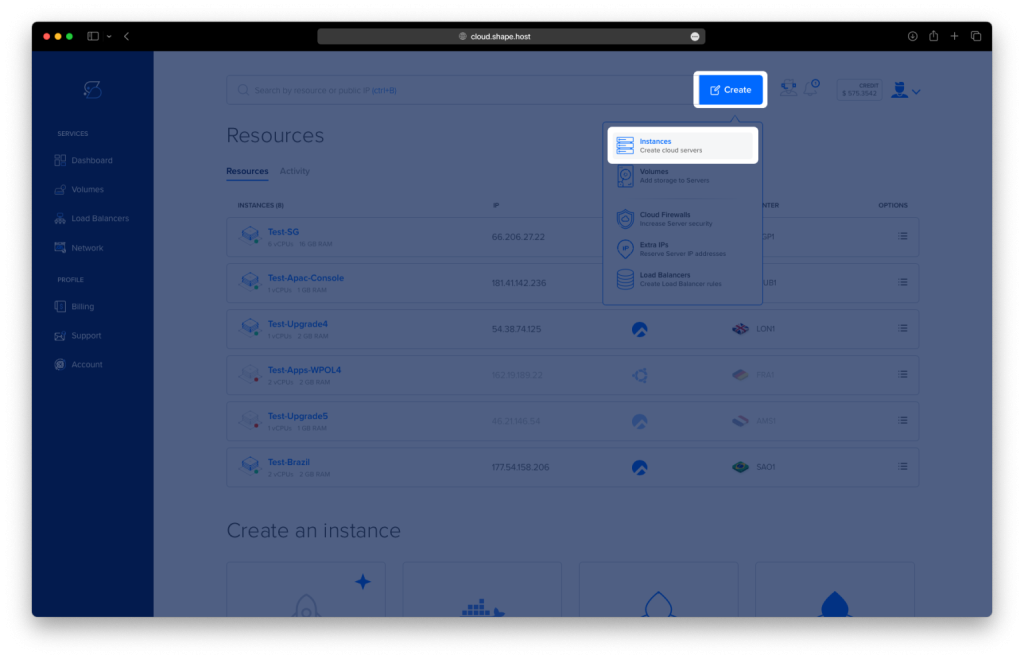
Click Create.
Select Instance.
Choose a data center close to your location or users.
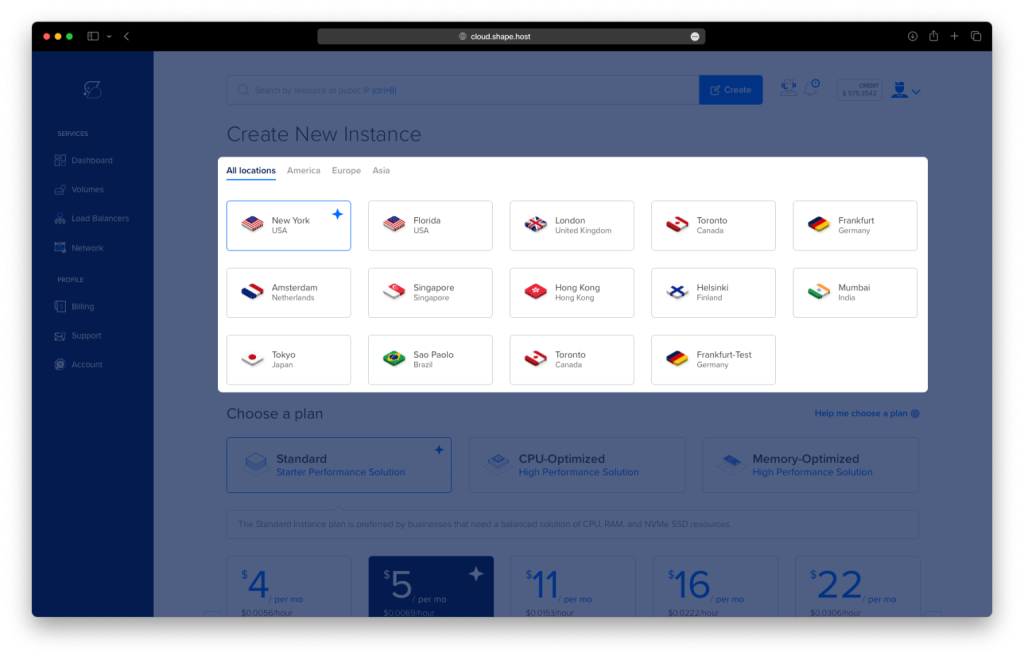
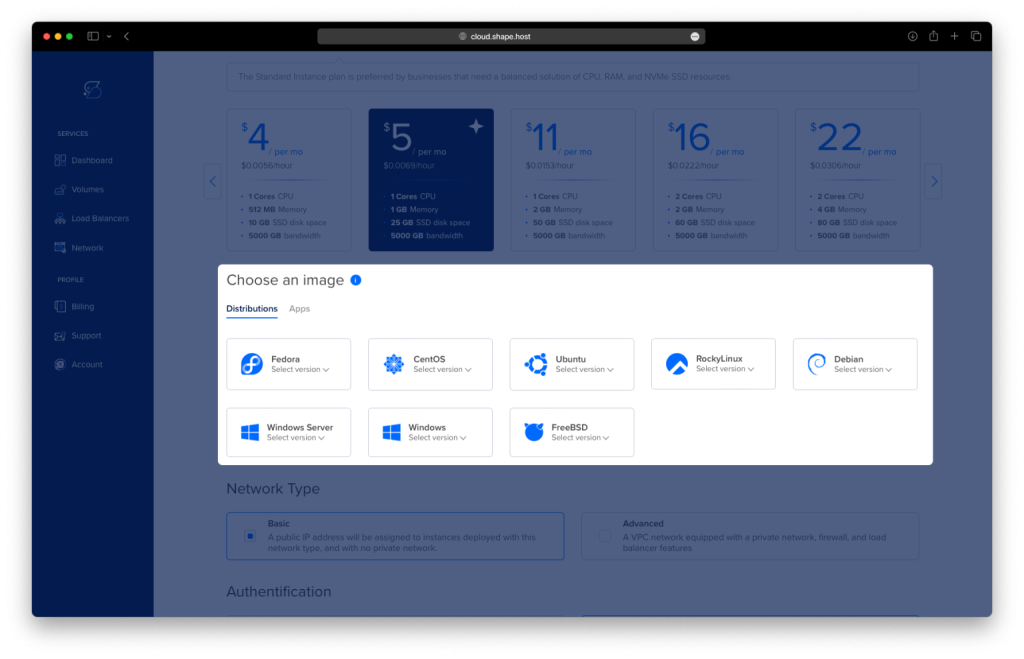
Select Ubuntu 24.04 (64-bit) as the operating system.
Choose a plan (recommended minimum):
2 vCPUs
4 GB RAM
20 GB NVMe SSD
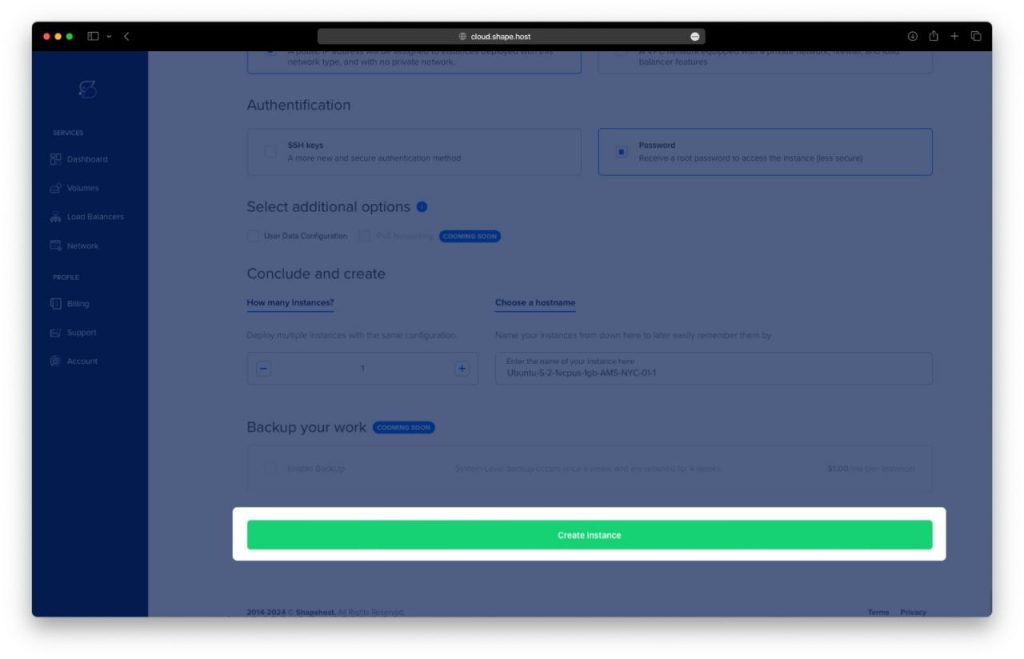
Click Create Instance.
Wait for provisioning to complete (about 30 seconds).
Copy the public IP address of the instance.
Your server is now ready.
Step 1: Connect to the Server via SSH
Linux / macOS
ssh root@YOUR_SERVER_IP
Windows (PowerShell or Windows Terminal)
ssh root@YOUR_SERVER_IP
Confirm the fingerprint when prompted. You are now logged in as root.
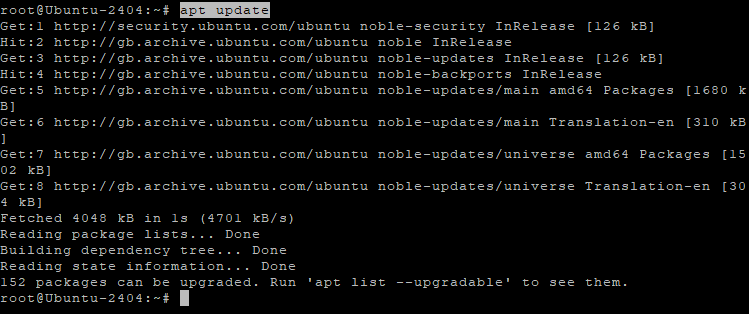
Step 2: Update the System
apt update
apt upgrade
These commands update package lists and upgrade installed software to the latest versions.
Running them twice ensures the system is fully synchronized.
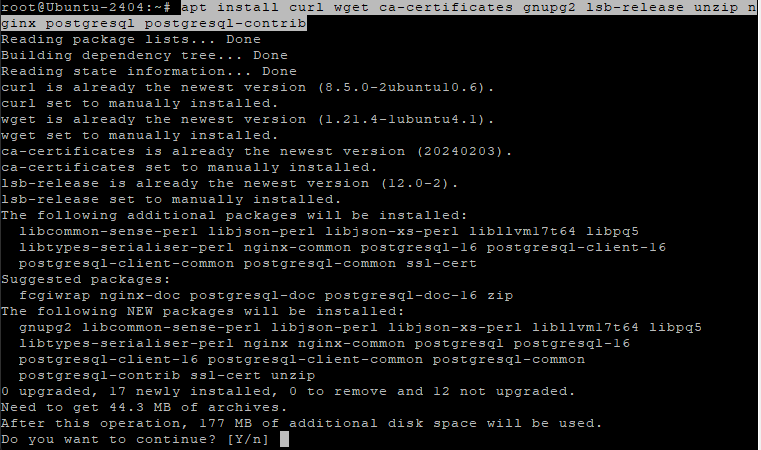
Step 3: Install Required Packages
apt install curl wget ca-certificates gnupg2 lsb-release unzip nginx postgresql postgresql-contrib
This installs:
- curl / wget – download tools
- ca-certificates / gnupg2 – secure package verification
- nginx – web server / reverse proxy
- postgresql – database engine required by Miniflux
Step 4: Verify PostgreSQL Installation
psql --version
Confirms PostgreSQL is installed correctly.

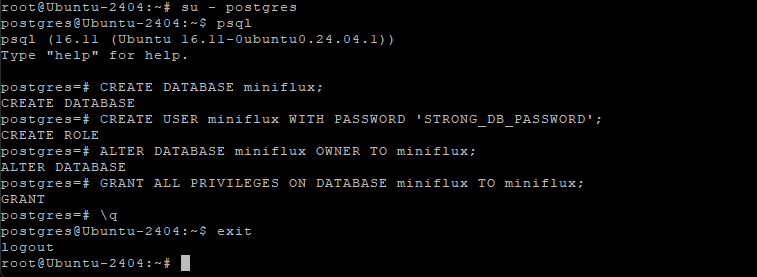
Step 5: Create the Miniflux Database and User
Switch to the PostgreSQL system user:
su - postgres
Inside PostgreSQL, run:
CREATE DATABASE miniflux;
CREATE USER miniflux WITH PASSWORD 'STRONG_DB_PASSWORD';
ALTER DATABASE miniflux OWNER TO miniflux;
GRANT ALL PRIVILEGES ON DATABASE miniflux TO miniflux;
\q
Exit the PostgreSQL shell and user:
exit
This creates a dedicated database and user for Miniflux.
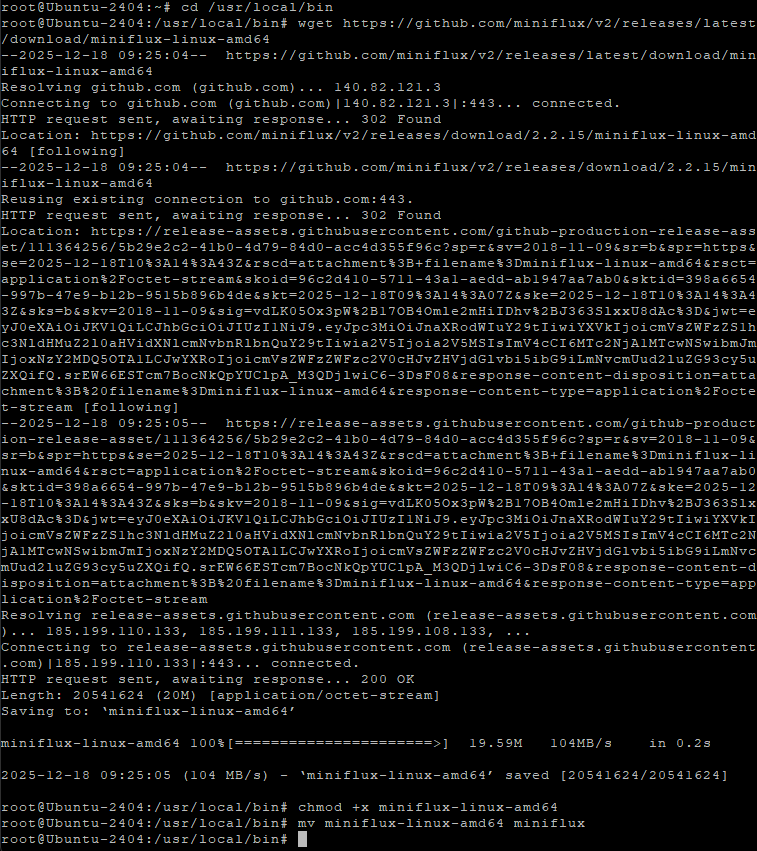
Step 6: Download the Miniflux Binary
cd /usr/local/bin
wget https://github.com/miniflux/v2/releases/latest/download/miniflux-linux-amd64
Step 7: Make Miniflux Executable
chmod +x miniflux-linux-amd64
mv miniflux-linux-amd64 miniflux
Moves Miniflux into your system PATH.
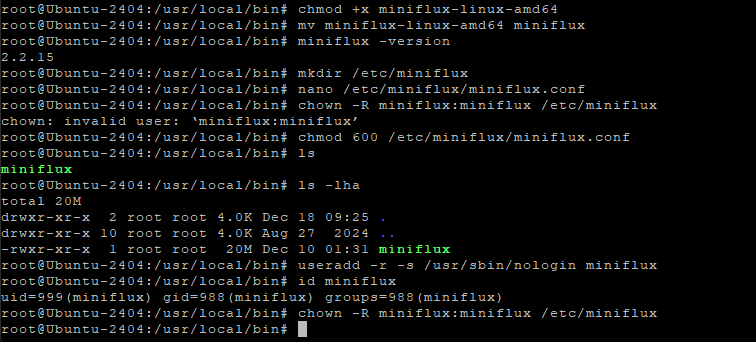
Step 8: Verify Miniflux Installation
miniflux -version
Confirms Miniflux runs correctly.

Step 9: Create Miniflux Configuration Directory
mkdir /etc/miniflux
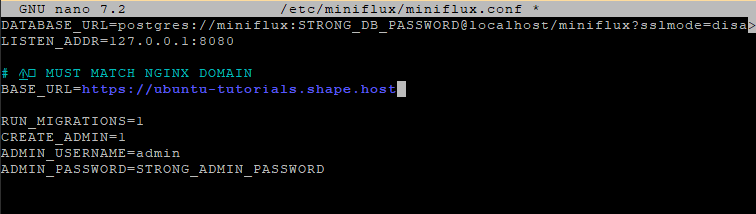
Step 10: Create Miniflux Configuration File
nano /etc/miniflux/miniflux.conf
Paste your configuration exactly as in history:
DATABASE_URL=postgres://miniflux:STRONG_DB_PASSWORD@localhost/miniflux?sslmode=disable
LISTEN_ADDR=127.0.0.1:8080

# MUST MATCH NGINX DOMAIN
BASE_URL=https://rss.example.com

RUN_MIGRATIONS=1
CREATE_ADMIN=1
ADMIN_USERNAME=admin
ADMIN_PASSWORD=STRONG_ADMIN_PASSWORD
Save and exit.
Step 11: Set Secure Permissions
chown -R miniflux:miniflux /etc/miniflux
chmod 600 /etc/miniflux/miniflux.conf
Restricts access to sensitive credentials.
Step 12: Create Miniflux System User
useradd -r -s /usr/sbin/nologin miniflux
id miniflux
Creates a dedicated system user for security.
Step 13: Reapply Ownership
chown -R miniflux:miniflux /etc/miniflux
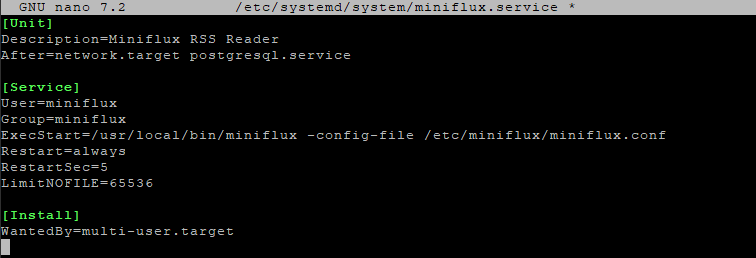
Step 14: Create systemd Service
nano /etc/systemd/system/miniflux.service
Paste:
[Unit]
Description=Miniflux RSS Reader
After=network.target postgresql.service

[Service]
User=miniflux
Group=miniflux
ExecStart=/usr/local/bin/miniflux -config-file /etc/miniflux/miniflux.conf
Restart=always
RestartSec=5
LimitNOFILE=65536

[Install]
WantedBy=multi-user.target
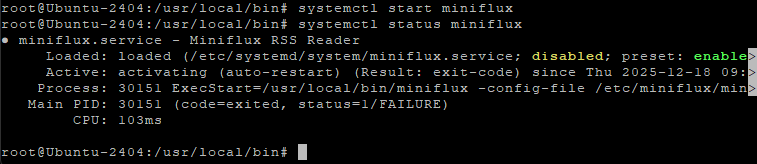
Step 15: Start Miniflux
systemctl start miniflux
systemctl status miniflux
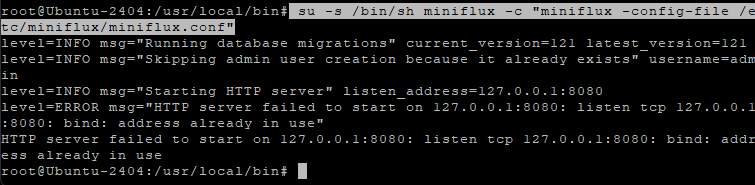
Step 16: Manual Test as Miniflux User
su -s /bin/sh miniflux -c "miniflux -config-file /etc/miniflux/miniflux.conf"
Used to validate configuration.
Step 17: Reload systemd and Recheck
systemctl daemon-reload
systemctl status miniflux
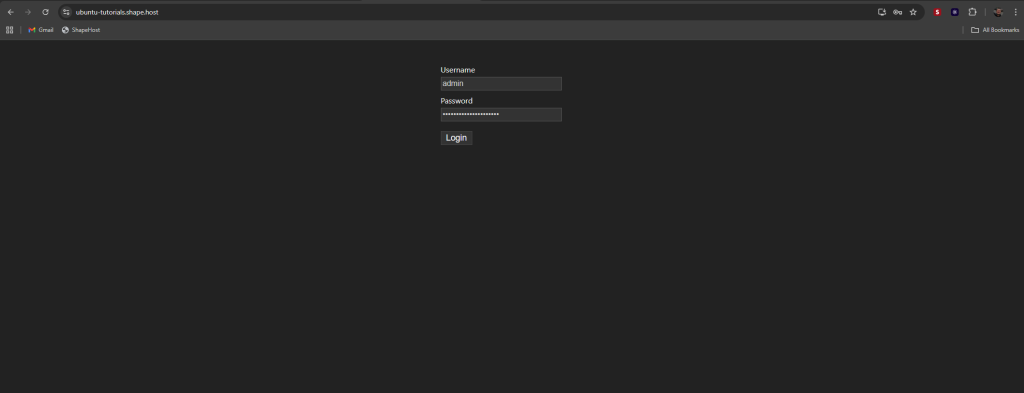
Step 18: Test Miniflux from Browser (Before Nginx)
Open your browser and visit:
http://YOUR_SERVER_IP:8080
If Miniflux is running correctly, the login page should load.
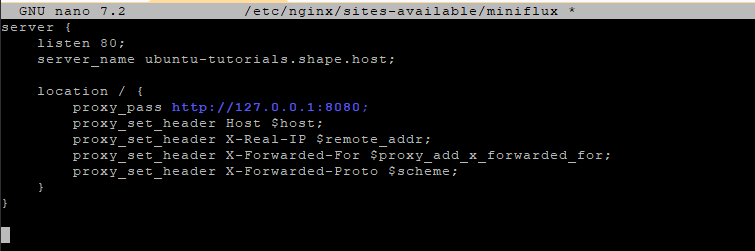
Step 19: Configure Nginx Reverse Proxy
nano /etc/nginx/sites-available/miniflux
Paste:
server {
    listen 80;
    server_name rss.example.com;

    location / {
        proxy_pass http://127.0.0.1:8080;
        proxy_set_header Host $host;
        proxy_set_header X-Real-IP $remote_addr;
        proxy_set_header X-Forwarded-For $proxy_add_x_forwarded_for;
        proxy_set_header X-Forwarded-Proto $scheme;
    }
}
Step 20: Enable Nginx Site
ln -s /etc/nginx/sites-available/miniflux /etc/nginx/sites-enabled/miniflux
rm /etc/nginx/sites-enabled/default
Step 21: Test and Reload Nginx
nginx -t
systemctl reload nginx

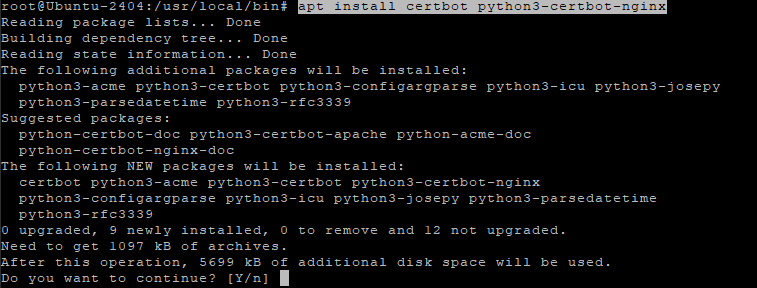
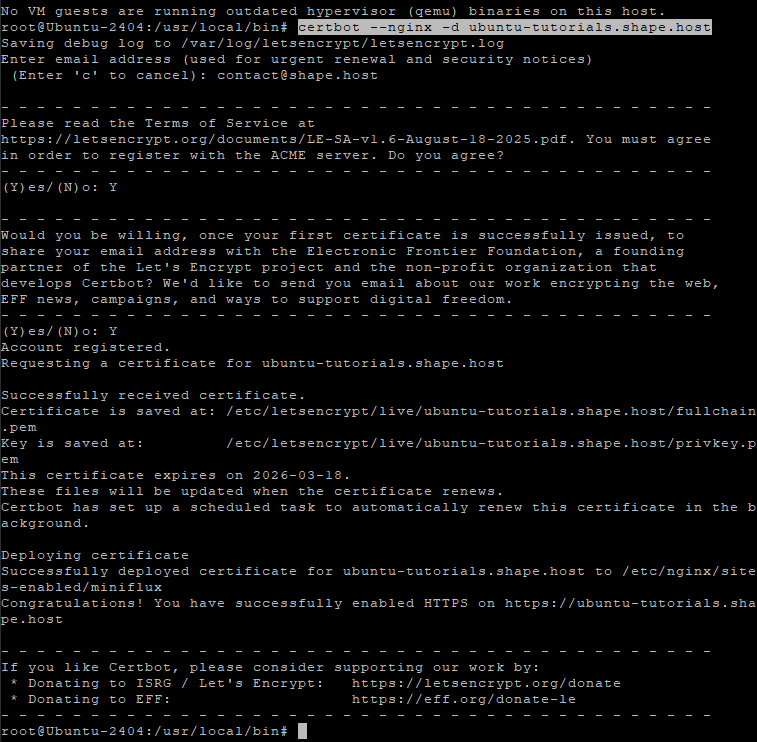
Step 22: Install Certbot and Enable SSL
apt install certbot python3-certbot-nginx
certbot --nginx -d ubuntu-tutorials.shape.host
Certbot automatically configures HTTPS.
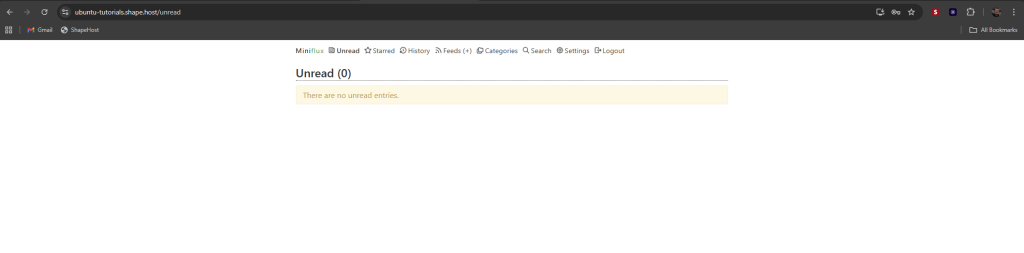
Access Miniflux Securely
https://yourdomain.com
Your Miniflux RSS reader is now fully installed and secured.
Miniflux, Ghostfolio, NocoDB, HedgeDoc, Paperless-ngx, and similar self-hosted apps require fast and stable infrastructure.
Shape.Host offers:
- NVMe Cloud VPS
- Instant provisioning
- Clean OS templates
- Excellent uptime
- Scalable resources
Visit https://shape.host to deploy your next application with confidence.