Install Vaultwarden on Ubuntu 24.04 with Docker and ZeroSSL
Vaultwarden is a lightweight Bitwarden-compatible password manager that works well on small VPS instances and private infrastructure. It gives you the familiar web vault and mobile client compatibility without the heavier footprint of the full Bitwarden stack.
In this guide, we restore a fresh Ubuntu 24.04.1 LTS server on Shape.Host, verify the latest stable Vaultwarden release from the official project, install Docker Engine and Docker Compose from Docker’s official Ubuntu repository, deploy Vaultwarden 1.35.4, place Nginx in front of it on tutorials.shape.host, secure the site with a trusted ZeroSSL certificate, and validate the finished deployment from both the terminal and a browser.
| Application | Vaultwarden |
|---|---|
| Application version | 1.35.4 |
| Operating system | Ubuntu 24.04.1 LTS |
| Container runtime | Docker Engine 29.3.0 with Docker Compose 5.1.1 |
| Reverse proxy | Nginx 1.24.0 |
| Firewall | UFW with OpenSSH and Nginx Full allowed |
| Public hostname | tutorials.shape.host |
| TLS issuer | ZeroSSL ECC Domain Secure Site CA |
| Validated on | Live Shape.Host Ubuntu 24.04.1 LTS server |
Why Use Vaultwarden on Ubuntu 24.04?
- Ubuntu 24.04.1 LTS gives you a current long-term support base for a security-sensitive self-hosted service.
- Vaultwarden has a simple and well-documented Docker deployment path.
- Keeping the container bound to
127.0.0.1lets Nginx handle public HTTPS traffic cleanly. - ZeroSSL gives you a trusted public certificate for browser and Bitwarden client access.
Before You Begin
Make sure the following prerequisites are in place before you start:
- A fresh Ubuntu 24.04 server
- Root or sudo access
- A DNS record pointing
tutorials.shape.hostto your server IP - Ports
80and443open to the internet - Your ZeroSSL EAB key ID and EAB HMAC key for ACME account registration
1. Verify the Ubuntu 24.04 Release
Start by confirming that the rebuilt server is actually running Ubuntu 24.04.1 LTS.
cat /etc/os-release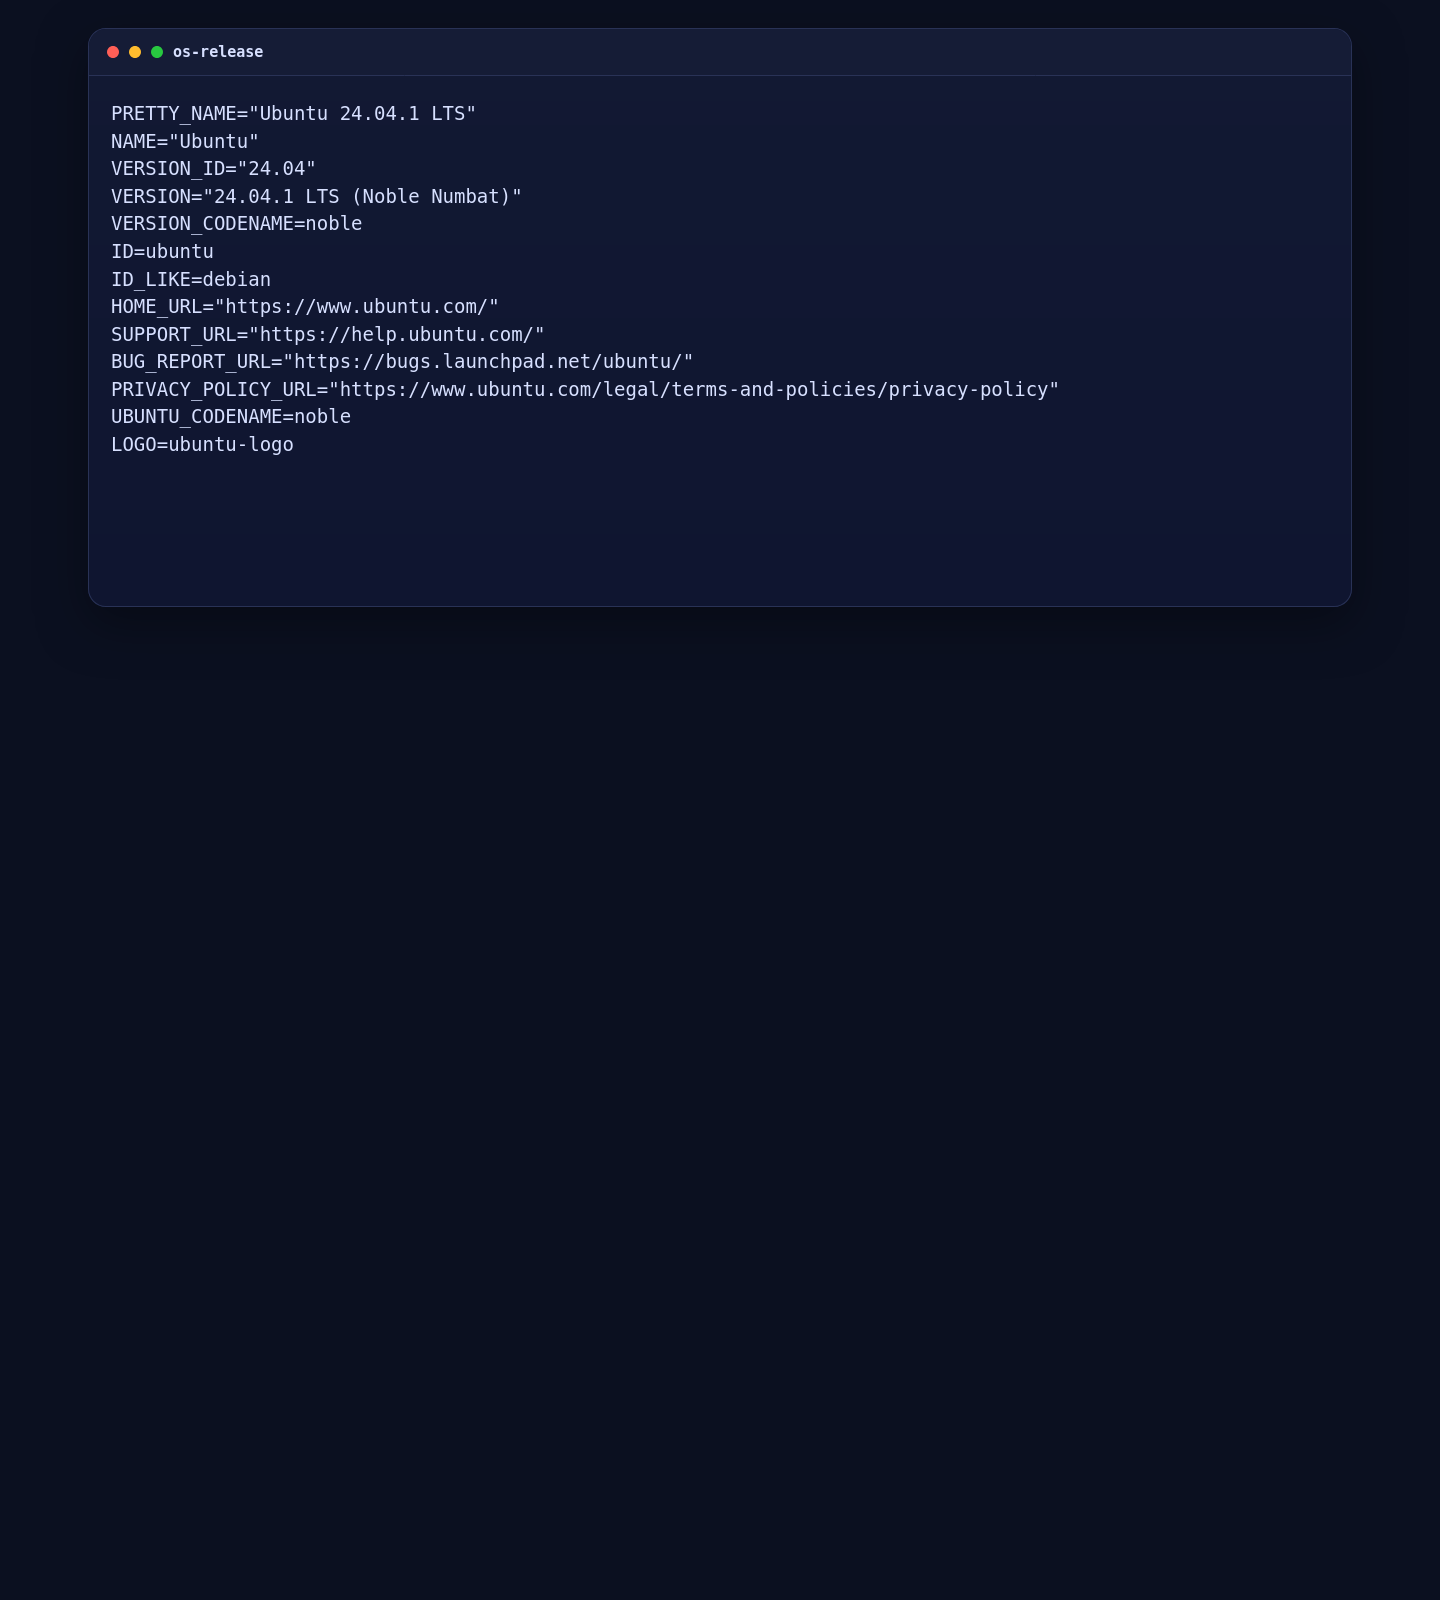
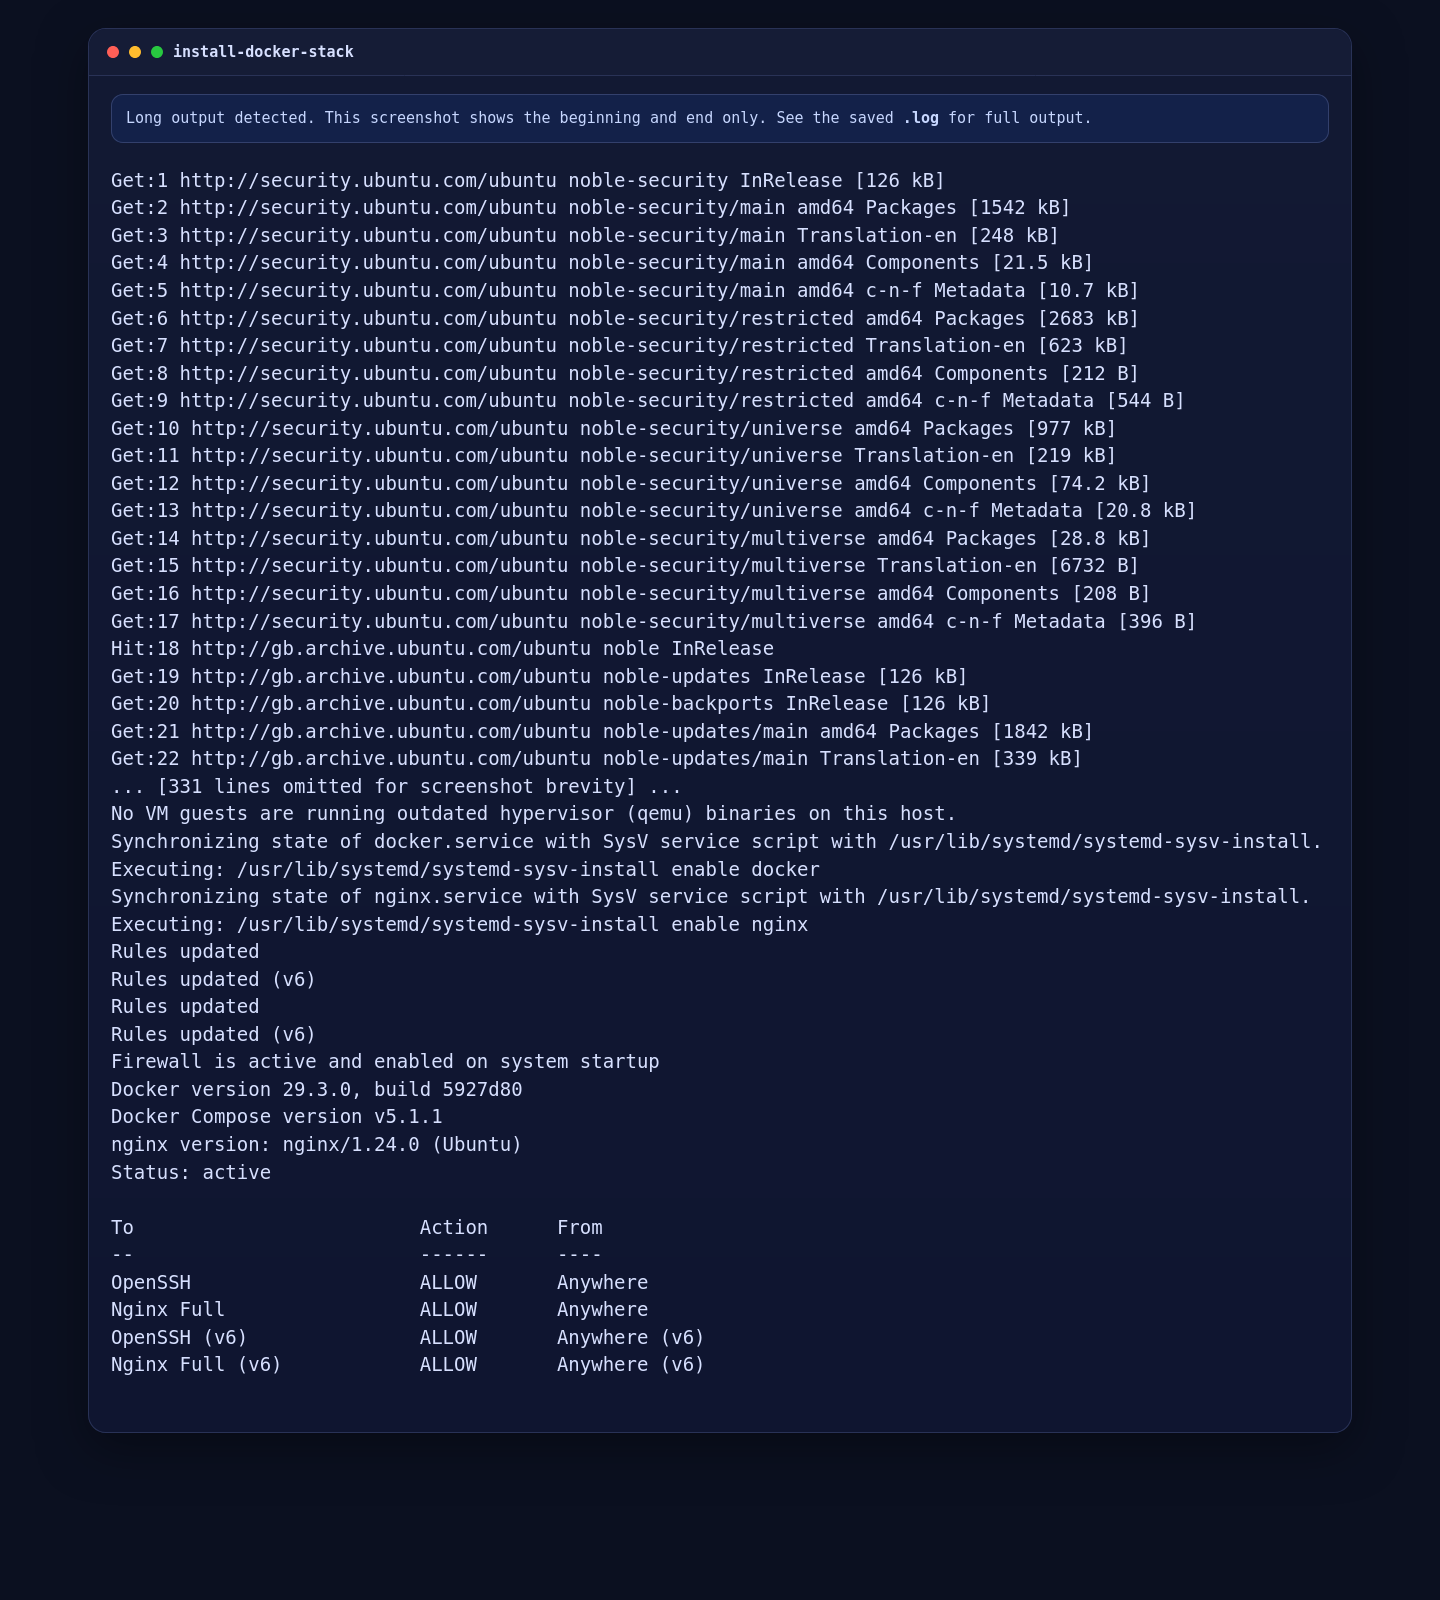
2. Install Docker, Docker Compose, Nginx, and UFW
The clean Ubuntu path is to install Docker Engine from Docker’s official repository instead of relying on older distro-packaged container builds. We also install Nginx, OpenSSL, and UFW so the host is ready for HTTPS publishing.
apt-get update
apt-get install -y ca-certificates curl gnupg nginx openssl socat ufw

install -m 0755 -d /etc/apt/keyrings
curl -fsSL https://download.docker.com/linux/ubuntu/gpg -o /etc/apt/keyrings/docker.asc
chmod a+r /etc/apt/keyrings/docker.asc

. /etc/os-release
echo "deb [arch=$(dpkg --print-architecture) signed-by=/etc/apt/keyrings/docker.asc] https://download.docker.com/linux/ubuntu ${VERSION_CODENAME} stable" \
  > /etc/apt/sources.list.d/docker.list

apt-get update
apt-get install -y docker-ce docker-ce-cli containerd.io docker-buildx-plugin docker-compose-plugin

systemctl enable --now docker nginx

ufw allow OpenSSH
ufw allow 'Nginx Full'
ufw --force enable

docker --version
docker compose version
nginx -v
ufw status
On the validated Ubuntu 24.04.1 deployment, this installed Docker Engine 29.3.0, Docker Compose 5.1.1, and Nginx 1.24.0, with UFW active and the required HTTP, HTTPS, and SSH rules in place.
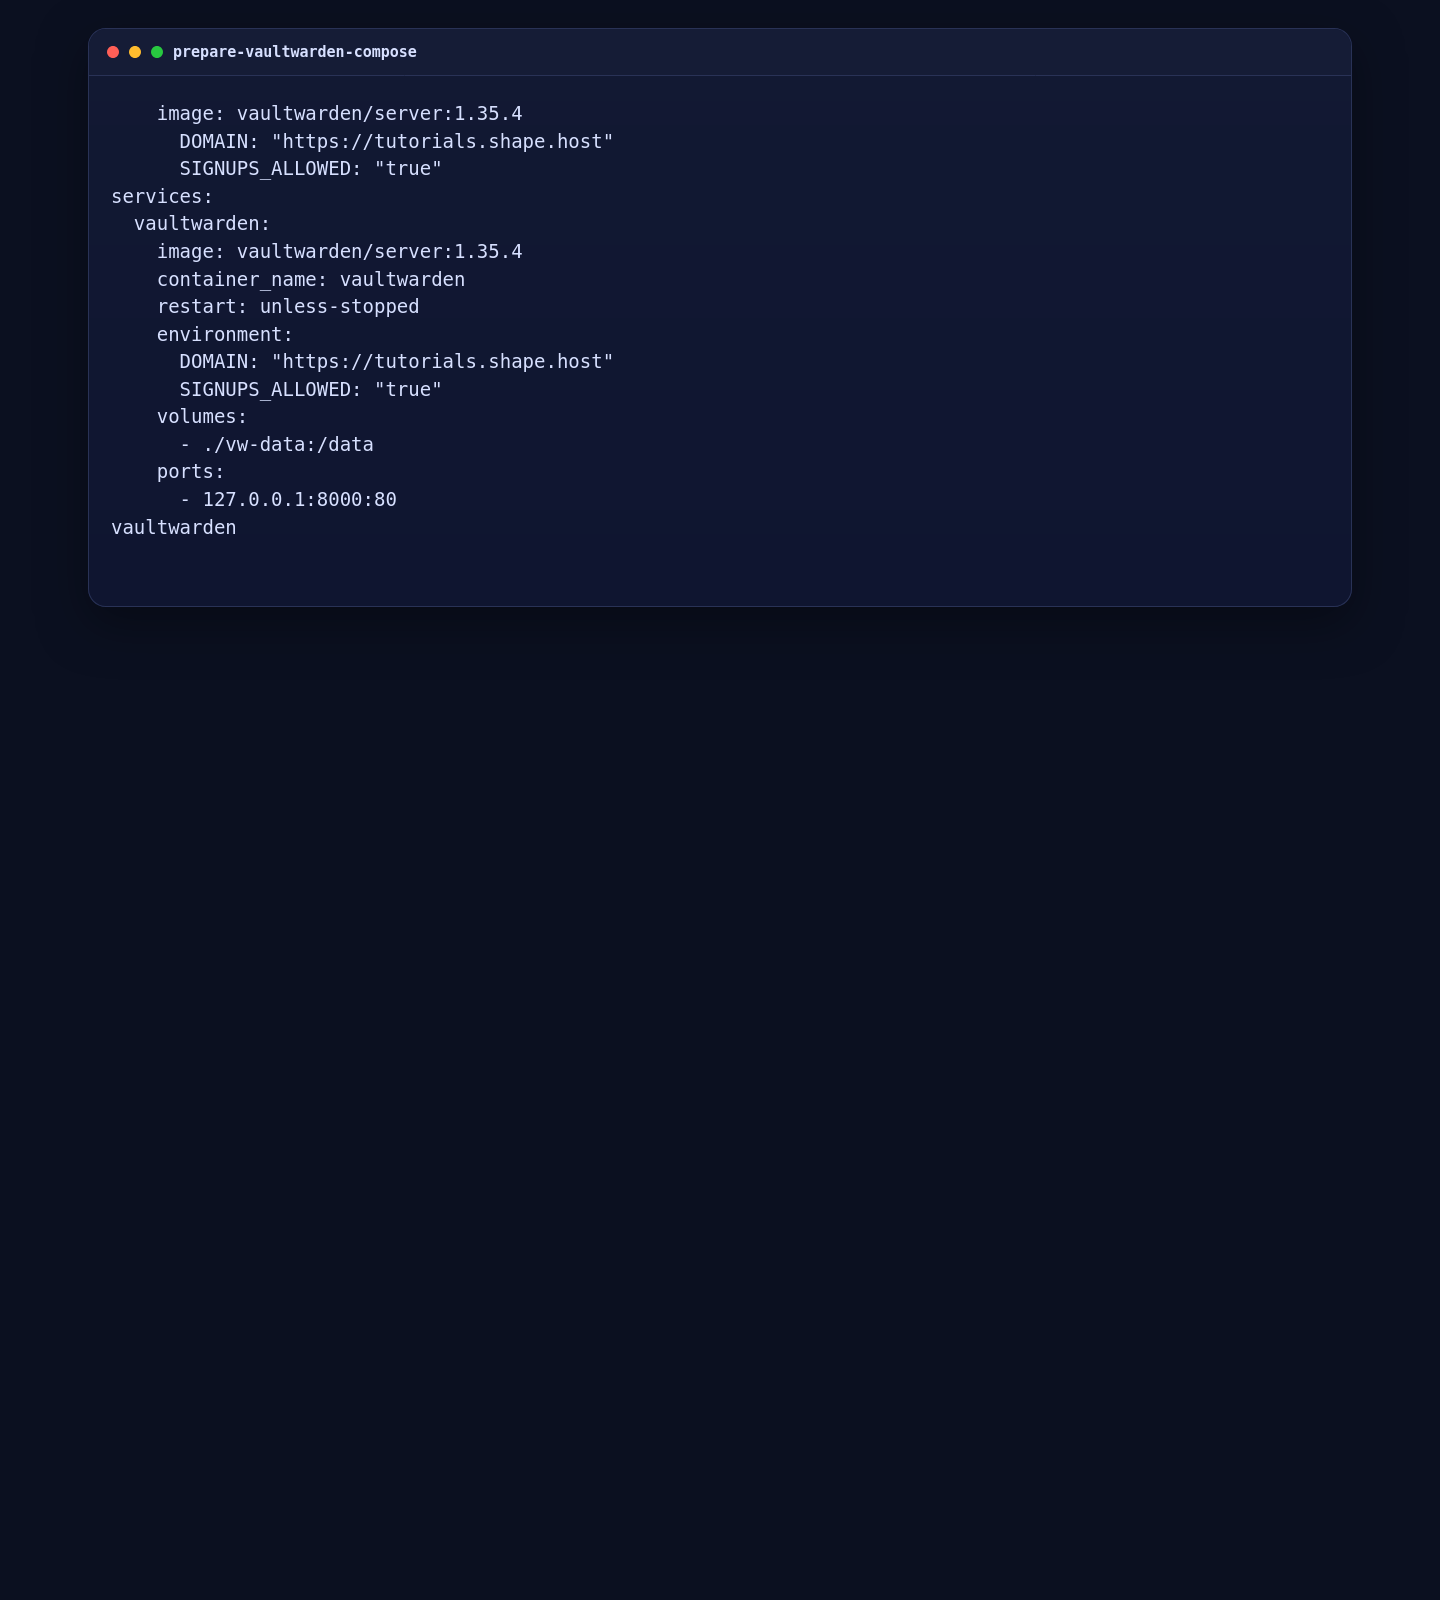
3. Create the Vaultwarden Docker Compose Configuration
The official Docker Compose guide often uses the rolling latest image, but for a stable production-style deployment it is better to pin the current release. The Vaultwarden configuration overview also stresses setting DOMAIN to the final public base URL because several features depend on it being correct.
mkdir -p /opt/vaultwarden
cd /opt/vaultwarden

cat > compose.yaml <<'EOF'
services:
  vaultwarden:
    image: vaultwarden/server:1.35.4
    container_name: vaultwarden
    restart: unless-stopped
    environment:
      DOMAIN: "https://tutorials.shape.host"
      SIGNUPS_ALLOWED: "true"
    volumes:
      - ./vw-data:/data
    ports:
      - 127.0.0.1:8000:80
EOF

grep '^    image:' compose.yaml
grep '^      DOMAIN:' compose.yaml
grep '^      SIGNUPS_ALLOWED:' compose.yaml
cat compose.yaml
docker compose config --services
The localhost-only bind keeps Vaultwarden off the public interface so Nginx can proxy it securely, while DOMAIN matches the final HTTPS URL recommended by the official configuration documentation.
4. Start Vaultwarden
With the compose file in place, start the container and confirm that the web vault answers locally before you expose it through Nginx.
4.1 Launch the Container
cd /opt/vaultwarden
docker compose up -d
sleep 20
On the live server, Docker pulled the pinned Vaultwarden image, created the local network, and started the container successfully.

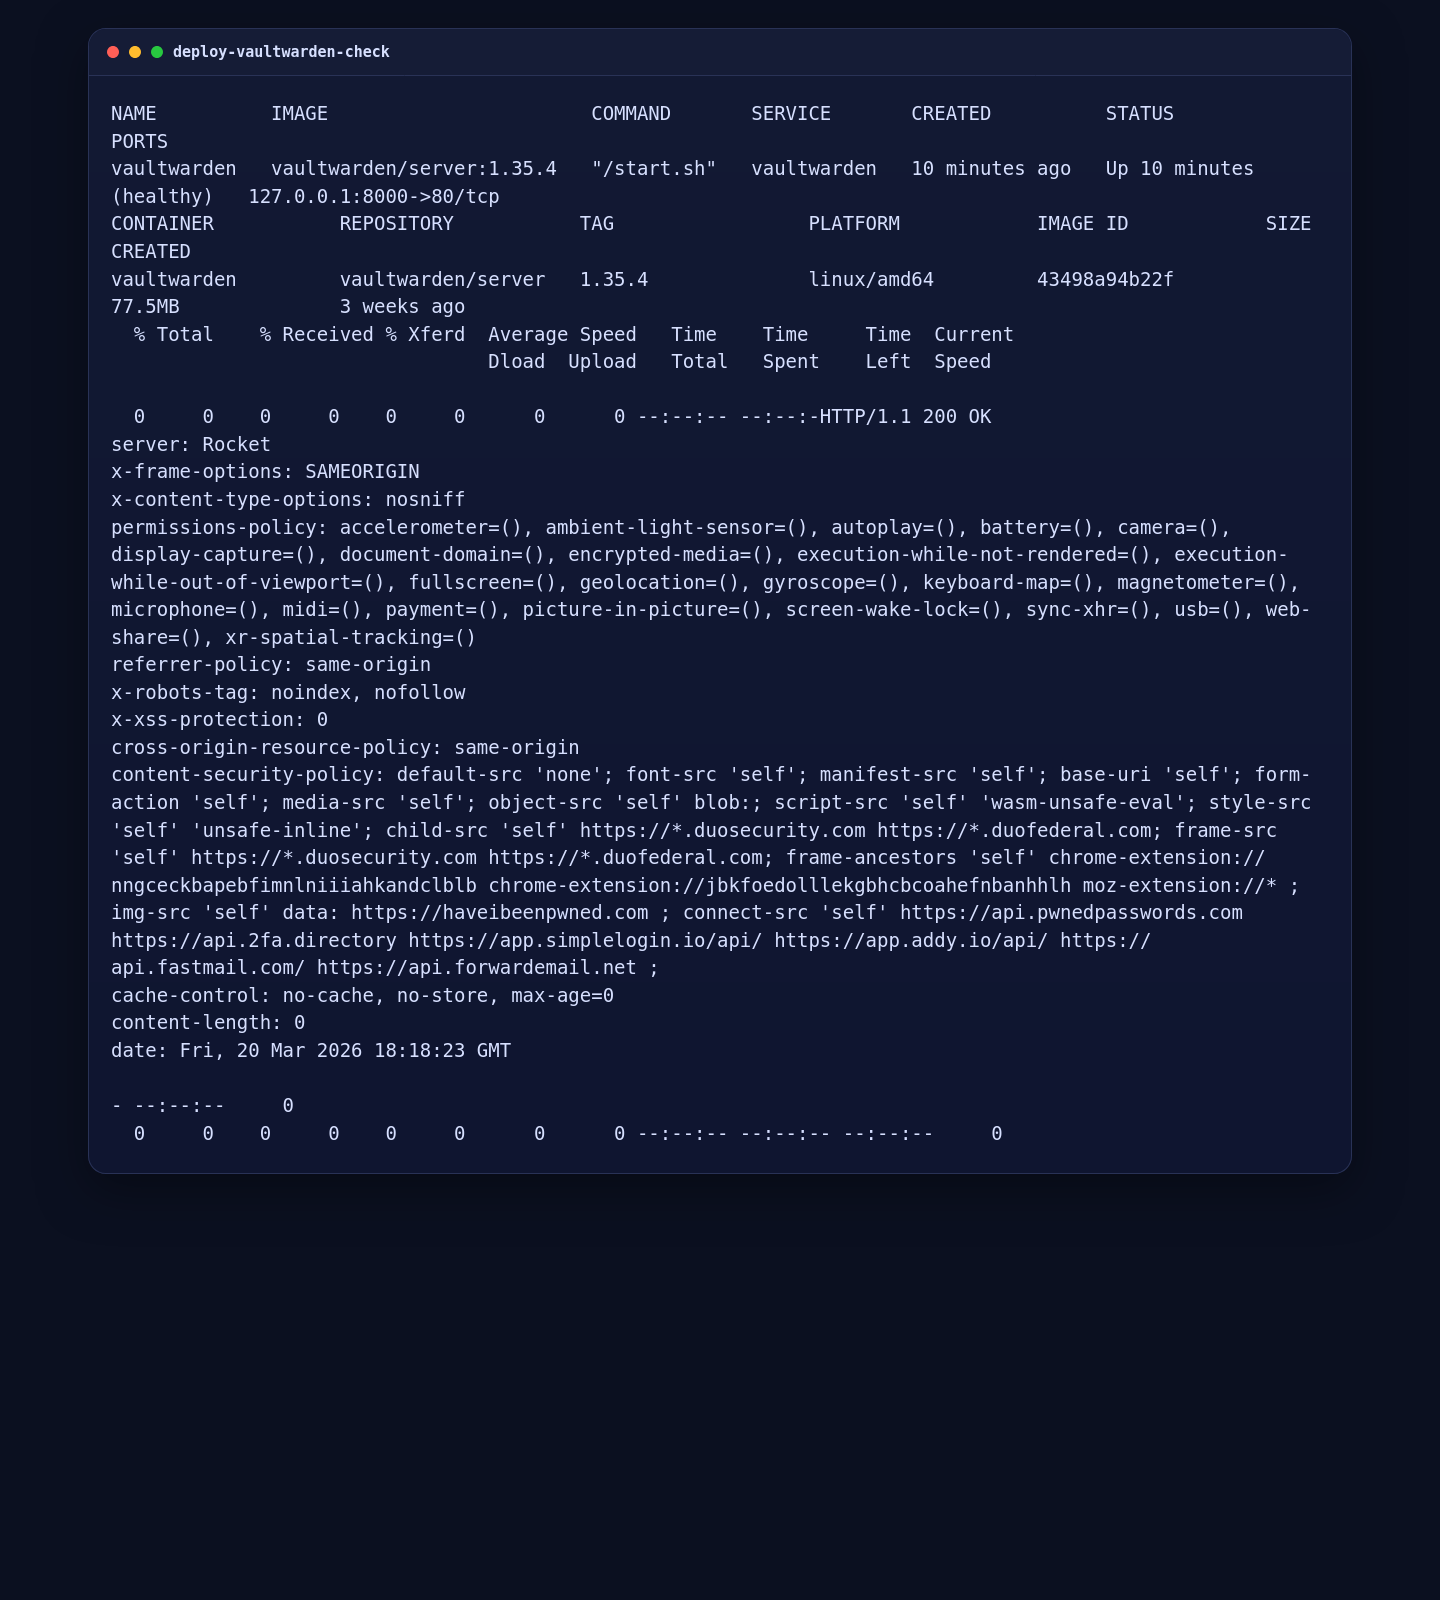
4.2 Validate the Running Container and Local HTTP Response
docker compose ps
docker compose images
curl -I http://127.0.0.1:8000
On the validated deployment, the container reached a healthy state on image tag 1.35.4 and the local endpoint returned HTTP/1.1 200 OK.
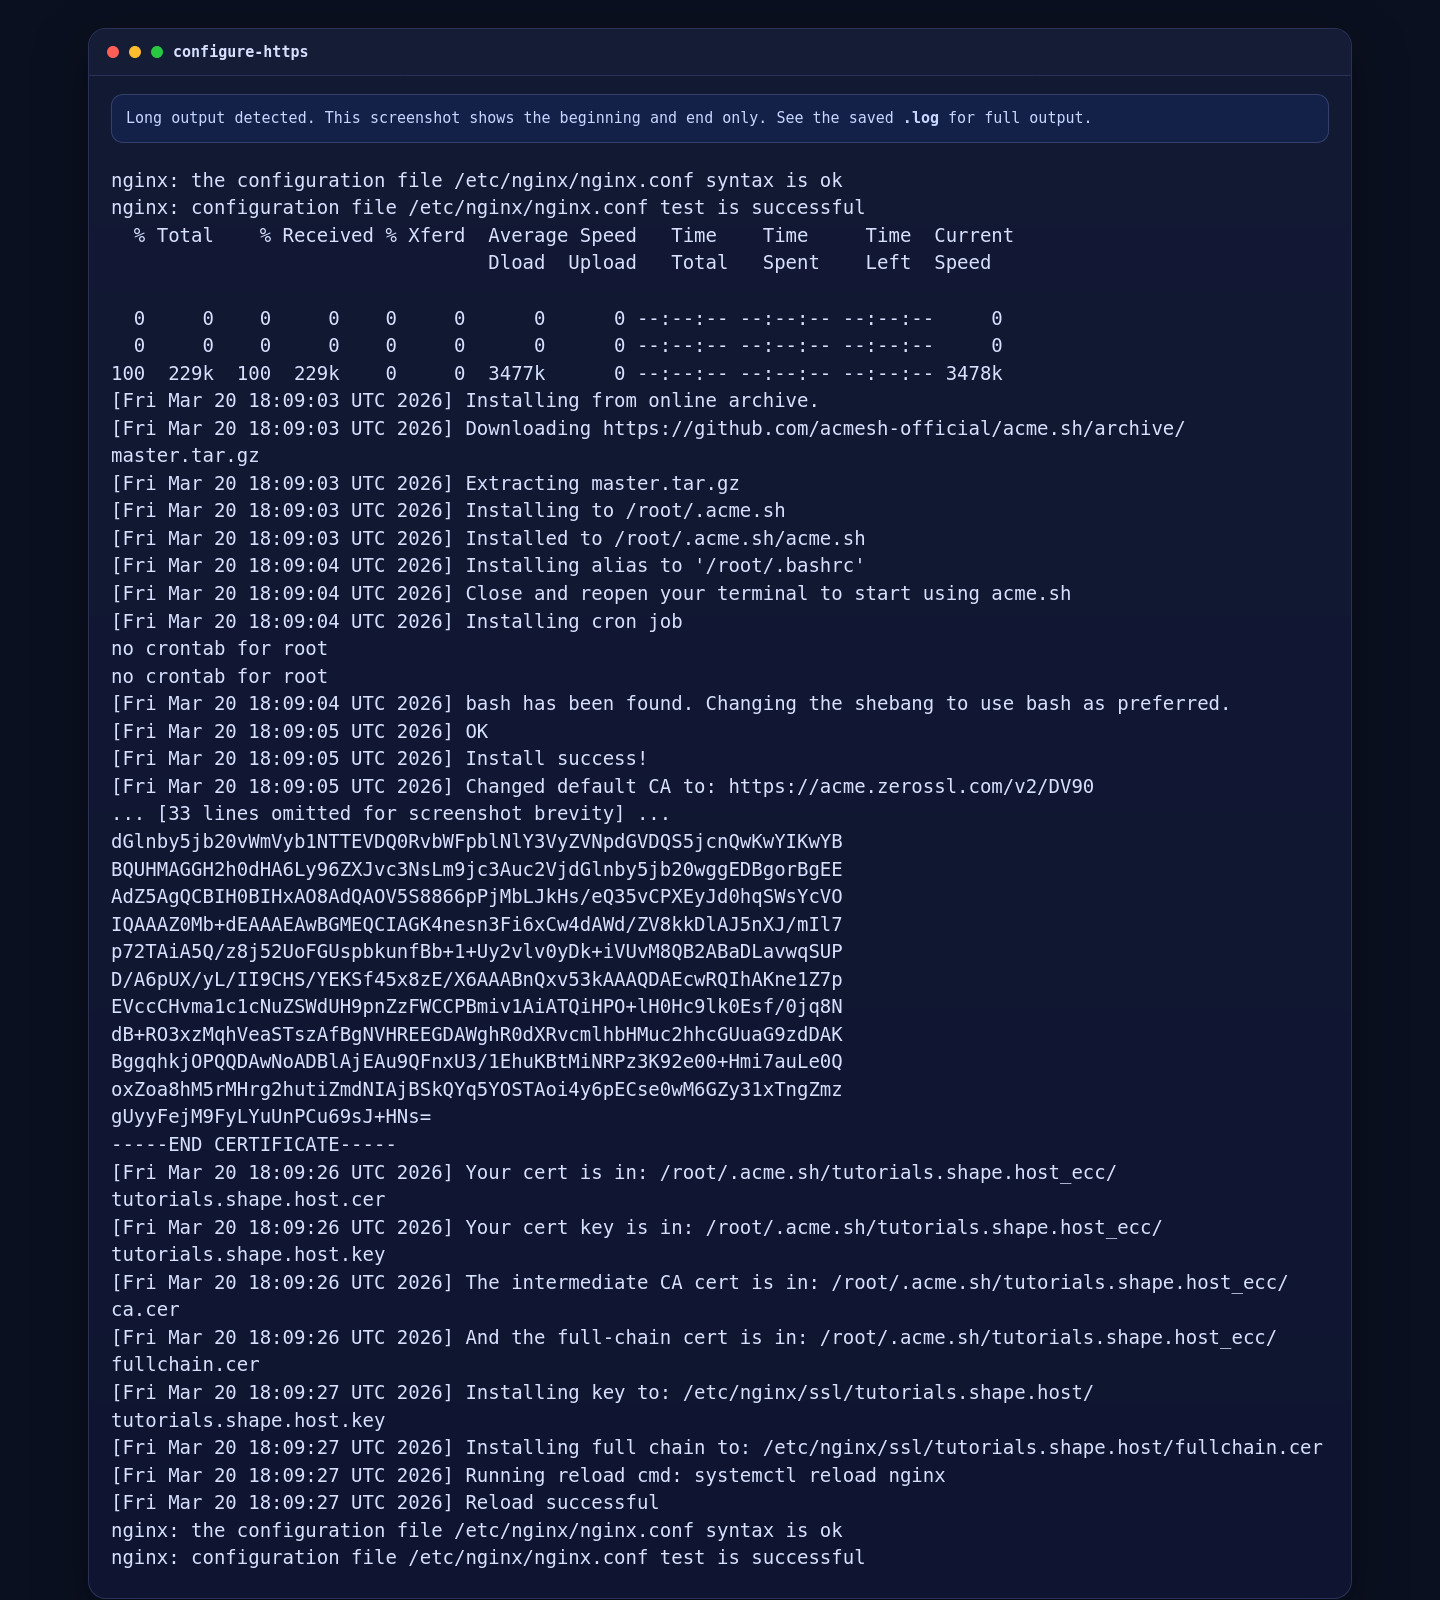
5. Configure Nginx and Issue a ZeroSSL Certificate
The official Vaultwarden proxy examples show a websocket-aware Nginx setup, so we keep the reverse proxy simple and compatible by forwarding upgrade headers and placing the service behind TLS. We start with HTTP for the ACME challenge, issue the ZeroSSL certificate, and then switch the site to permanent HTTPS.
mkdir -p /var/www/_letsencrypt /etc/nginx/ssl/tutorials.shape.host /etc/nginx/sites-available /etc/nginx/sites-enabled

cat > /etc/nginx/sites-available/tutorials.shape.host.conf <<'EOF'
map $http_upgrade $connection_upgrade {
    default upgrade;
    '' close;
}

upstream vaultwarden_default {
    server 127.0.0.1:8000;
    keepalive 2;
}

server {
    listen 80;
    listen [::]:80;
    server_name tutorials.shape.host;

    location /.well-known/acme-challenge/ {
        root /var/www/_letsencrypt;
        default_type "text/plain";
    }

    client_max_body_size 525M;

    location / {
        proxy_pass http://vaultwarden_default;
        proxy_set_header Host $host;
        proxy_set_header X-Real-IP $remote_addr;
        proxy_set_header X-Forwarded-For $proxy_add_x_forwarded_for;
        proxy_set_header X-Forwarded-Proto $scheme;
        proxy_set_header Upgrade $http_upgrade;
        proxy_set_header Connection $connection_upgrade;
    }
}
EOF

ln -sf /etc/nginx/sites-available/tutorials.shape.host.conf /etc/nginx/sites-enabled/tutorials.shape.host.conf
rm -f /etc/nginx/sites-enabled/default

nginx -t
systemctl reload nginx

curl -fsSL https://get.acme.sh | sh -s email=contact@shape.host
/root/.acme.sh/acme.sh --set-default-ca --server zerossl
/root/.acme.sh/acme.sh --register-account --server zerossl --eab-kid YOUR_ZEROSSL_EAB_KID --eab-hmac-key YOUR_ZEROSSL_EAB_HMAC_KEY
/root/.acme.sh/acme.sh --issue --server zerossl -d tutorials.shape.host -w /var/www/_letsencrypt --keylength ec-256
/root/.acme.sh/acme.sh --install-cert -d tutorials.shape.host --ecc \
  --fullchain-file /etc/nginx/ssl/tutorials.shape.host/fullchain.cer \
  --key-file /etc/nginx/ssl/tutorials.shape.host/tutorials.shape.host.key \
  --reloadcmd "systemctl reload nginx"

cat > /etc/nginx/sites-available/tutorials.shape.host.conf <<'EOF'
map $http_upgrade $connection_upgrade {
    default upgrade;
    '' close;
}

upstream vaultwarden_default {
    server 127.0.0.1:8000;
    keepalive 2;
}

server {
    listen 80;
    listen [::]:80;
    server_name tutorials.shape.host;
    return 301 https://$host$request_uri;
}

server {
    listen 443 ssl http2;
    listen [::]:443 ssl http2;
    server_name tutorials.shape.host;

    ssl_certificate /etc/nginx/ssl/tutorials.shape.host/fullchain.cer;
    ssl_certificate_key /etc/nginx/ssl/tutorials.shape.host/tutorials.shape.host.key;

    add_header Strict-Transport-Security "max-age=31536000; includeSubDomains" always;
    client_max_body_size 525M;

    location / {
        proxy_pass http://vaultwarden_default;
        proxy_set_header Host $host;
        proxy_set_header X-Real-IP $remote_addr;
        proxy_set_header X-Forwarded-For $proxy_add_x_forwarded_for;
        proxy_set_header X-Forwarded-Proto $scheme;
        proxy_set_header Upgrade $http_upgrade;
        proxy_set_header Connection $connection_upgrade;
    }
}
EOF

nginx -t
systemctl reload nginx
On the validated Ubuntu 24.04.1 run, Nginx accepted the configuration, ZeroSSL issued a trusted ECC certificate for tutorials.shape.host, and the final reload succeeded cleanly.
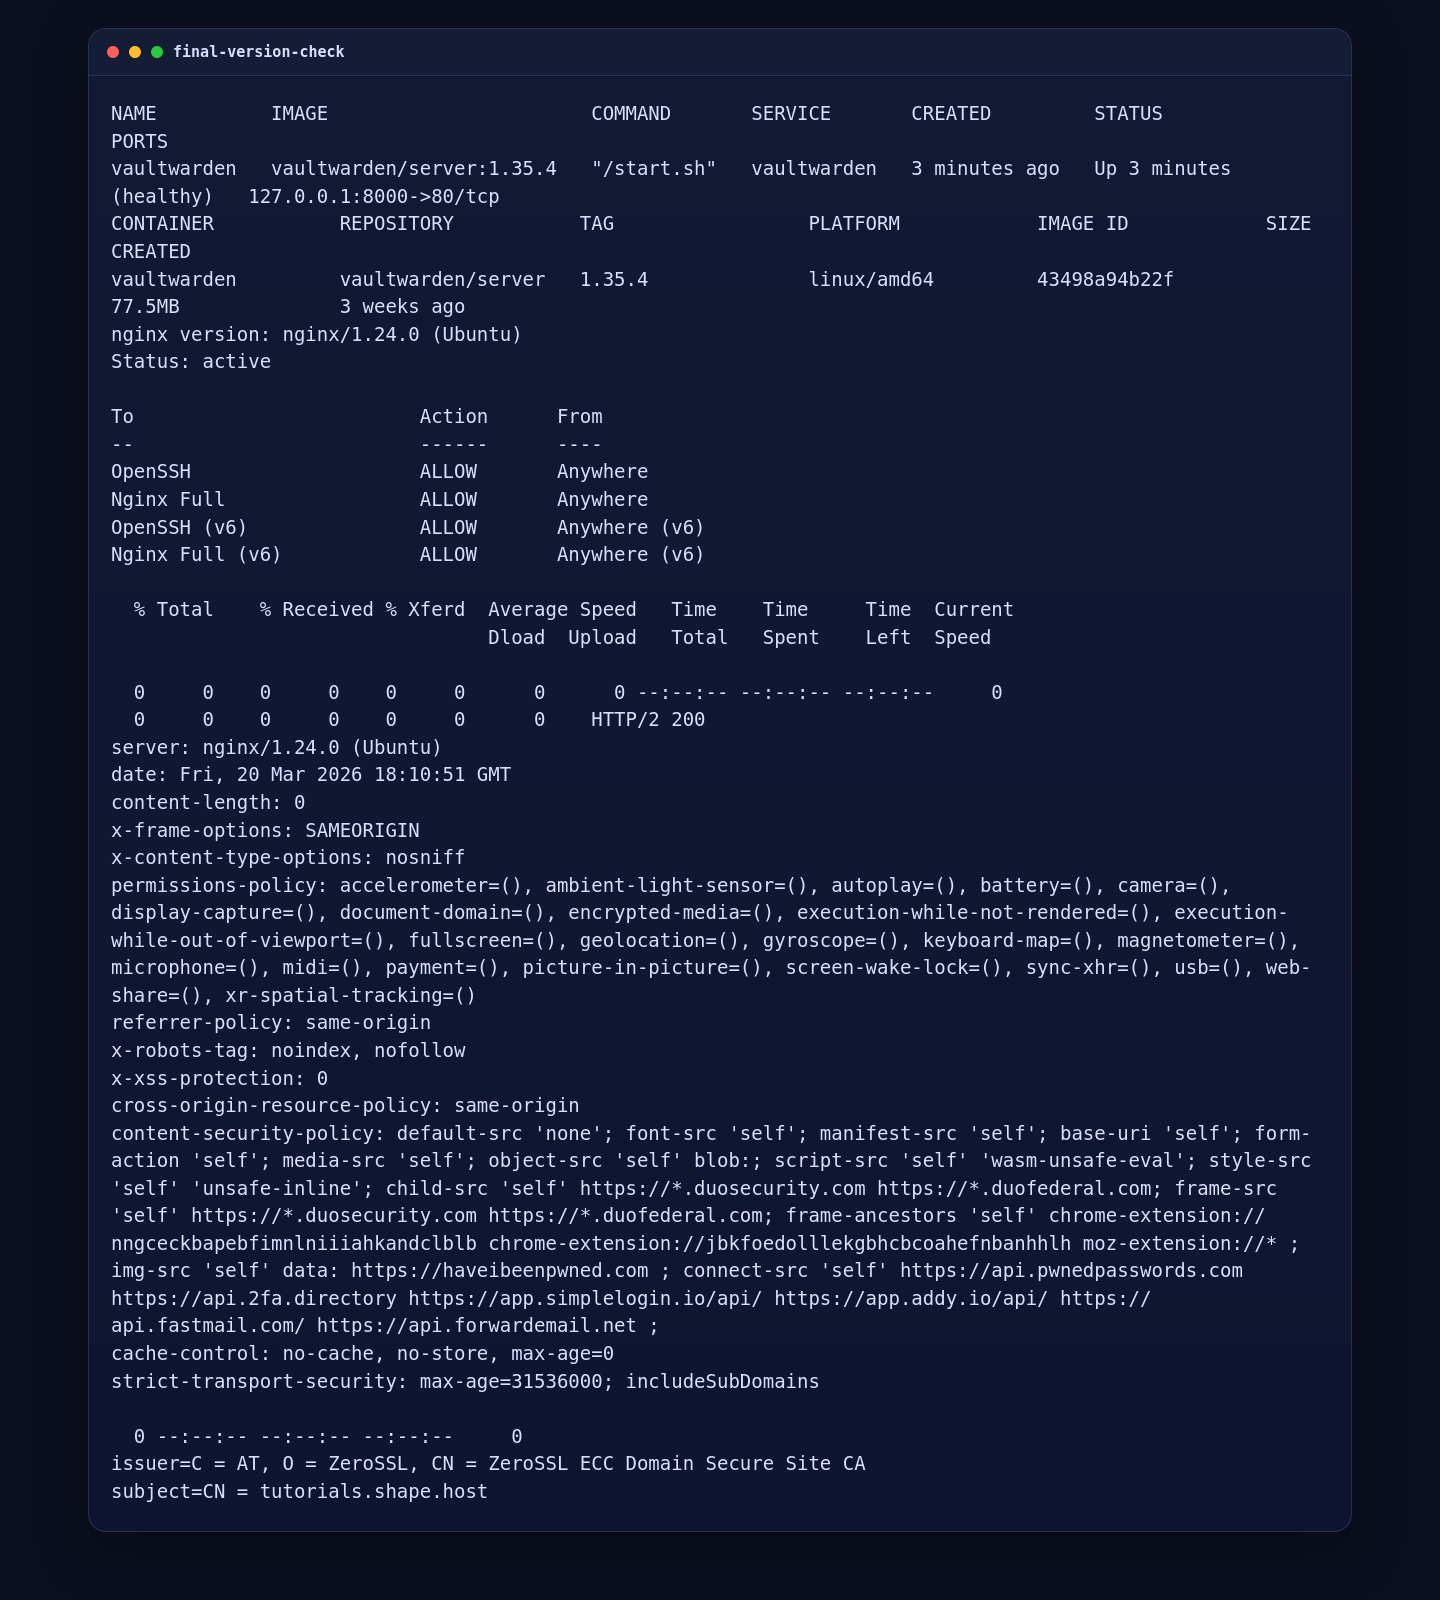
6. Validate the Public HTTPS Deployment
Finish by confirming that the container is healthy, the firewall still allows the required services, the public HTTPS route returns HTTP/2 200, and the installed certificate is the expected ZeroSSL certificate.
cd /opt/vaultwarden
docker compose ps
docker compose images
nginx -v
ufw status
curl -I --resolve tutorials.shape.host:443:51.89.69.216 https://tutorials.shape.host
openssl x509 -in /etc/nginx/ssl/tutorials.shape.host/fullchain.cer -noout -issuer -subject
On the live server, Vaultwarden was healthy, Nginx was still serving the site correctly, and the certificate issuer resolved to ZeroSSL ECC Domain Secure Site CA.
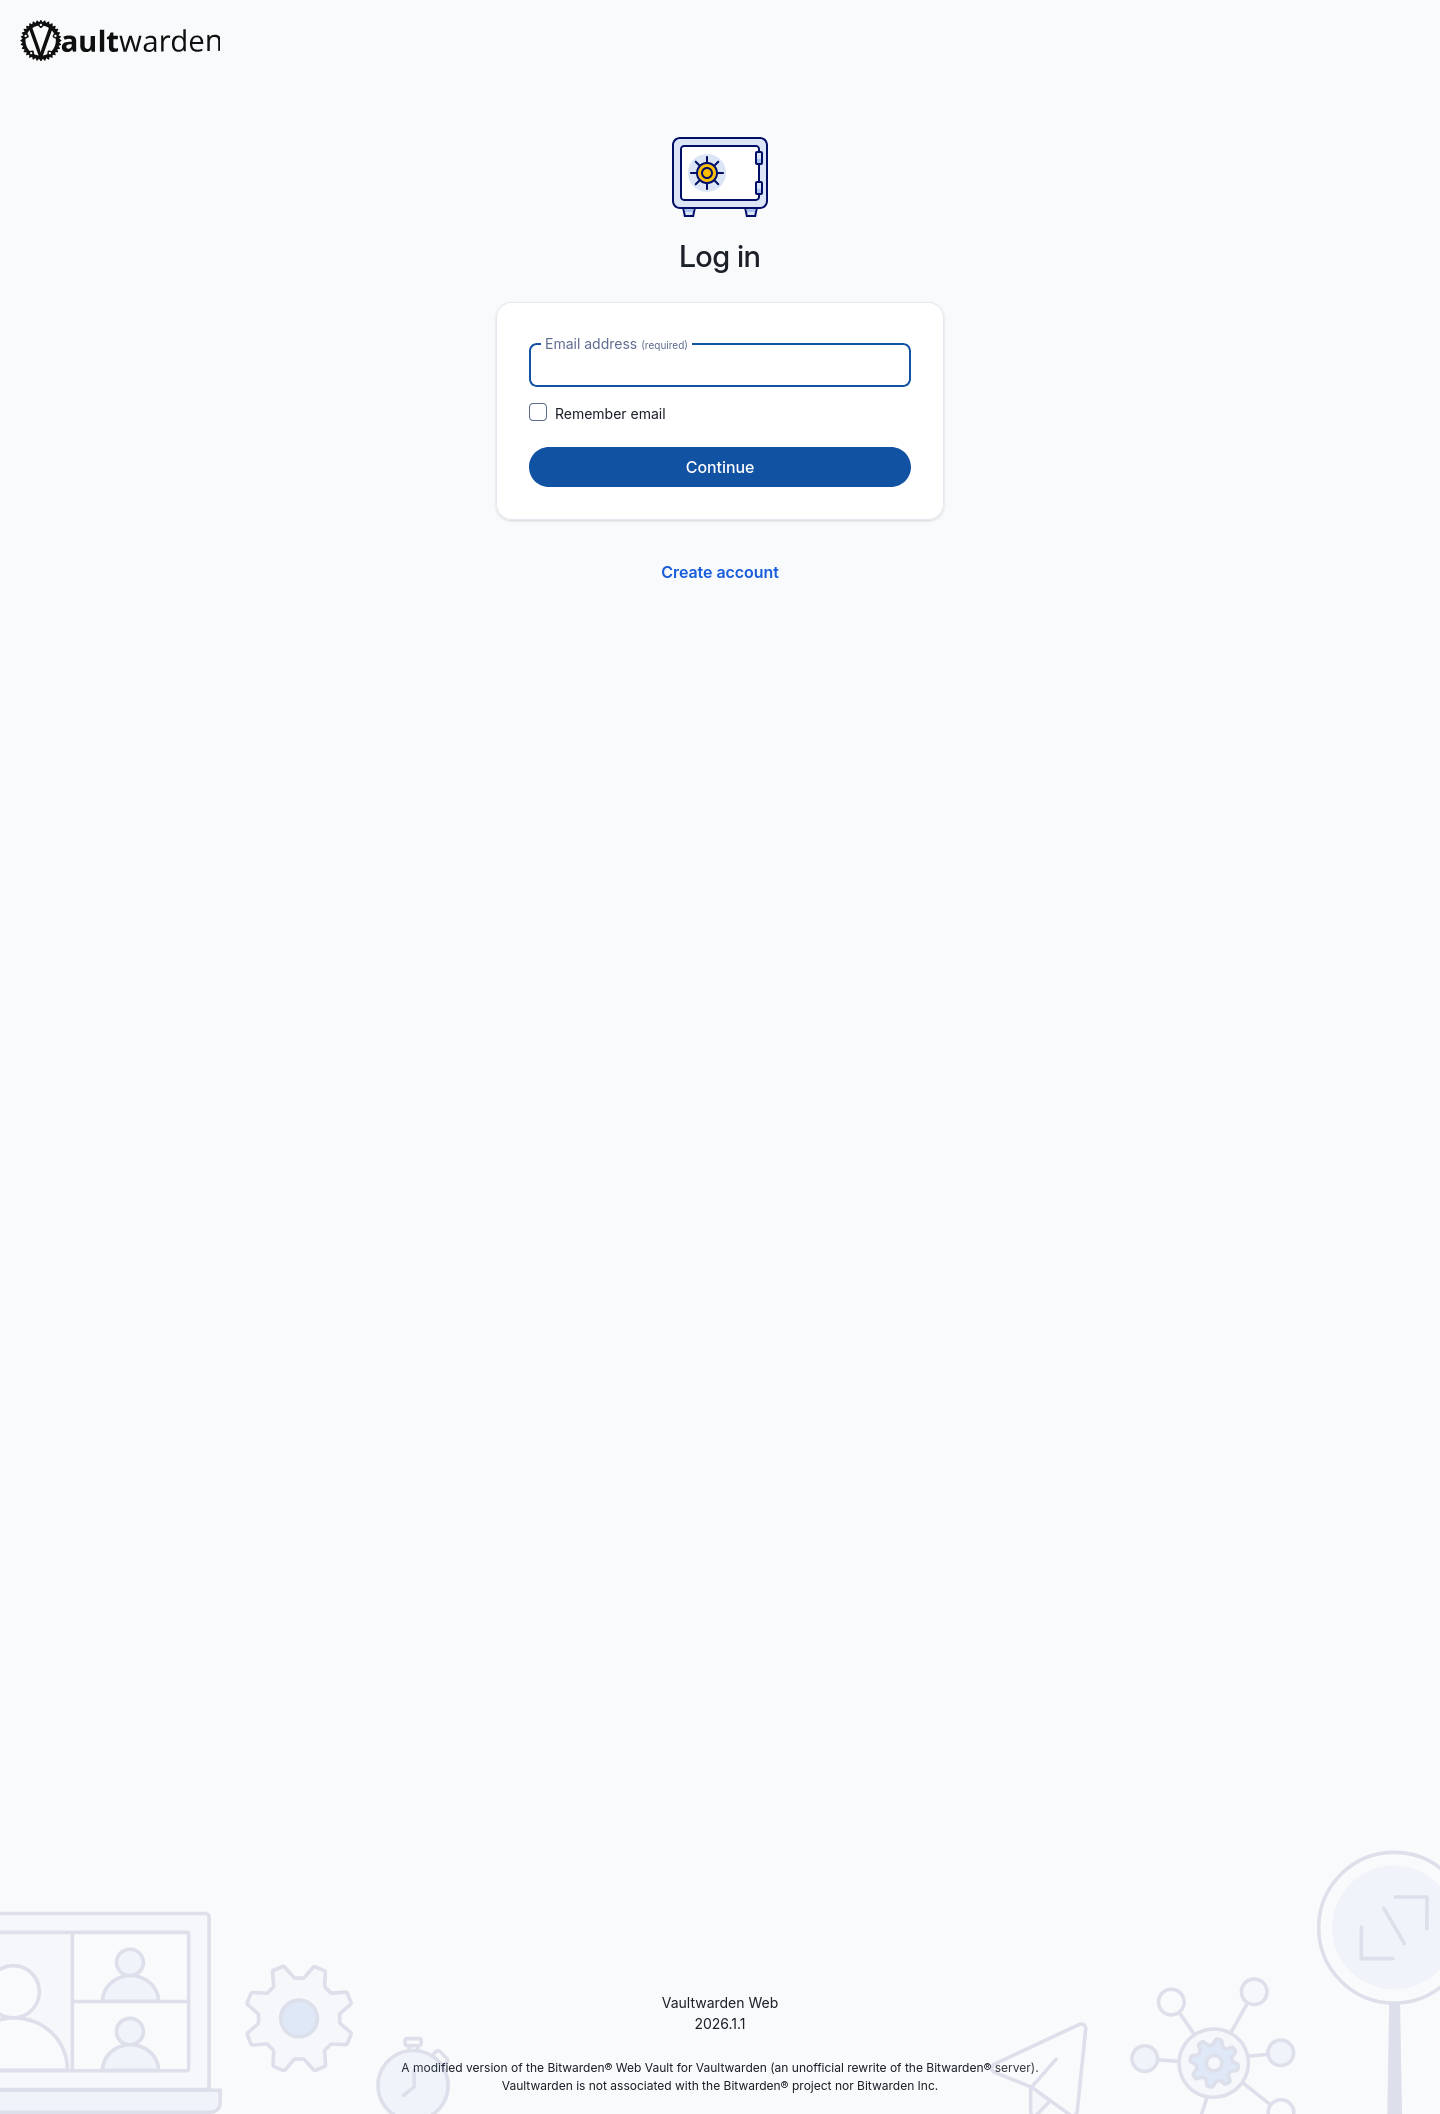
7. Confirm the Vaultwarden Login Page in a Browser
The final browser check confirms that the public HTTPS route loads the Vaultwarden login page instead of a blank page, proxy error, or certificate warning.
Hardening Notes
- After the initial test, set
SIGNUPS_ALLOWEDto"false"in/opt/vaultwarden/compose.yamlif you do not want open account creation. - Keep the container bound to
127.0.0.1so Vaultwarden is only reachable through Nginx. - Back up the
/opt/vaultwarden/vw-datadirectory because it contains the Vaultwarden database and attachments. - Update the pinned image tag deliberately when you are ready to move to a newer Vaultwarden release.
Conclusion
You now have Vaultwarden running on Ubuntu 24.04.1 LTS with Docker Engine, Docker Compose, Nginx, UFW, and a trusted ZeroSSL certificate on tutorials.shape.host. The final live validation confirmed the pinned 1.35.4 container was healthy, the public HTTPS route returned HTTP/2 200, and the browser loaded the Vaultwarden login page successfully.