Install Paperless-ngx on Ubuntu 24.04 with Docker and ZeroSSL
Paperless-ngx gives you a self-hosted document management platform for scanned paperwork, PDFs, and office files. It combines OCR, document indexing, and a clean web interface so you can turn a raw folder of files into a searchable archive that is practical to manage on a small VPS.
In this guide, we restore a fresh Ubuntu 24.04.1 LTS server on Shape.Host, verify the latest stable Paperless-ngx release from the official project, install Docker Engine and Docker Compose from Docker’s official Ubuntu repository, deploy Paperless-ngx 2.20.11 with PostgreSQL 18 and Redis 8, place Nginx in front of it on tutorials.shape.host, secure the site with a trusted ZeroSSL certificate, and validate the finished deployment from both the terminal and a browser.
| Application | Paperless-ngx |
|---|---|
| Application version | 2.20.11 |
| Operating system | Ubuntu 24.04.1 LTS |
| Container runtime | Docker Engine 29.3.0 with Docker Compose 5.1.1 |
| Database | PostgreSQL 18 |
| Message broker | Redis 8 |
| Reverse proxy | Nginx 1.24.0 |
| Public hostname | tutorials.shape.host |
| TLS issuer | ZeroSSL ECC Domain Secure Site CA |
| Validated on | Live Shape.Host Ubuntu 24.04.1 LTS server |
Why Use Paperless-ngx on Ubuntu 24.04?
- Ubuntu 24.04.1 LTS gives you a current long-term support base for a document archive you want to keep stable.
- Paperless-ngx has an official Docker Compose workflow and recommends PostgreSQL for new installations.
- Running the app behind Nginx keeps the container bound to
127.0.0.1while still publishing a clean HTTPS endpoint. - ZeroSSL gives you a trusted certificate for browser access on your final public hostname.
Before You Begin
Make sure the following prerequisites are in place before you start:
- A fresh Ubuntu 24.04 server
- Root or sudo access
- A DNS record pointing
tutorials.shape.hostto your server IP - Ports
80and443open to the internet - Your ZeroSSL EAB key ID and EAB HMAC key for ACME account registration
1. Verify the Ubuntu 24.04 Release
Start by confirming that the rebuilt server is actually running Ubuntu 24.04.1 LTS.
cat /etc/os-release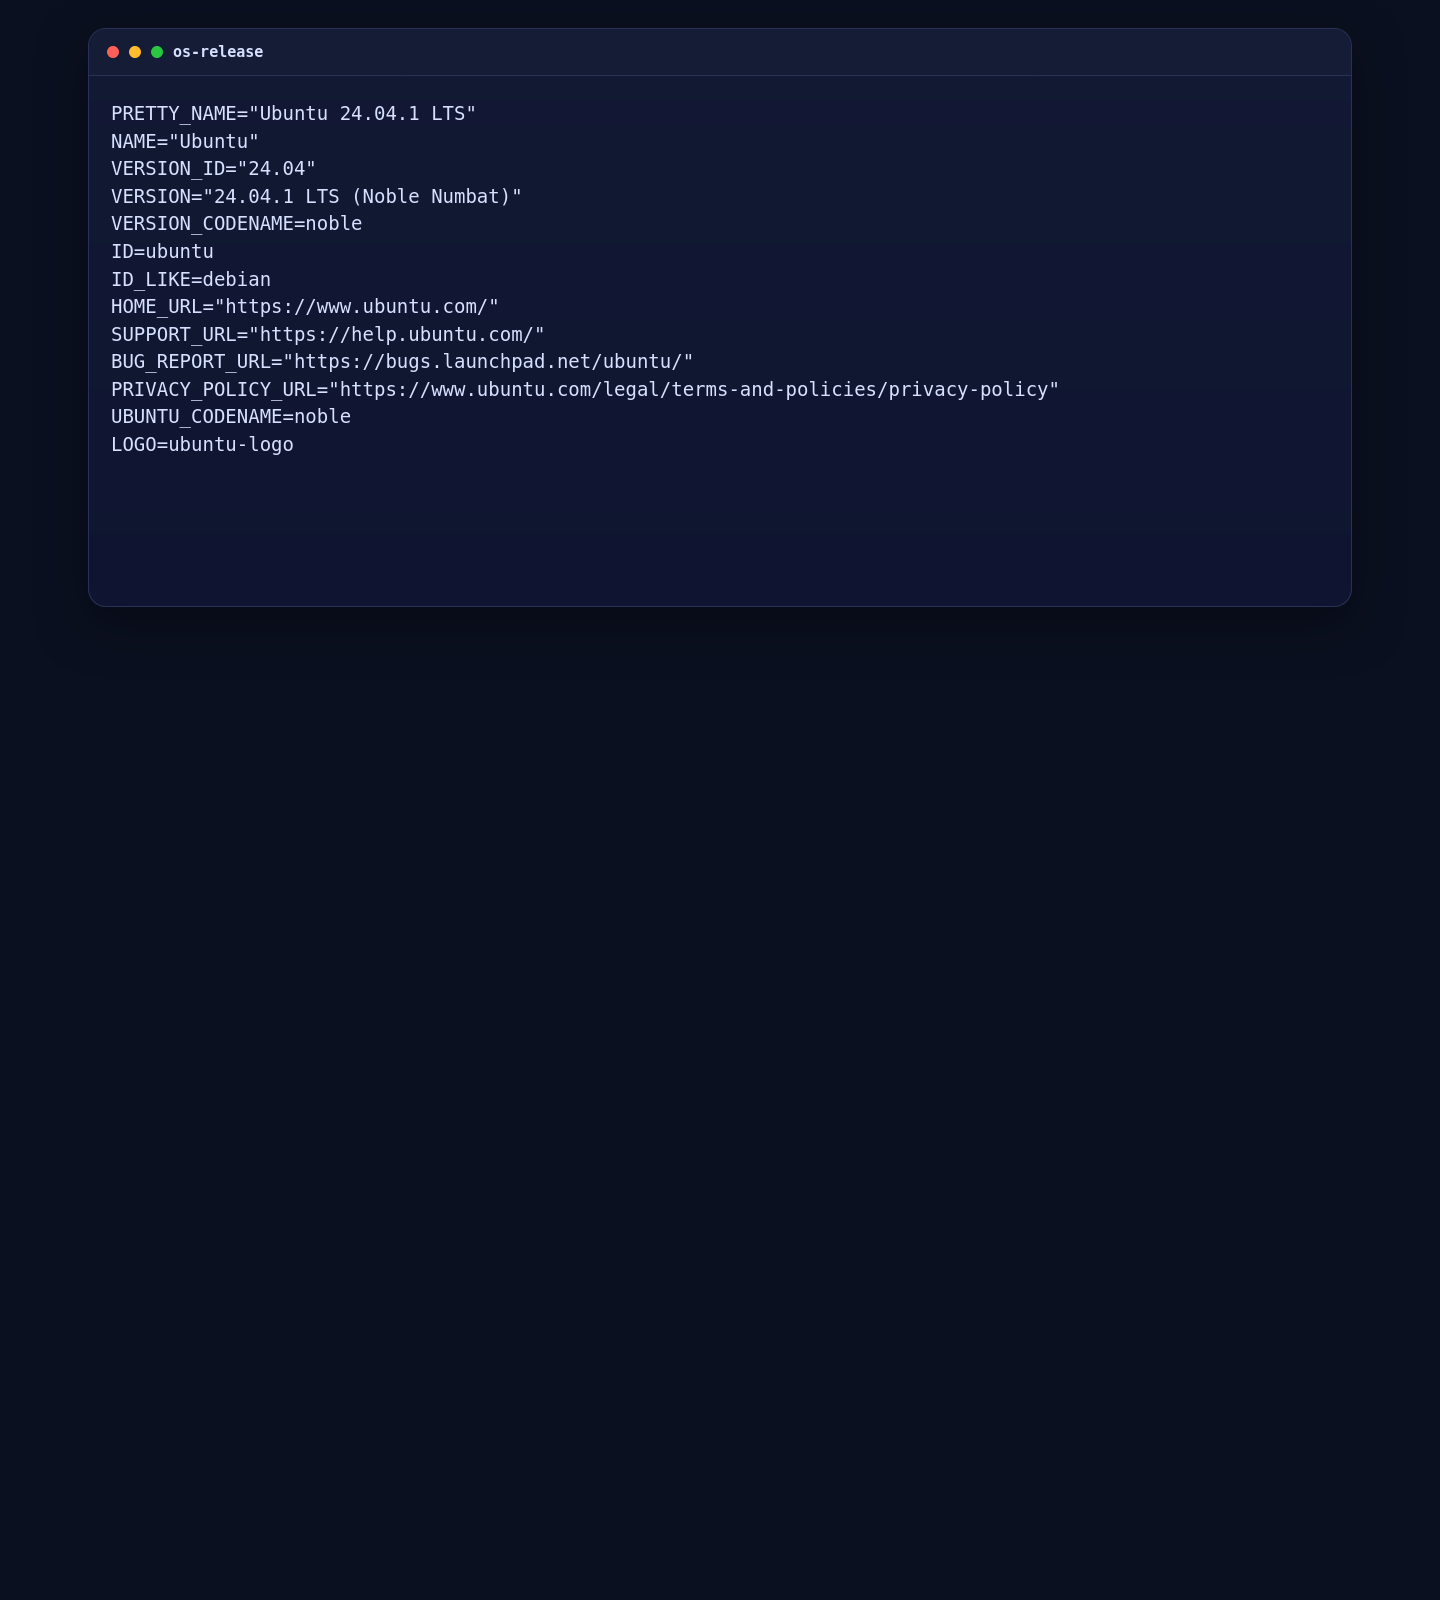
2. Install Docker, Docker Compose, Nginx, and UFW
The clean Ubuntu path is to install Docker Engine from Docker’s official repository instead of relying on older distro-packaged container builds. We also install Nginx, OpenSSL, and UFW so the host is ready for HTTPS publishing.
apt-get update
apt-get install -y ca-certificates curl gnupg nginx openssl socat ufw

install -m 0755 -d /etc/apt/keyrings
curl -fsSL https://download.docker.com/linux/ubuntu/gpg -o /etc/apt/keyrings/docker.asc
chmod a+r /etc/apt/keyrings/docker.asc

. /etc/os-release
echo "deb [arch=$(dpkg --print-architecture) signed-by=/etc/apt/keyrings/docker.asc] https://download.docker.com/linux/ubuntu ${VERSION_CODENAME} stable" \
  > /etc/apt/sources.list.d/docker.list

apt-get update
apt-get install -y docker-ce docker-ce-cli containerd.io docker-buildx-plugin docker-compose-plugin

systemctl enable --now docker nginx

ufw allow OpenSSH
ufw allow 'Nginx Full'
ufw --force enable

docker --version
docker compose version
nginx -v
ufw status
On the validated Ubuntu 24.04.1 deployment, this installed Docker Engine 29.3.0, Docker Compose 5.1.1, and Nginx 1.24.0, with UFW active and the required HTTP, HTTPS, and SSH rules in place.

3. Create the Paperless-ngx Compose Files
The official setup documentation recommends PostgreSQL for new installations, so this guide uses the official PostgreSQL plus Redis stack and pins the Paperless-ngx image to the current stable release. We also generate a fresh application secret and a fresh PostgreSQL password on the server instead of leaving default values in place.
mkdir -p /opt/paperless-ngx/consume /opt/paperless-ngx/export
cd /opt/paperless-ngx
chown -R 1000:1000 consume export

cat > .env <<'EOF'
COMPOSE_PROJECT_NAME=paperless
EOF

PAPERLESS_SECRET_KEY="$(openssl rand -hex 32)"
POSTGRES_PASSWORD="$(openssl rand -hex 16)"

cat > docker-compose.env <<EOF
USERMAP_UID=1000
USERMAP_GID=1000
PAPERLESS_URL=https://tutorials.shape.host
PAPERLESS_SECRET_KEY=${PAPERLESS_SECRET_KEY}
PAPERLESS_TIME_ZONE=Etc/UTC
PAPERLESS_OCR_LANGUAGE=eng
EOF

cat > docker-compose.yml <<EOF
services:
  broker:
    image: docker.io/library/redis:8
    restart: unless-stopped
    volumes:
      - redisdata:/data

  db:
    image: docker.io/library/postgres:18
    restart: unless-stopped
    volumes:
      - pgdata:/var/lib/postgresql
    environment:
      POSTGRES_DB: paperless
      POSTGRES_USER: paperless
      POSTGRES_PASSWORD: ${POSTGRES_PASSWORD}

  webserver:
    image: ghcr.io/paperless-ngx/paperless-ngx:2.20.11
    restart: unless-stopped
    depends_on:
      - db
      - broker
    ports:
      - "127.0.0.1:8000:8000"
    volumes:
      - data:/usr/src/paperless/data
      - media:/usr/src/paperless/media
      - ./export:/usr/src/paperless/export
      - ./consume:/usr/src/paperless/consume
    env_file: docker-compose.env
    environment:
      PAPERLESS_REDIS: redis://broker:6379
      PAPERLESS_DBHOST: db
      PAPERLESS_DBUSER: paperless
      PAPERLESS_DBPASS: ${POSTGRES_PASSWORD}
      PAPERLESS_DBNAME: paperless

volumes:
  data:
  media:
  pgdata:
  redisdata:
EOF

cat .env
grep '^USERMAP_UID=' docker-compose.env
grep '^USERMAP_GID=' docker-compose.env
grep '^PAPERLESS_URL=' docker-compose.env
grep '^PAPERLESS_TIME_ZONE=' docker-compose.env
grep '^PAPERLESS_OCR_LANGUAGE=' docker-compose.env
grep '^    image:' docker-compose.yml
grep 'POSTGRES_PASSWORD:' docker-compose.yml | sed 's/: .*$/ : [redacted]/'
grep 'PAPERLESS_DBPASS:' docker-compose.yml | sed 's/: .*$/ : [redacted]/'
docker compose config --services
The verified Ubuntu run shows the pinned Redis, PostgreSQL, and Paperless-ngx images along with the public Paperless URL and the generated password lines safely redacted in the verification output.

4. Start Paperless-ngx
With the compose files in place, pull the images, start the full stack, and wait for the webserver health check before you expose it through Nginx.
4.1 Pull the Images and Start the Stack
cd /opt/paperless-ngx
docker compose pull
docker compose up -d
sleep 60
On the live server, Docker pulled Redis 8, PostgreSQL 18, and Paperless-ngx 2.20.11, created the named volumes, and started the stack successfully.

4.2 Validate the Running Containers and Local HTTP Response
docker compose ps
docker compose images
curl -I http://127.0.0.1:8000
On the validated deployment, all three containers were running, the Paperless webserver was healthy, and the local endpoint returned HTTP/1.1 302 Found to /accounts/login/?next=/, which is the expected first-user state for a new Paperless-ngx installation.

5. Configure Nginx and Issue a ZeroSSL Certificate
After the local stack is healthy, put Nginx in front of it, use an HTTP listener for the ACME challenge, issue the ZeroSSL certificate, and then switch the site to permanent HTTPS.
mkdir -p /var/www/_letsencrypt /etc/nginx/ssl/tutorials.shape.host /etc/nginx/sites-available /etc/nginx/sites-enabled

cat > /etc/nginx/sites-available/tutorials.shape.host.conf <<'EOF'
upstream paperless_app {
    server 127.0.0.1:8000;
    keepalive 32;
}

server {
    listen 80;
    listen [::]:80;
    server_name tutorials.shape.host;

    location /.well-known/acme-challenge/ {
        root /var/www/_letsencrypt;
        default_type "text/plain";
    }

    client_max_body_size 100M;

    location / {
        proxy_pass http://paperless_app;
        proxy_http_version 1.1;
        proxy_set_header Host $host;
        proxy_set_header X-Real-IP $remote_addr;
        proxy_set_header X-Forwarded-For $proxy_add_x_forwarded_for;
        proxy_set_header X-Forwarded-Proto $scheme;
    }
}
EOF

ln -sf /etc/nginx/sites-available/tutorials.shape.host.conf /etc/nginx/sites-enabled/tutorials.shape.host.conf
rm -f /etc/nginx/sites-enabled/default

nginx -t
systemctl reload nginx

curl -fsSL https://get.acme.sh | sh -s email=contact@shape.host
/root/.acme.sh/acme.sh --set-default-ca --server zerossl
/root/.acme.sh/acme.sh --register-account --server zerossl --eab-kid YOUR_ZEROSSL_EAB_KID --eab-hmac-key YOUR_ZEROSSL_EAB_HMAC_KEY
/root/.acme.sh/acme.sh --issue --server zerossl -d tutorials.shape.host -w /var/www/_letsencrypt --keylength ec-256
/root/.acme.sh/acme.sh --install-cert -d tutorials.shape.host --ecc \
  --fullchain-file /etc/nginx/ssl/tutorials.shape.host/fullchain.cer \
  --key-file /etc/nginx/ssl/tutorials.shape.host/tutorials.shape.host.key \
  --reloadcmd "systemctl reload nginx"

cat > /etc/nginx/sites-available/tutorials.shape.host.conf <<'EOF'
upstream paperless_app {
    server 127.0.0.1:8000;
    keepalive 32;
}

server {
    listen 80;
    listen [::]:80;
    server_name tutorials.shape.host;
    return 301 https://$host$request_uri;
}

server {
    listen 443 ssl http2;
    listen [::]:443 ssl http2;
    server_name tutorials.shape.host;

    ssl_certificate /etc/nginx/ssl/tutorials.shape.host/fullchain.cer;
    ssl_certificate_key /etc/nginx/ssl/tutorials.shape.host/tutorials.shape.host.key;

    add_header Strict-Transport-Security "max-age=31536000; includeSubDomains" always;
    client_max_body_size 100M;

    location / {
        proxy_pass http://paperless_app;
        proxy_http_version 1.1;
        proxy_set_header Host $host;
        proxy_set_header X-Real-IP $remote_addr;
        proxy_set_header X-Forwarded-For $proxy_add_x_forwarded_for;
        proxy_set_header X-Forwarded-Proto $scheme;
    }
}
EOF

nginx -t
systemctl reload nginx
On the validated Ubuntu 24.04.1 run, Nginx accepted the configuration, ZeroSSL issued a trusted ECC certificate for tutorials.shape.host, and the final reload succeeded cleanly.

6. Validate the Public HTTPS Deployment
Finish by confirming that the full stack is healthy, the firewall still allows the required services, the public HTTPS route returns the same Paperless login redirect, and the installed certificate is the expected ZeroSSL certificate.
cd /opt/paperless-ngx
docker compose ps
docker compose images
nginx -v
ufw status
curl -I --resolve tutorials.shape.host:443:51.89.69.216 https://tutorials.shape.host
openssl x509 -in /etc/nginx/ssl/tutorials.shape.host/fullchain.cer -noout -issuer -subject
On the live server, the public route returned HTTP/2 302 to the Paperless login flow, the webserver container stayed healthy, and the certificate issuer resolved to ZeroSSL ECC Domain Secure Site CA.

7. Confirm the First-User Signup Page in a Browser
The final browser check confirms that the public HTTPS route renders the Paperless-ngx first-user signup page instead of a blank page, proxy error, or certificate warning. That page is where you create the initial superuser for this fresh installation.

Hardening Notes
- Back up the
paperless_data,paperless_media,paperless_pgdata, andpaperless_redisdatavolumes regularly. - If you scan documents in more than one language, add
PAPERLESS_OCR_LANGUAGEStodocker-compose.envand recreate the stack. - Keep the application bound to
127.0.0.1so Paperless-ngx is only reachable through Nginx. - Move generated secrets into a stronger secret-management path later if you want to integrate with Docker secrets or a separate password manager.
Conclusion
You now have Paperless-ngx running on Ubuntu 24.04.1 LTS with Docker Engine, Docker Compose, PostgreSQL, Redis, Nginx, UFW, and a trusted ZeroSSL certificate on tutorials.shape.host. The final live validation confirmed the pinned 2.20.11 stack was healthy, the public HTTPS route returned the expected Paperless login redirect, and the browser loaded the first-user signup screen successfully.