Akaunting on Ubuntu 24.04
(PHP 8.3/8.2 + MySQL/MariaDB + Nginx or Apache + SSL)
Akaunting is a modern, open-source accounting and business management platform designed for small businesses, freelancers, and startups. It provides essential financial tools such as invoicing, expense tracking, bank accounts, payments, taxes, reports, and multi-currency support — all accessible through a clean, web-based interface.
Unlike proprietary accounting SaaS platforms, Akaunting can be fully self-hosted, giving you full ownership of your financial data, predictable costs, and the freedom to customize or extend the system using apps and integrations.
Running Akaunting on Ubuntu 24.04 LTS (Noble Numbat) provides a secure, modern, and long-term supported operating system, making it an excellent foundation for a production-grade accounting system. Ubuntu 24.04 includes OpenSSL 3, systemd 255, and up-to-date PHP and database packages, ensuring compatibility, performance, and security.
Architecture Overview
| Layer | Component | Role |
|---|---|---|
| OS | Ubuntu 24.04 LTS | Stable, long-term supported Linux base |
| Web Server | Nginx or Apache | Serves the Akaunting web application |
| Runtime | PHP 8.3 / 8.2 (FPM) | Executes Akaunting backend logic |
| Database | MySQL / MariaDB | Stores accounting data and settings |
| Application | Akaunting (Laravel) | Accounting, invoicing, reporting |
| TLS | Let’s Encrypt / PKI | Encrypted HTTPS access |
| Extensions | Akaunting Apps | Add features like payroll, CRM, POS |
Akaunting is built on Laravel, which ensures a clean architecture, strong security practices, and long-term maintainability.
Why Use Akaunting?
- Free & open-source accounting software
- Self-hosted – full control over financial data
- Invoices & bills – manage income and expenses easily
- Multi-currency & tax support – ideal for international businesses
- Bank accounts & transactions – track balances and cash flow
- Professional reports – profit & loss, balance sheet, taxes
- App marketplace – extend functionality as your business grows
- Modern UI – easy to use, even for non-accountants
Akaunting is ideal for businesses that want simple accounting without SaaS lock-in.
Akaunting vs Other Accounting Platforms
| Feature / Capability | Akaunting | QuickBooks | Xero | Odoo Accounting |
|---|---|---|---|---|
| Hosting | Self-hosted | Cloud only | Cloud only | Self / Cloud |
| Open-source | ✅ Yes | ❌ No | ❌ No | ✅ Partial |
| Data ownership | Full control | Vendor-controlled | Vendor-controlled | Partial |
| Invoicing | ✅ Yes | ✅ Yes | ✅ Yes | ✅ Yes |
| Multi-currency | ✅ Yes | ✅ Yes | ✅ Yes | ✅ Yes |
| Cost | Free (self-hosted) | Paid | Paid | Free / Paid |
Akaunting stands out for simplicity, transparency, and cost efficiency.
Security & Best Practices on Ubuntu 24.04
- Serve Akaunting only over HTTPS.
- Use PHP-FPM with Nginx or Apache for better isolation.
- Restrict database access to localhost only.
- Store sensitive data (DB credentials, app keys) in
.env. - Set correct file permissions for
storage/andbootstrap/cache/. - Enable UFW and allow only ports 80 and 443.
- Schedule cron jobs for recurring tasks and reports.
- Regularly update:
- Ubuntu system packages
- PHP extensions
- Akaunting core and apps
- Back up:
- Database
.envfile- Uploaded documents and invoices
- Restrict admin access and use strong passwords.
Typical Use Cases
- Small businesses managing daily accounting
- Freelancers & consultants issuing invoices and tracking expenses
- Startups needing basic but reliable accounting
- International companies working with multiple currencies
- Self-hosted business stacks combined with CRM or ERP tools
- Accountants managing multiple small clients
Deploying Akaunting on Ubuntu 24.04 gives you a secure, modern, and fully self-hosted accounting solution — combining essential financial tools with full data ownership, long-term OS support, and zero mandatory licensing costs.
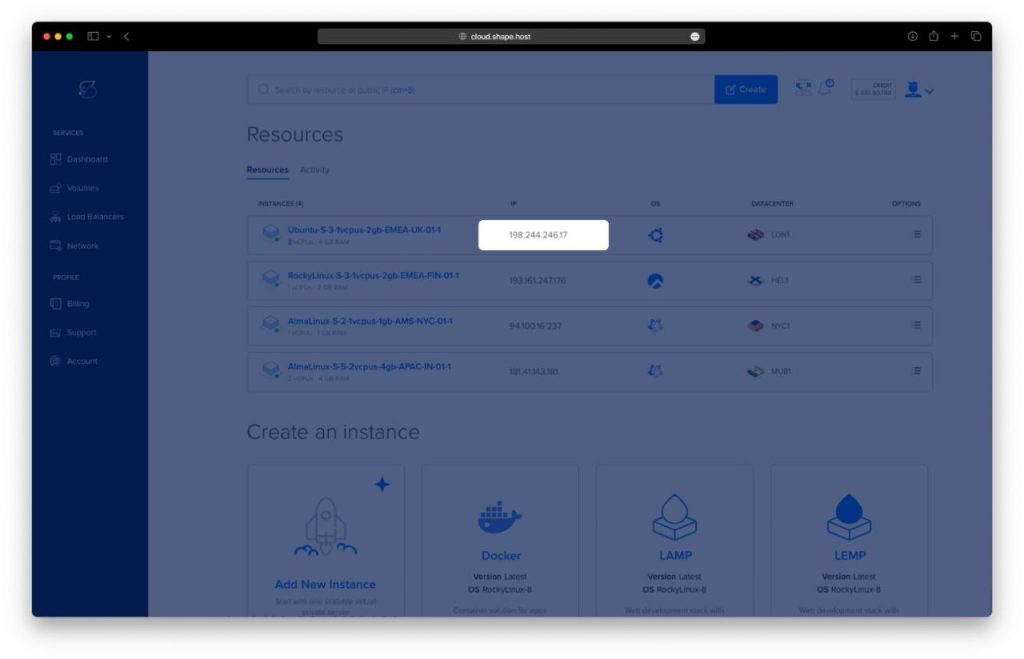
Step 1: Create a Server Instance on Shape.Host
Before installing Akaunting, you need a VPS.
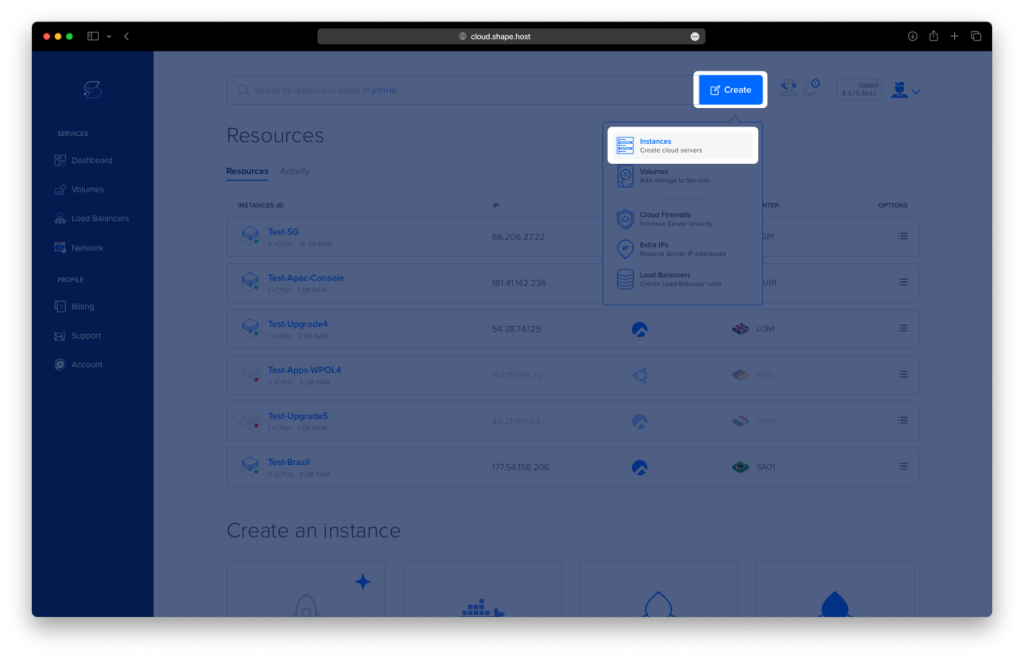
Log in to https://shape.host
Click Create → Instance
Choose a data center close to your users
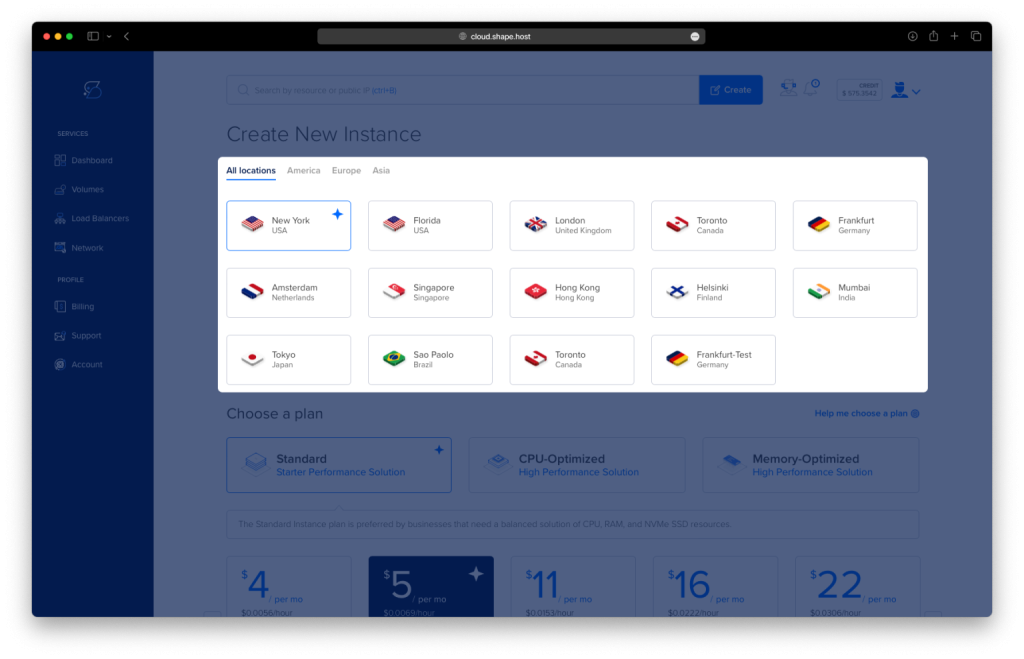
Select a VPS plan with at least:
2 CPU cores
4 GB RAM
40 GB SSD storage
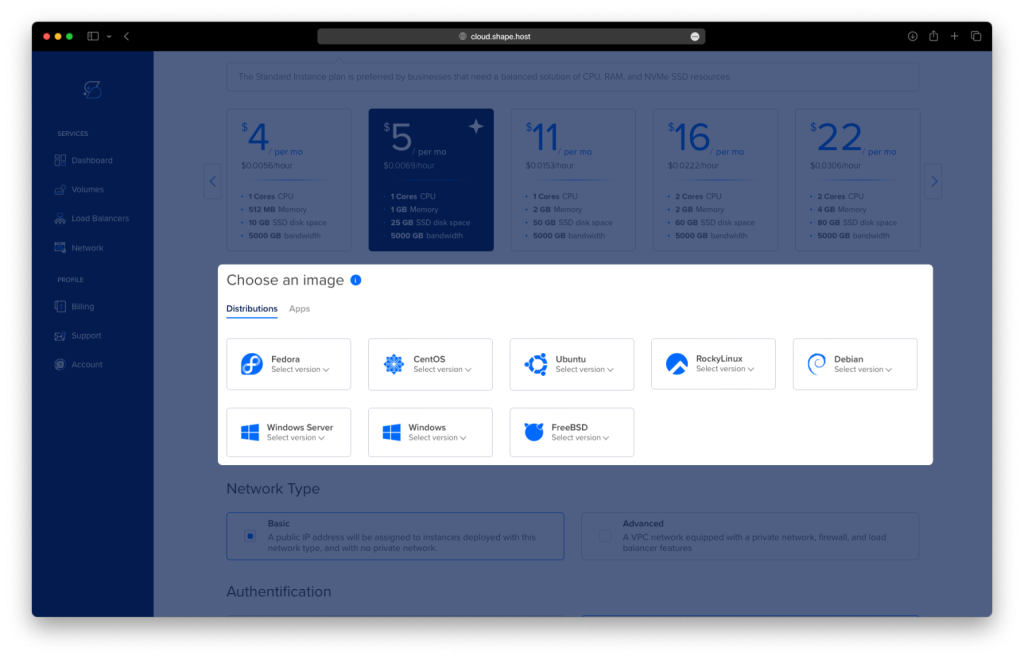
Choose Ubuntu 24.04 (64-bit) as the operating system
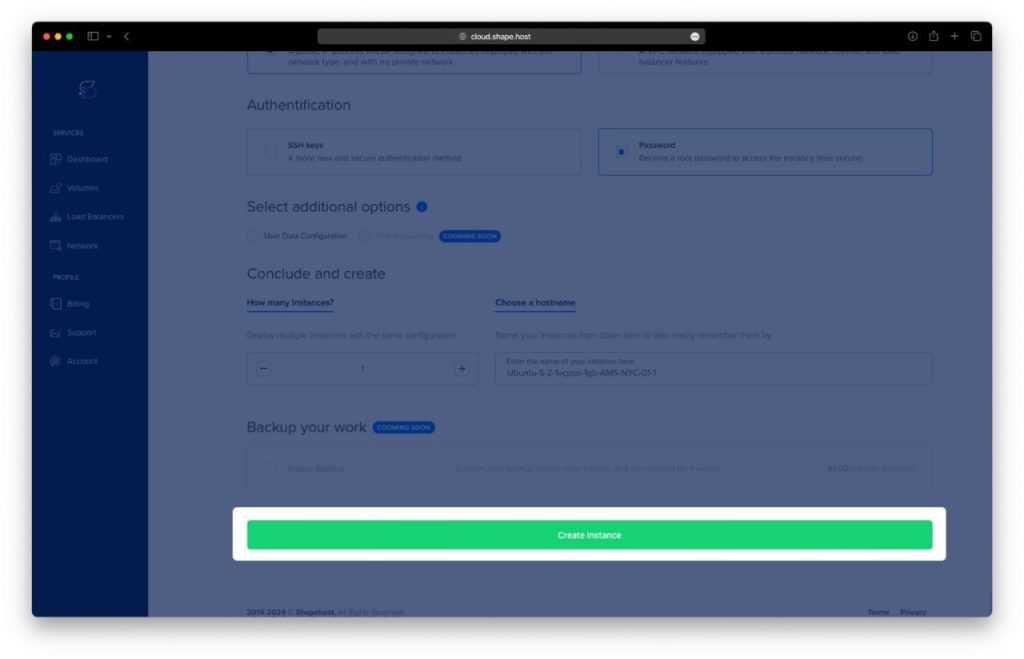
Create the instance and wait for provisioning
Copy the public IP address of the server
Step 2: Connect to the Server
After your VPS is created, you must connect to it via SSH as the root user.
Option A: Linux & macOS
Open a terminal and run:
ssh root@YOUR_SERVER_IP
- Replace
YOUR_SERVER_IPwith the public IP address of your server - Confirm the fingerprint when prompted
- You will be logged in as
root
Option B: Windows (PowerShell / Windows Terminal)
Modern versions of Windows (Windows 10 and newer) include a built-in SSH client.
- Open PowerShell or Windows Terminal
- Run:
ssh root@YOUR_SERVER_IP
- Type
yeswhen asked to confirm the host key - Enter the root password (or SSH key authentication will be used if configured)
You are now connected to the server.
Option C: Windows (PuTTY)
If you prefer PuTTY:
- Download PuTTY from the official site
- Open PuTTY
- In Host Name (or IP address), enter your server IP
- Set:
- Port:
22 - Connection type:
SSH
- Port:
- Click Open
- Log in as:
- Username:
root - Password: your server password
- Username:
Once connected, you will see a Linux shell prompt and can continue with the installation.
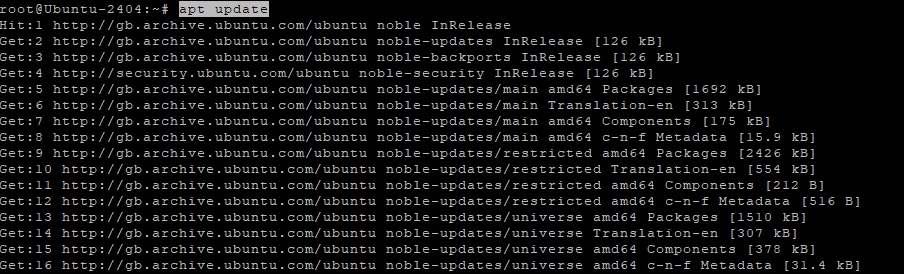
Step 3: Update the Operating System
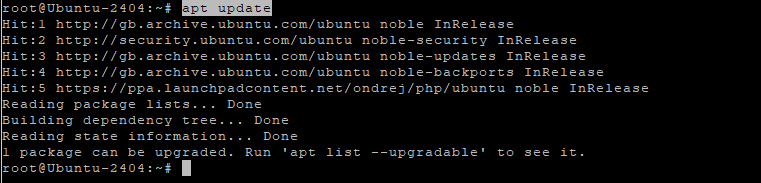
apt update
- Refreshes the package index
- Ensures the system knows about the latest available packages
apt upgrade -y
- Installs all available system updates
- Improves security and stability before installing new software
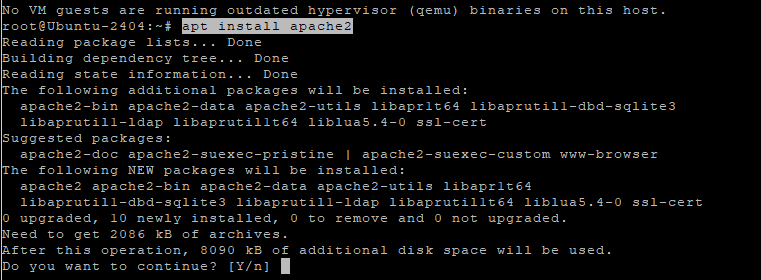
Step 4: Install Apache Web Server
apt install apache2
- Installs the Apache HTTP web server
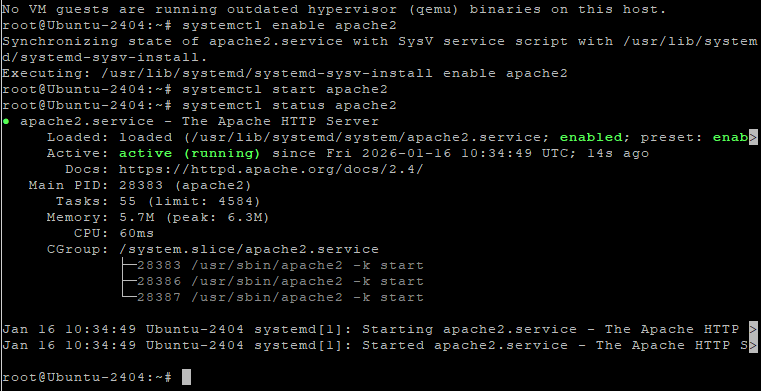
systemctl enable apache2
- Configures Apache to start automatically at boot
systemctl start apache2
- Starts the Apache service
systemctl status apache2
- Verifies that Apache is running correctly
Apache will serve Akaunting’s web interface.
Step 5: Install and Configure MariaDB
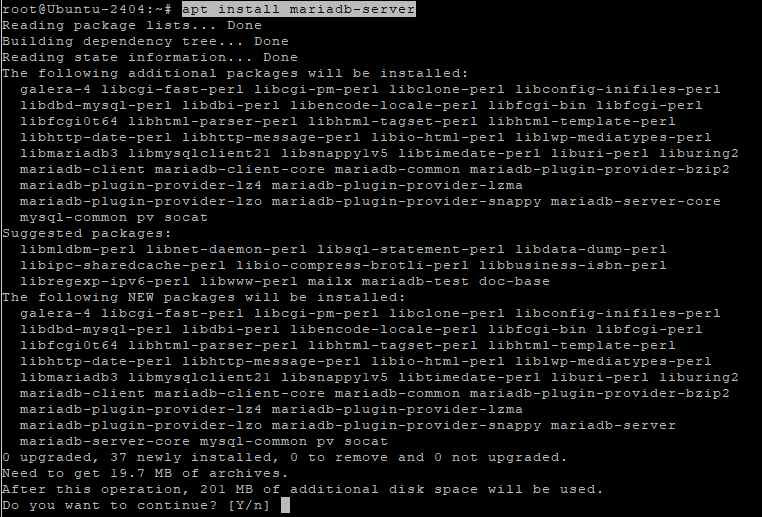
apt install mariadb-server
- Installs the MariaDB database server
systemctl enable mariadb
- Enables MariaDB at system startup
systemctl start mariadb
- Starts the database service

Secure the database
mysql_secure_installation
This interactive script:
- Sets a root password
- Removes anonymous users
- Disables remote root login
- Removes test databases

Create the Akaunting database
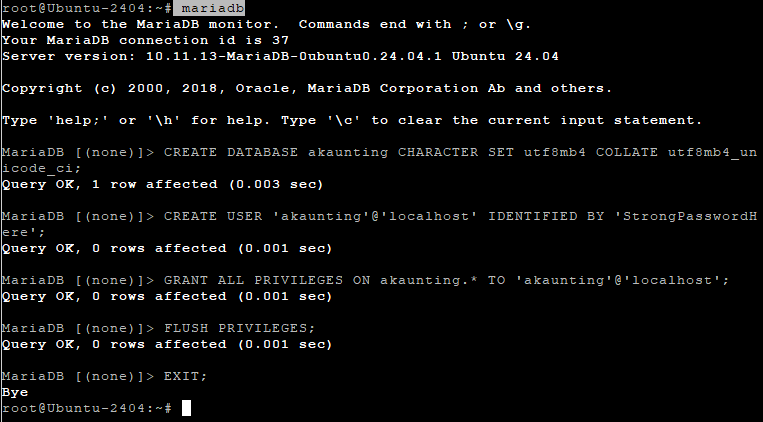
mariadb
Inside MariaDB:
CREATE DATABASE akaunting CHARACTER SET utf8mb4 COLLATE utf8mb4_unicode_ci;
- Creates a database using full Unicode support
CREATE USER 'akaunting'@'localhost' IDENTIFIED BY 'StrongPasswordHere';
- Creates a dedicated database user
GRANT ALL PRIVILEGES ON akaunting.* TO 'akaunting'@'localhost';
- Grants full access only to the Akaunting database
FLUSH PRIVILEGES;
EXIT;
Step 6: Install PHP 8.1 and Required Extensions
Akaunting officially supports PHP 8.1, so we install it via the Ondřej Surý PPA.
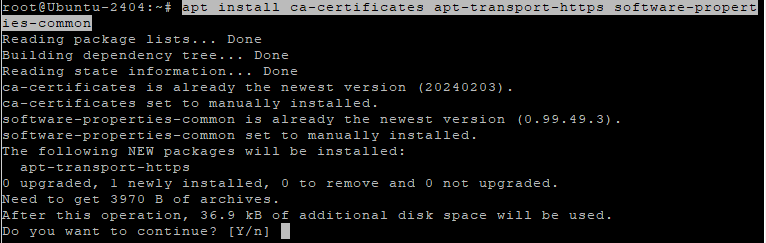
apt install ca-certificates apt-transport-https software-properties-common
- Installs tools required to add external repositories
add-apt-repository ppa:ondrej/php
- Adds the PHP repository with multiple PHP versions
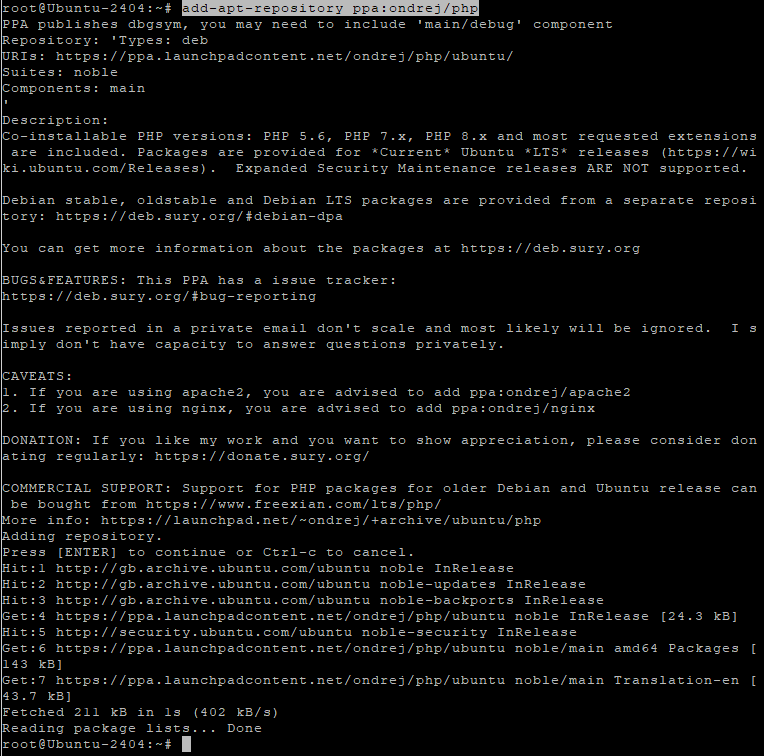
apt update
- Refreshes package lists
apt install php8.1 libapache2-mod-php8.1 php8.1-mysql php8.1-bcmath php8.1-curl php8.1-gd php8.1-intl php8.1-mbstring php8.1-xml php8.1-zip php8.1-fileinfo php8.1-tokenizer php8.1-opcache
These extensions are required for:
- Database access
- File uploads
- PDF generation
- Localization
- Performance optimization

Verify PHP:
php -v

Step 7: Configure PHP for Akaunting
nano /etc/php/8.1/apache2/php.ini
Update or confirm the following values:
memory_limit = 512M
upload_max_filesize = 64M
post_max_size = 64M
max_execution_time = 300
date.timezone = Europe/Bucharest
These settings ensure:
- Large invoices and attachments work correctly
- Long-running operations don’t fail
- Correct timezone handling
Apply changes:
systemctl restart apache2

Step 8: Download and Prepare Akaunting
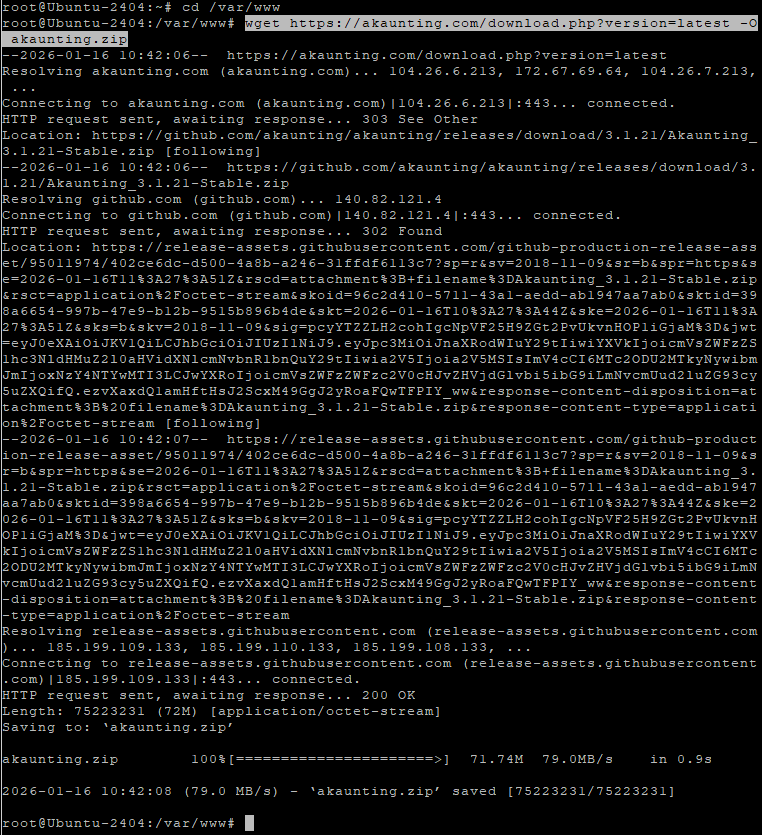
cd /var/www
- Moves to the web root directory
wget https://akaunting.com/download.php?version=latest -O akaunting.zip
- Downloads the latest Akaunting release
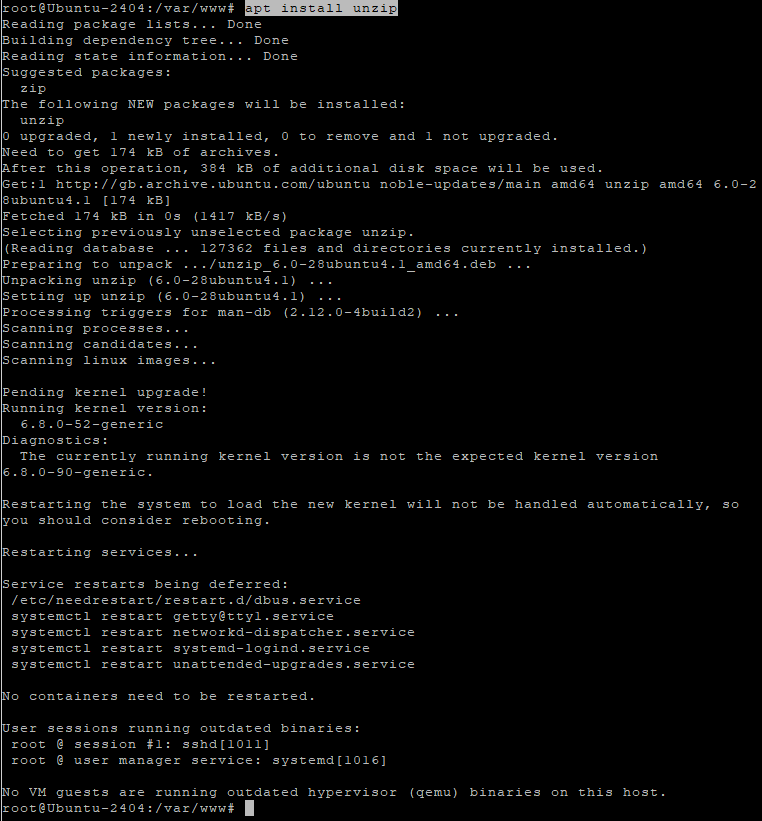
apt install unzip
- Installs the unzip utility
unzip akaunting.zip -d akaunting
- Extracts Akaunting into
/var/www/akaunting
Set correct permissions
chown -R www-data:www-data /var/www/akaunting
- Assigns ownership to Apache
chmod -R 755 /var/www/akaunting
- Sets secure default permissions
chmod -R 775 /var/www/akaunting/storage
chmod -R 775 /var/www/akaunting/bootstrap/cache
- Allows Akaunting to write cache, logs, and uploads

Step 9: Configure Apache Virtual Host
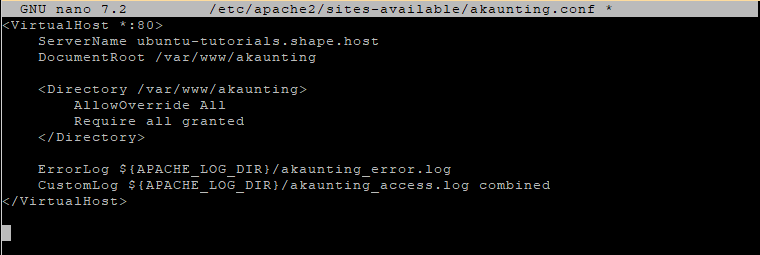
nano /etc/apache2/sites-available/akaunting.conf
Paste:
<VirtualHost *:80>
    ServerName yourdomain.com
    DocumentRoot /var/www/akaunting

    <Directory /var/www/akaunting>
        AllowOverride All
        Require all granted
    </Directory>

    ErrorLog ${APACHE_LOG_DIR}/akaunting_error.log
    CustomLog ${APACHE_LOG_DIR}/akaunting_access.log combined
</VirtualHost>
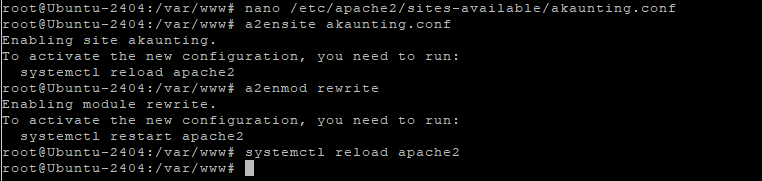
Enable the site and required modules:
a2ensite akaunting.conf
a2enmod rewrite
systemctl reload apache2
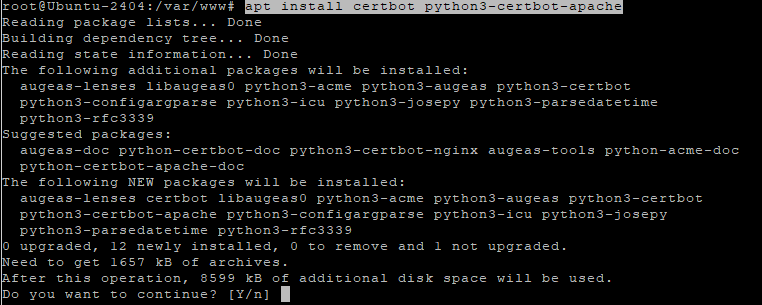
Step 10: Enable SSL with Let’s Encrypt
apt install certbot python3-certbot-apache
- Installs Certbot with Apache integration
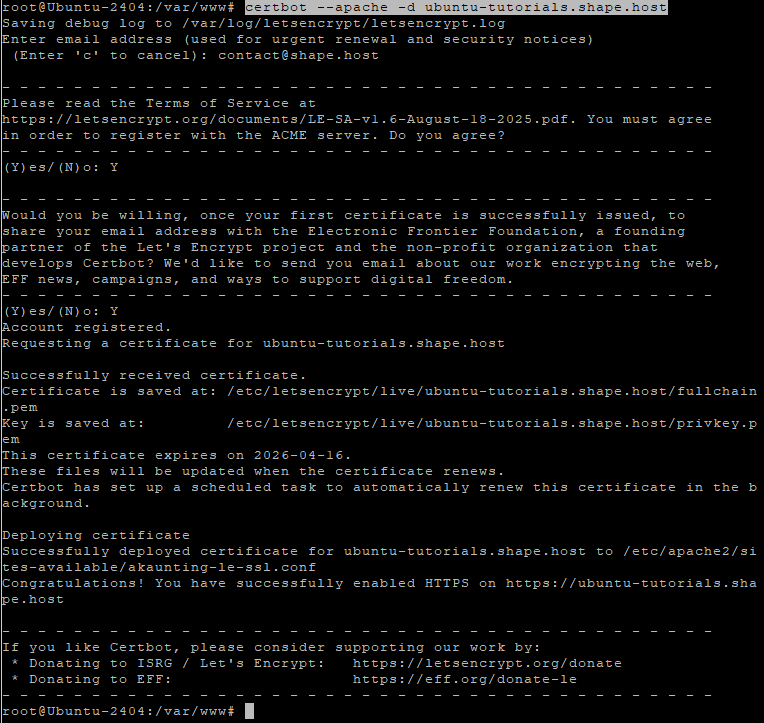
certbot --apache -d ubuntu-tutorials.shape.host
Replace with your actual domain:
yourdomain.com
Certbot will:
- Issue a free SSL certificate
- Automatically configure HTTPS
- Enable automatic certificate renewal
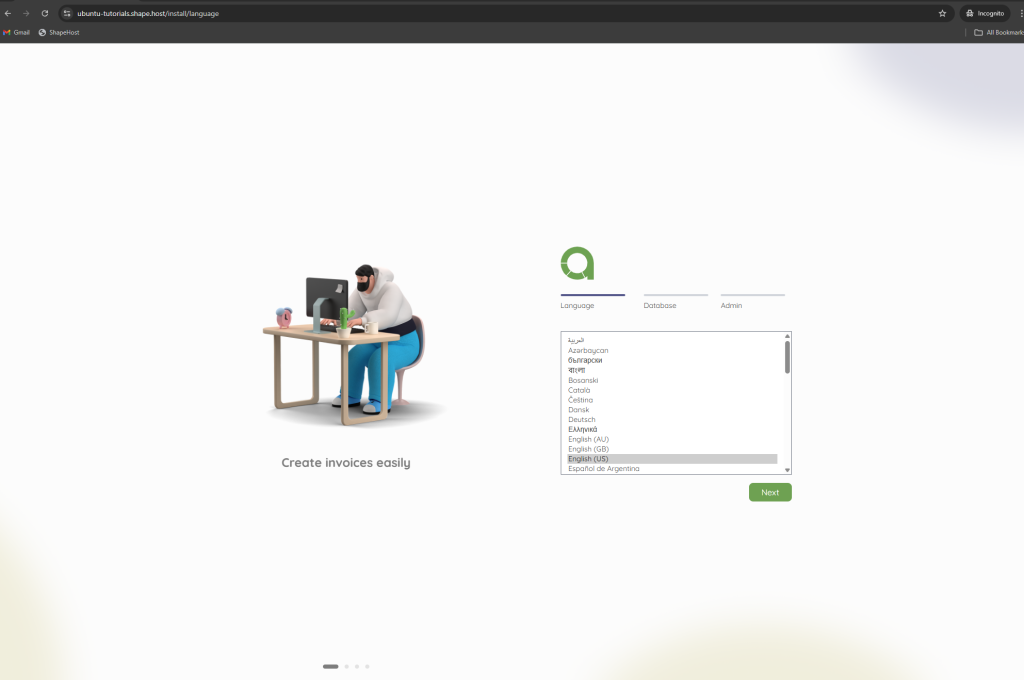
Step 11: Complete Akaunting Web Installation
Open your browser:
https://yourdomain.com
Follow the Akaunting installer:
Enter database credentials
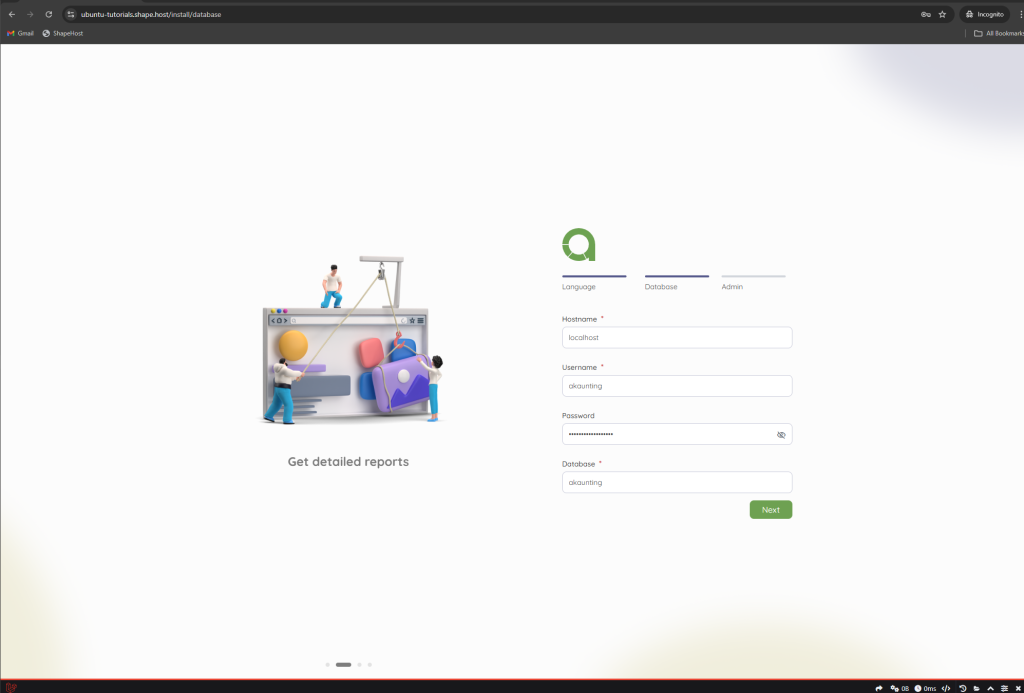
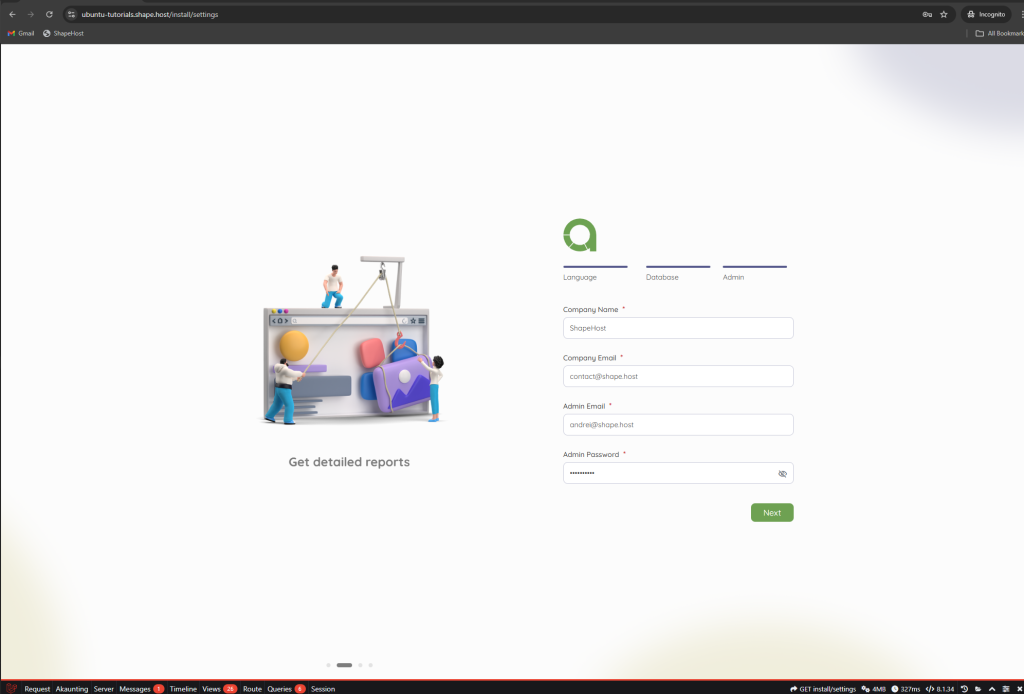
Configure company details
Create the admin account
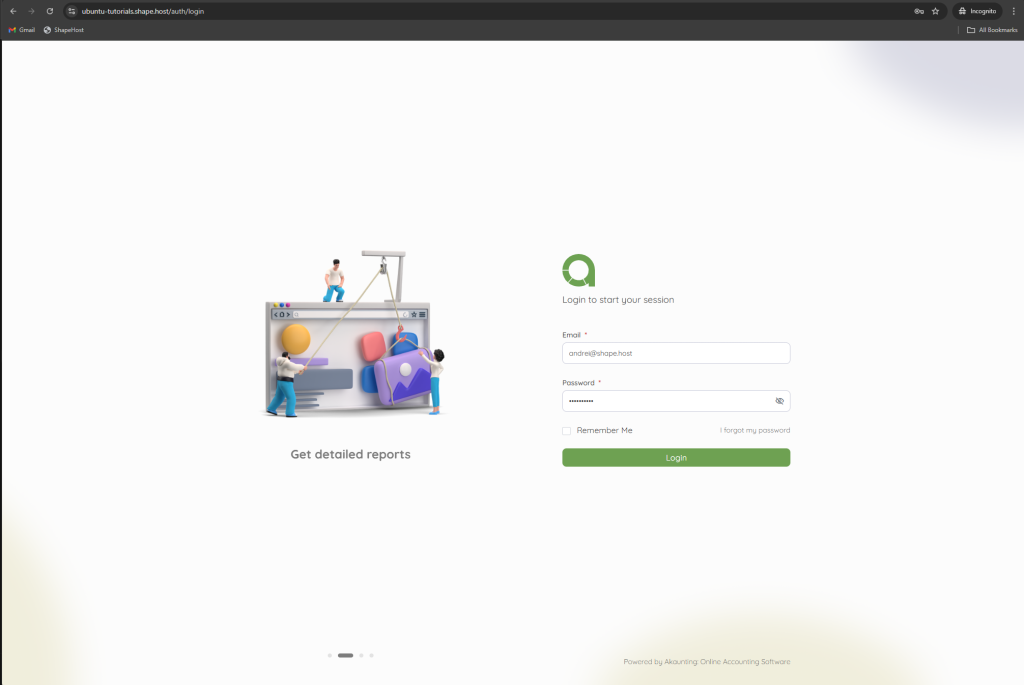
Finish installation.
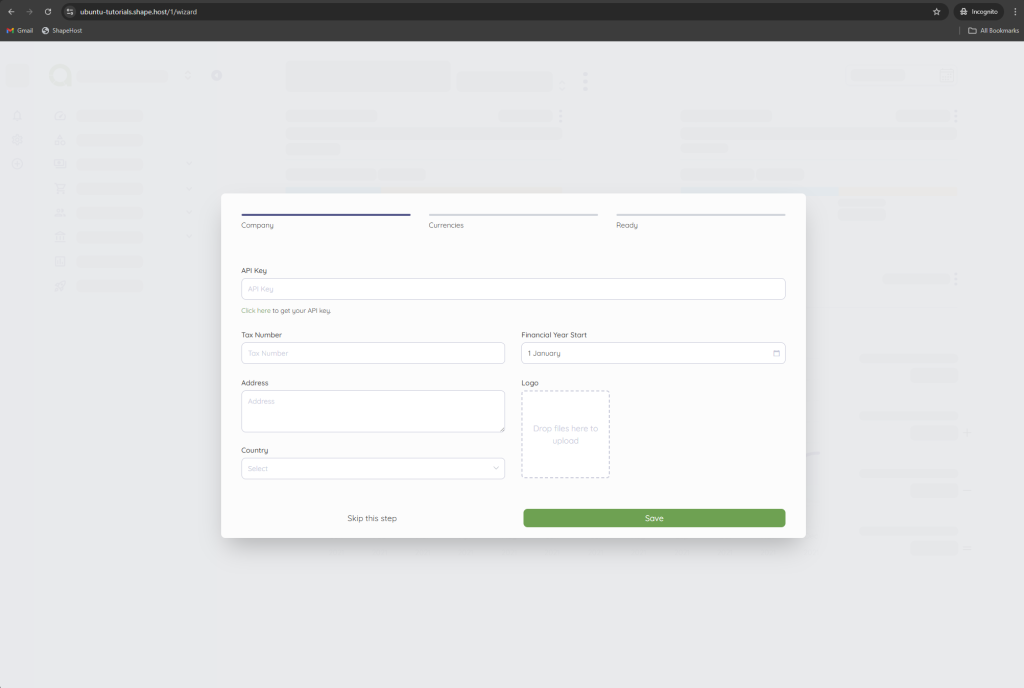
Dashboard.
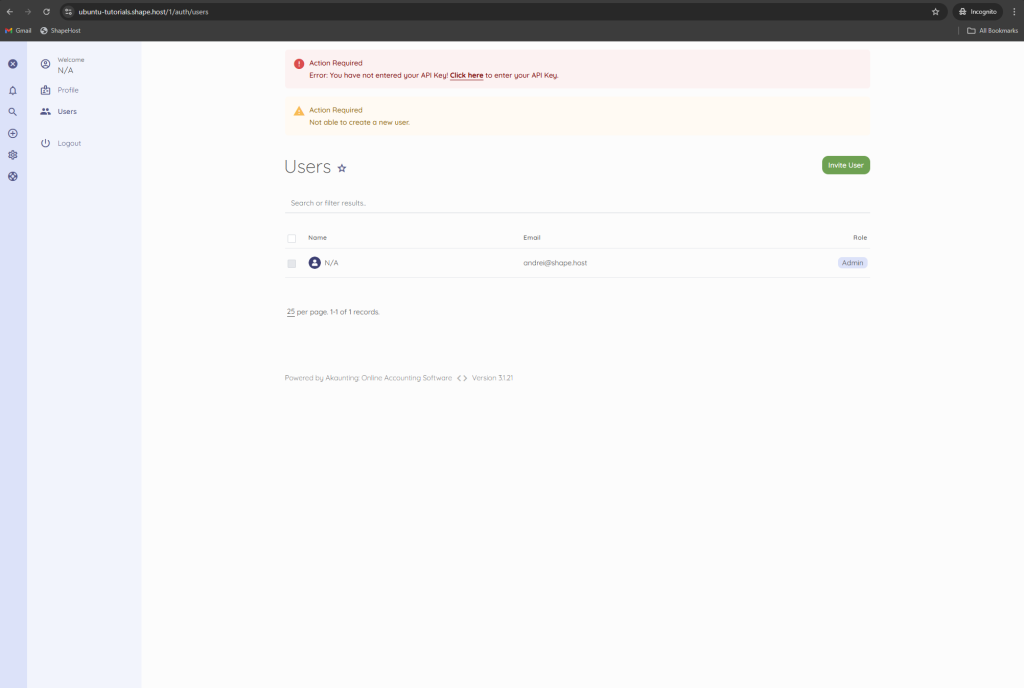
You have successfully installed Akaunting on Ubuntu 24.04 using Apache, MariaDB, PHP 8.1, and secured it with Let’s Encrypt SSL. This setup is stable, secure, and fully suitable for production accounting workloads.
For hosting financial and business-critical applications with full control, performance, and scalability, Shape.Host Linux SSD VPS provides a reliable foundation for modern self-hosted infrastructure.