What is Drupal?
Drupal is a free, open-source content management system (CMS) that allows individuals, businesses, and organizations to build and manage websites and applications. Written in PHP, it is known for its robust features, scalability, and flexibility, making it suitable for a wide range of applications, from small websites to large, enterprise-level platforms.
Key Features of Drupal:
- Highly Flexible and Extensible:
- Modular architecture allows developers to extend functionality by adding or modifying modules.
- Custom content types and fields for creating tailored experiences.
- Strong Security:
- Known for its enterprise-grade security features.
- Supported by a dedicated Drupal Security Team that releases regular updates and advisories.
- Multilingual Support:
- Out-of-the-box support for building multilingual websites.
- Provides tools for managing translations of content, interfaces, and more.
- Scalability:
- Handles high-traffic websites with ease, making it a popular choice for large organizations.
- Designed to scale with caching, load balancing, and database optimization.
- SEO-Friendly:
- Built-in tools for search engine optimization, including customizable URLs, metadata, and XML sitemaps.
- Responsive and Mobile-First:
- Themes and administrative interfaces are mobile-friendly and adaptive.
- Granular Access Control:
- Fine-grained permission settings for managing user roles and content access.
- E-Commerce Capabilities:
- Extensions like Drupal Commerce allow users to build robust online stores.
- API-First Architecture:
- Designed with APIs for integration with third-party services and applications, supporting a headless CMS approach.
- Community-Driven:
- A large, active community that contributes to modules, themes, and core development.
Benefits of Drupal:
- Customizability: Perfect for building unique and complex web applications.
- Flexibility: Adaptable to various use cases, from simple blogs to multi-site enterprise systems.
- Community Support: A vast library of contributed modules and themes maintained by the Drupal community.
- Open Source: No licensing costs, with regular updates and improvements.
Use Cases:
- Government and public sector websites
- Enterprise-level portals and intranets
- Higher education platforms
- E-commerce sites
- Media and publishing platforms
- Nonprofit and advocacy group websites
Installation Requirements:
- Web Server: Apache, Nginx, or IIS
- PHP: Version 7.4 or higher
- Database: MySQL (5.7+), MariaDB (10.3+), PostgreSQL (10+), or SQLite
- Memory: At least 64MB (128MB+ recommended for larger sites)
Comparison with Other CMS Platforms:
- Drupal vs. WordPress:
- Drupal: Better for complex, large-scale projects requiring customization and security.
- WordPress: Easier to use, ideal for beginners and small to medium-sized websites.
- Drupal vs. Joomla:
- Drupal: Offers greater flexibility and scalability but has a steeper learning curve.
- Joomla: Easier for mid-level users, with more built-in features.
Popular Modules:
- Views: For creating custom lists and content displays.
- Pathauto: Automatically generates SEO-friendly URLs.
- Webform: For building advanced forms and surveys.
- Paragraphs: Allows flexible content creation with modular layouts.
Notable Websites Using Drupal:
- The White House (historically)
- The Weather Channel
- NBC Universal
- NASA
- Harvard University
Why Choose Drupal?
Drupal stands out for its power, security, and flexibility, making it a top choice for developers who need to create complex websites and applications. While it has a steeper learning curve compared to other CMS platforms, the investment pays off in its ability to meet advanced, enterprise-grade requirements.
Step 1: Create an Instance
To get started with installing Next.js, you need to have a server instance running Ubuntu 24.04.
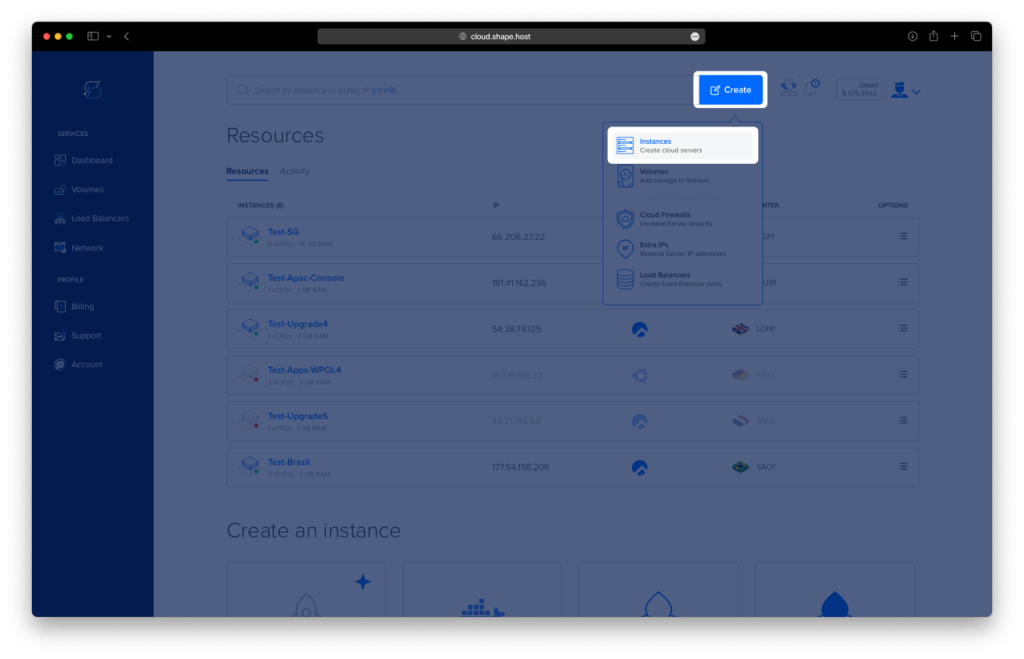
- Access the Dashboard: Log in to your Shape.Host account and navigate to your Dashboard.
- Click Create: Click on the “Create” button located in the top-right corner.
- Select Instances: From the dropdown menu, choose “Instances” to begin creating a new cloud server.
- Select Location: Choose a data center location for your instance closest to your target audience for optimal performance.
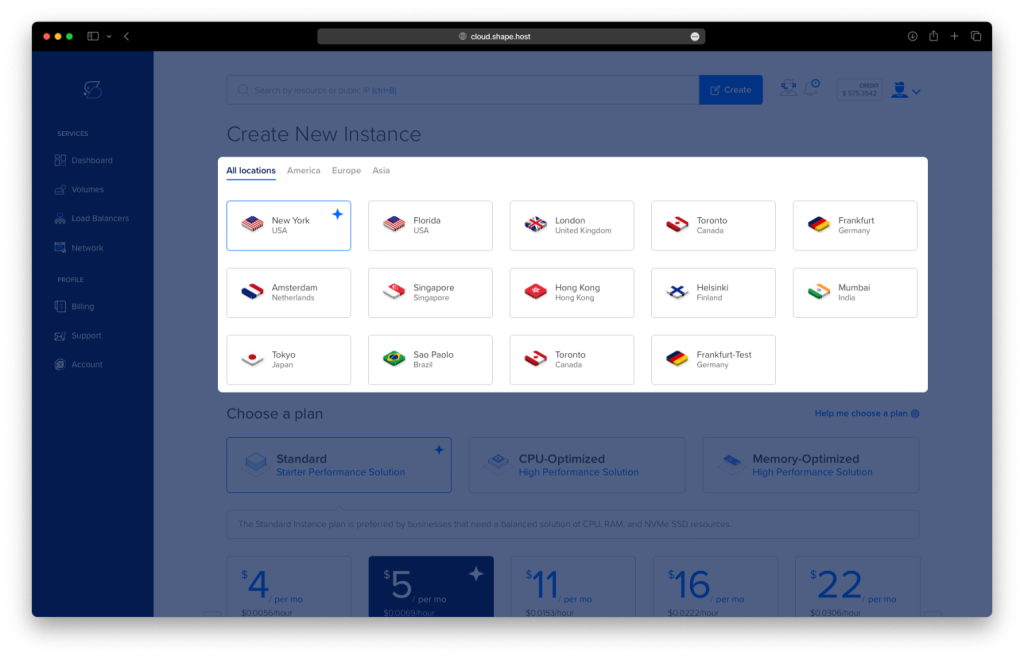
- Choose a Plan: Scroll through the available pricing plans. Select a plan based on your project requirements, such as Standard, CPU-Optimized, or Memory-Optimized.
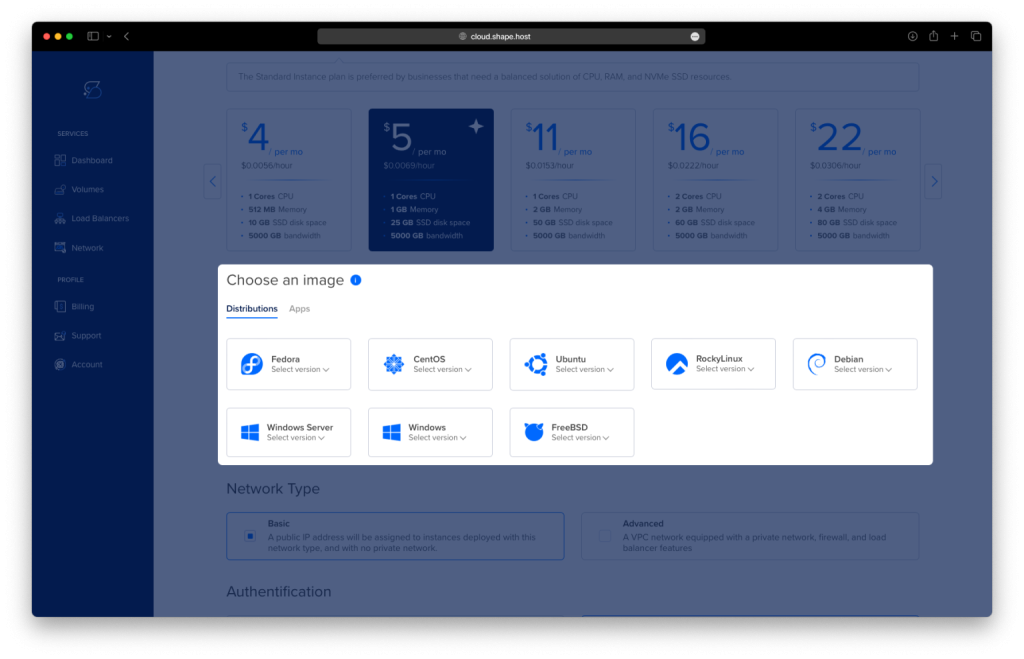
- Choose an Image: Select Ubuntu 24.04 as the operating system for your instance.
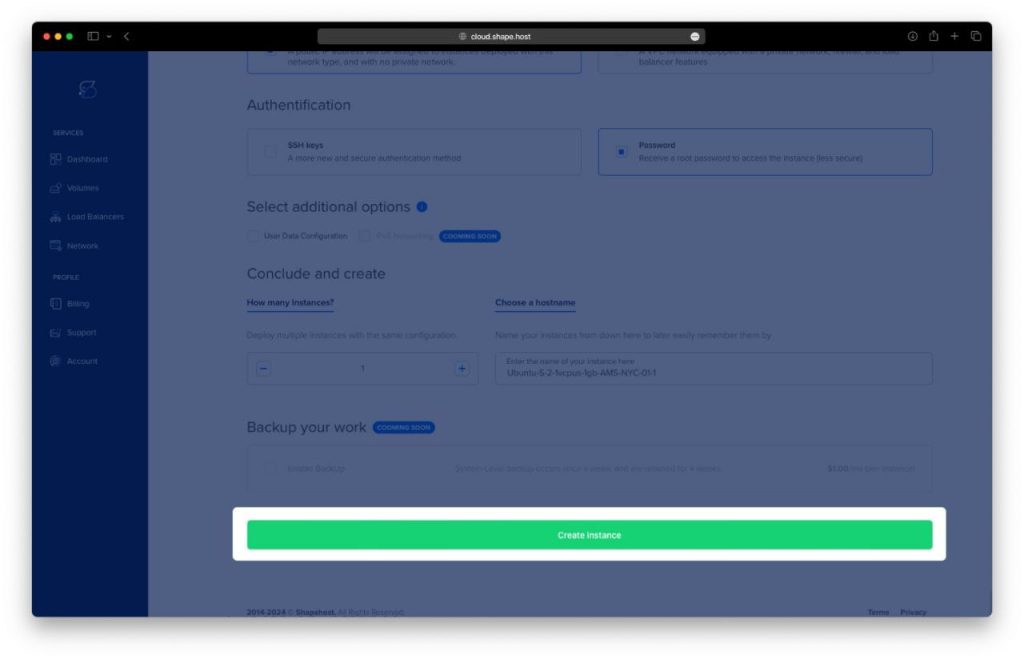
- Authentication and Finalize: Choose your authentication method, either via SSH keys or password. Once done, click Create Instance to launch your server.
Step 2: Connect to the Instance
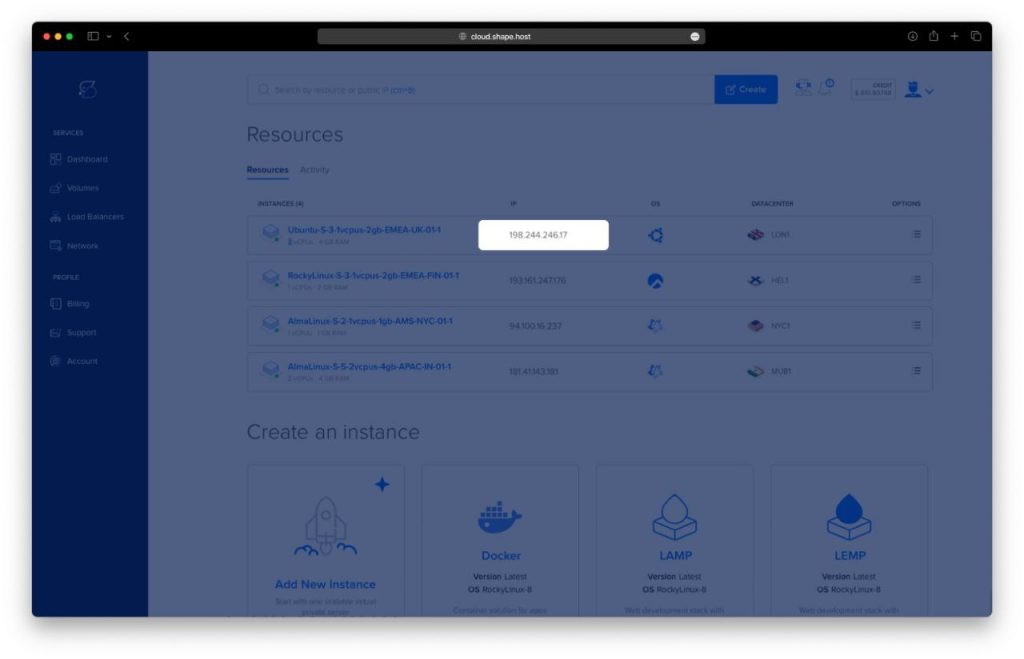
- Find the Instance IP: Retrieve the public IP address of your instance from the Shape.Host dashboard.
- SSH into the Instance: Connect to your instance using the following command:
ssh root@<your-instance-ip> - Replace
<your-instance-ip>with the actual IP address of your server.
Step 3: Update the System
Update and upgrade the system packages:
apt update && apt upgrade -y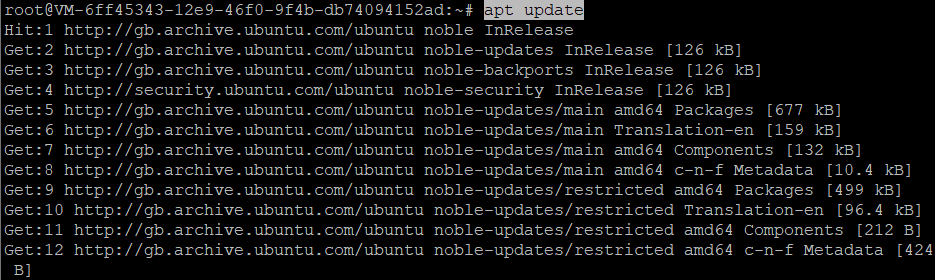
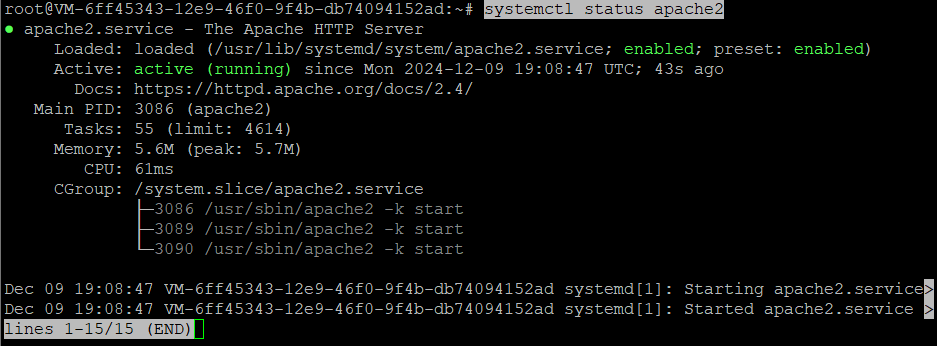
Step 4: Install Apache Web Server
Install and start Apache:
apt install apache2 -y
systemctl enable apache2 && systemctl start apache2
systemctl status apache2

Step 5: Install MariaDB
Install and configure MariaDB:
apt install mariadb-server mariadb-client -y
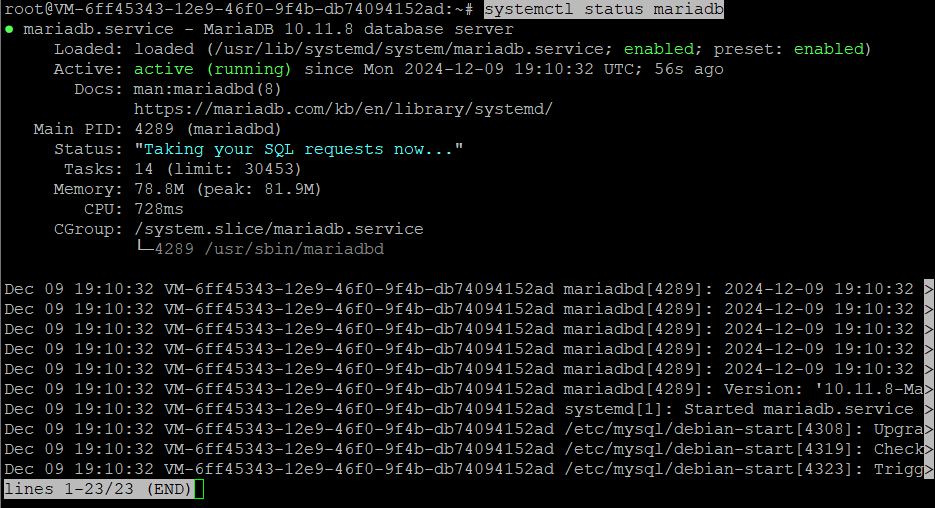
systemctl start mariadb && systemctl enable mariadb
systemctl status mariadb
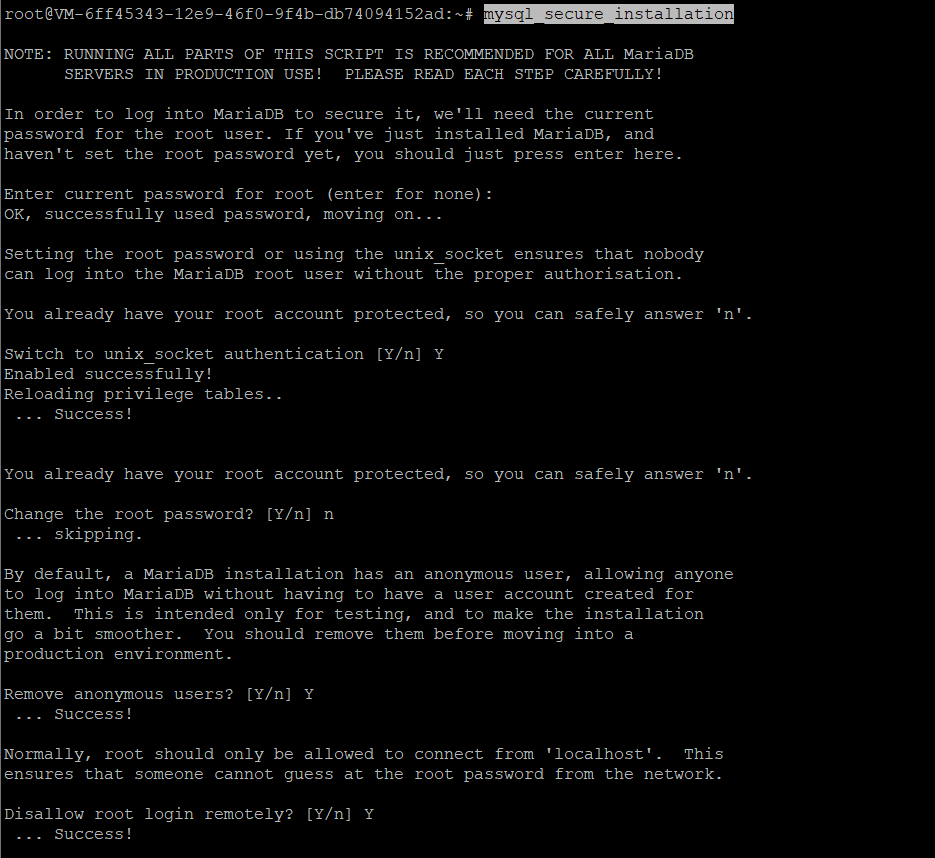
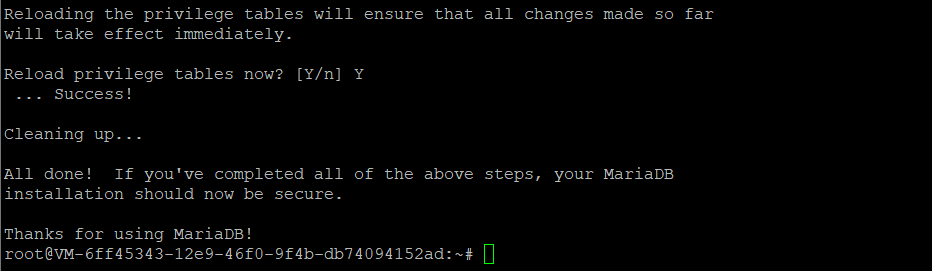
mysql_secure_installation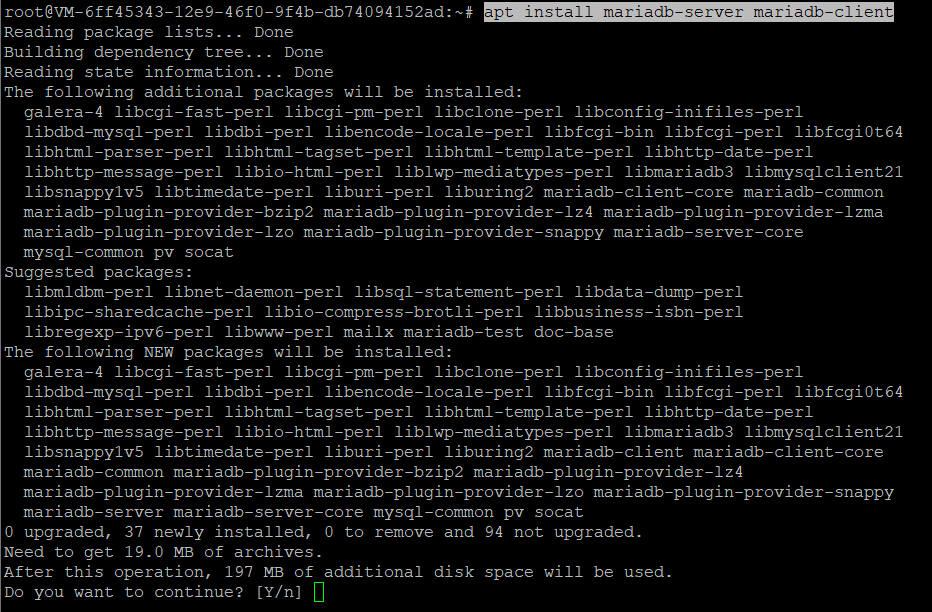

Step 6: Install PHP
Install PHP and required modules:
apt install php libapache2-mod-php php-dev php-bcmath php-intl php-soap php-zip php-curl php-mbstring php-mysql php-gd php-xml -y
php -v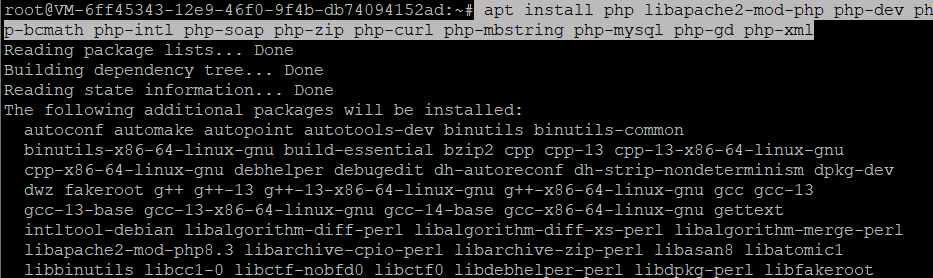

Step 7: Download and Extract Drupal
Download the latest Drupal package:
wget https://www.drupal.org/download-latest/tar.gz -O drupal-latest.tar.gz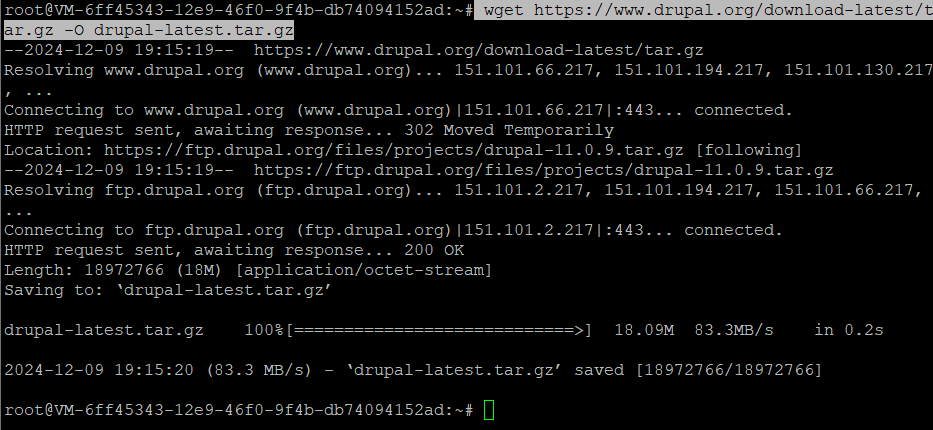
Extract the package to the web root directory:
tar -xzf drupal-latest.tar.gz -C /var/www/html/
mv /var/www/html/drupal-* /var/www/html/drupal
Verify the extraction:
ls /var/www/html/
Set proper permision:
chown -R www-data:www-data /var/www/html/drupal
chmod -R 755 /var/www/html/drupal
Step 8: Configure MariaDB for Drupal
Log in to MariaDB and create a database and user for Drupal:
mariadb -u root -pRun the following SQL commands:
CREATE DATABASE drupaldb;
CREATE USER 'drupal'@'localhost' IDENTIFIED BY 'password123';
GRANT ALL PRIVILEGES ON drupaldb.* TO 'drupal'@'localhost';
FLUSH PRIVILEGES;
EXIT;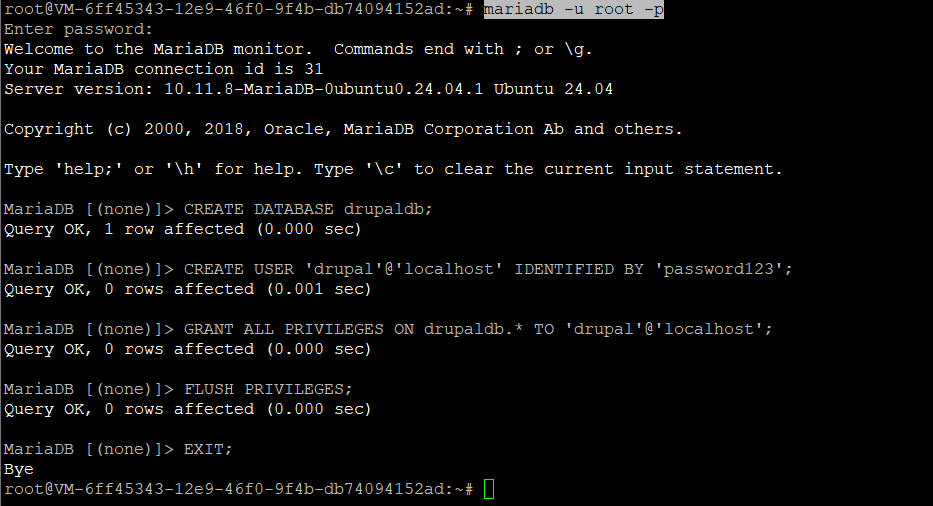
Step 9: Configure Apache Virtual Host
Create a new Apache site configuration file:
nano /etc/apache2/sites-available/drupal.confAdd the following configuration:
<VirtualHost *:80>
    ServerName tutorials.shape.host
    DocumentRoot /var/www/html/drupal

    <Directory /var/www/html/drupal/>
        AllowOverride All
        Require all granted
    </Directory>
</VirtualHost>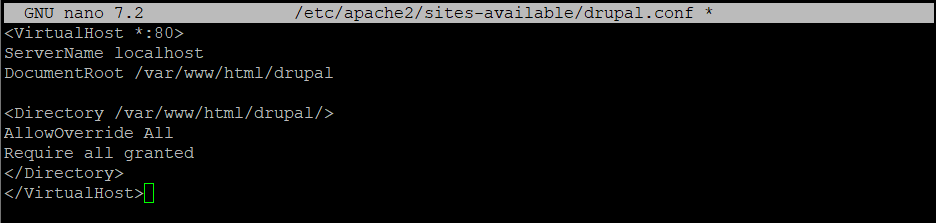
Enable the site and reload Apache:
a2ensite drupal.conf
systemctl reload apache2
Step 10: Access Drupal in a Web Browser
Navigate to http://your-domain.com/drupal in your web browser. Follow the on-screen instructions to complete the installation by entering the database details configured earlier.
How to Setup and Access Drupal in a Web Browser?
To complete the Drupal installation and configuration you have to access Drupal from a web browser. Perform these steps.
Step 1: Access Drupal and Select Language
To Access Drupal using a web browser:
- Open your web browser.
- Enter the server’s IP or domain name (i.e. localhost/drupal).
- Select your language for Drupal.
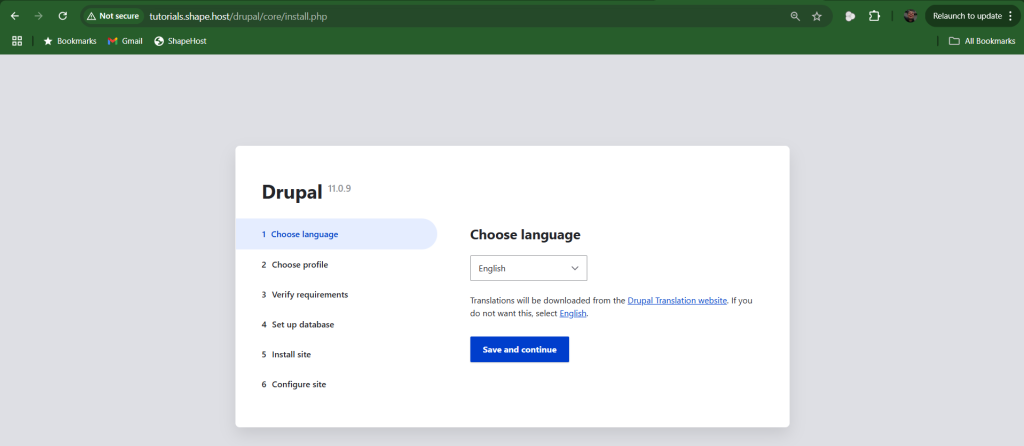
Proceed with “Save and continue”.
Step 2: Choose Installation Profile
In “Choose profile”, select the installation profile that best suits your needs and requirements:
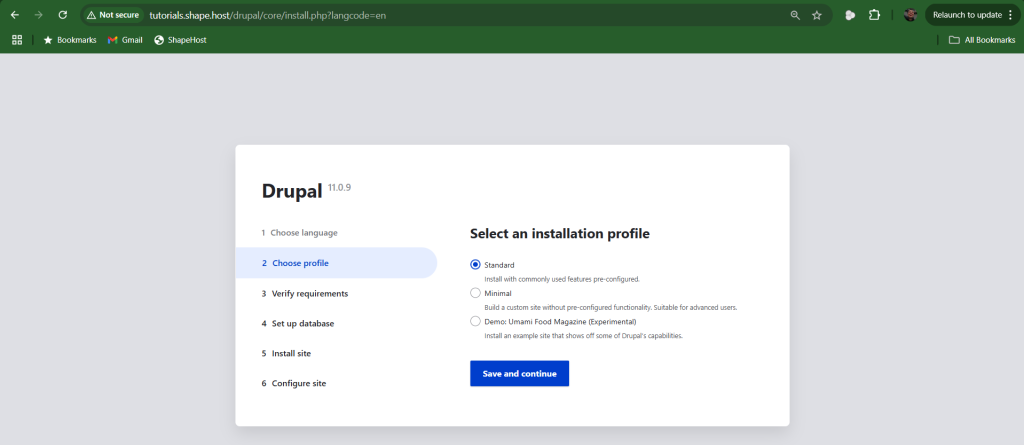
Proceed with “Save and continue”.
Step 3: Verify Requirements
Ensure all the requirements are correctly configured:
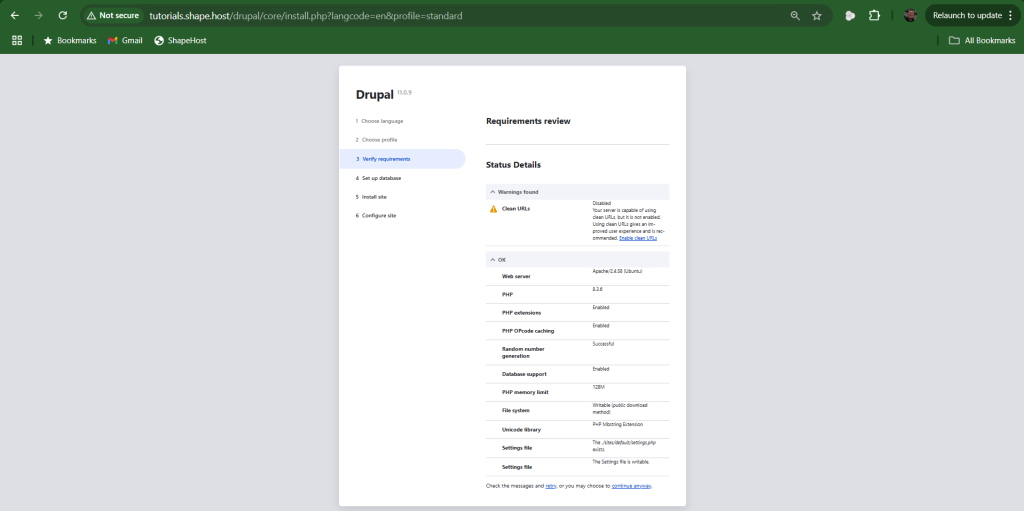
Address the missing configurations or you can simply proceed with “continue anyway”.
Step 4: Setup Database
Specify your database credentials to connect Drupal:
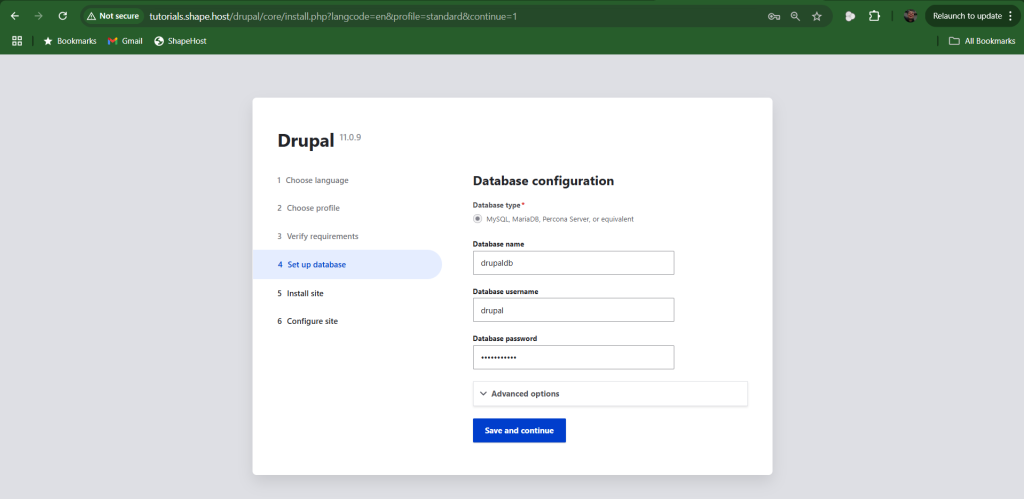
Enter the credentials you created earlier in the MariaDB shell.
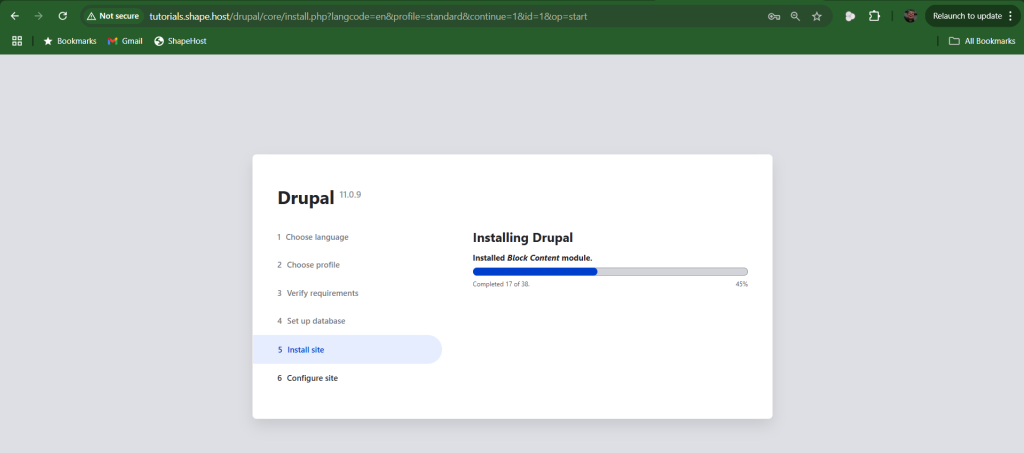
Step 5: Install Site
Wait a moment to complete the installation of the Dural site.
Step 6: Configure Site
Configure your site:
- site’s name: “Shape Host”.
- email “contact@shape.host”.
- Username: “andrei”.
- Password: “password123”.
- Time zone: “abc”
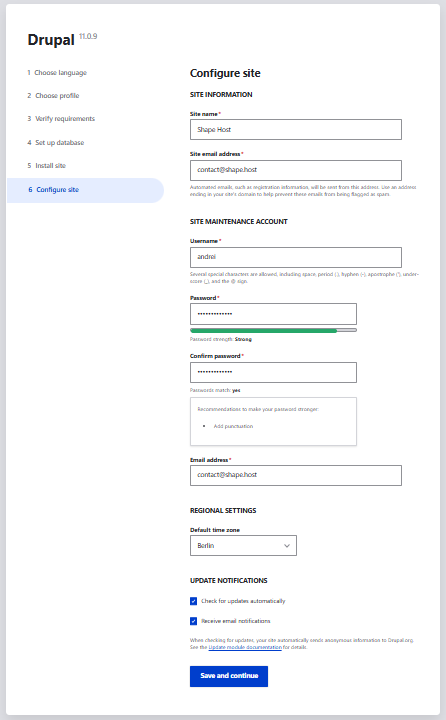
After entering your credentials, save the settings by clicking “Save and continue”.
A welcome page will be displayed, indicating that you have successfully configured Drupal on your Ubuntu 24.04 machine:
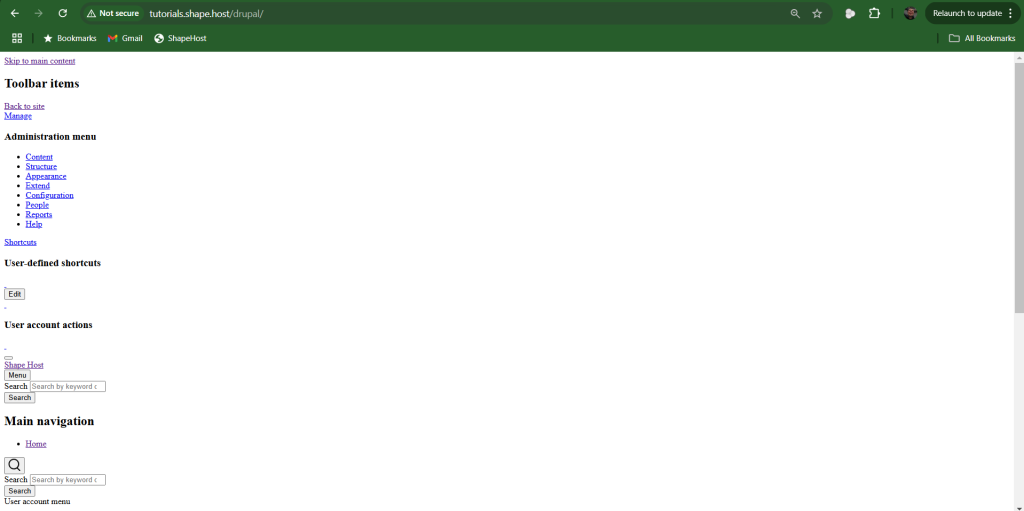
You have successfully installed Drupal on Ubuntu 24.04. For reliable and high-performance hosting, consider using Shape.Host Cloud VPS.