Emby is a powerful and versatile media server that enables you to organize, manage, and stream your personal media content such as videos, music, and photos to a wide range of devices. This guide will walk you through the detailed steps to install Emby Media Server on Ubuntu 22.04. We’ll cover everything from initial server setup to configuring the Emby server for optimal performance.
Step 1: Initiating Instance Creation
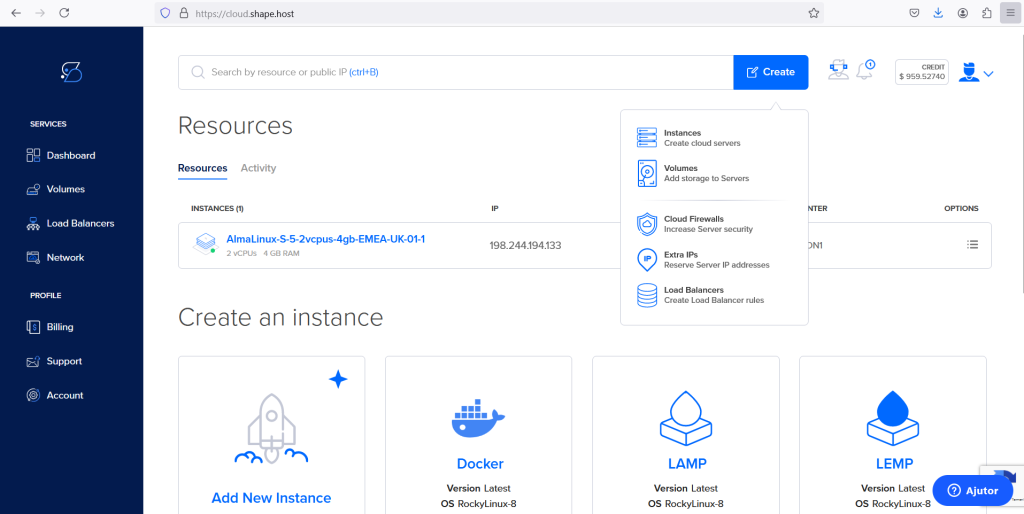
- To create a new instance, click on the blue “Create” button located in the top-right corner of the page.
- Selecting Instance Type
- You’ll be presented with options to create different types of resources. Click on “Add New Instance” to begin setting up a new virtual machine.
Step 2: Choosing a Location
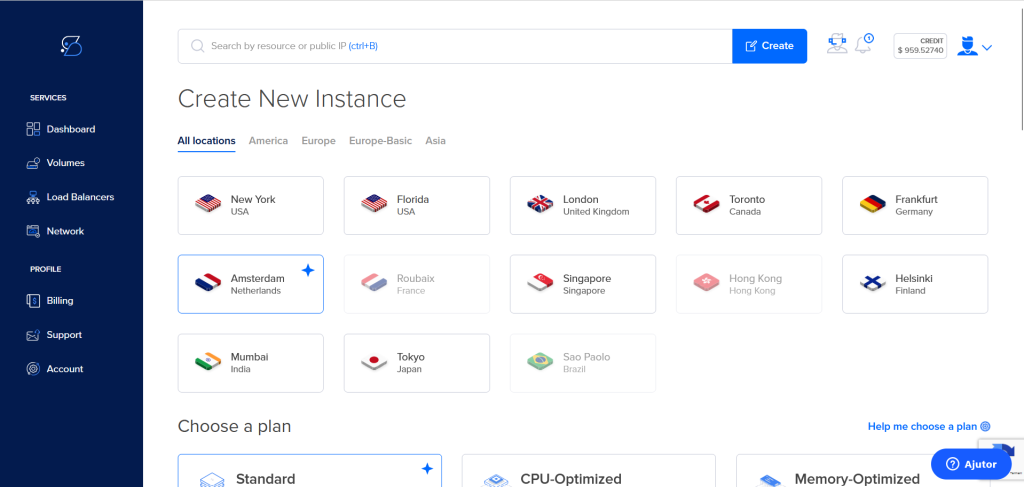
- On the “Create New Instance” page, you’ll see a list of available locations. Select your preferred data center location. In this example, “Amsterdam, Netherlands” is highlighted.
Step 3: Selecting a Plan
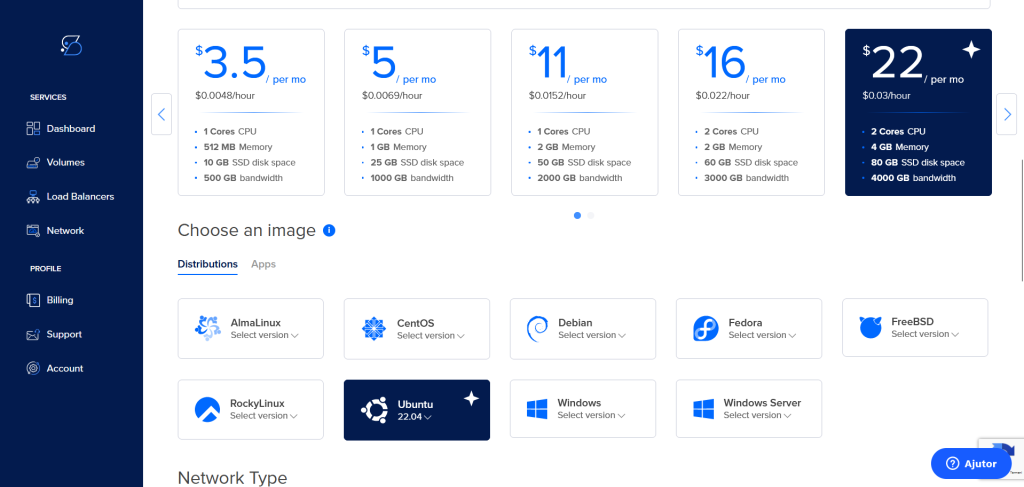
- Choose a plan that fits your needs. The screenshot shows various options ranging from $3.5 to $22 per month, with different specifications for CPU, memory, storage, and bandwidth.
- Choosing an Operating System
- Scroll down to the “Choose an image” section. You can select from various distributions such as AlmaLinux, CentOS, Debian, Fedora, FreeBSD, RockyLinux, Ubuntu, Windows, and Windows Server. In this case, Ubuntu 22.04 is selected.
Step 4: Authentication Method
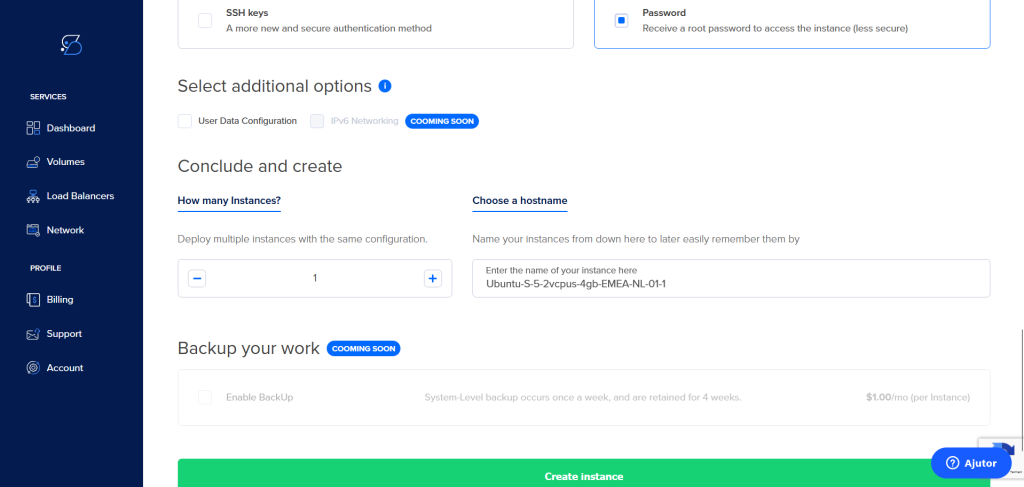
Choose between SSH keys (recommended for better security) or a password for root access. The password option is selected in the image.
To complete the process, you would click the “Create Instance” button at the bottom of the page, which is not visible in the provided screenshots.
Step 5: Update Your System
First, update your system to ensure all packages are up-to-date.
apt update -y
apt upgrade -y
Step 6: Install Required Dependencies
Emby Media Server requires certain dependencies to function correctly. Install them with the following command:
apt install apt-transport-https software-properties-common wget -y
Step 7: Add the Emby Repository
Next, add the official Emby repository to your system. This ensures that you get the latest version of Emby.
wget https://github.com/MediaBrowser/Emby.Releases/releases/download/4.8.3.0/emby-server-deb_4.8.3.0_amd64.deb
Update your package list to include the Emby repository:
dpkg -i emby-server-deb_4.8.3.0_amd64.deb
apt install -f
Step 8: Install Emby Media Server
Now, install the Emby Media Server package:
apt install emby-server -y
Step 9: Start and Enable Emby Server
Start the Emby server and enable it to start on boot:
systemctl start emby-server
systemctl enable emby-server
Check the status of the Emby server to ensure it is running:
systemctl status emby-server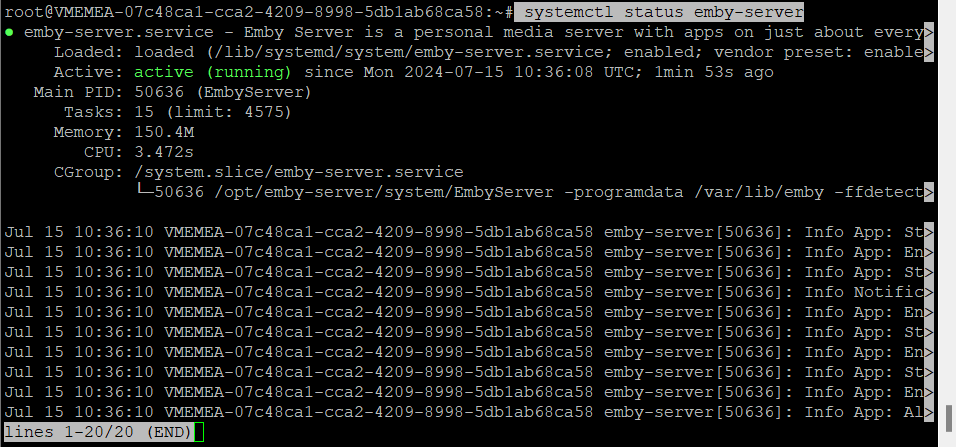
You should see an output indicating that the Emby server is active and running.
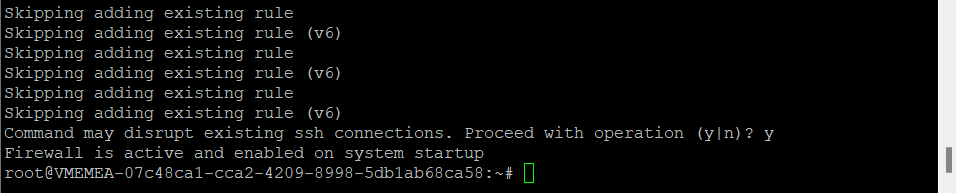
Step 10: Configure Firewall
To access Emby from a web browser, you need to allow the necessary ports through the firewall. Emby uses port 8096 for HTTP and port 8920 for HTTPS.
ufw allow 8096/tcp
ufw allow 8920/tcp
ufw allow ssh
ufw enable
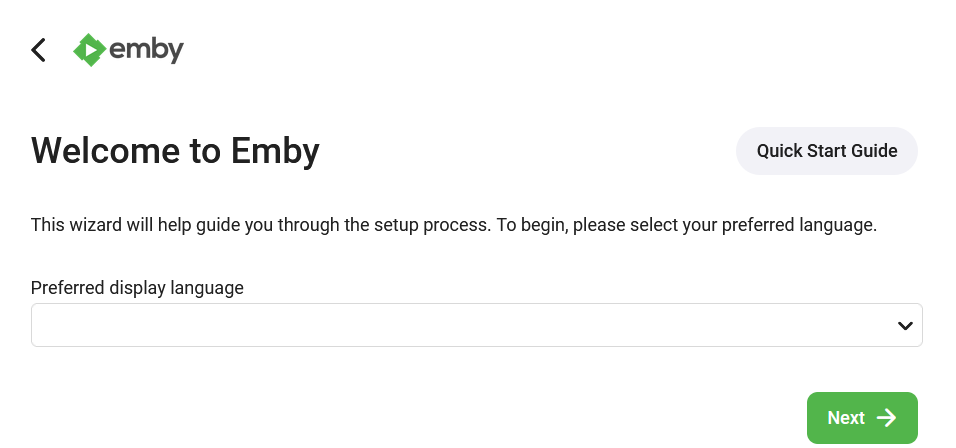
Step 11: Access the Emby Web Interface
Open your web browser and navigate to http://your-server-ip:8096. You will be greeted by the Emby setup wizard.
Language Selection: Choose your preferred language and click “Next”.
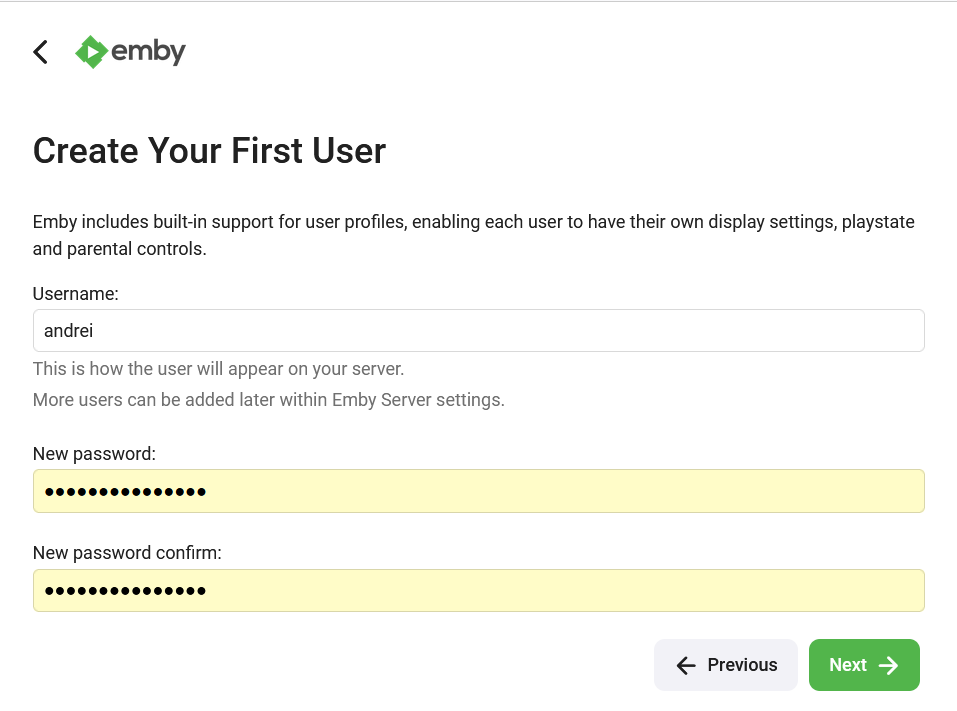
Administrator Account: Create an admin account by entering a username and password, then click “Next“.
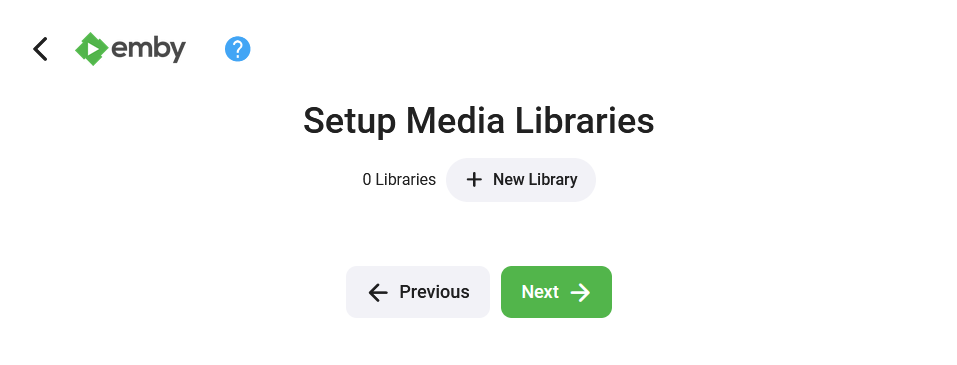
Media Library Setup: Add media libraries by specifying the type (Movies, TV Shows, Music, etc.) and the path to your media files, then click “Next”.
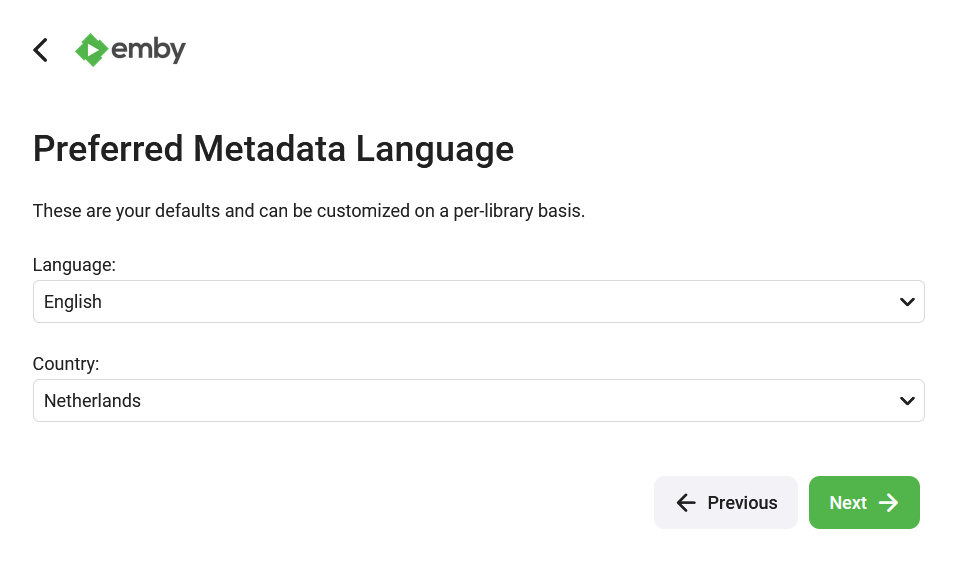
Metadata Language: Choose your preferred metadata language and click “Next”.
Finish: Review your settings and click “Finish”.

Step 12: Additional Configuration
After completing the initial setup, you can further configure your Emby server through the web interface:
- Library Settings: Configure the media libraries by specifying advanced options such as metadata fetching, library scan intervals, and more.
- User Management: Create and manage user accounts to control access to your media content.
- Plugins: Install plugins to extend Emby’s functionality. Popular plugins include subtitle fetchers, Kodi integration, and more.
- Live TV: Set up Live TV if you have a compatible TV tuner or IPTV service.
For a seamless hosting experience, consider using Shape.Host’s Cloud VPS services. Shape.Host provides scalable resources, robust security, and 24/7 support, ensuring your Emby Media Server runs efficiently and reliably. Visit Shape.Host for more information on their Cloud VPS services and how they can enhance your hosting environment.