PyTorch is an open-source machine learning library developed by Meta AI (formerly Facebook AI Research). It is widely used for deep learning, neural networks, and artificial intelligence (AI) tasks due to its flexibility, ease of use, and strong community support. PyTorch on Debian 12 provides a powerful platform for researchers, developers, and data scientists to build and deploy machine learning models efficiently.
Key Features of PyTorch on Debian 12
- Dynamic Computation Graphs
- PyTorch’s dynamic computation graph, also known as Define-by-Run, allows developers to modify neural network architectures on the fly.
- GPU Acceleration with CUDA
- PyTorch supports CUDA for accelerated deep learning, enabling faster training and inference on NVIDIA GPUs.
- Automatic Differentiation (Autograd)
- The autograd module automates gradient computation, simplifying the training of neural networks using backpropagation.
- TorchScript for Production Deployment
- TorchScript allows PyTorch models to be serialized and optimized for production environments, bridging the gap between research and deployment.
- Scalability with Distributed Training
- PyTorch supports DistributedDataParallel (DDP), enabling efficient multi-GPU and multi-node training for large-scale models.
- Rich Ecosystem with Extensions
- PyTorch integrates seamlessly with libraries like TorchVision (image processing), TorchText (NLP), and TorchAudio (audio processing).
- Cross-Platform Compatibility
- PyTorch runs smoothly on Debian 12, ensuring compatibility with both CPU and GPU environments.
- Strong Community and Documentation
- A vibrant community and extensive documentation make PyTorch accessible to both beginners and advanced users.
Advantages of Using PyTorch on Debian 12
- Flexible and Intuitive: PyTorch’s Pythonic syntax and dynamic graph structure simplify model building and experimentation.
- Accelerated Performance: Leverage CUDA and GPU support for faster training of complex models.
- Seamless Integration: Compatible with popular machine learning frameworks like Hugging Face Transformers, fastai, and PyTorch Lightning.
- Efficient Debugging: Native support for Python debugging tools like PDB and IPython enhances model development.
- Robust Deployment: Transition models from research to production using TorchServe and TorchScript.
Use Cases of PyTorch on Debian 12
- Computer Vision
- Build and train convolutional neural networks (CNNs) using TorchVision for tasks like image classification, object detection, and segmentation.
- Natural Language Processing (NLP)
- Utilize Transformers from Hugging Face to create state-of-the-art models for text generation, translation, and sentiment analysis.
- Reinforcement Learning (RL)
- Train AI agents using frameworks like Stable Baselines3 and PyTorch RL for gaming and robotics.
- Medical Imaging and Diagnostics
- Apply PyTorch for tasks like image segmentation, disease detection, and predictive analytics in healthcare.
- Autonomous Vehicles
- Use PyTorch to develop models for object recognition, path planning, and sensor fusion in self-driving cars.
- Scientific Research
- Empower researchers with tools for simulations, neural network modeling, and advanced mathematical computations.
Comparison: PyTorch vs. Other Frameworks
| Feature | PyTorch | TensorFlow | JAX | MXNet |
|---|---|---|---|---|
| Computation Graph | ✅ Dynamic (Define-by-Run) | ⚠️ Static (Eager Mode in TF 2.0) | ✅ Dynamic (Define-by-Run) | ⚠️ Hybrid |
| GPU Acceleration | ✅ CUDA Support | ✅ CUDA and TPU Support | ✅ CUDA and TPU Support | ✅ CUDA Support |
| Ease of Use | ✅ Pythonic and Intuitive | ⚠️ Steeper Learning Curve | ✅ Simplified JIT Compilation | ⚠️ Moderate Complexity |
| Community Support | ✅ Strong Open Source Community | ✅ Widely Adopted | ✅ Growing in Popularity | ⚠️ Smaller Community |
| Distributed Training | ✅ Built-in DDP Support | ✅ TensorFlow Distributed | ✅ Distributed via JAX | ✅ Distributed via MXNet |
Why Use PyTorch on Debian 12?
- Stability and Performance: Debian 12 offers a stable, secure, and reliable environment, making it ideal for running intensive machine learning tasks.
- Optimized Hardware Support: Leverage NVIDIA GPUs with CUDA for faster training and inference.
- Open-Source Flexibility: Enjoy the benefits of an open-source ecosystem, with no licensing fees or vendor lock-in.
- Cross-Disciplinary Applications: Suitable for academic research, commercial AI development, and personal projects.
PyTorch on Debian 12 is an excellent choice for building and deploying AI and deep learning models. With its dynamic computation graph, GPU acceleration, and robust ecosystem, PyTorch empowers developers to create innovative solutions across industries such as healthcare, finance, gaming, robotics, and autonomous systems.
Step 1: Create a Server Instance on Shape.Host
Before installing PyTorch, you’ll need a server to host your environment. Here’s how to set up a server instance on Shape.Host:
Log in to Shape.Host: Go to the Shape.Host website and log in to your account. Navigate to the Cloud VPS section.
Create a New Instance: Click on “Create” and choose the server type that fits your needs.

Pick a Data Center: Select a data center location close to your audience for better performance.
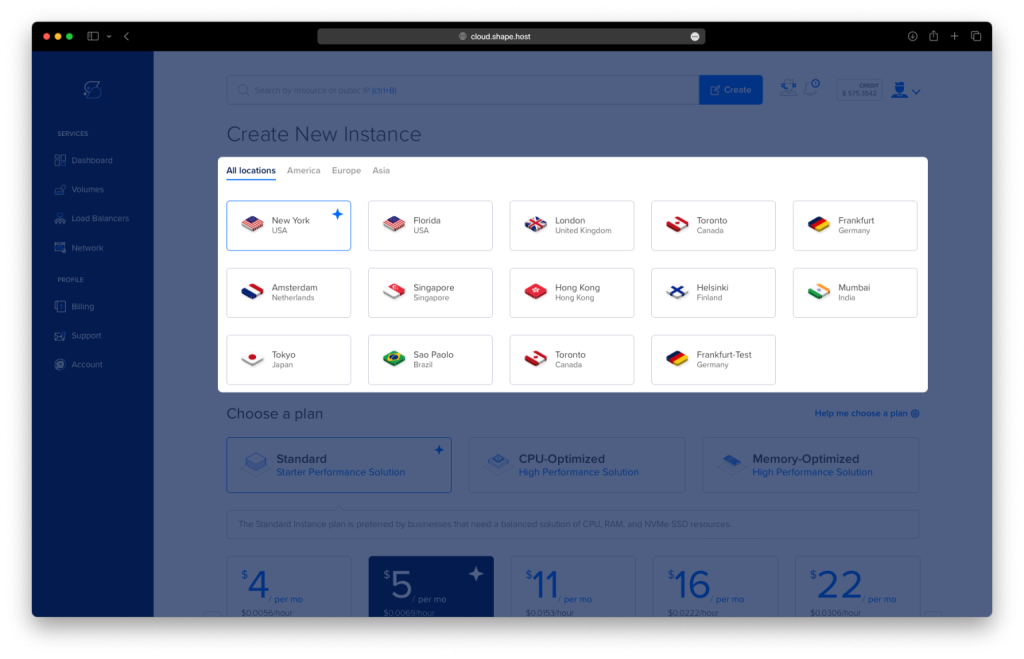
Choose a Plan: Pick a hosting plan that matches your project’s requirements and budget.
Set the OS: Choose Debian 12 as your operating system.
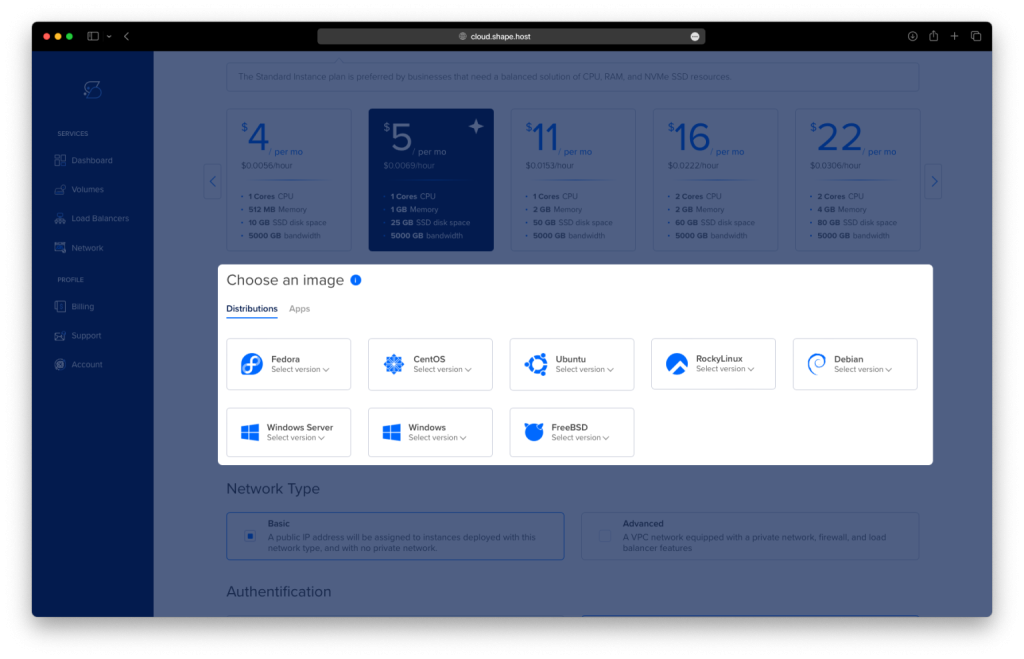
Launch the Server: Review your settings and click “Create Instance” Your server will be ready in a few minutes.

In Dashboard you will find your Instance IP.

Step 2: Connect to Your Server
Once your server is ready, you’ll need to connect to it using SSH. Here’s how:
- Linux/macOS: Open your terminal and type:
ssh root@your_server_ipReplace your_server_ip with your server’s IP address.
- Windows: Use an SSH client like PuTTY. Enter your server’s IP address, specify the port (usually 22), and click “Open.” Log in with your username and password.
Step 3: Update Your System
Before installing any software, it’s important to update your system to ensure all software is up to date. Run the following command:
apt update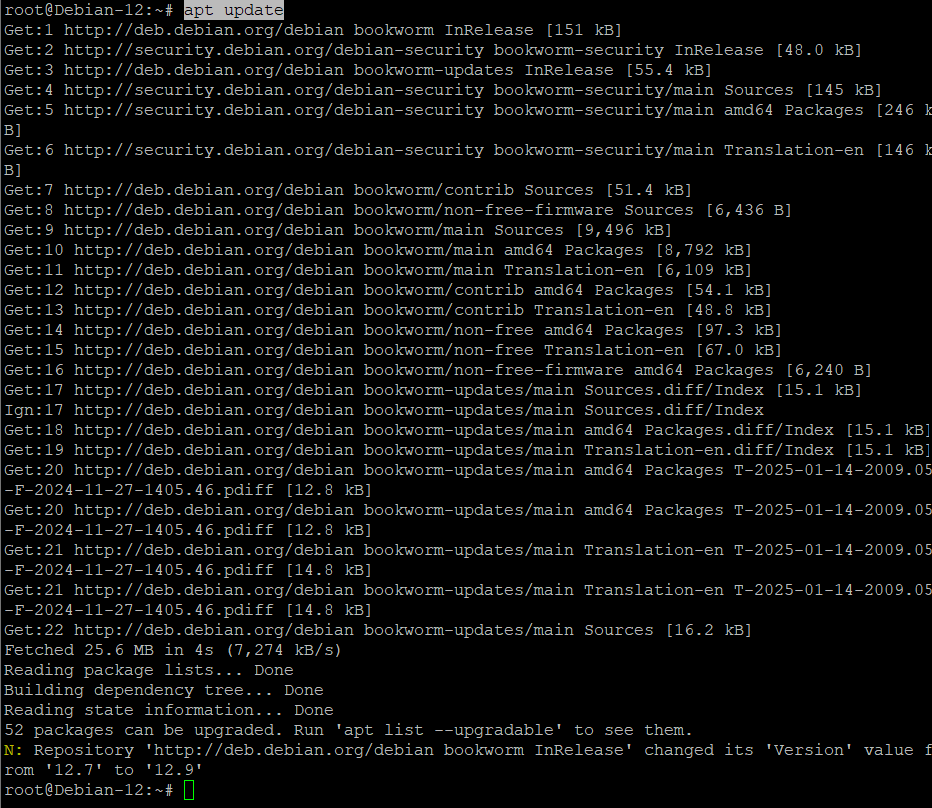
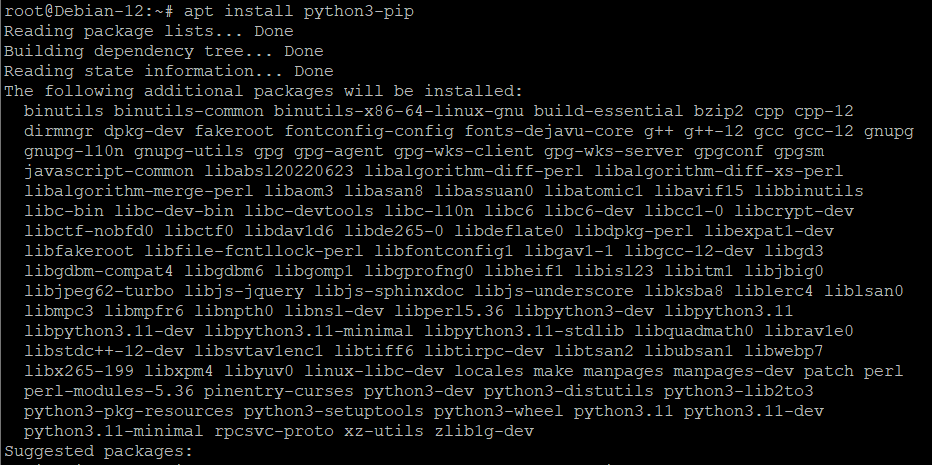
Step 4: Install Python and Pip
PyTorch requires Python and Pip (Python’s package manager). Install them using the following commands:
apt install python3 -y
apt install python3-pip -y
Step 5: Install Virtualenv
To avoid conflicts between Python packages, we’ll use virtualenv to create an isolated environment for your PyTorch project. Install virtualenv with:
apt install virtualenv -y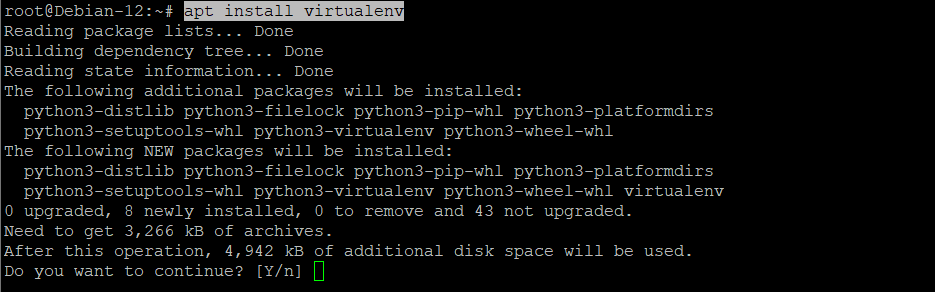
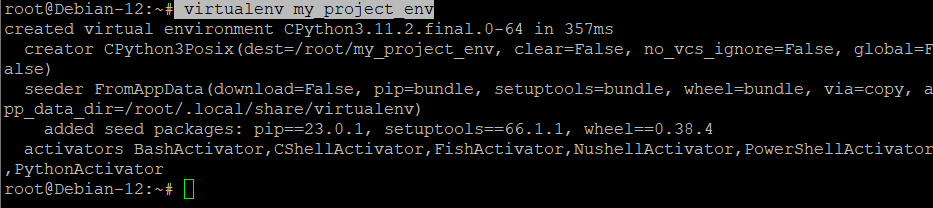
Step 6: Create a Virtual Environment
Now, let’s create a virtual environment for your project. Run the following commands:
virtualenv my_project_envThis will create a folder named my_project_env containing the virtual environment.
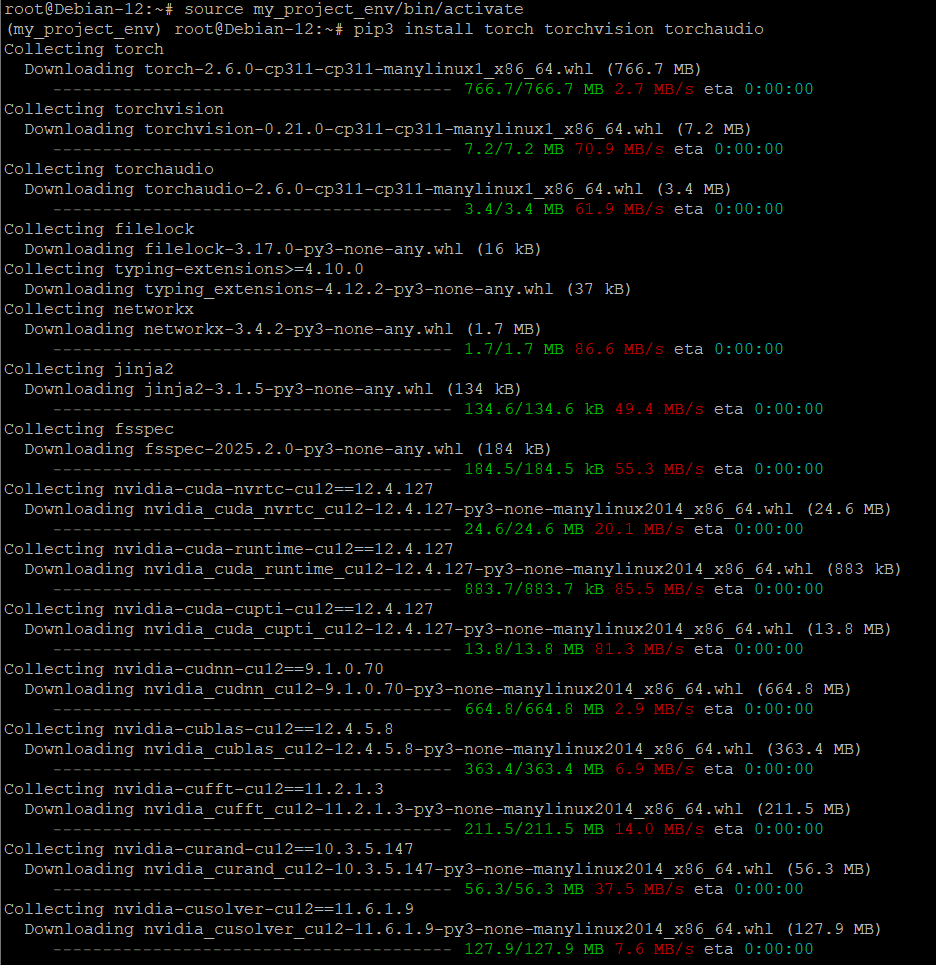
Step 7: Activate the Virtual Environment
To start using the virtual environment, activate it with:
source my_project_env/bin/activateYou’ll notice that your terminal prompt changes, indicating that the virtual environment is active.
Step 8: Install PyTorch
With the virtual environment activated, you can now install PyTorch. Run the following command:
pip3 install torch torchvision torchaudioThis will install PyTorch along with its additional libraries, torchvision (for computer vision tasks) and torchaudio (for audio processing).
Step 9: Verify the Installation
To make sure PyTorch is installed correctly, open the Python interpreter:
pythonThen, type the following commands in the Python shell:
import torch
print(torch.__version__)
If PyTorch is installed correctly, it will display the version number (e.g., 2.0.1). Exit the Python shell by typing:
exit()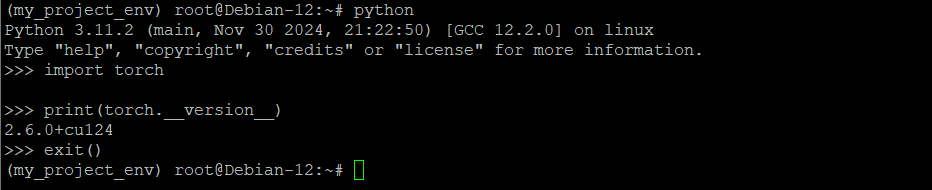
Step 10: Deactivate the Virtual Environment
When you’re done working with PyTorch, you can deactivate the virtual environment by running:
deactivateThis will return you to the system’s default Python environment.

If you’re looking for a reliable hosting solution for your machine learning projects, consider Shape.Host Linux SSD VPS services. With fast SSD storage, scalable resources, and excellent support, Shape.Host provides the perfect environment for running PyTorch and other demanding applications. Visit Shape.Host to learn more and get started today!