Next.js is an open-source React framework developed by Vercel that allows developers to build server-rendered React applications with a focus on improved performance, SEO, and developer experience. It provides capabilities for server-side rendering (SSR), static site generation (SSG), and incremental static regeneration (ISR), making it ideal for modern, optimized web applications.
Key Features of Next.js:
- Server-Side Rendering (SSR): Pages are rendered on the server and delivered fully formed, improving SEO and initial load times.
- Static Site Generation (SSG): Pages are pre-rendered at build time, providing optimized, static HTML that loads quickly.
- Incremental Static Regeneration (ISR): Enables static content to be updated without needing a full rebuild.
- Client-Side Rendering (CSR): Allows interactive content to be rendered on the client-side where needed.
- API Routes: Provides serverless functions for handling backend logic, such as data fetching and form processing.
- Image Optimization: The built-in Image component automatically optimizes images to improve performance.
- Code Splitting: Automatic code splitting means that only the necessary code is loaded for a specific page.
- File-Based Routing: Routing is based on the file structure within the
pagesdirectory, simplifying navigation setup. - CSS Support: Built-in support for CSS, Sass, and CSS-in-JS libraries for flexible styling options.
- TypeScript Support: Seamless integration with TypeScript, providing type safety.
- Hot Module Replacement (HMR): Instantly reflects changes in the browser during development.
Benefits:
- SEO Optimization: Server-side rendering and SSG provide SEO benefits by delivering full HTML pages to search engines.
- High Performance: Features like ISR, SSR, and automatic image optimization result in faster page loads and a better user experience.
- Flexibility: Offers multiple rendering strategies to fit various use cases, from static websites to dynamic applications.
- Scalability: Built-in support for serverless functions and static exports ensures scalability for both small and large projects.
Common Use Cases:
- E-commerce Websites: Fast, SEO-optimized online stores.
- Blogs and Marketing Pages: Sites that require high SEO and content management.
- Single Page Applications (SPAs): Modern, interactive web applications.
Getting Started:
- Install with:
npx create-next-app@latest - Run the development server with:
npm run devoryarn dev
Alternatives:
- Gatsby: A React-based framework with a focus on static site generation and GraphQL.
- Nuxt.js: A framework for Vue.js with similar features for server-side rendering and SSG.
Next.js is widely recognized for its ease of use, powerful features, and capabilities for building performant, scalable, and SEO-friendly web applications.
Step 1: Create an Instance
To get started with installing Next.js, you need to have a server instance running Ubuntu 24.04.
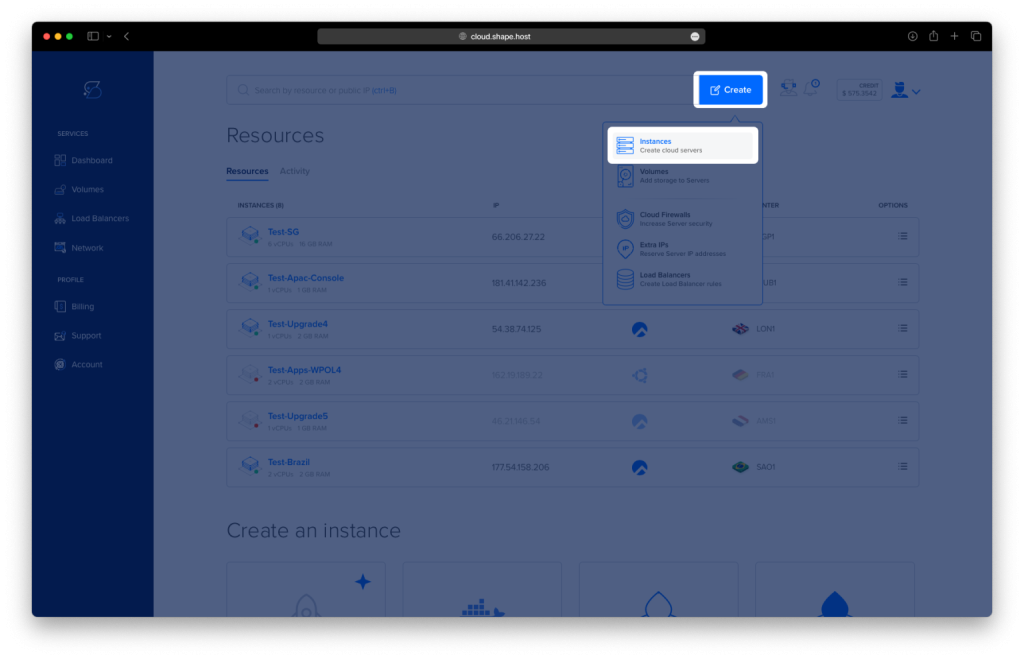
- Access the Dashboard: Log in to your Shape.Host account and navigate to your Dashboard.
- Click Create: Click on the “Create” button located in the top-right corner.
- Select Instances: From the dropdown menu, choose “Instances” to begin creating a new cloud server.
- Select Location: Choose a data center location for your instance closest to your target audience for optimal performance.
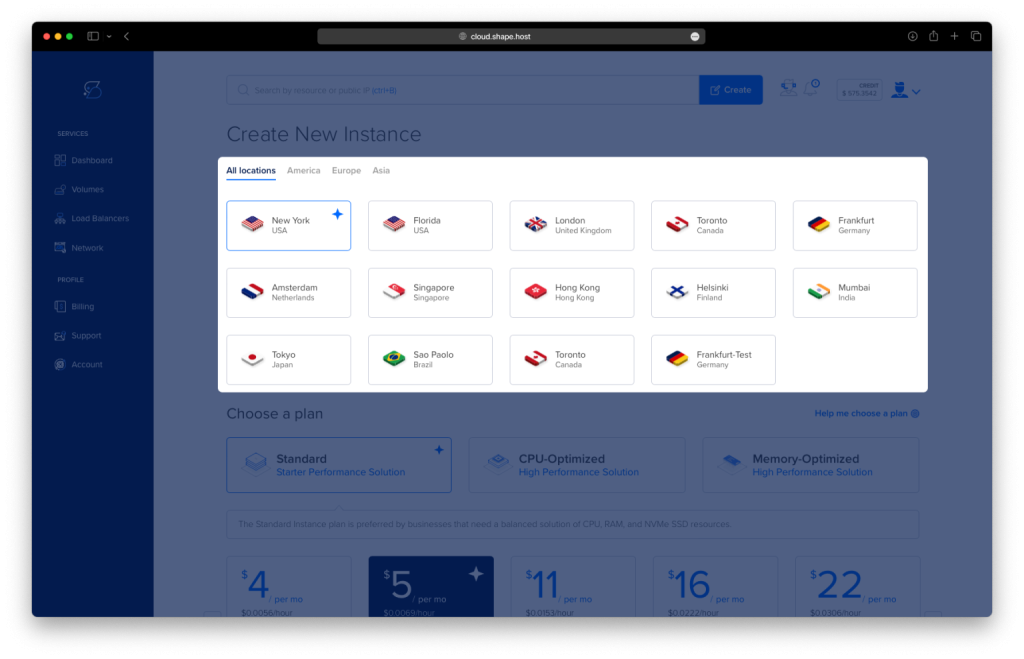
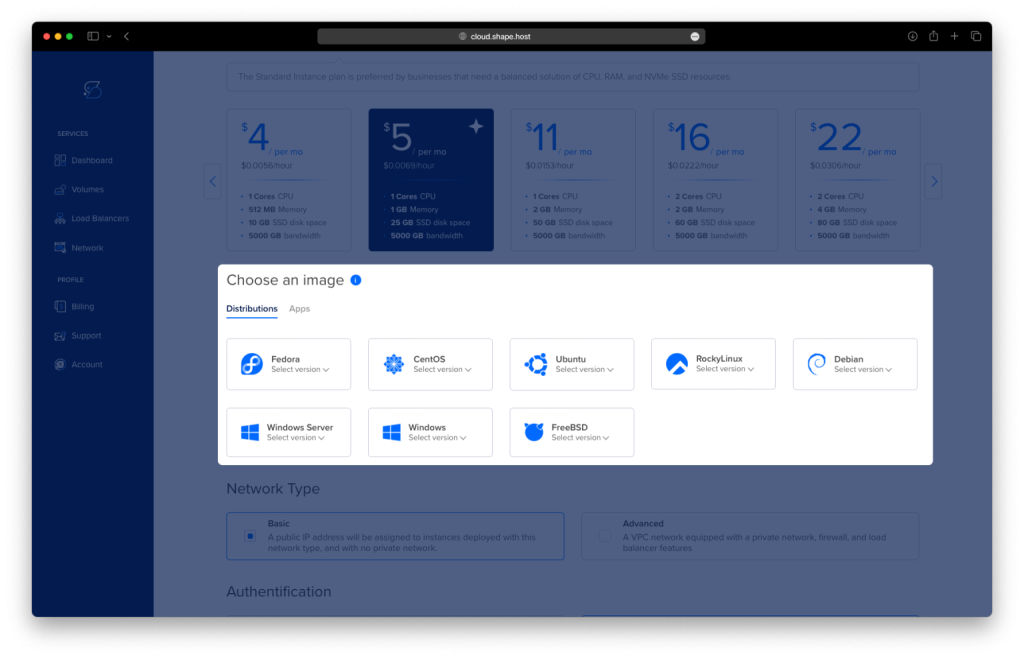
- Choose a Plan: Scroll through the available pricing plans. Select a plan based on your project requirements, such as Standard, CPU-Optimized, or Memory-Optimized.
- Choose an Image: Select Ubuntu 24.04 as the operating system for your instance.
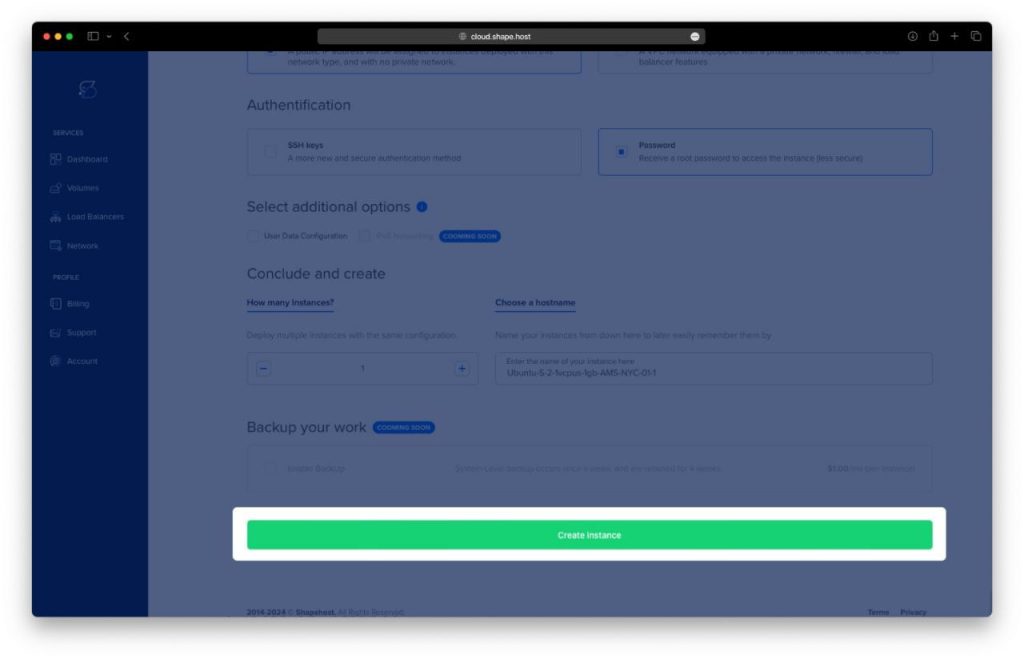
- Authentication and Finalize: Choose your authentication method, either via SSH keys or password. Once done, click Create Instance to launch your server.
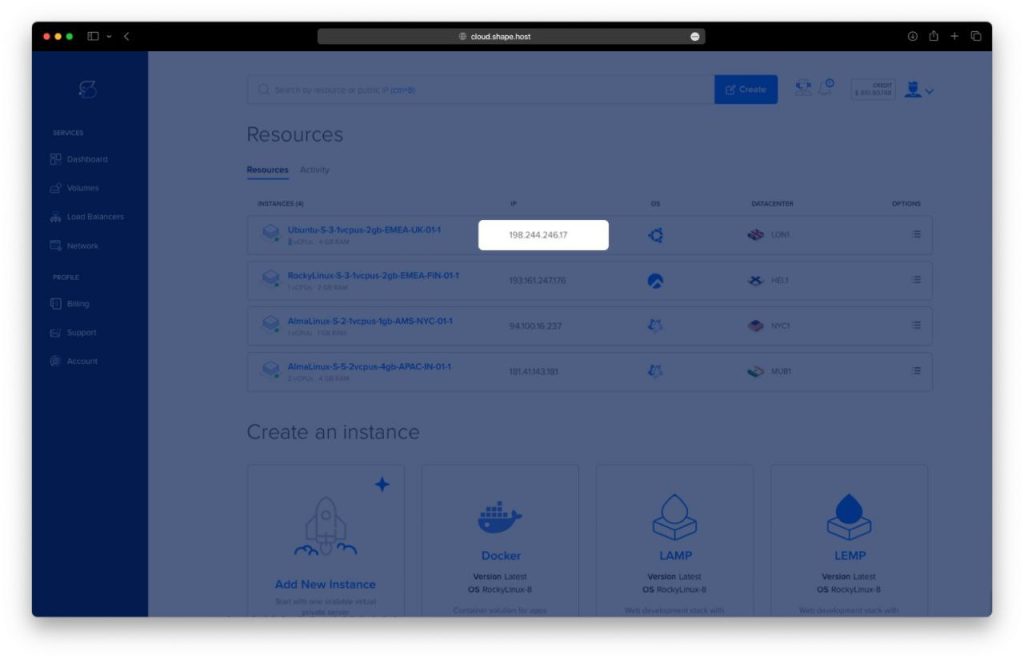
- Obtain IP Address
- Once your instance is created, return to the dashboard.
- Find your instance’s IP address under the Resources section and use it to access your server.
Step 2: Connect to Your Instance
Once your server is up and running, follow these steps to connect to it:
- Get the Instance IP: After creating your instance, find the public IP address in the Shape.Host dashboard under Resources.
- Open SSH Client: Use an SSH client like Terminal (Linux/macOS) or PuTTY (Windows).
- SSH into the Instance: Run the following command in your terminal:
ssh root@<your-instance-ip>Replace<your-instance-ip>with the actual IP address of your server. - Enter the Password: If prompted, enter the root password or use your SSH key if it was configured during instance creation.
You are now connected to your instance!
Step 3: Update and Upgrade System Packages
Begin by updating your system to ensure you have the latest packages:
apt update && apt upgrade -y
Step 4: Install Node.js
Add the NodeSource repository to get the latest version of Node.js:
curl -fsSL https://deb.nodesource.com/setup_20.x | sudo bash -
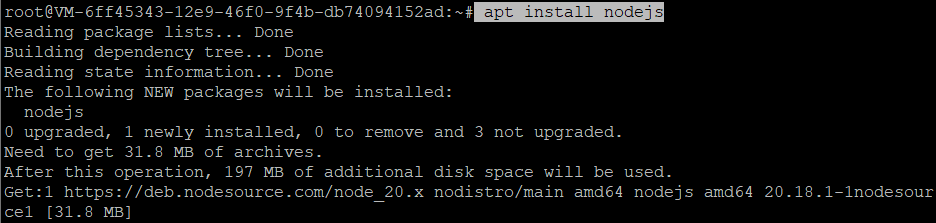
apt install nodejs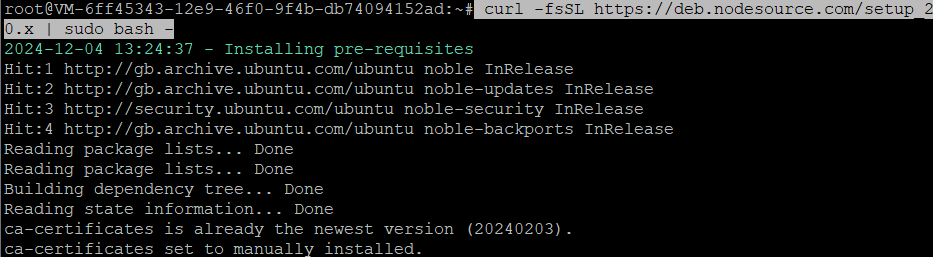
Verify the installation by checking the Node.js and npm versions:
node -v
npm -v
Step 5: Set Up Next.js Application
Create a directory for your Next.js application and navigate into it:
mkdir -p /var/www
cd /var/www
Use npx to create a new Next.js application:
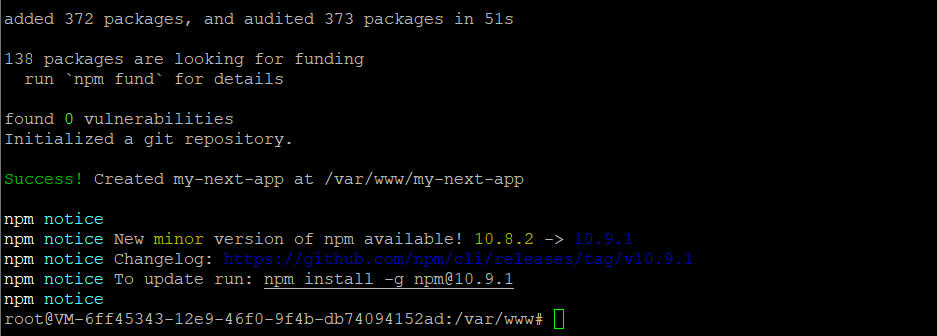
npx create-next-app@latest my-next-app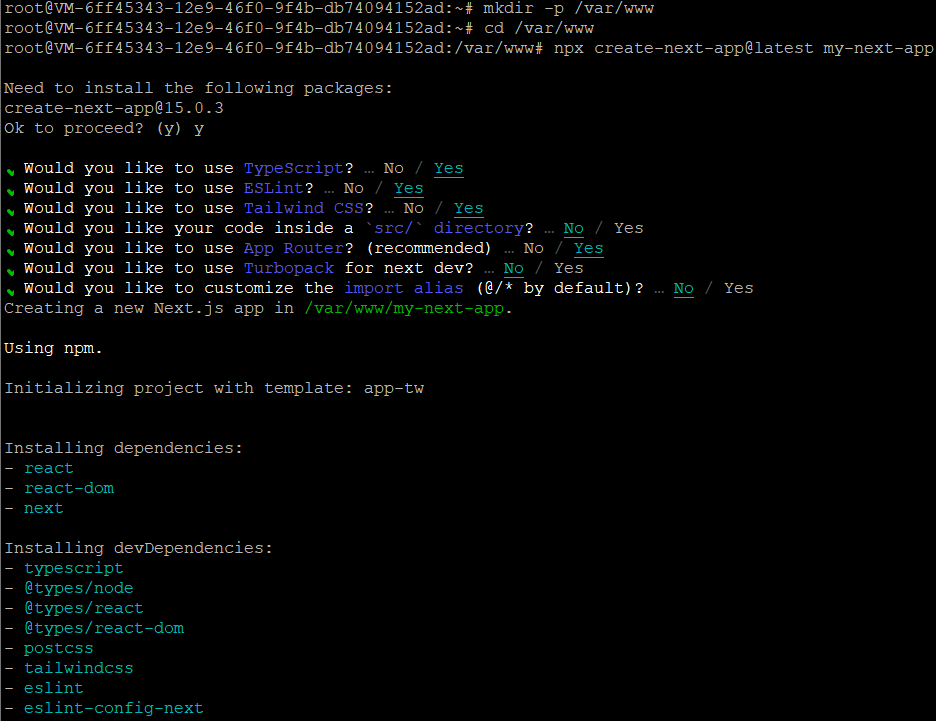
Move into the project directory:
cd my-next-appInstall the project dependencies:
npm install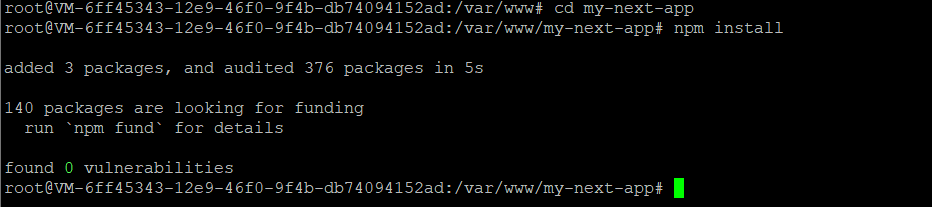
Step 6: Start the Development Server
To start the development server, run:
npm run dev
You should see output indicating that the server is running. By default, Next.js runs on port 3000. Open your browser and navigate to:
http://your_server_ip:3000to view your new Next.js application.

Step 7: Build and Start for Production
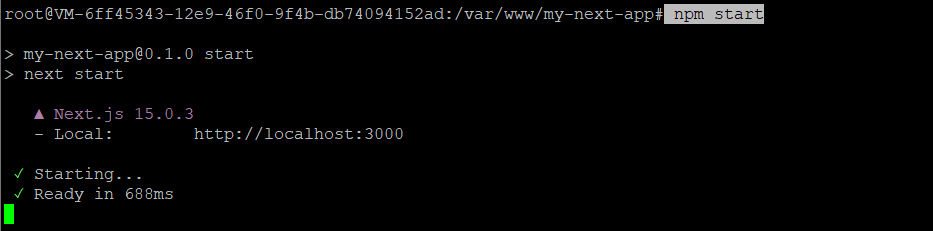
After testing your development server, you can build your application for production and start the server:
npm run build
npm start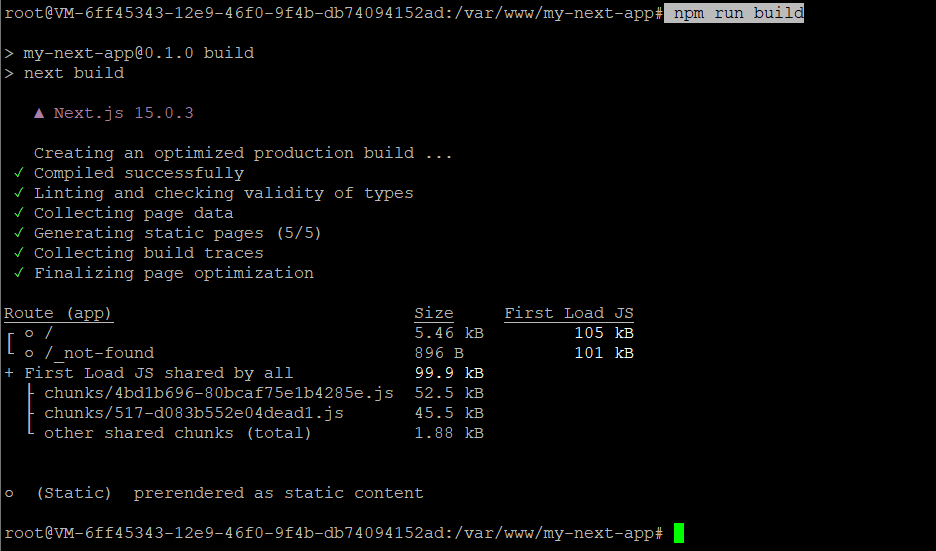
Step 8: Install and Configure Nginx
To set up a reverse proxy for your Next.js application, install Nginx:
apt install nginx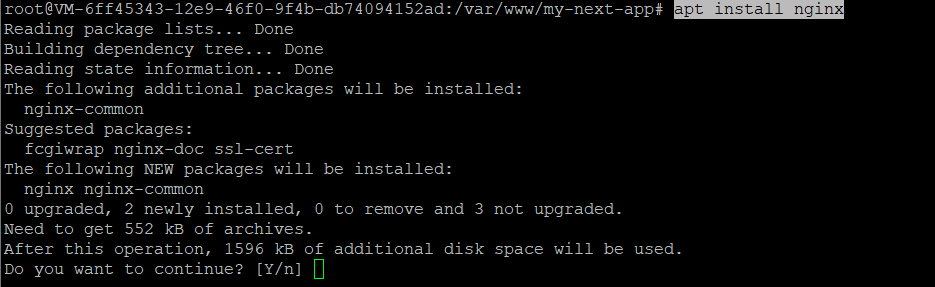
Next, create a new Nginx configuration file for your Next.js application:
nano /etc/nginx/sites-available/my-next-appAdd the following configuration:
server {
    listen 80;
    server_name 51.254.111.73; # Replace with your server IP or domain name

    location / {
        proxy_pass http://localhost:3000;
        proxy_http_version 1.1;
        proxy_set_header Upgrade $http_upgrade;
        proxy_set_header Connection 'upgrade';
        proxy_set_header Host $host;
        proxy_cache_bypass $http_upgrade;
    }
}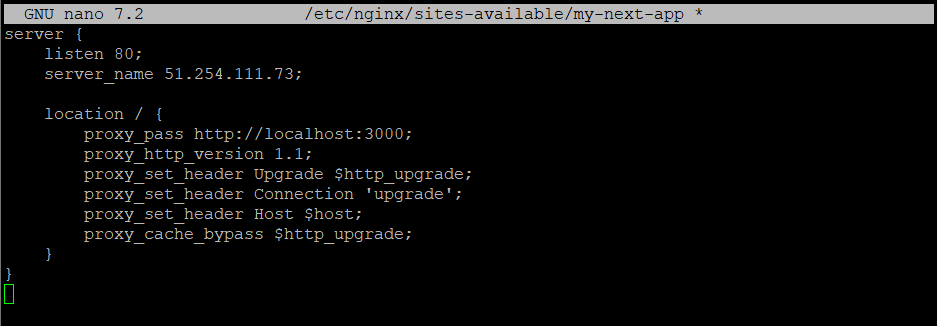
Save and exit the file (CTRL + O to save and CTRL + X to exit).
Create a symbolic link to enable the new site:
ln -s /etc/nginx/sites-available/my-next-app /etc/nginx/sites-enabled/Step 9: Test and Restart Nginx
Test your Nginx configuration for syntax errors:
nginx -tIf there are no errors, restart Nginx to apply the changes:
systemctl restart nginx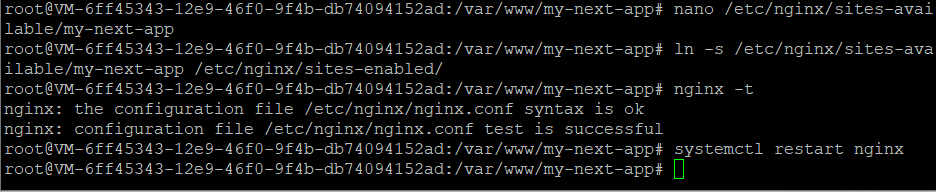
For hosting your Next.js application, consider using Shape.host’s Linux SSD VPS services. Shape.host provides robust and scalable cloud solutions tailored to various needs, ensuring high performance and reliability for your Next.js application. With their Cloud VPS, you can easily scale resources as your application grows, providing an optimal user experience.